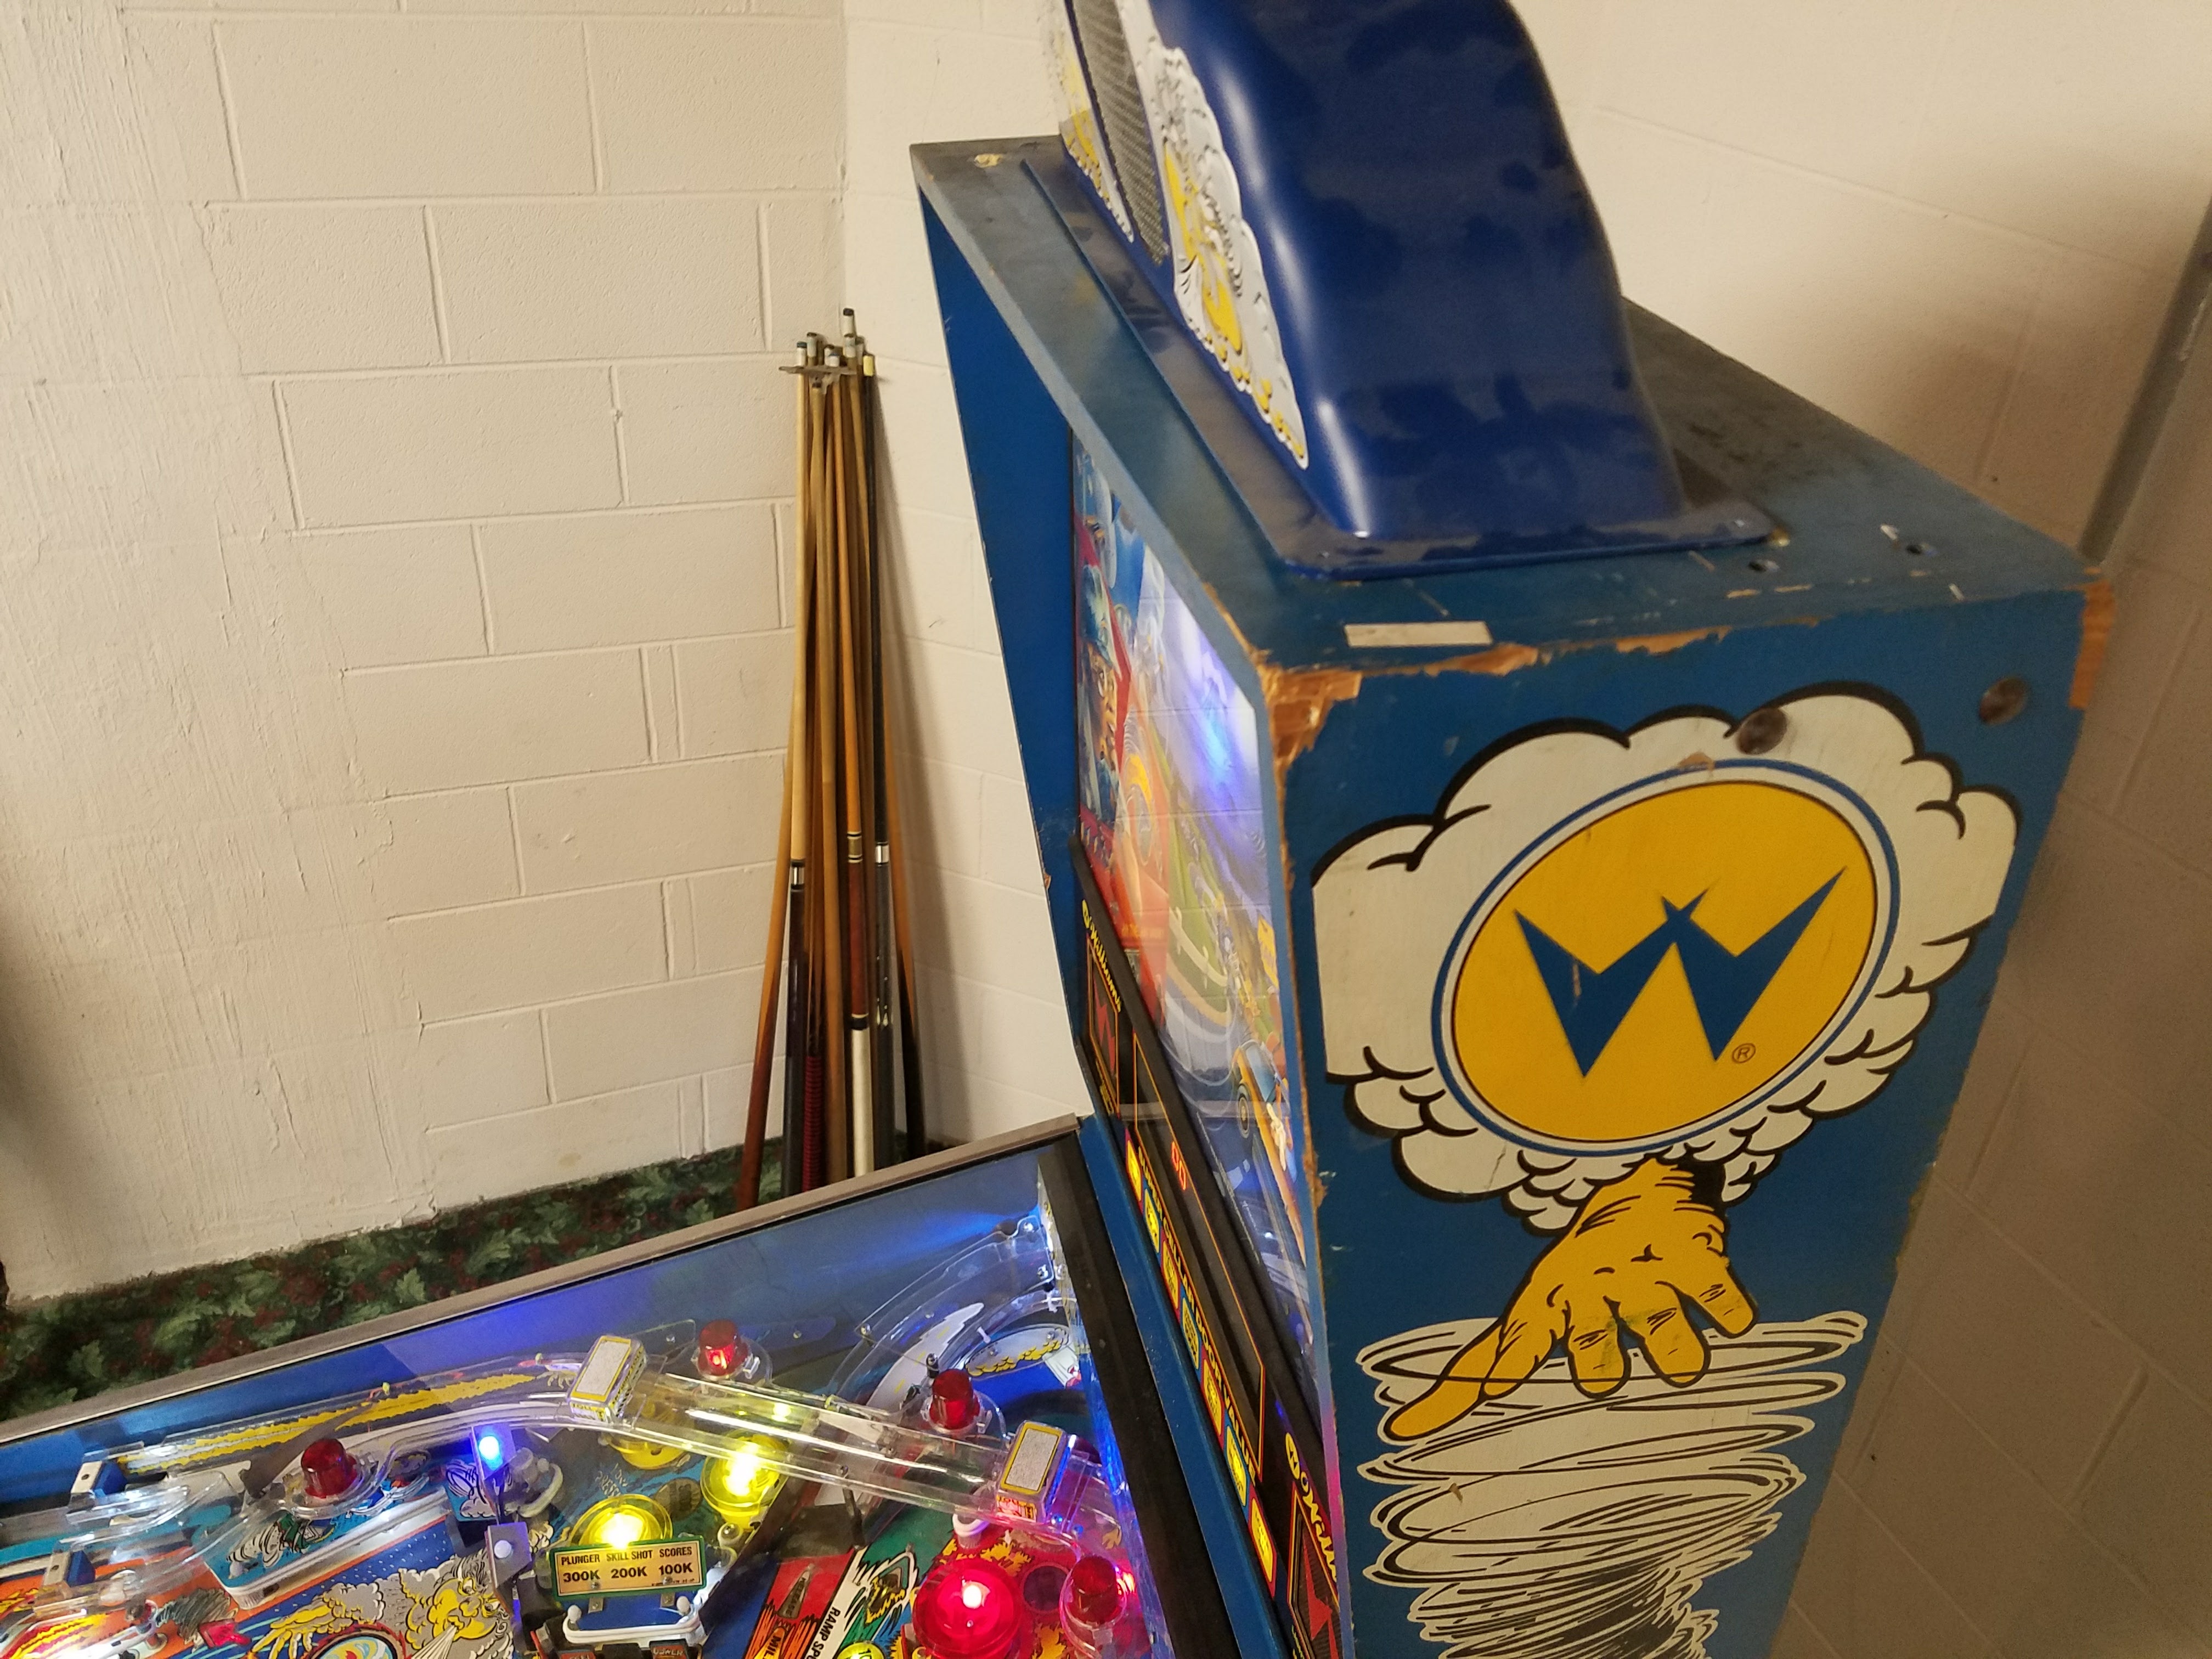
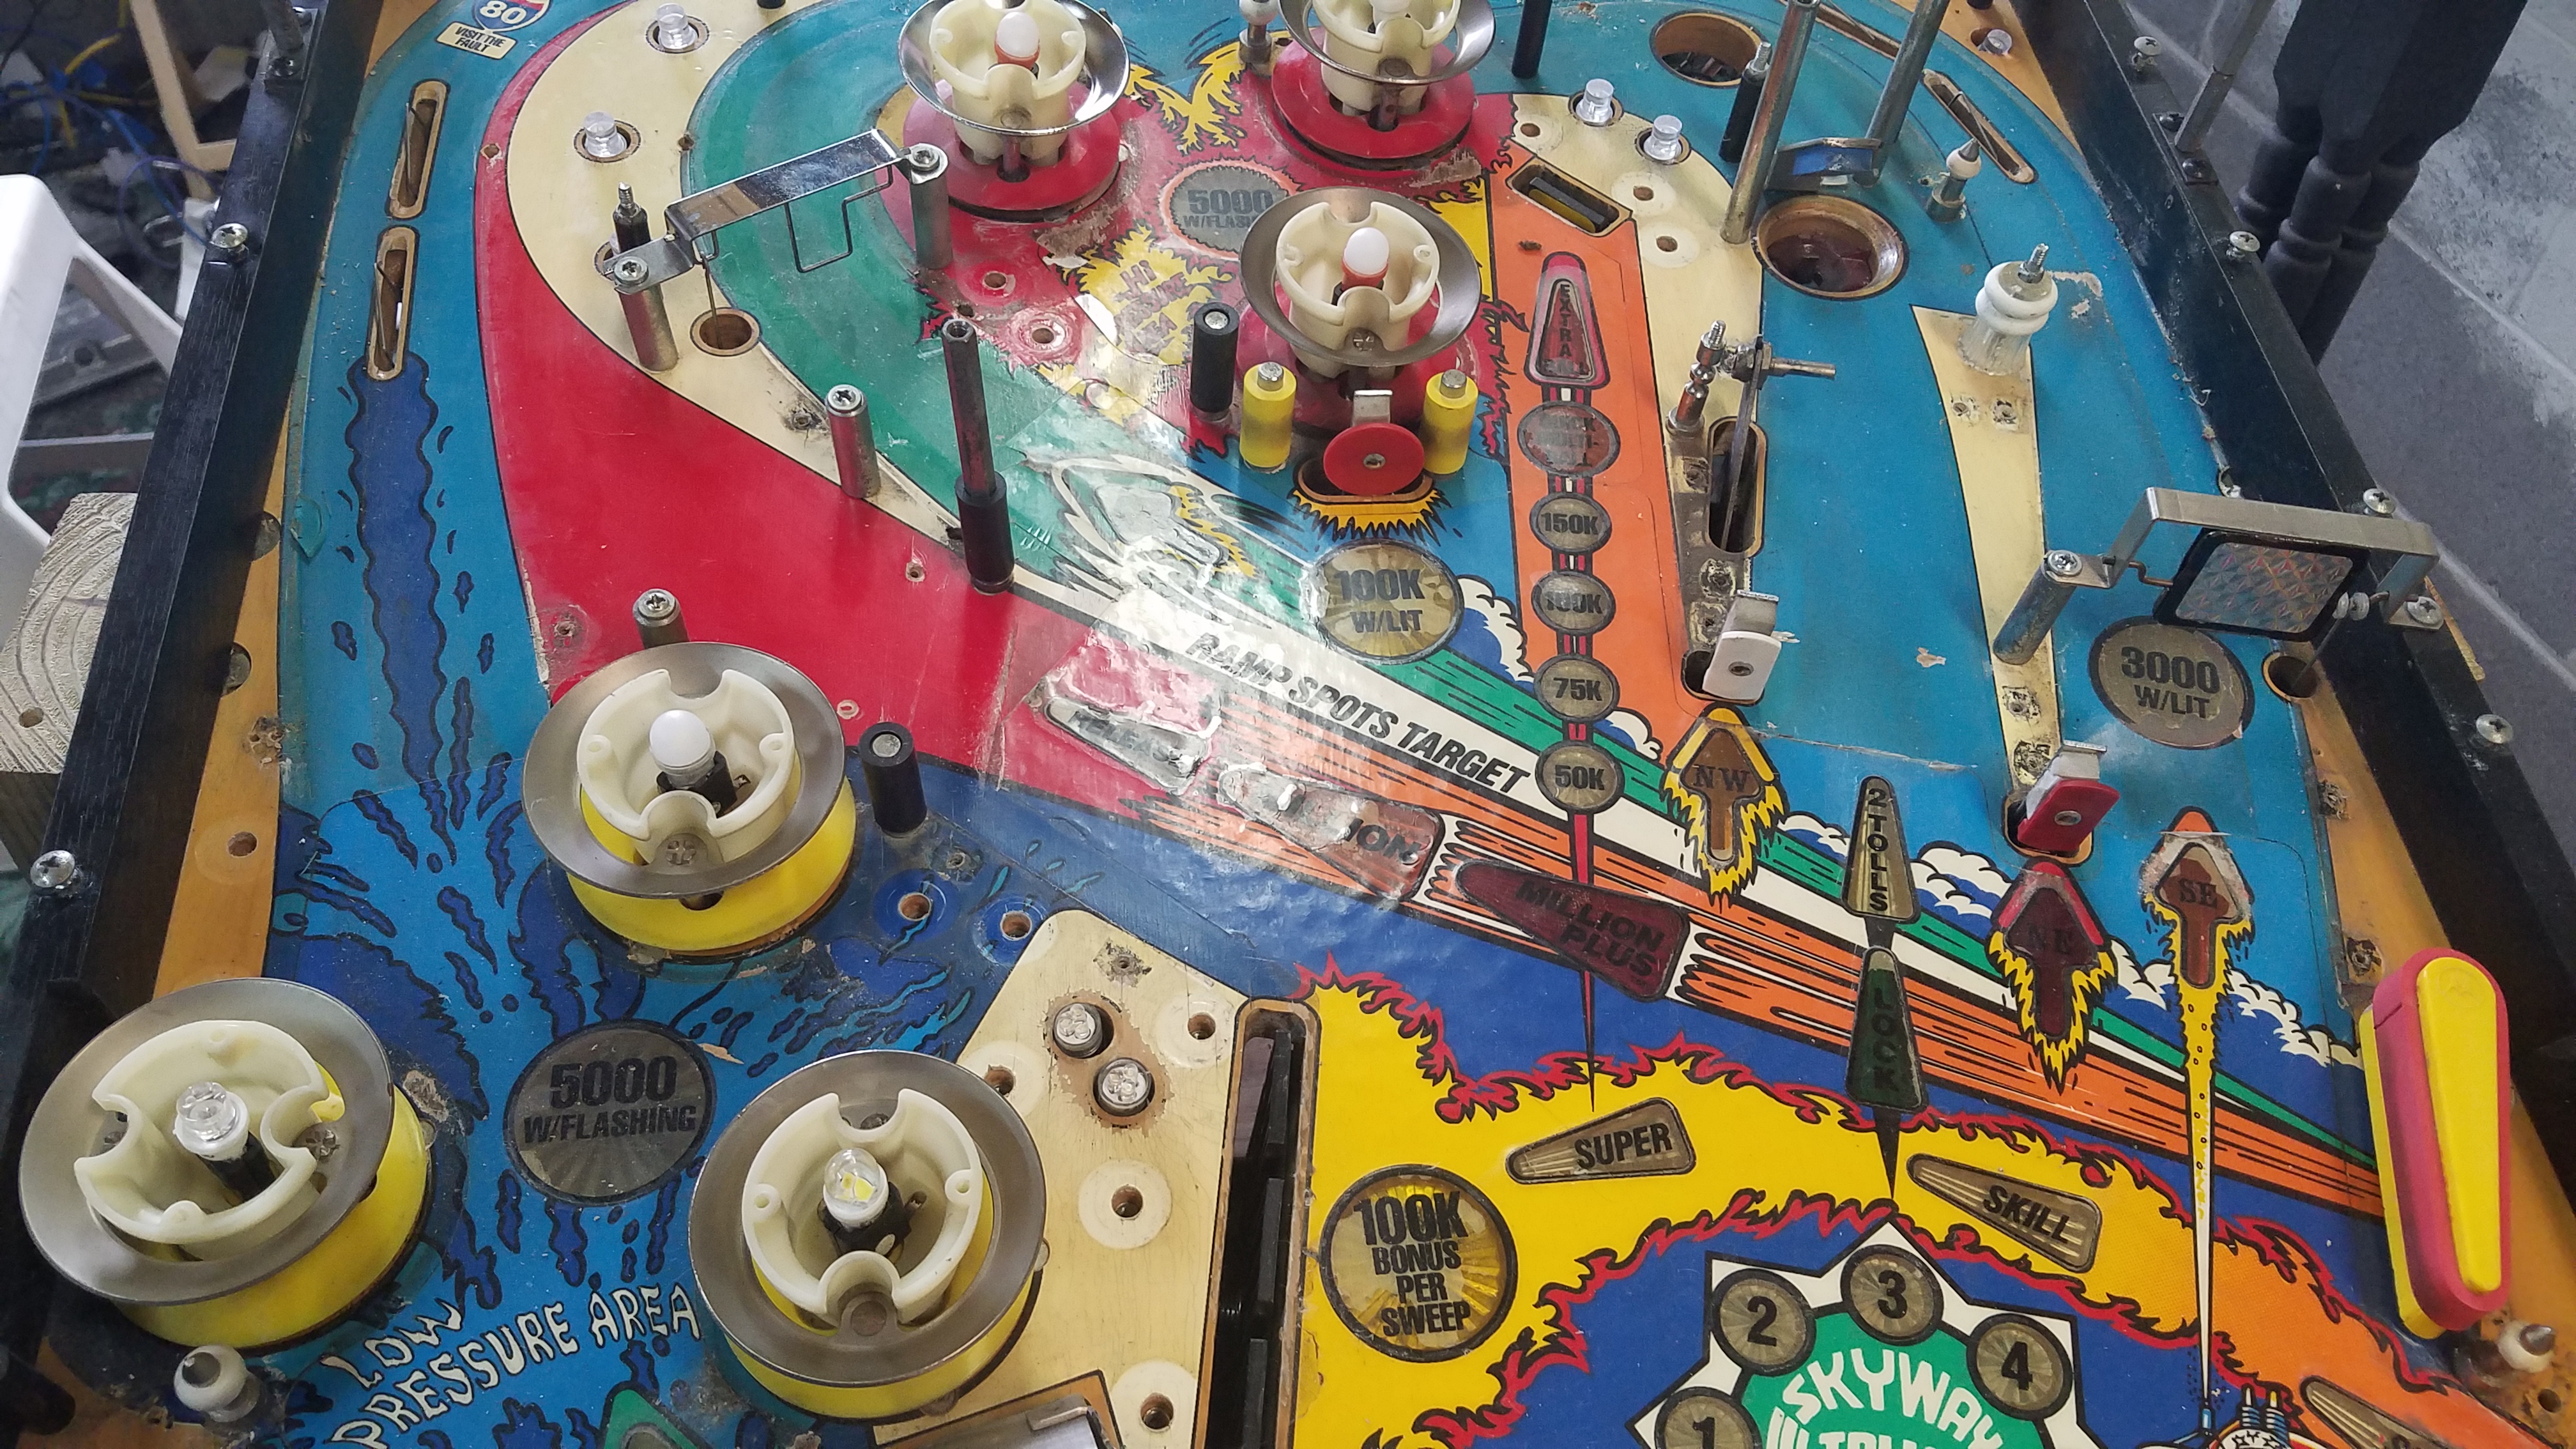
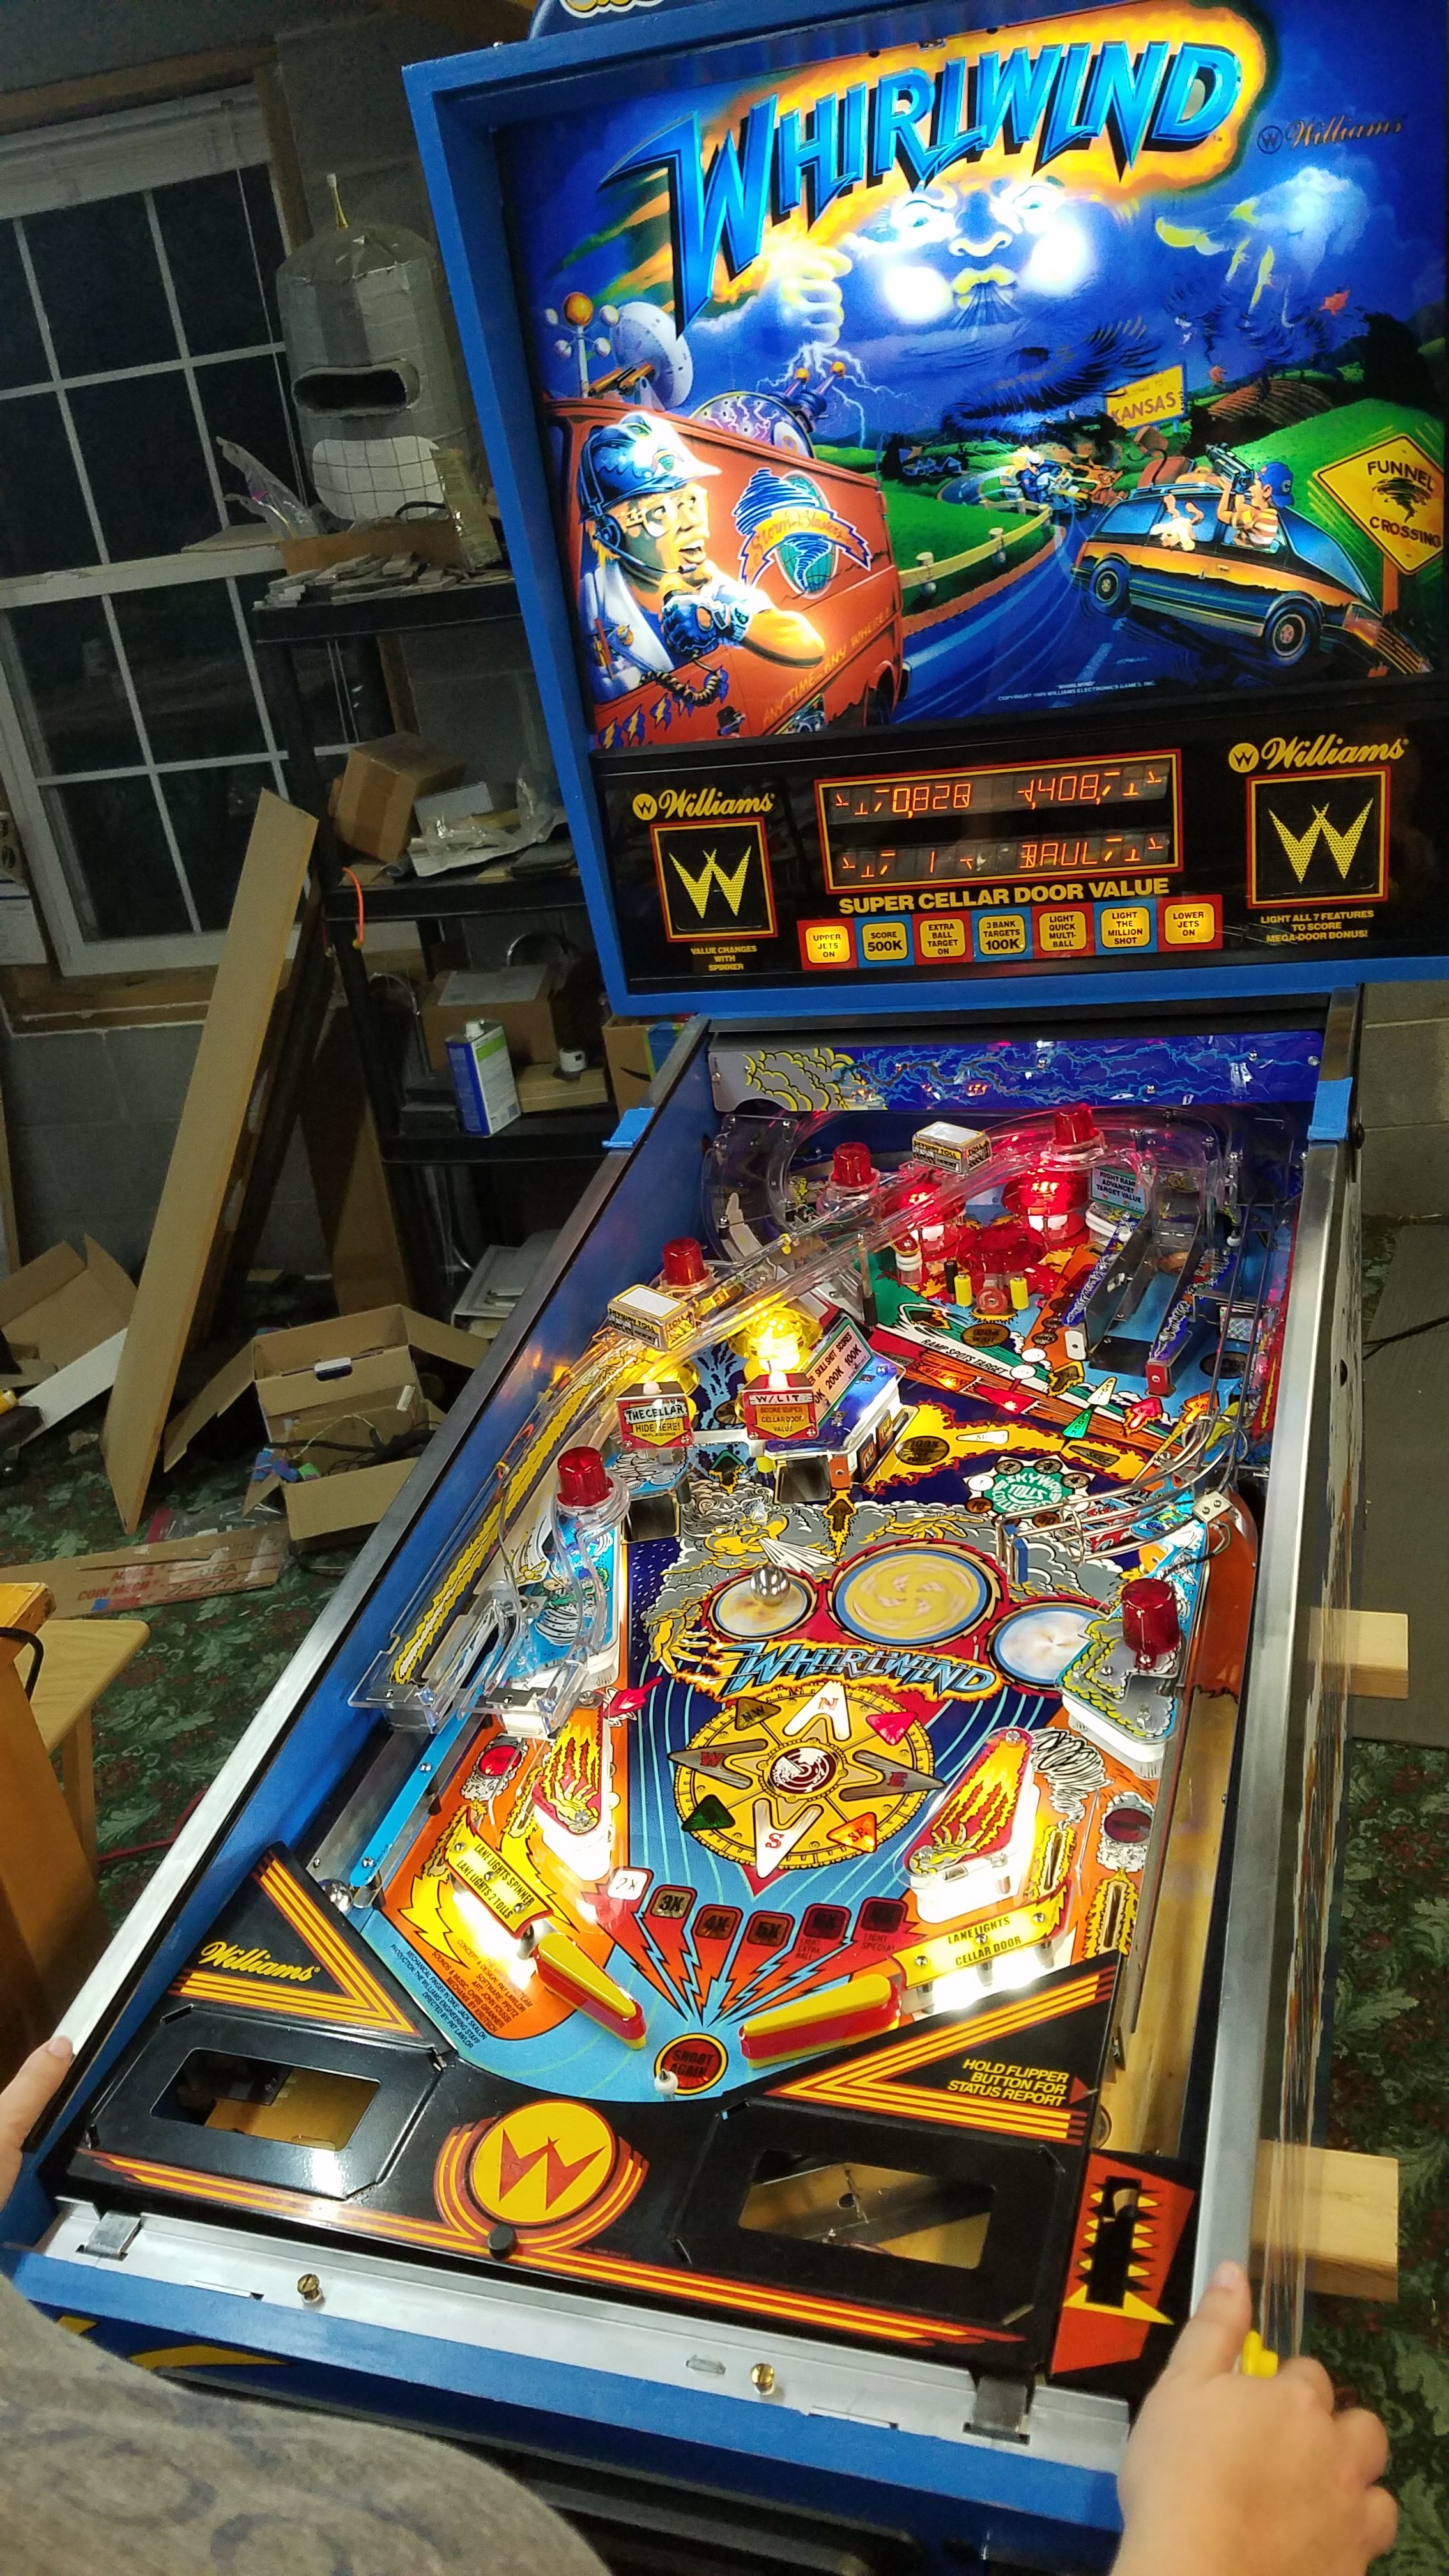
Came across a Whirlwind at a decent price on Pinside…. since every Earthshaker owner gets asked if he has Whirlwind, I may as well be able to say yes. This Whirlwind was visually rough looking, but everything worked and the price was fair… so into the collection it went.
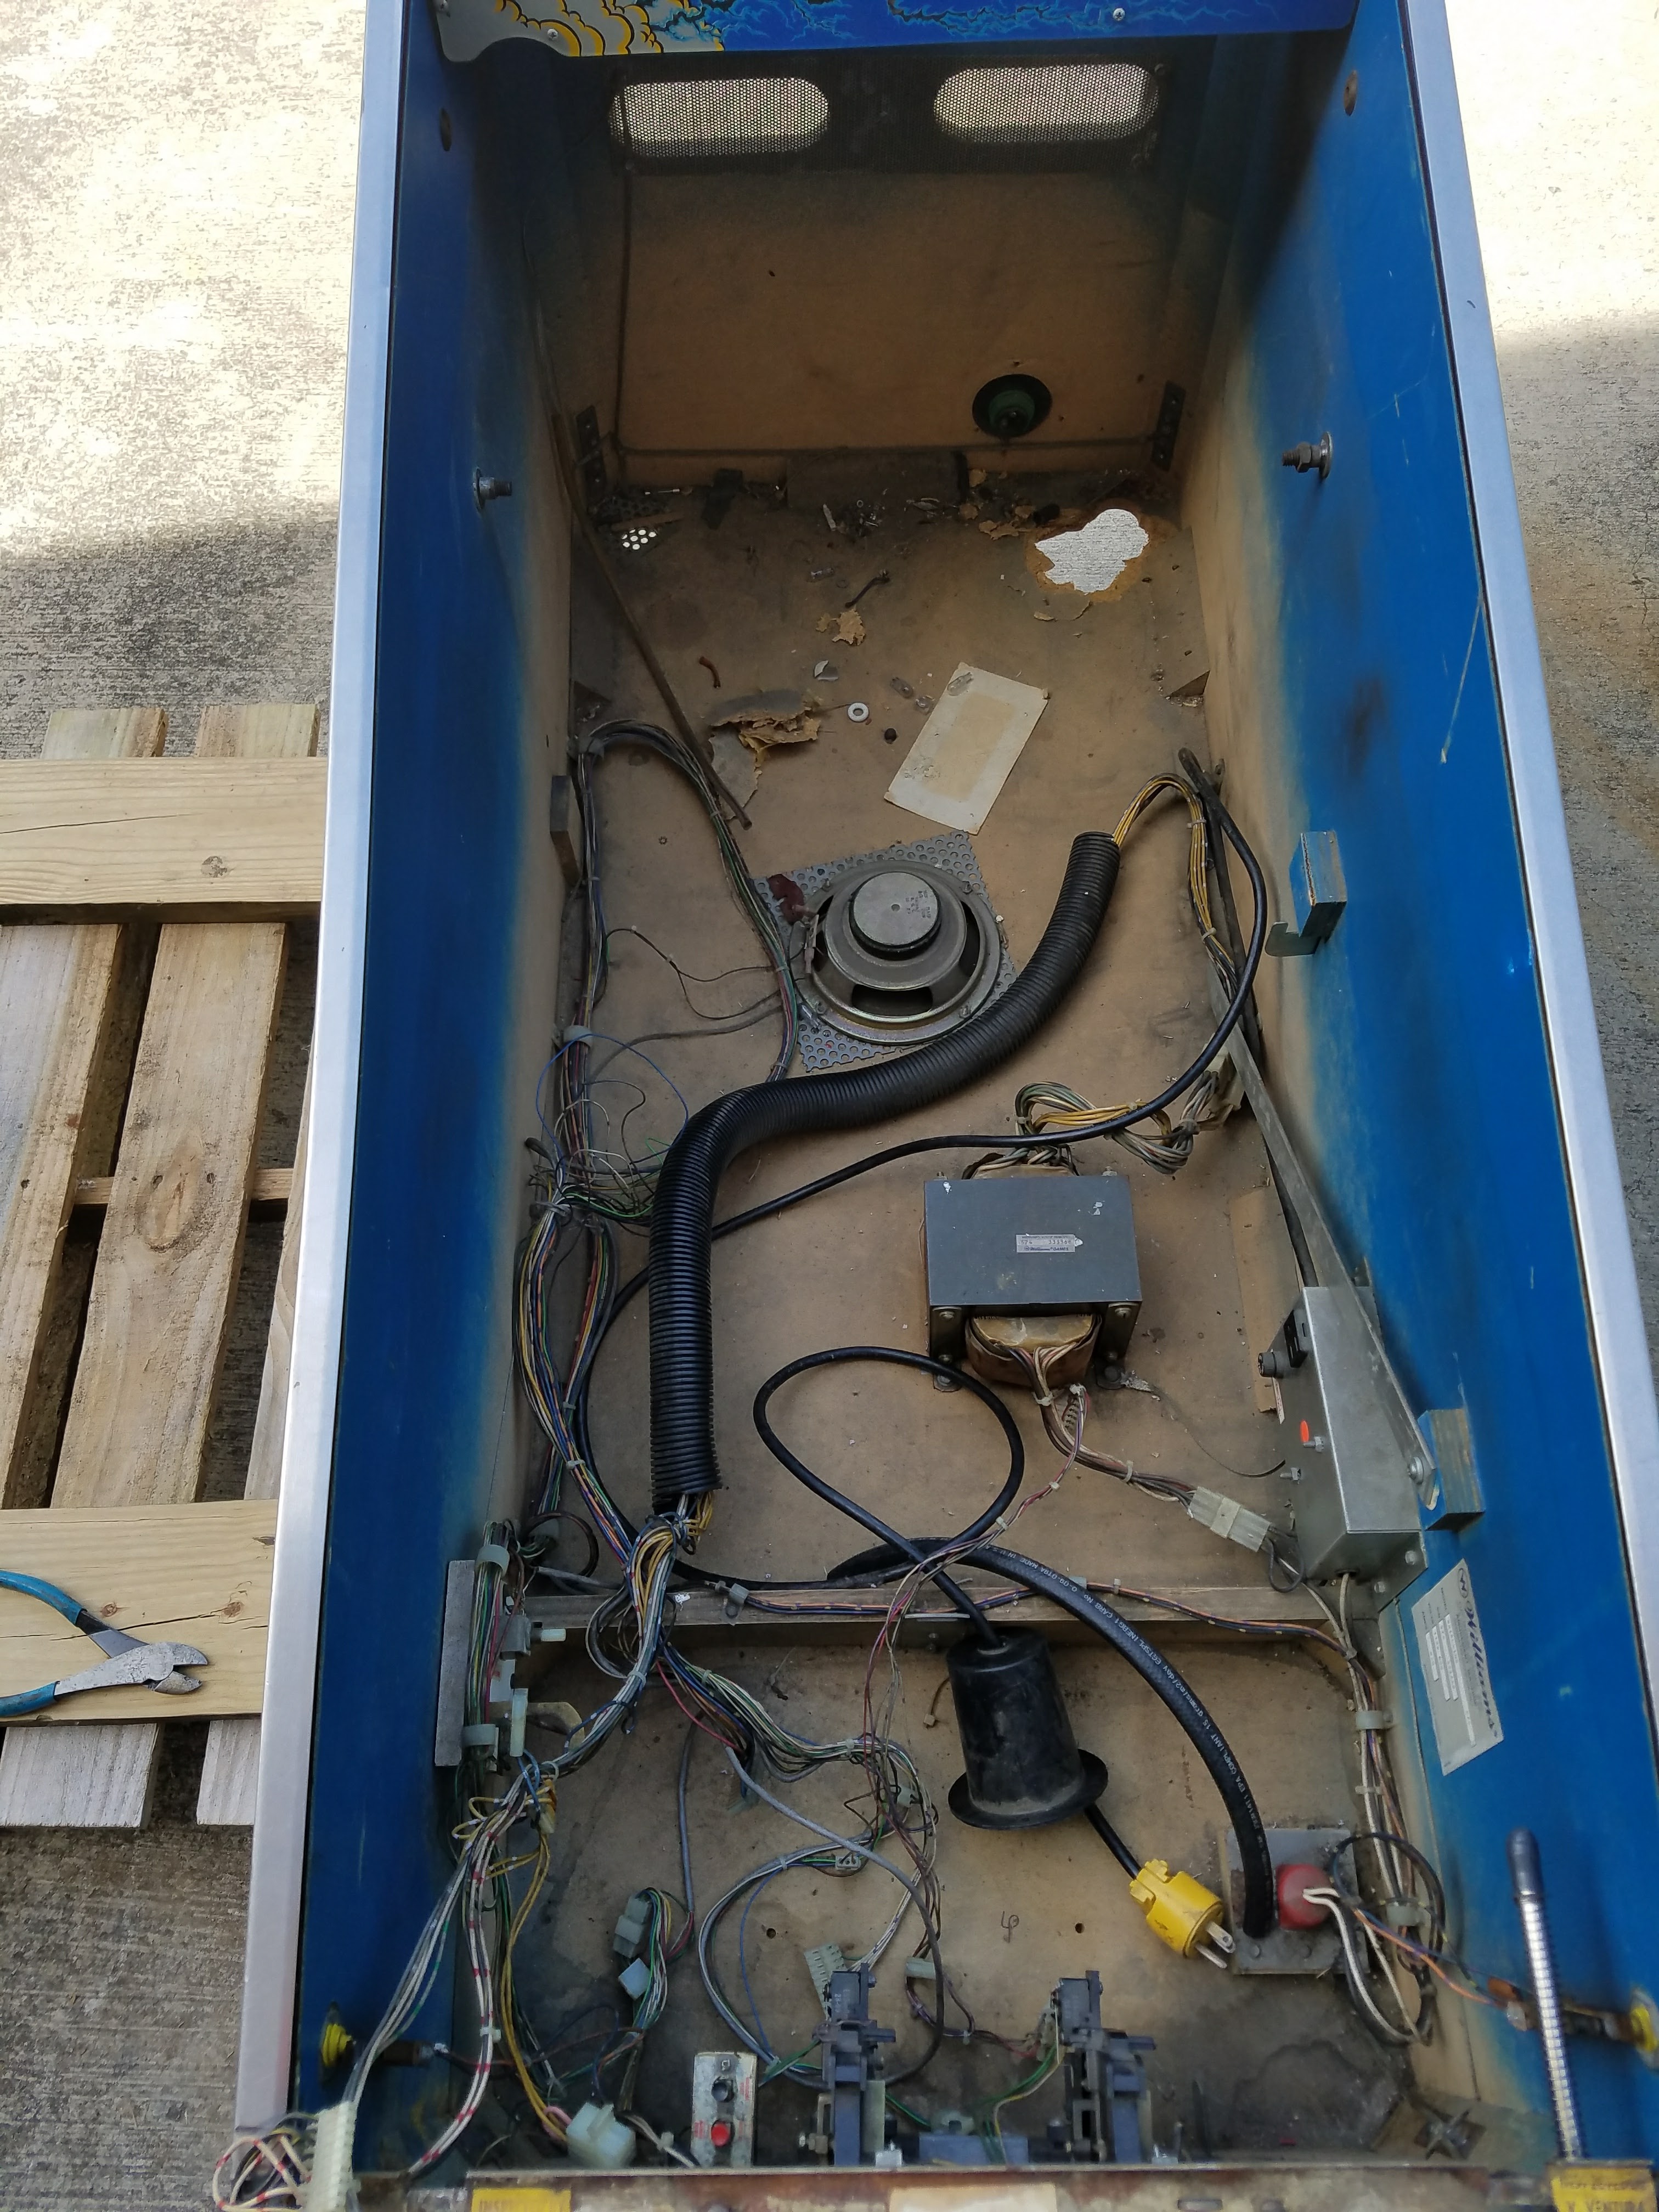
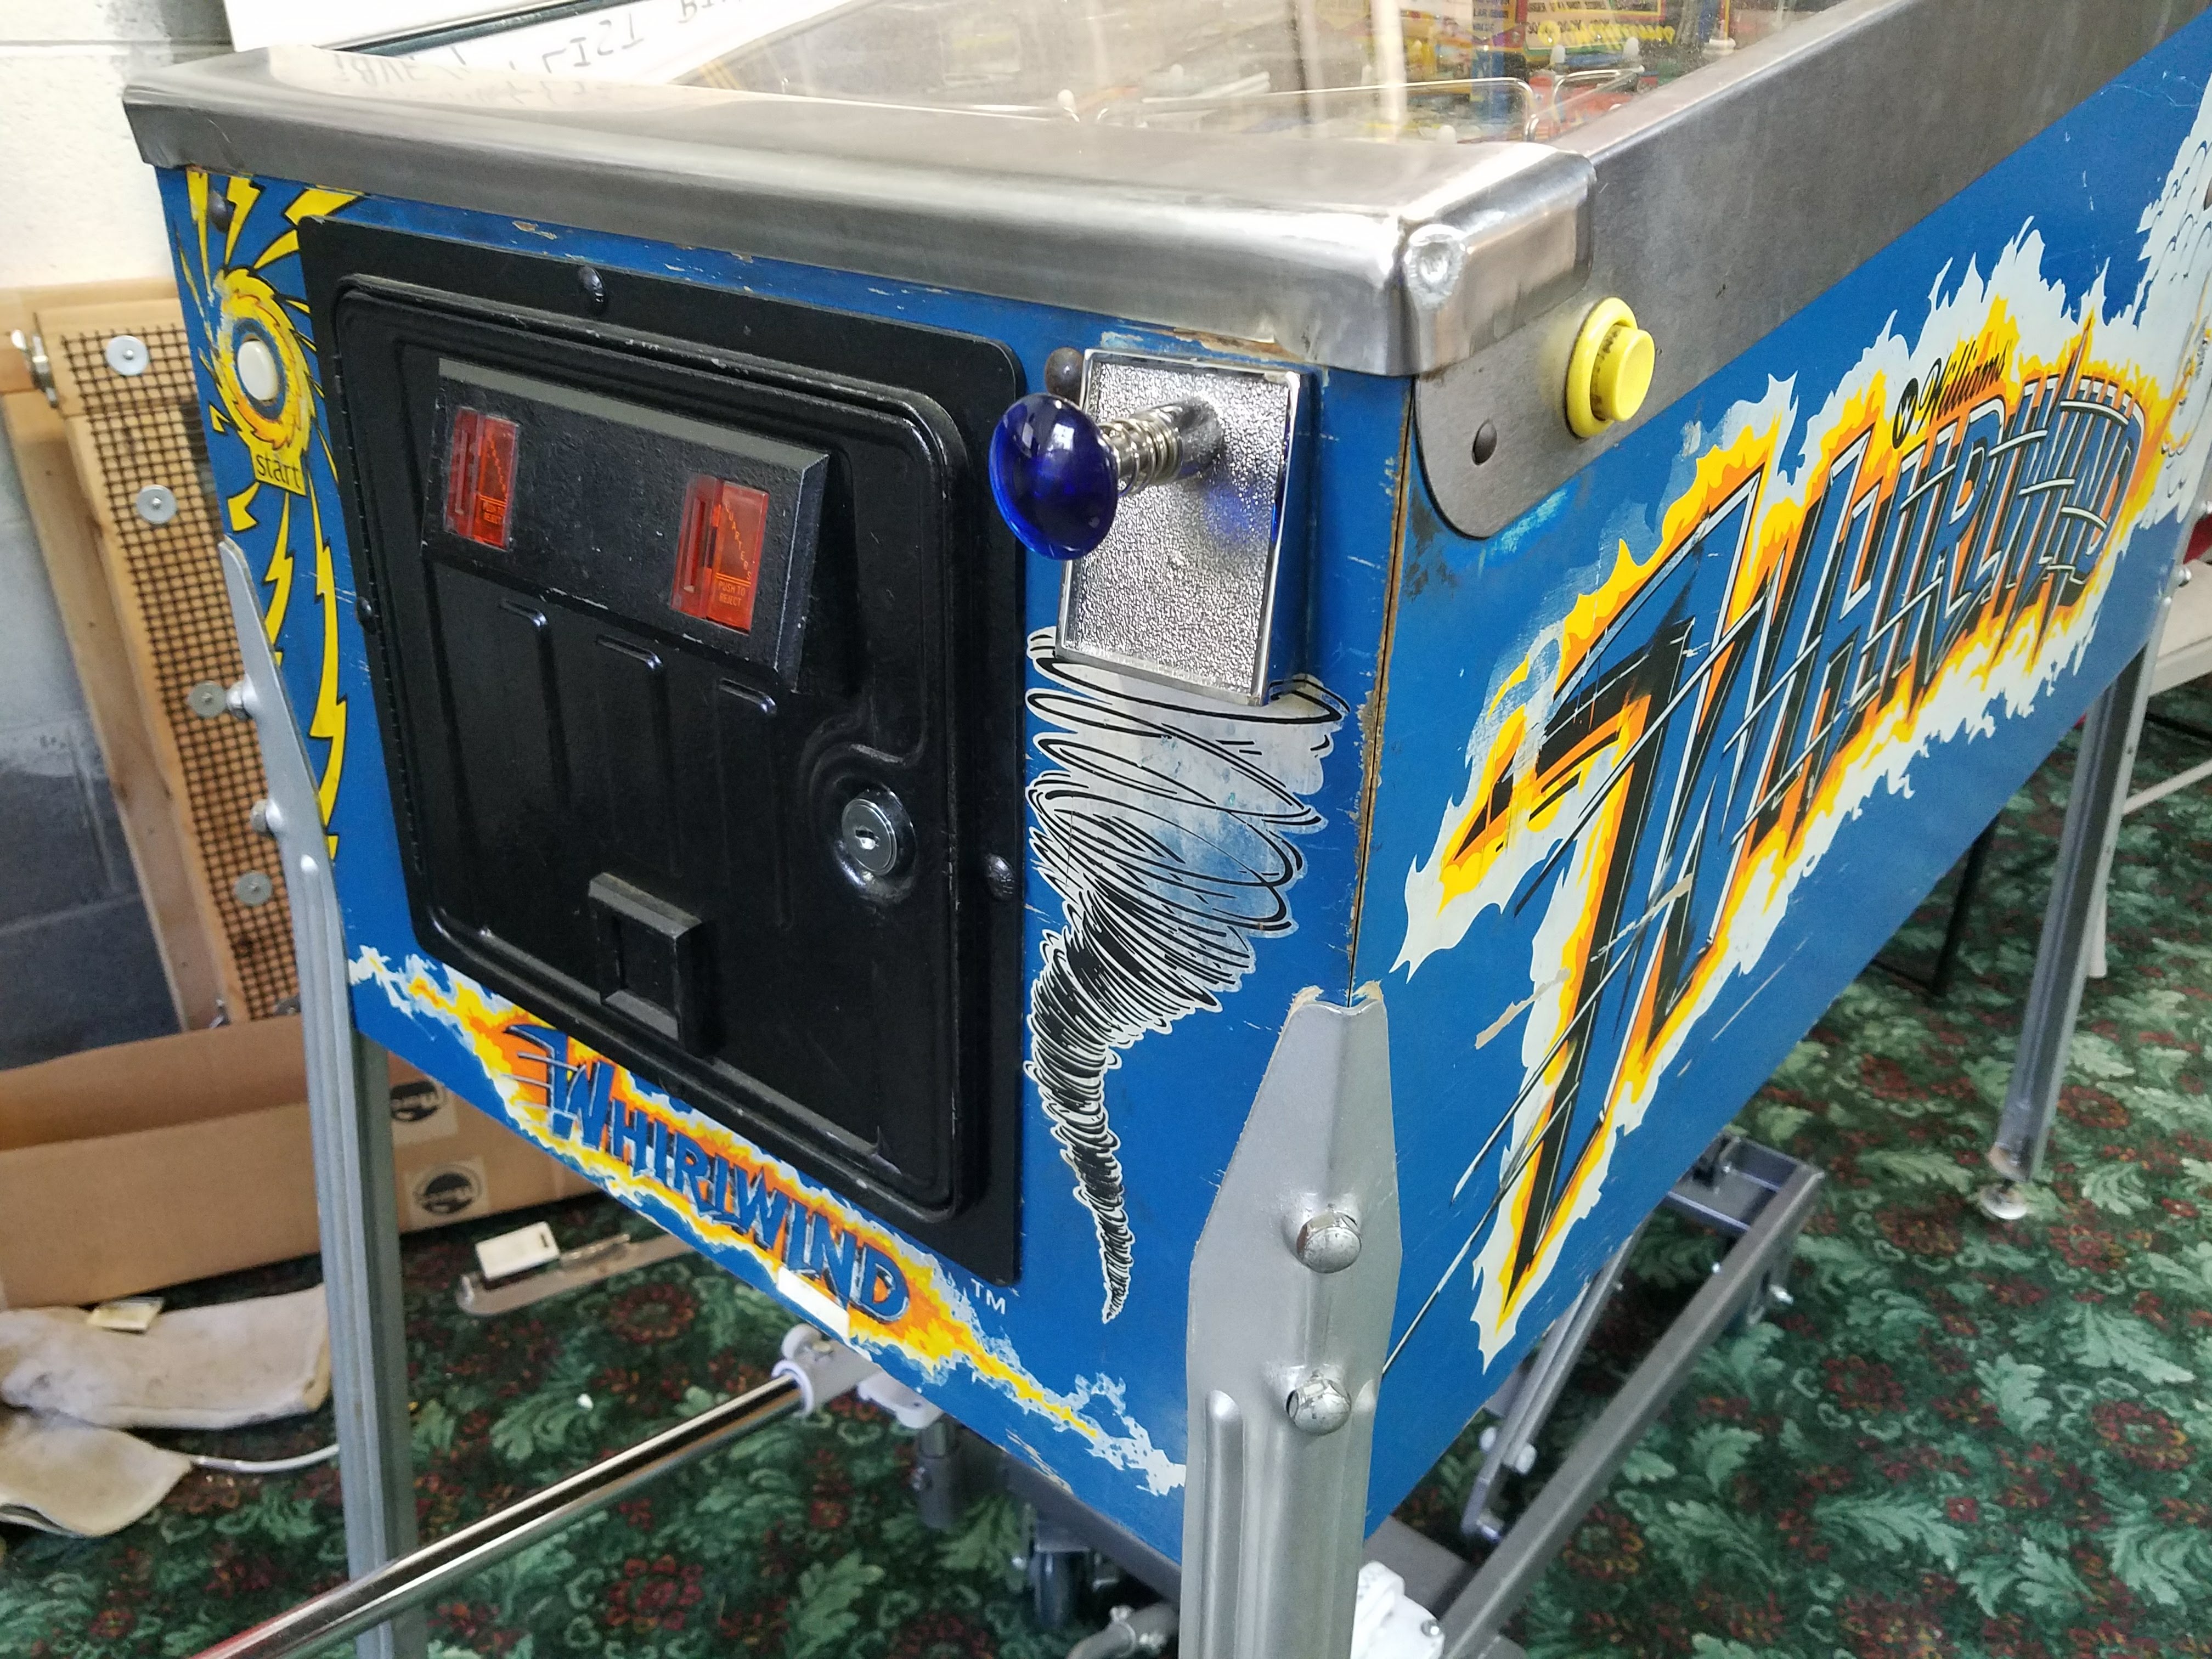
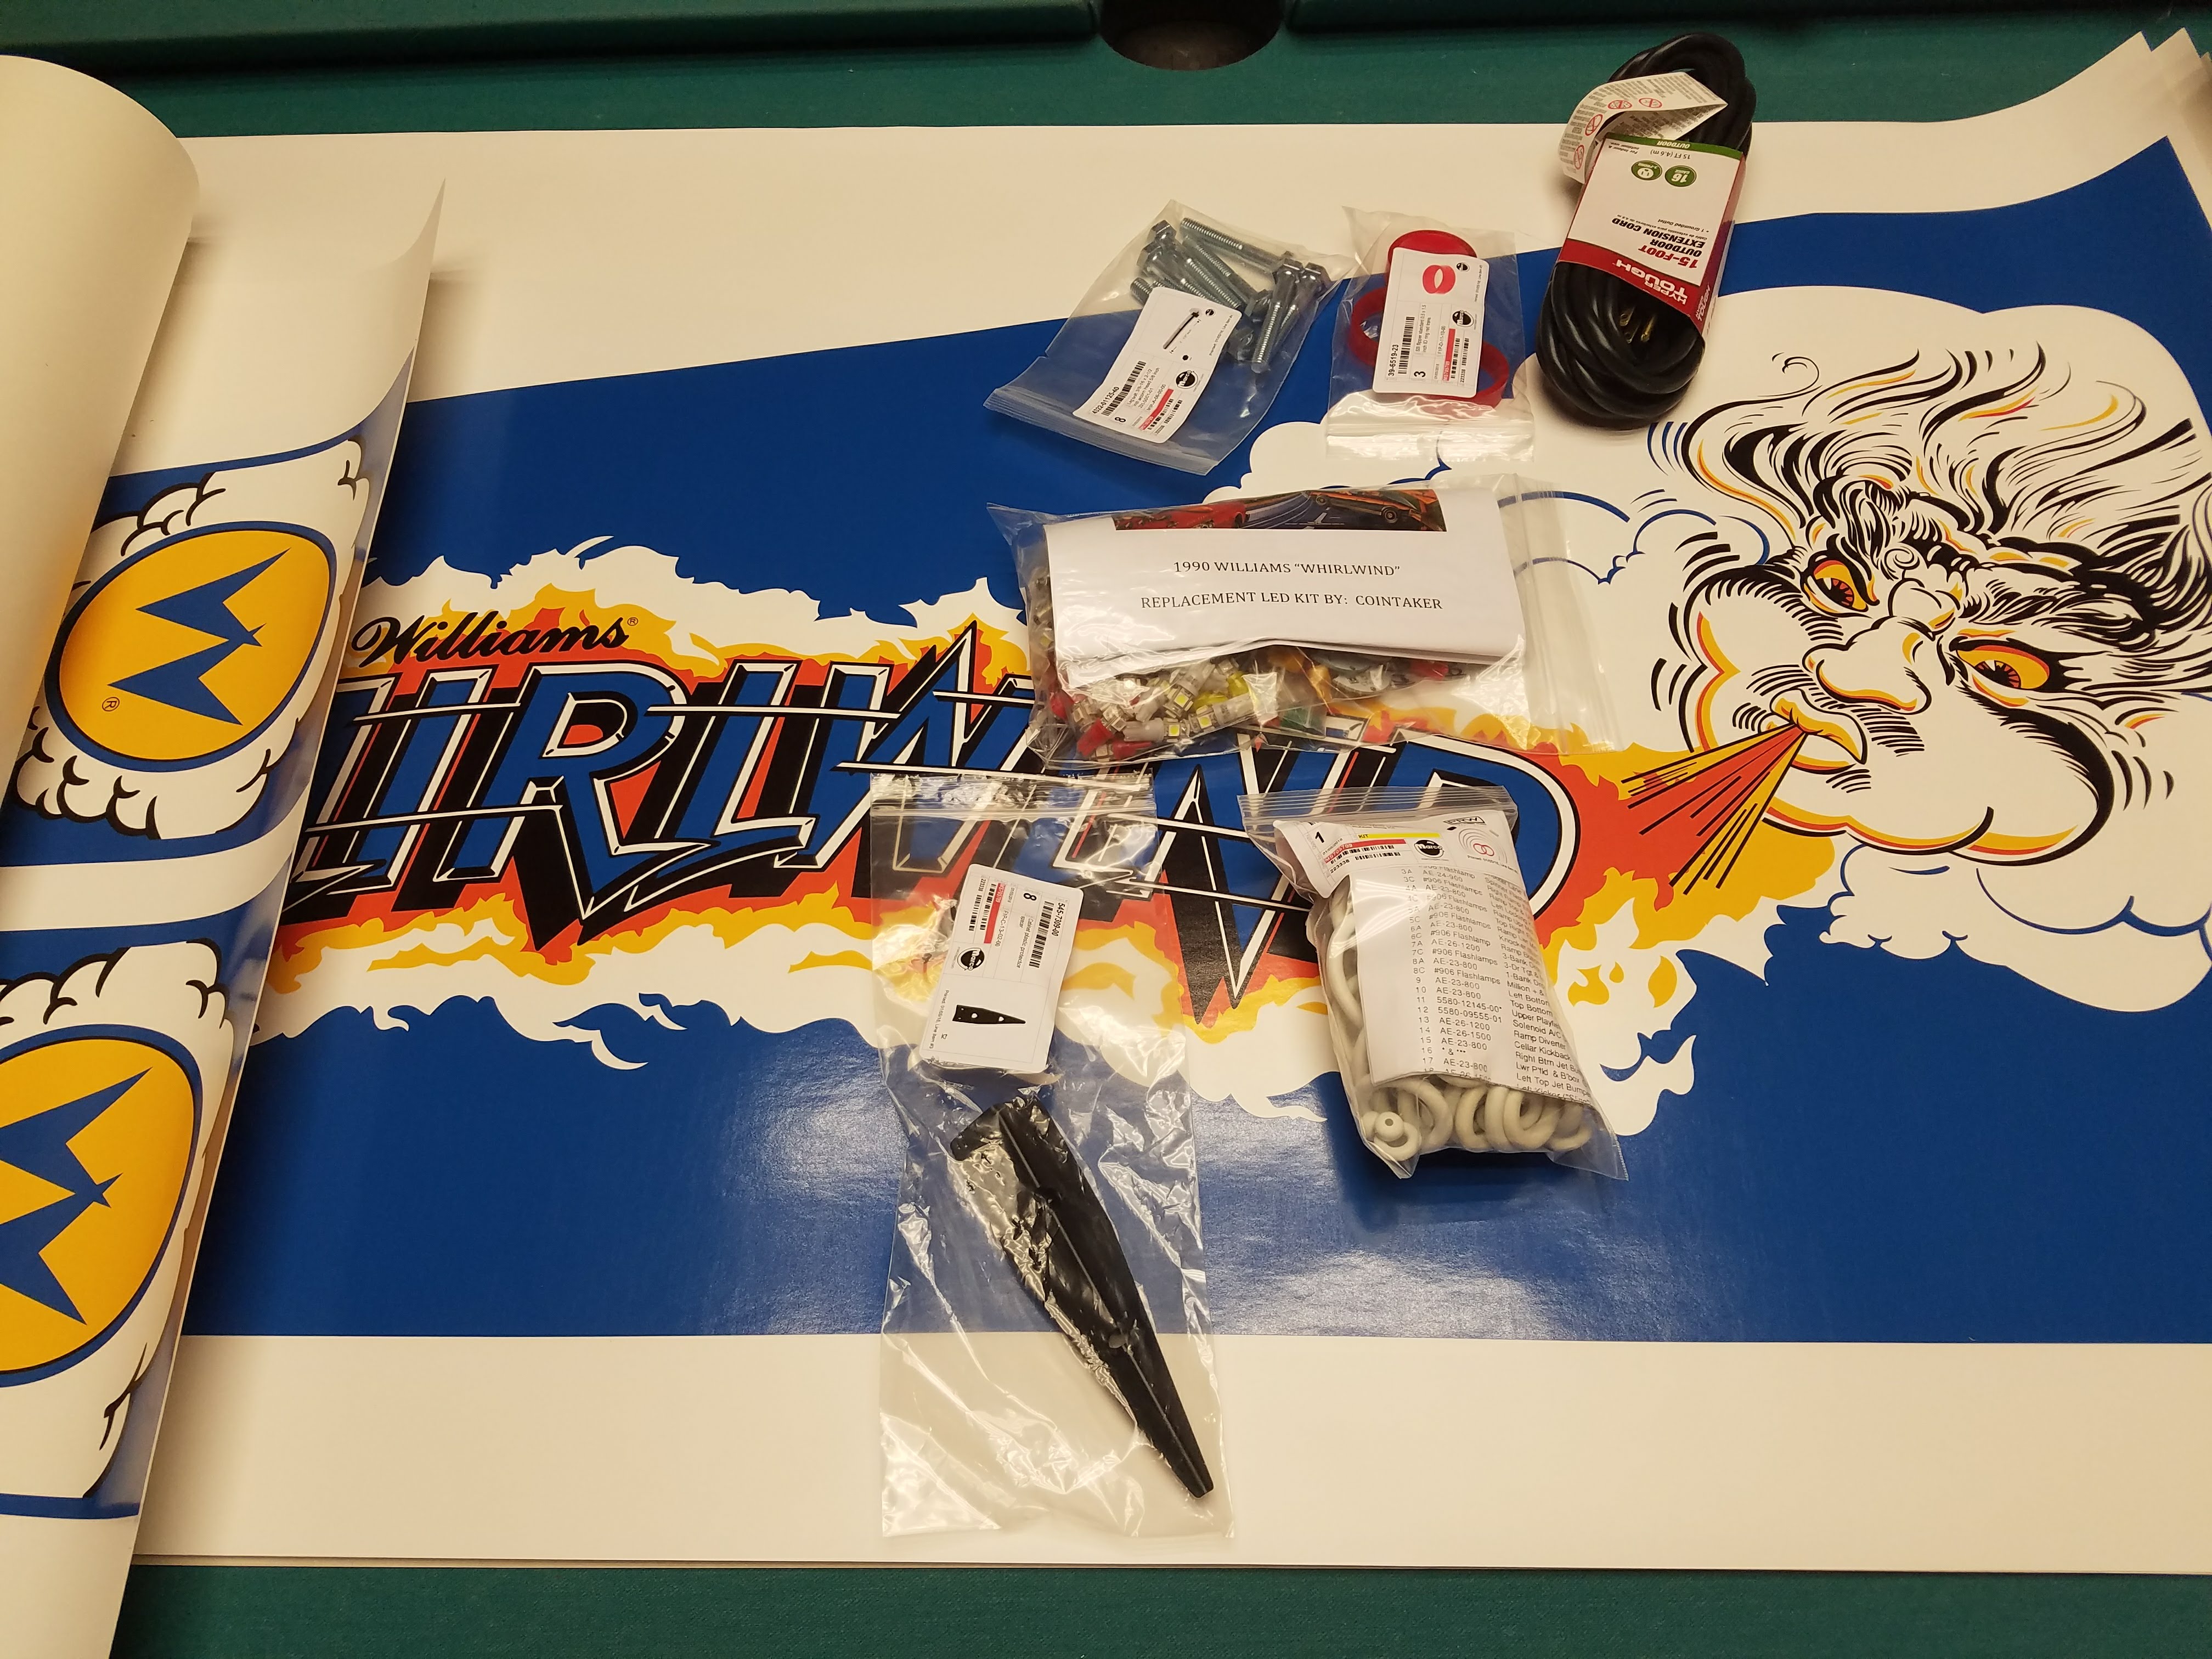
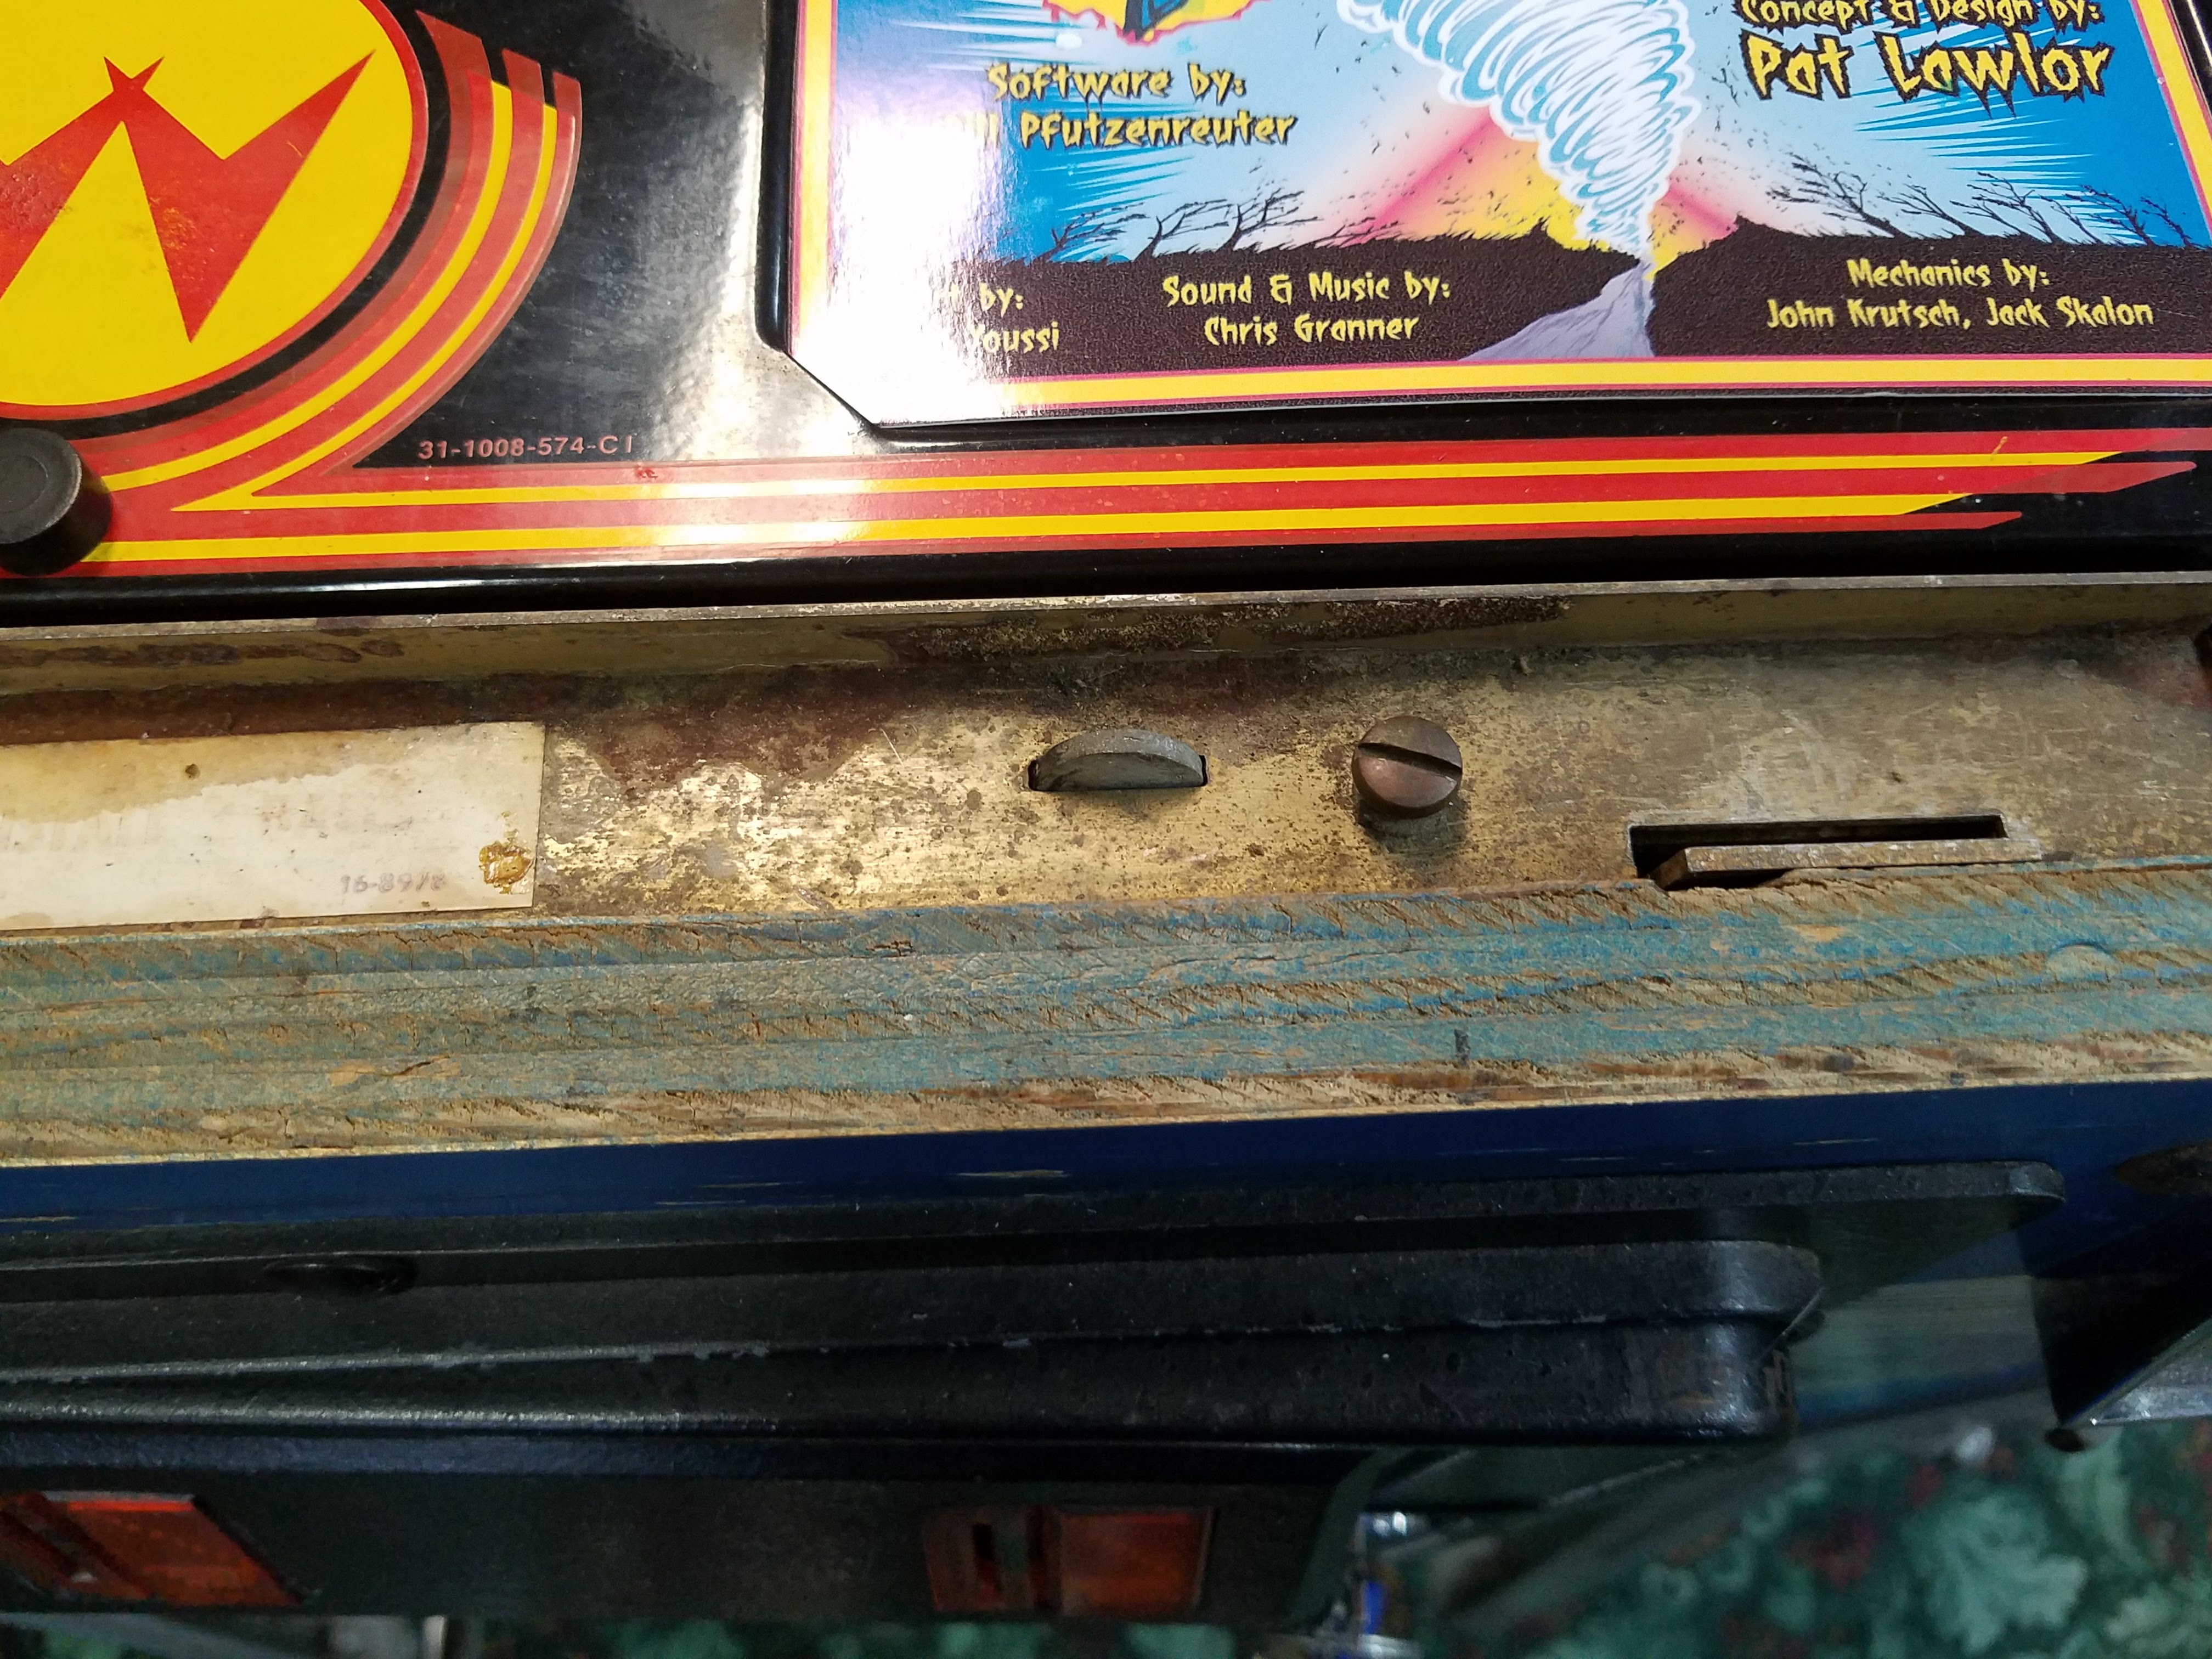
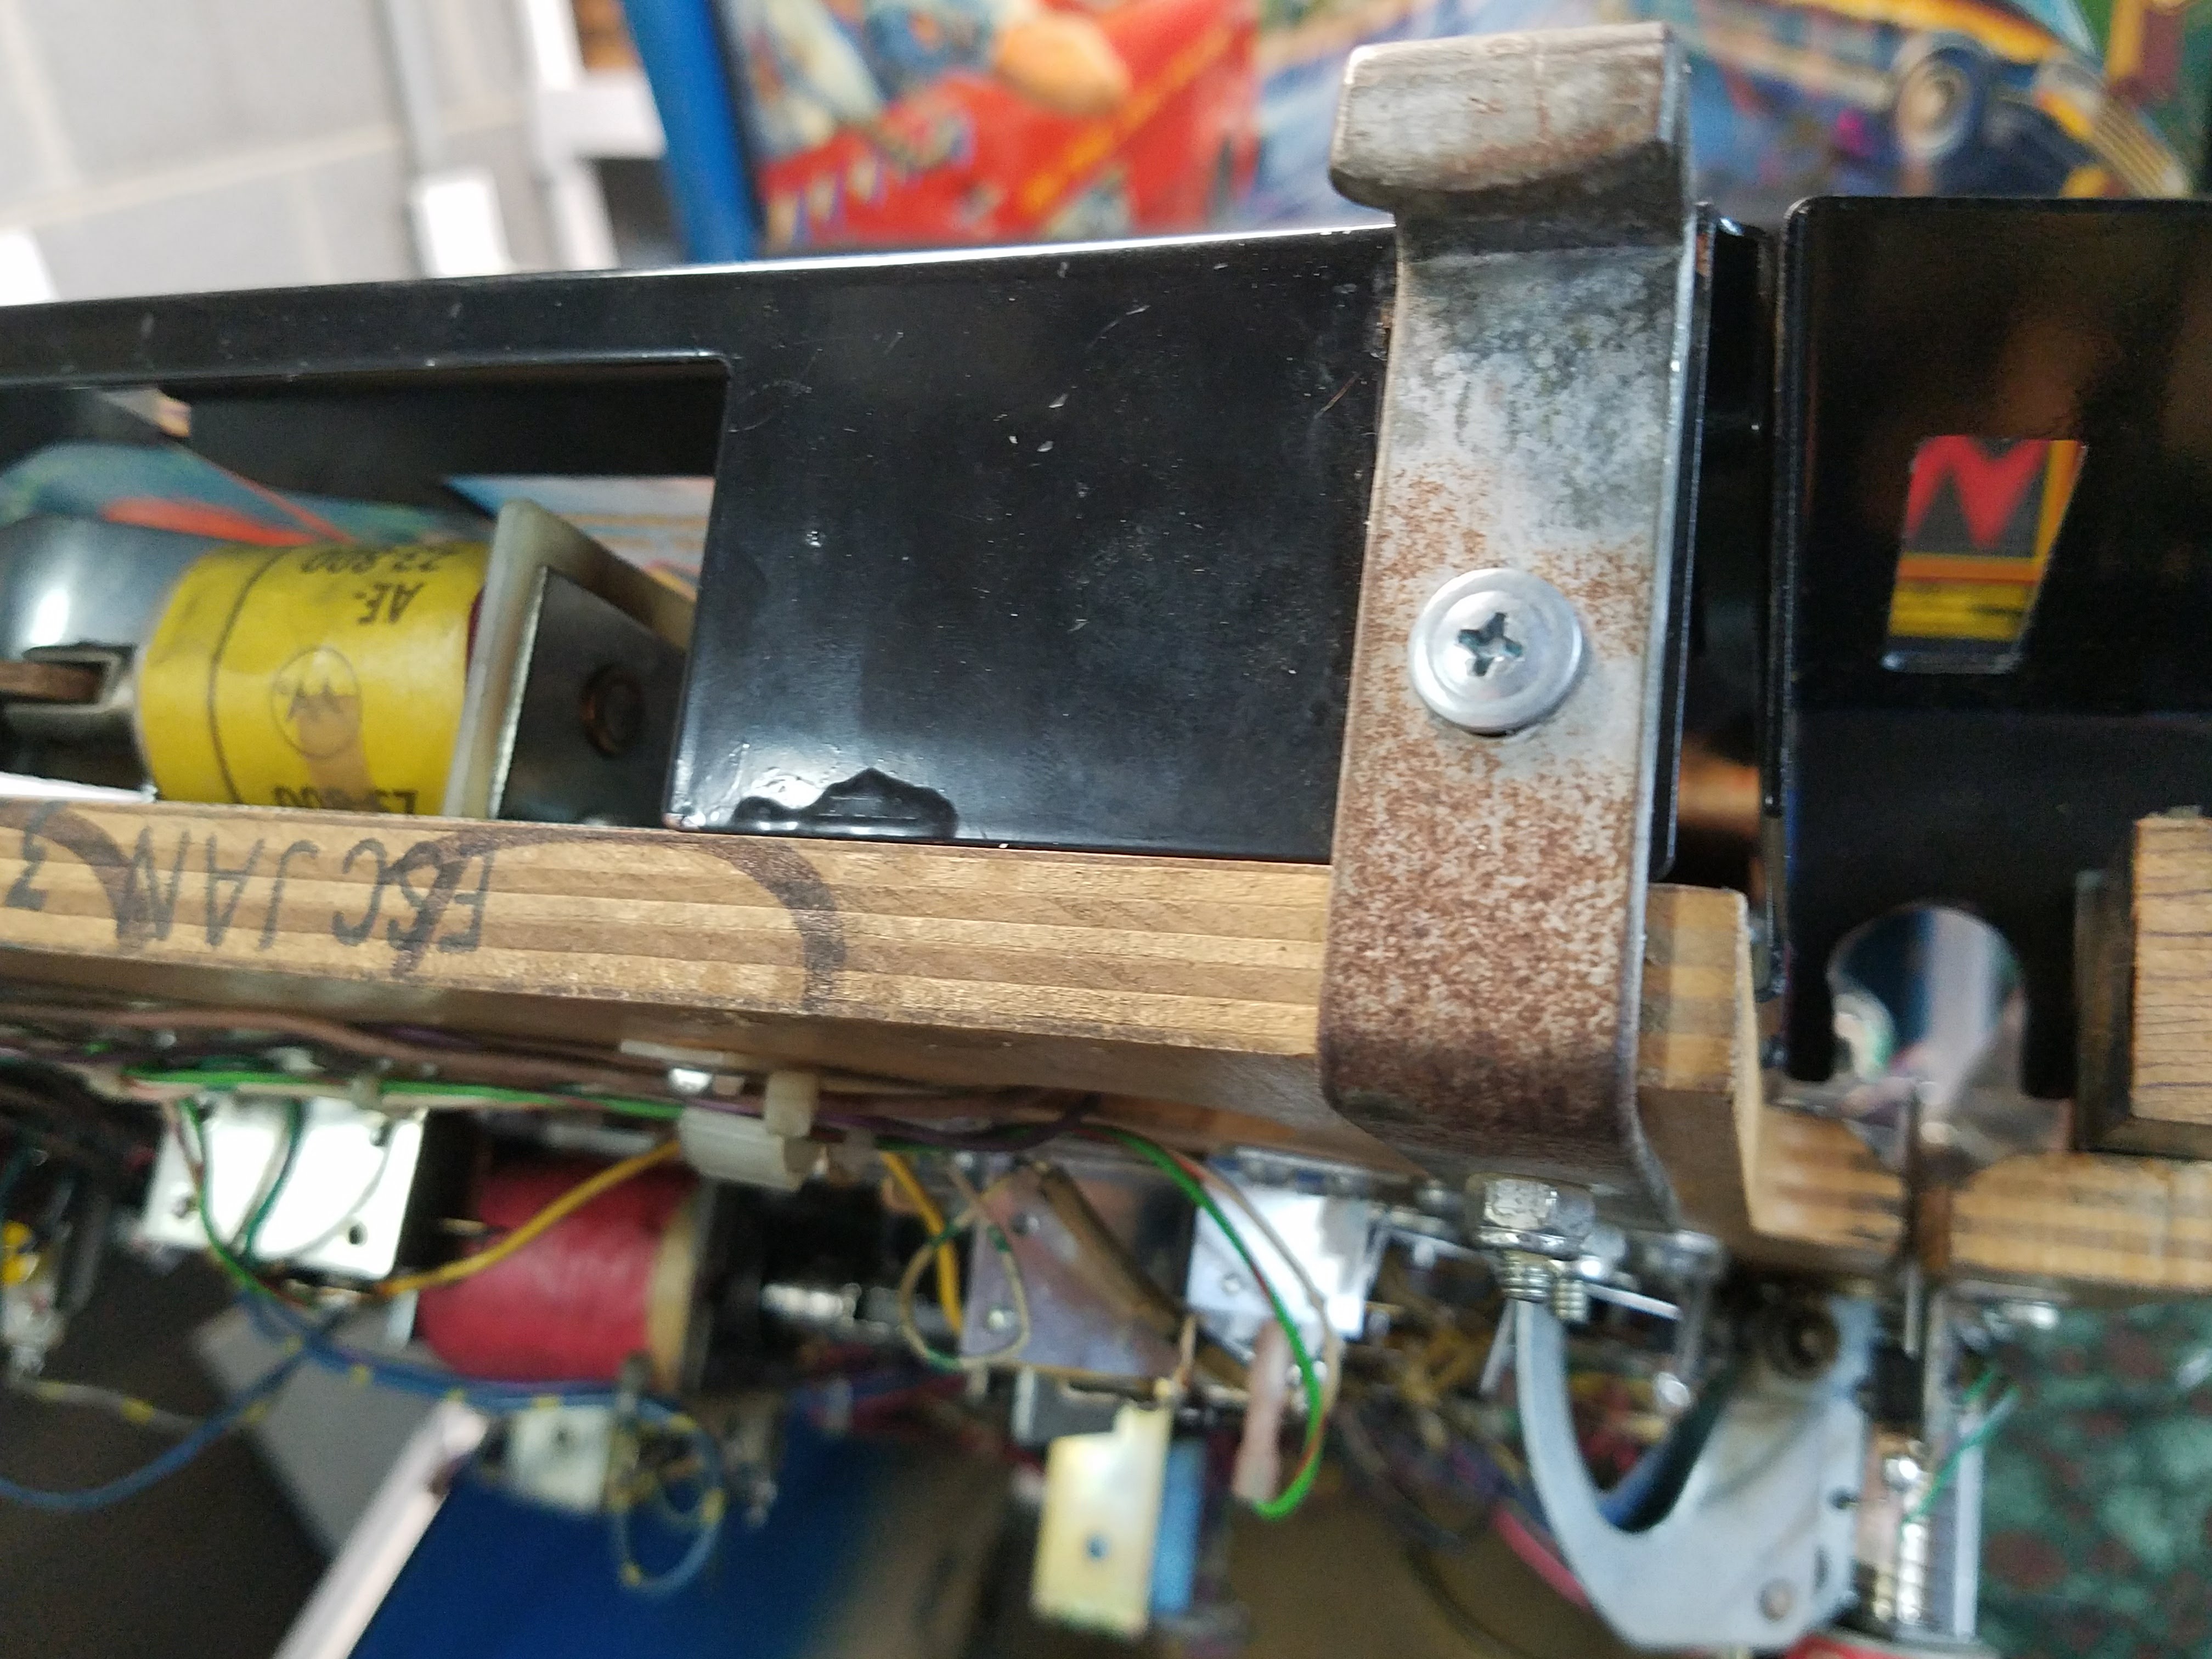
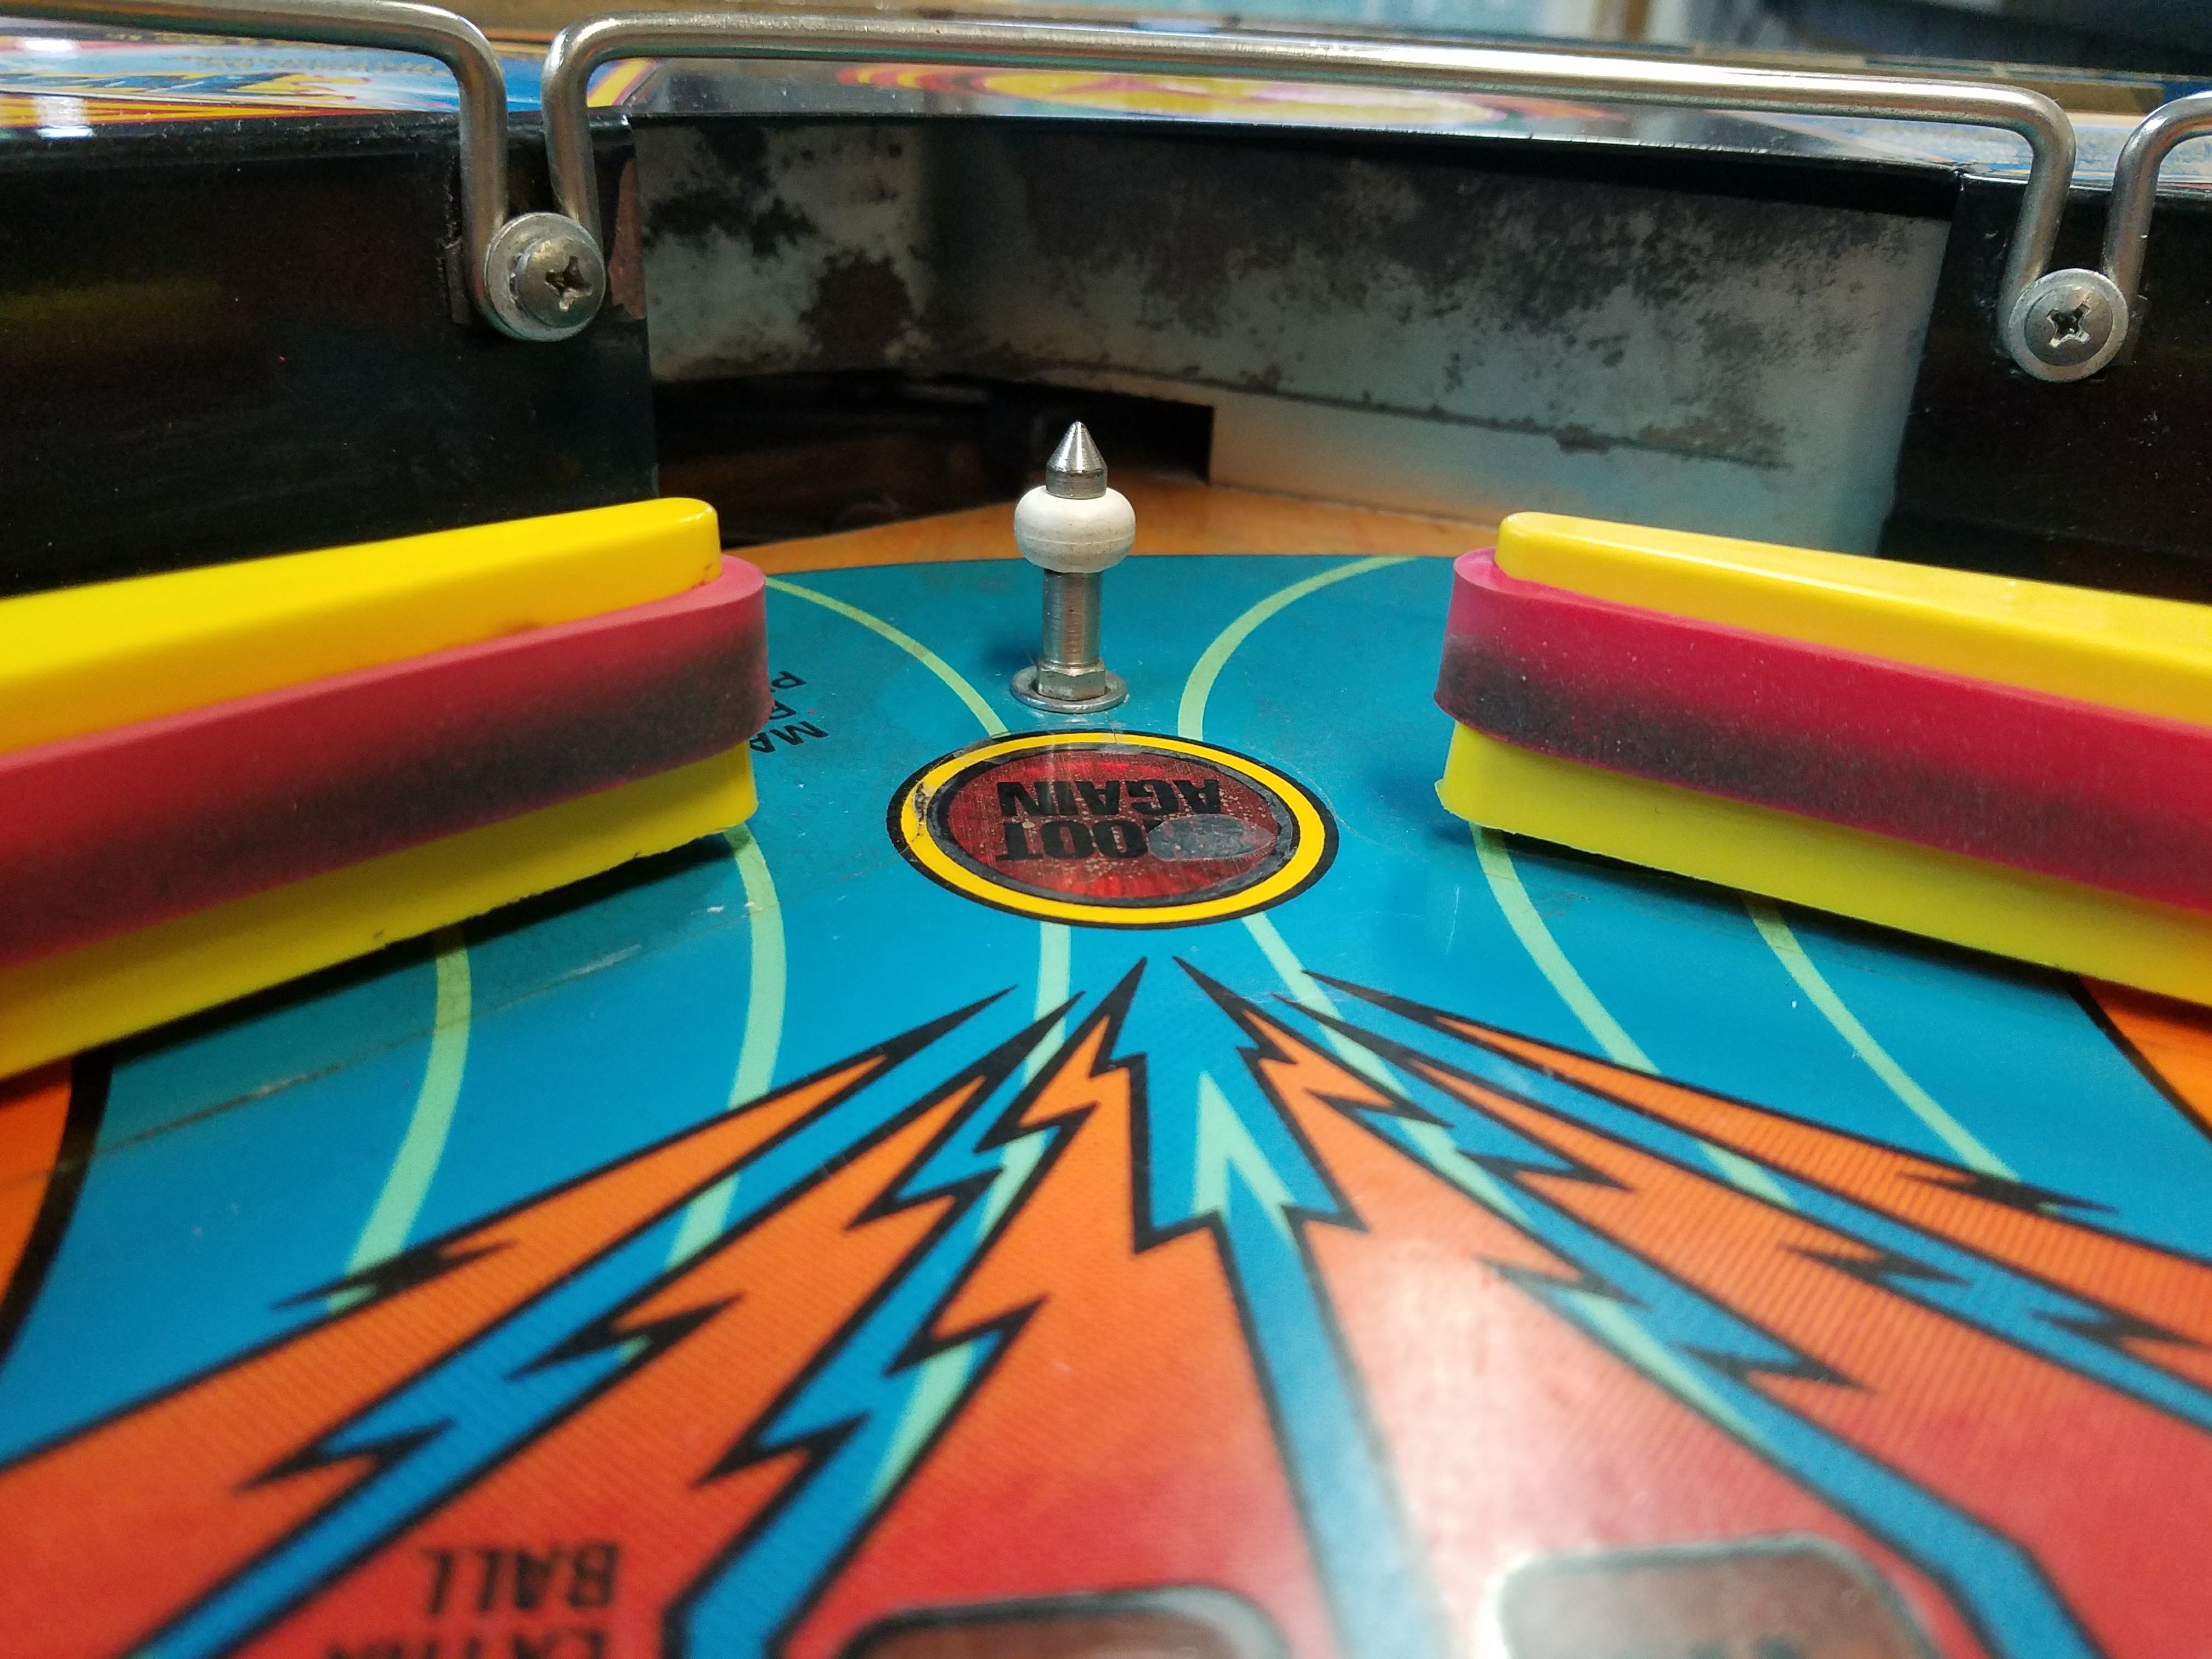
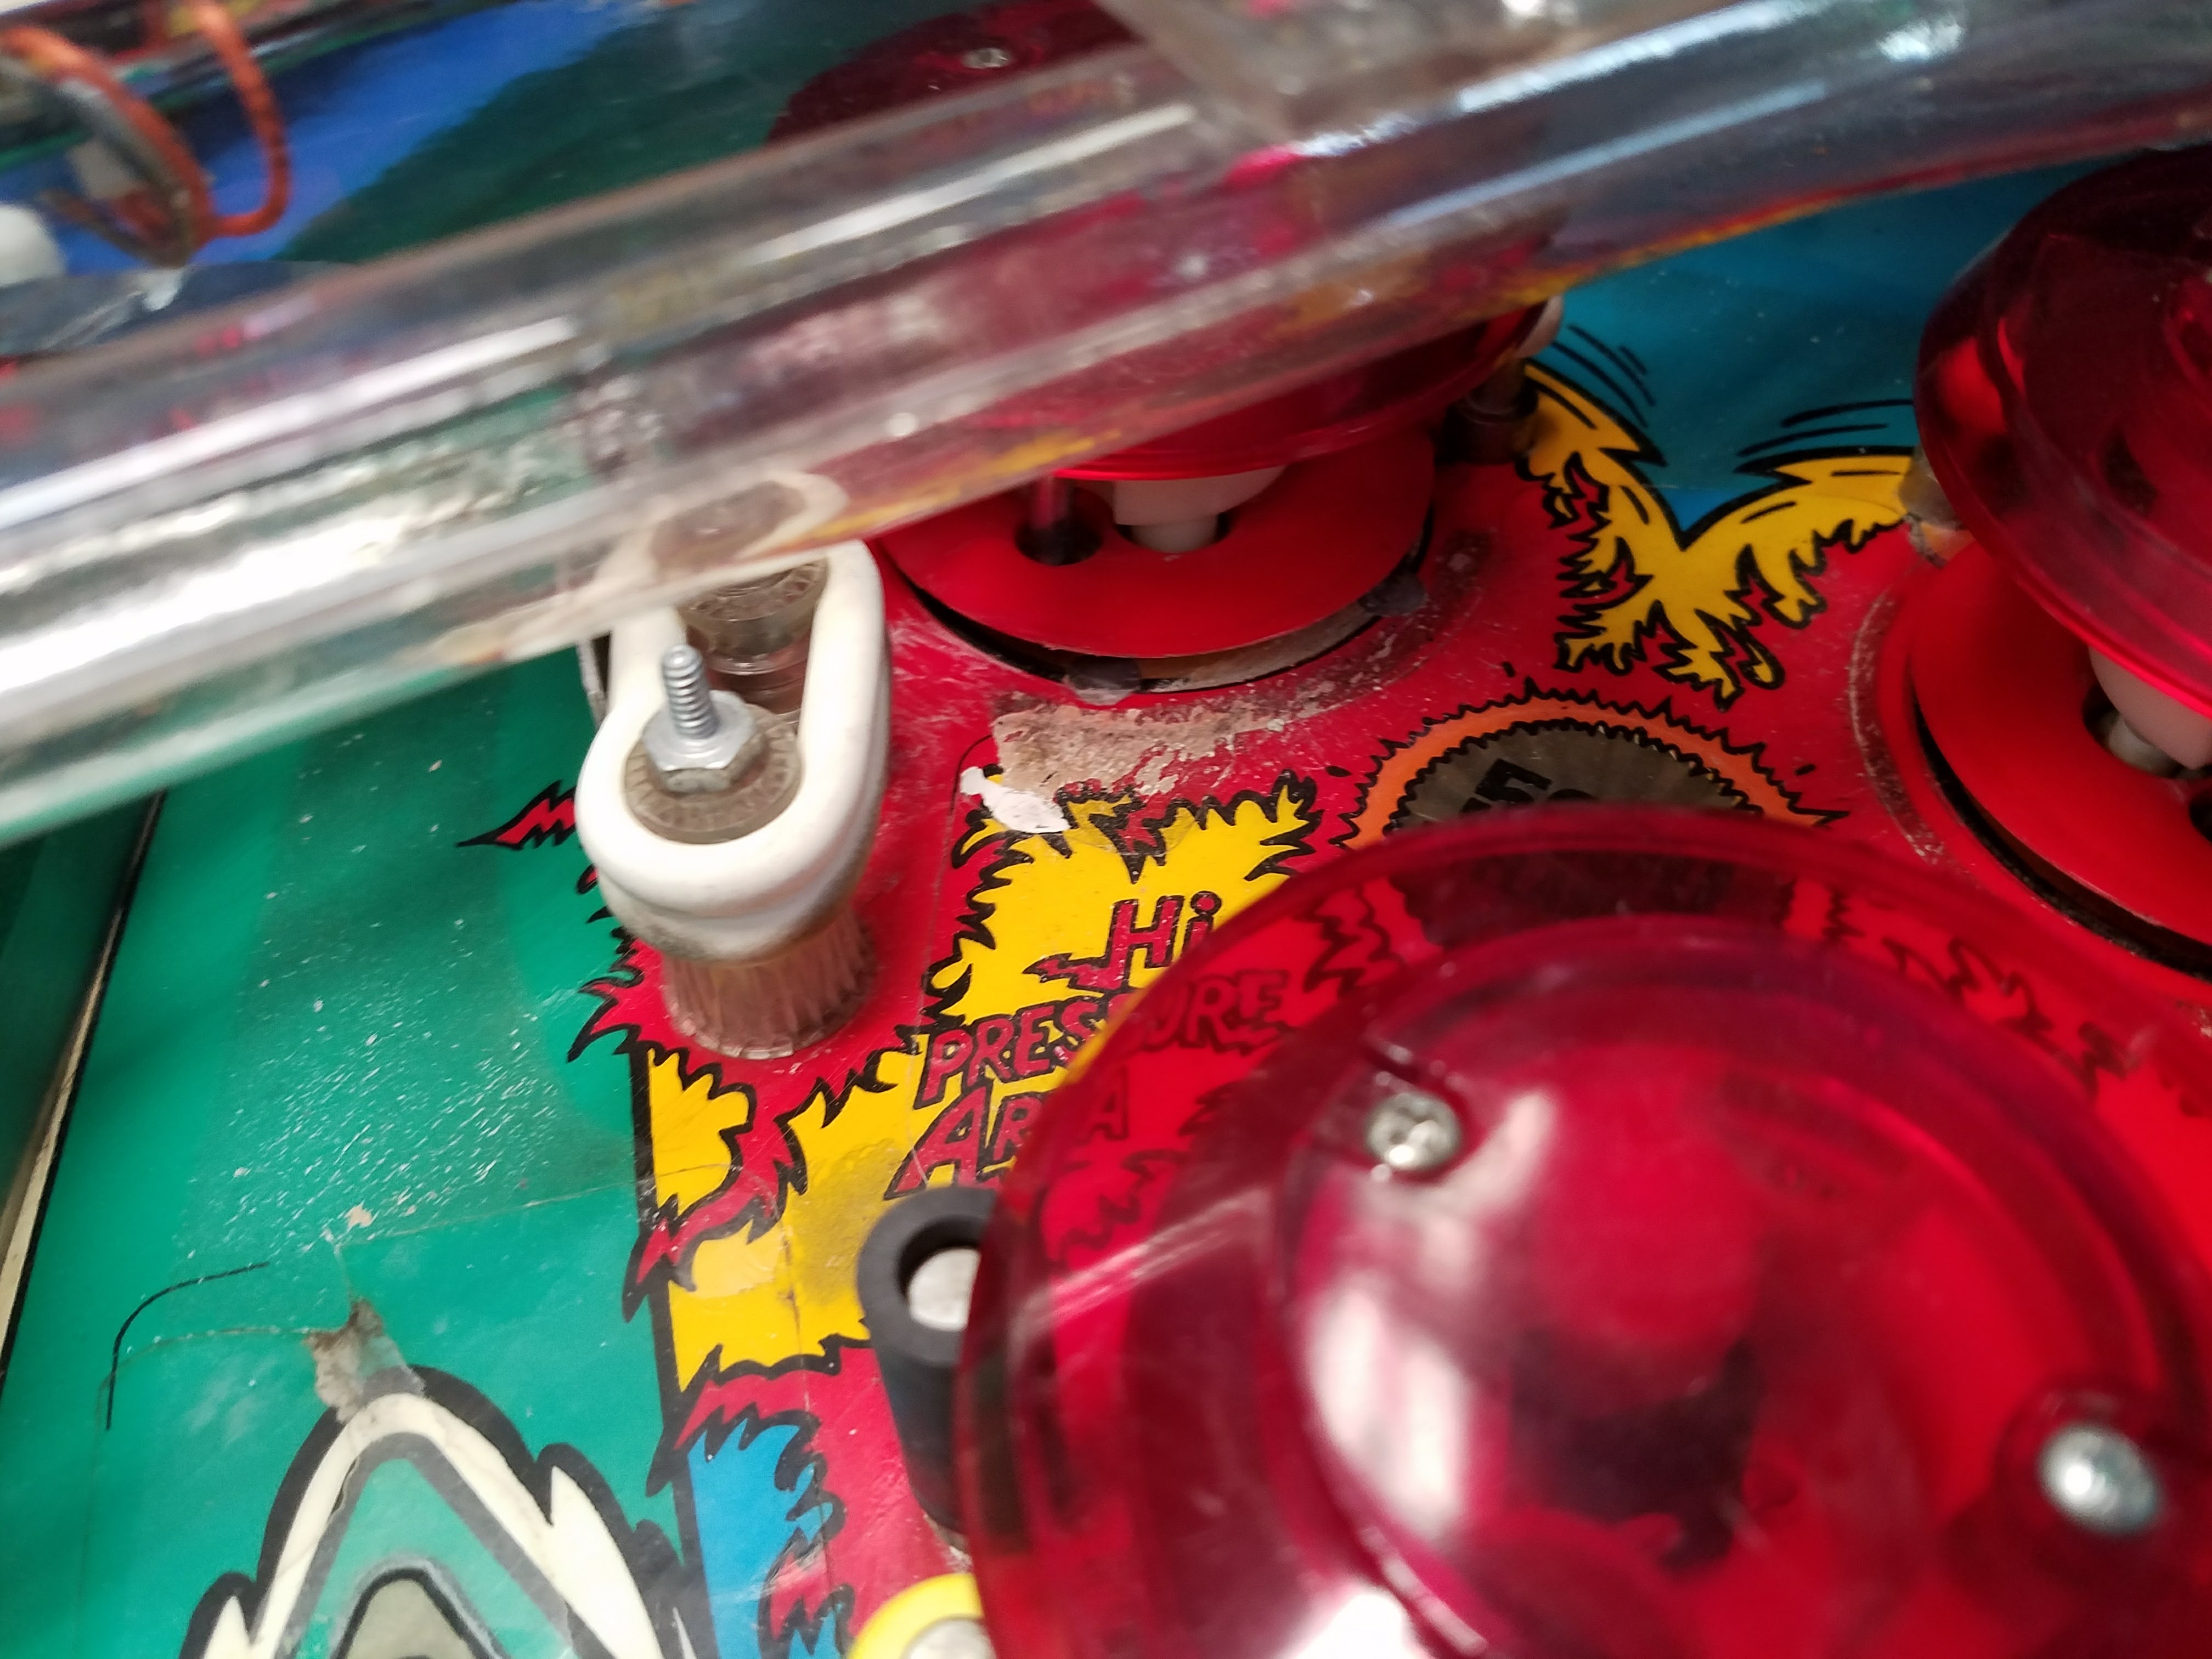
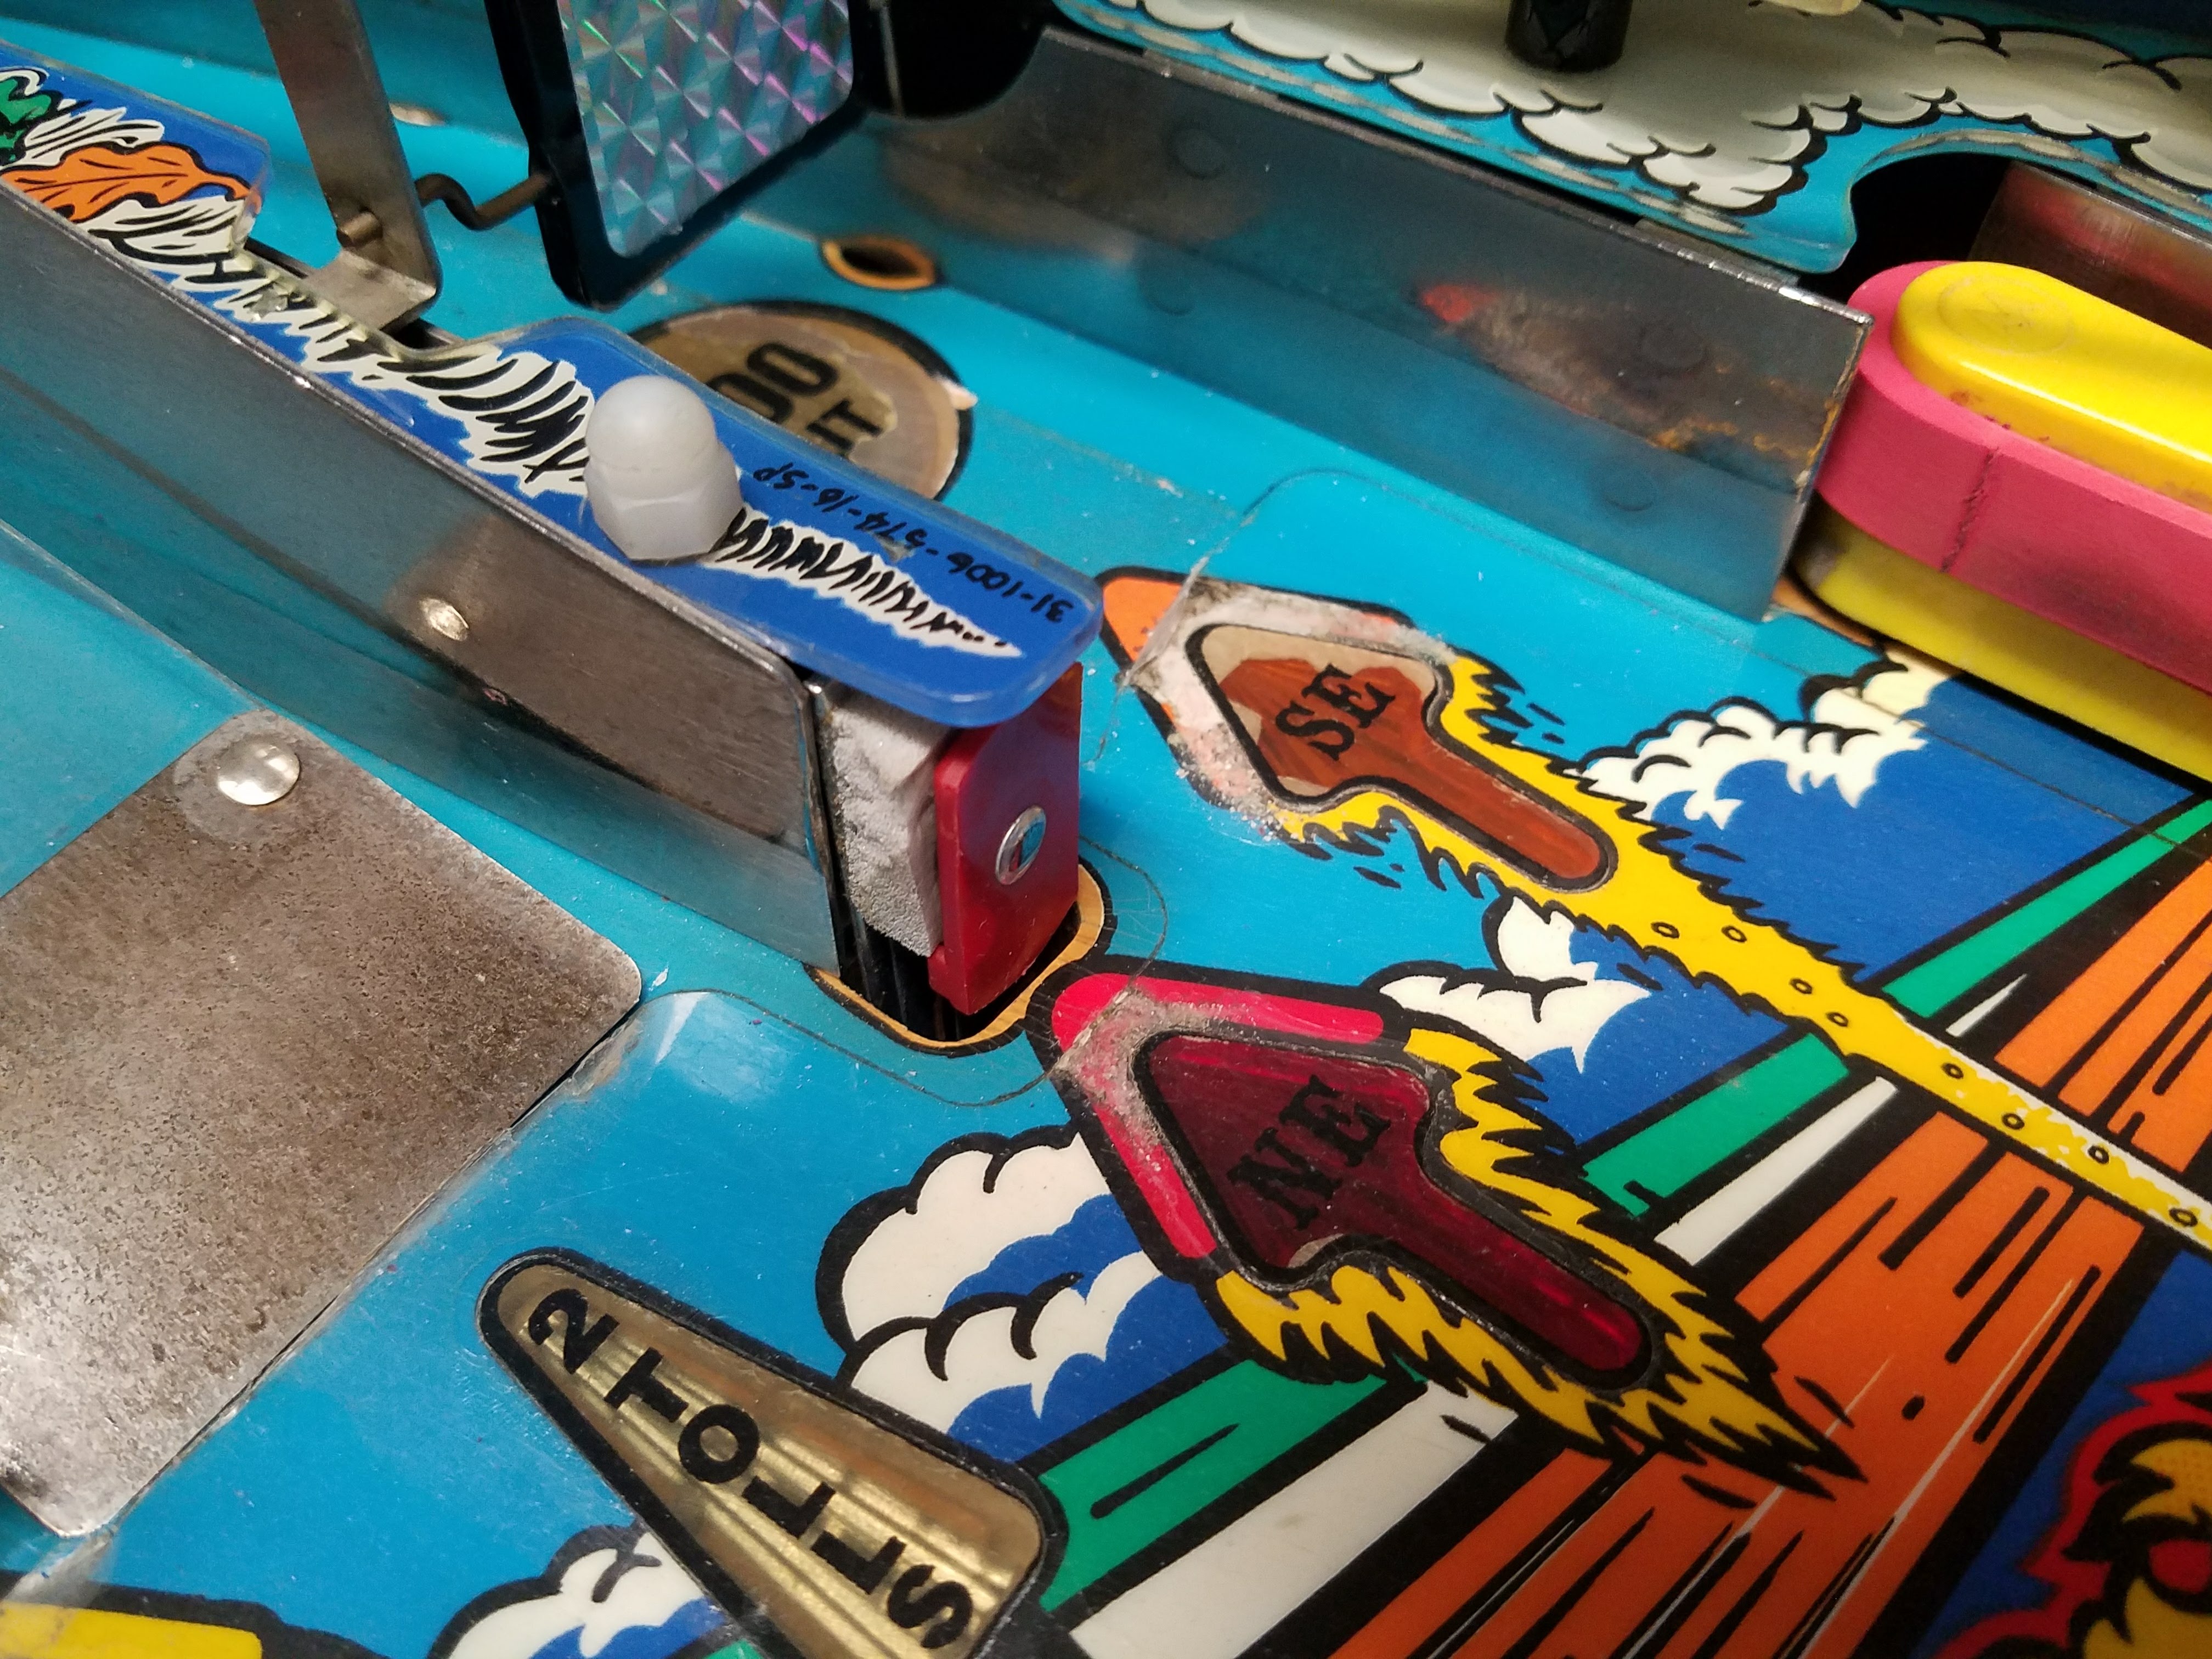
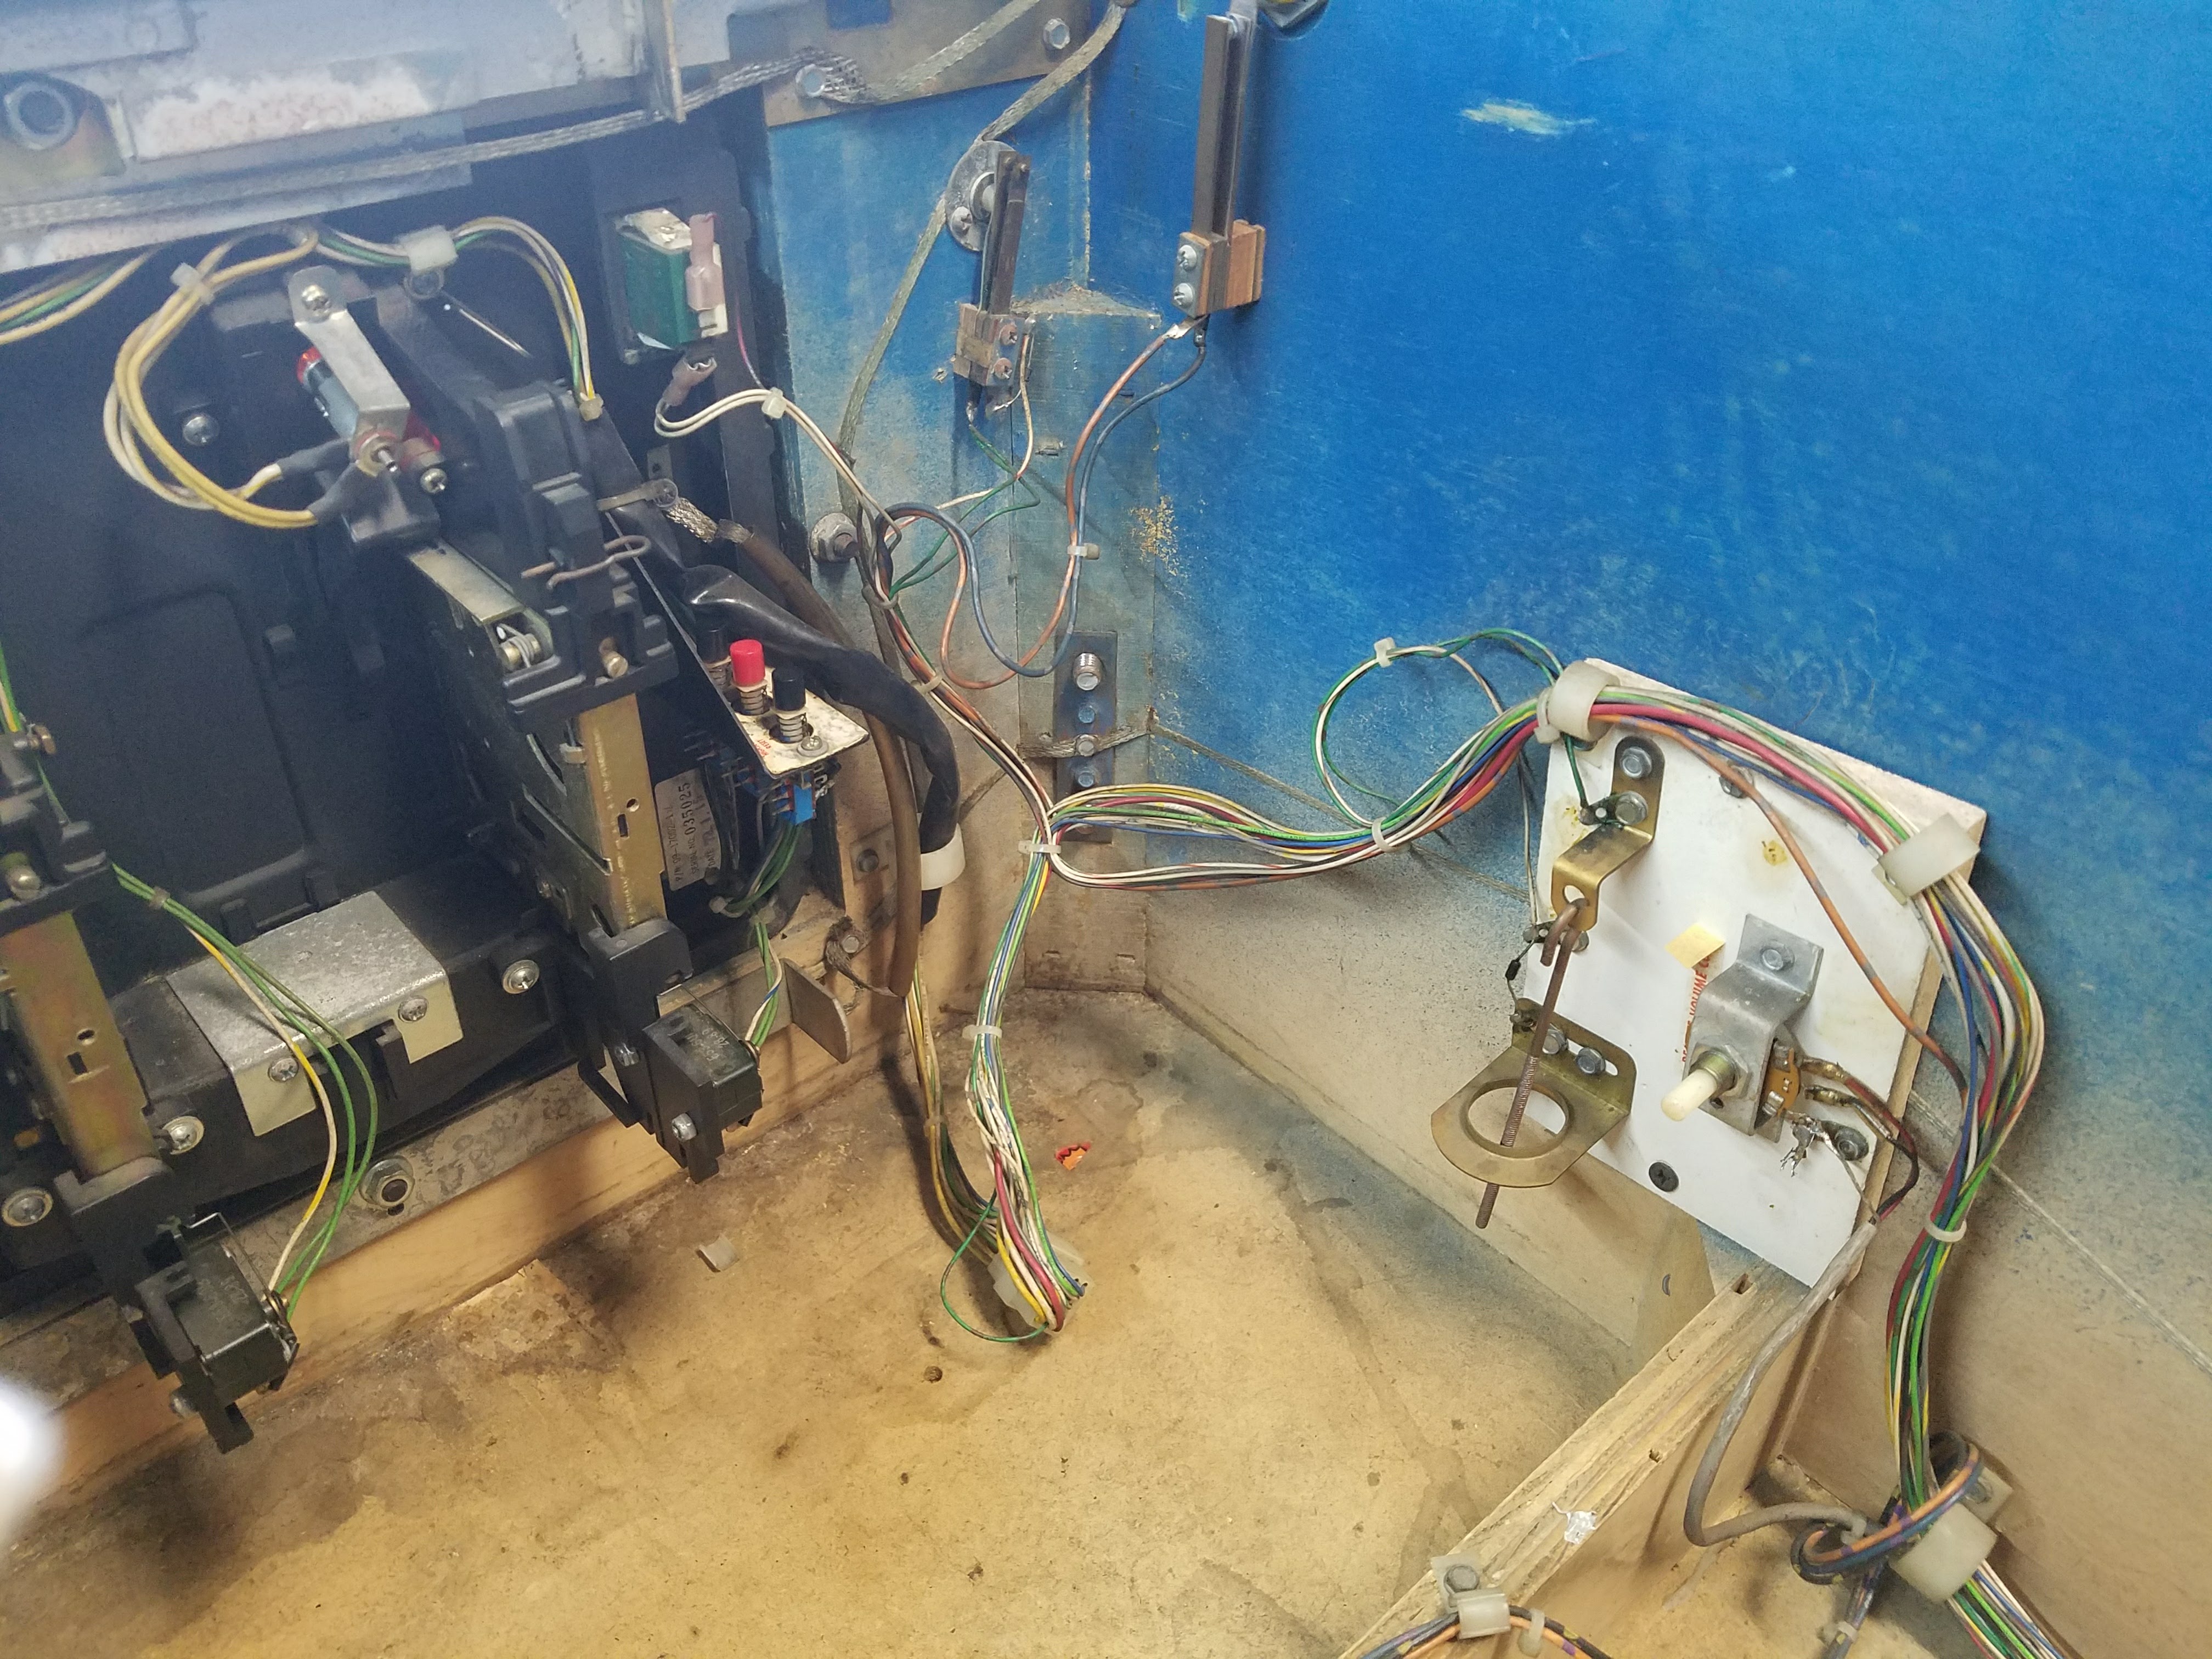
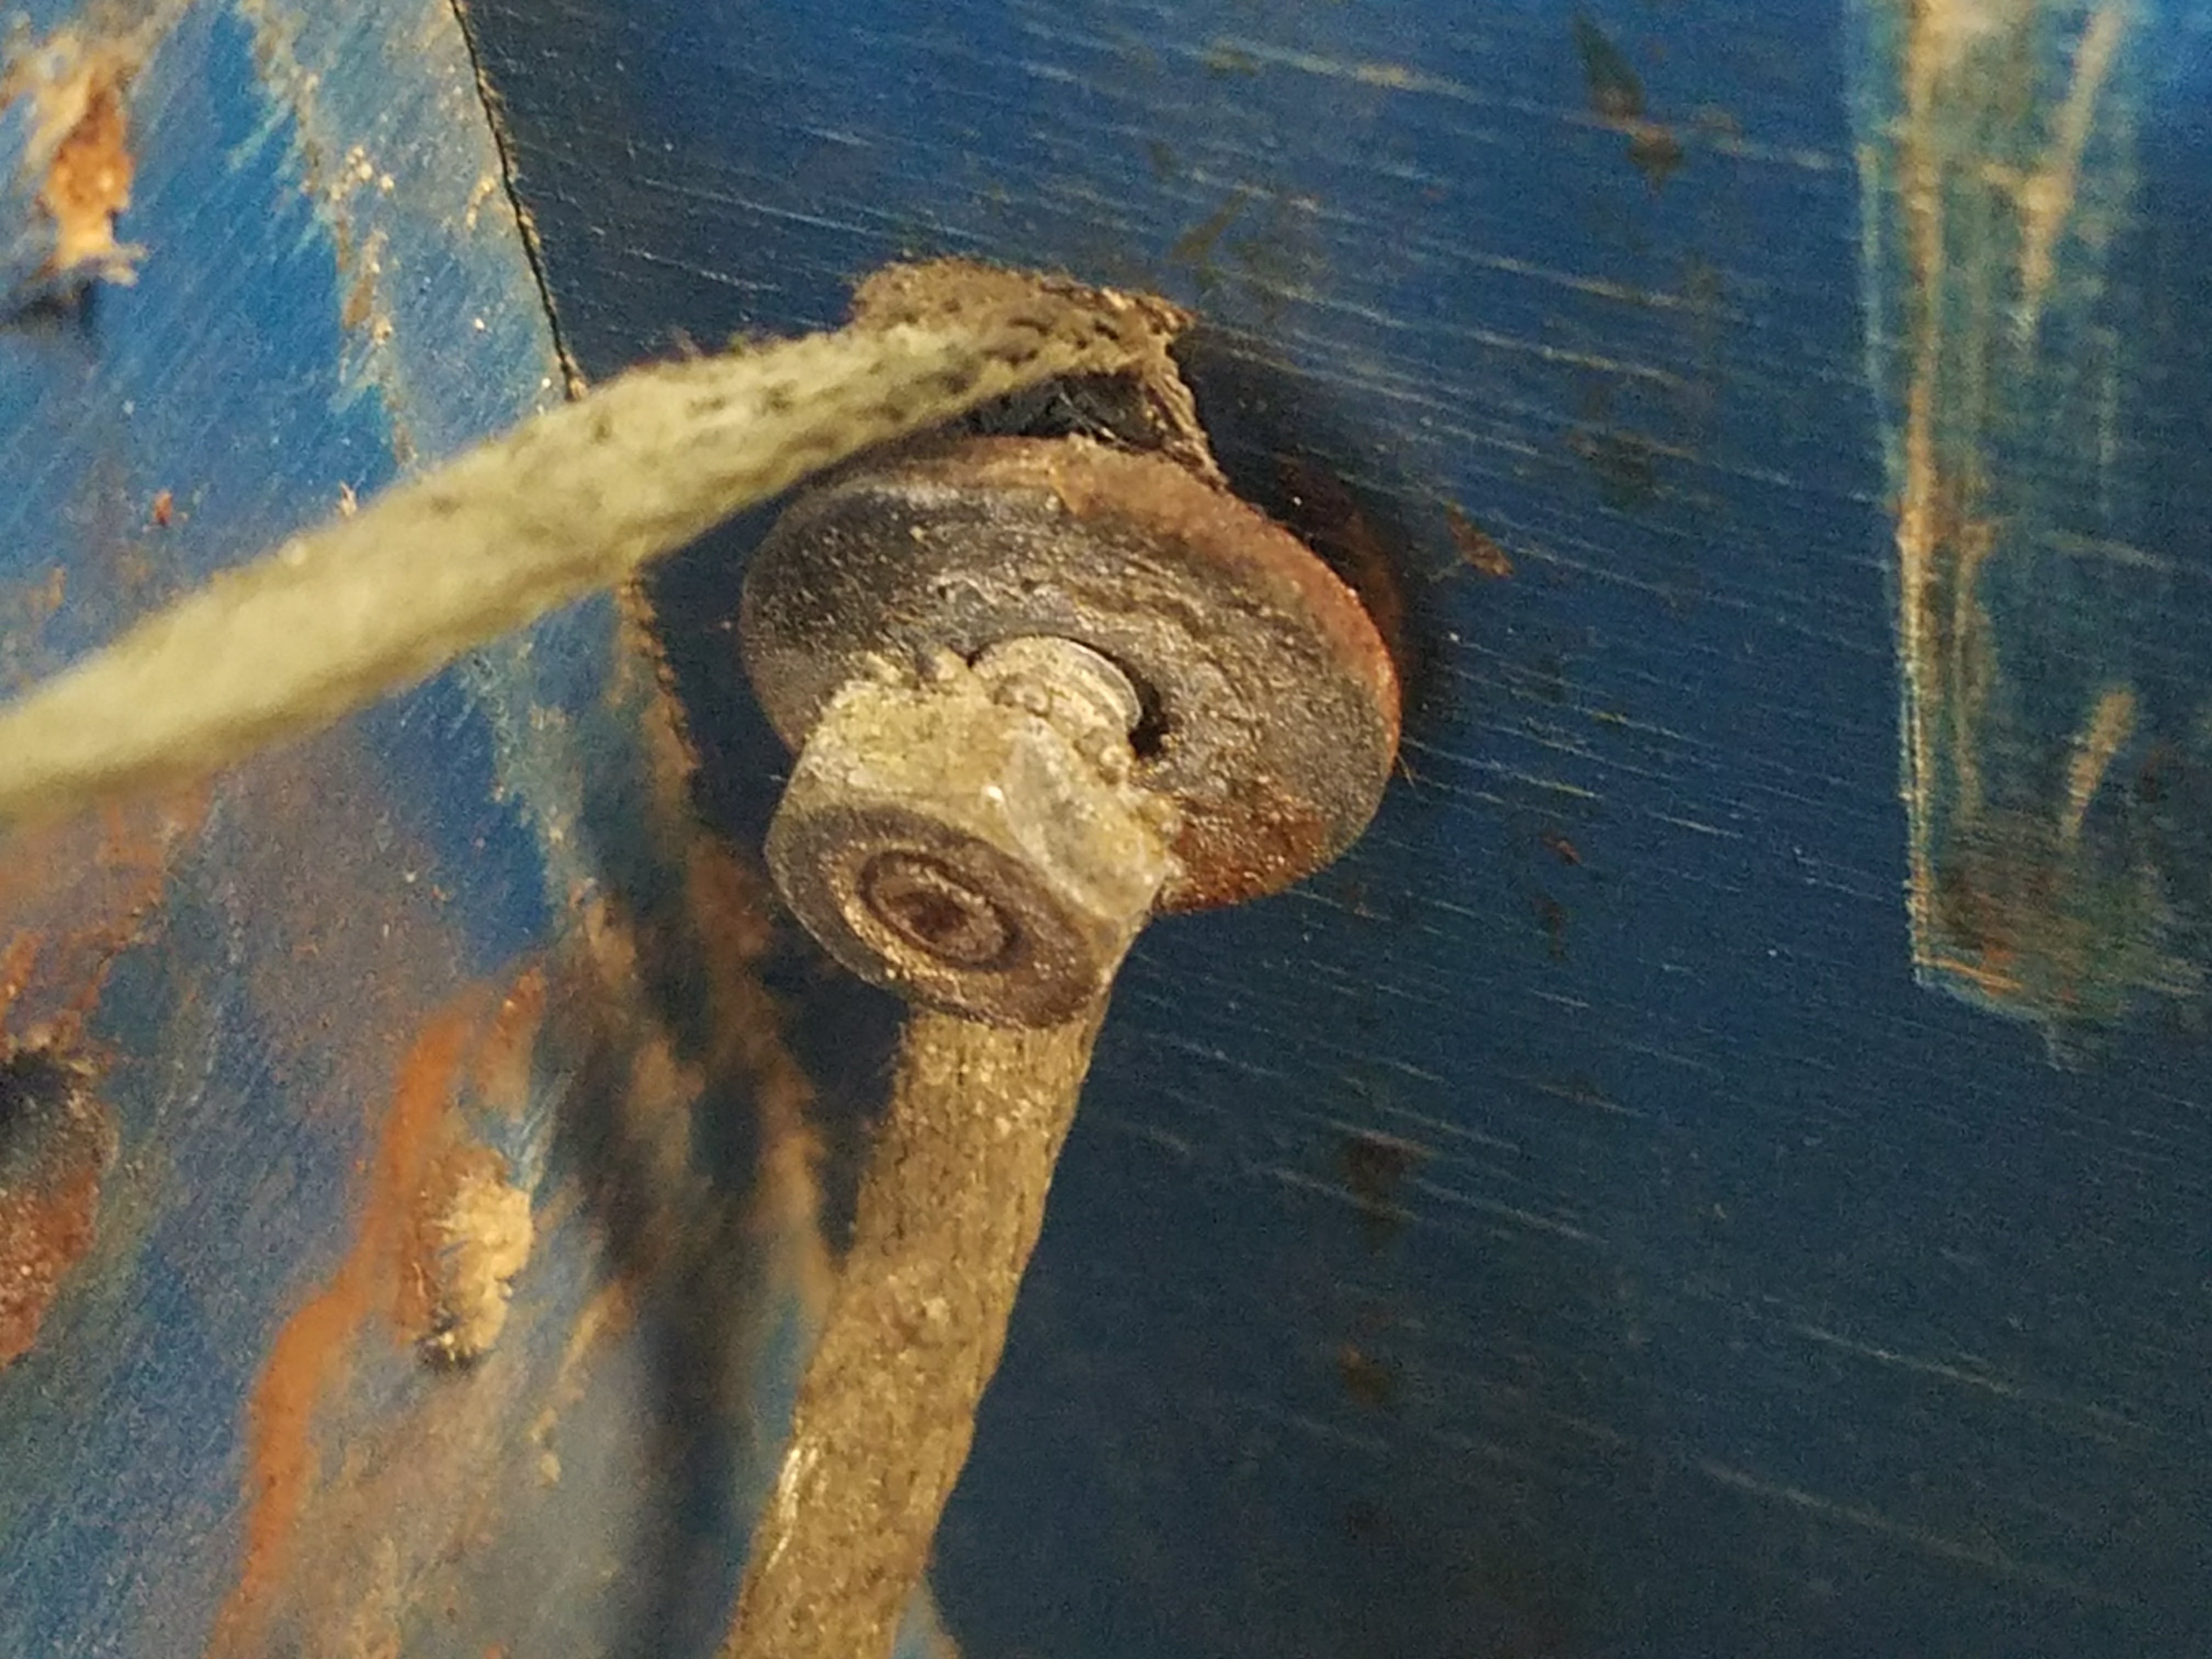
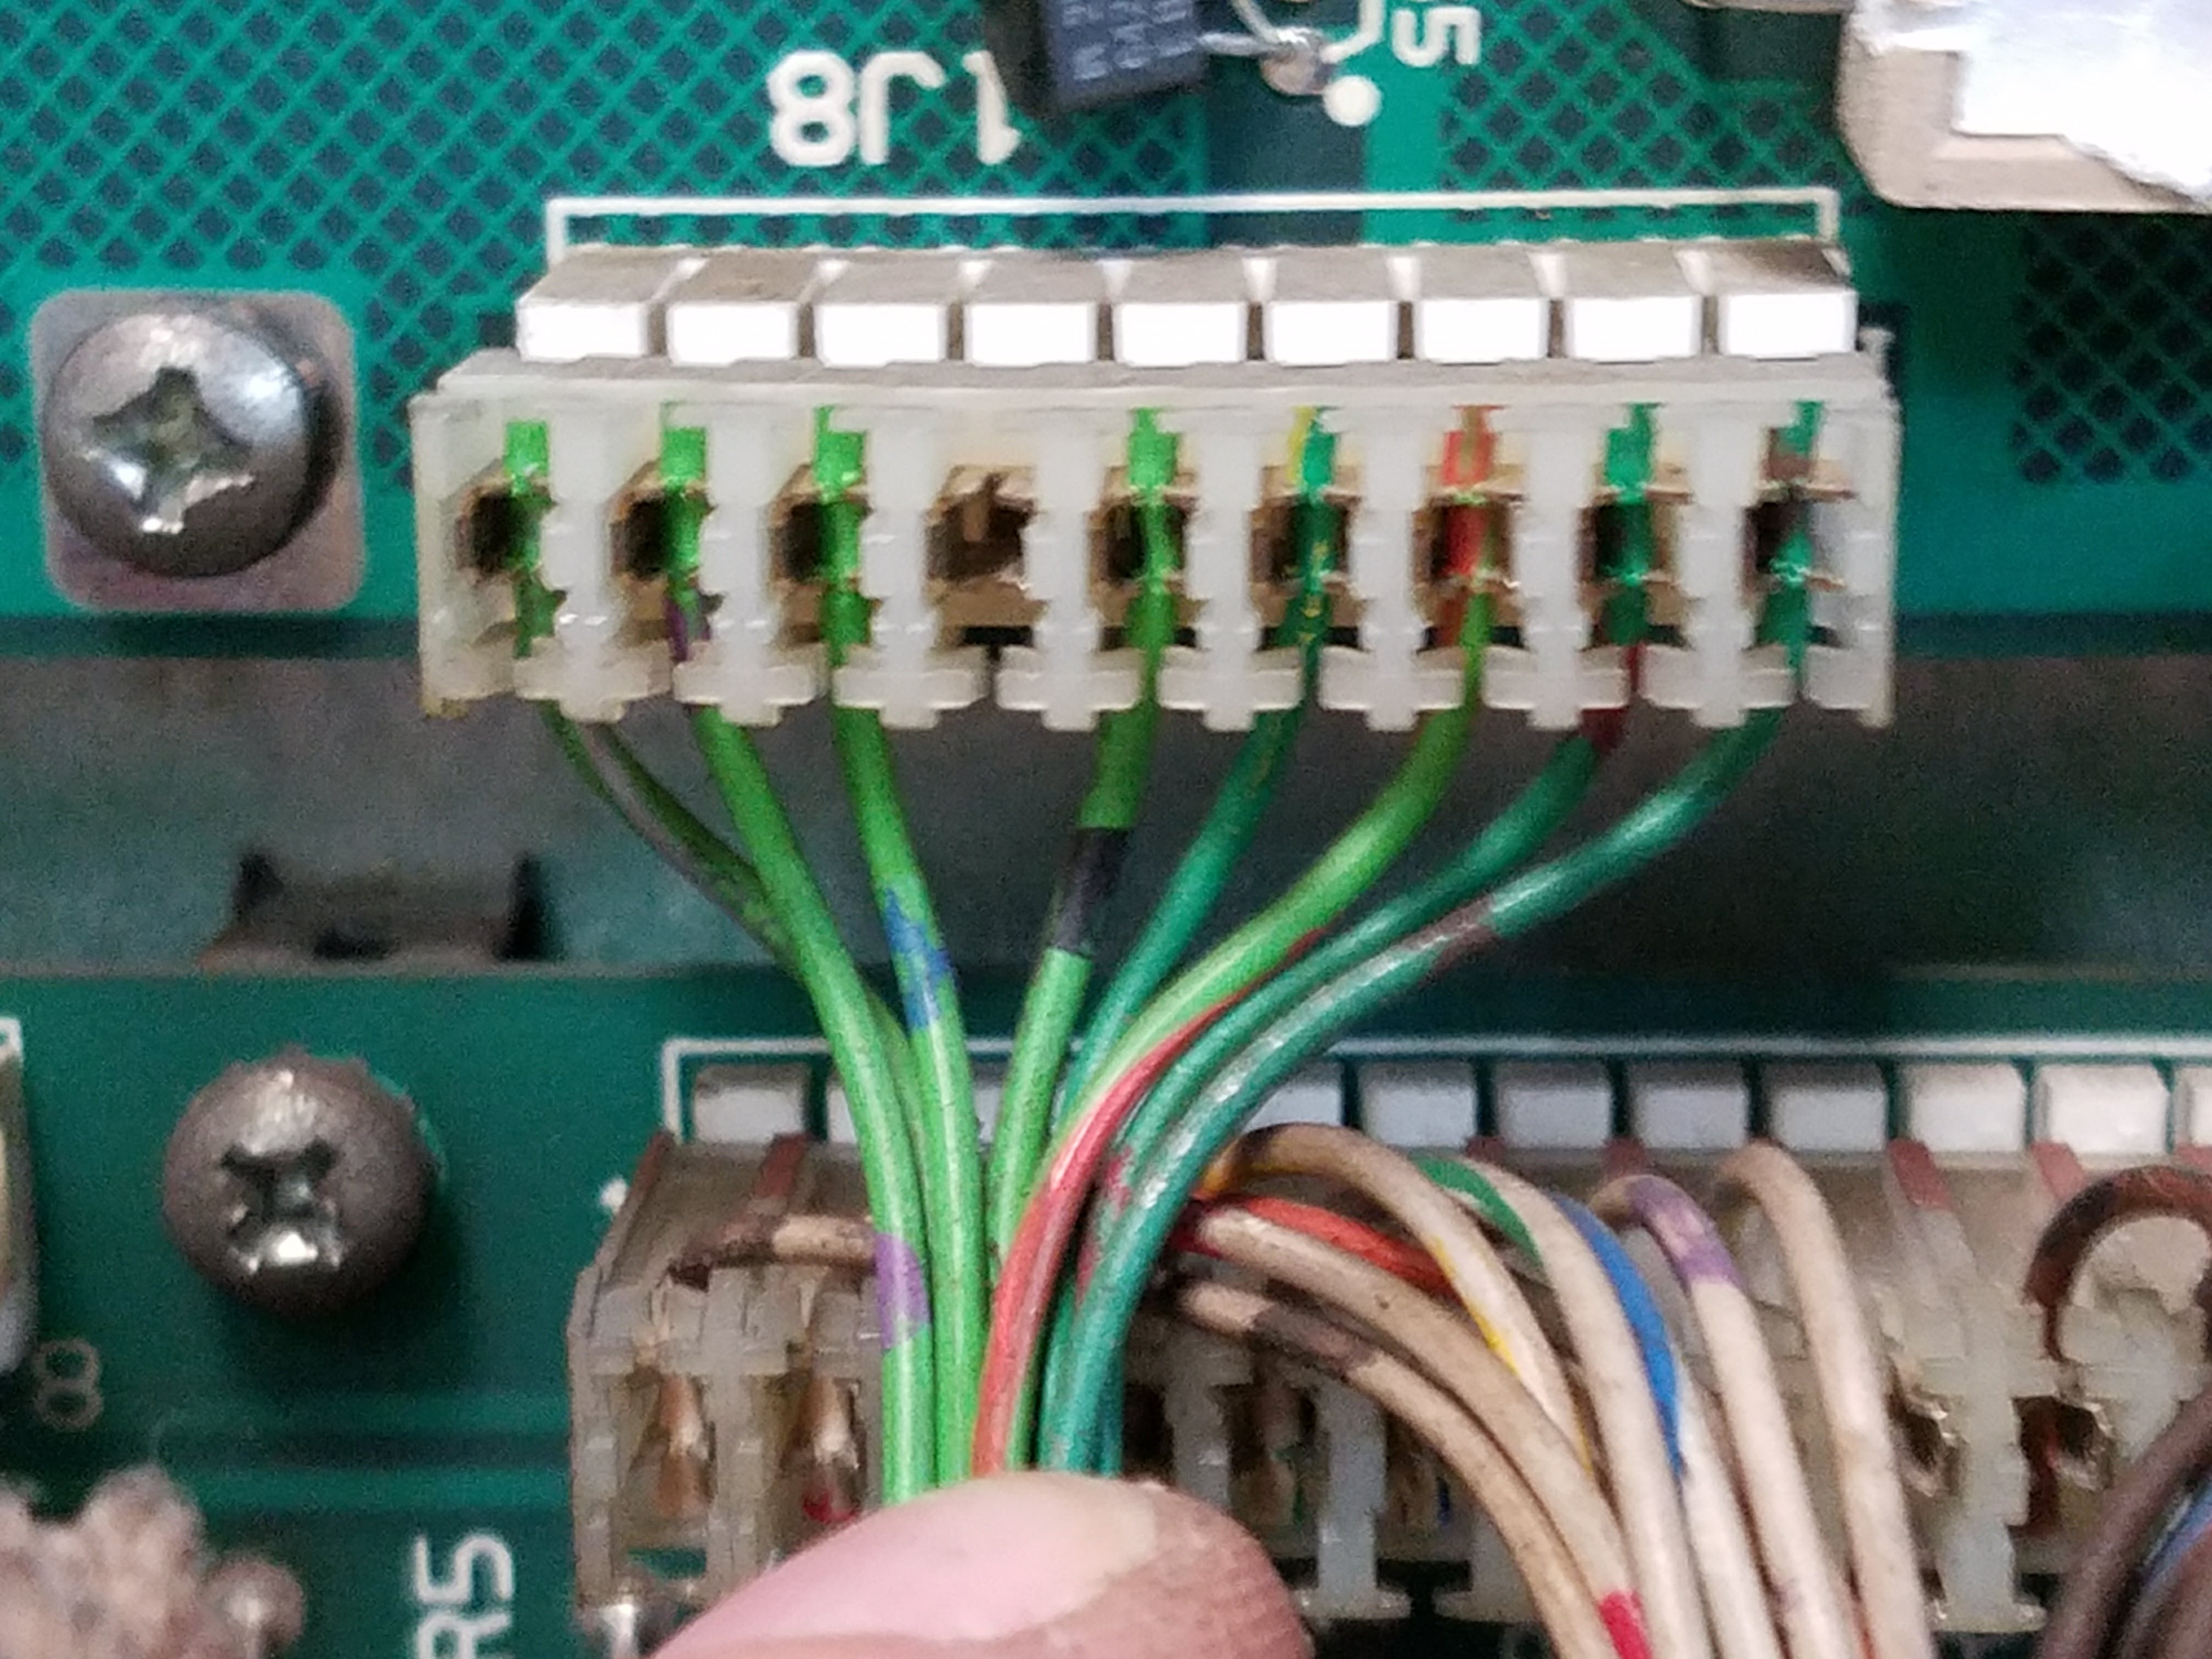
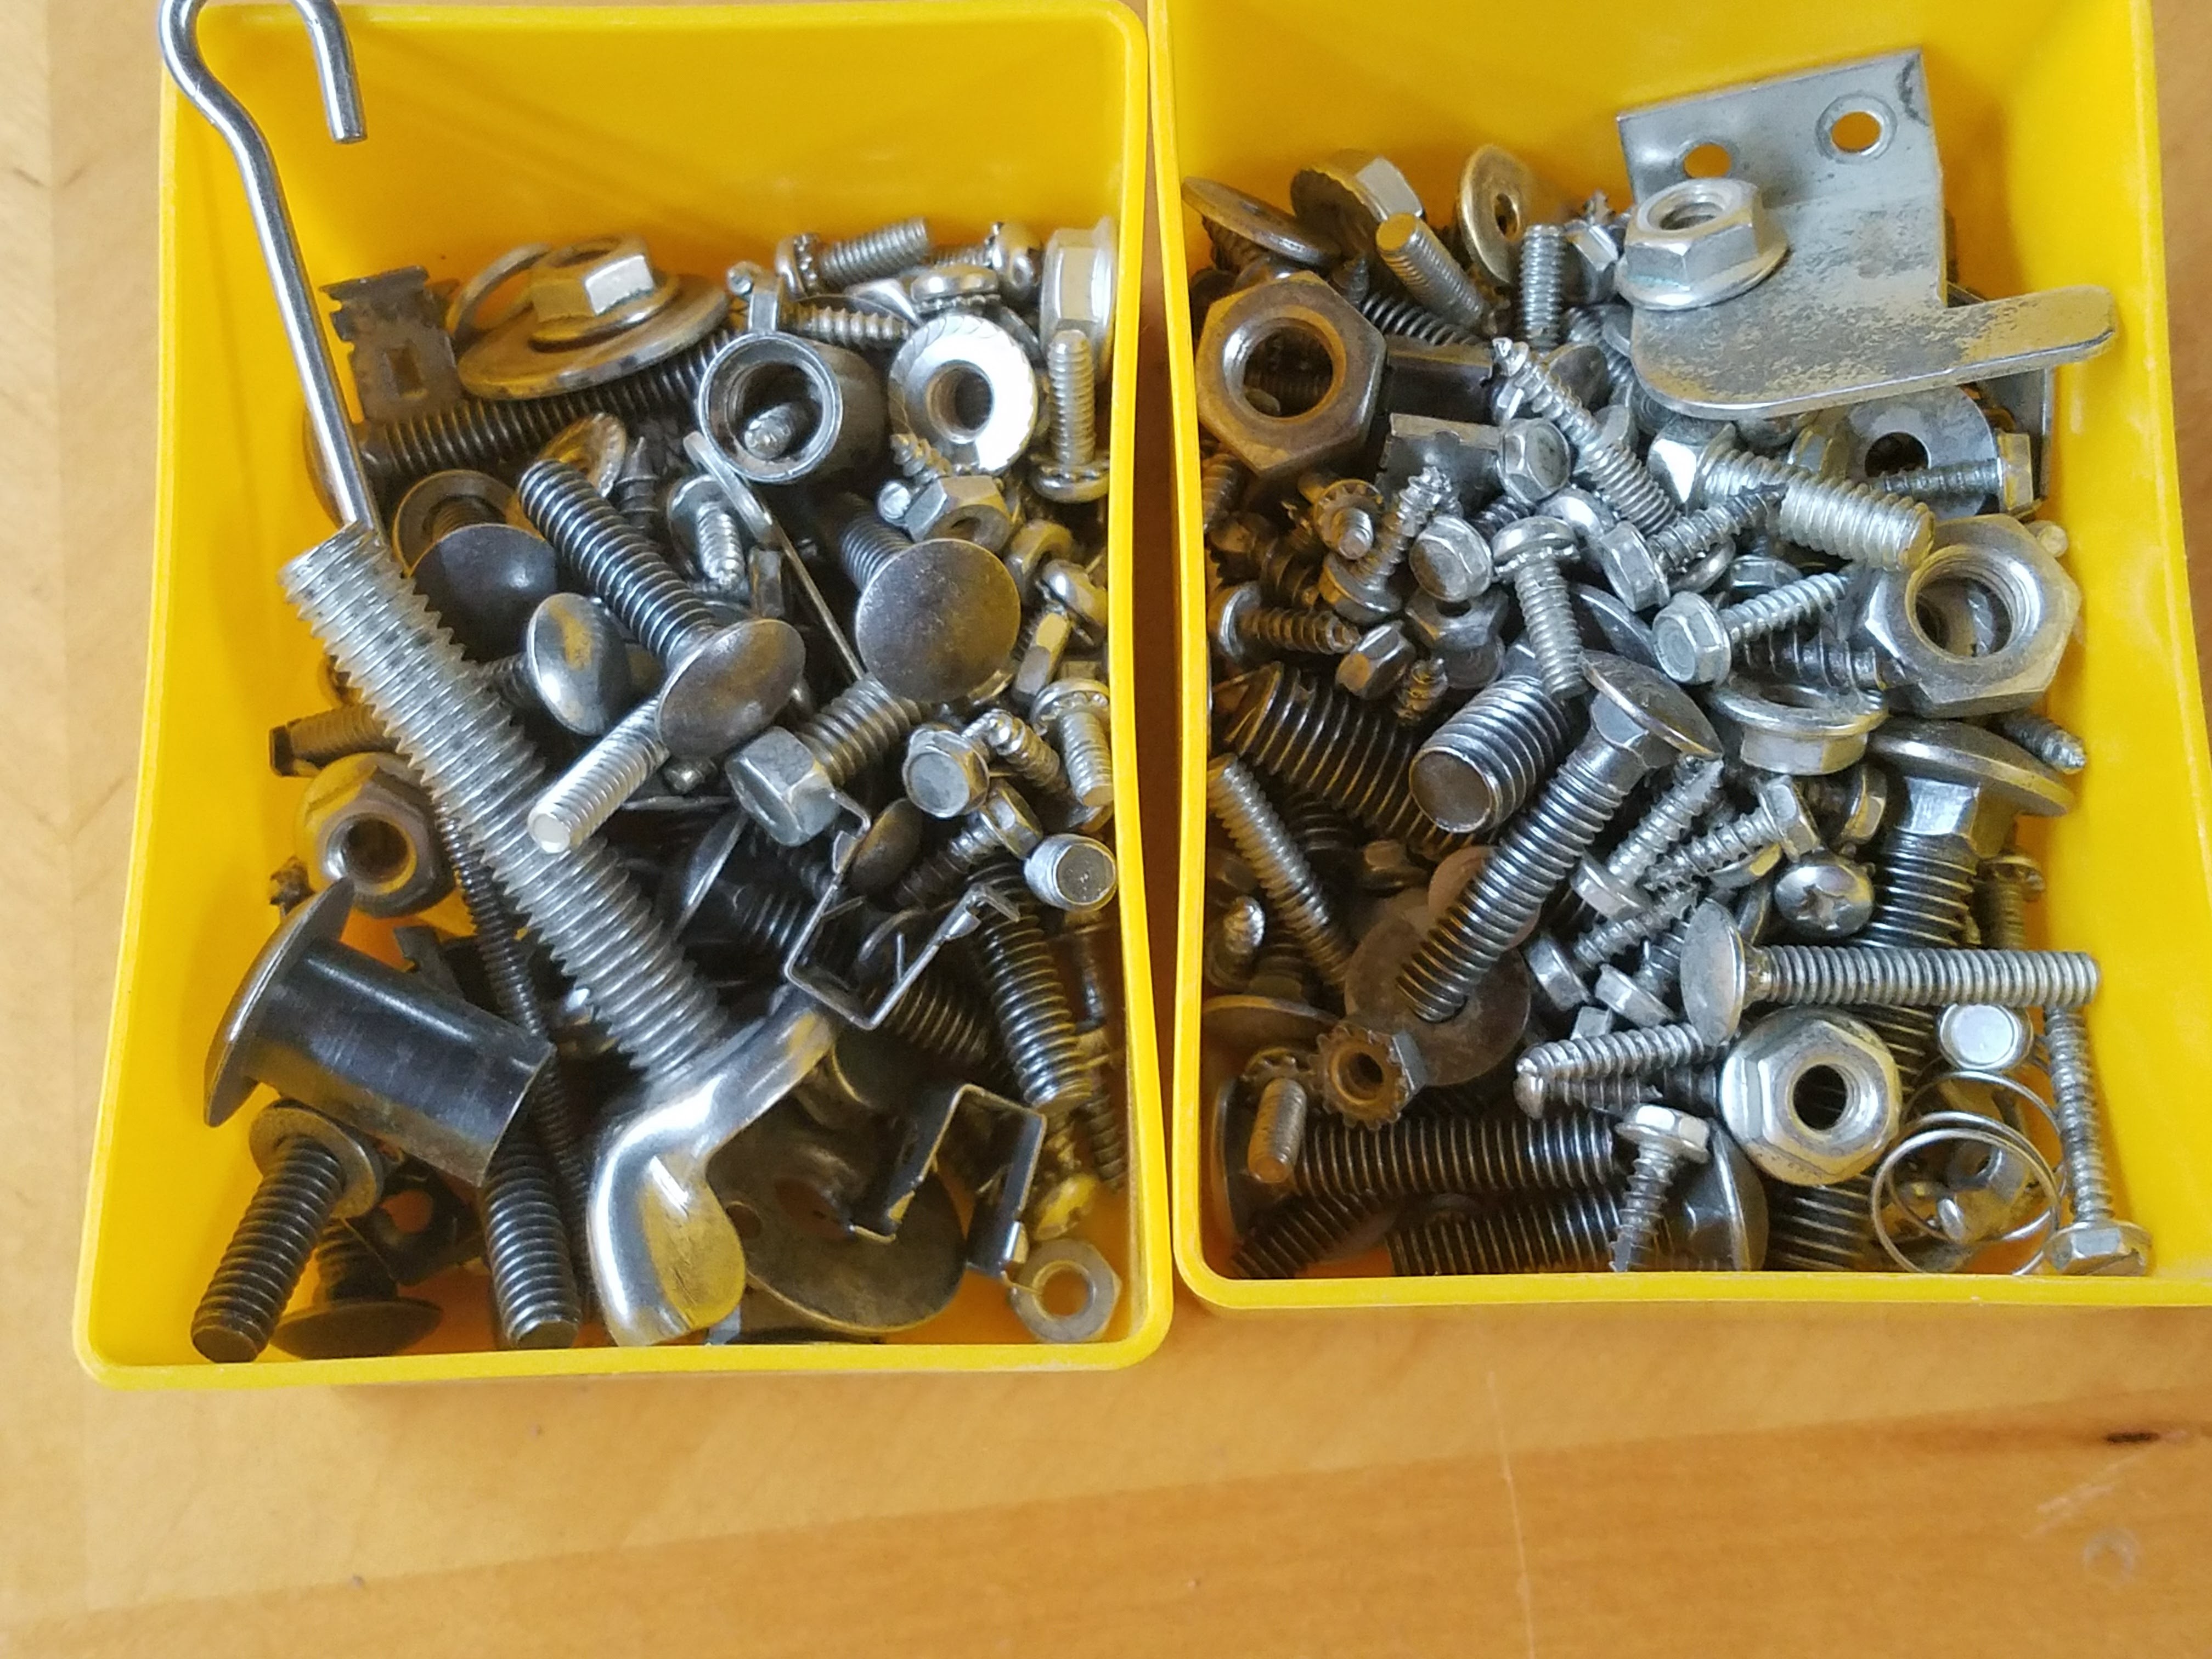
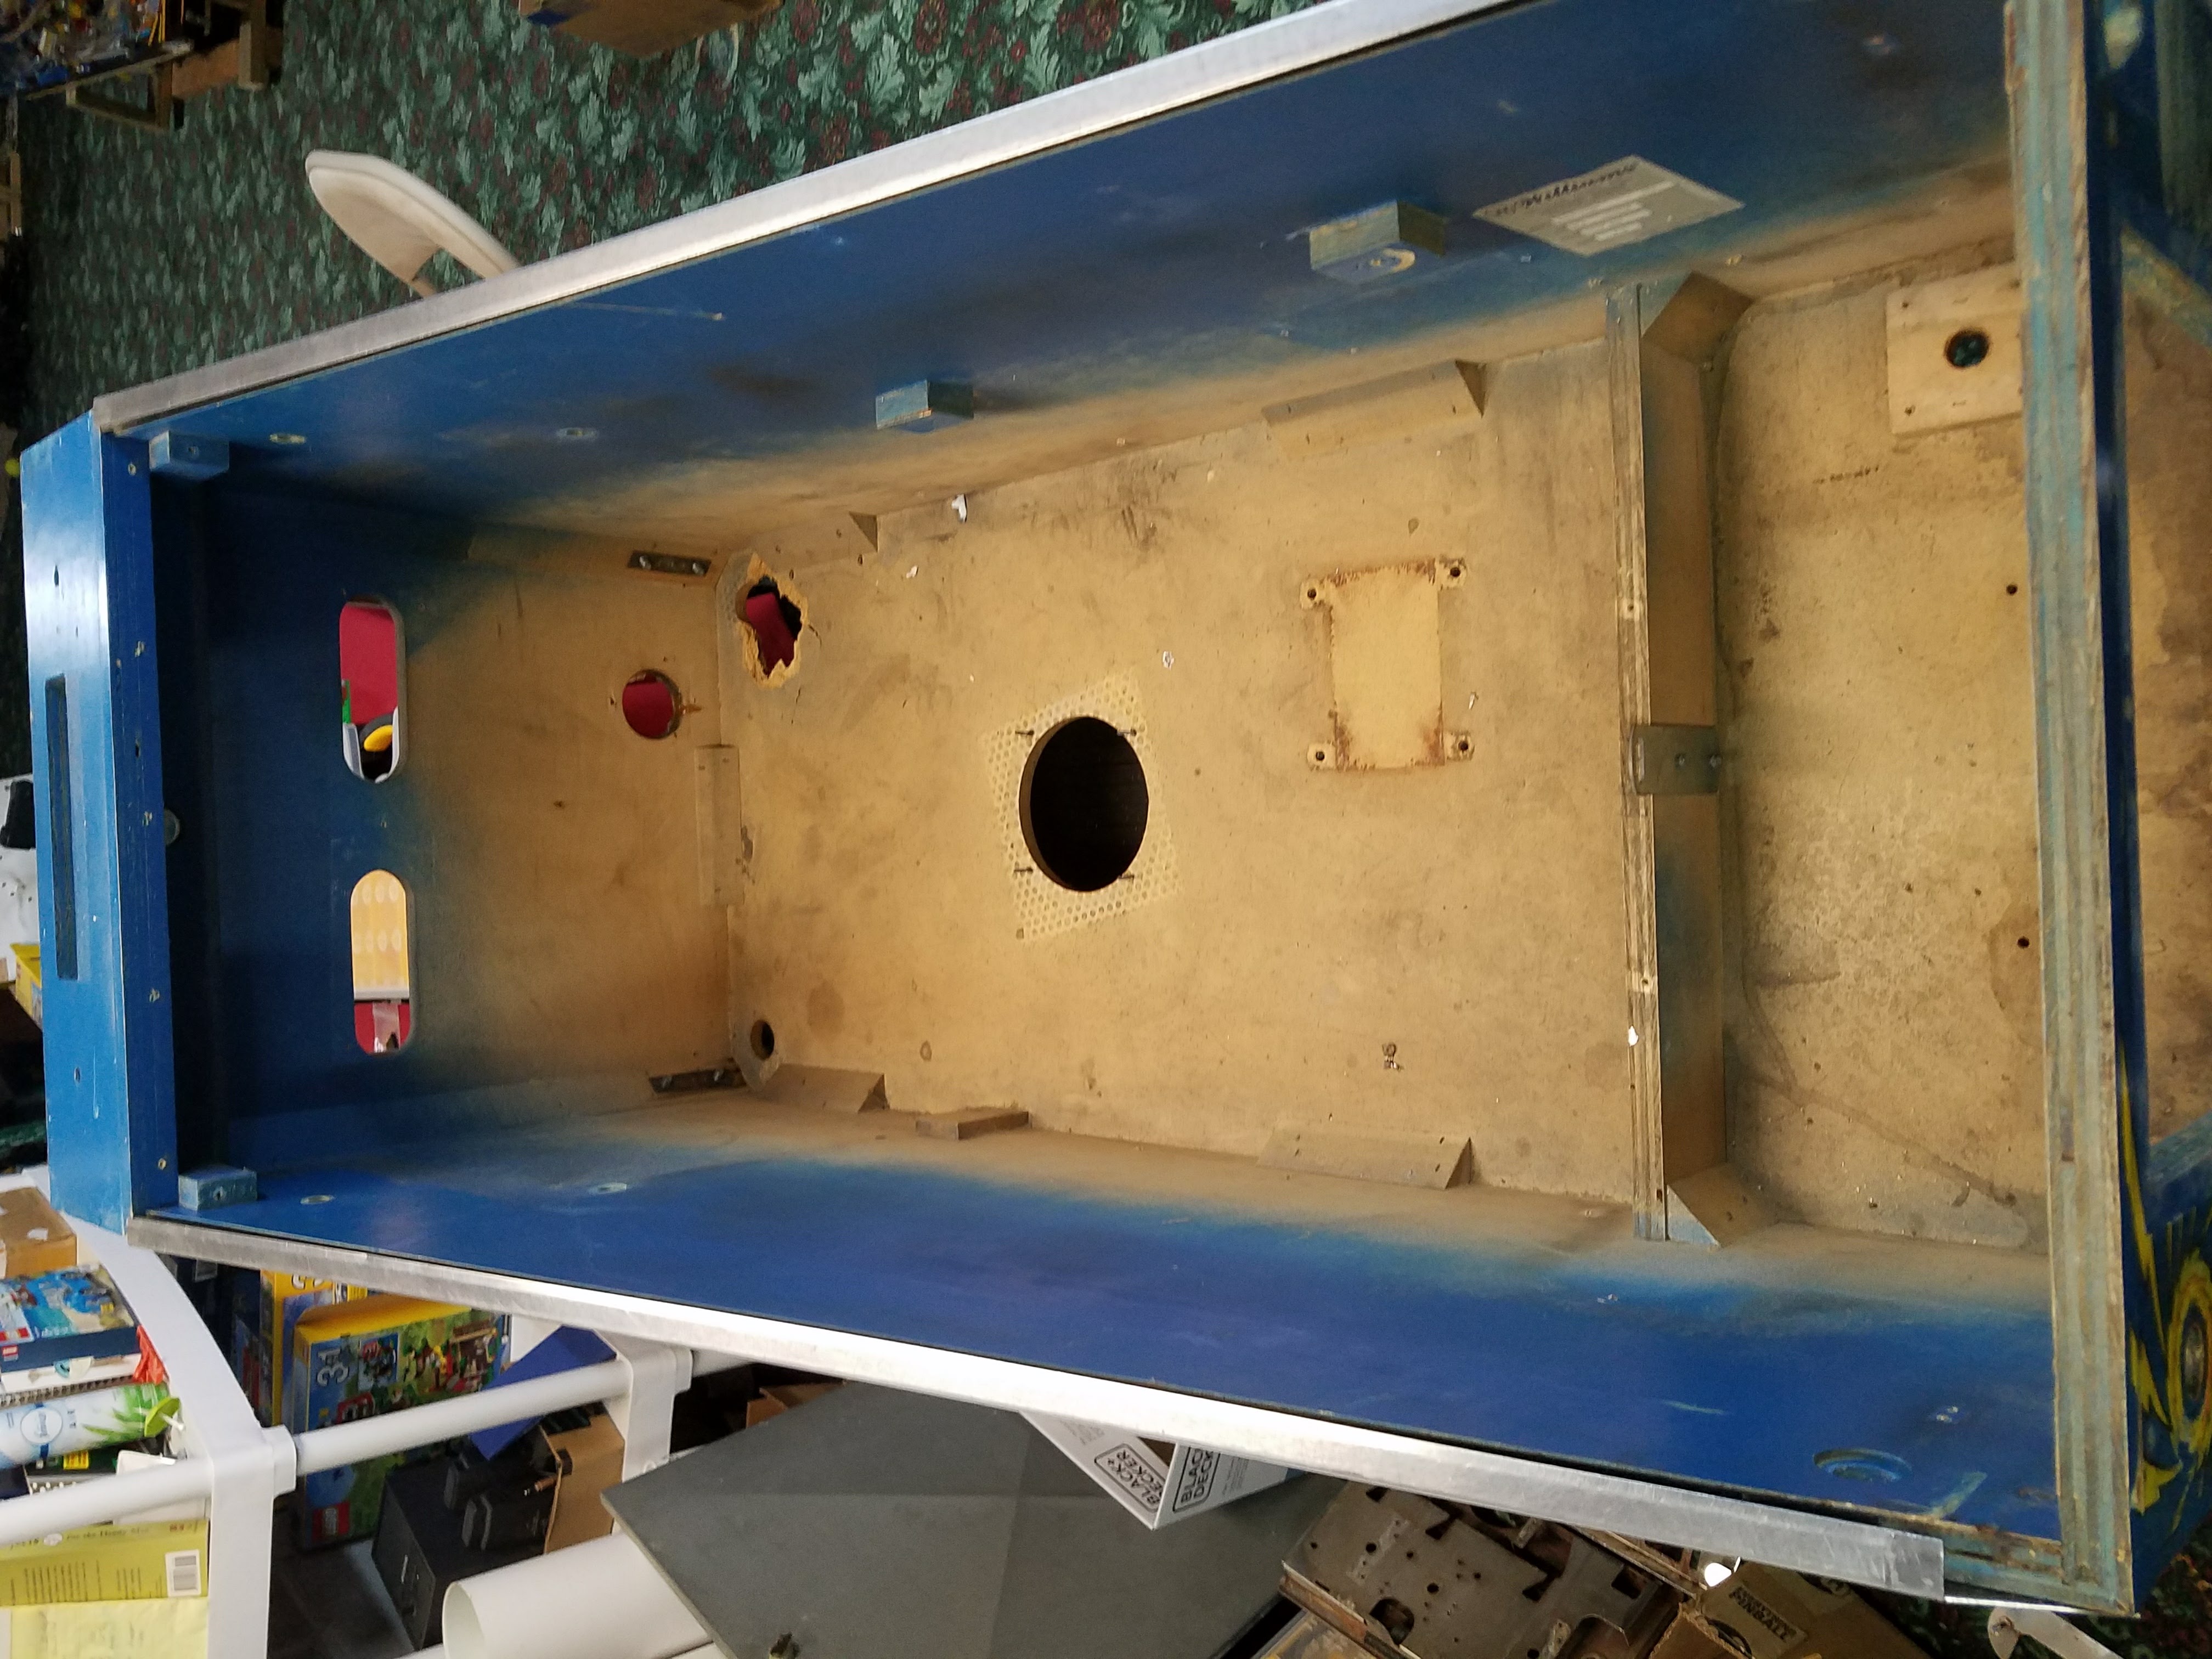
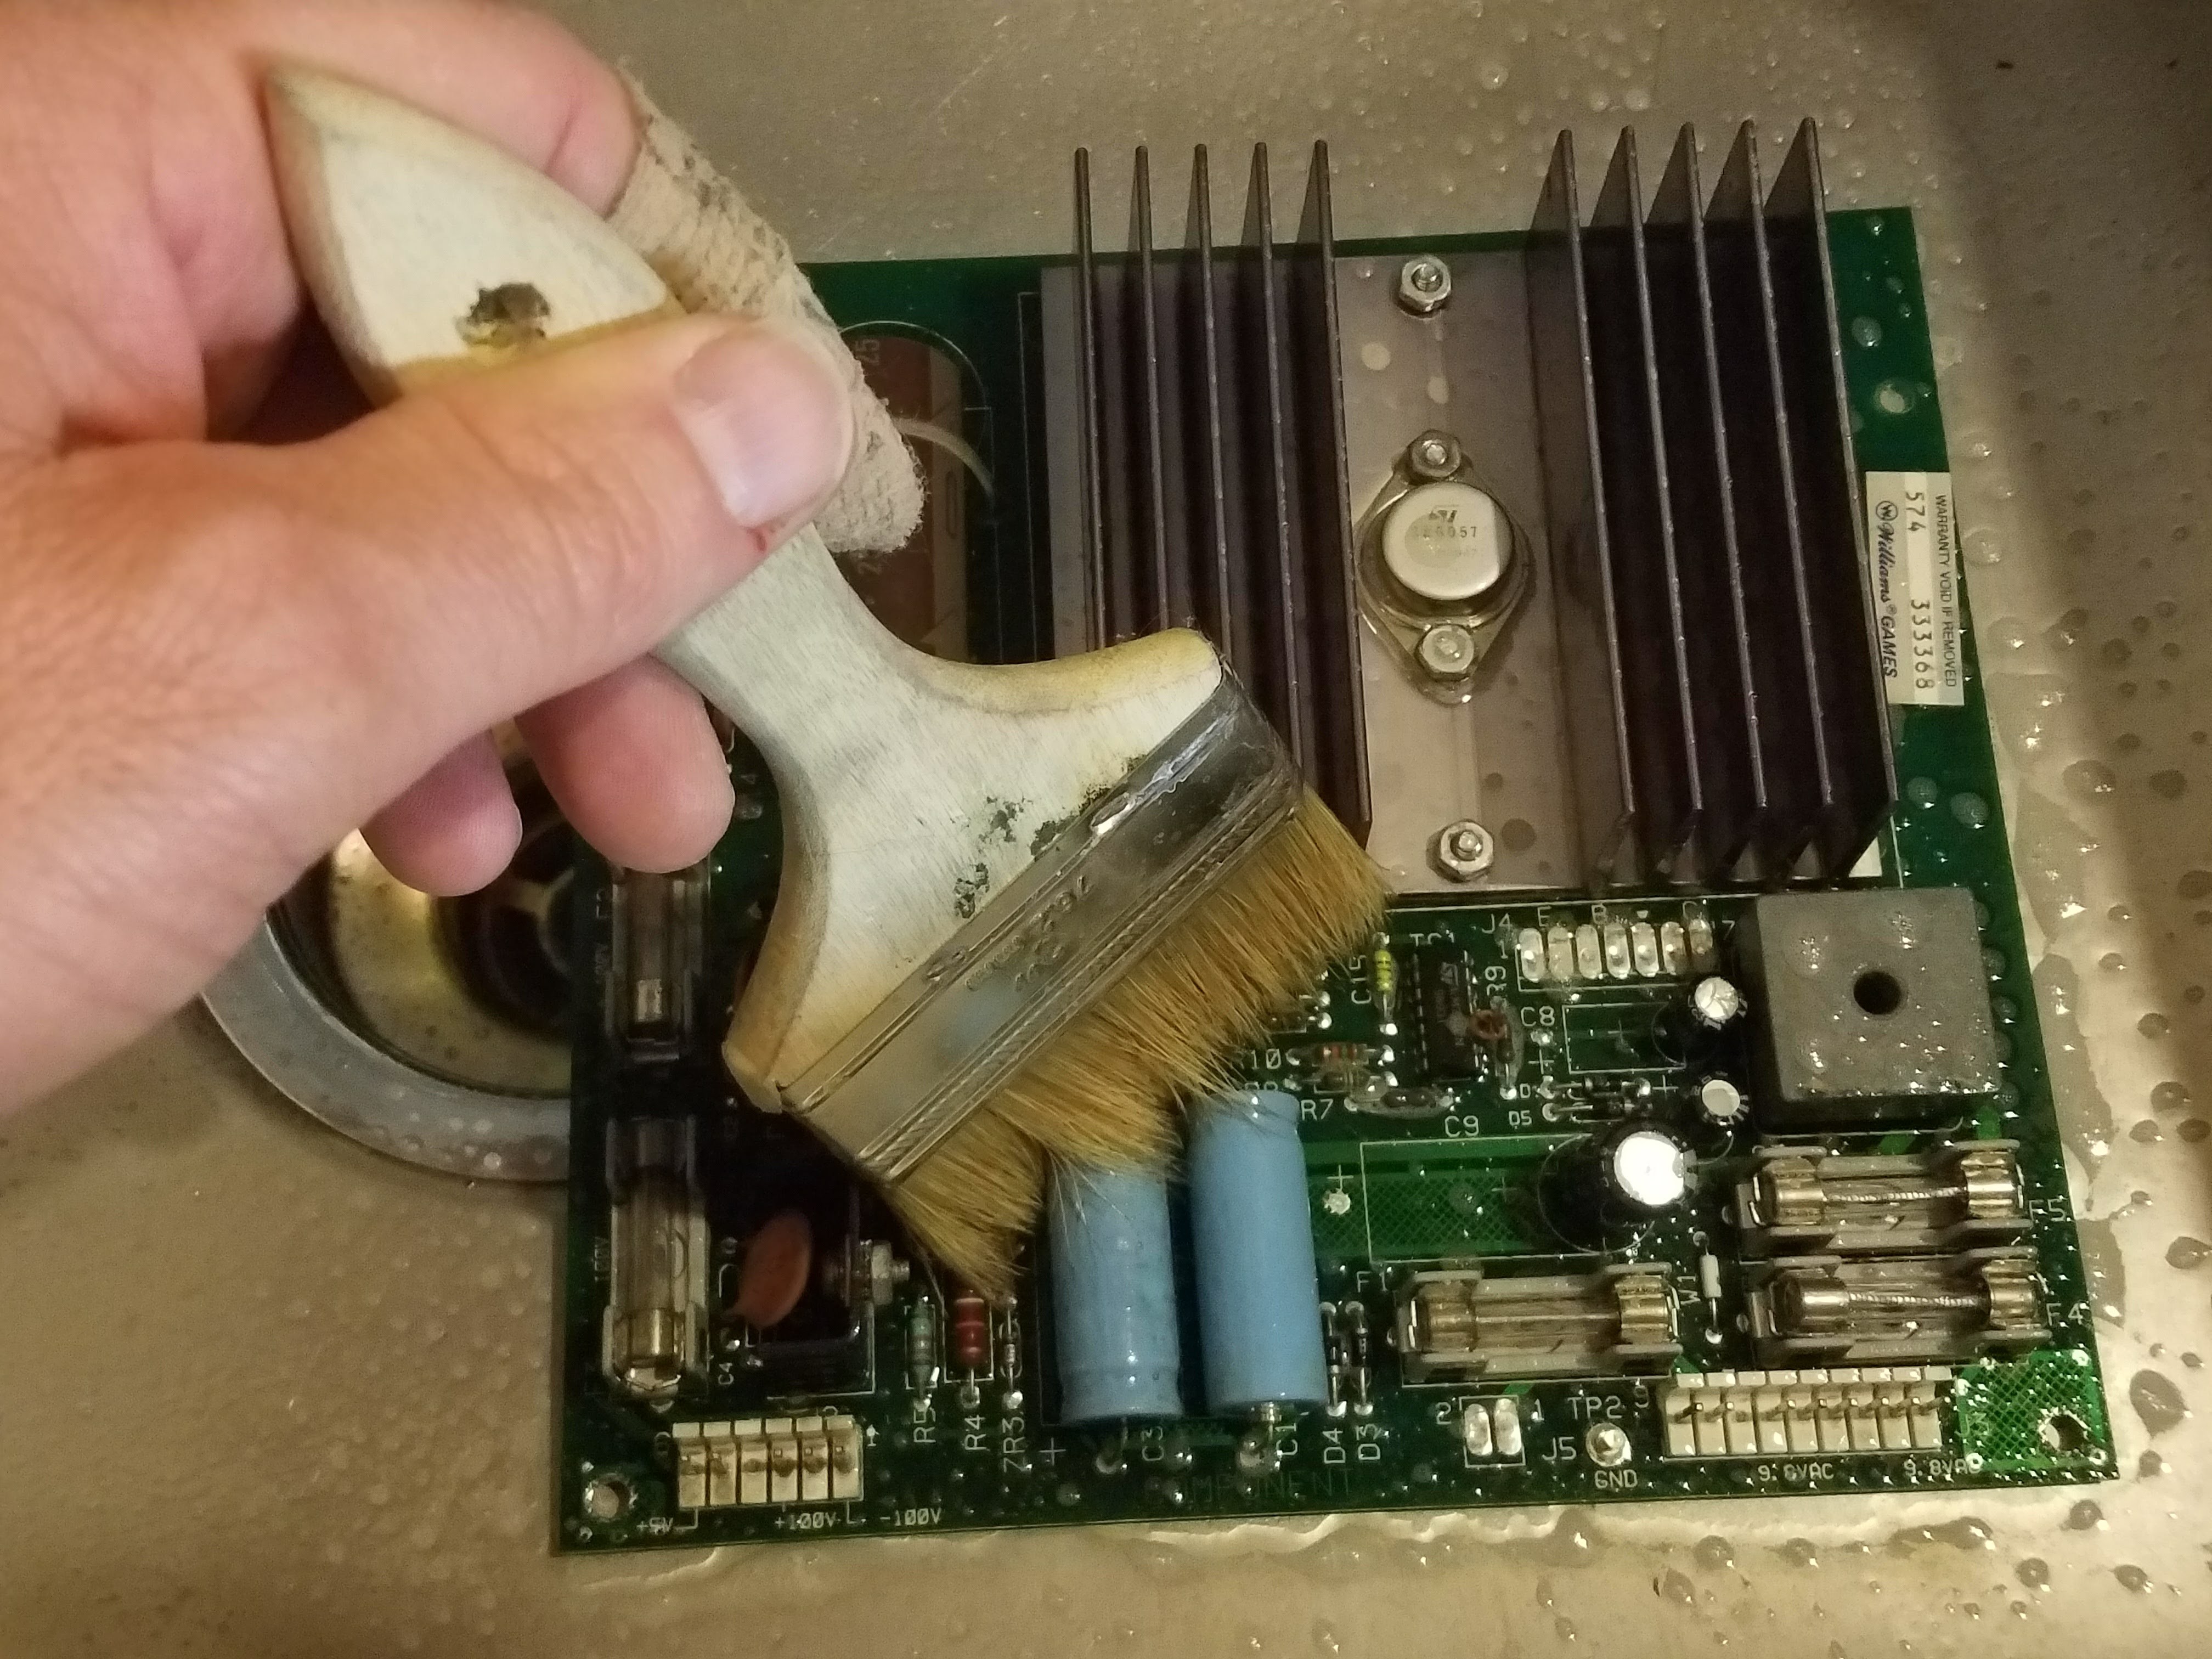
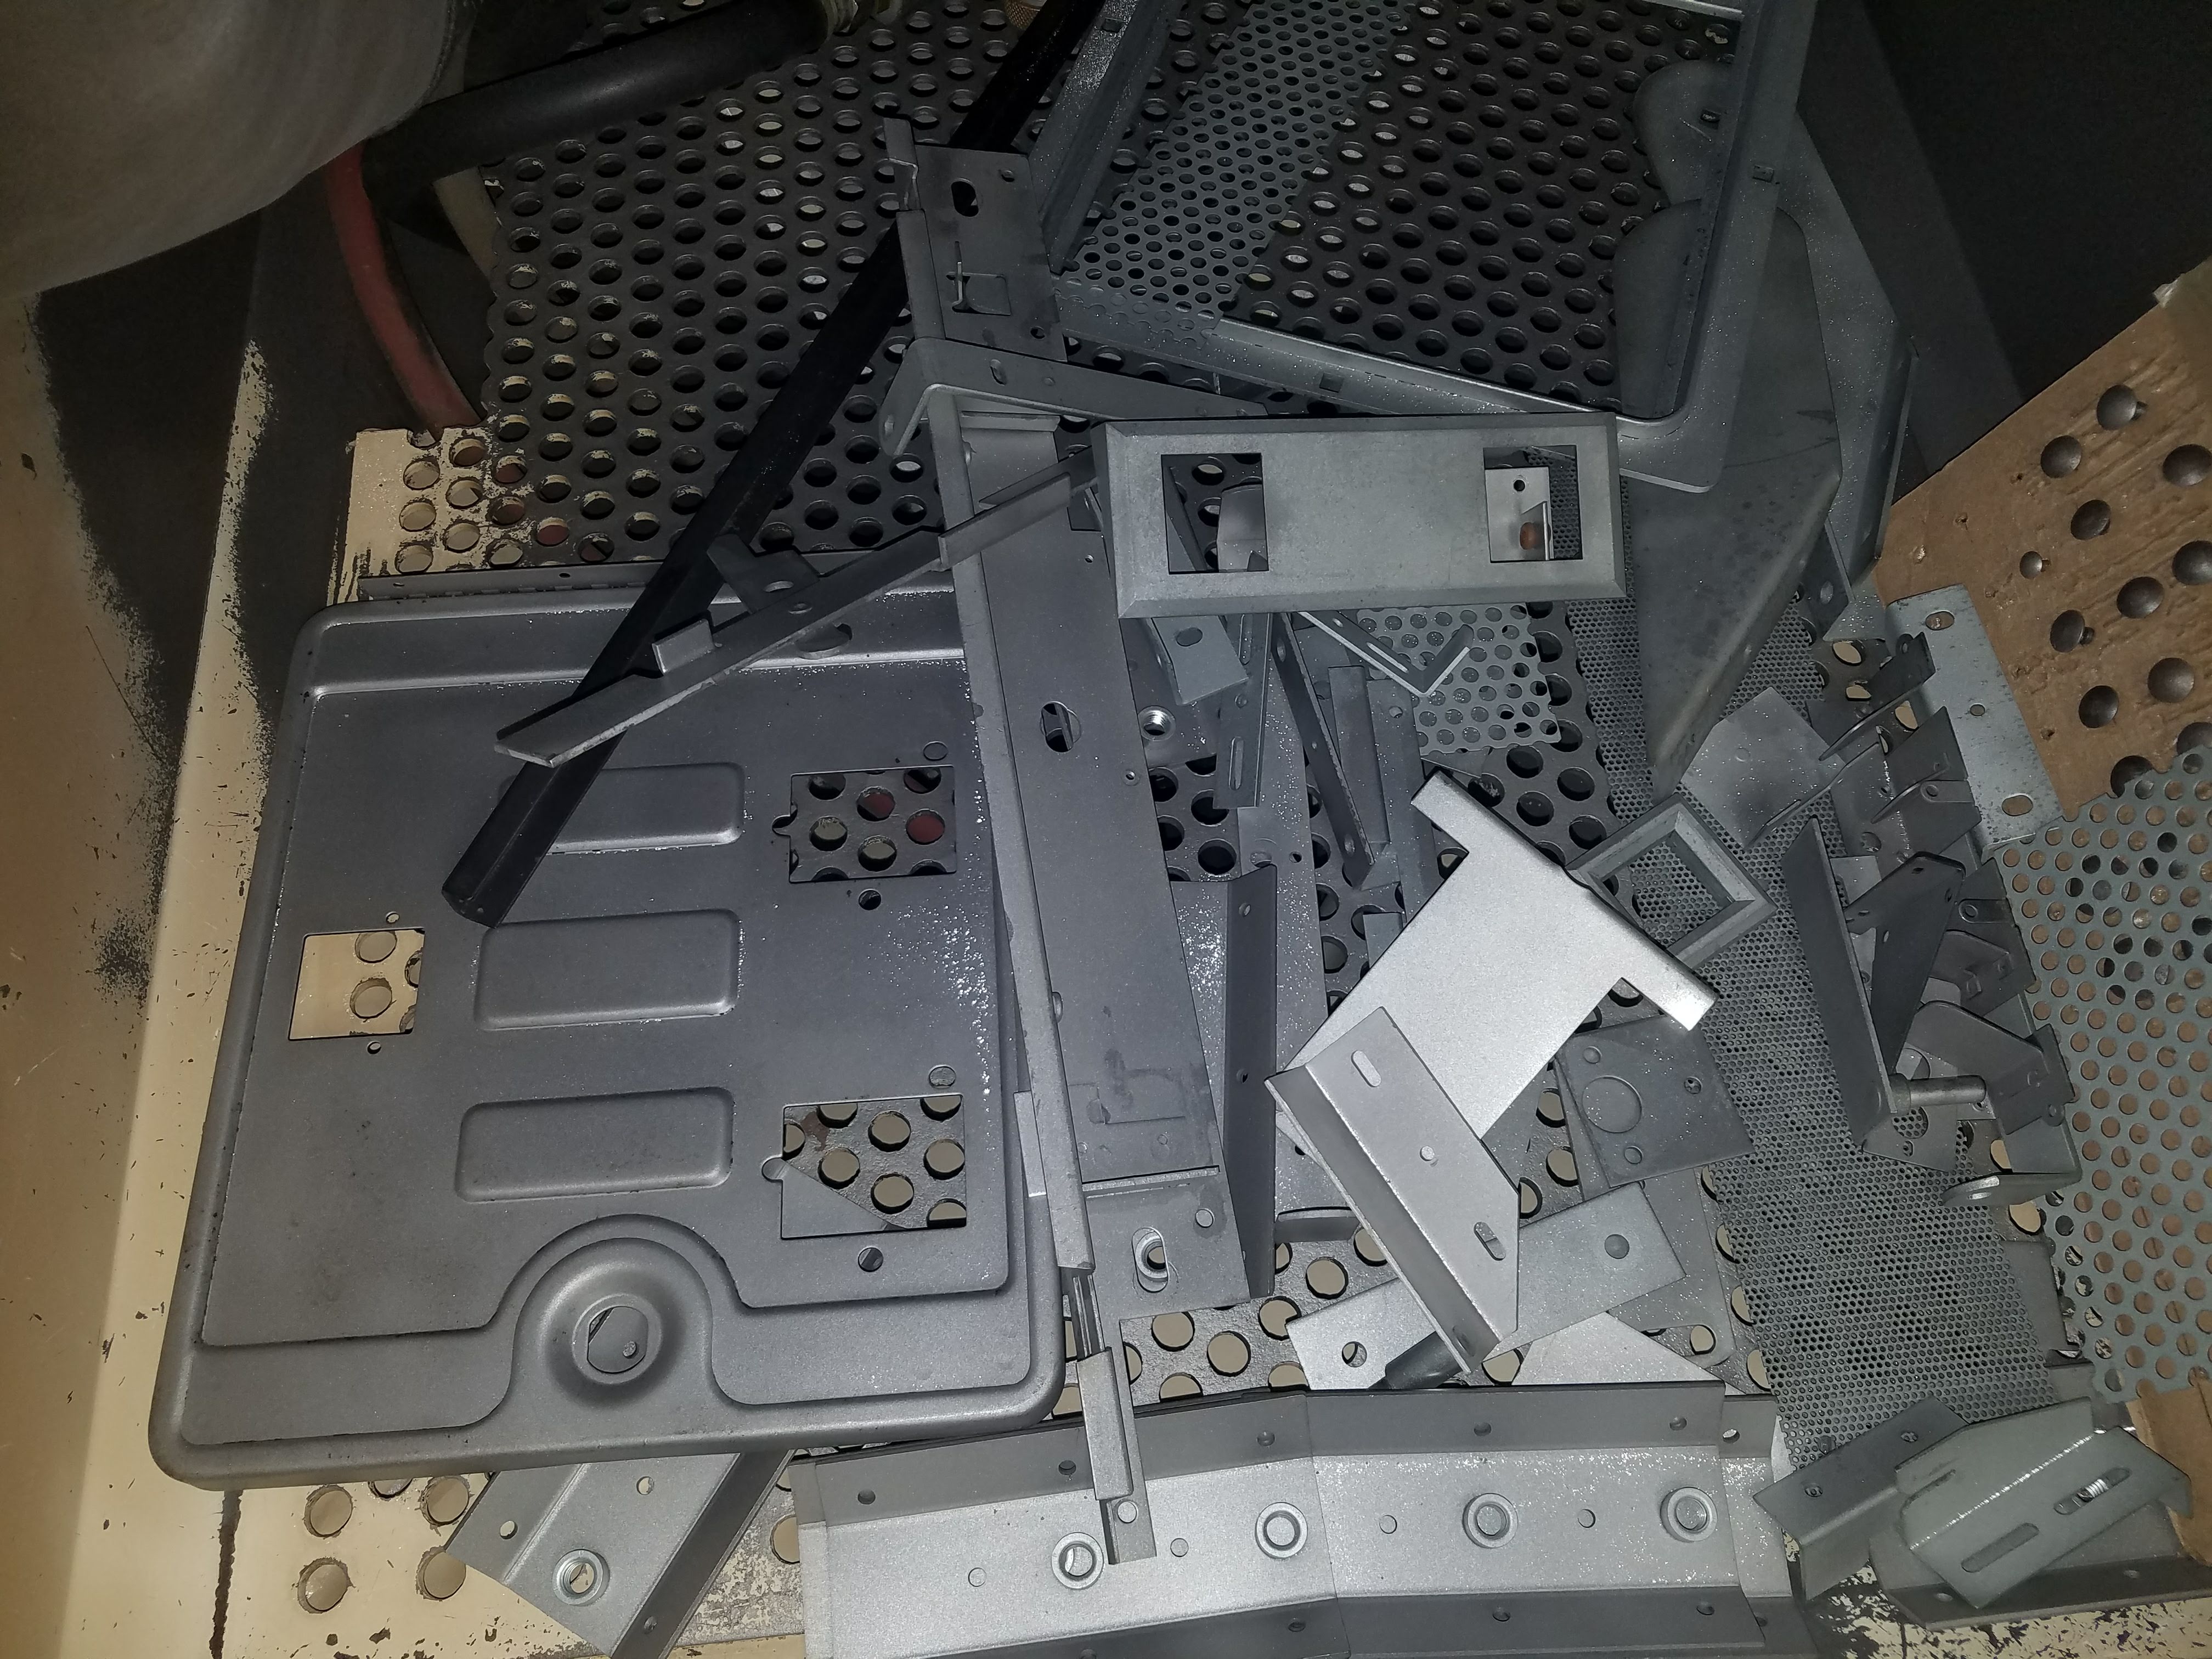
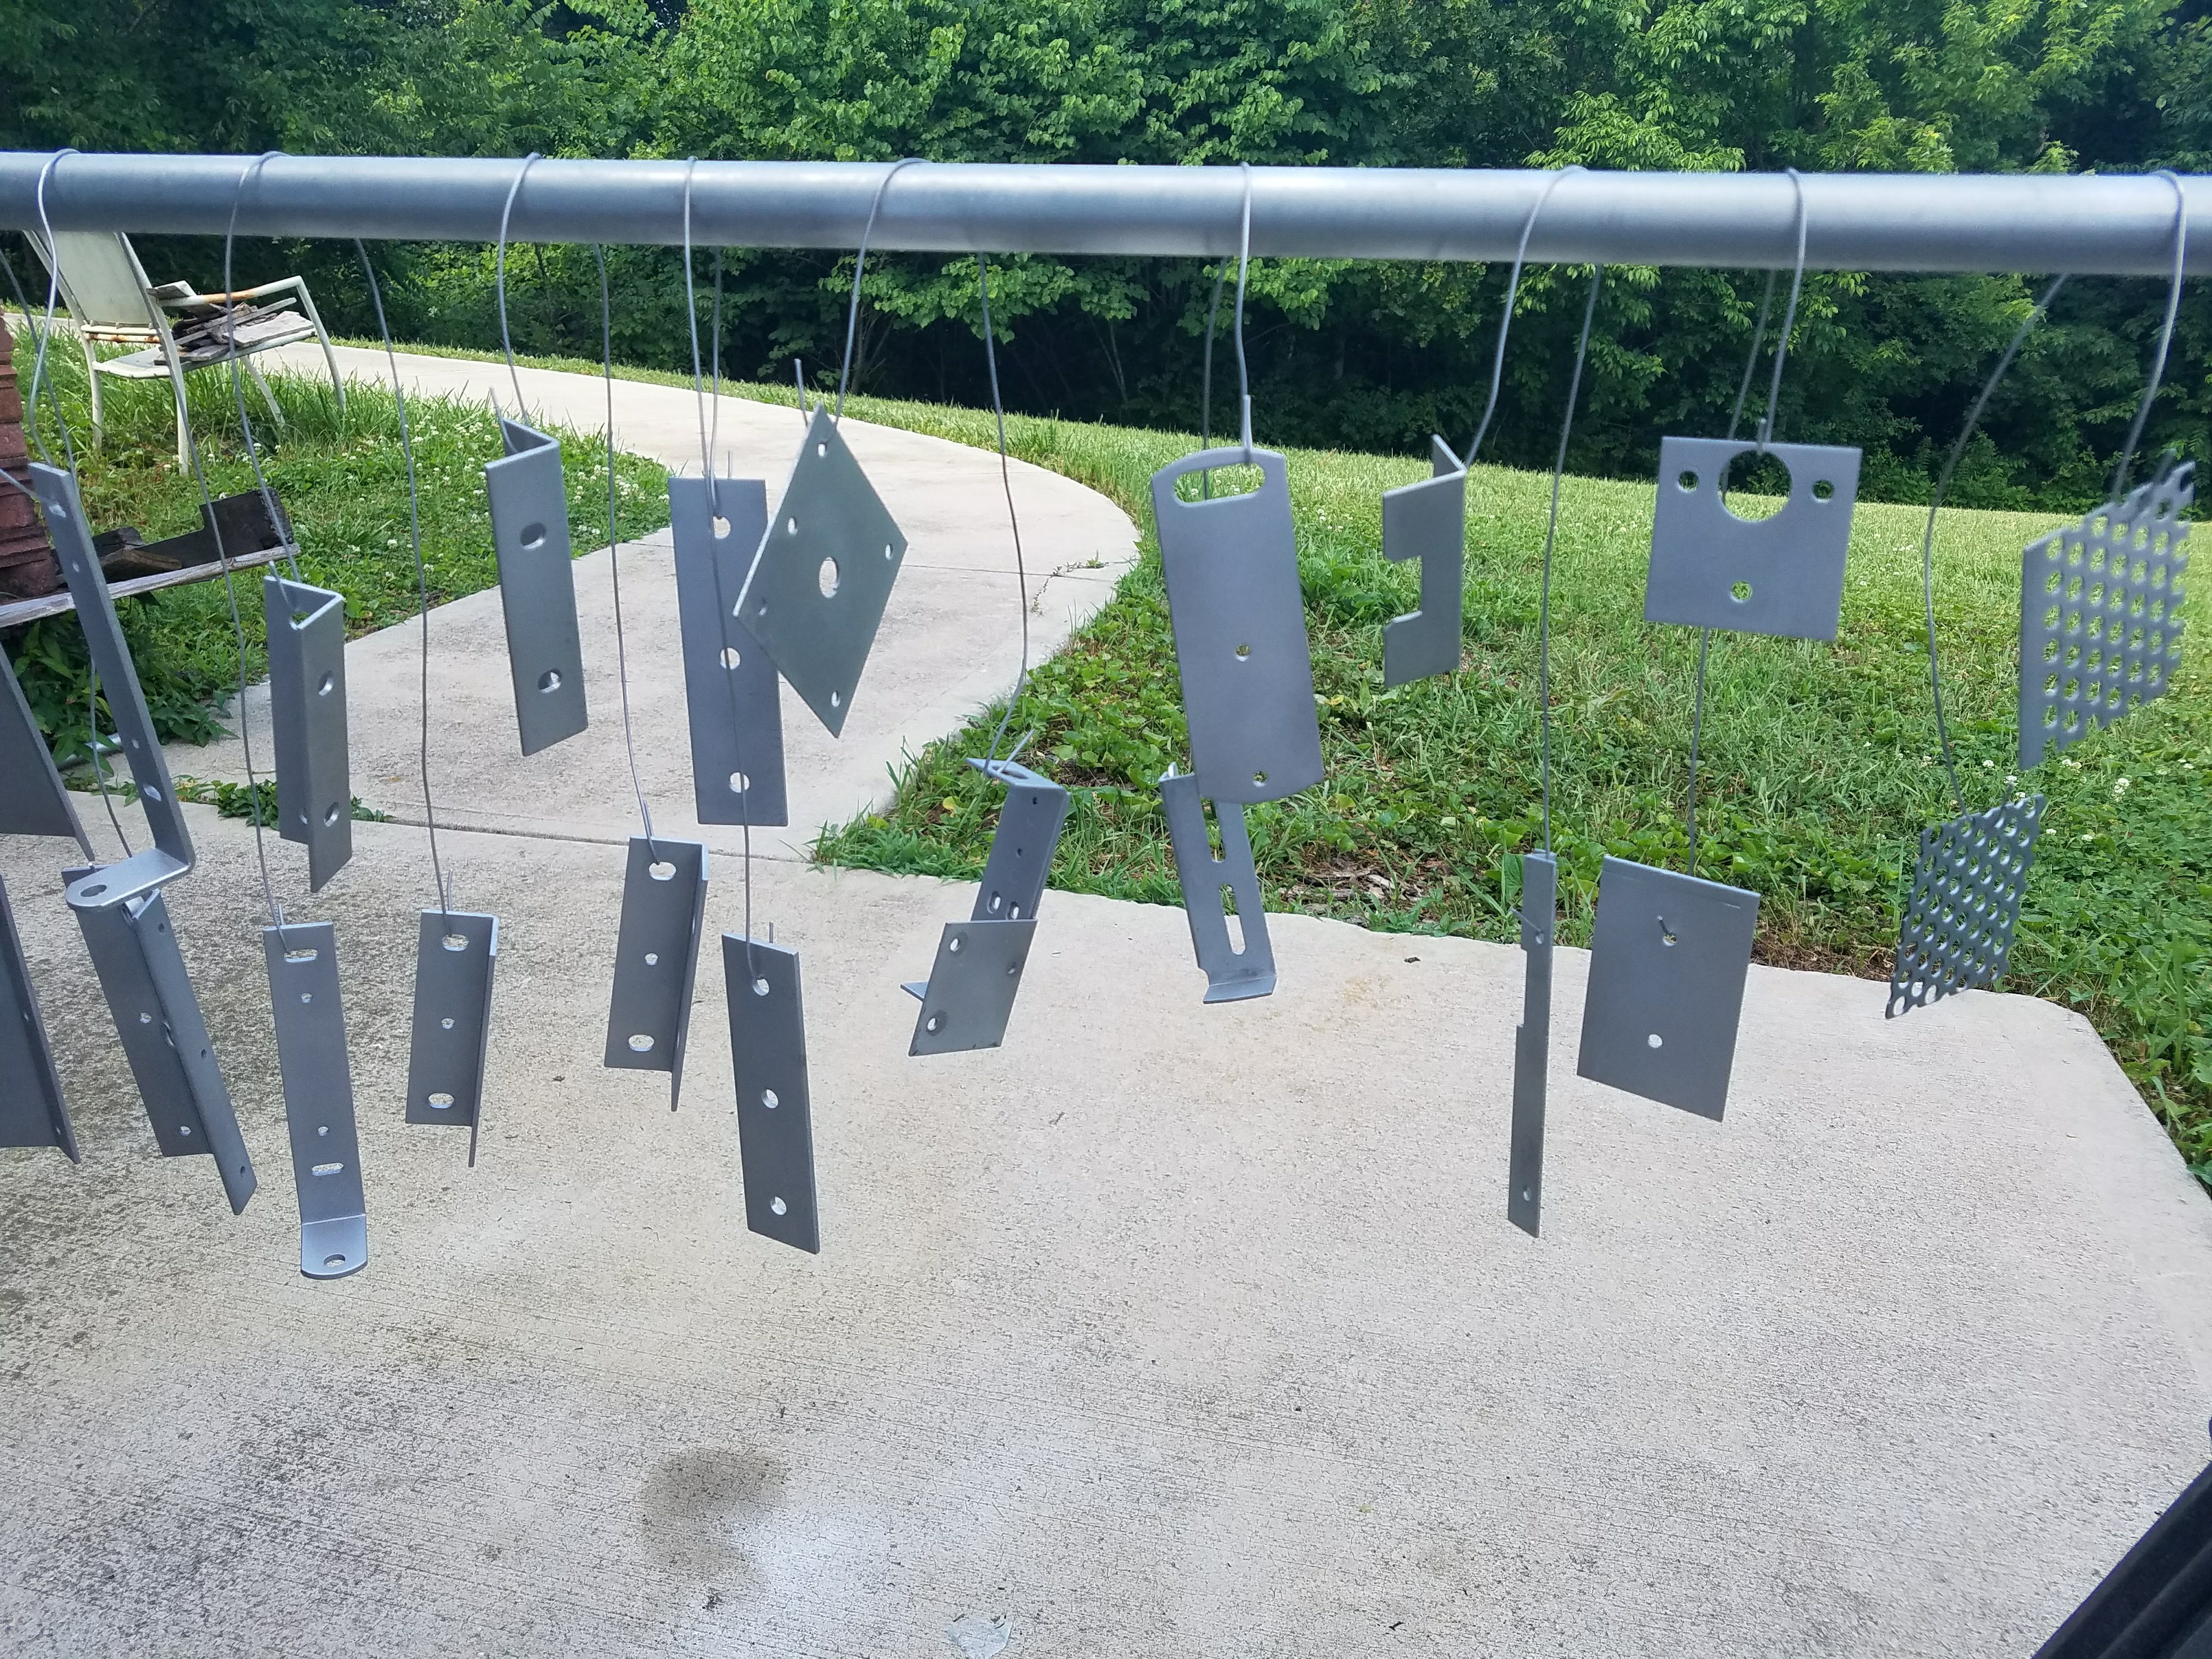
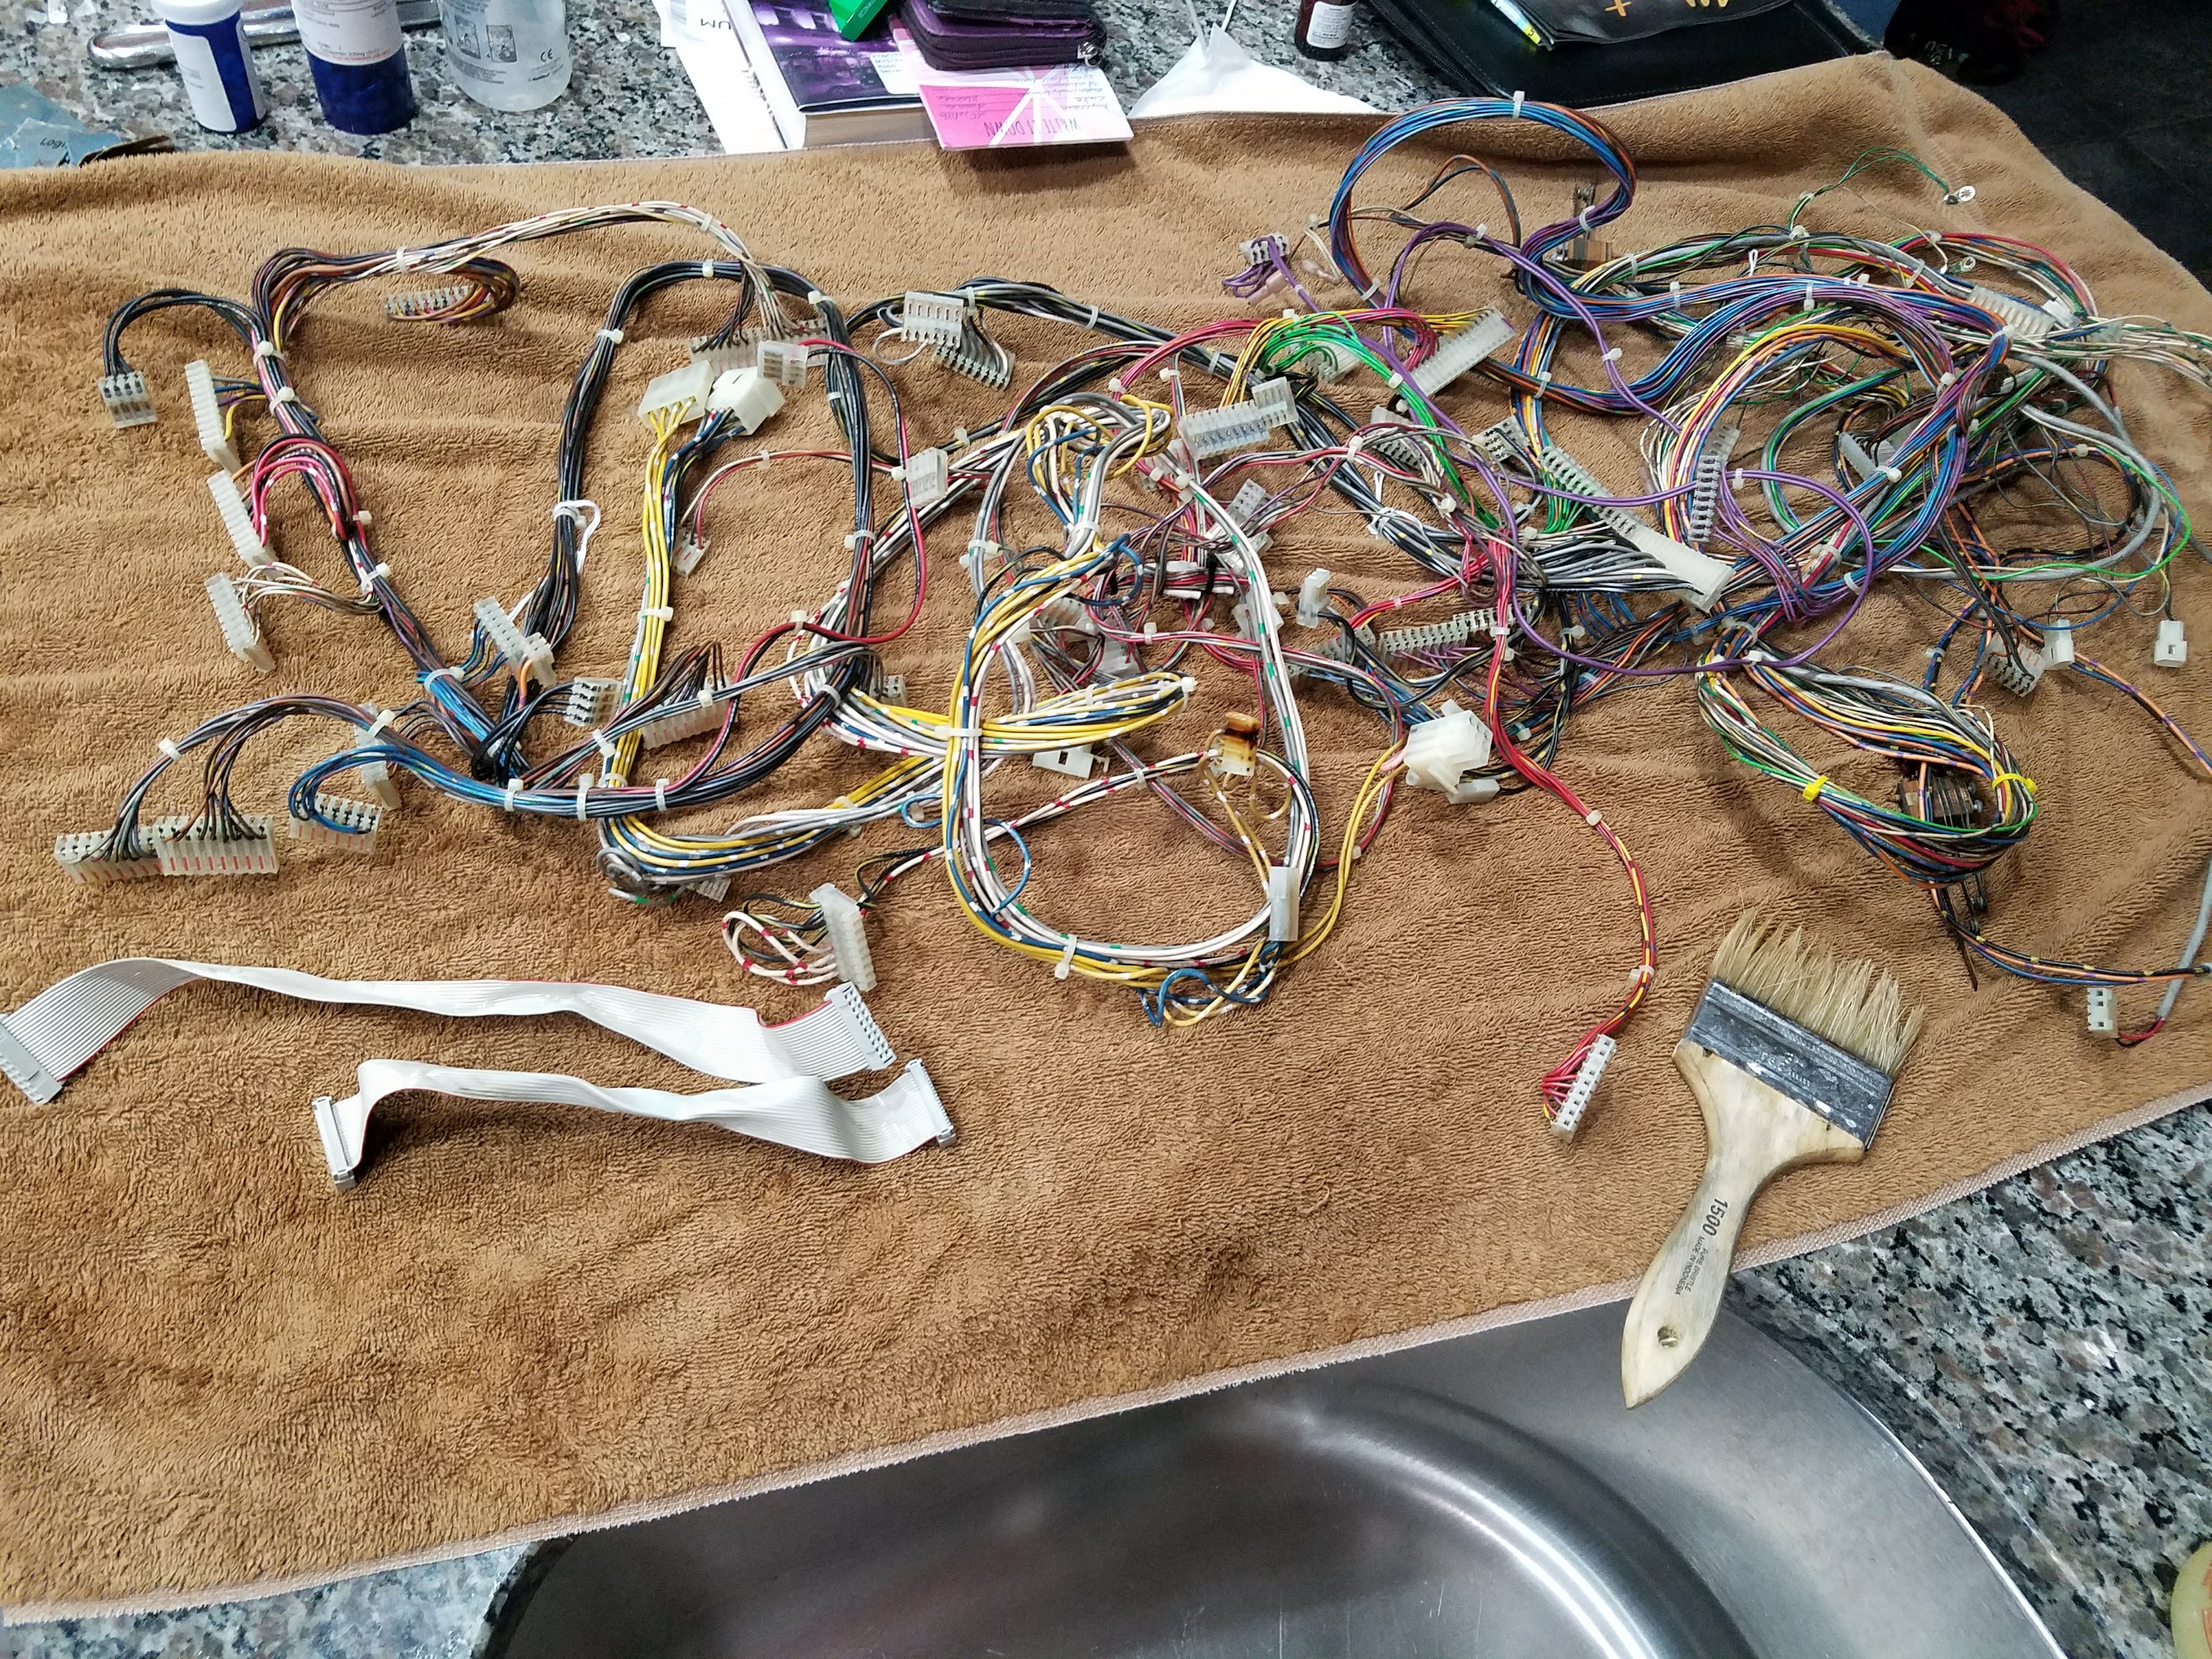
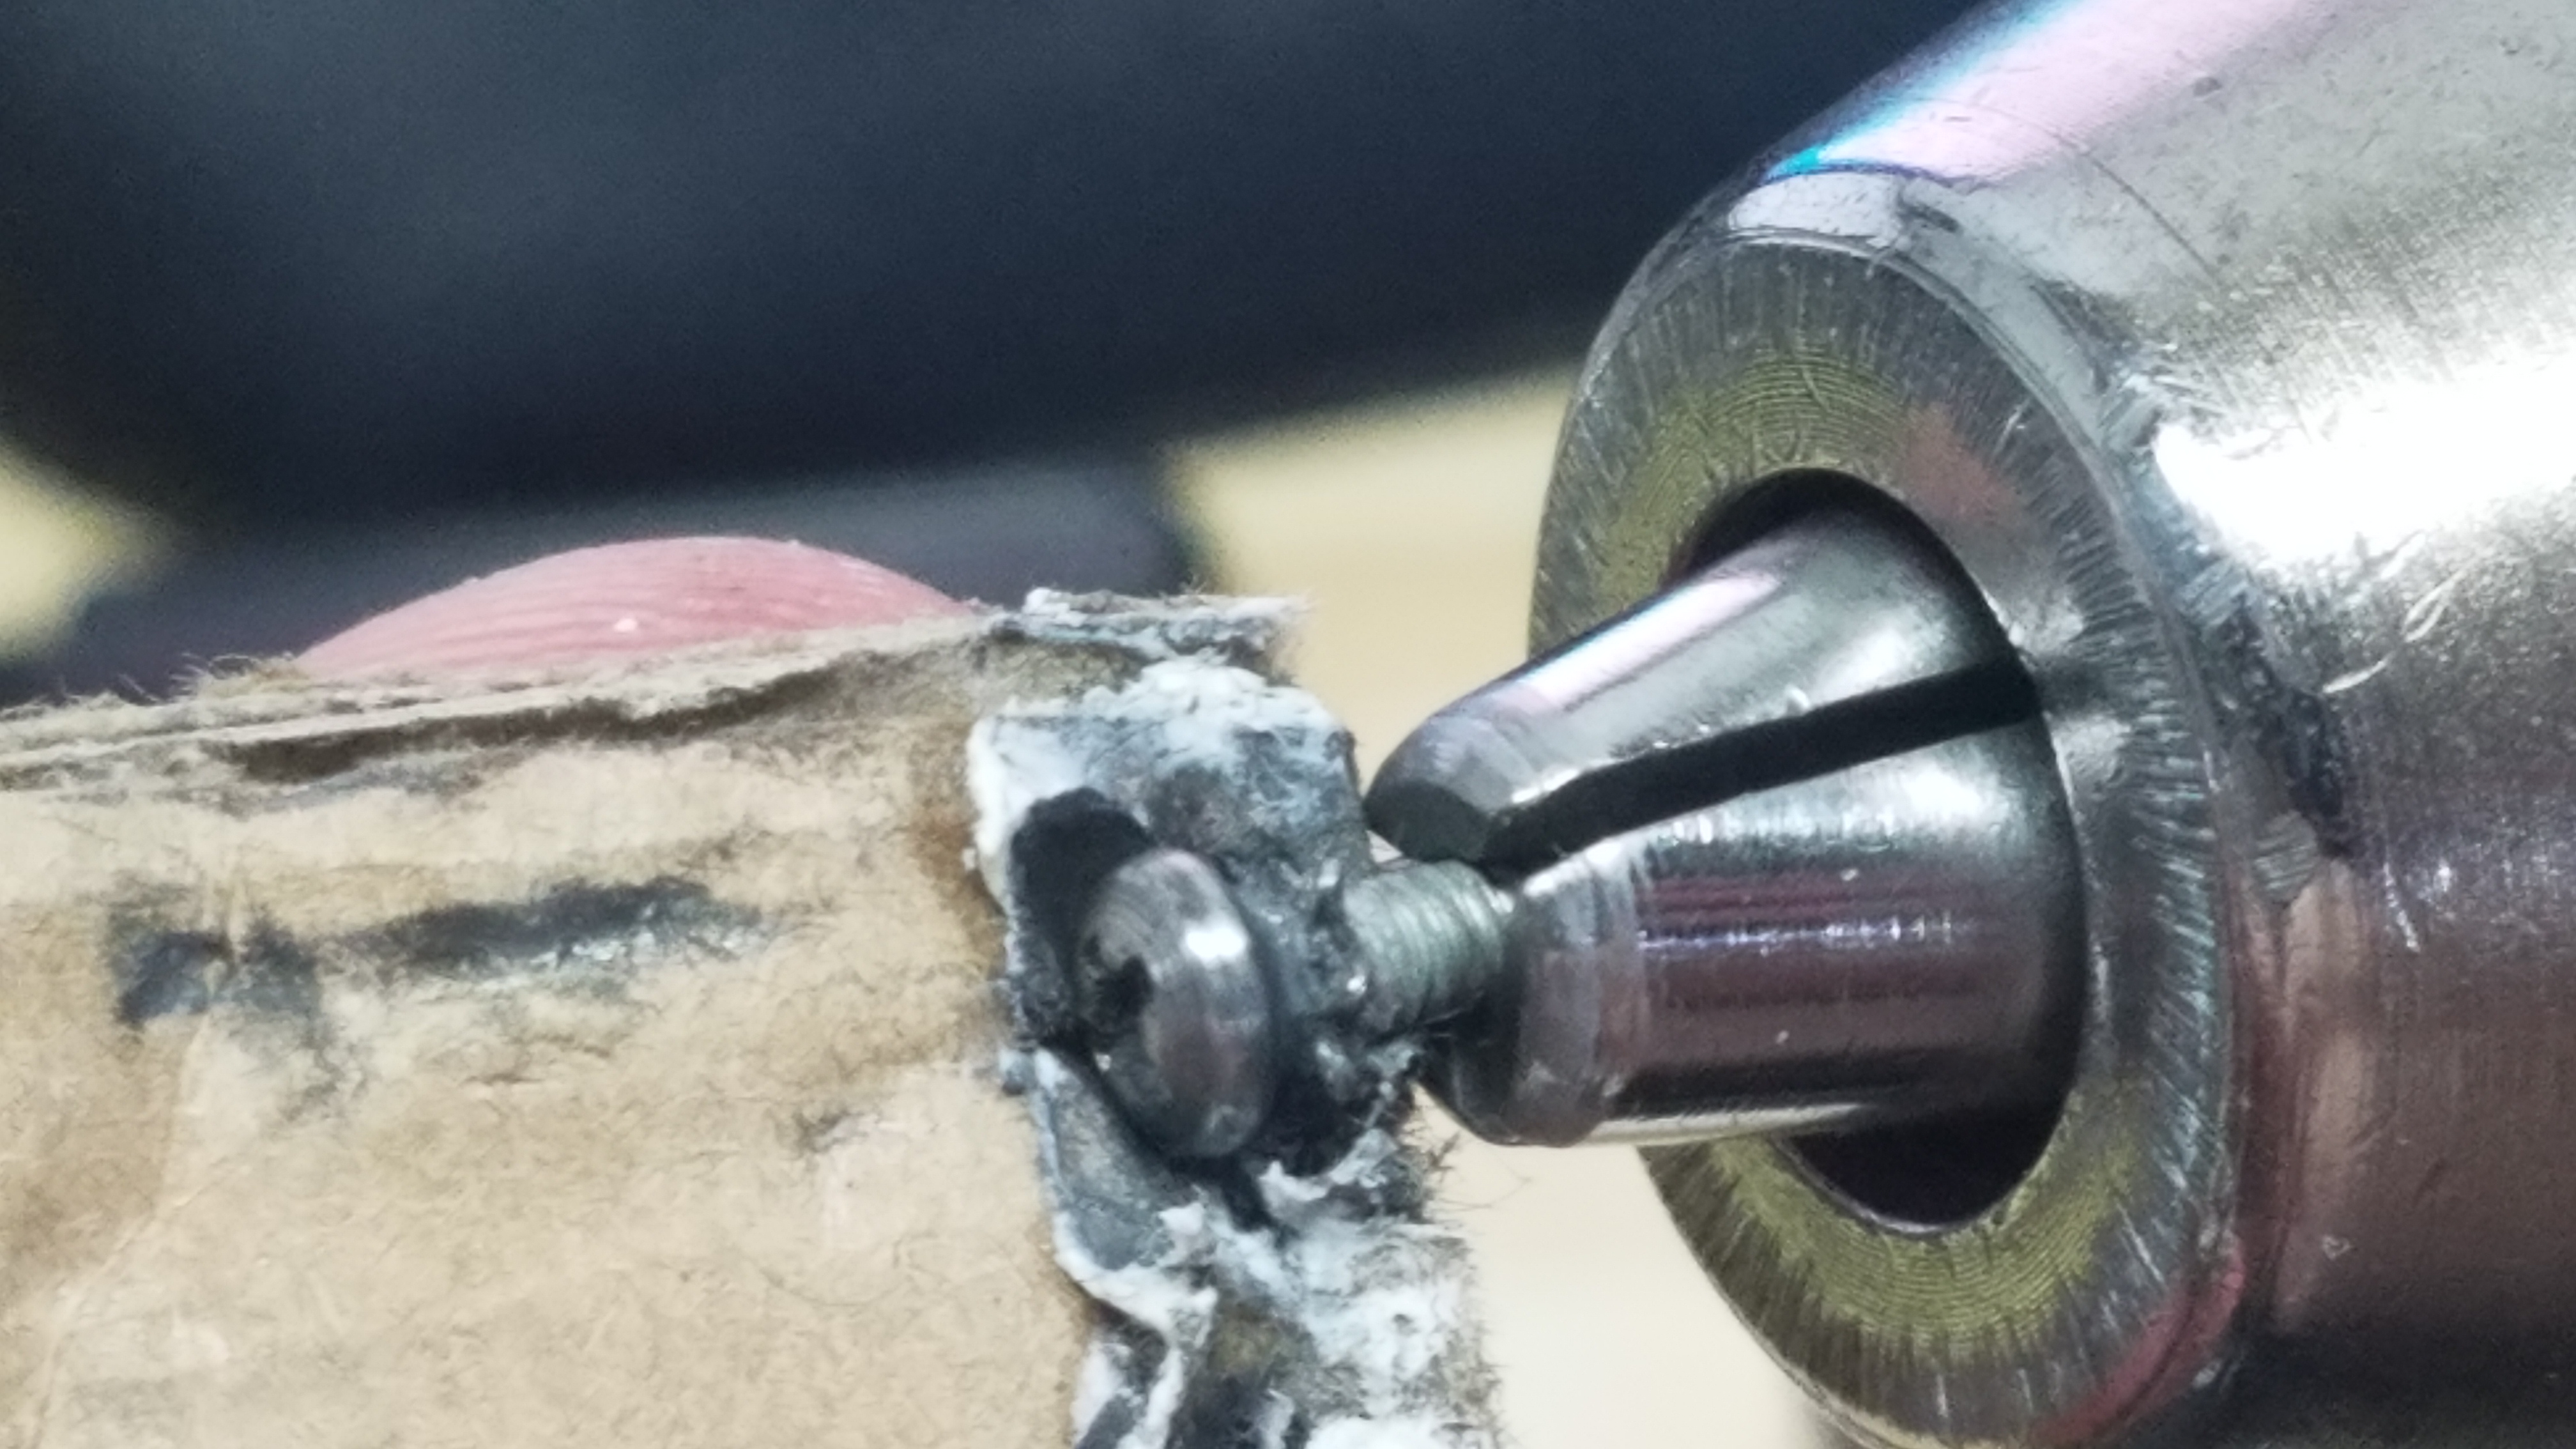
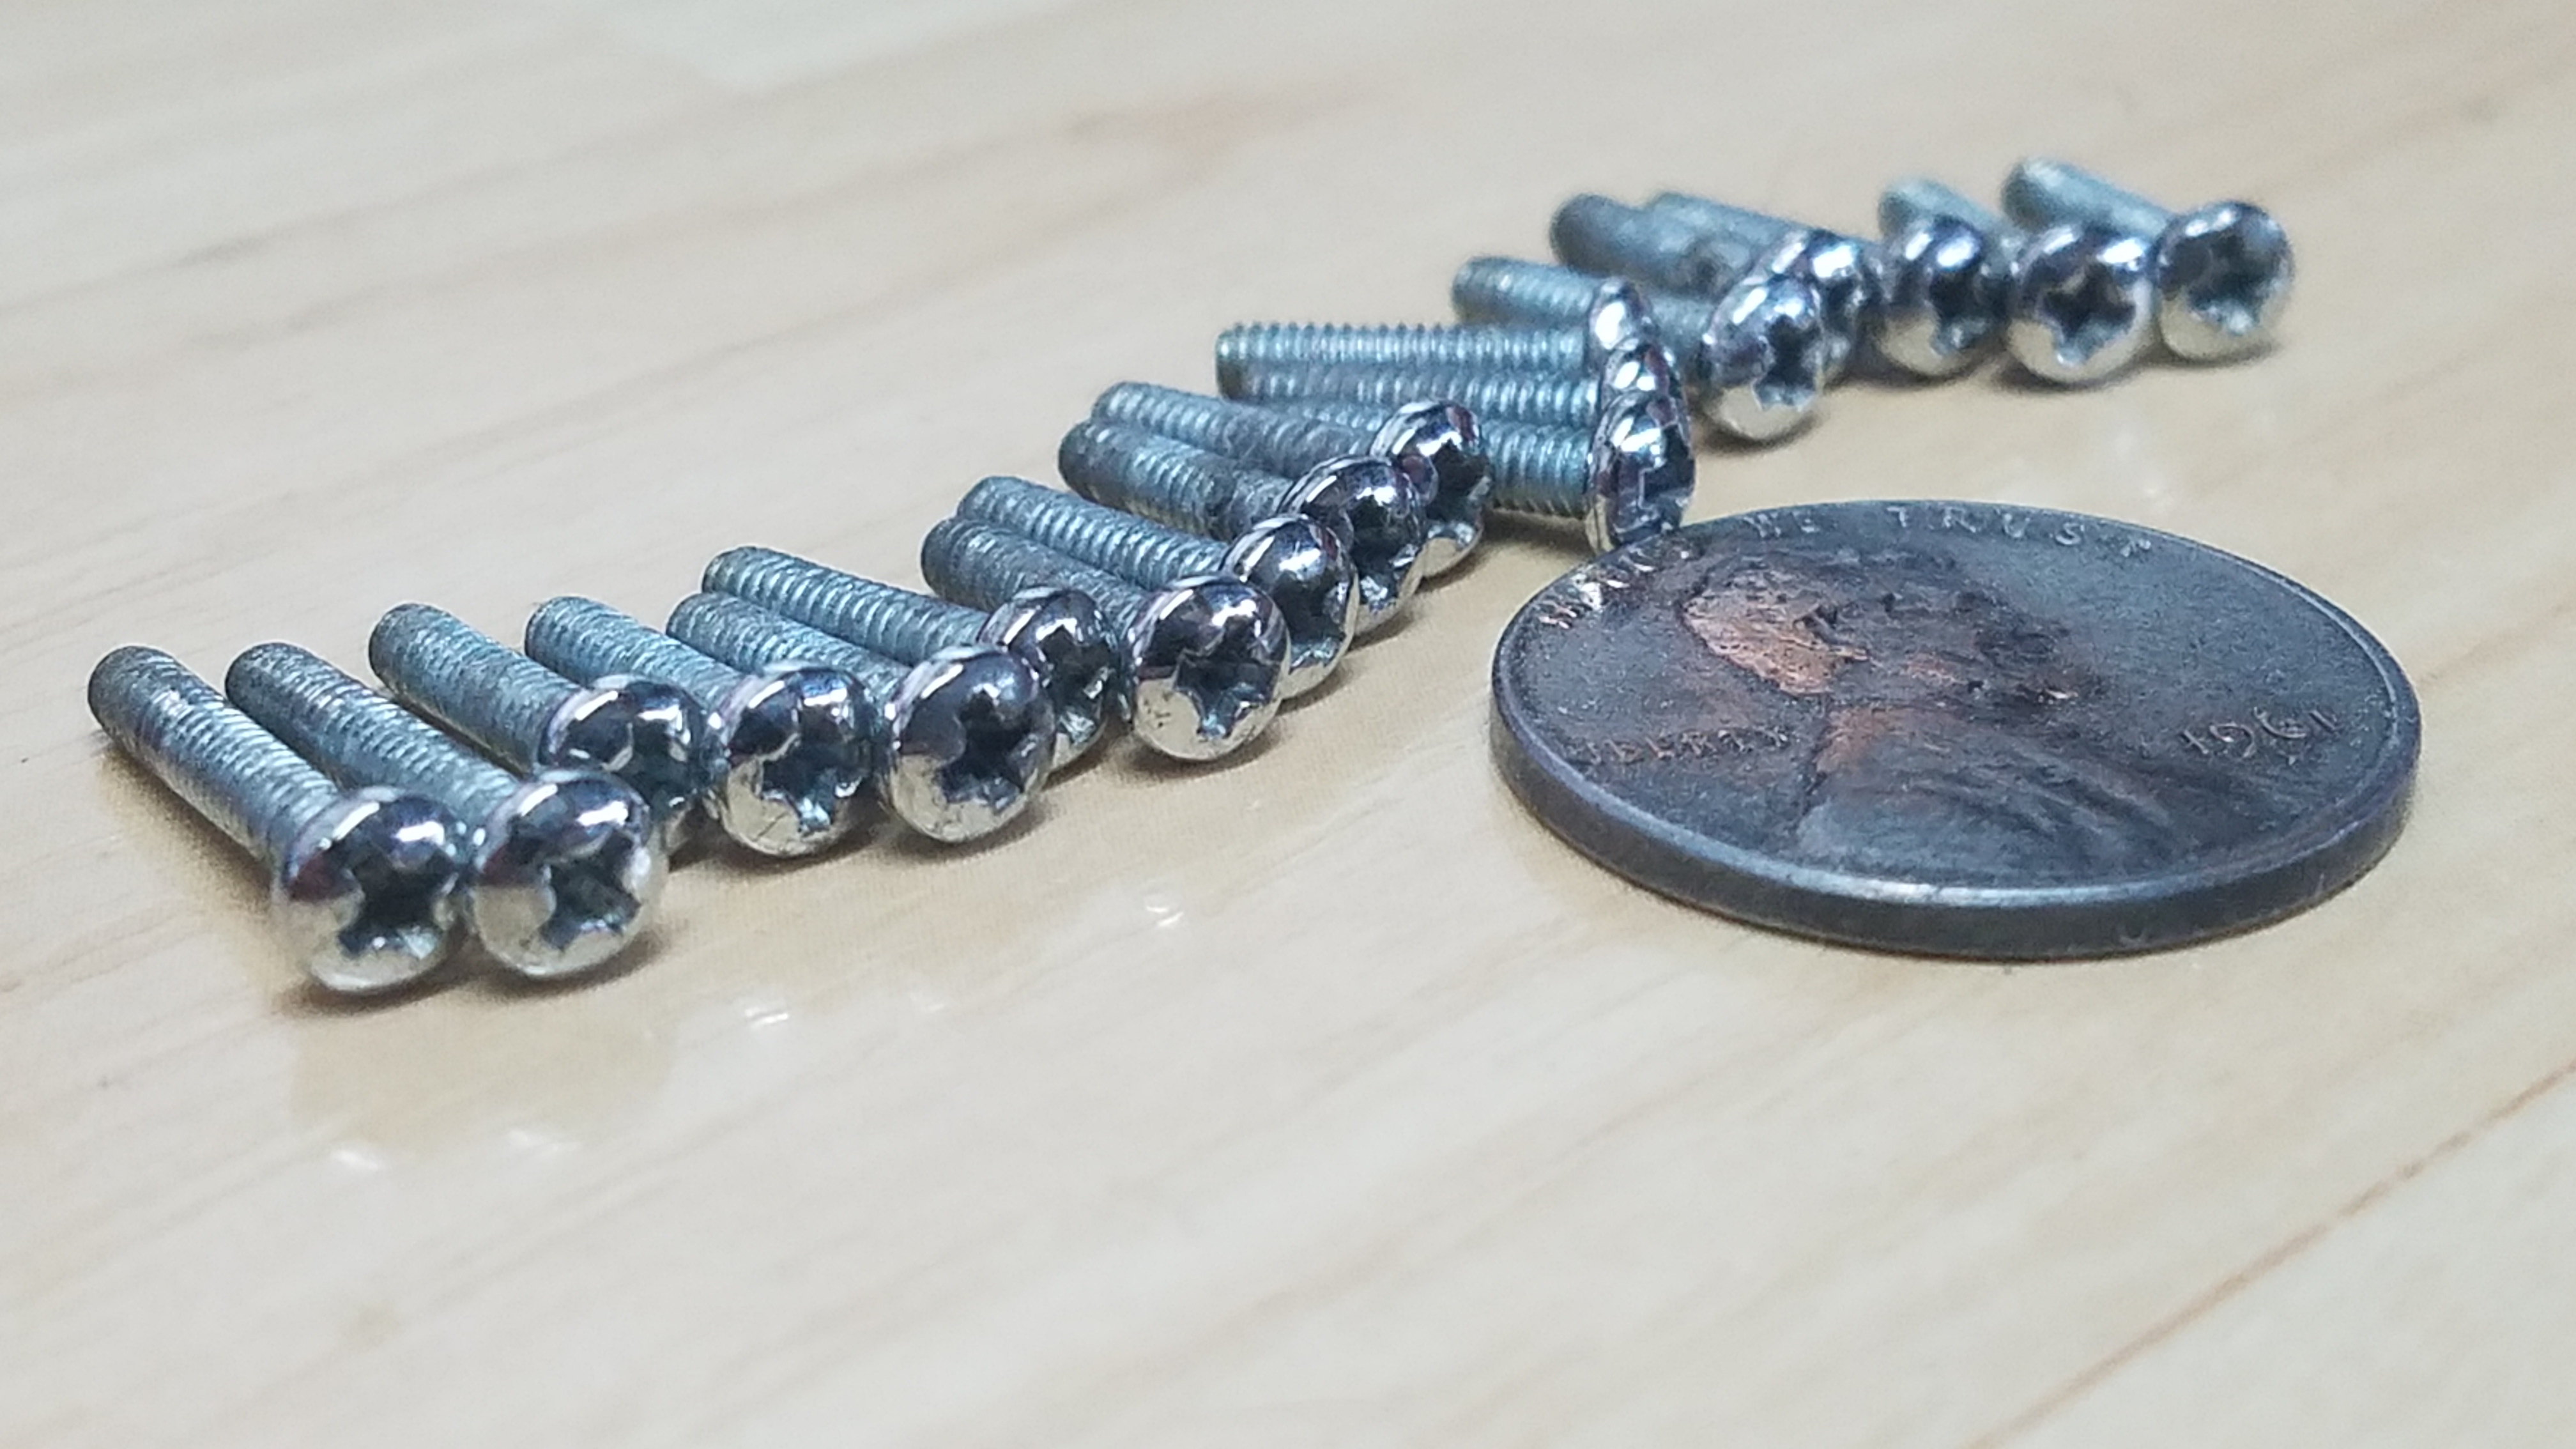
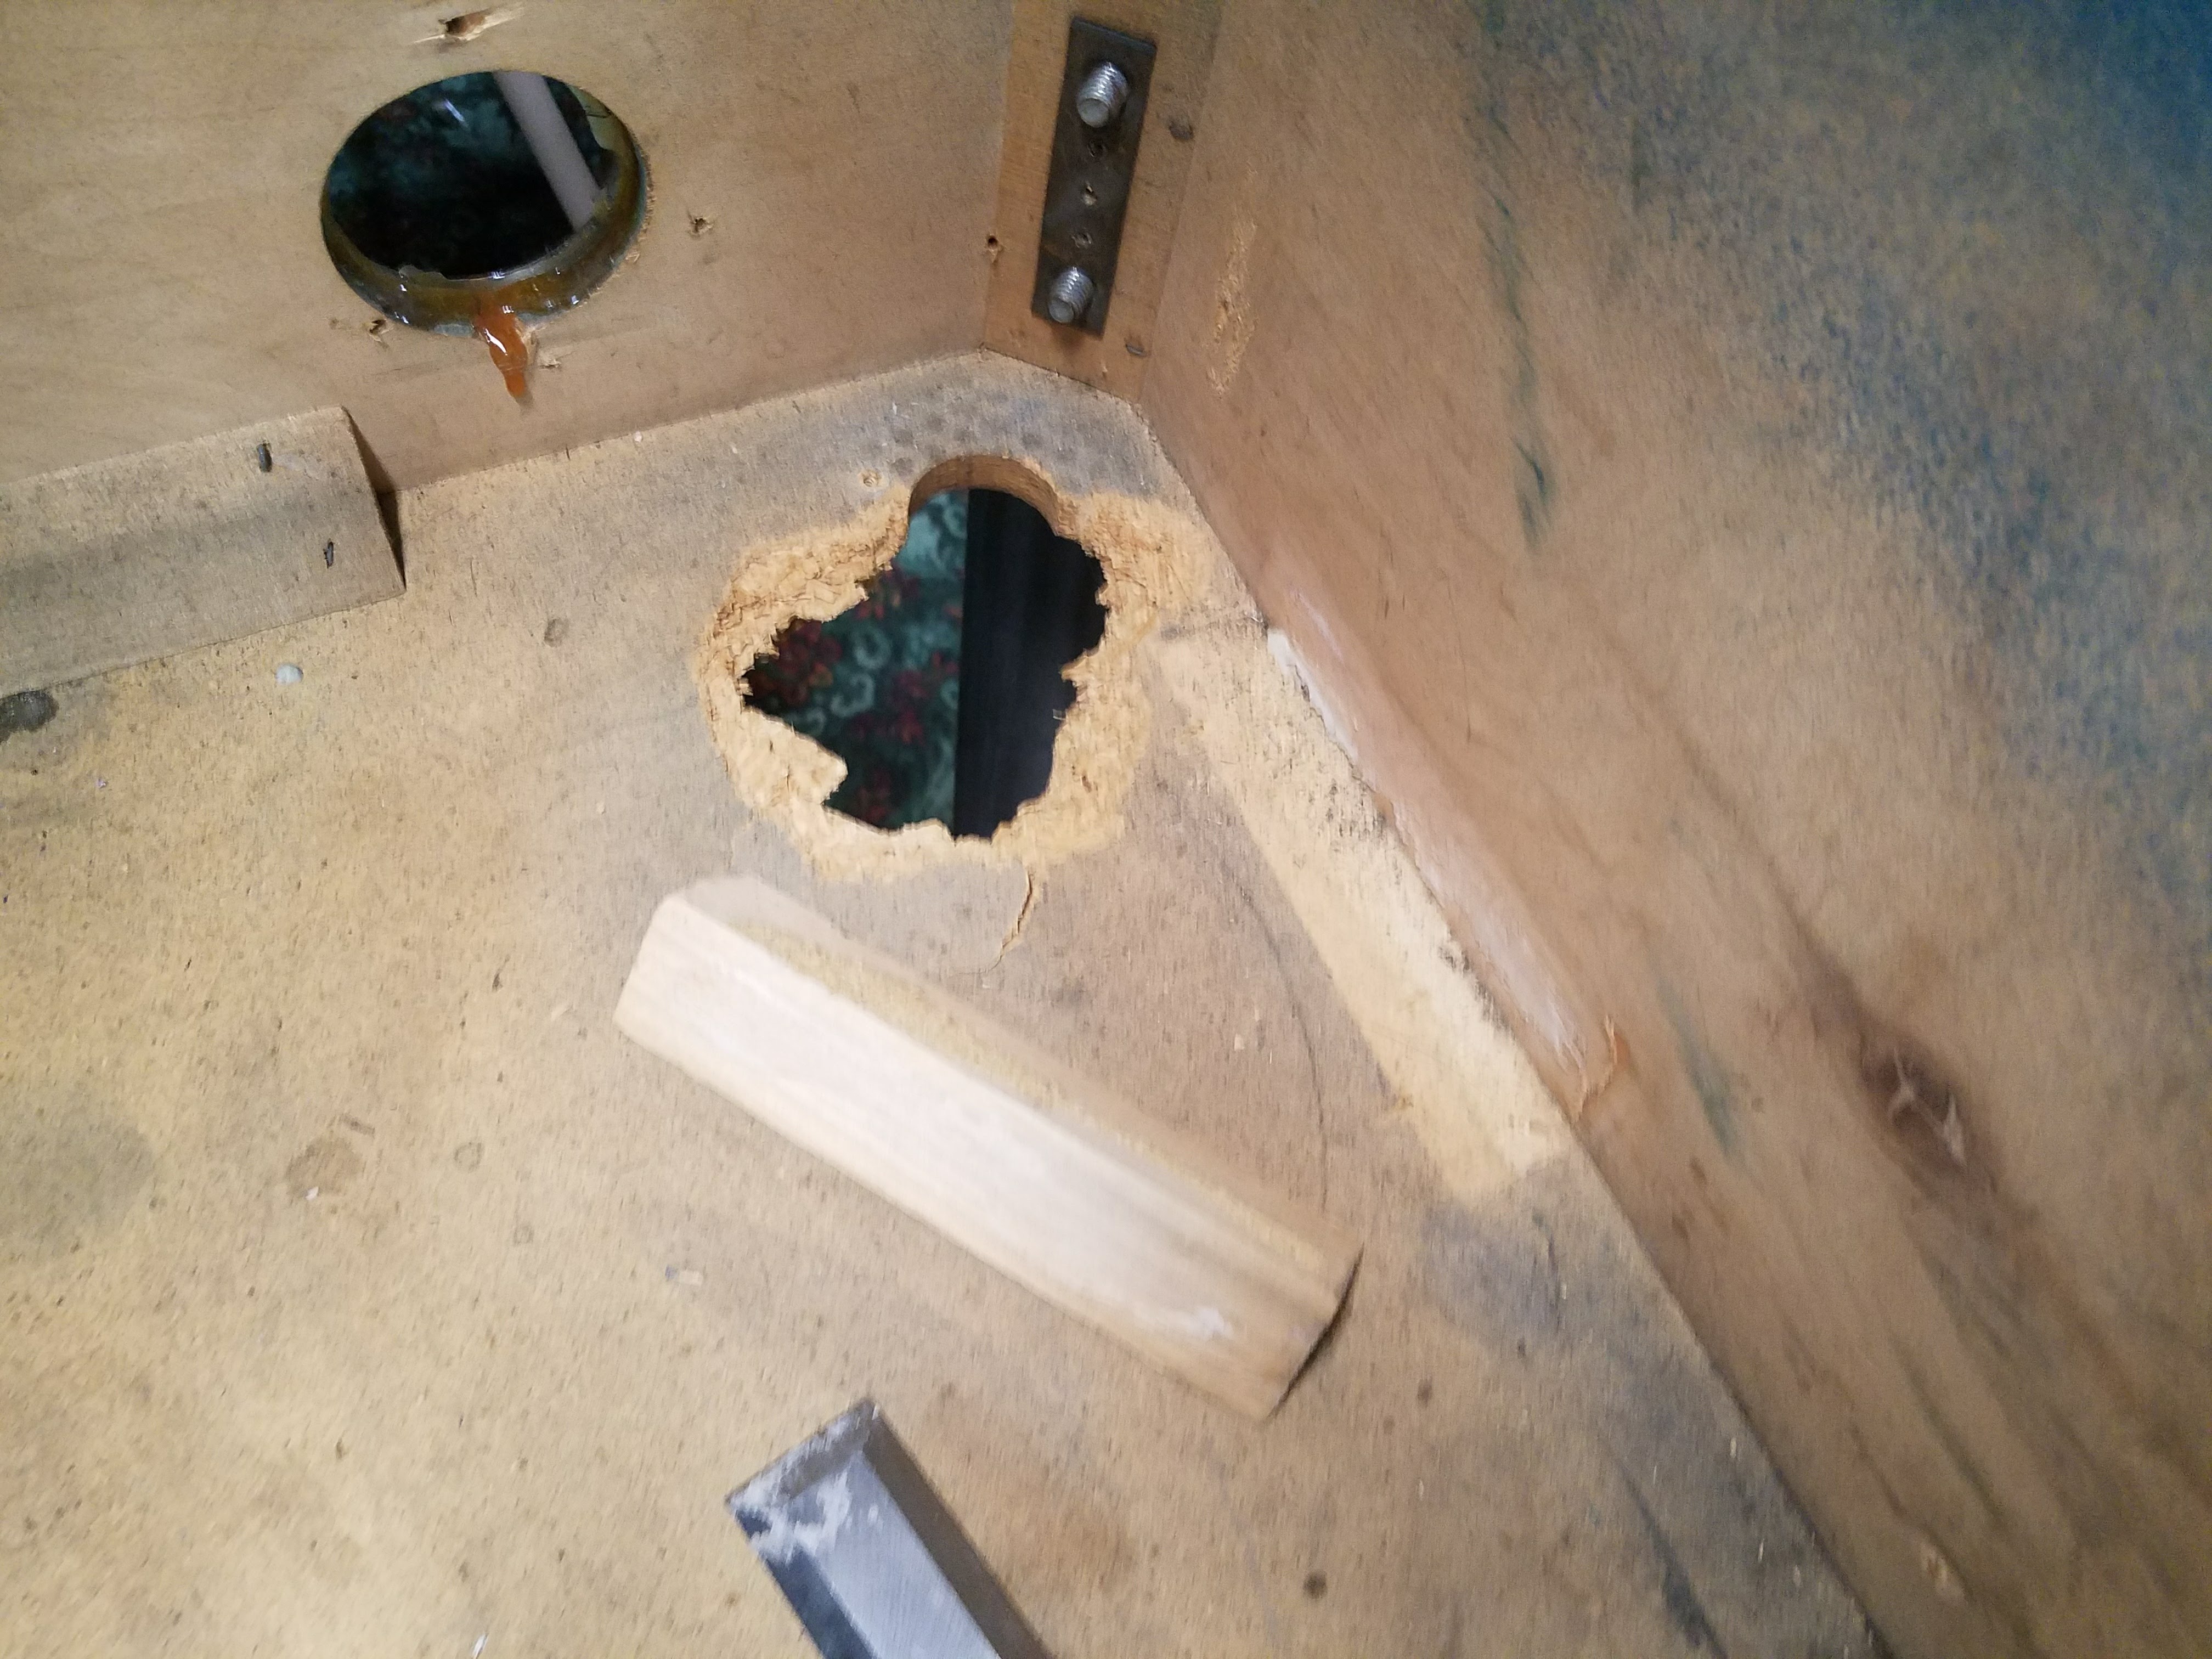
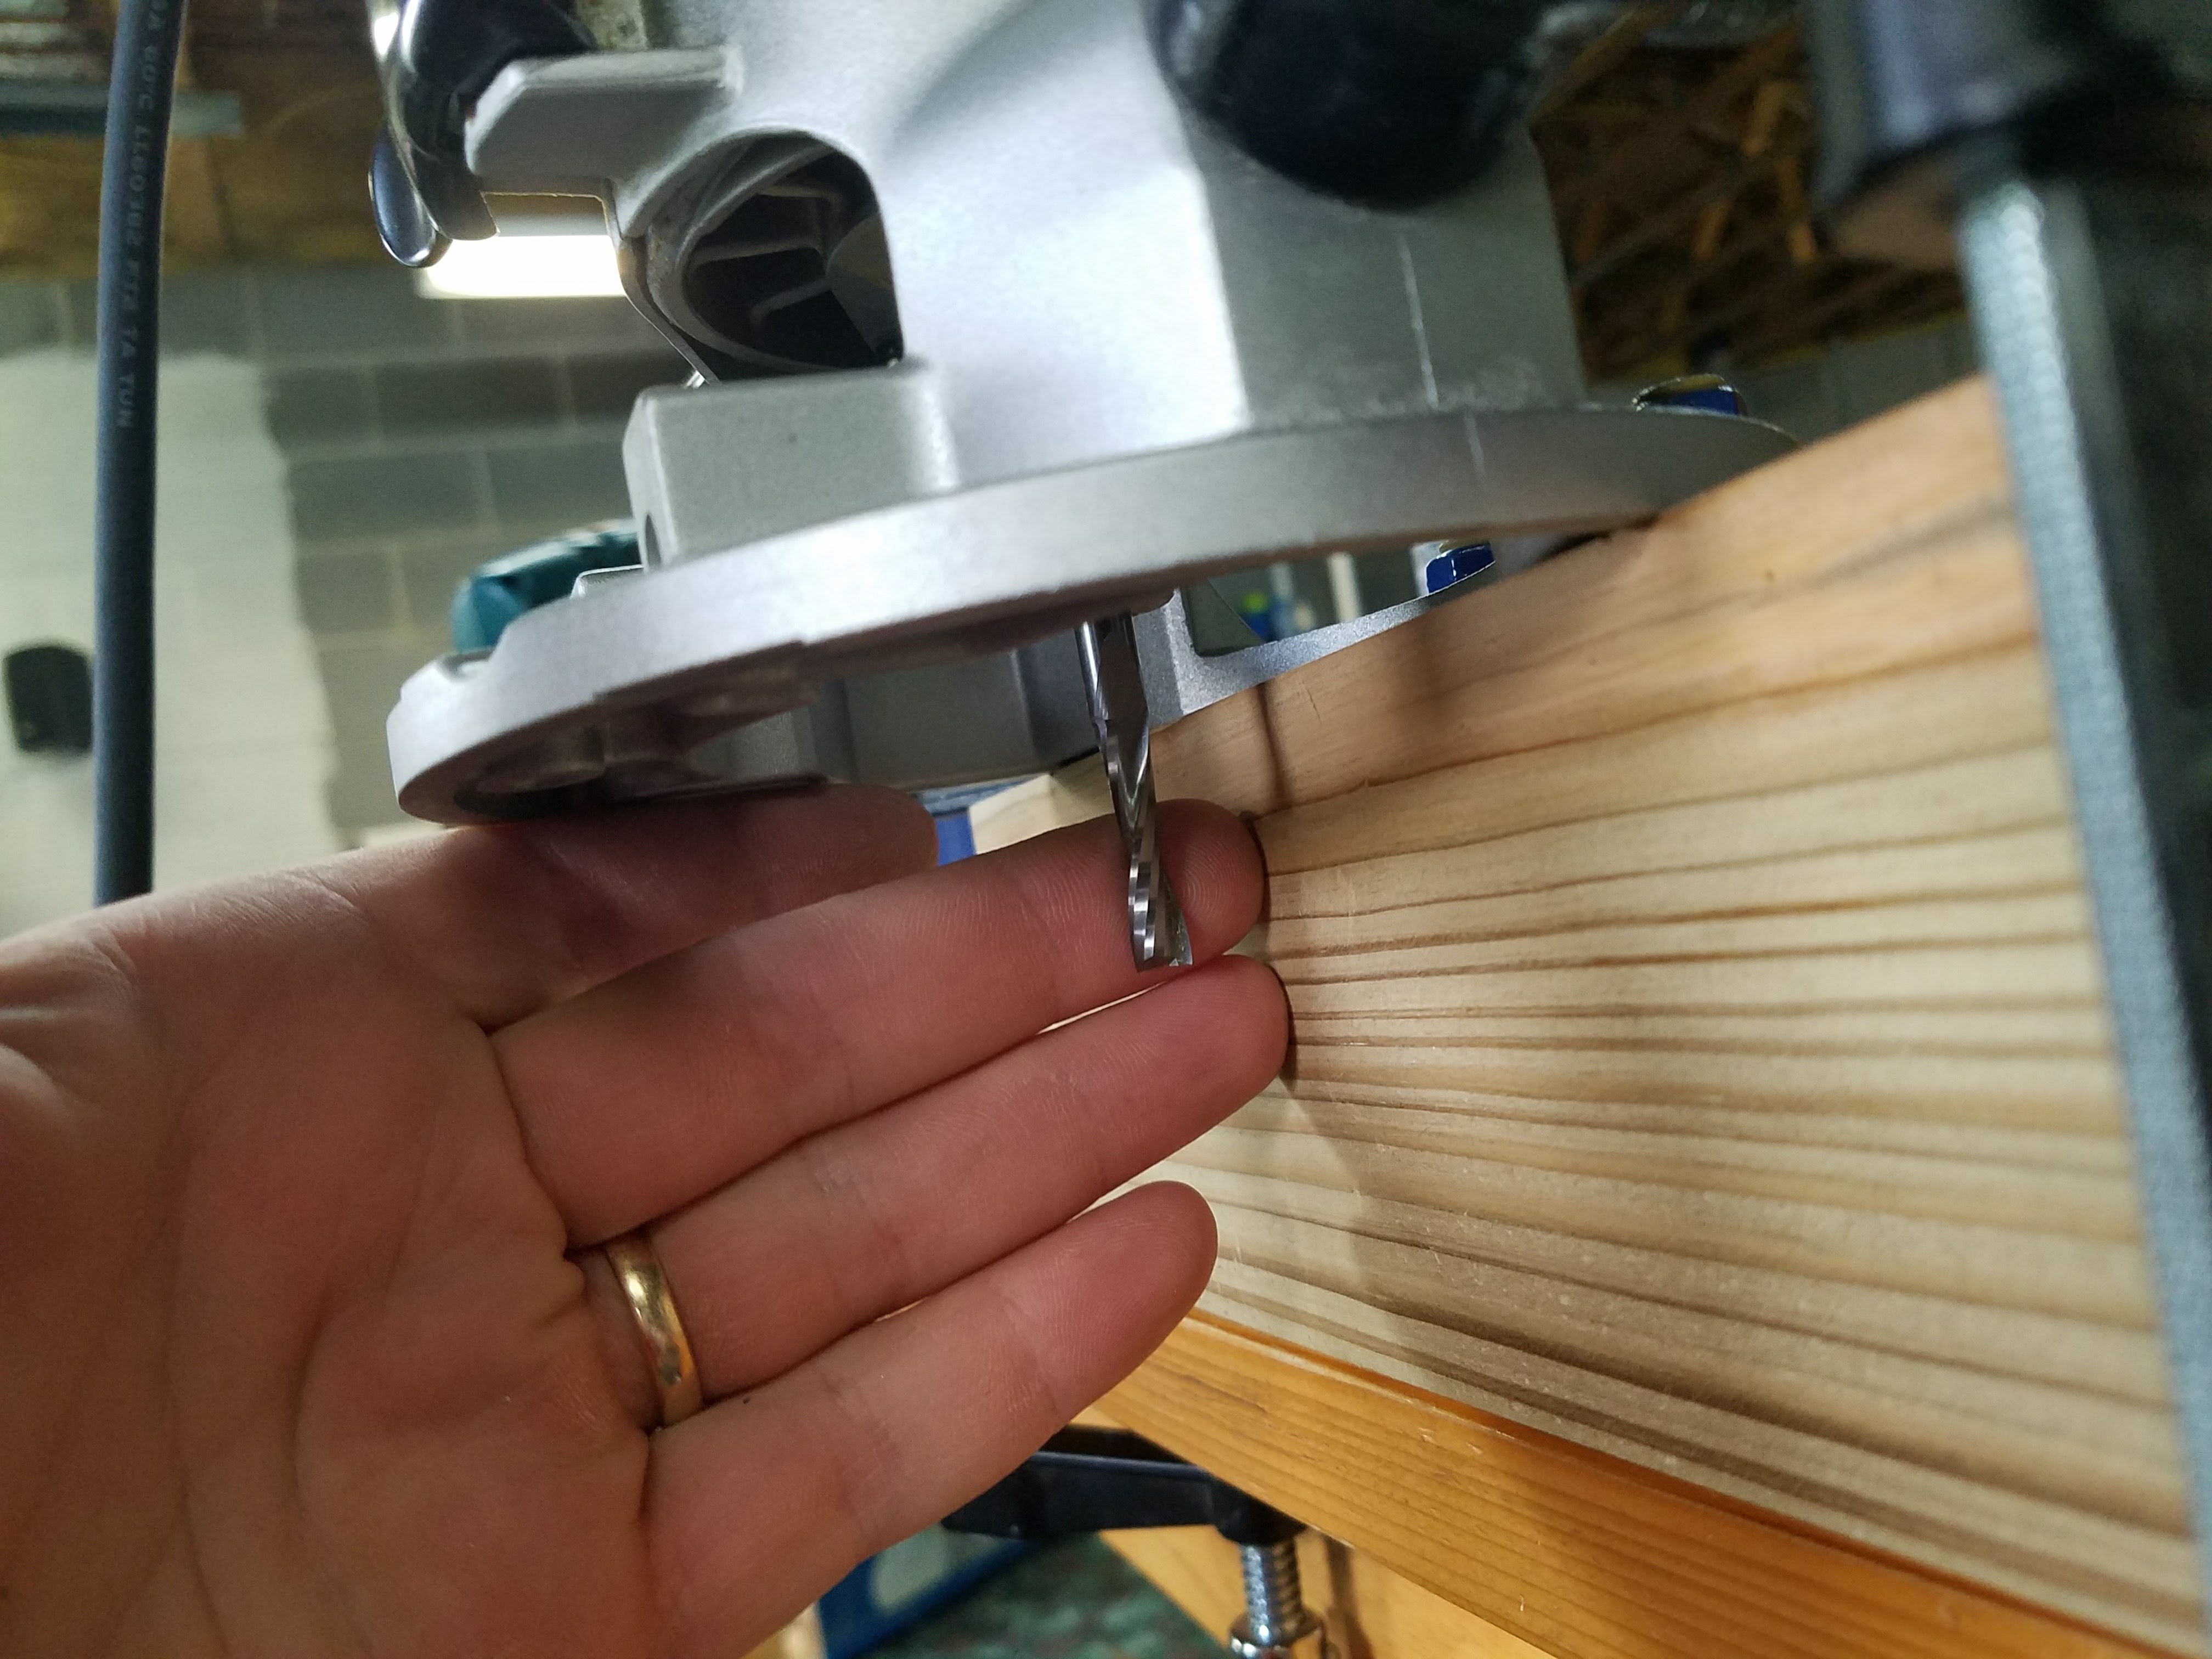
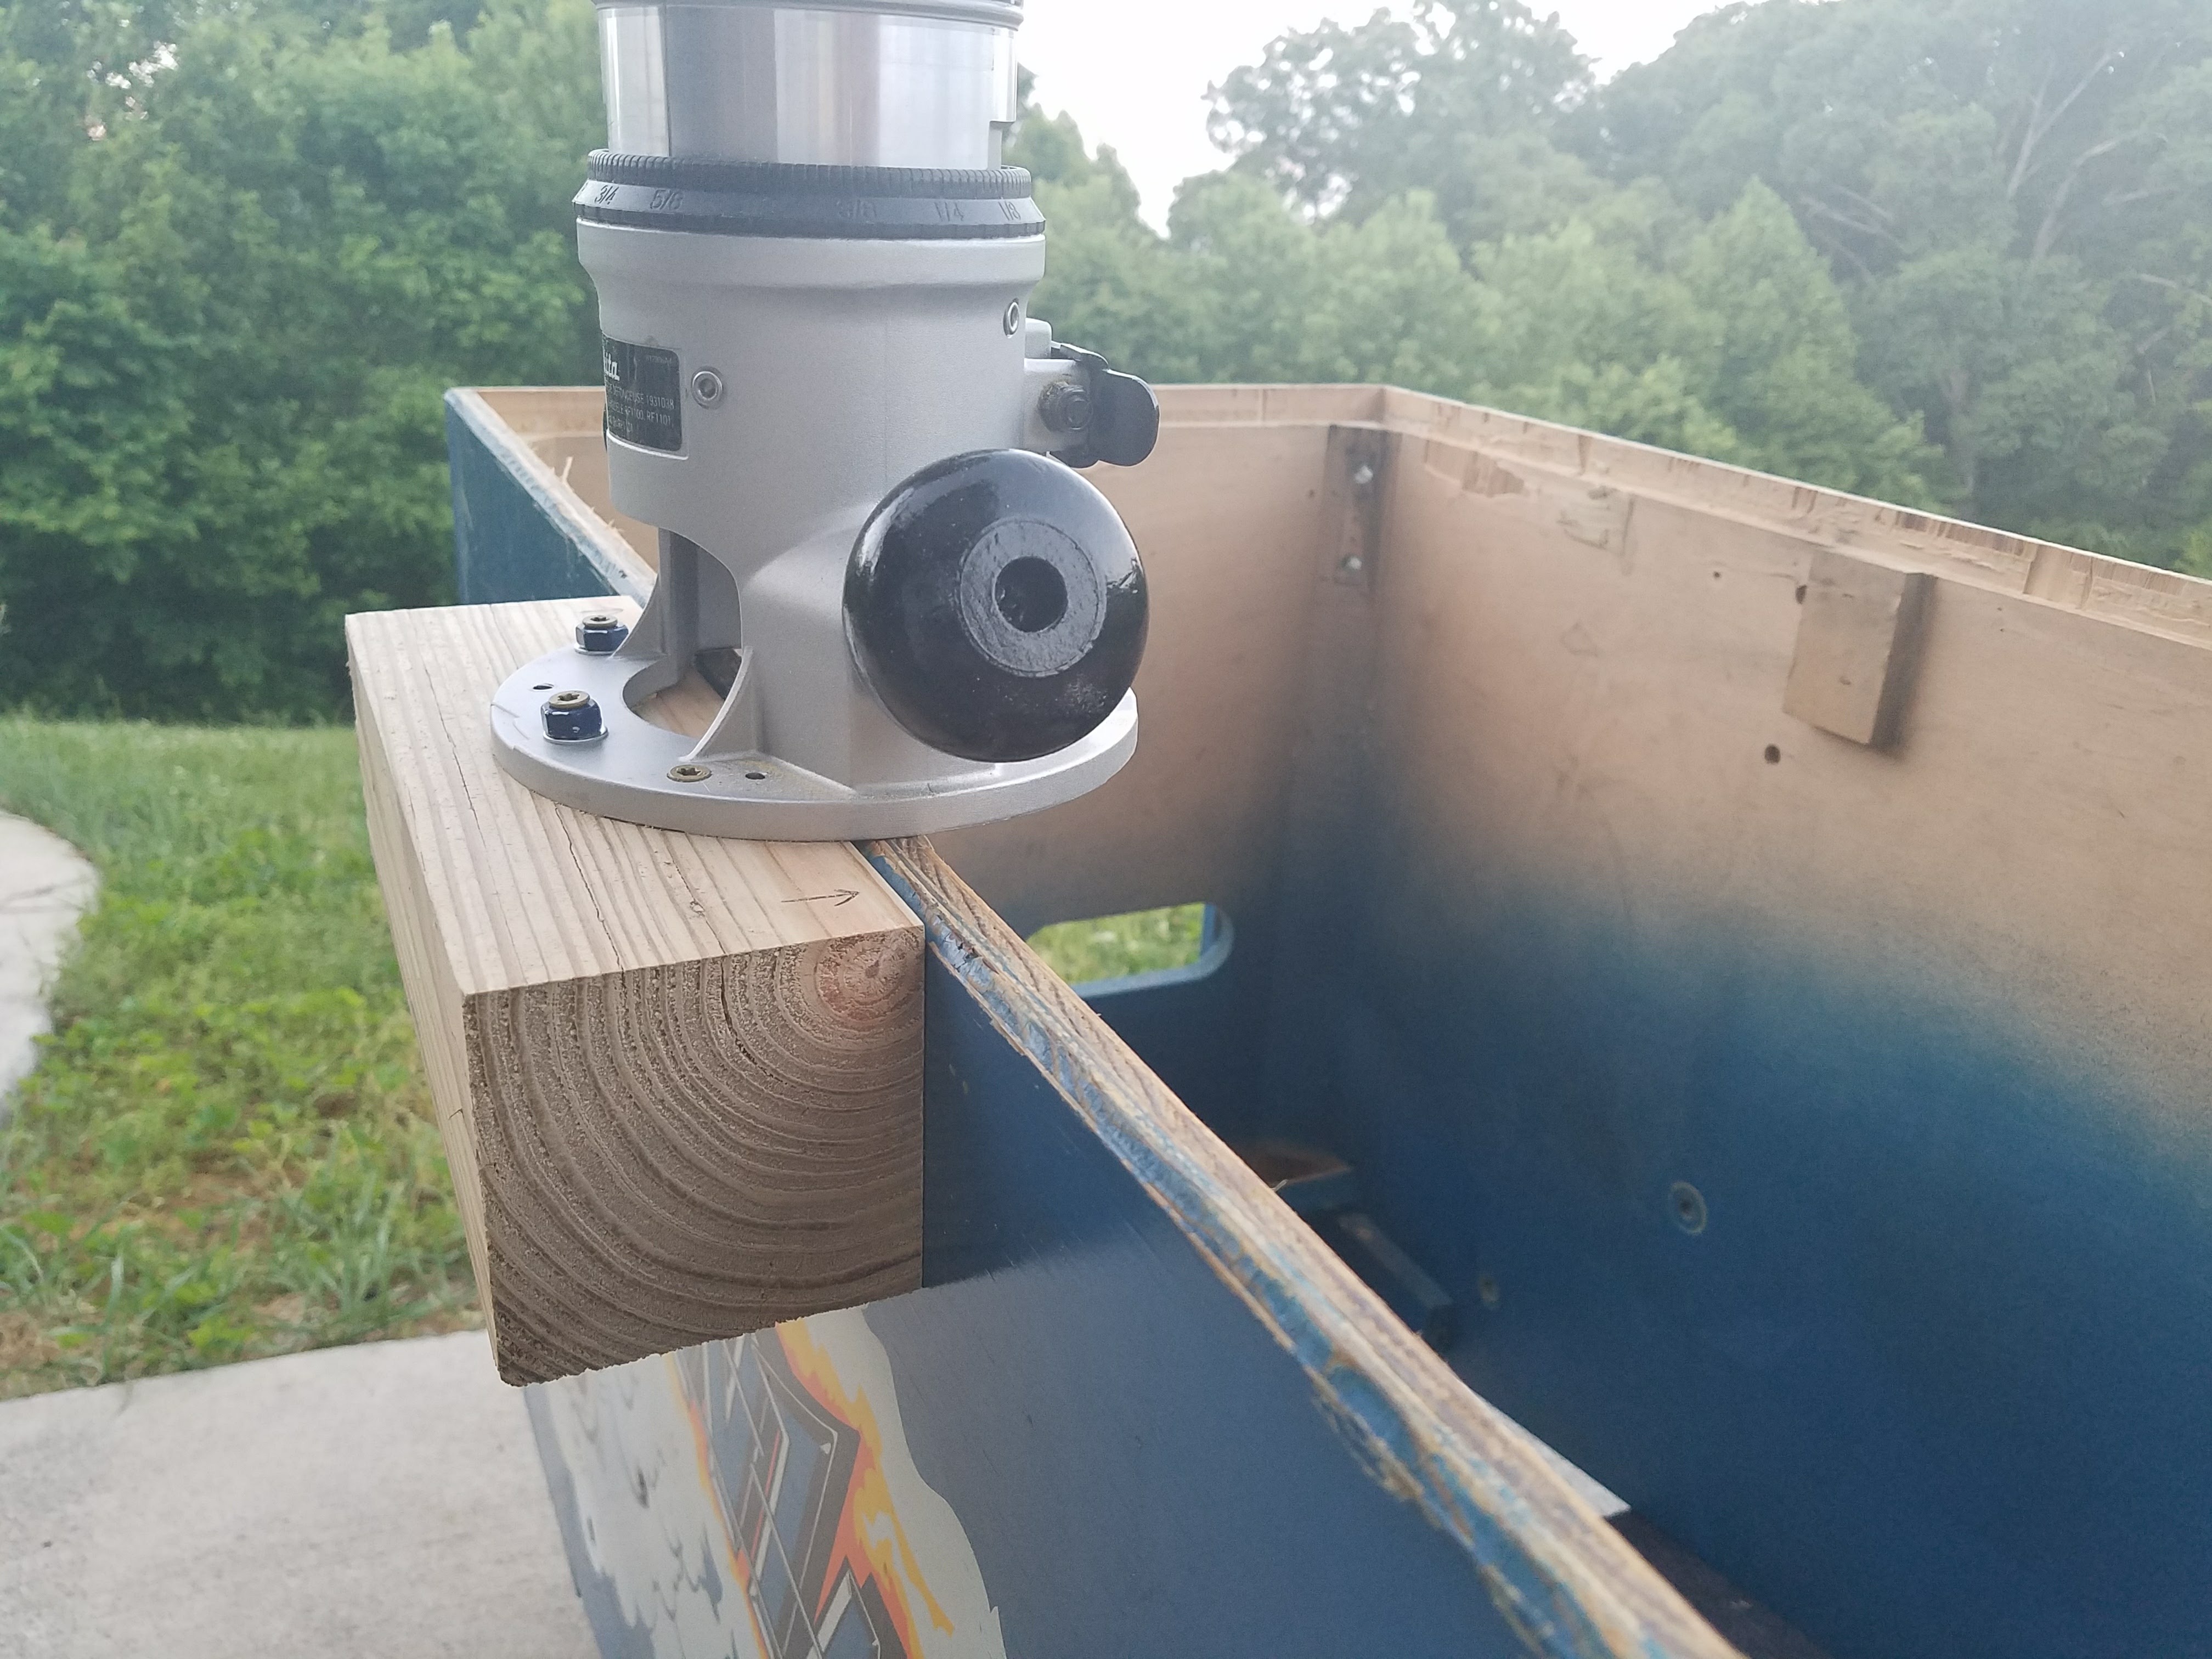
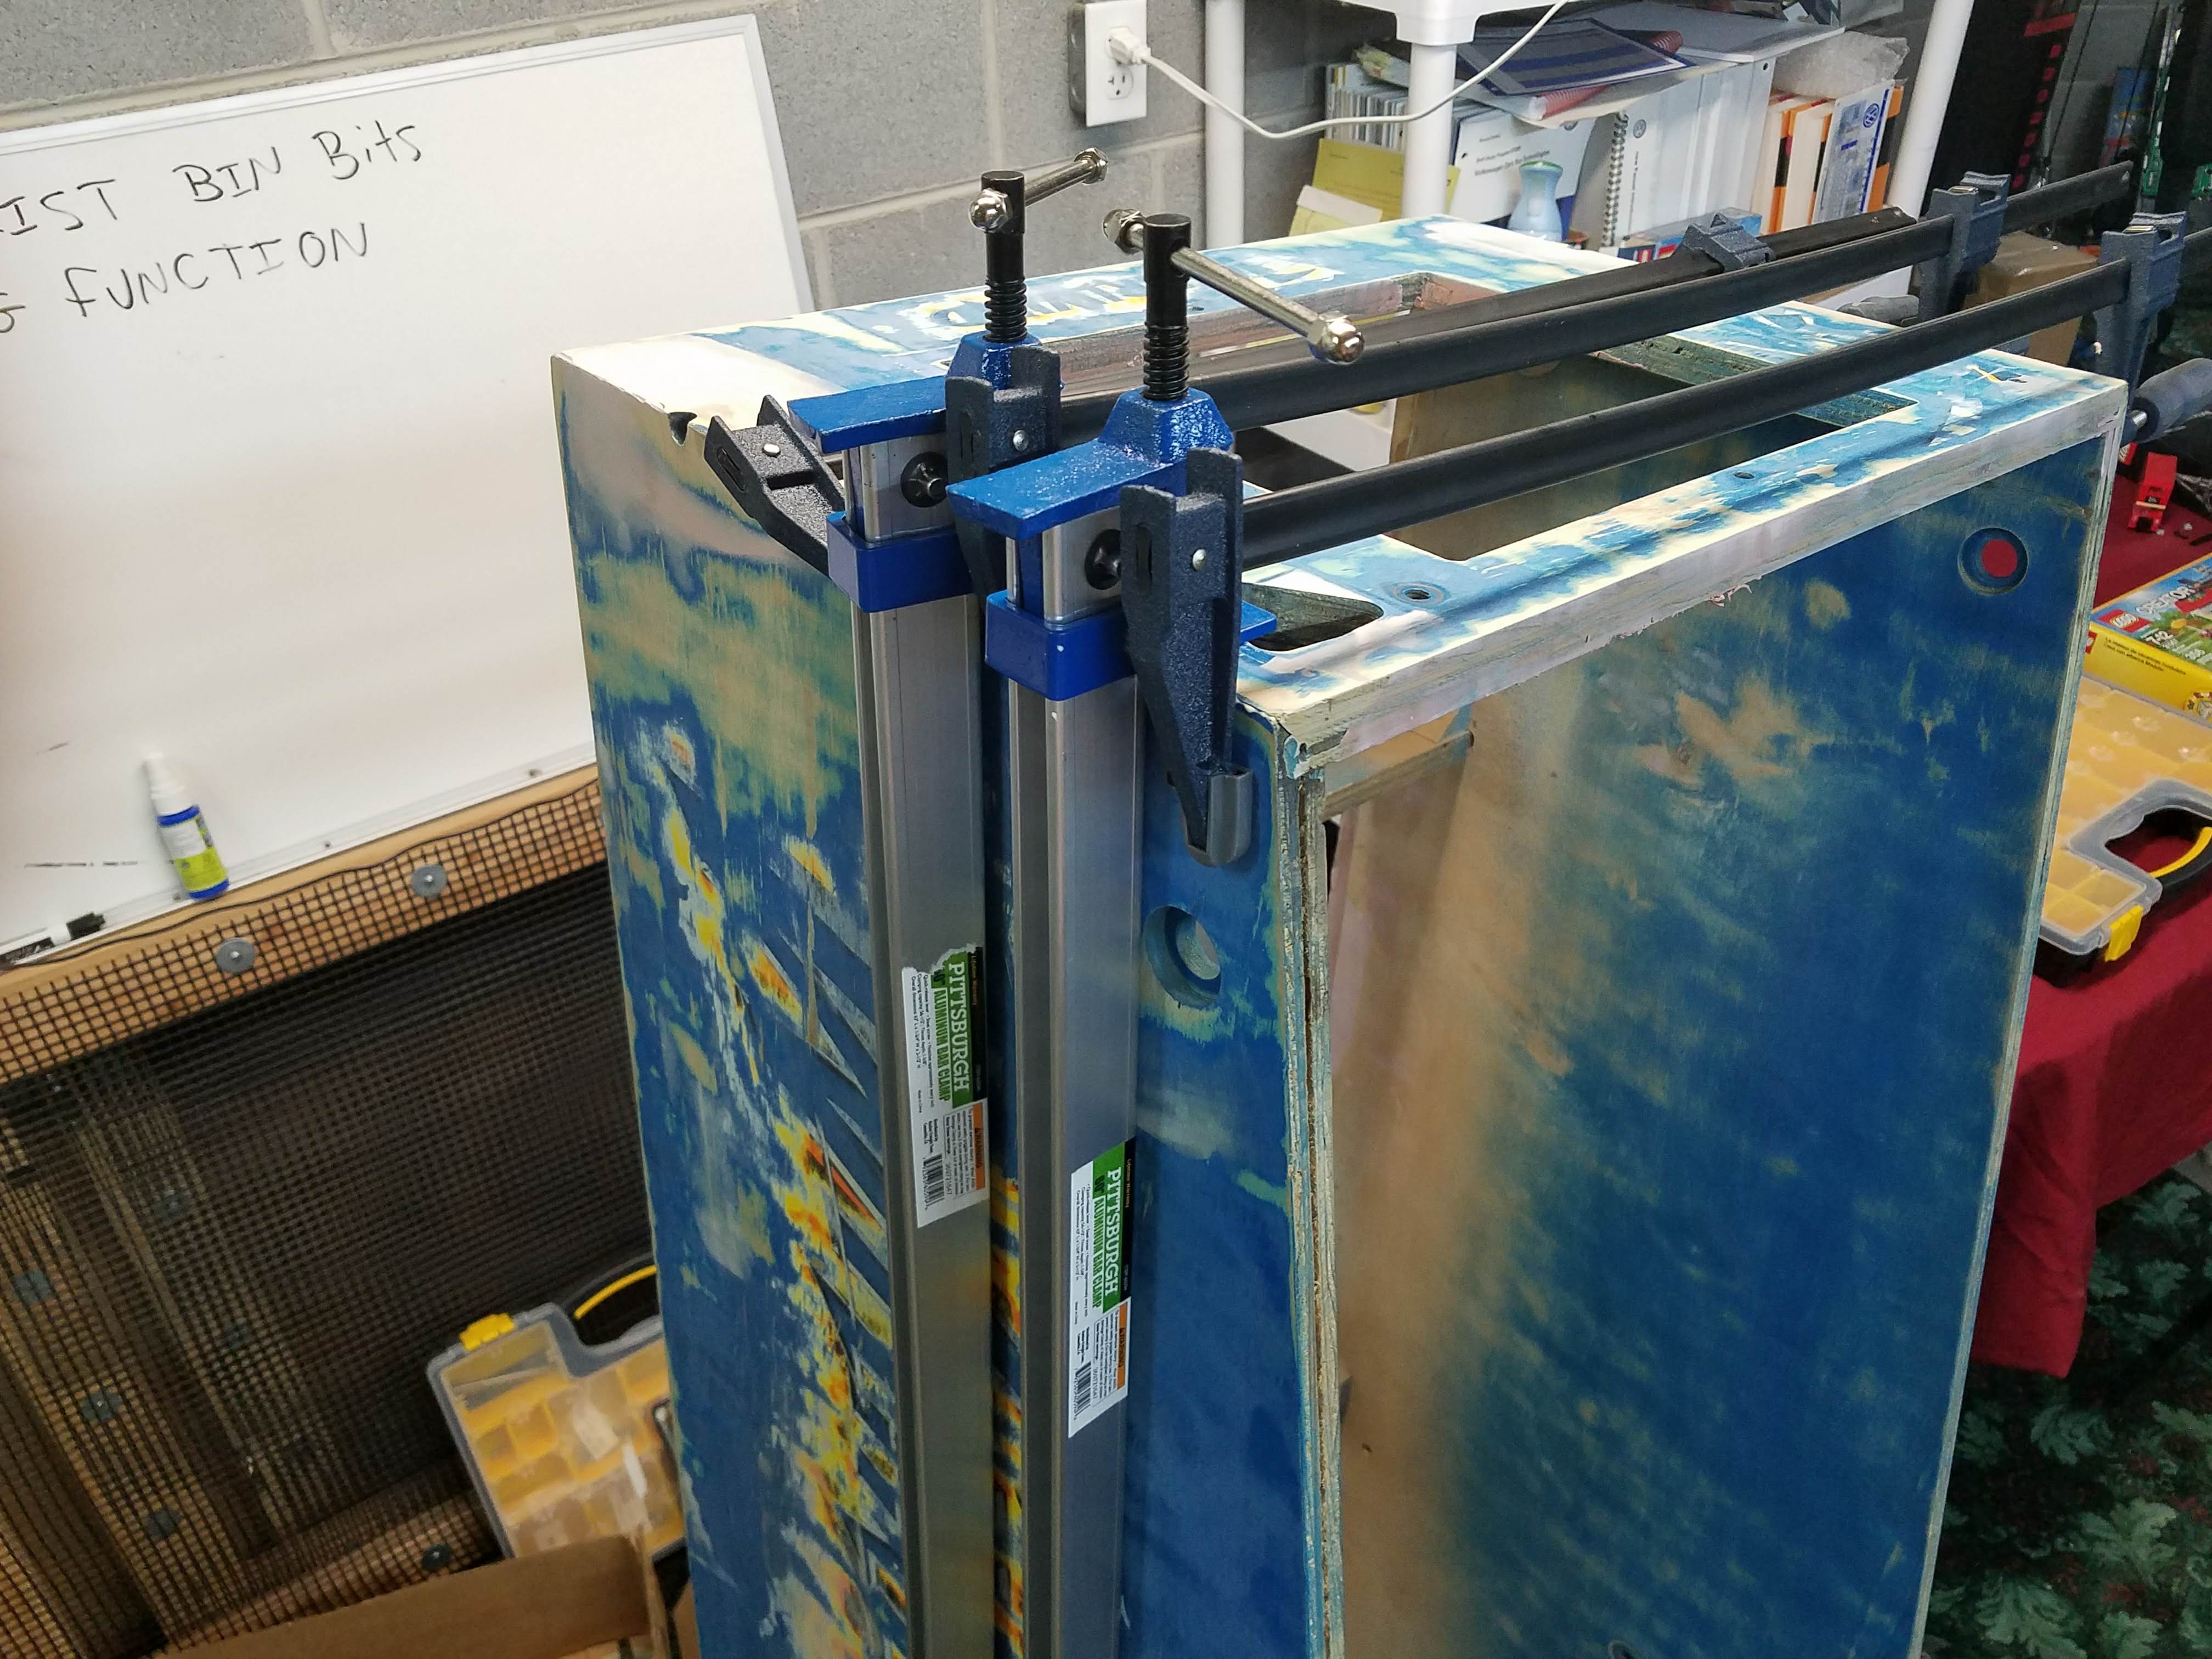
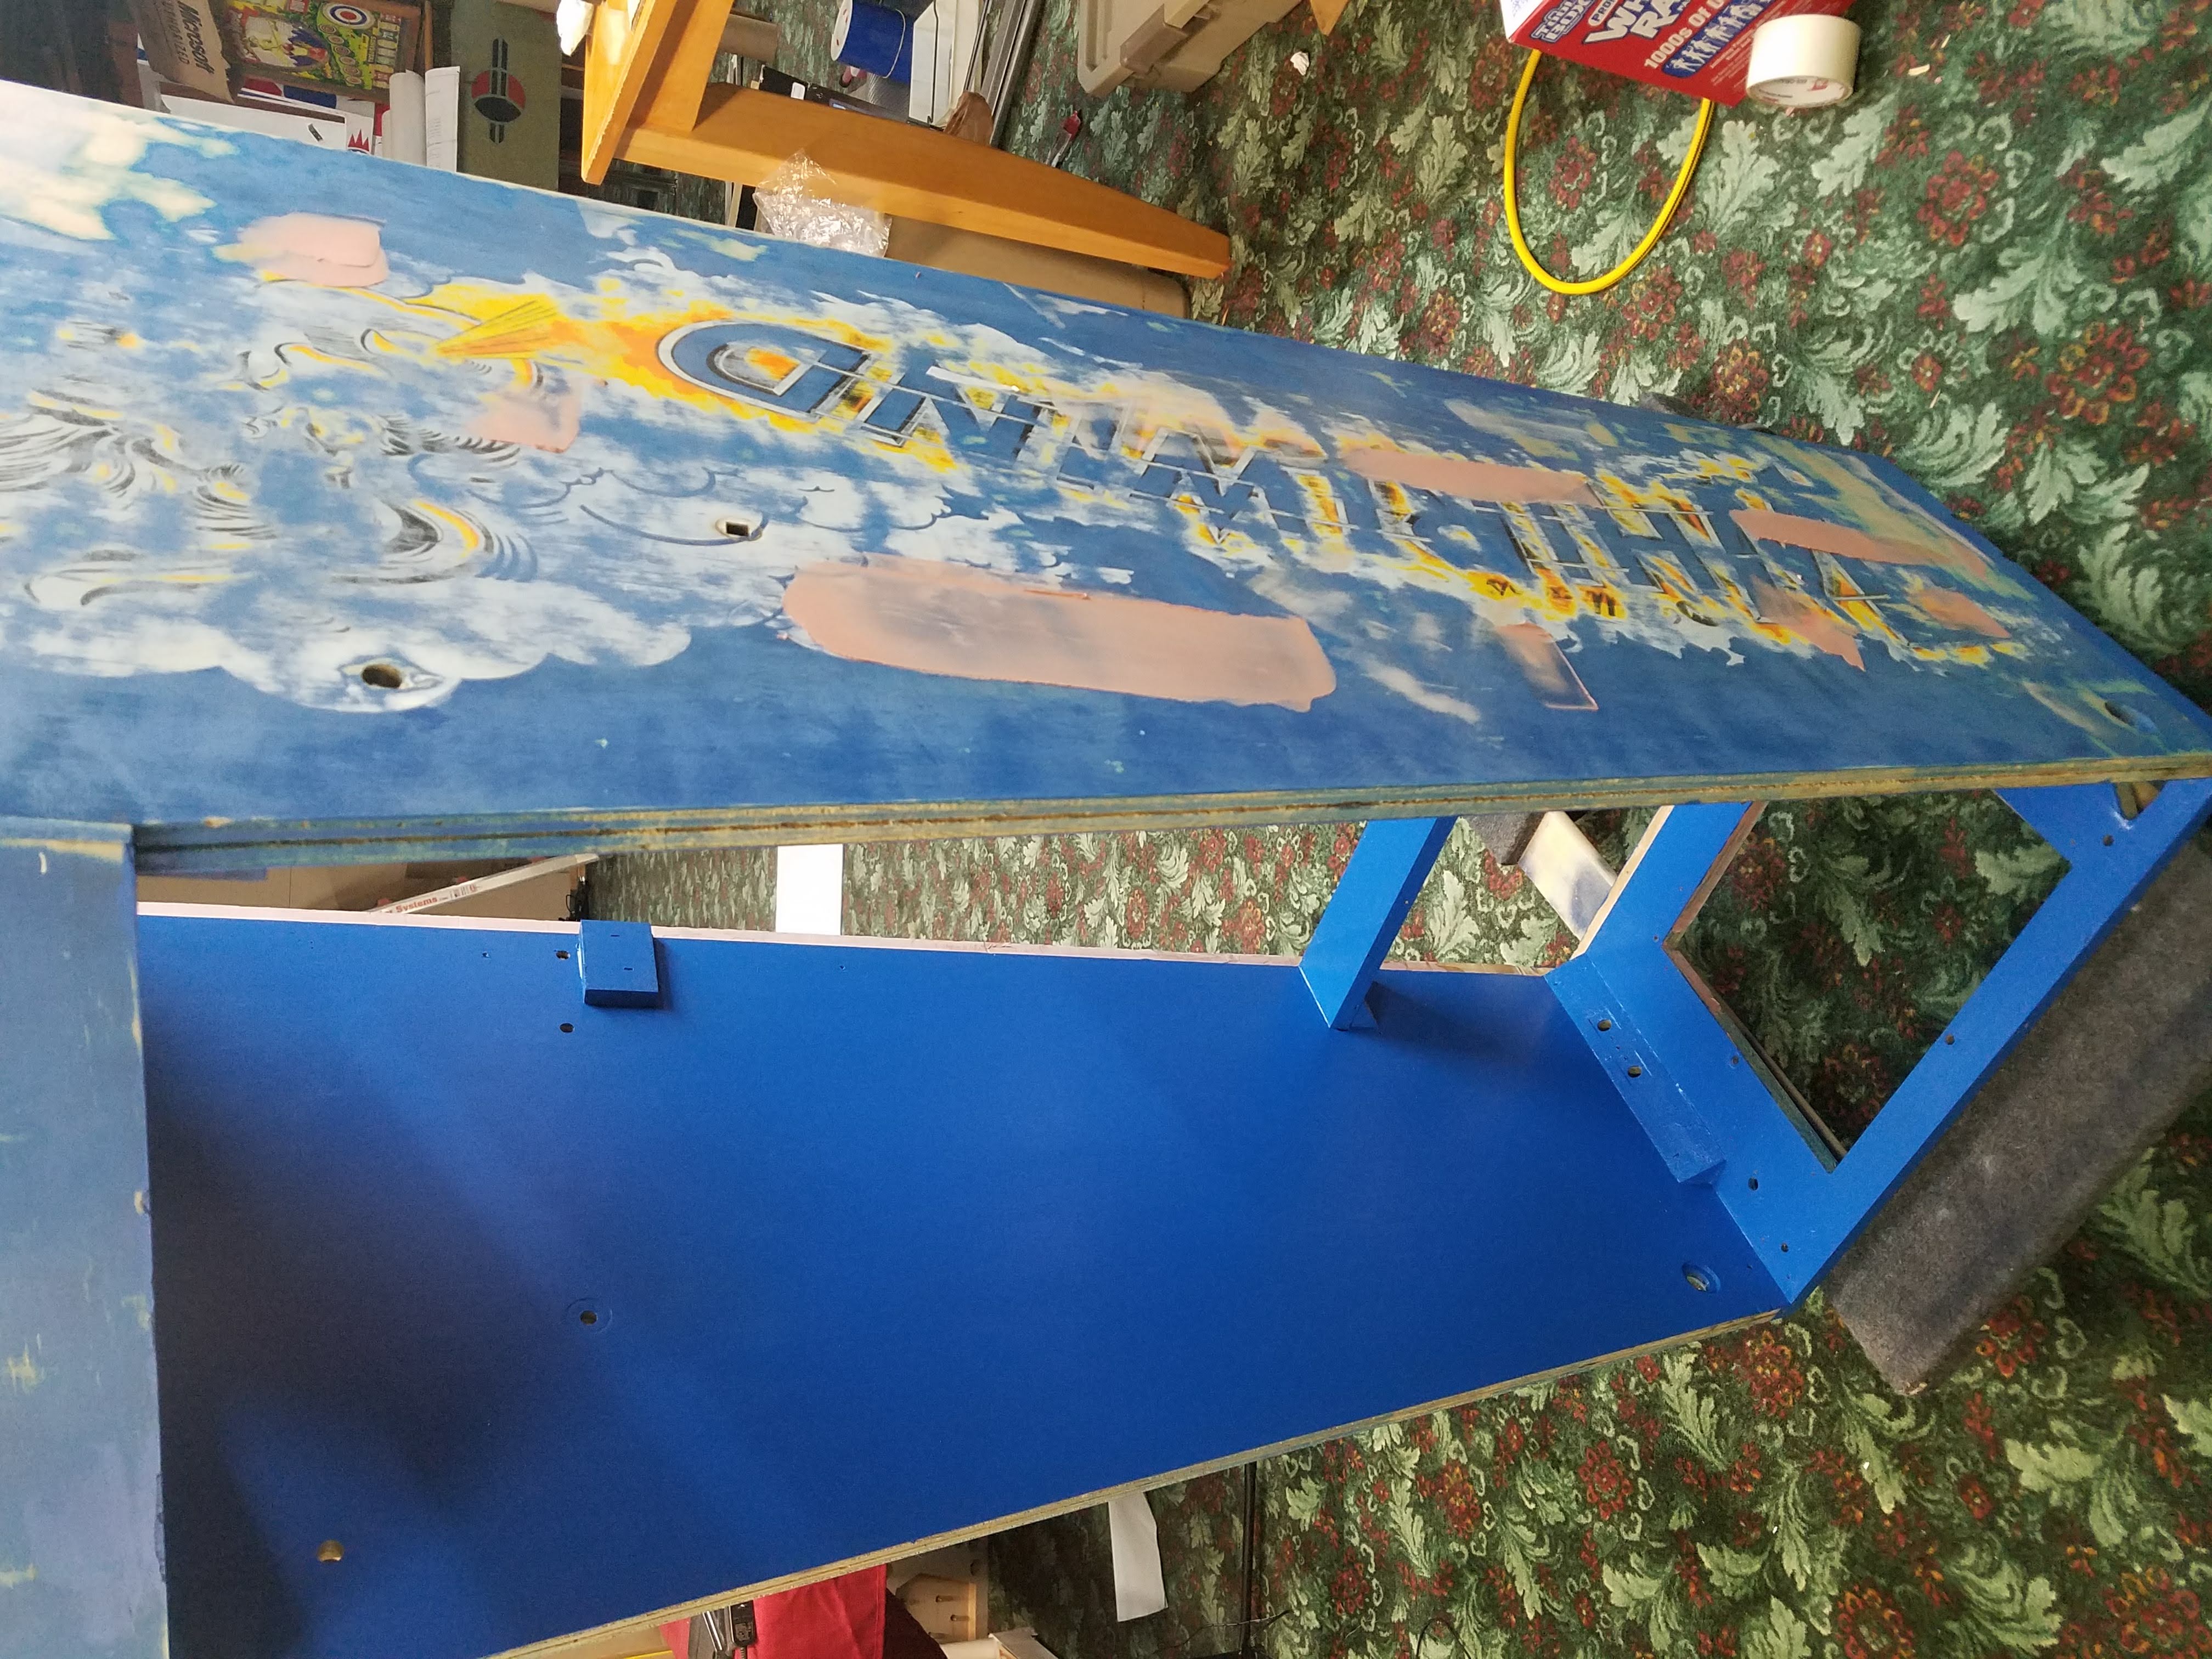
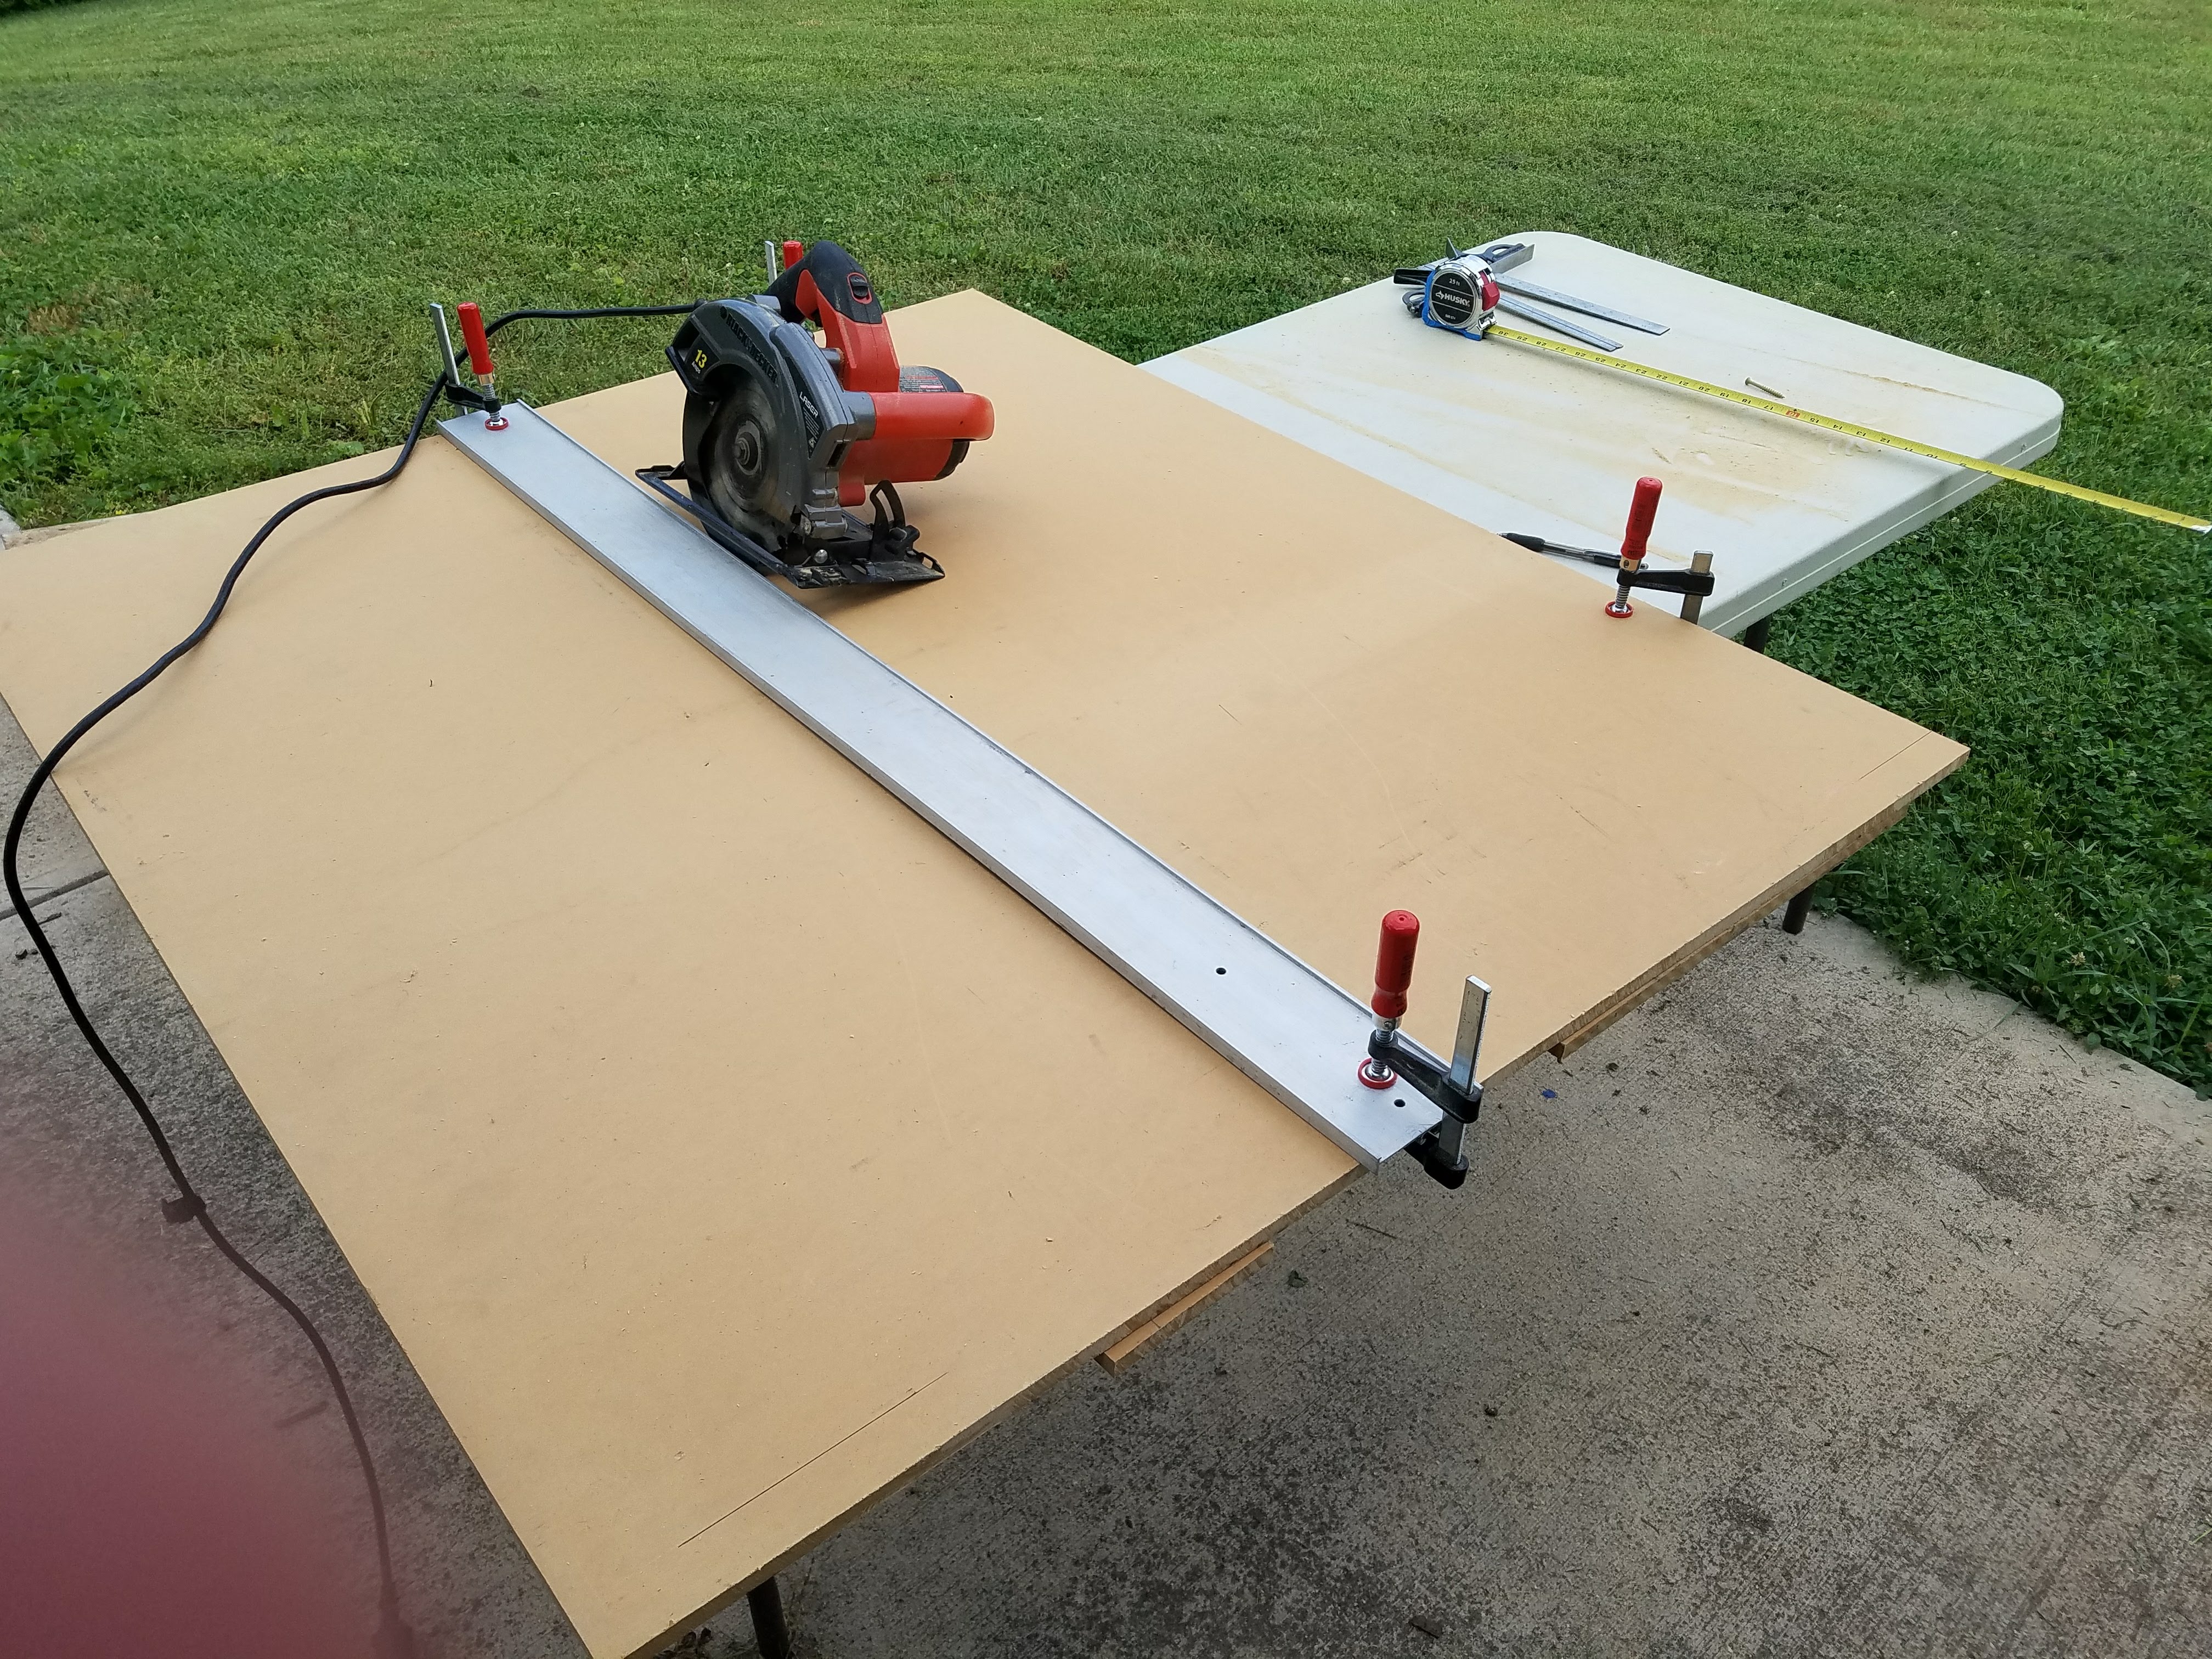
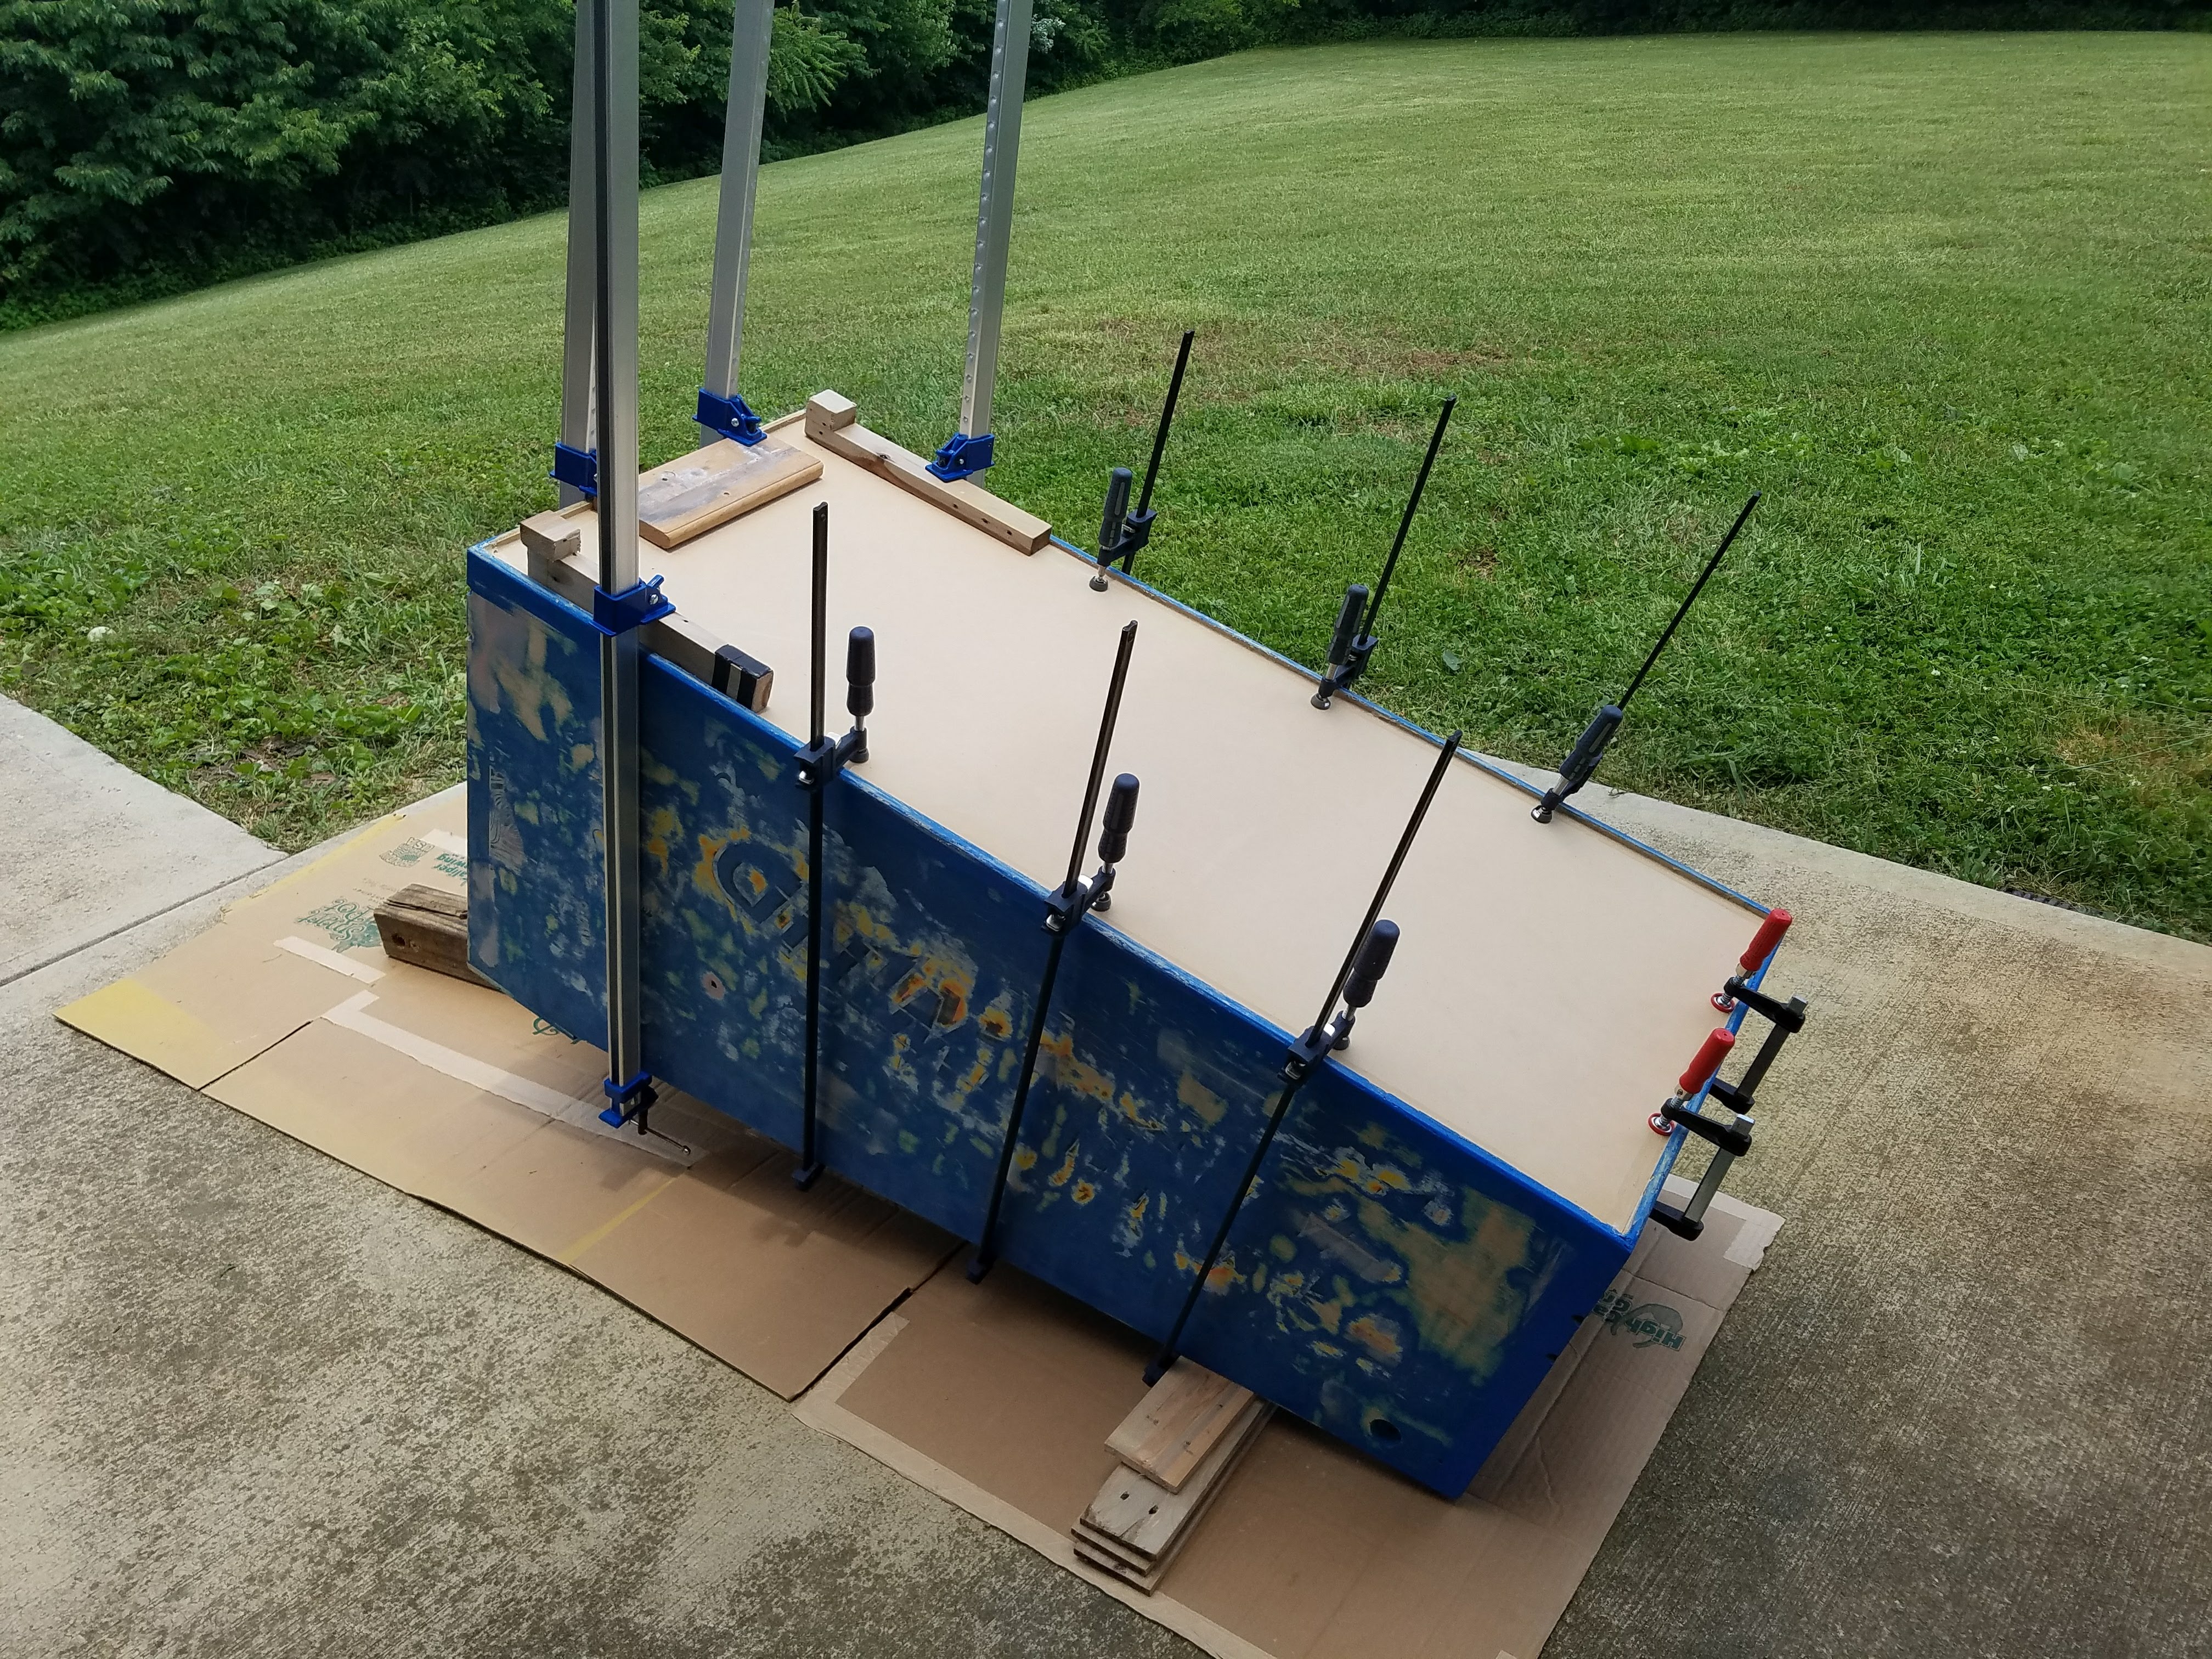
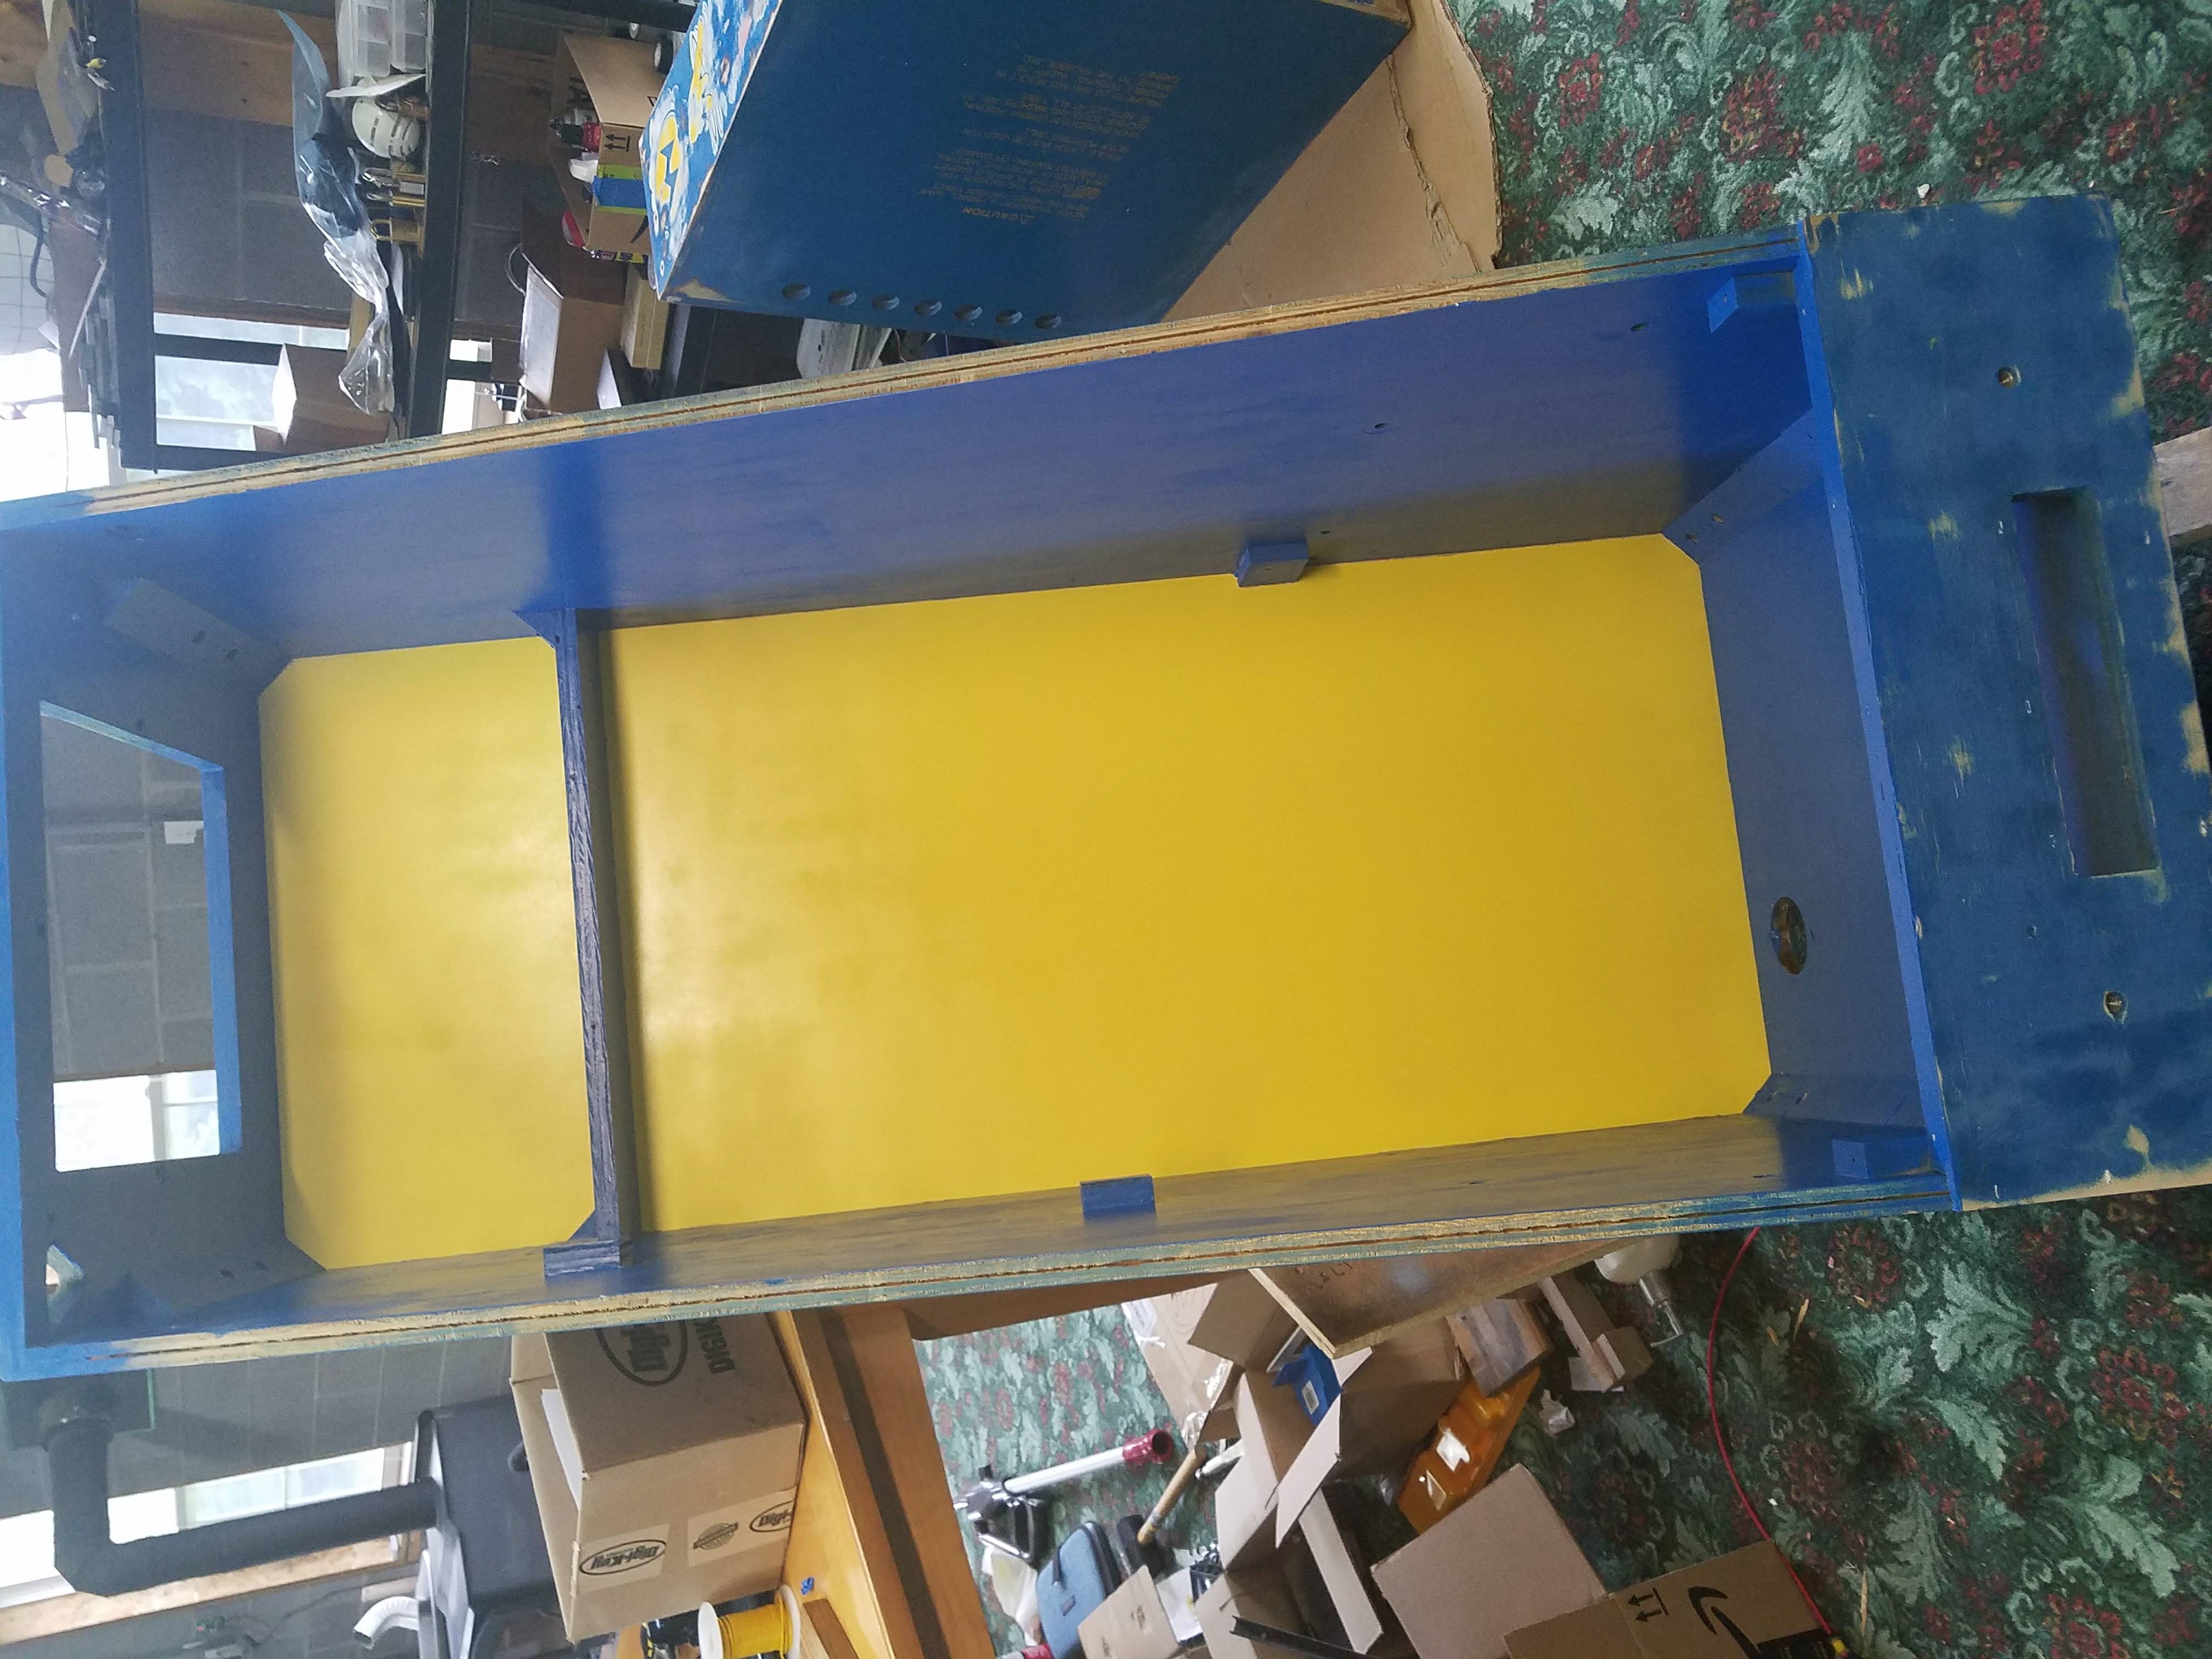
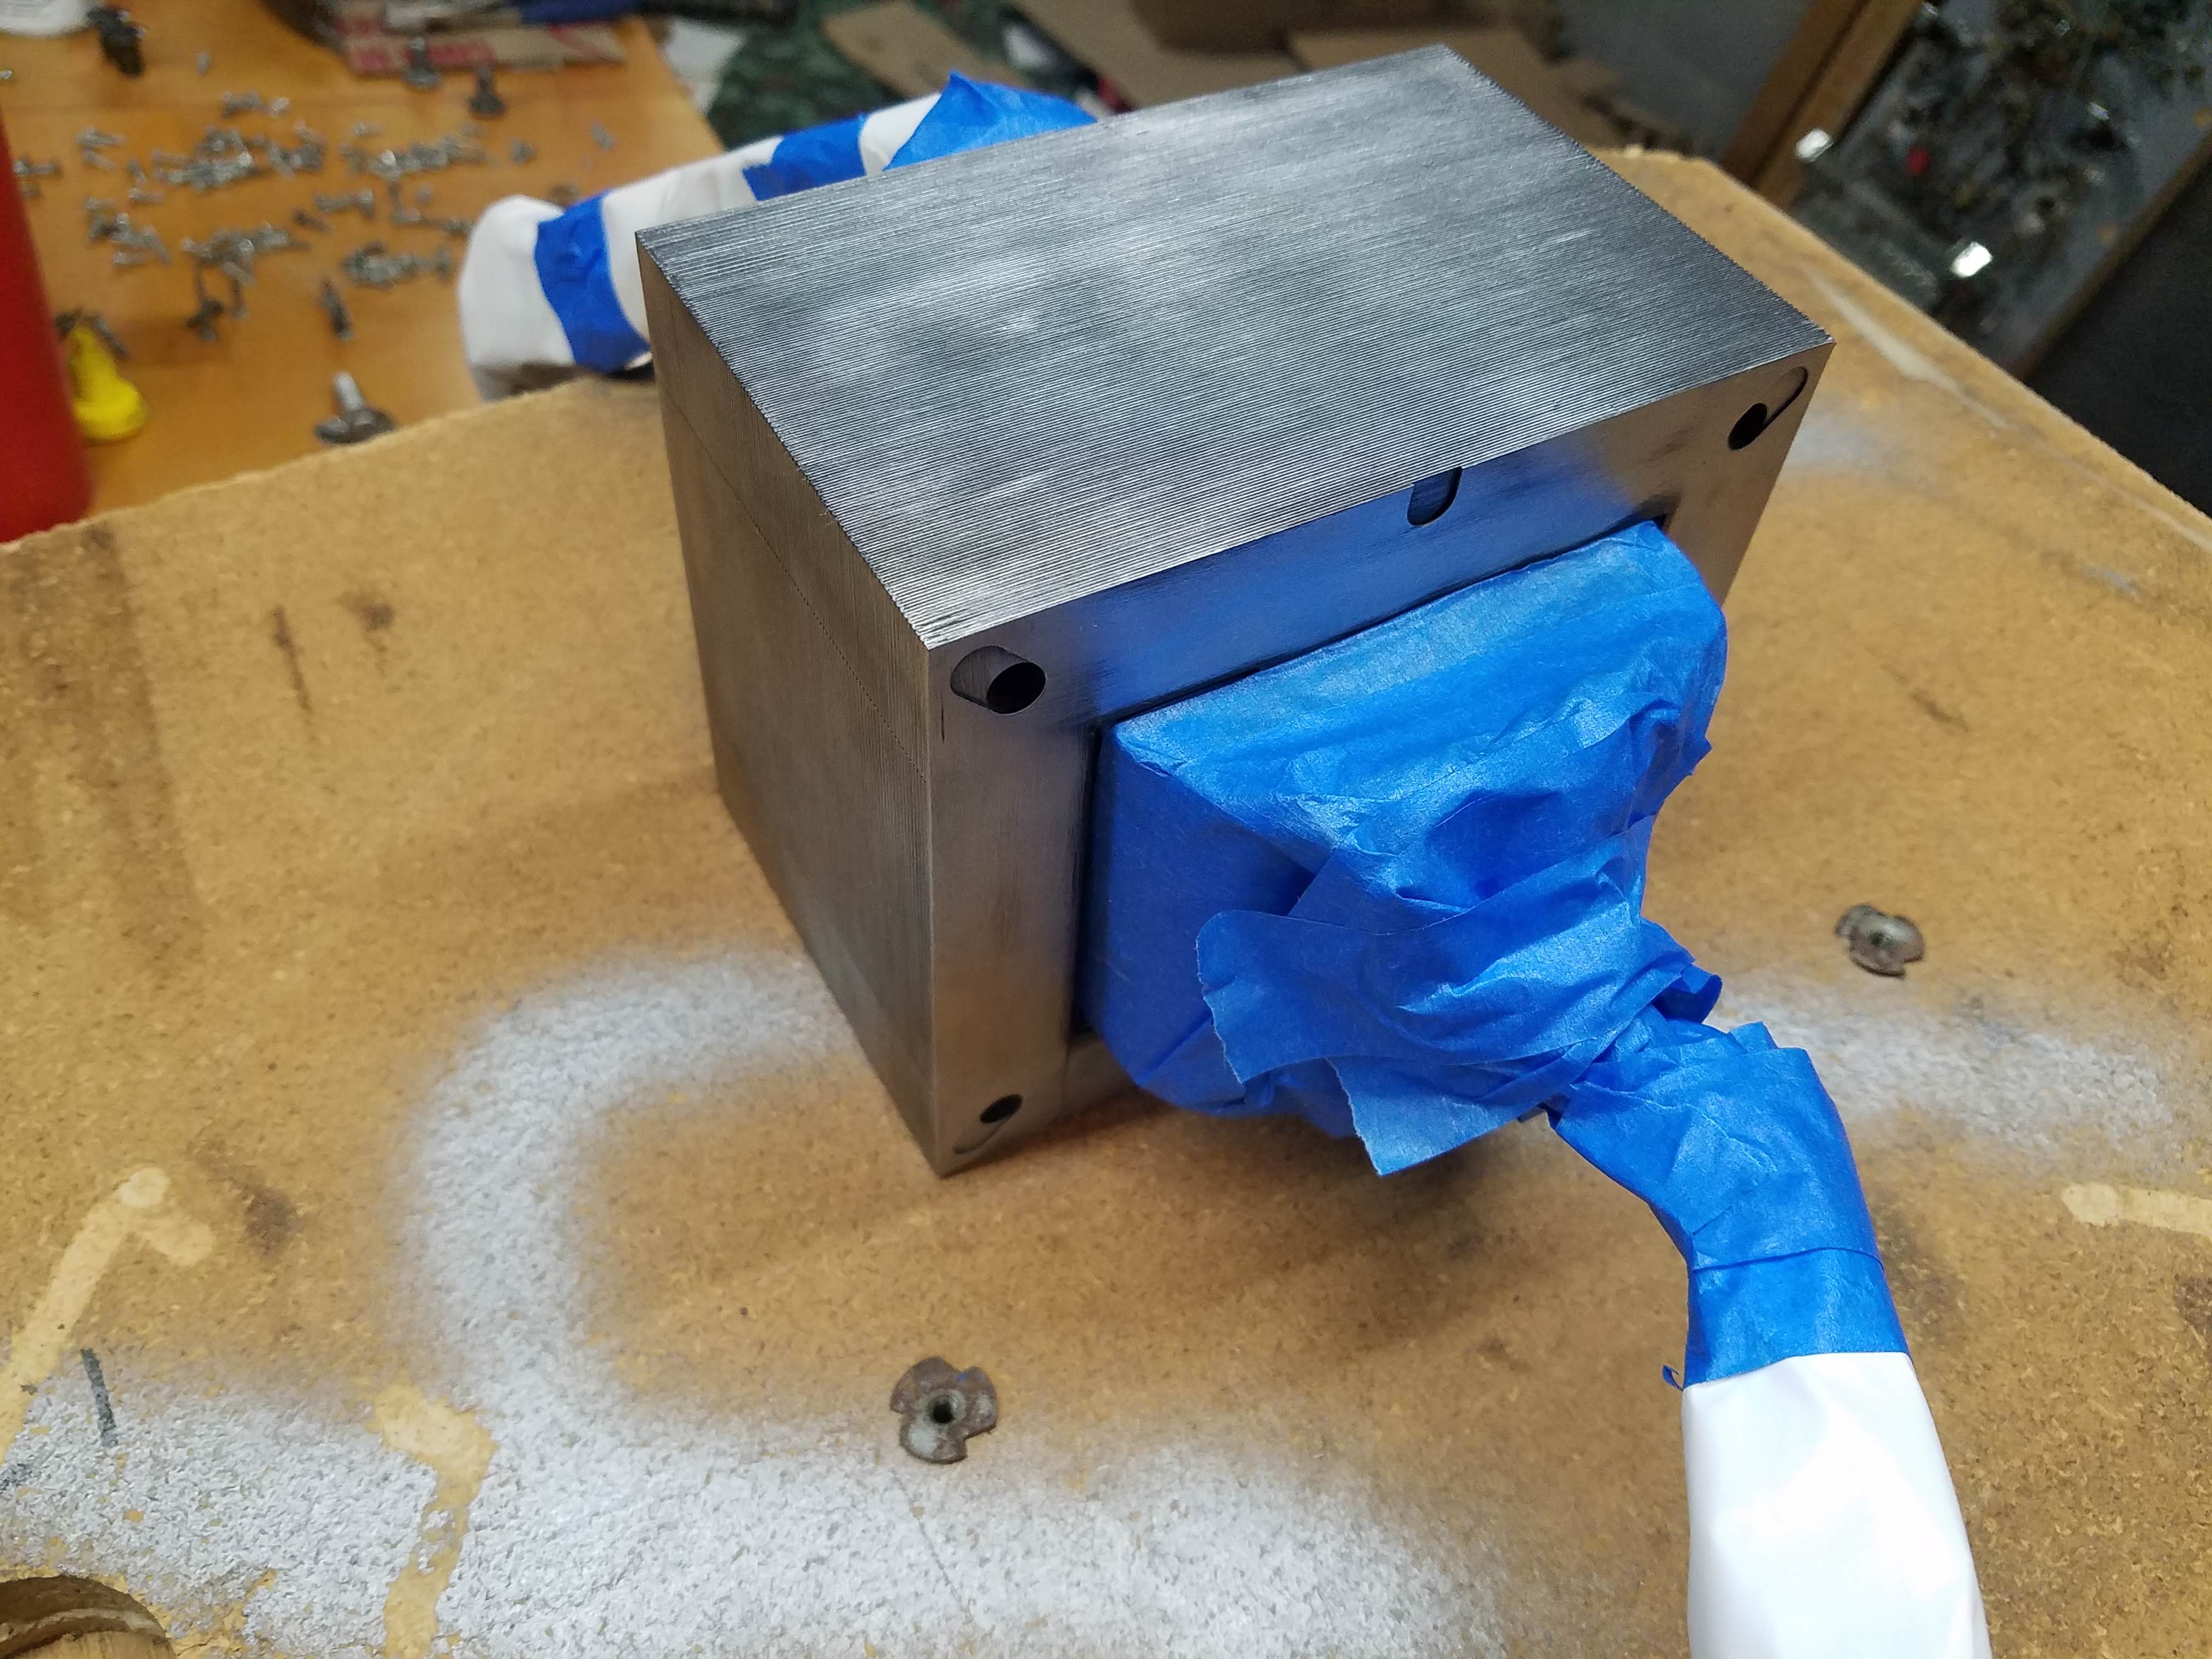
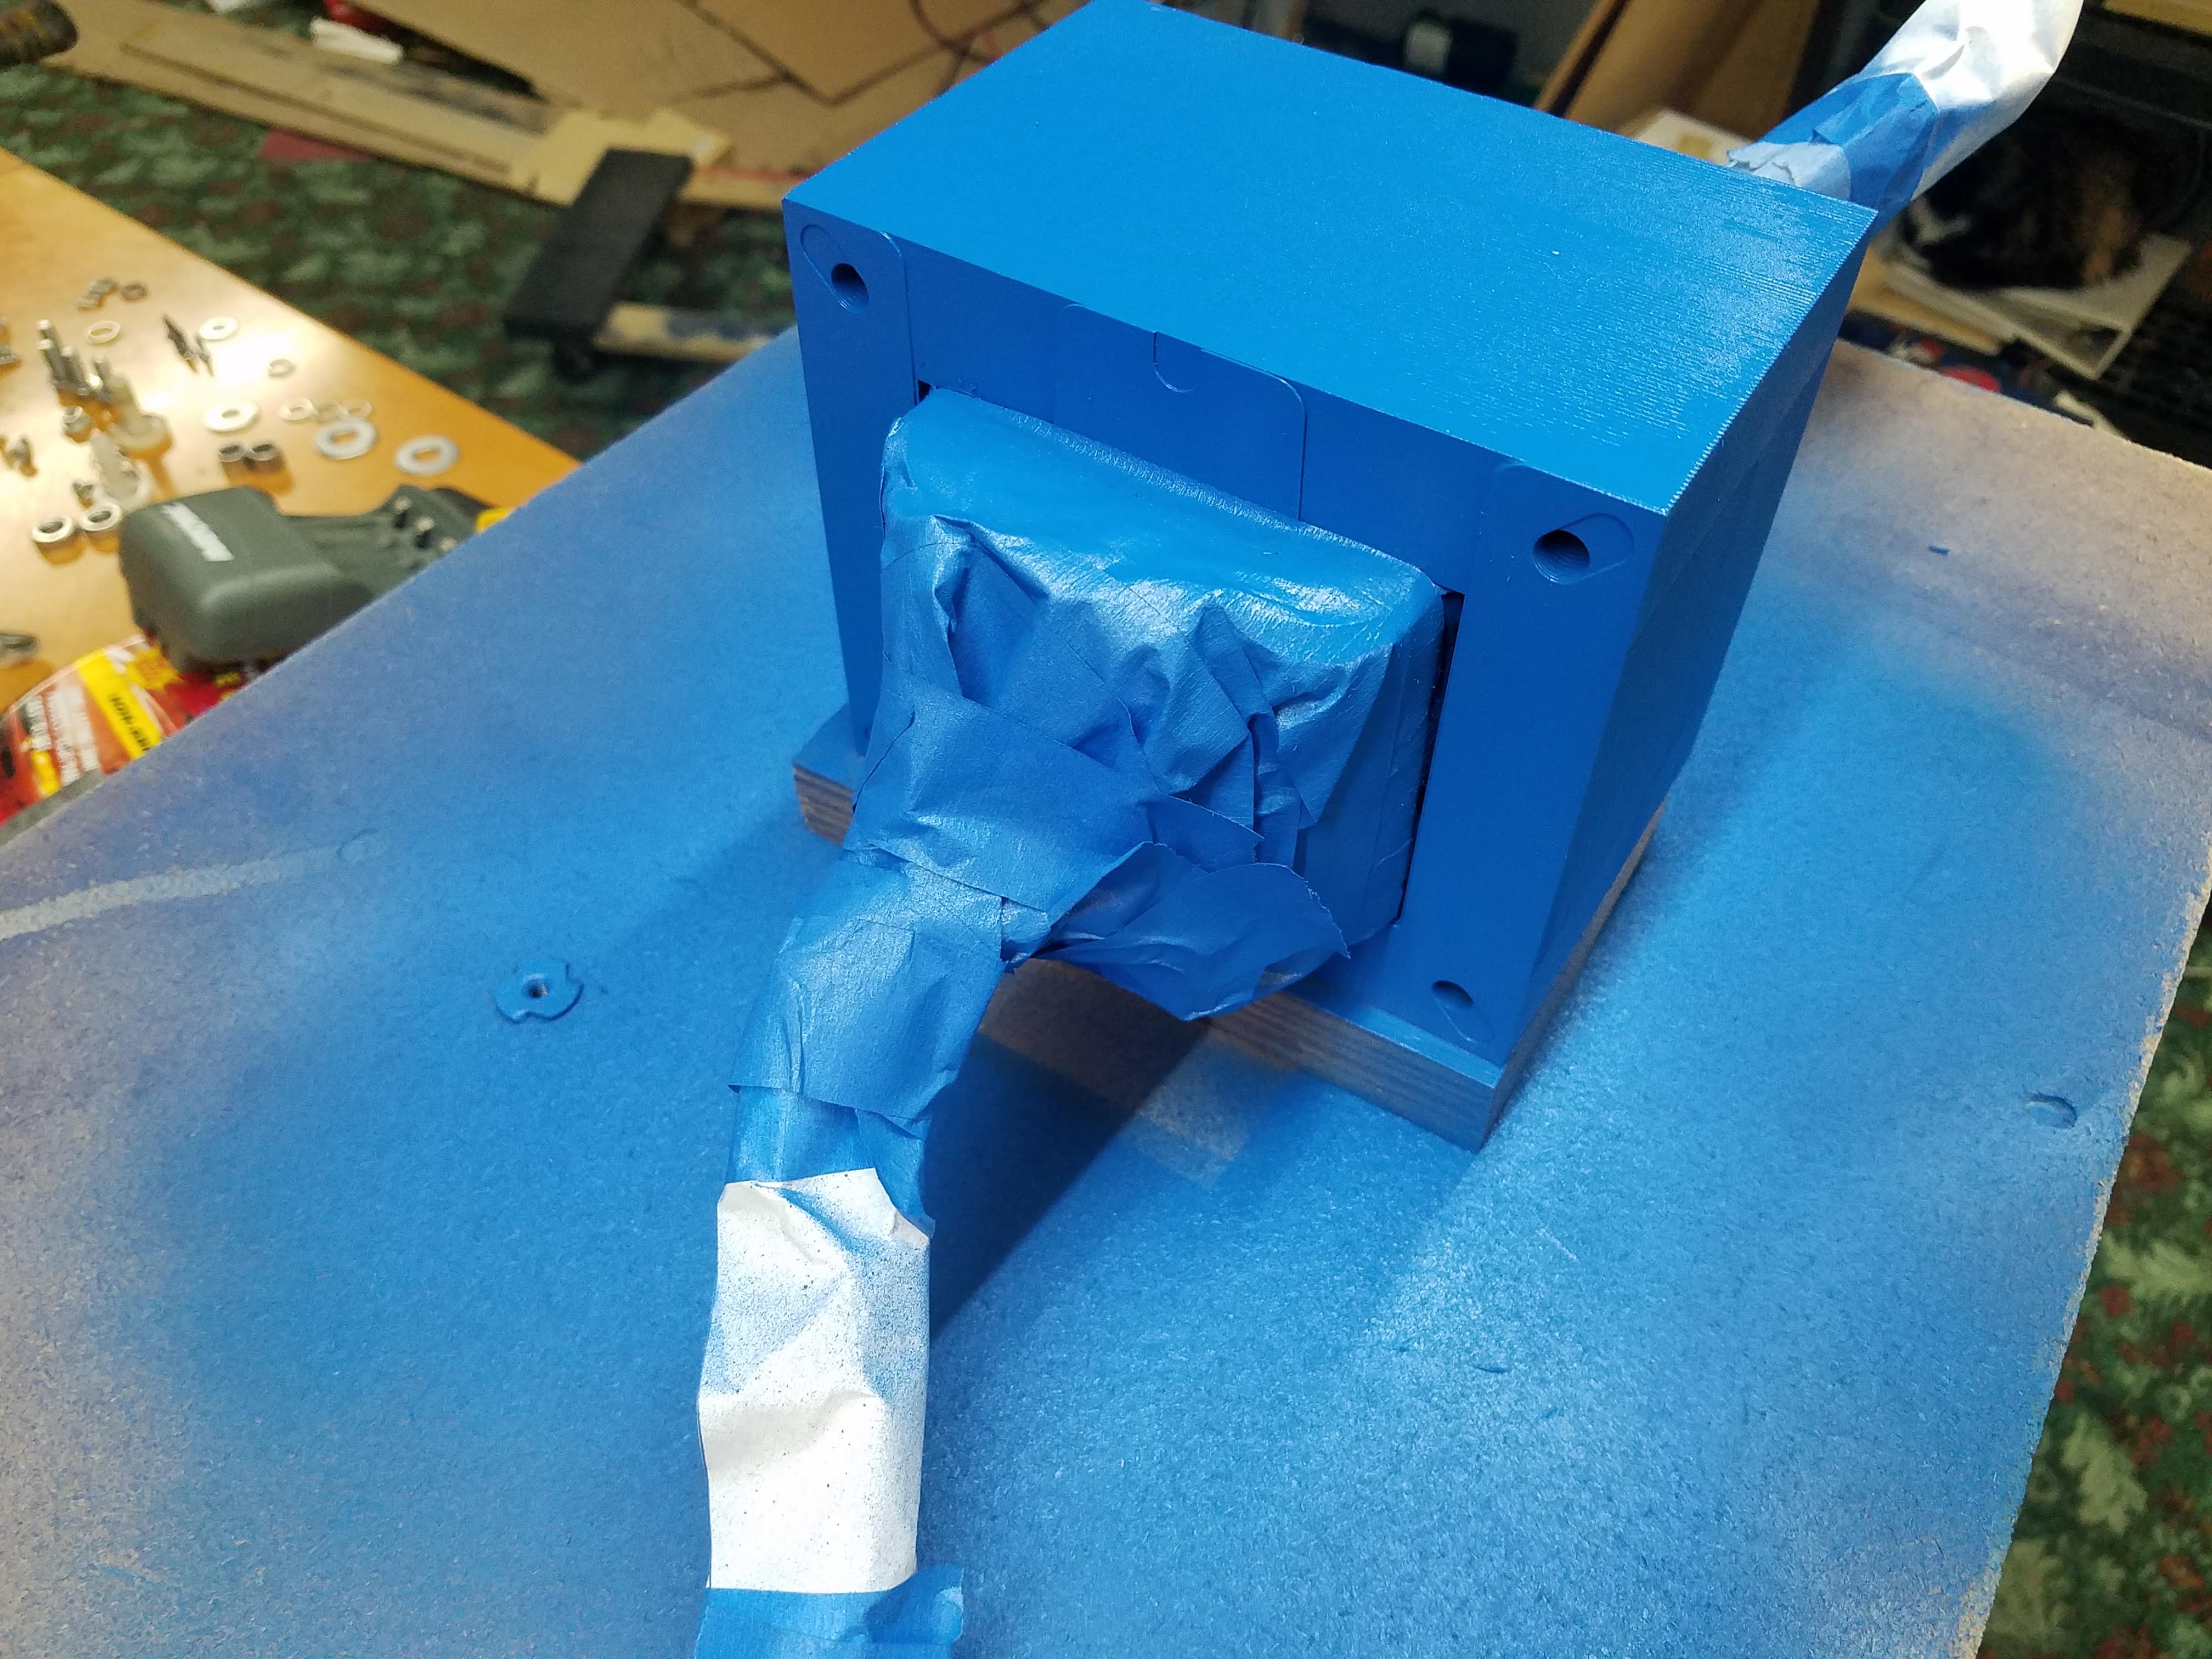
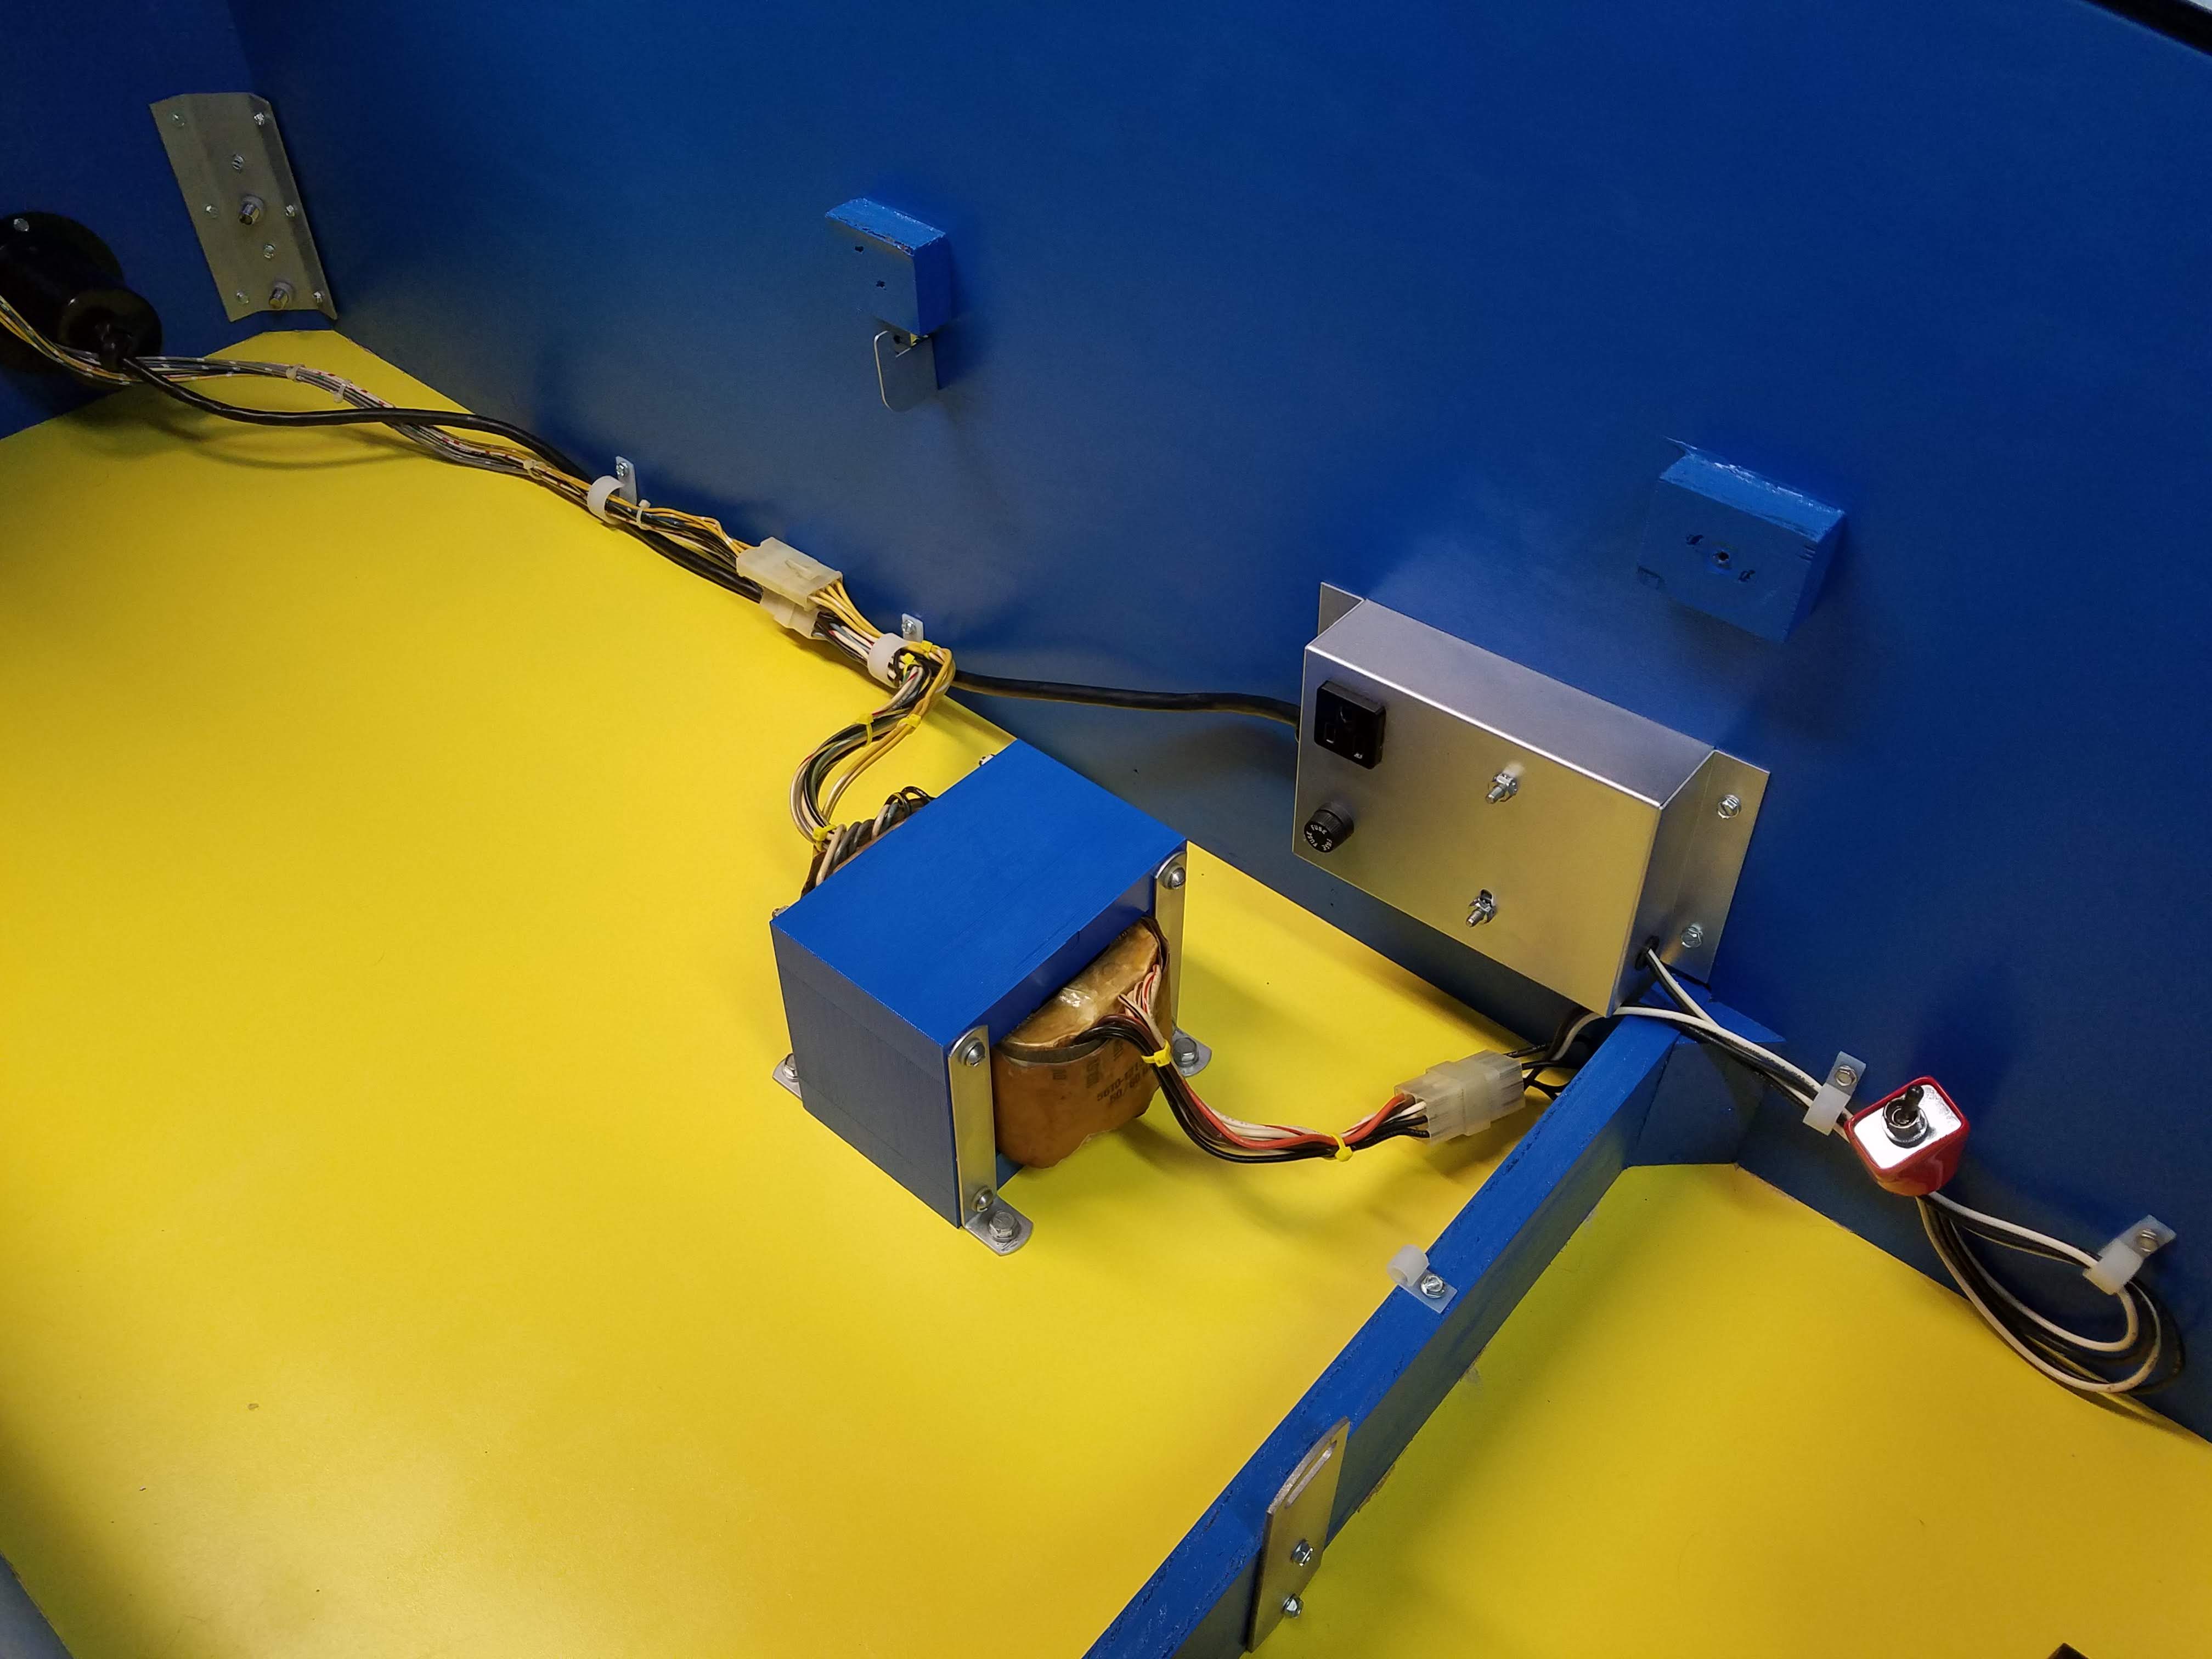
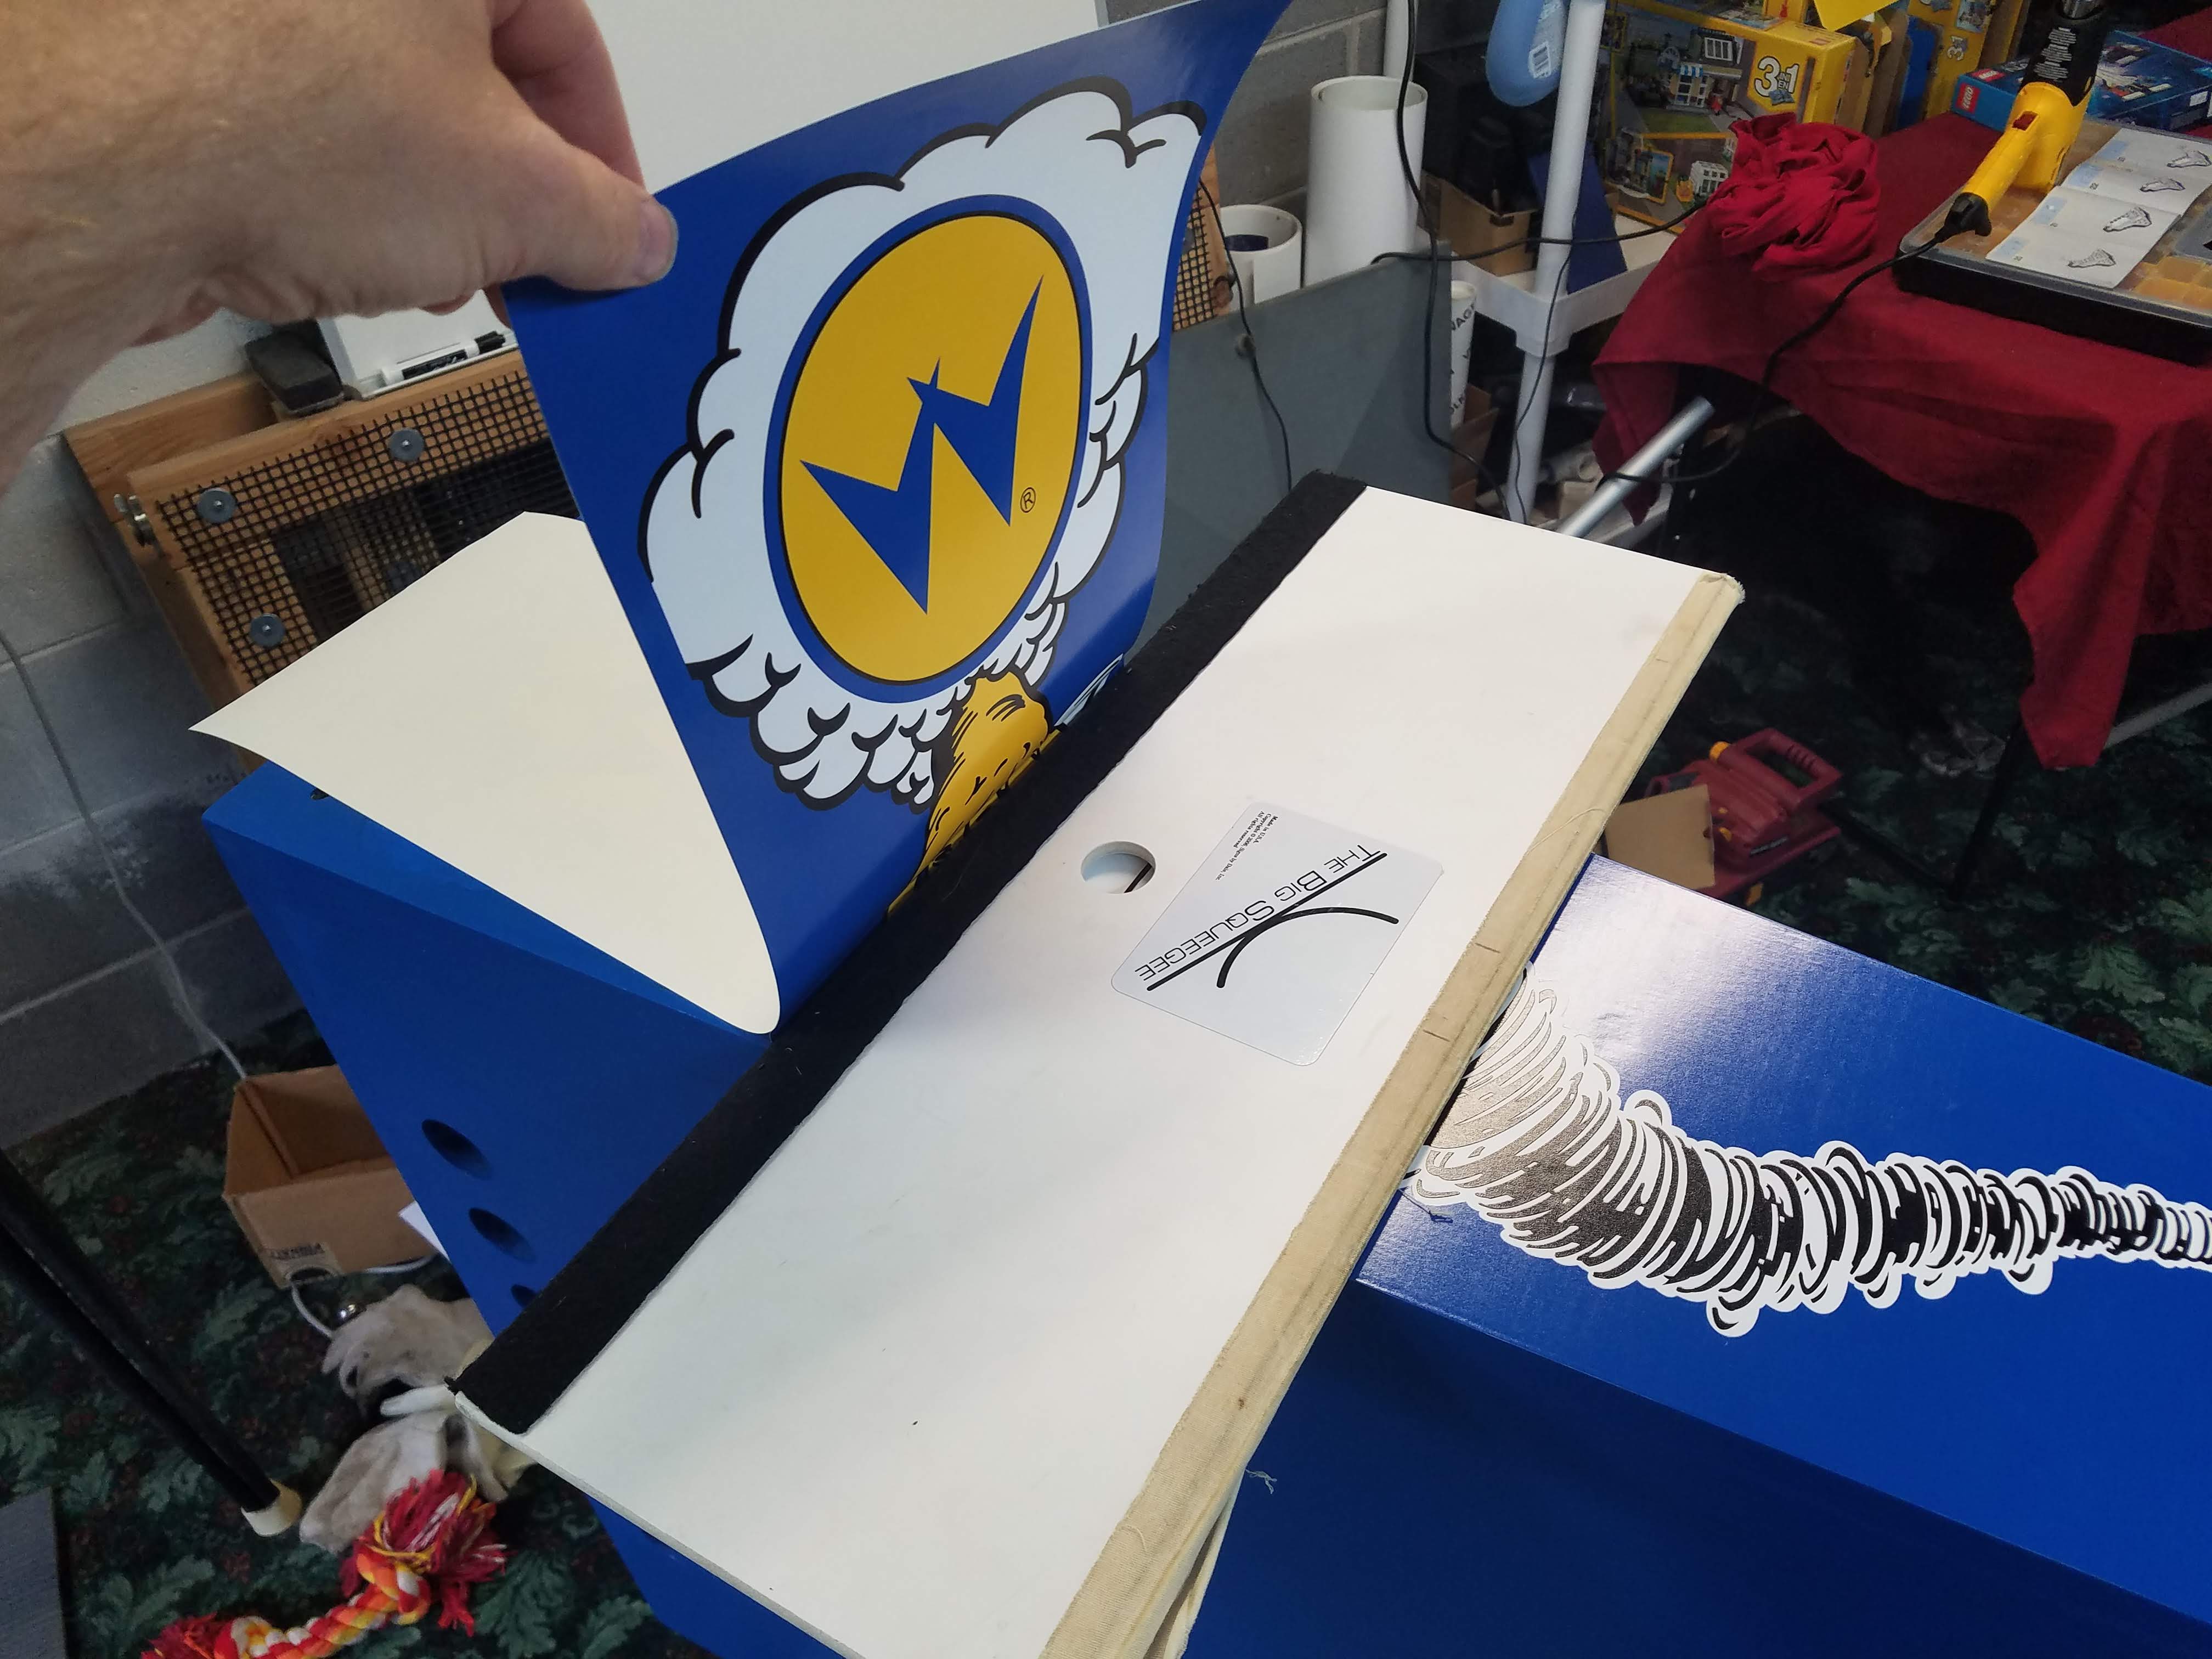
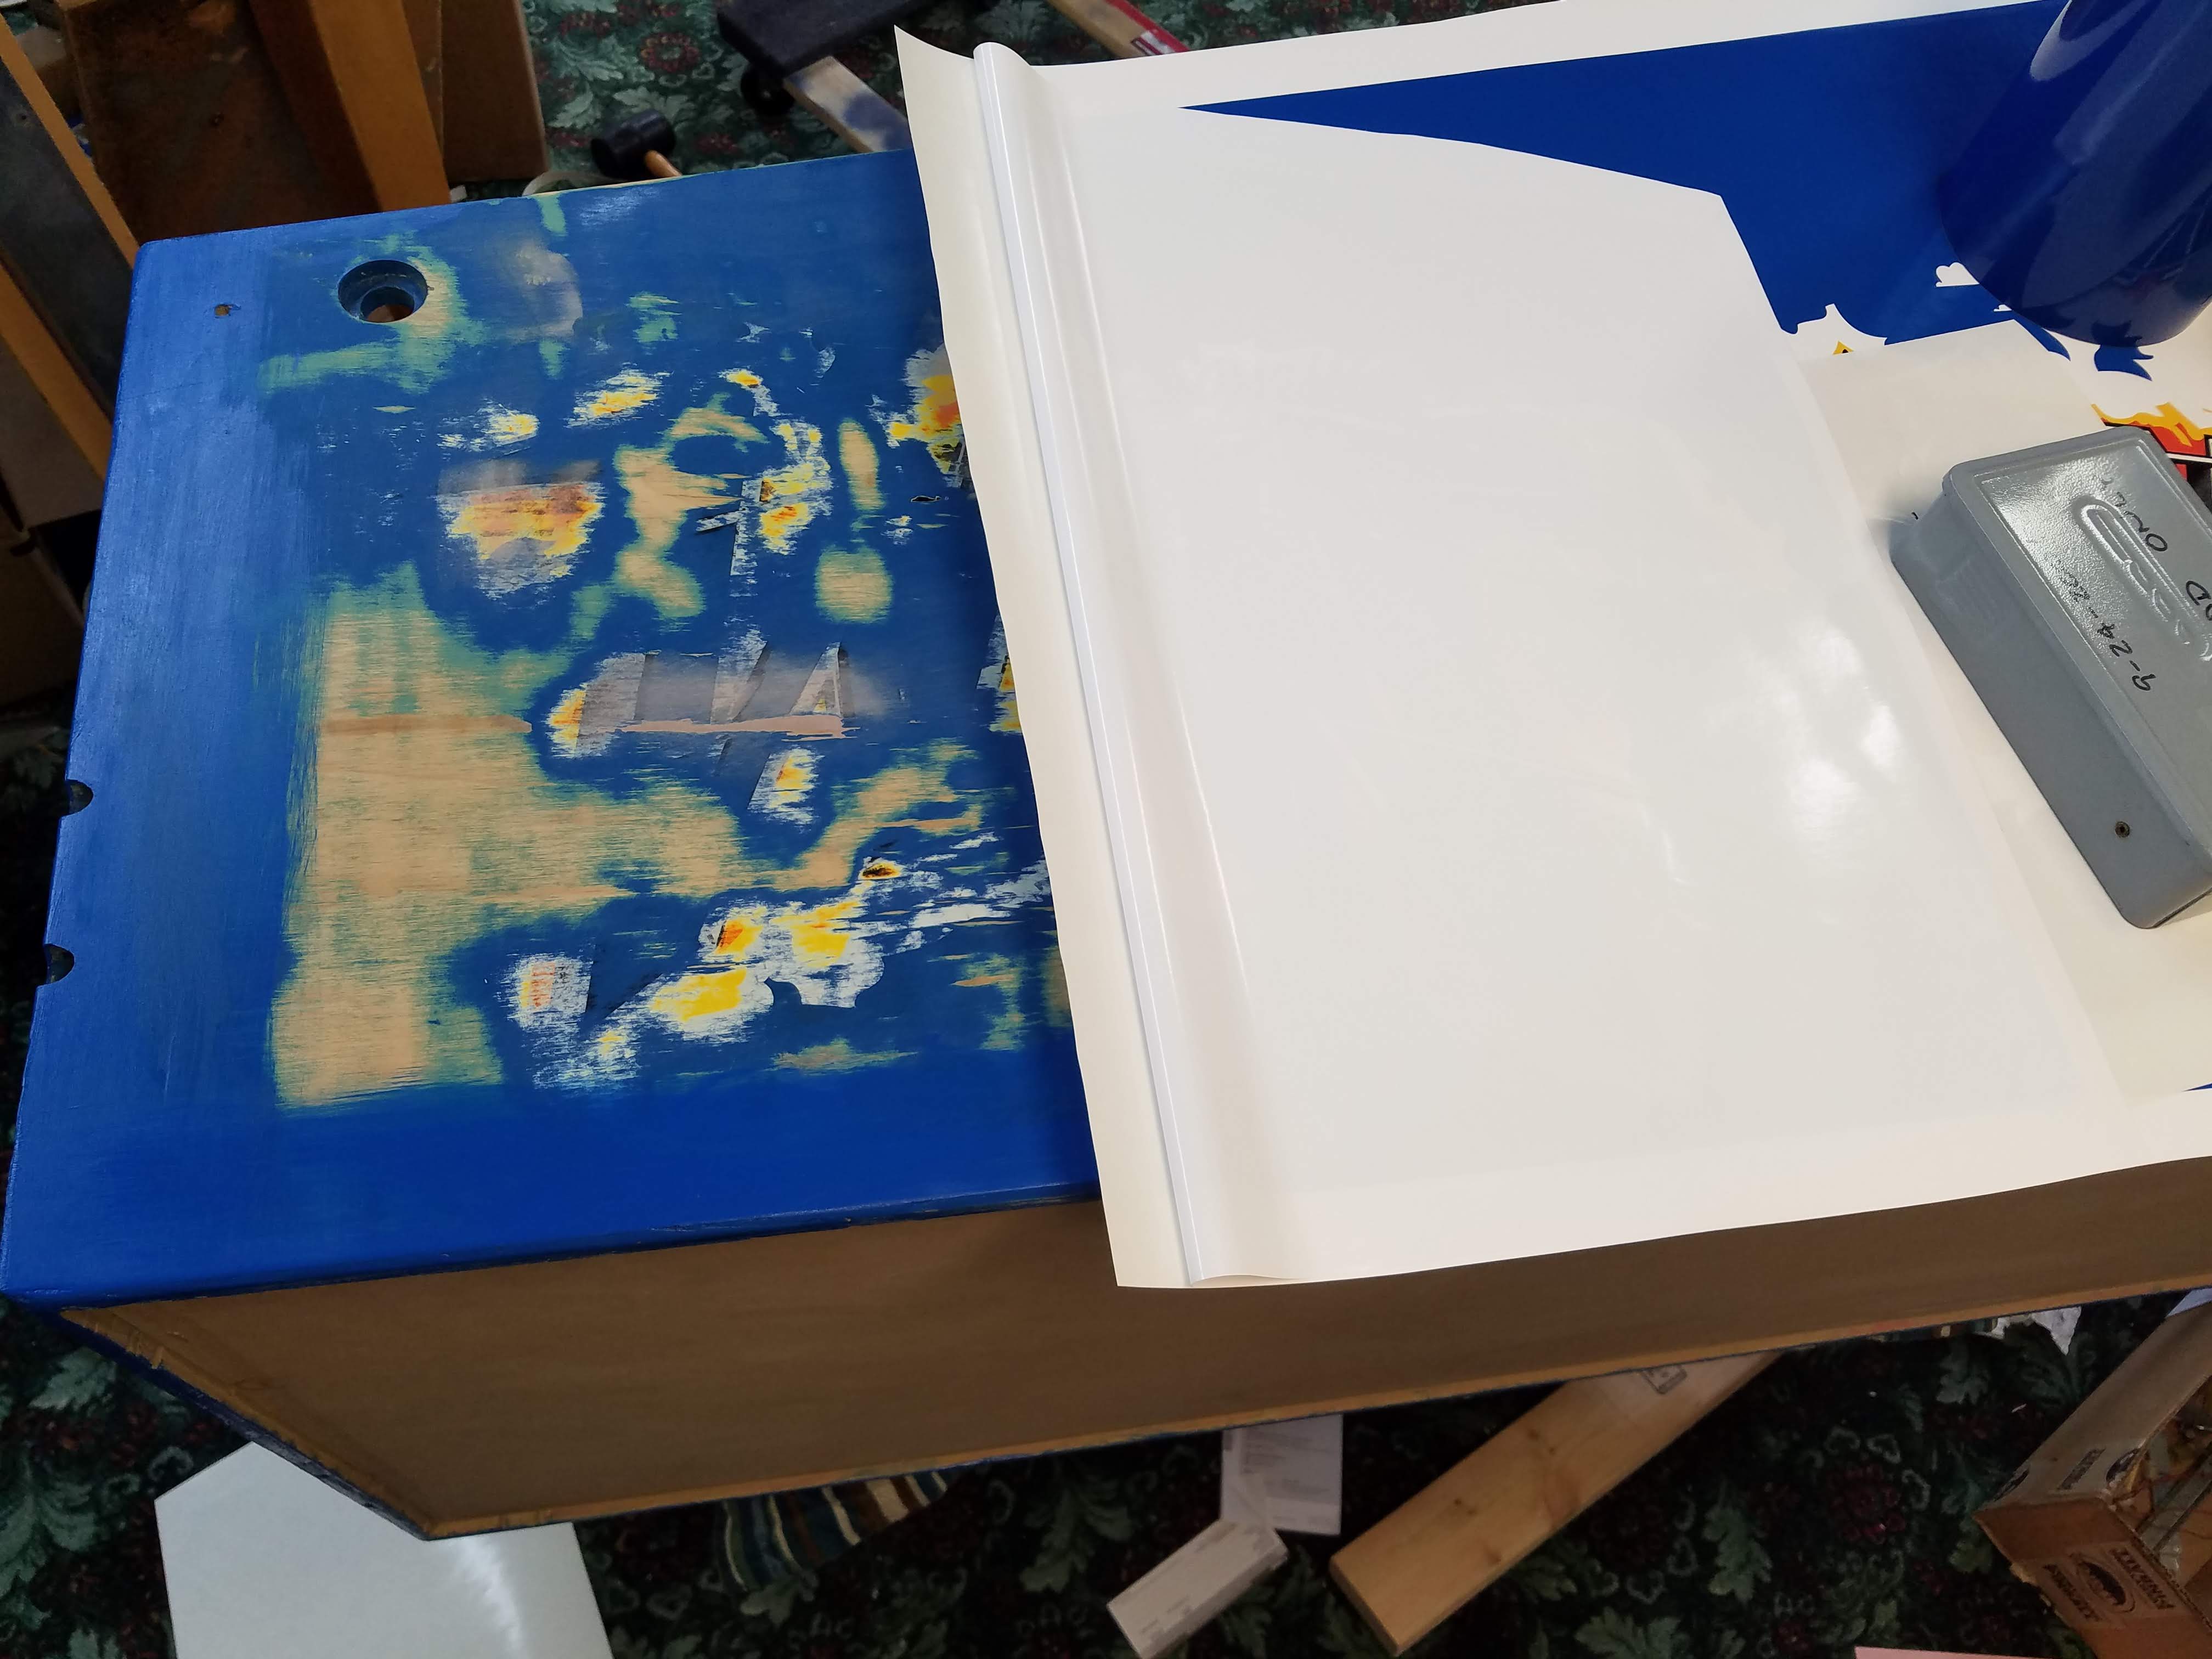
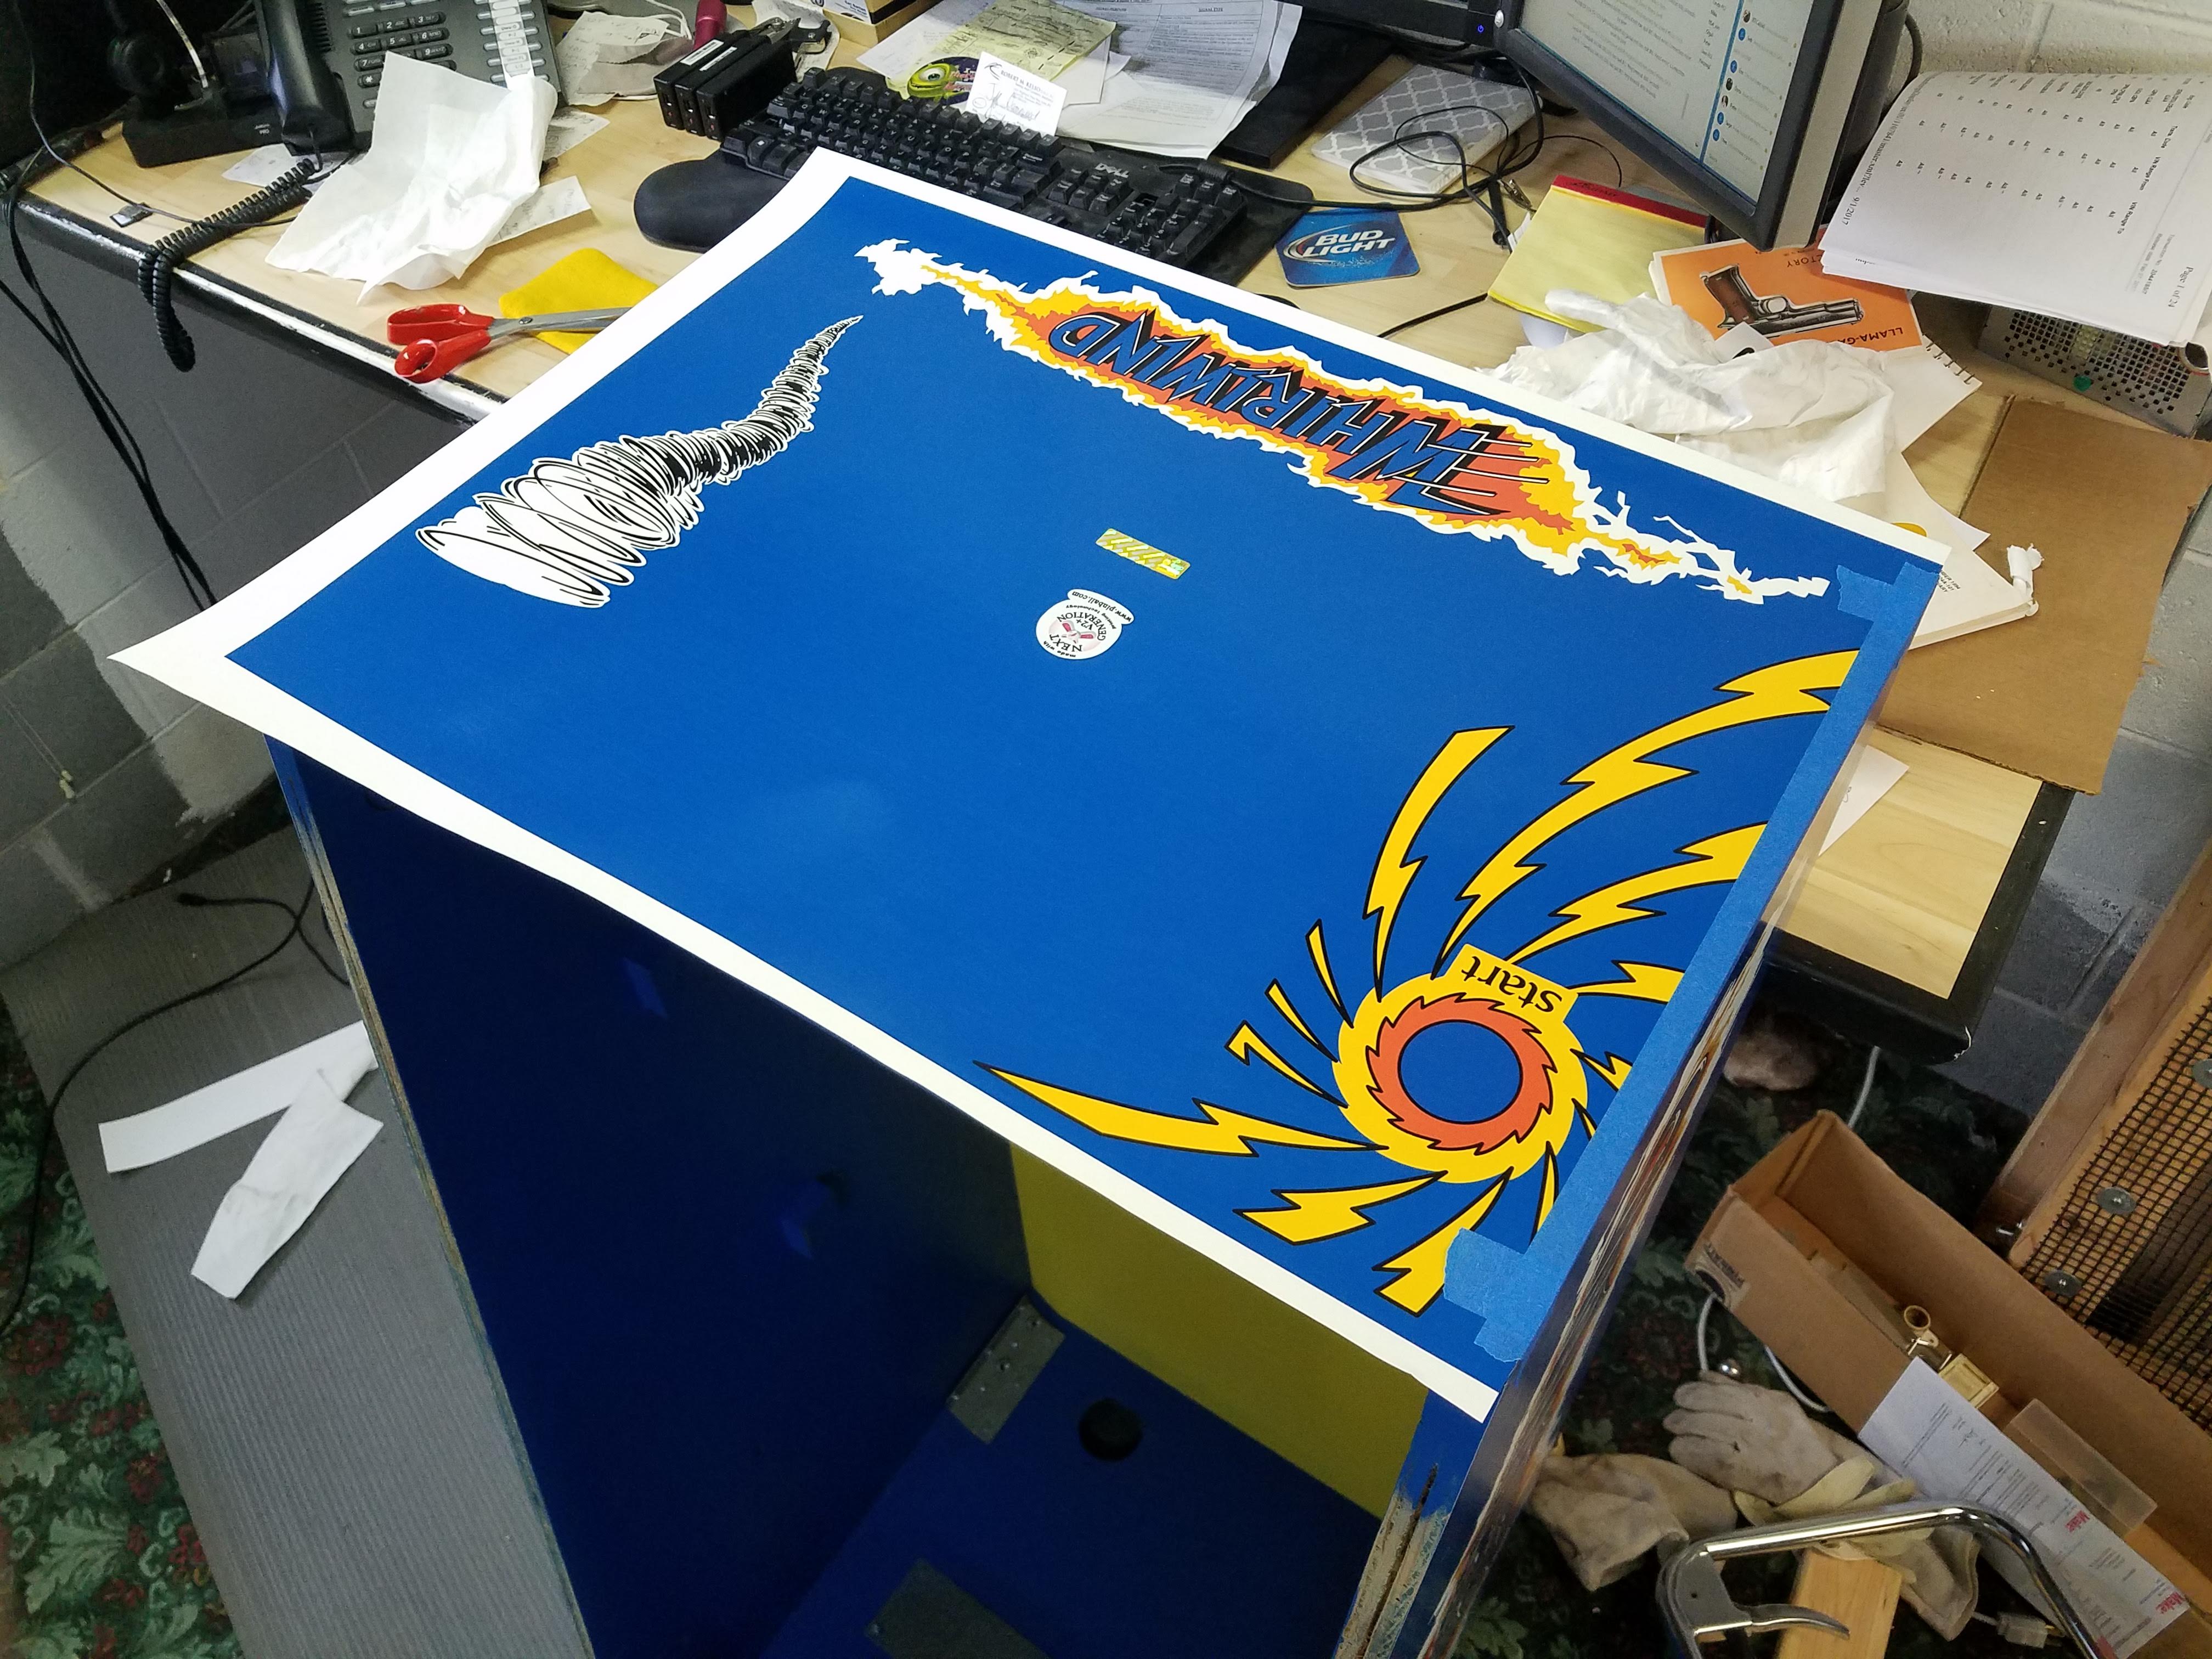
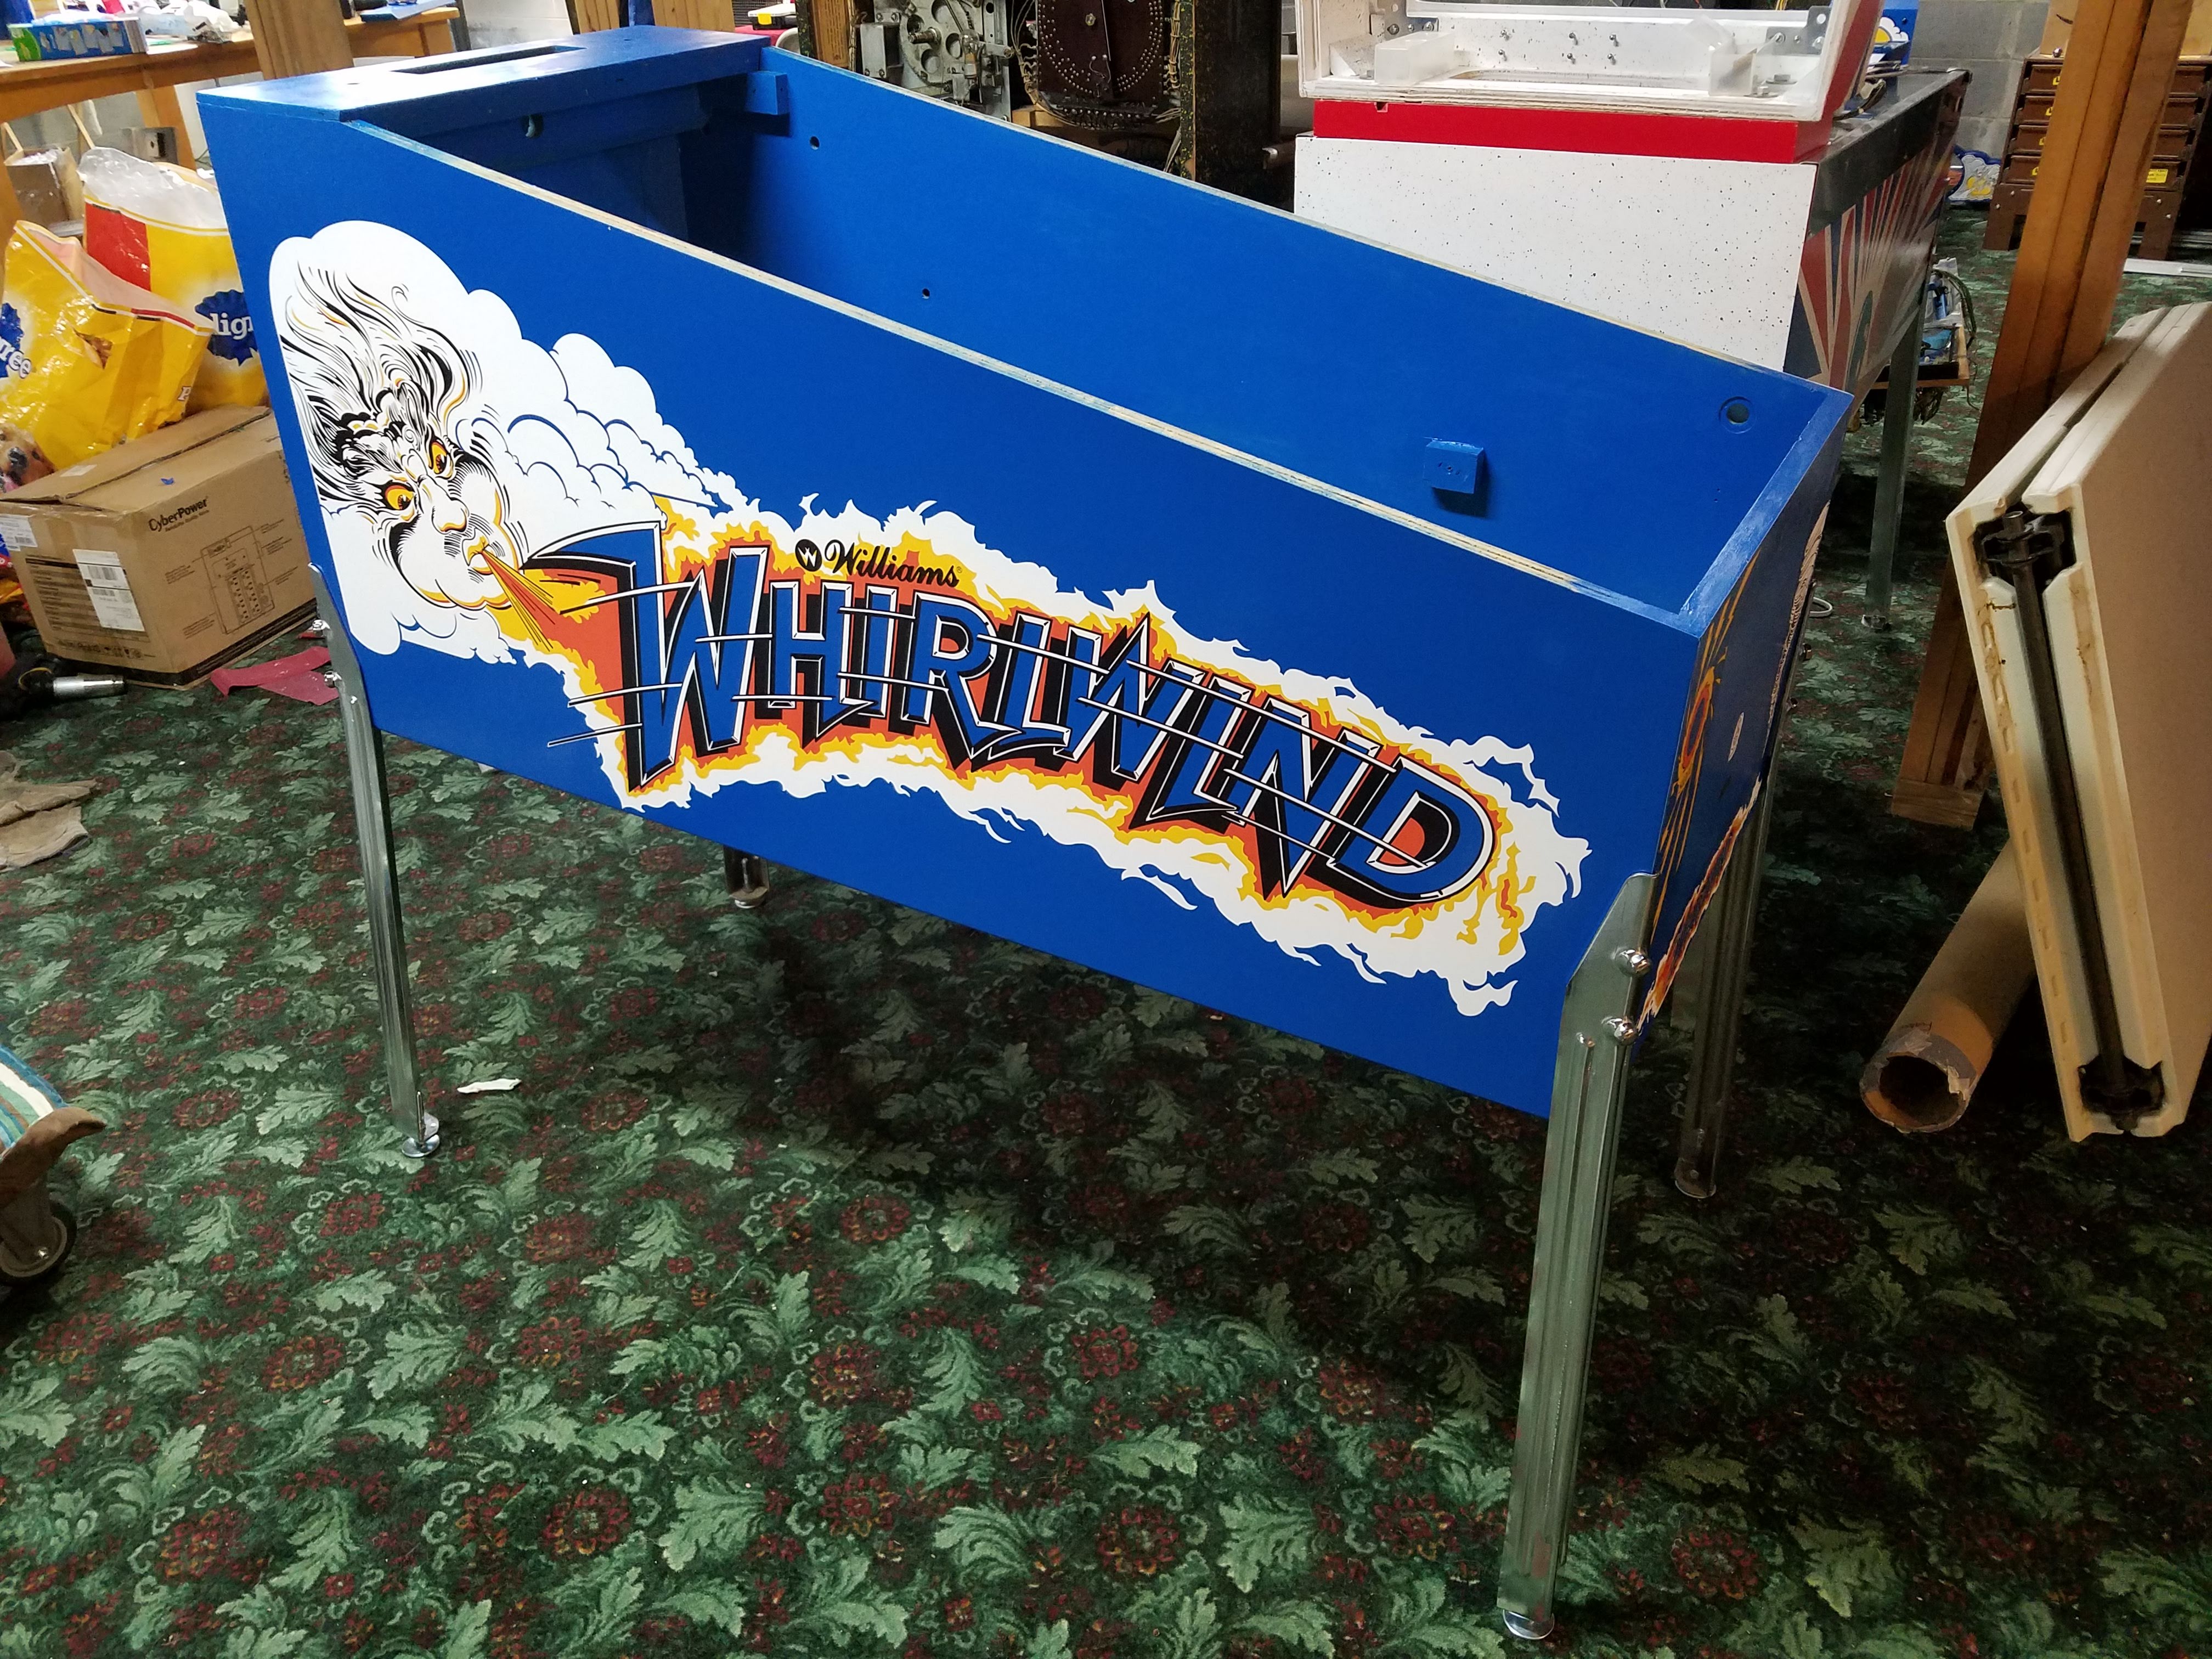
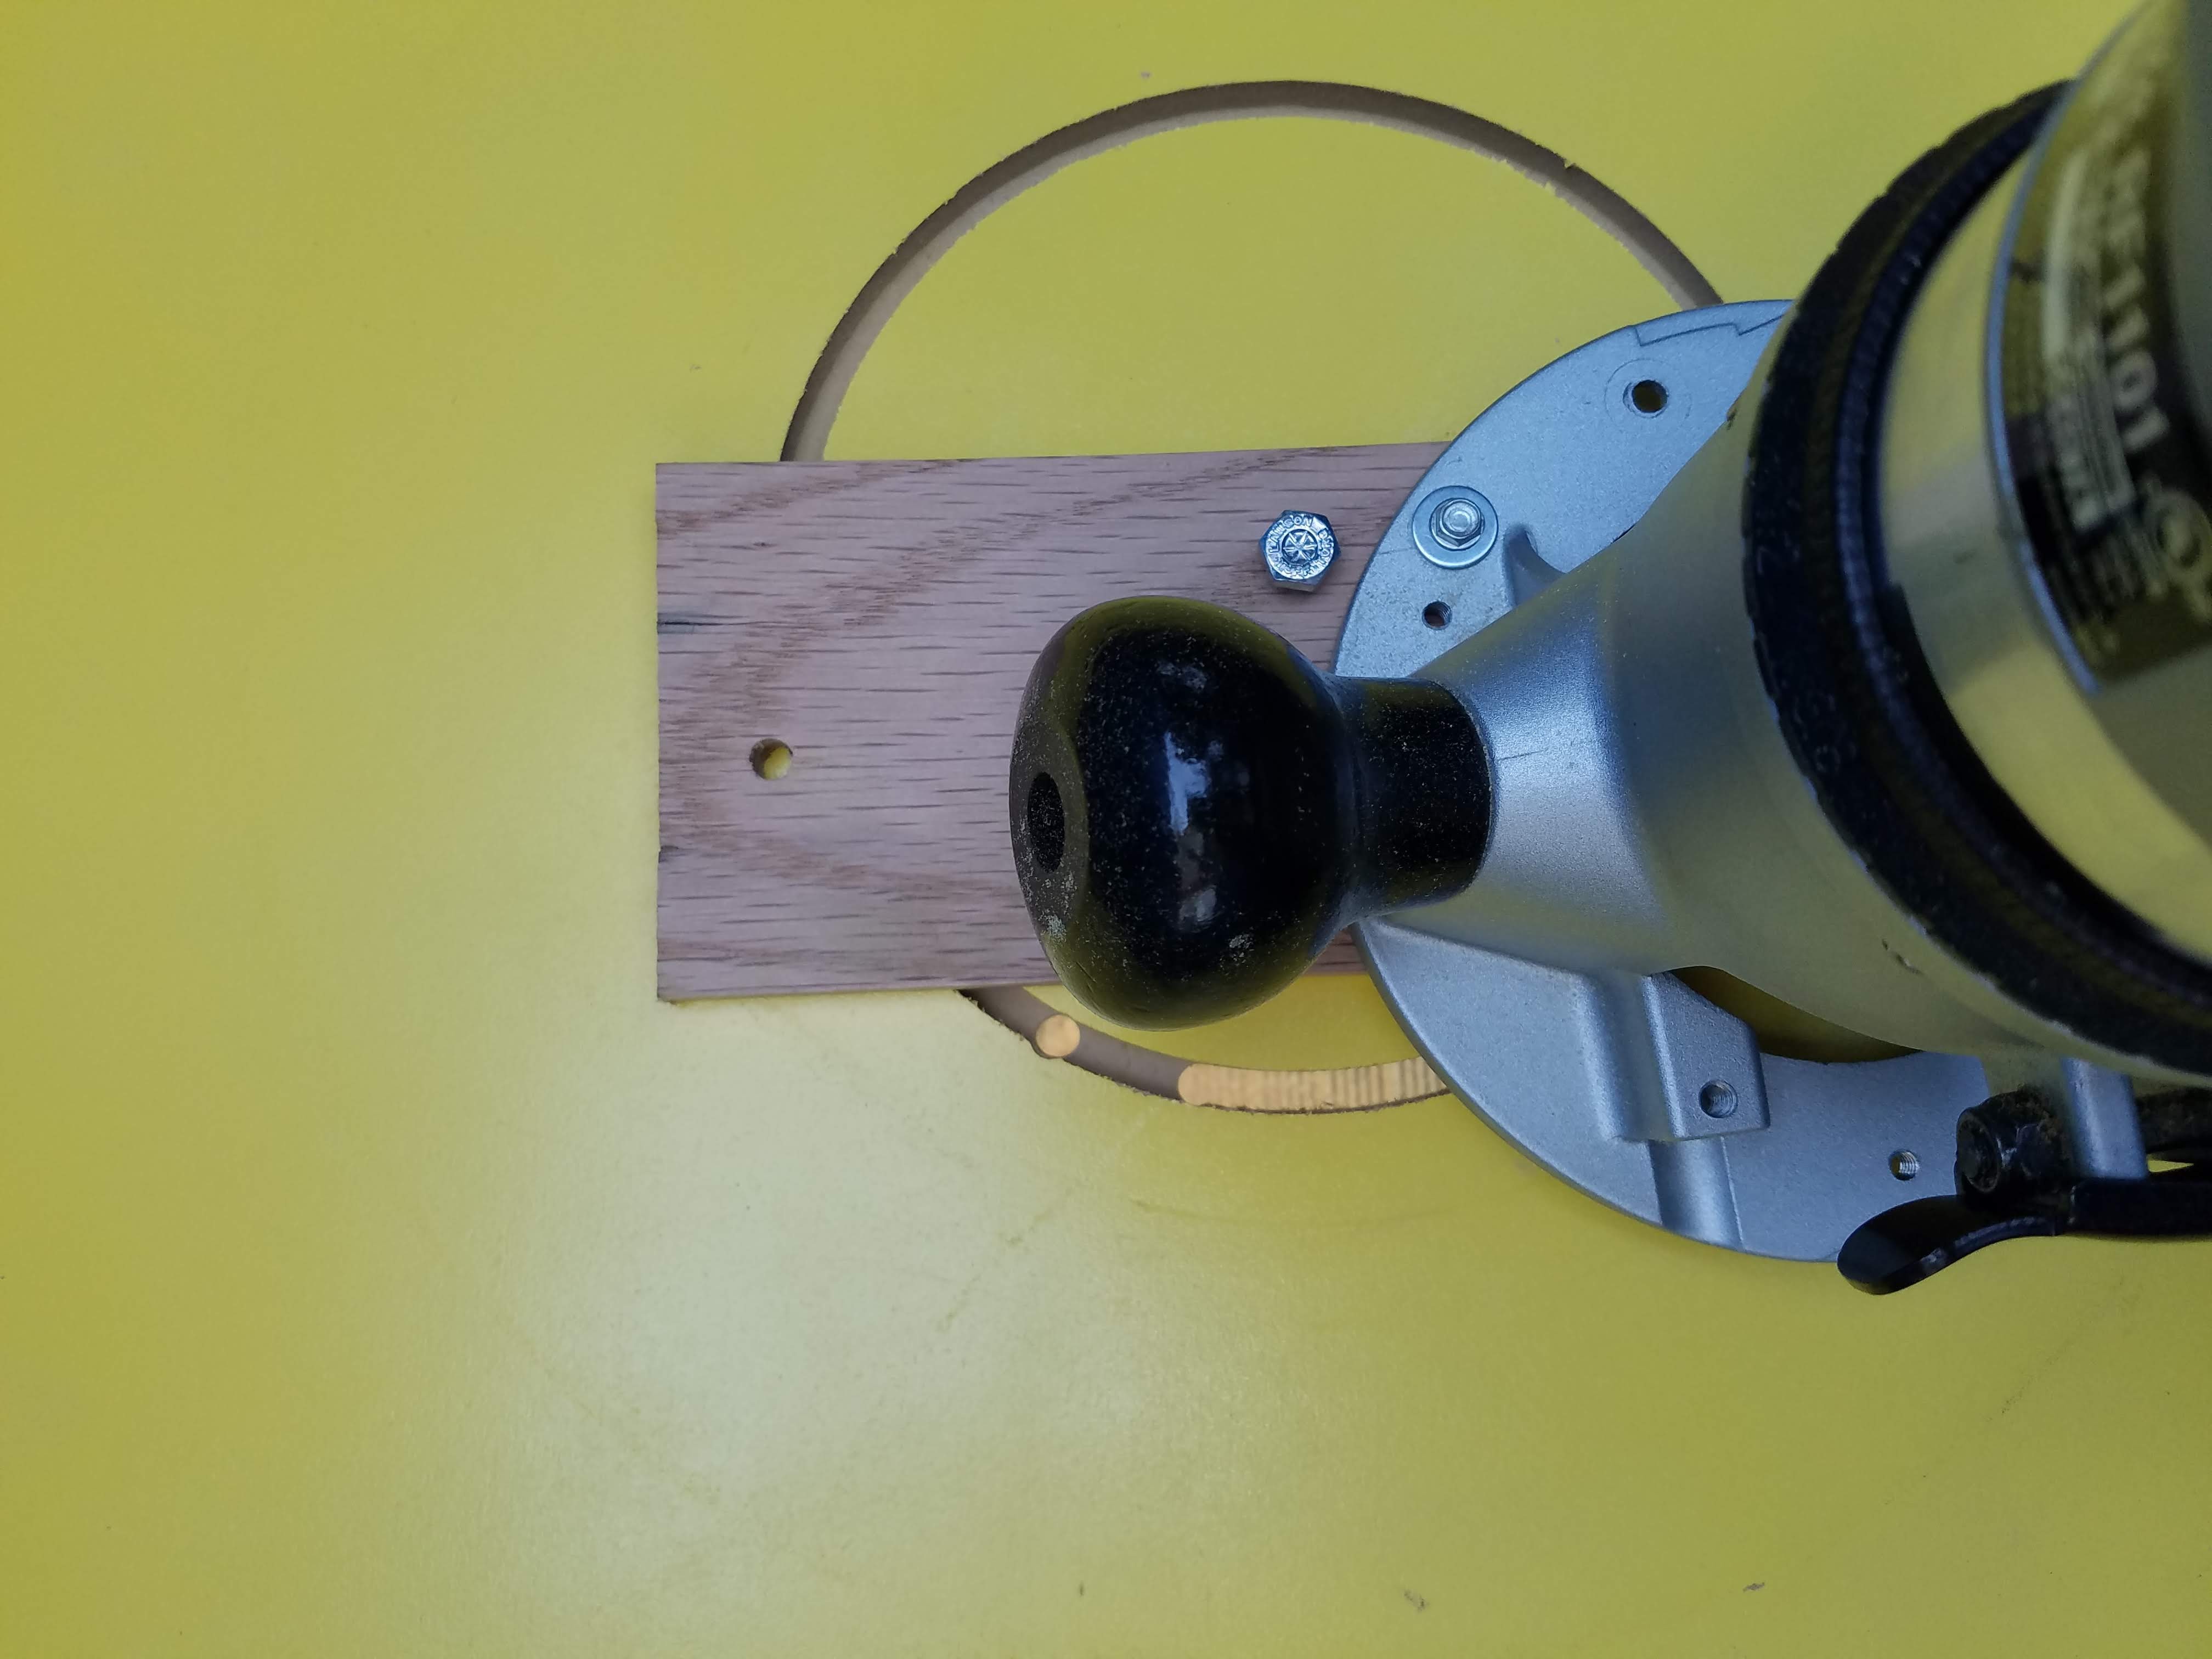
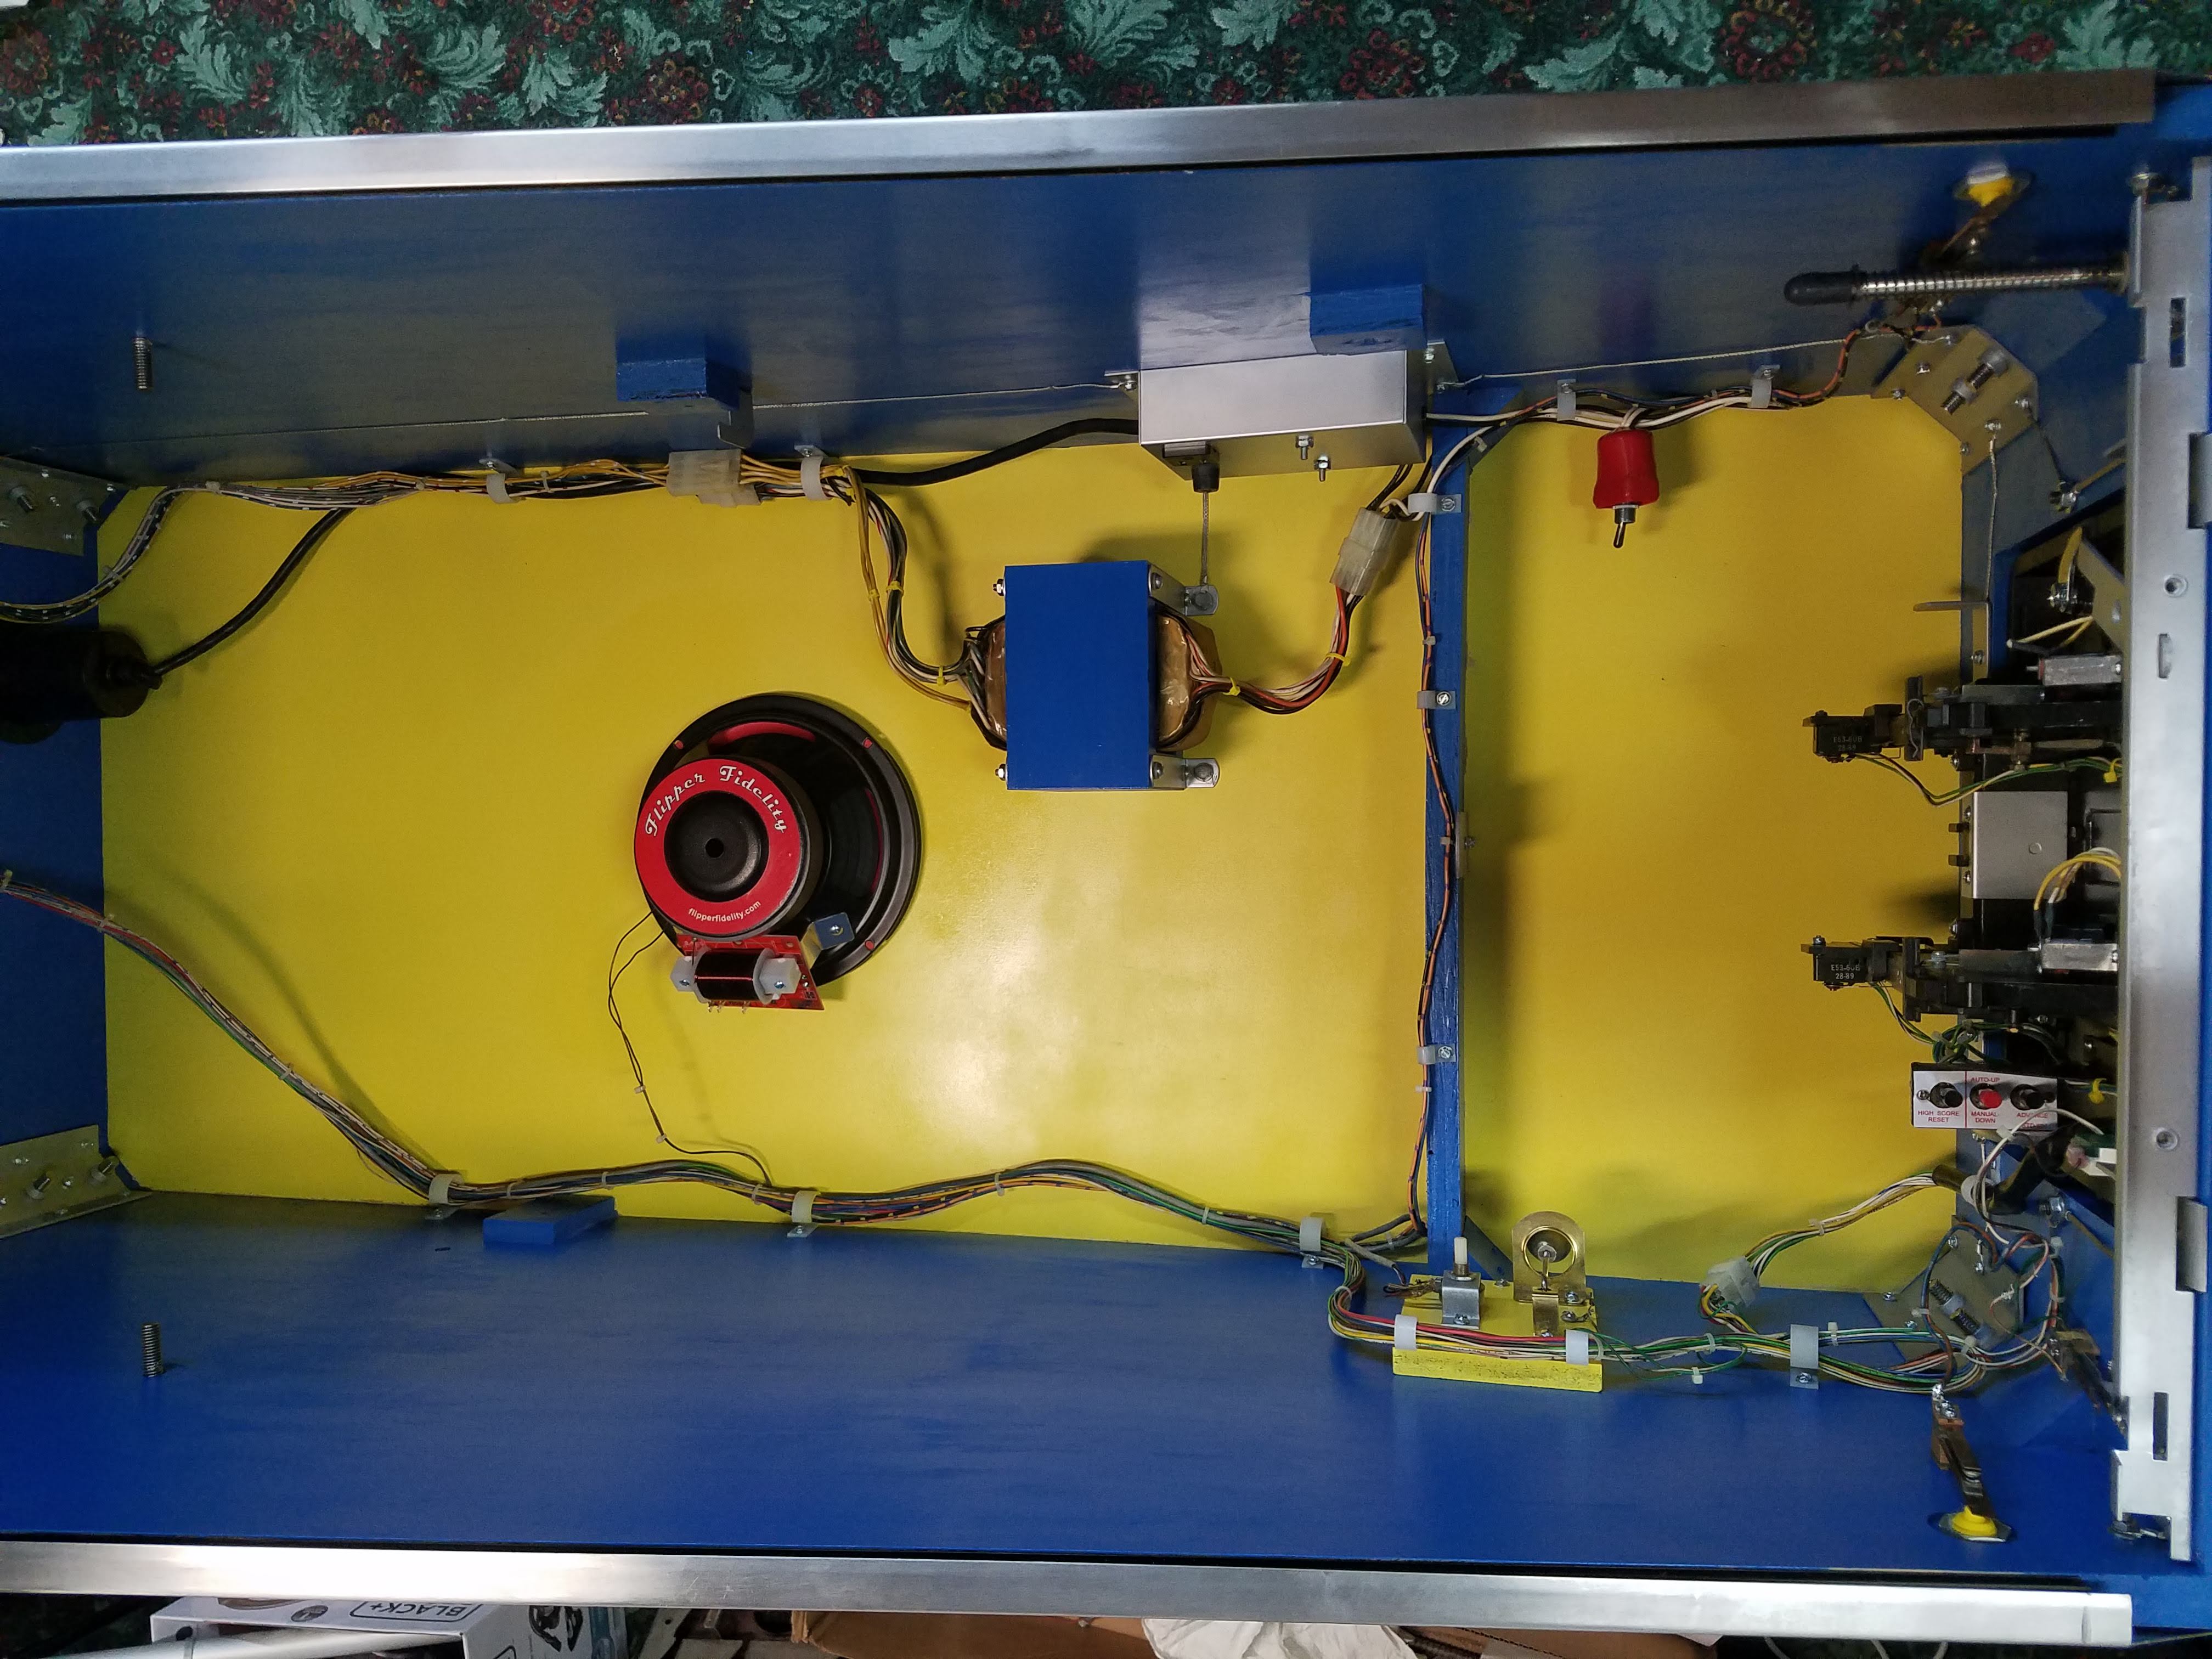
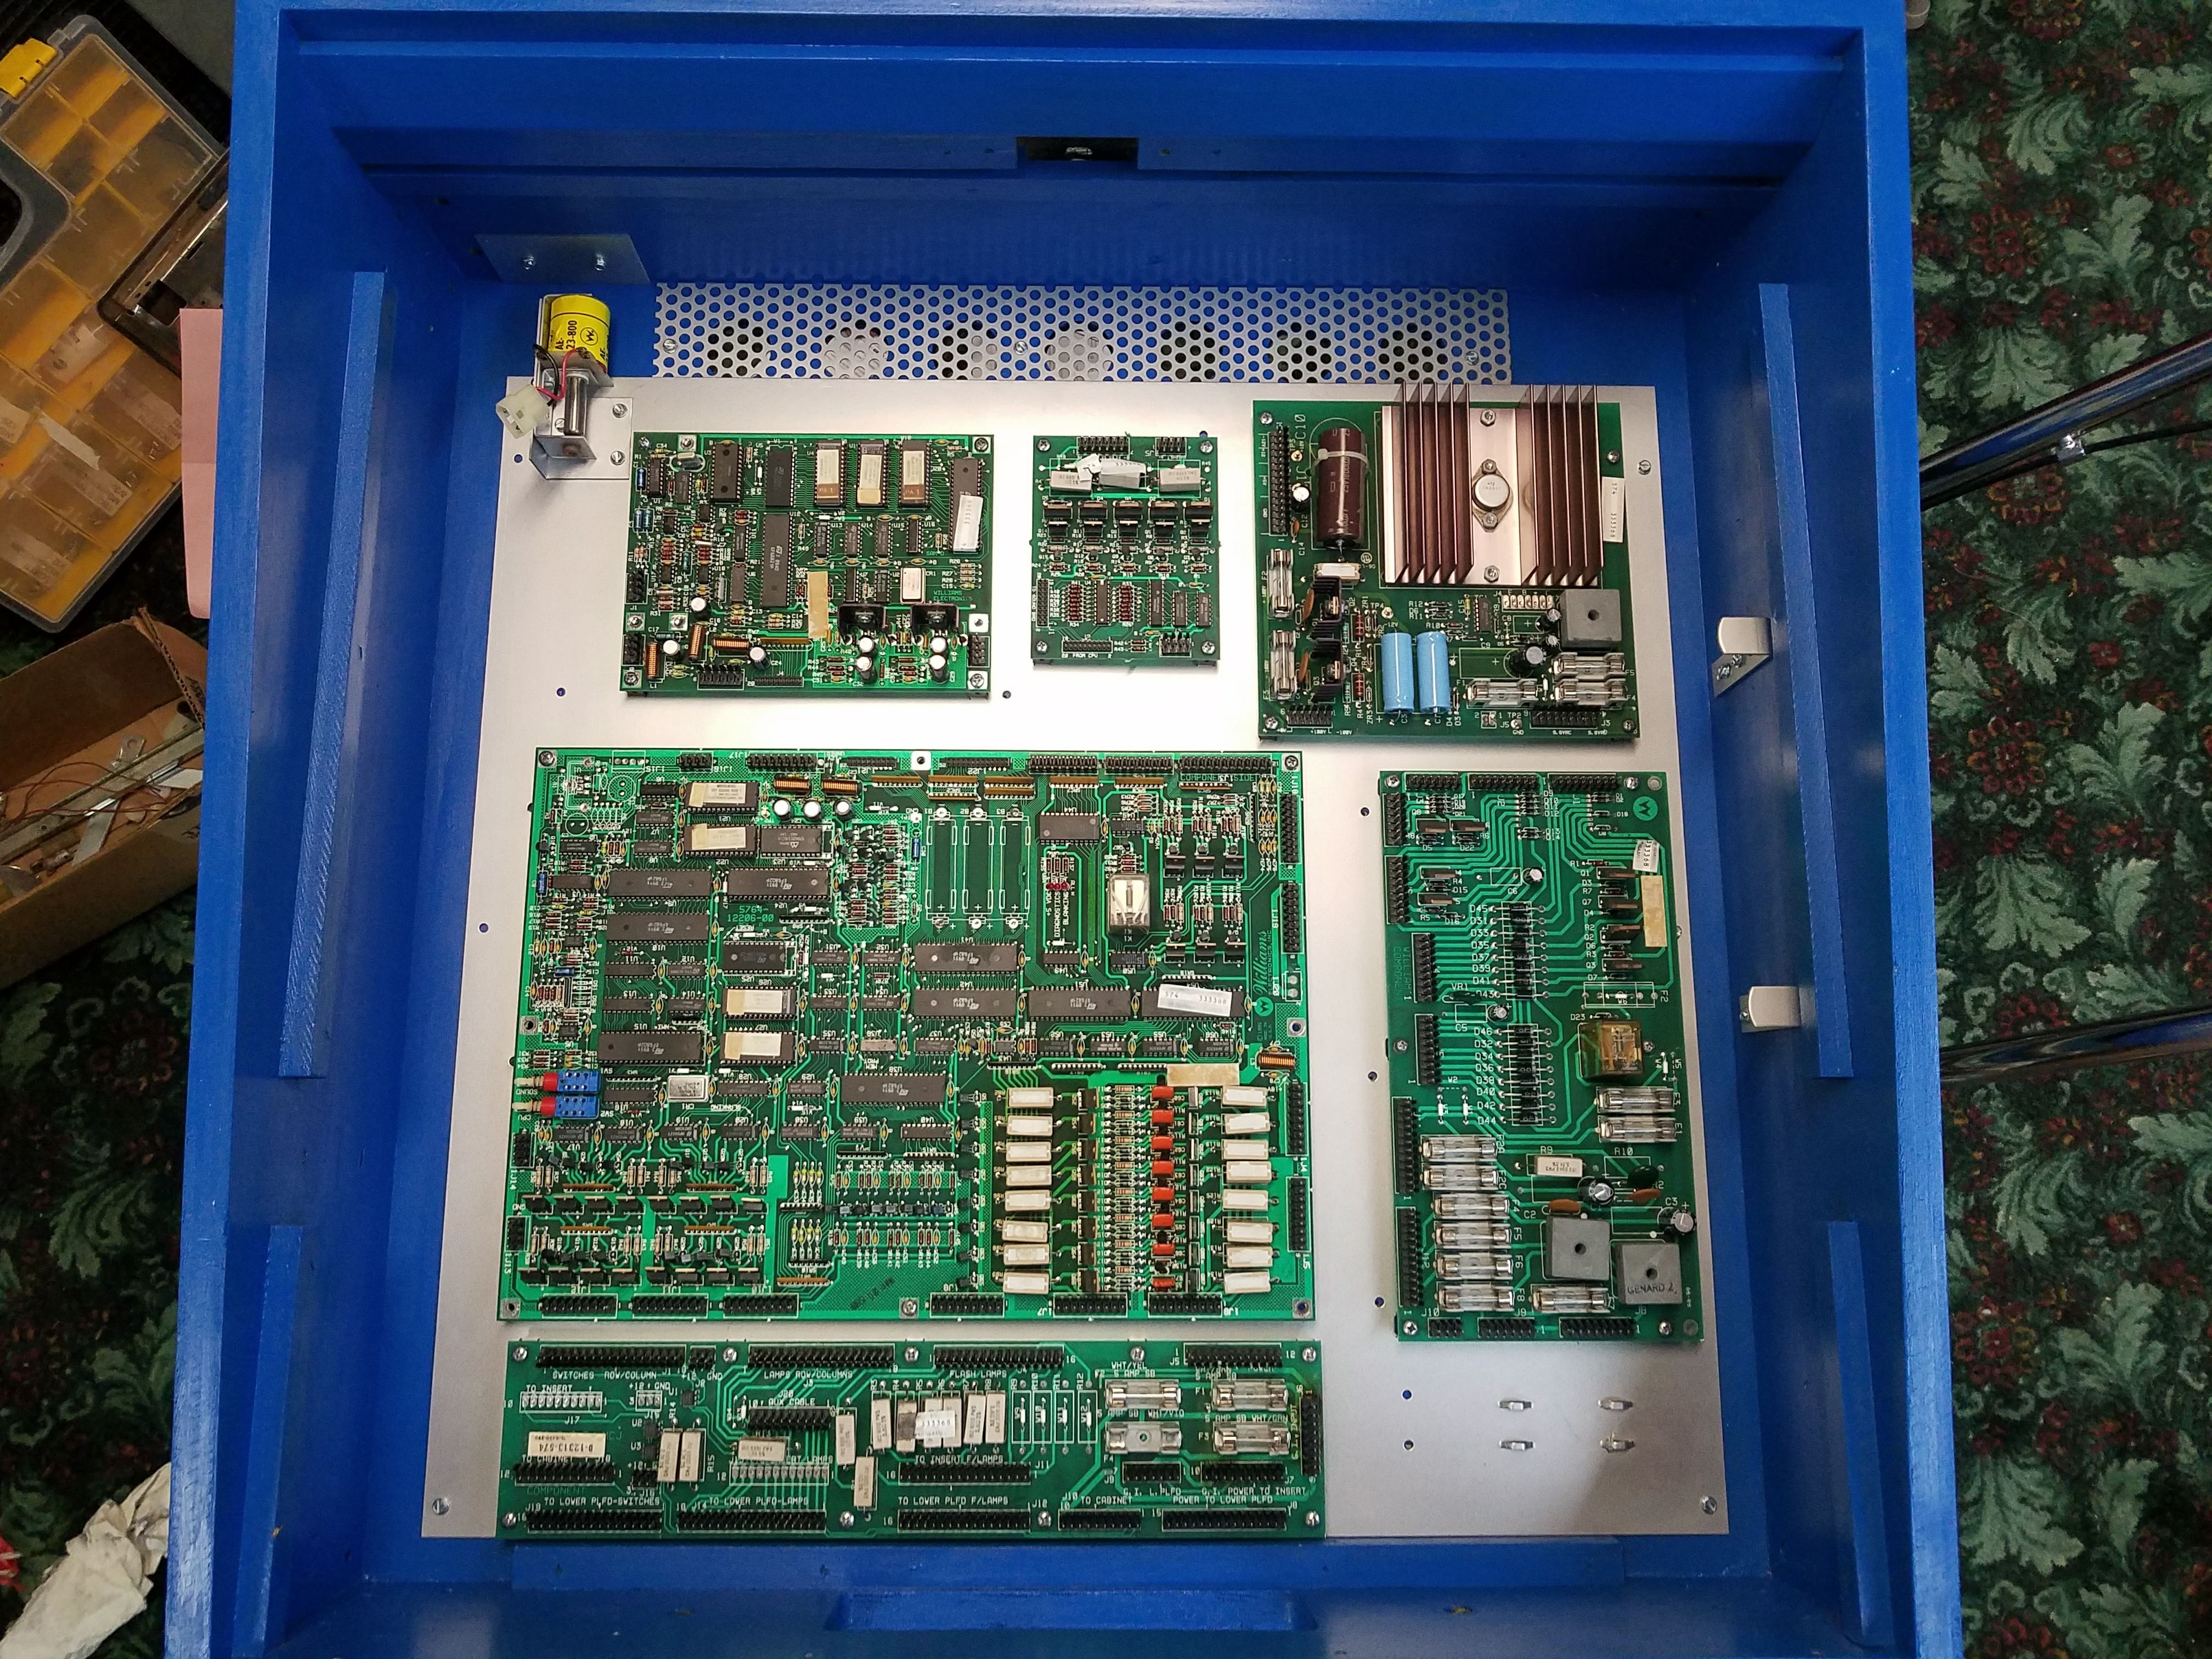
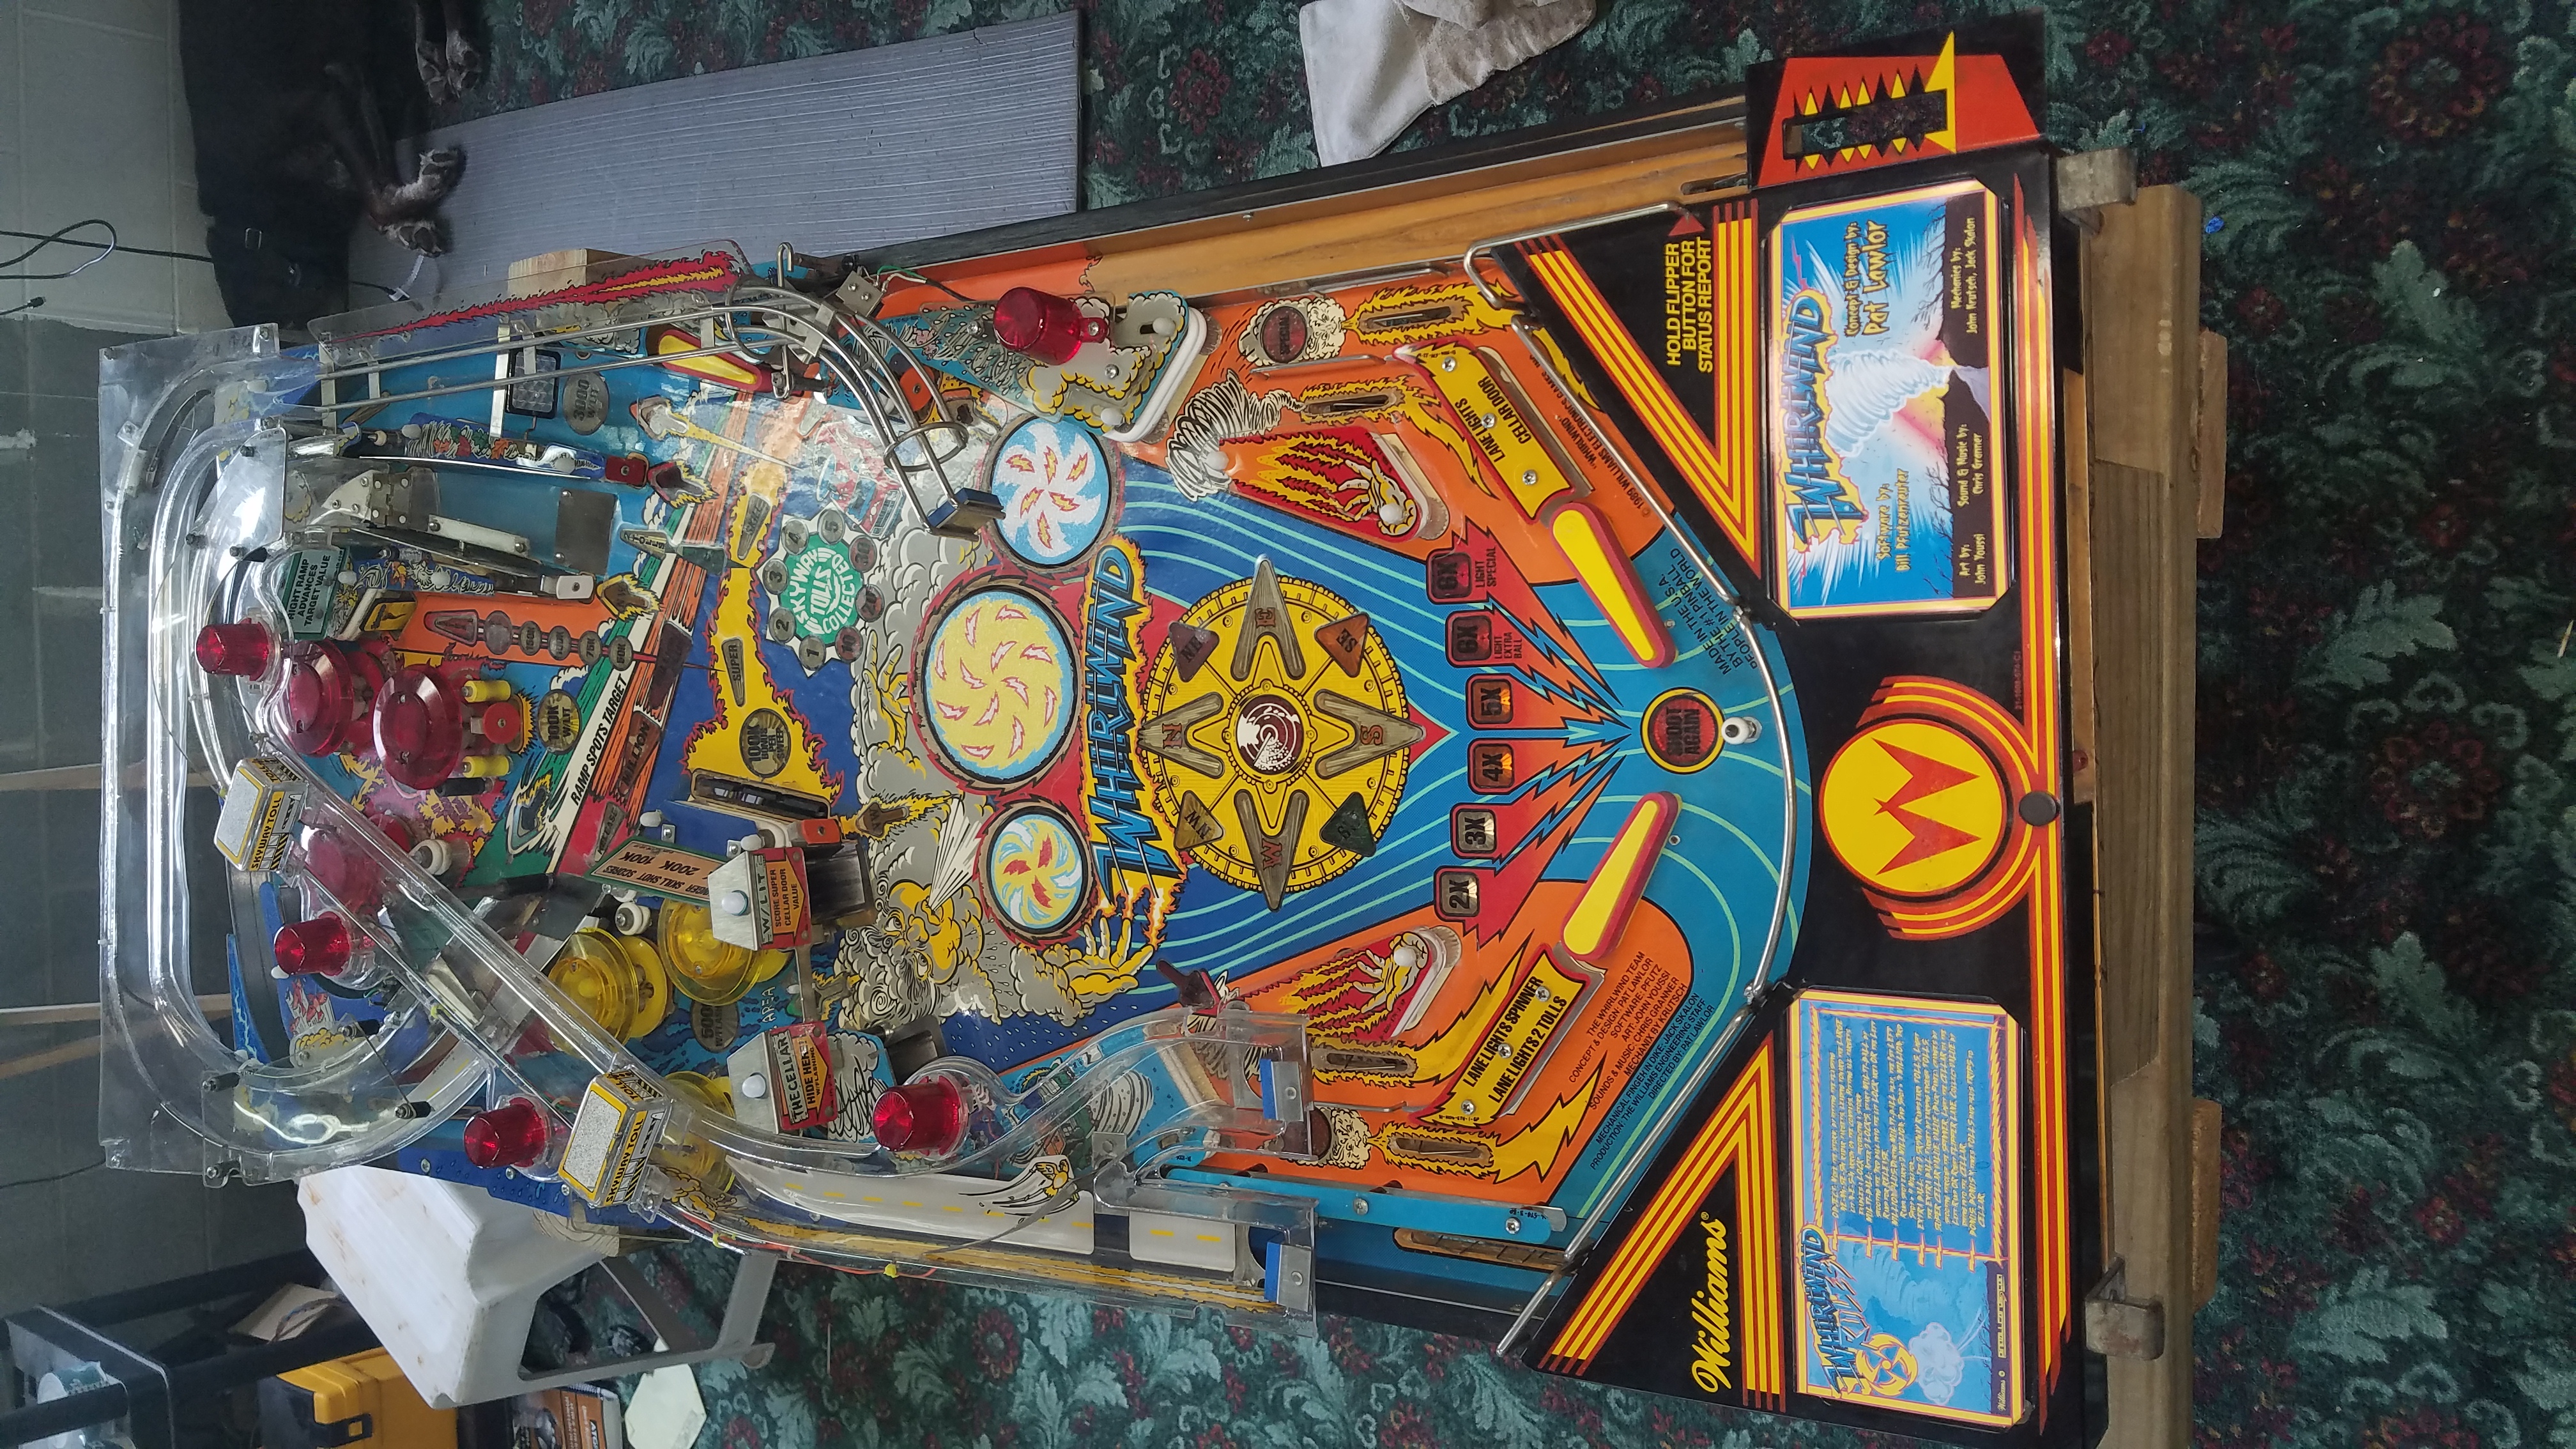
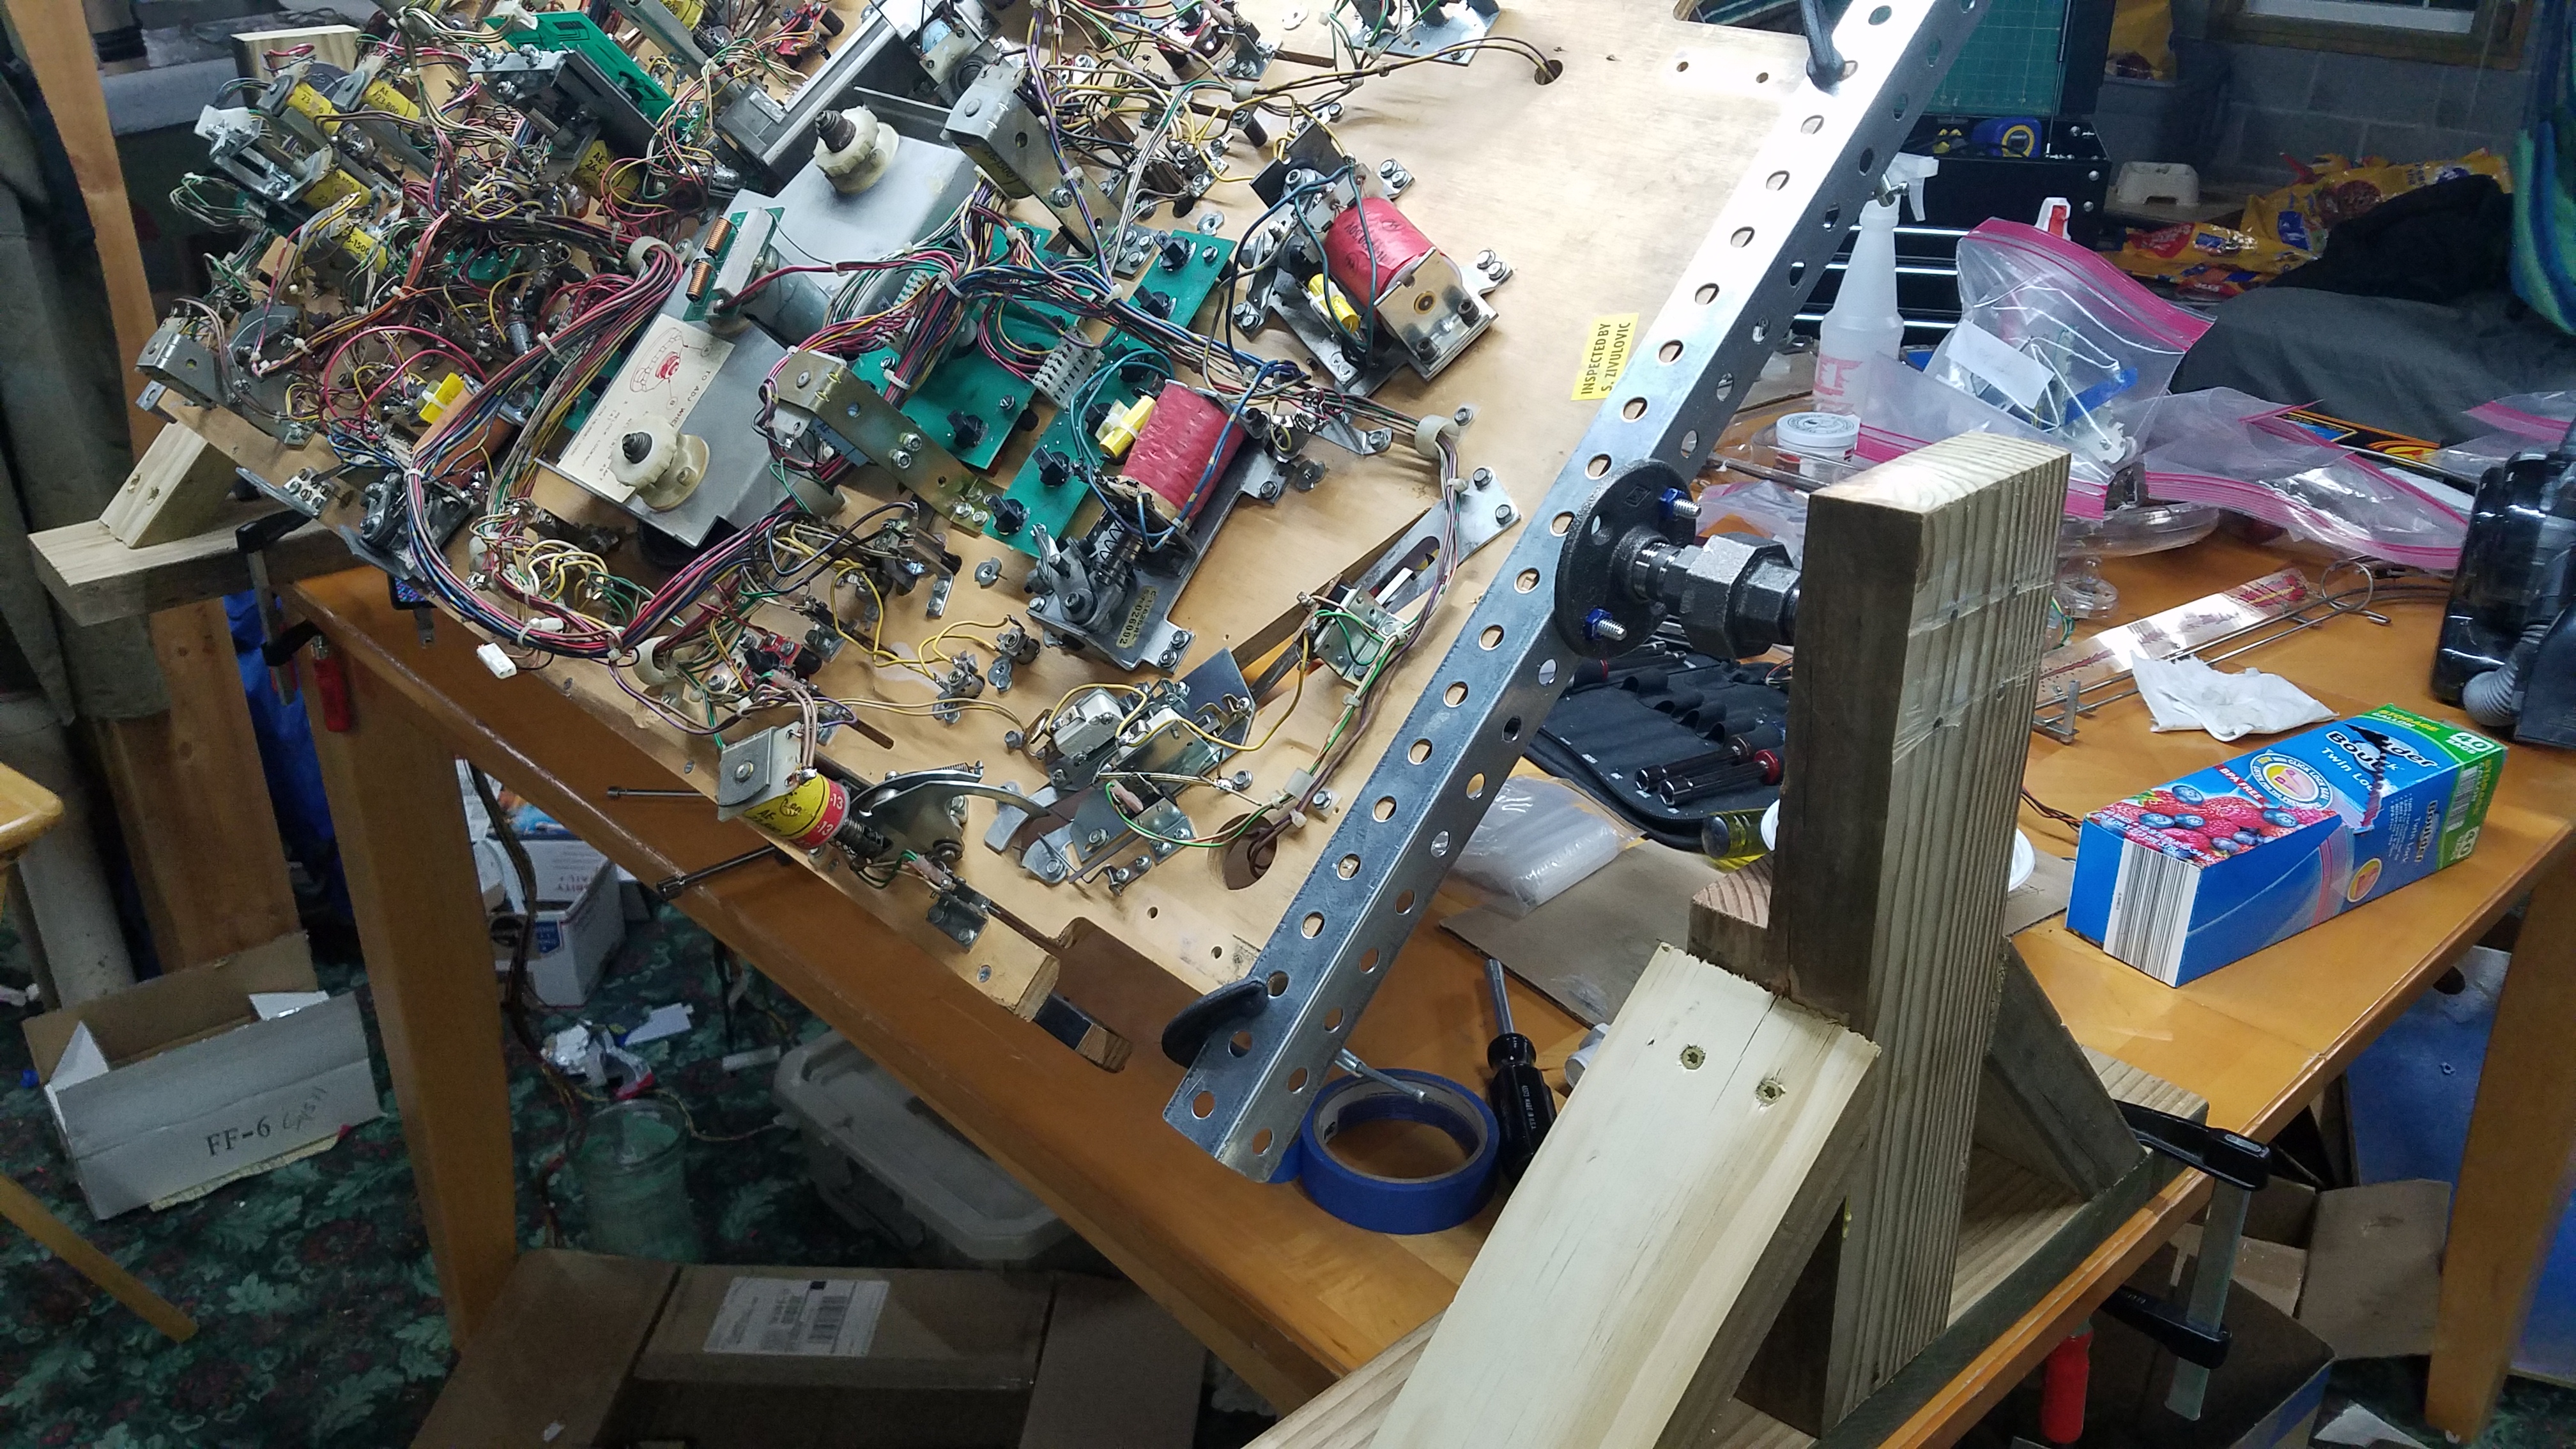
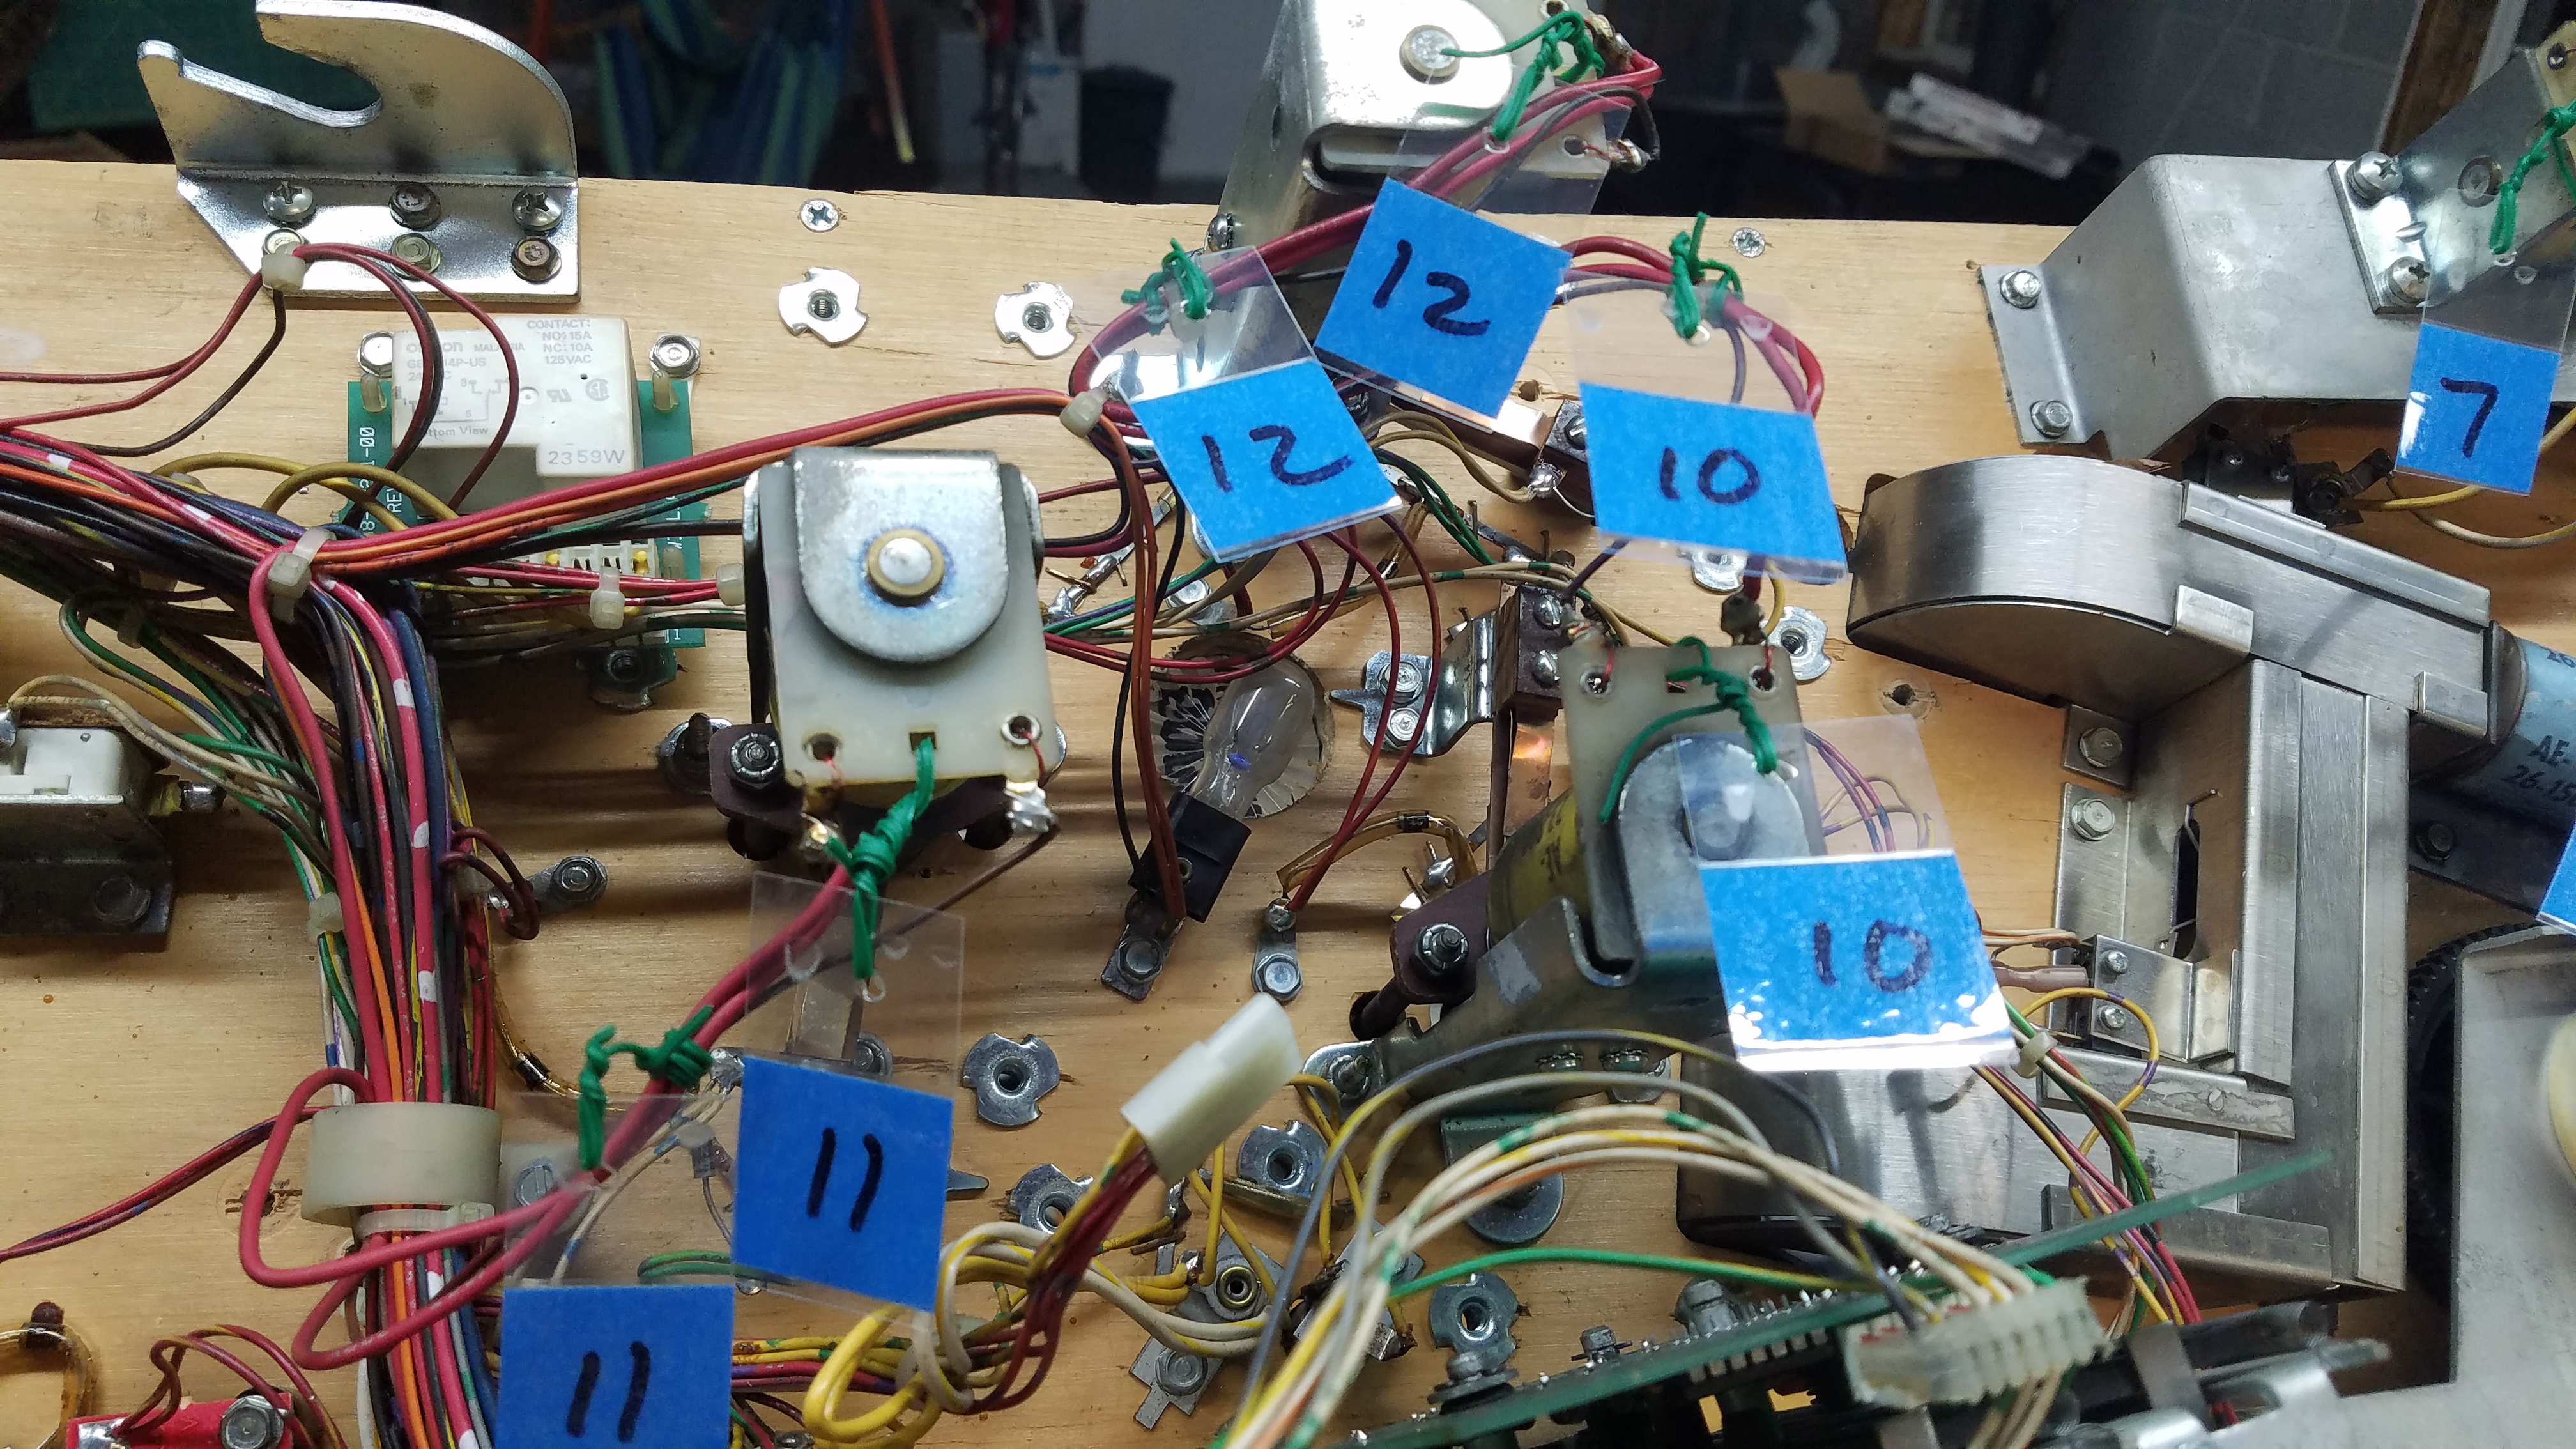
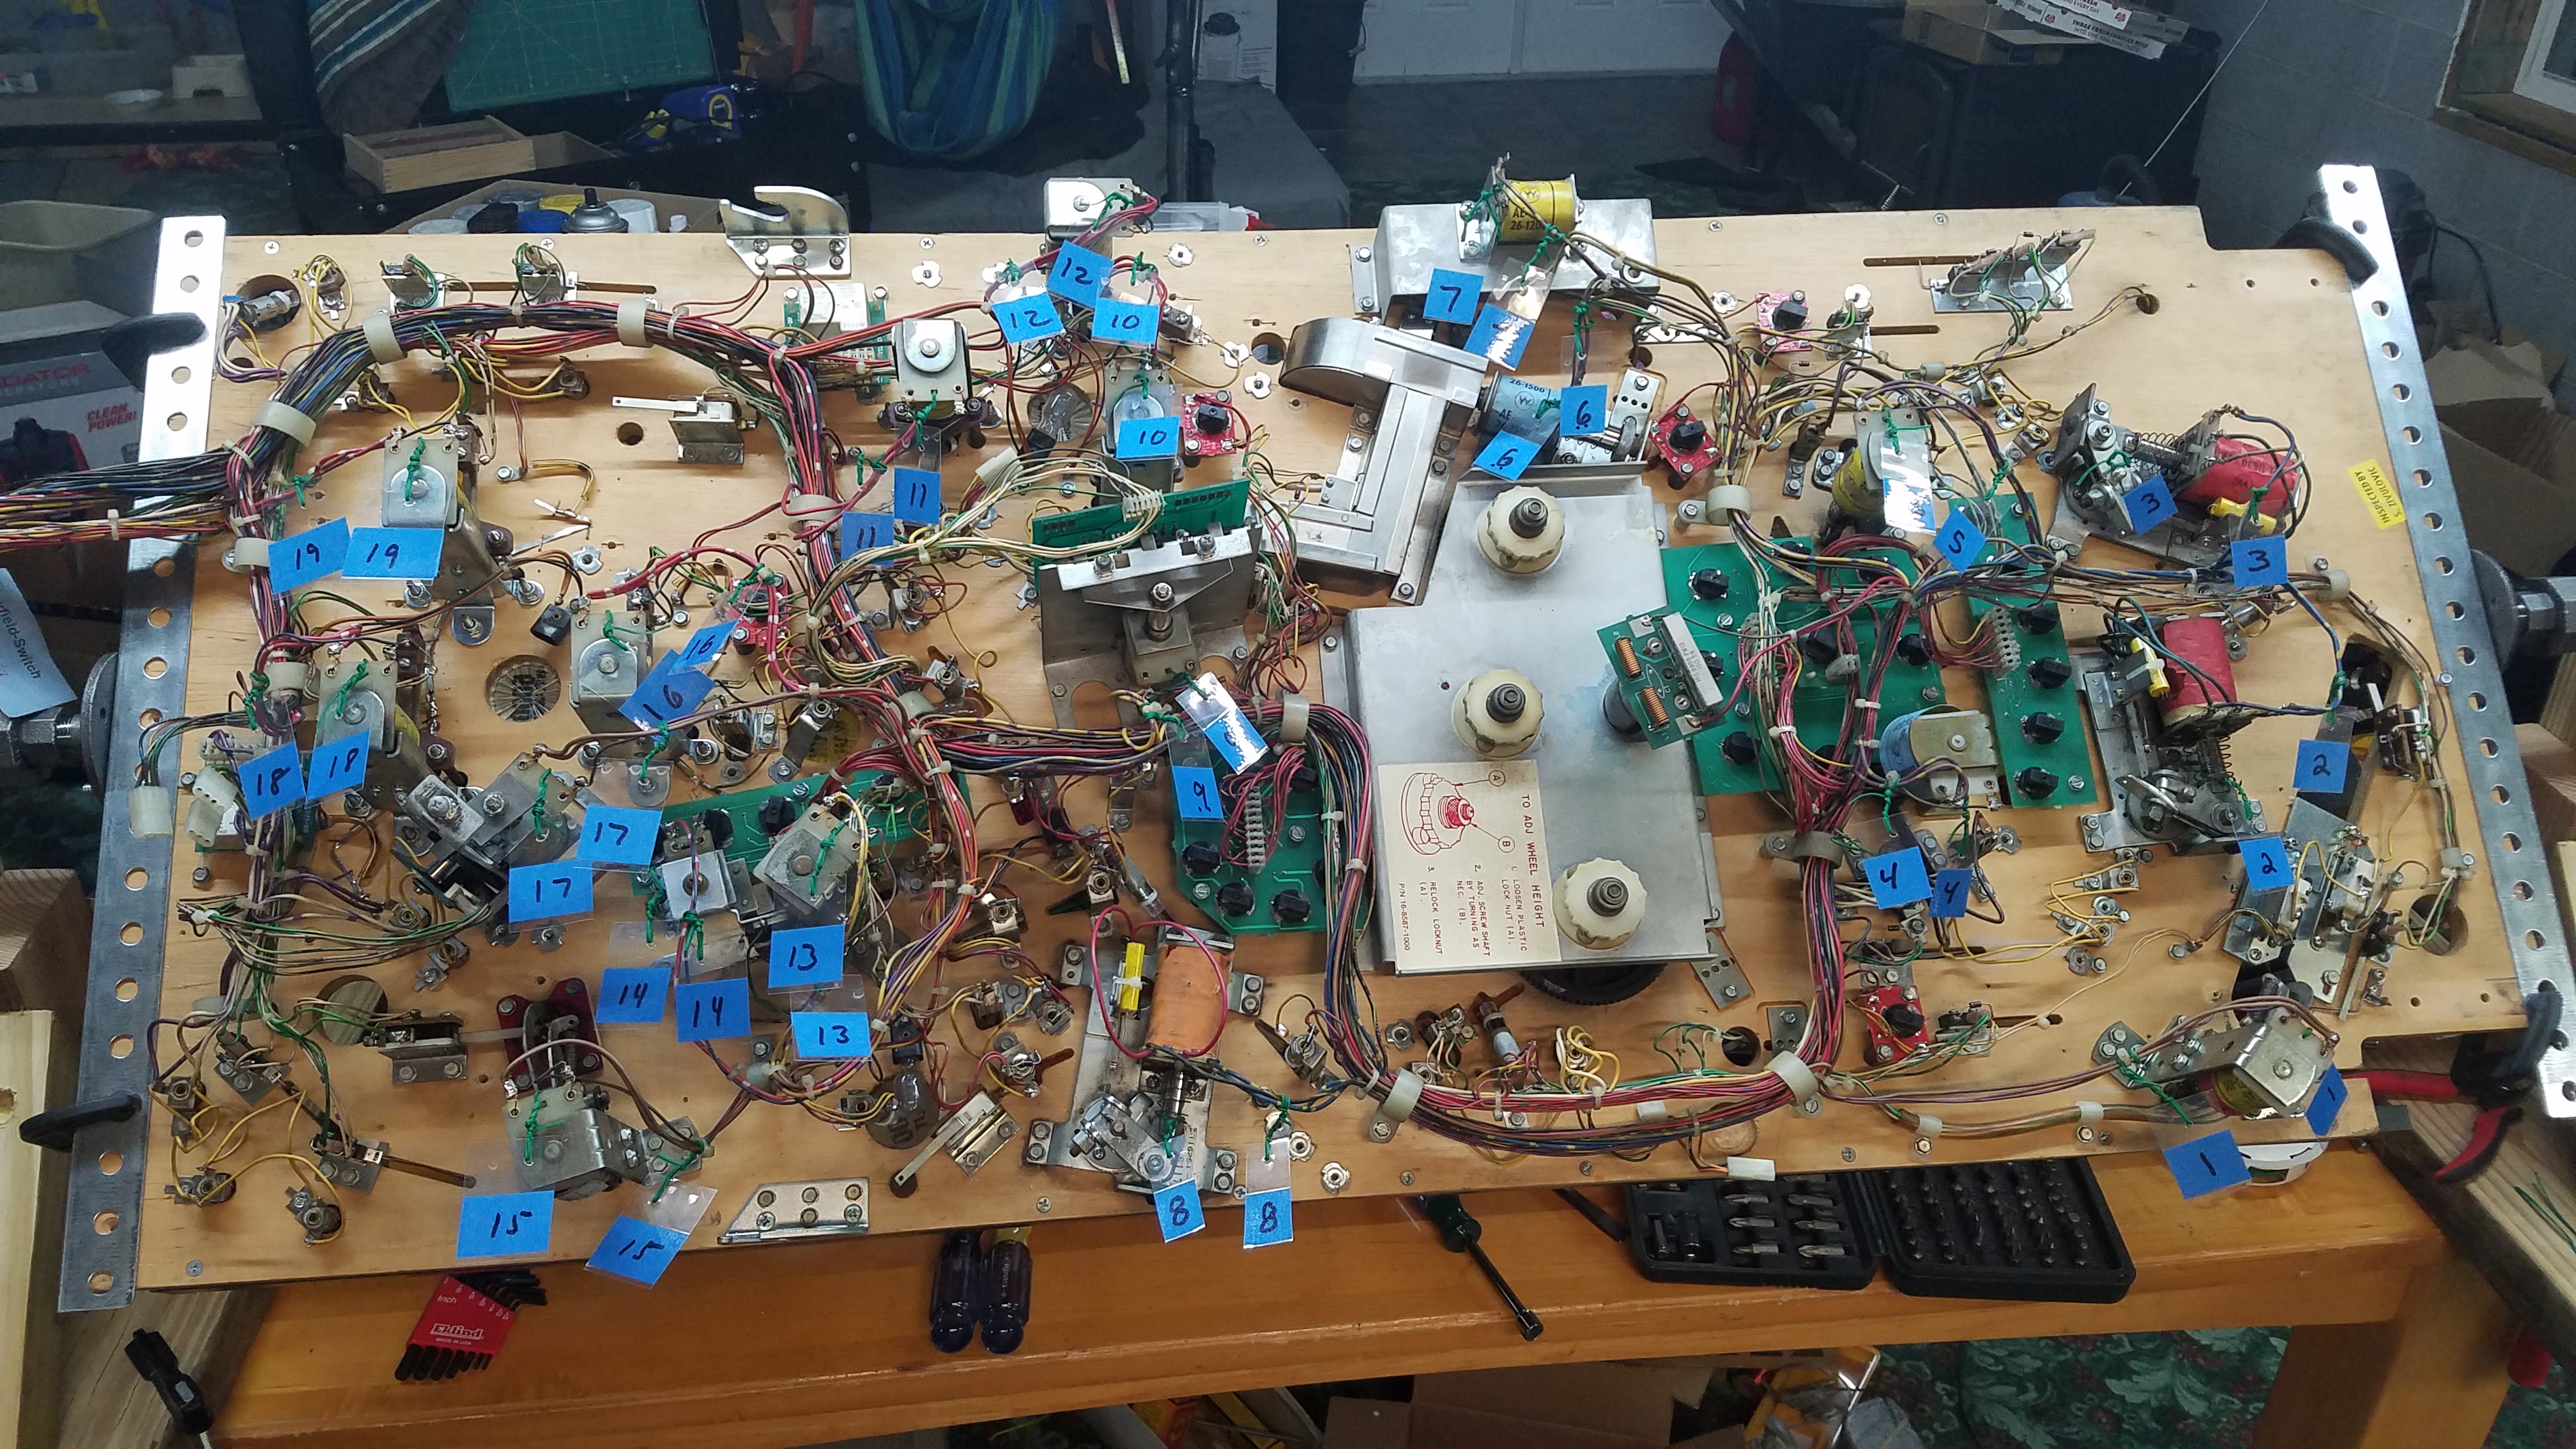
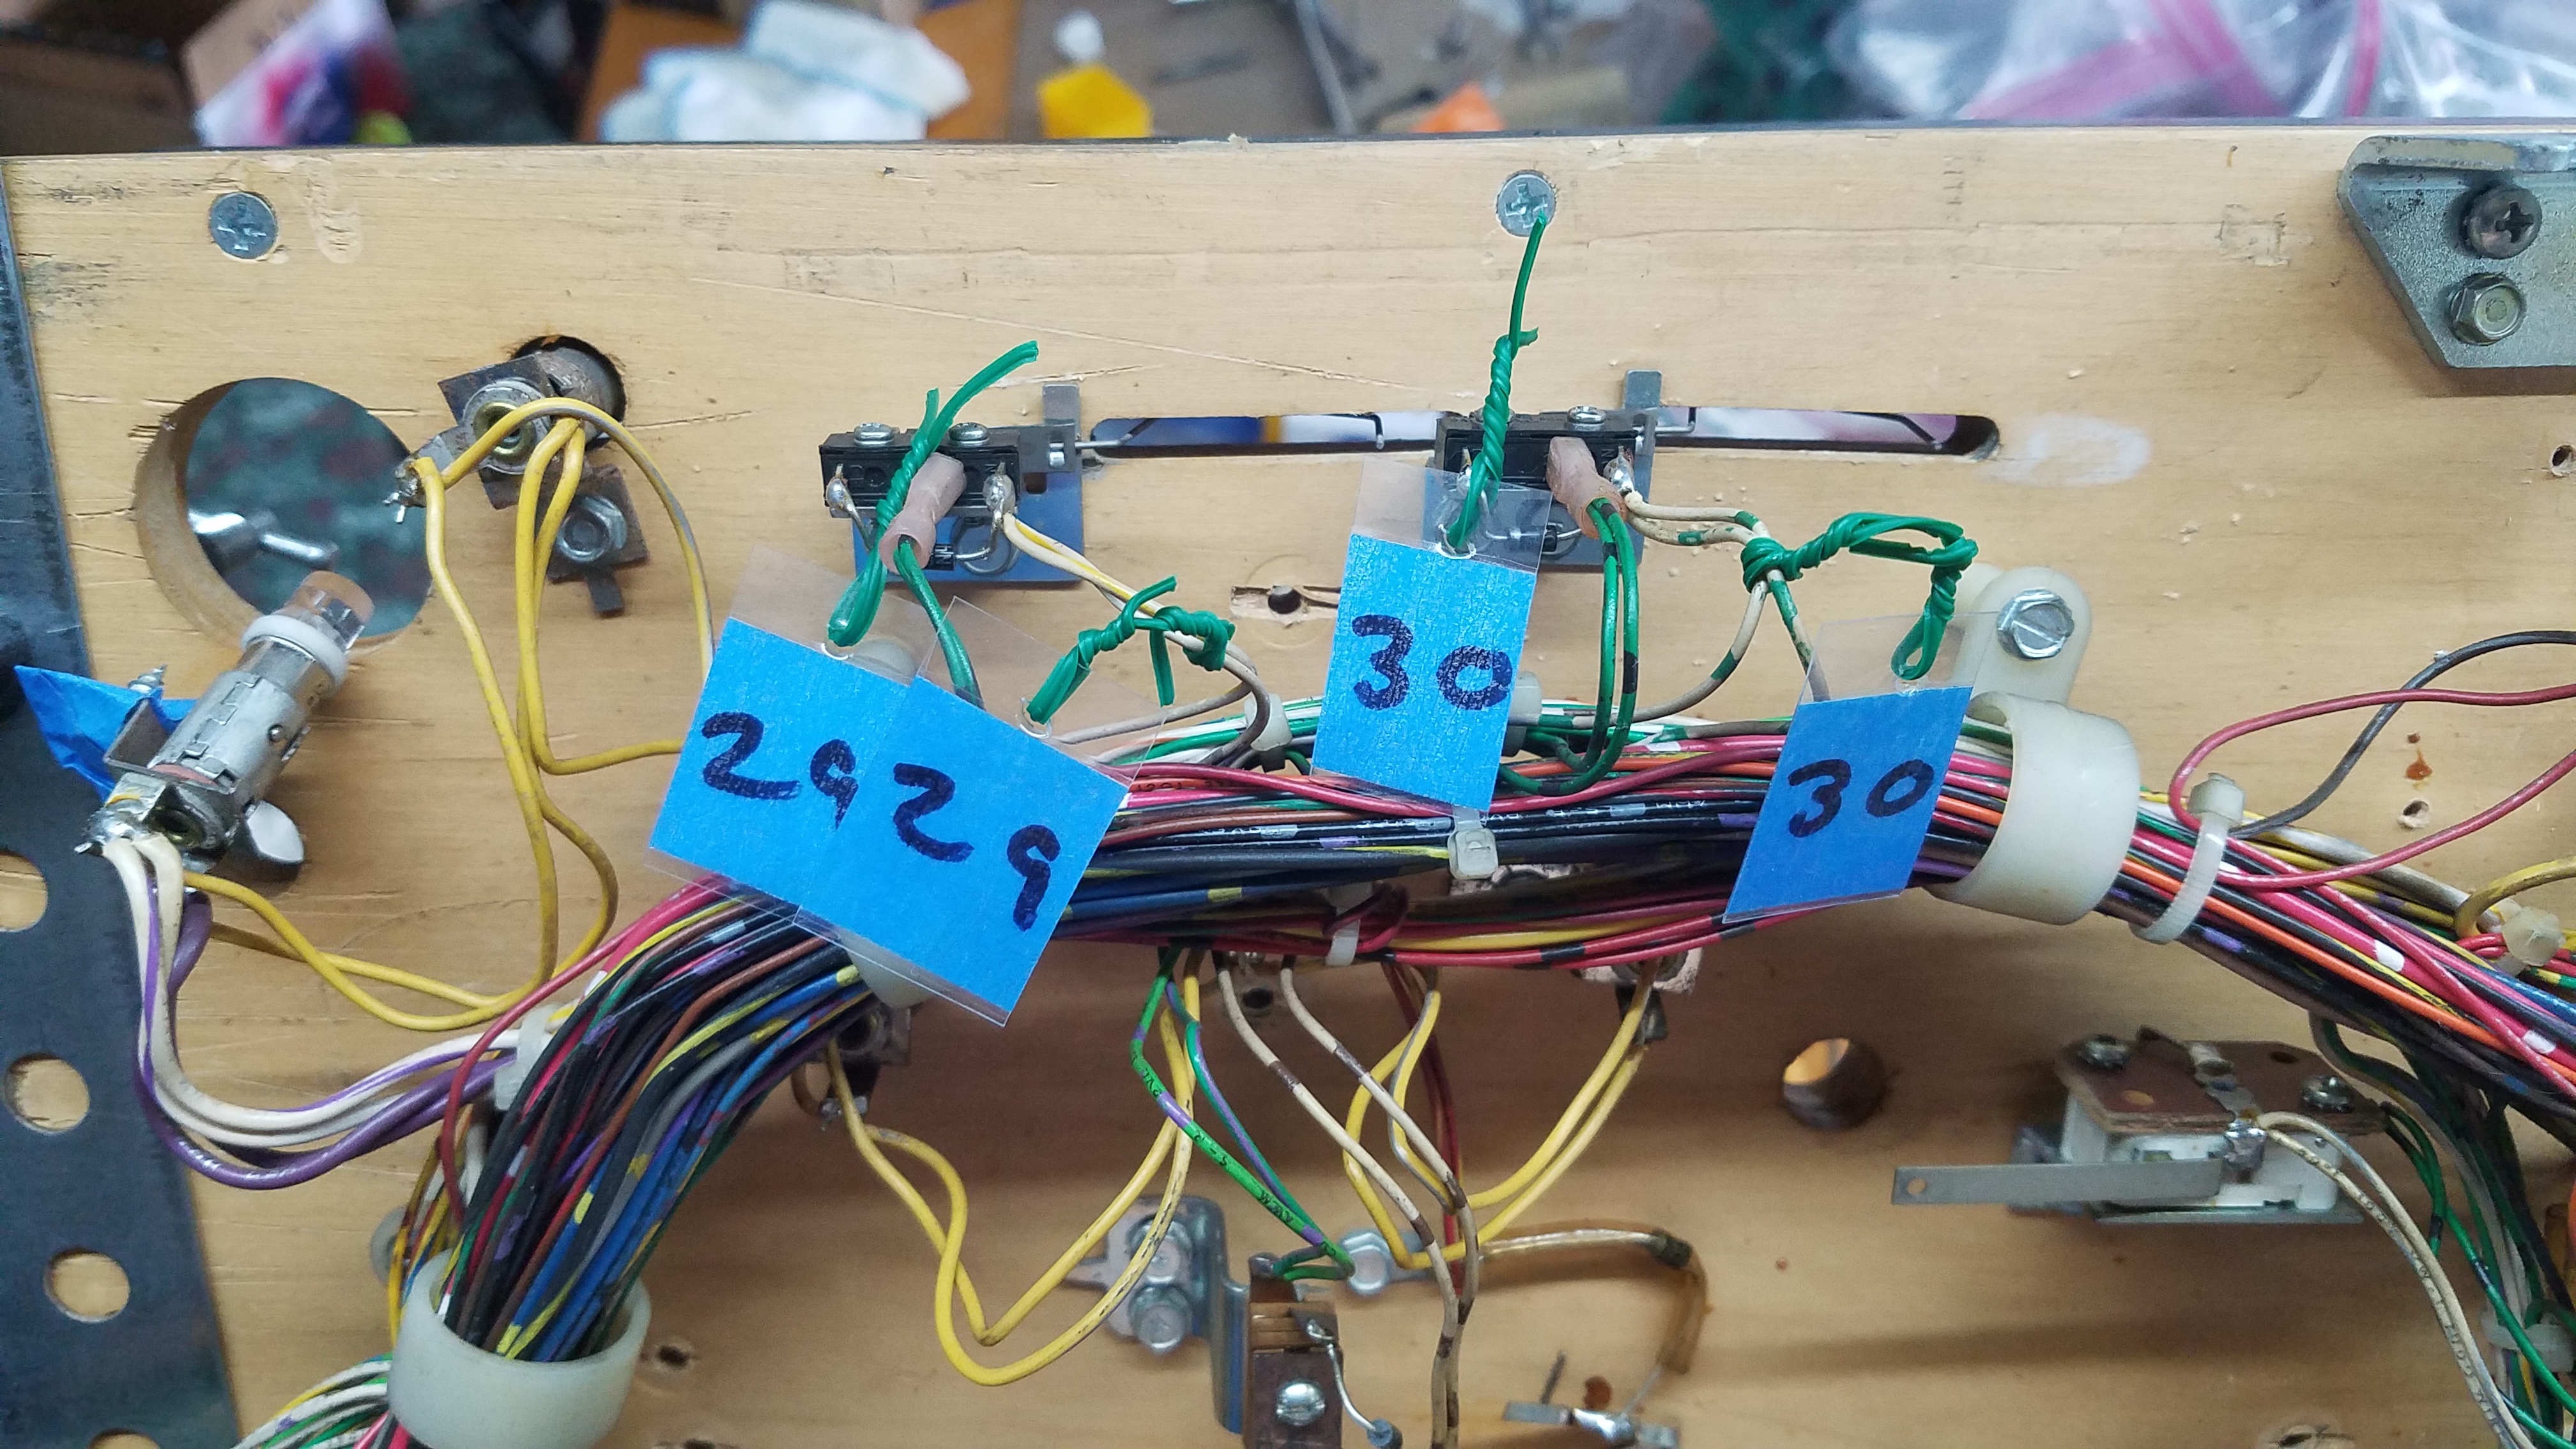
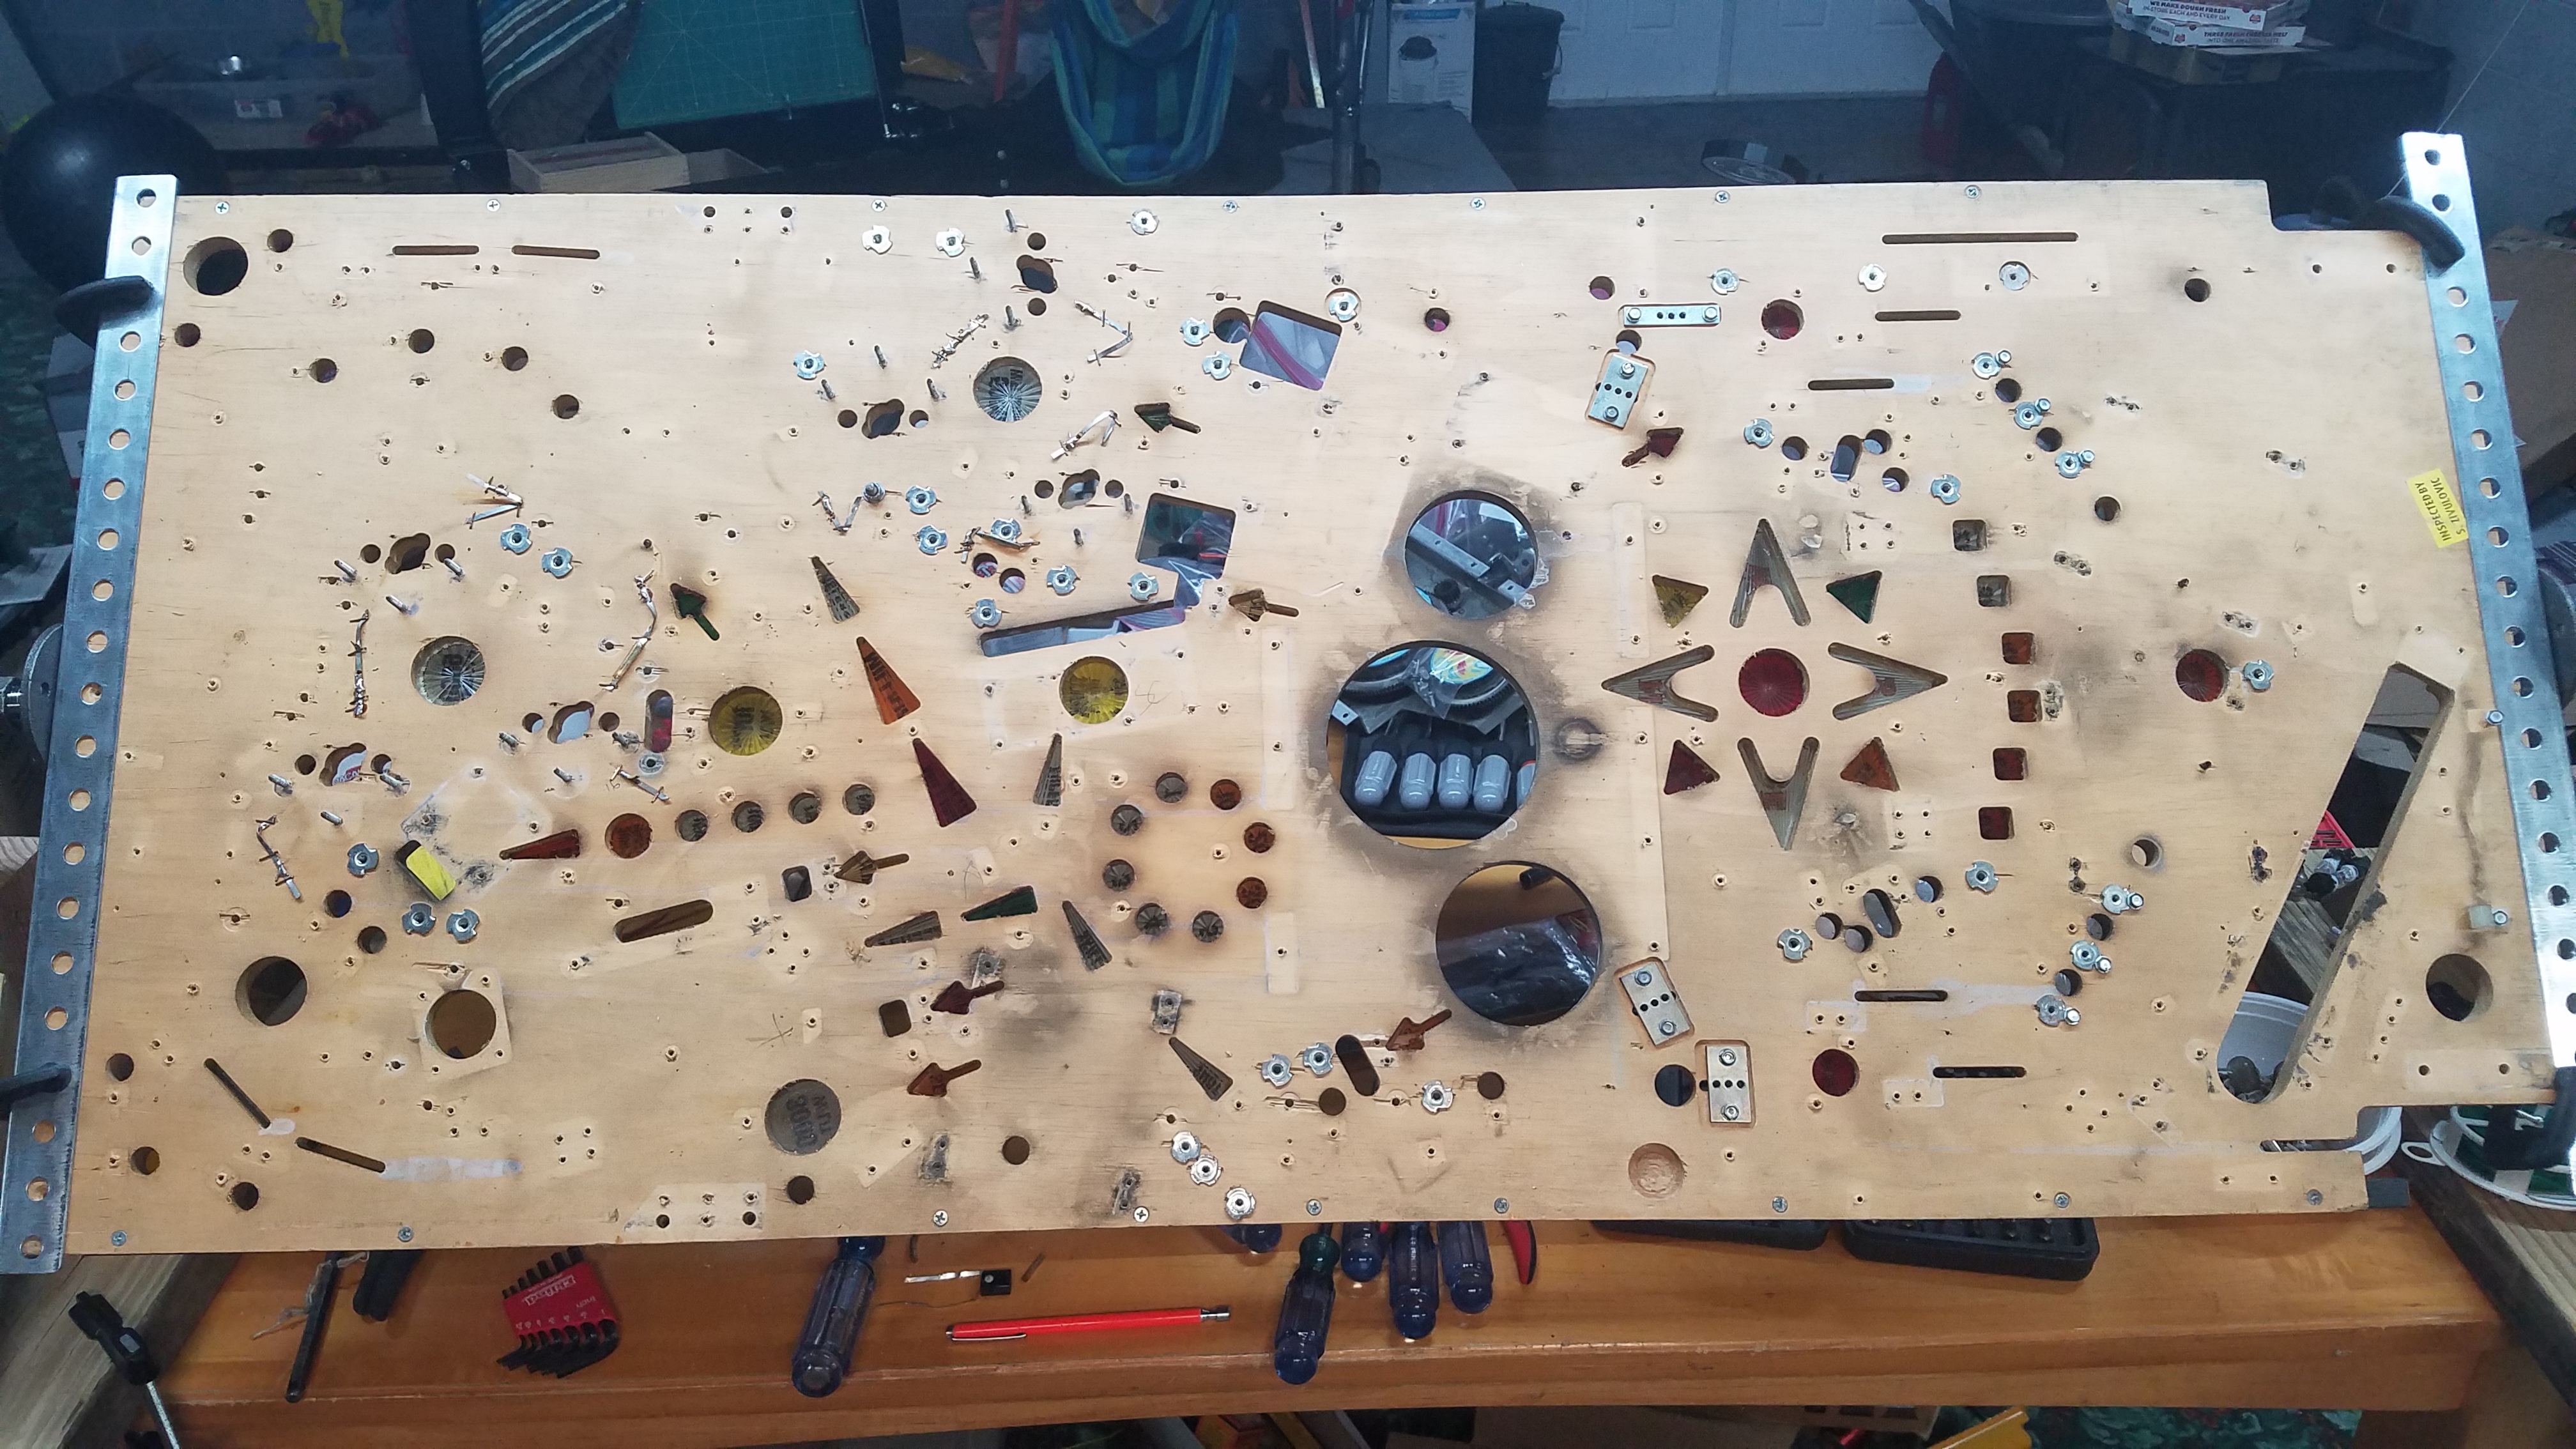
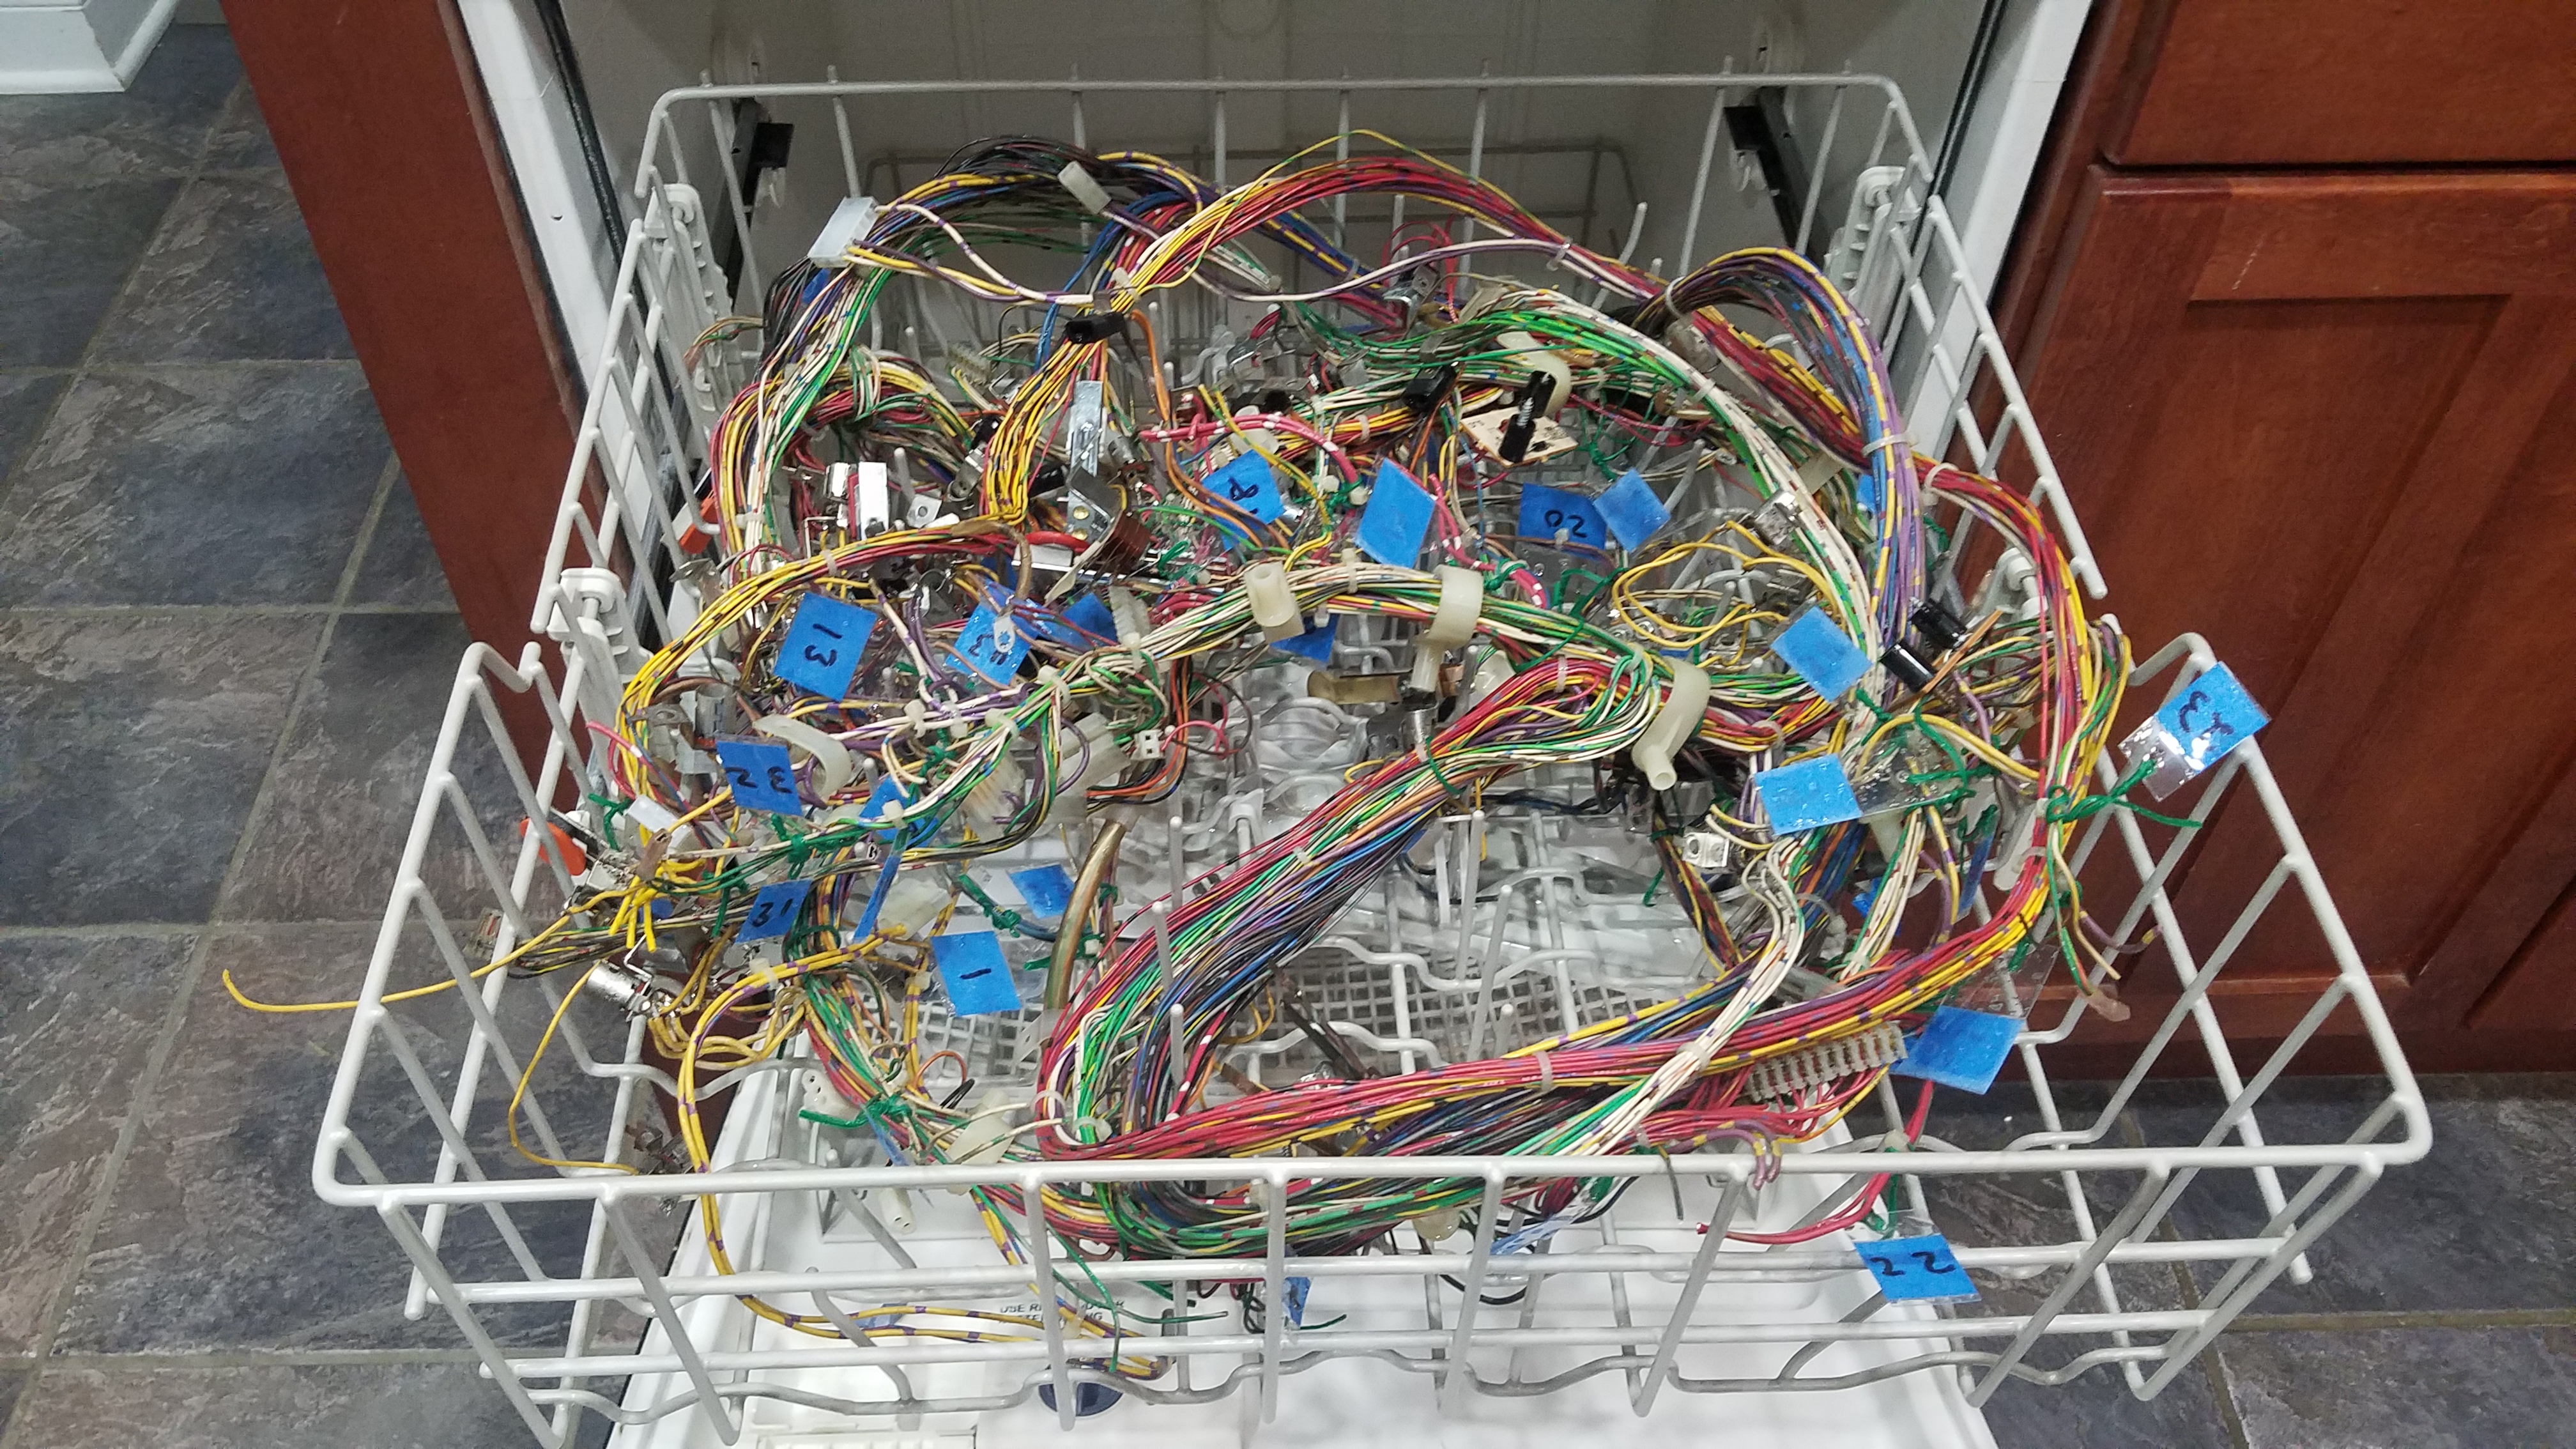
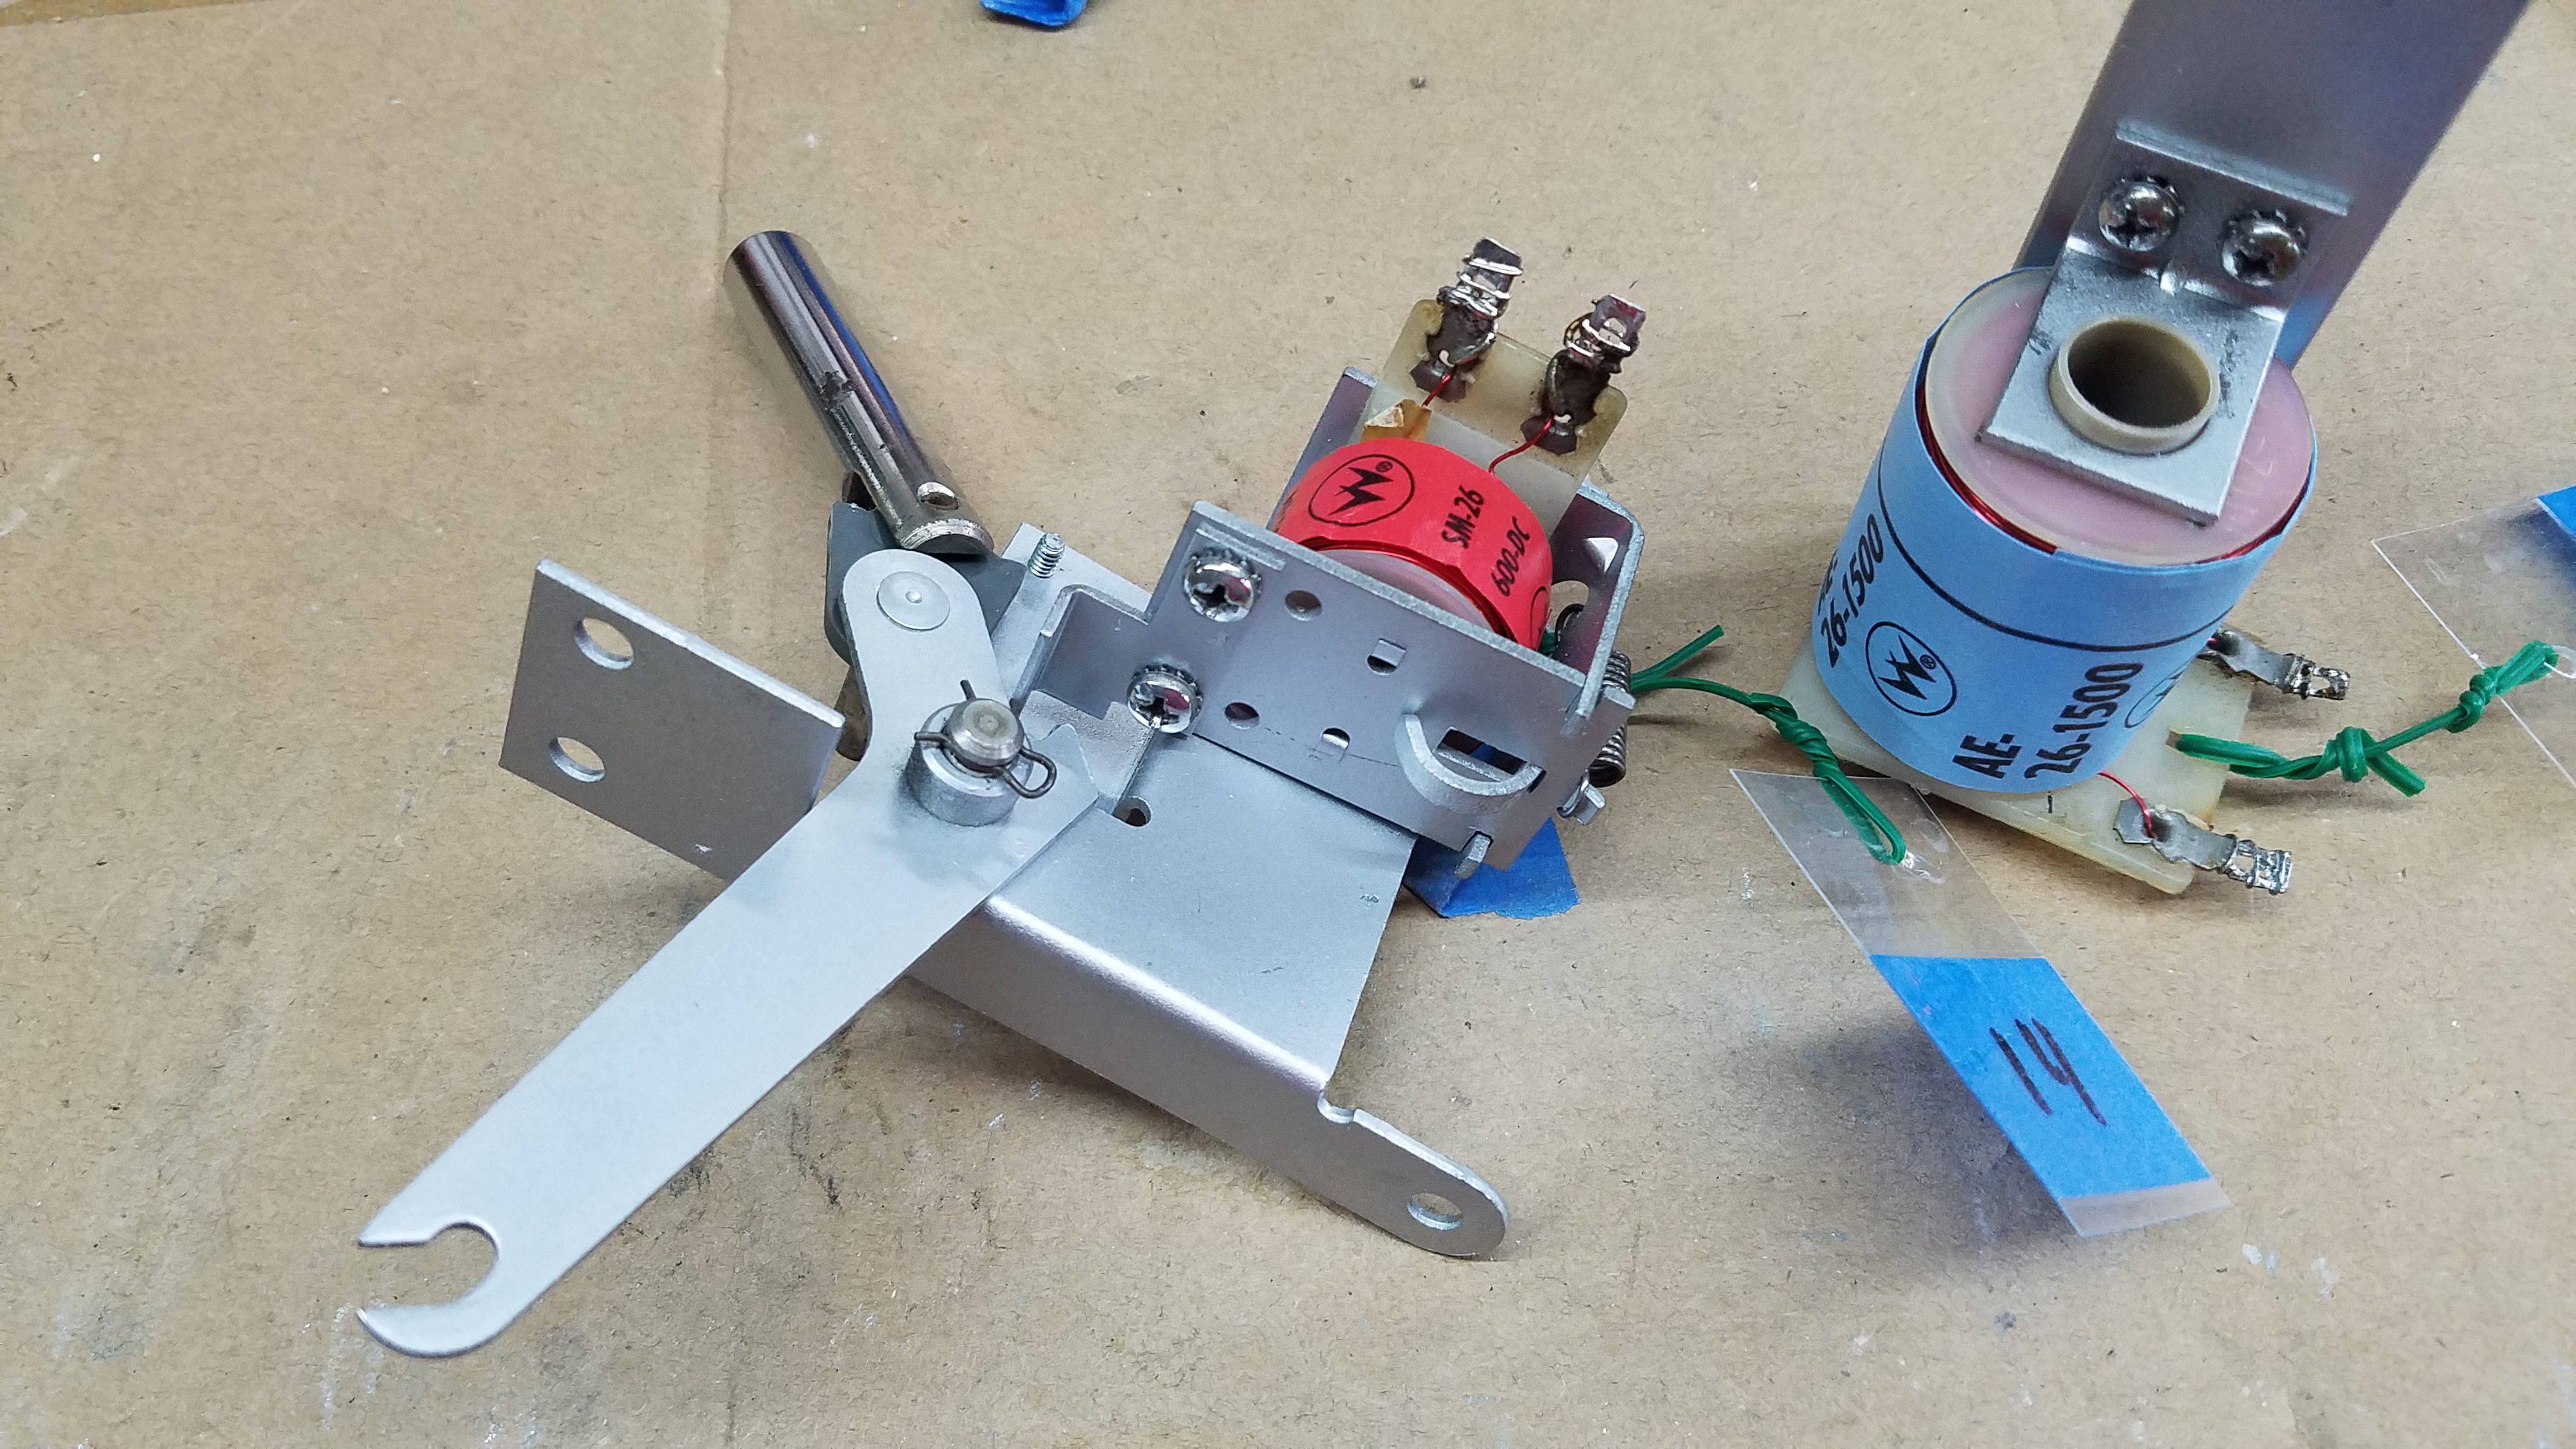
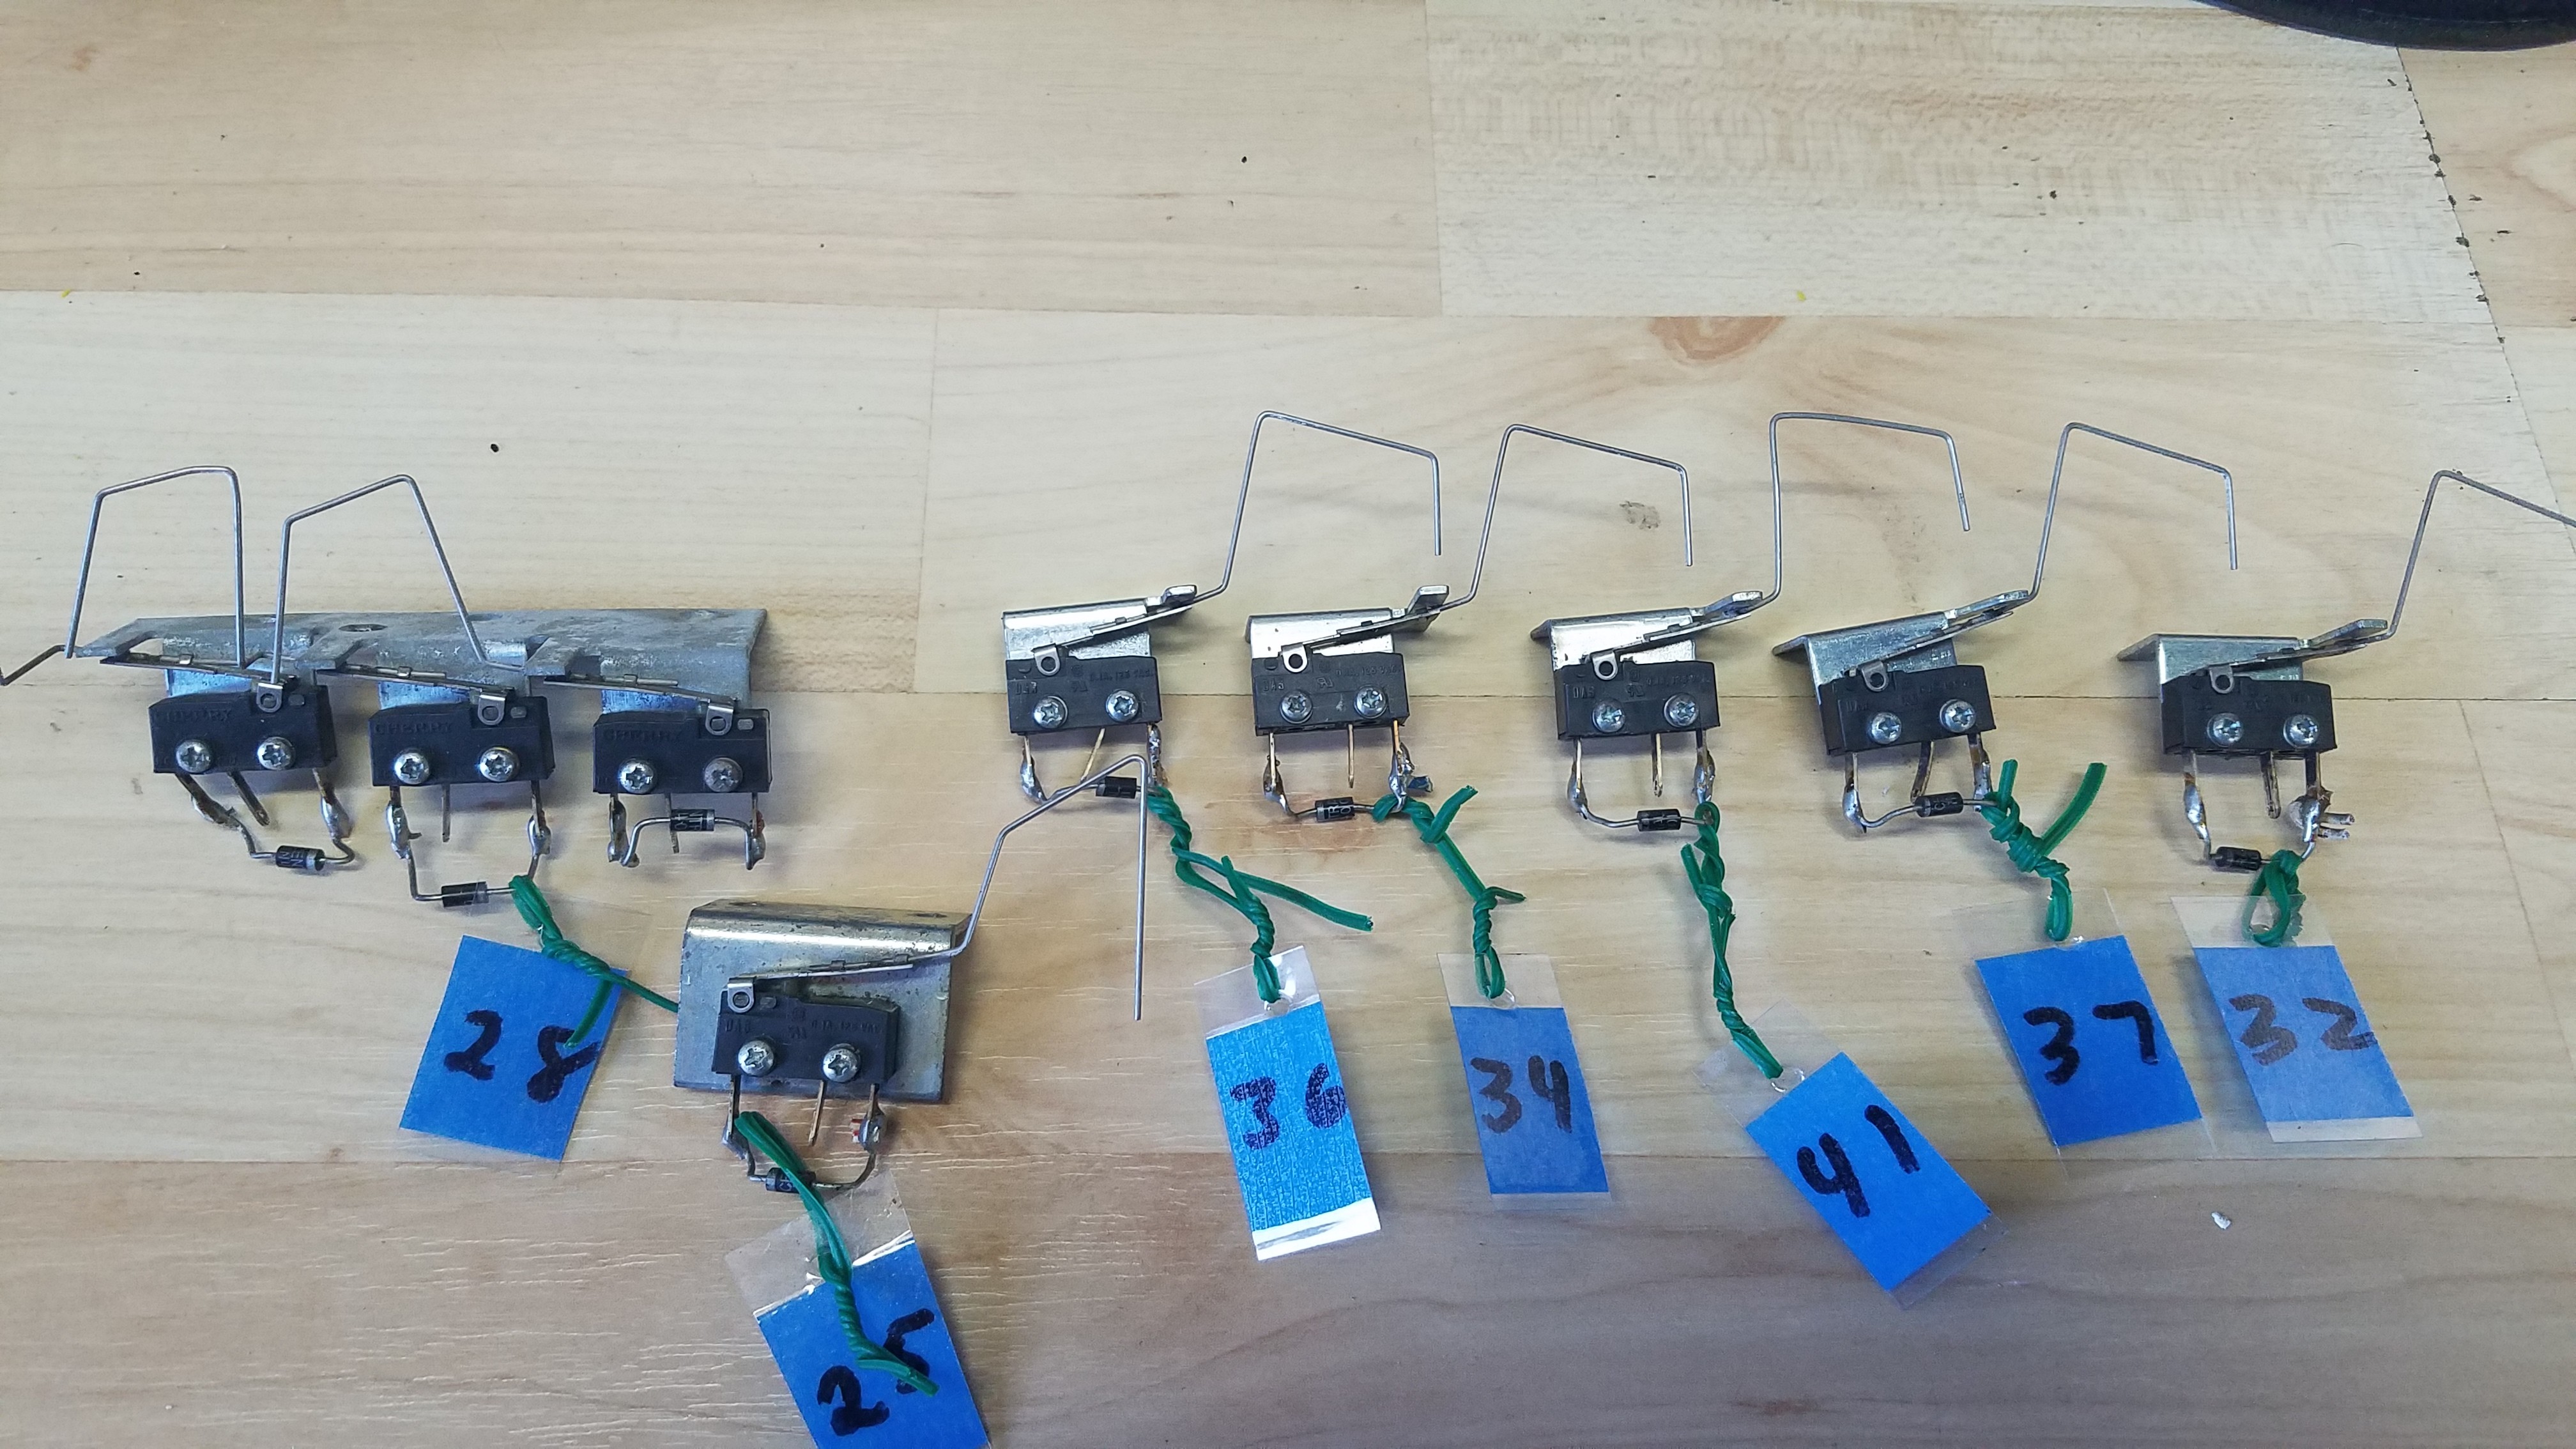
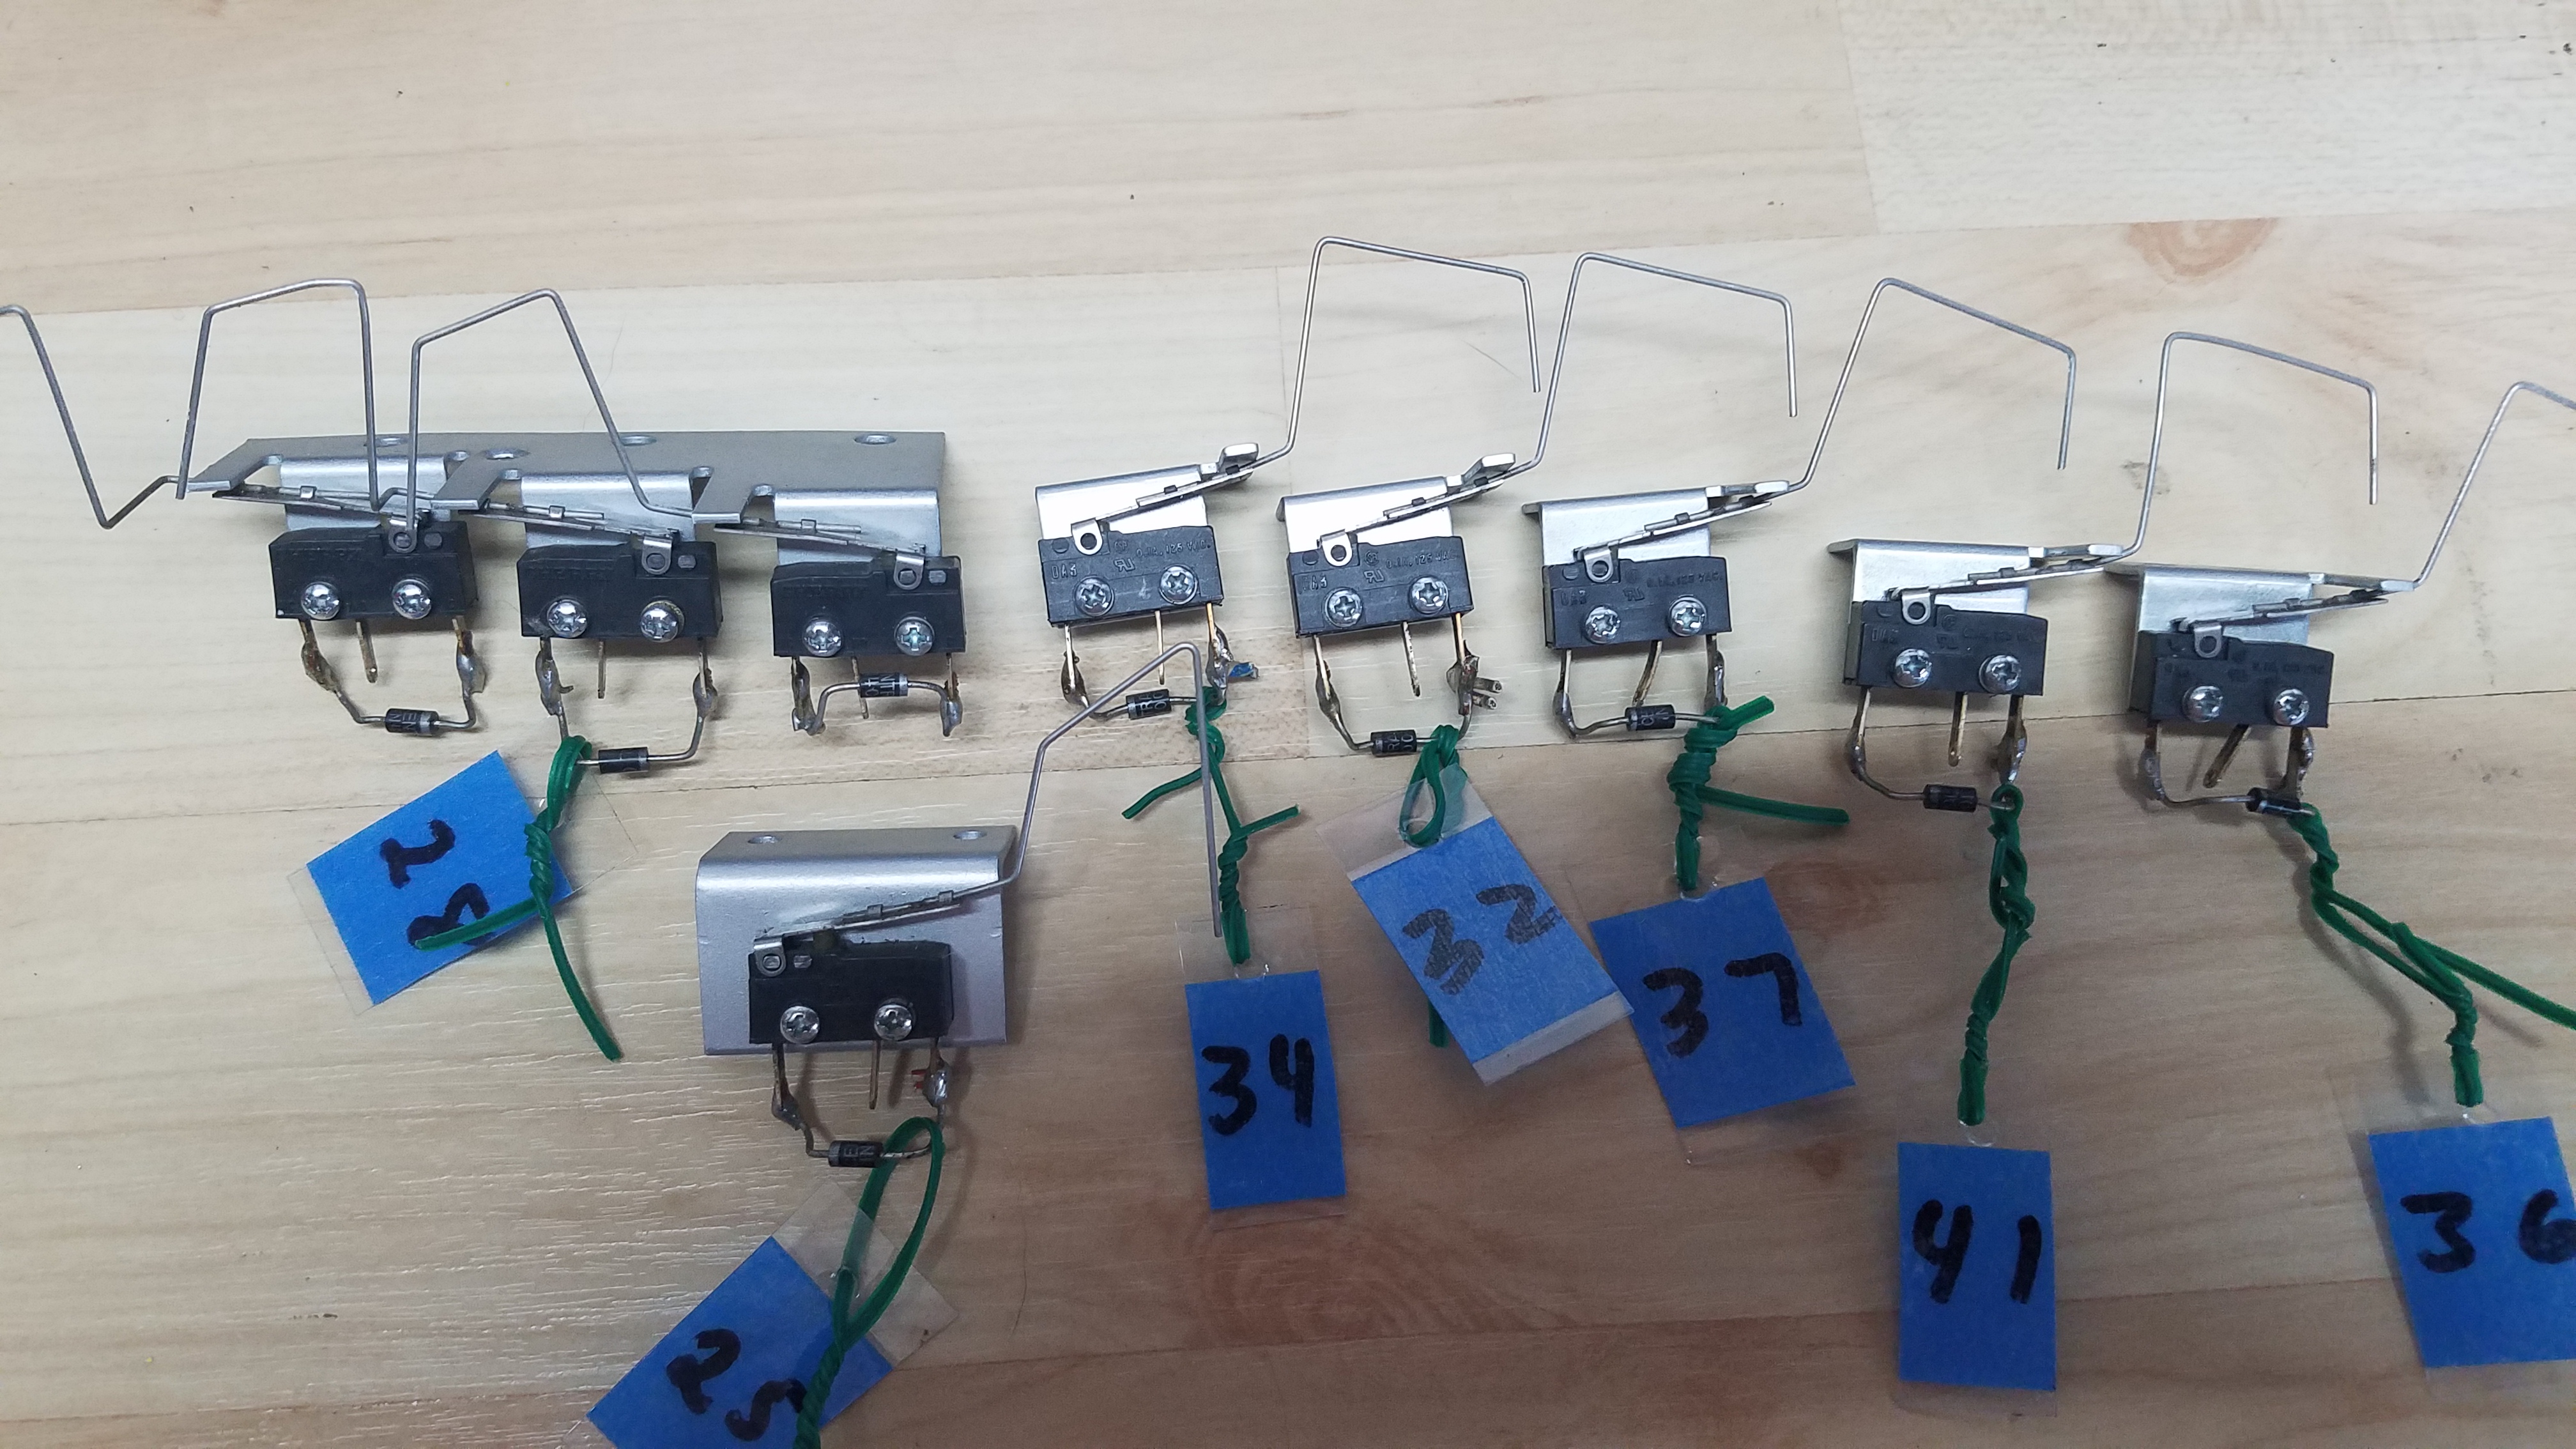
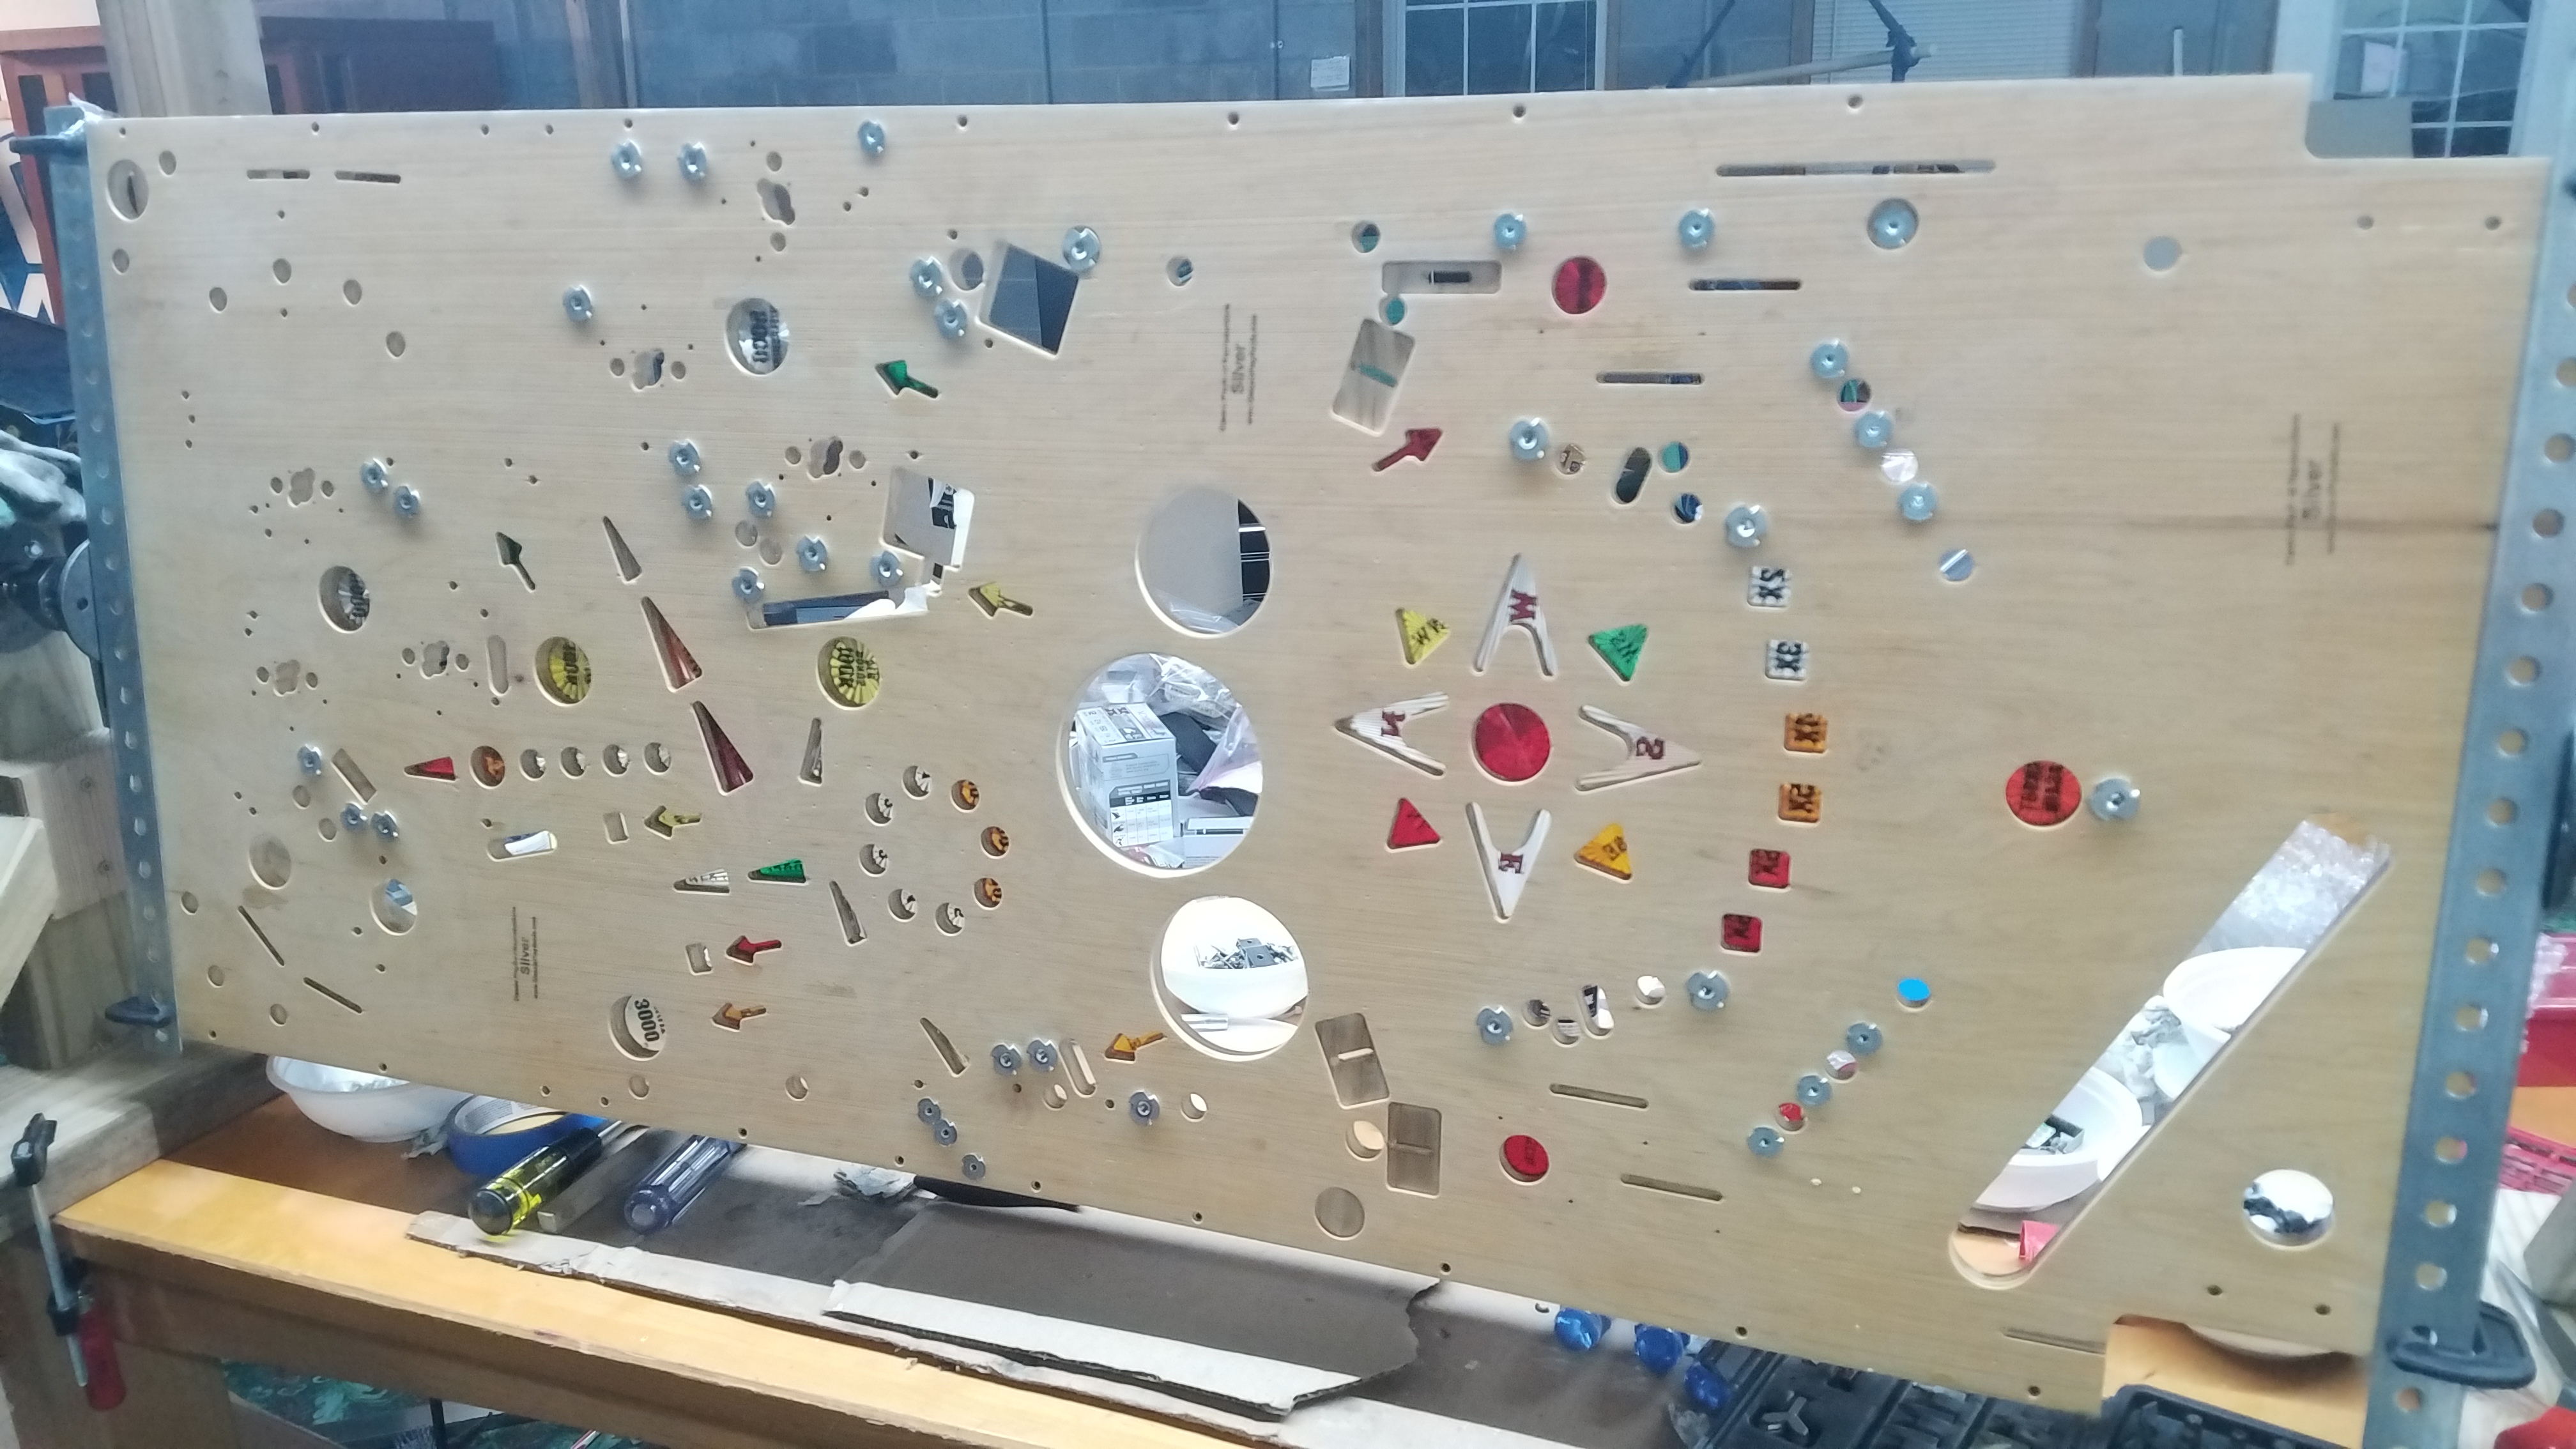
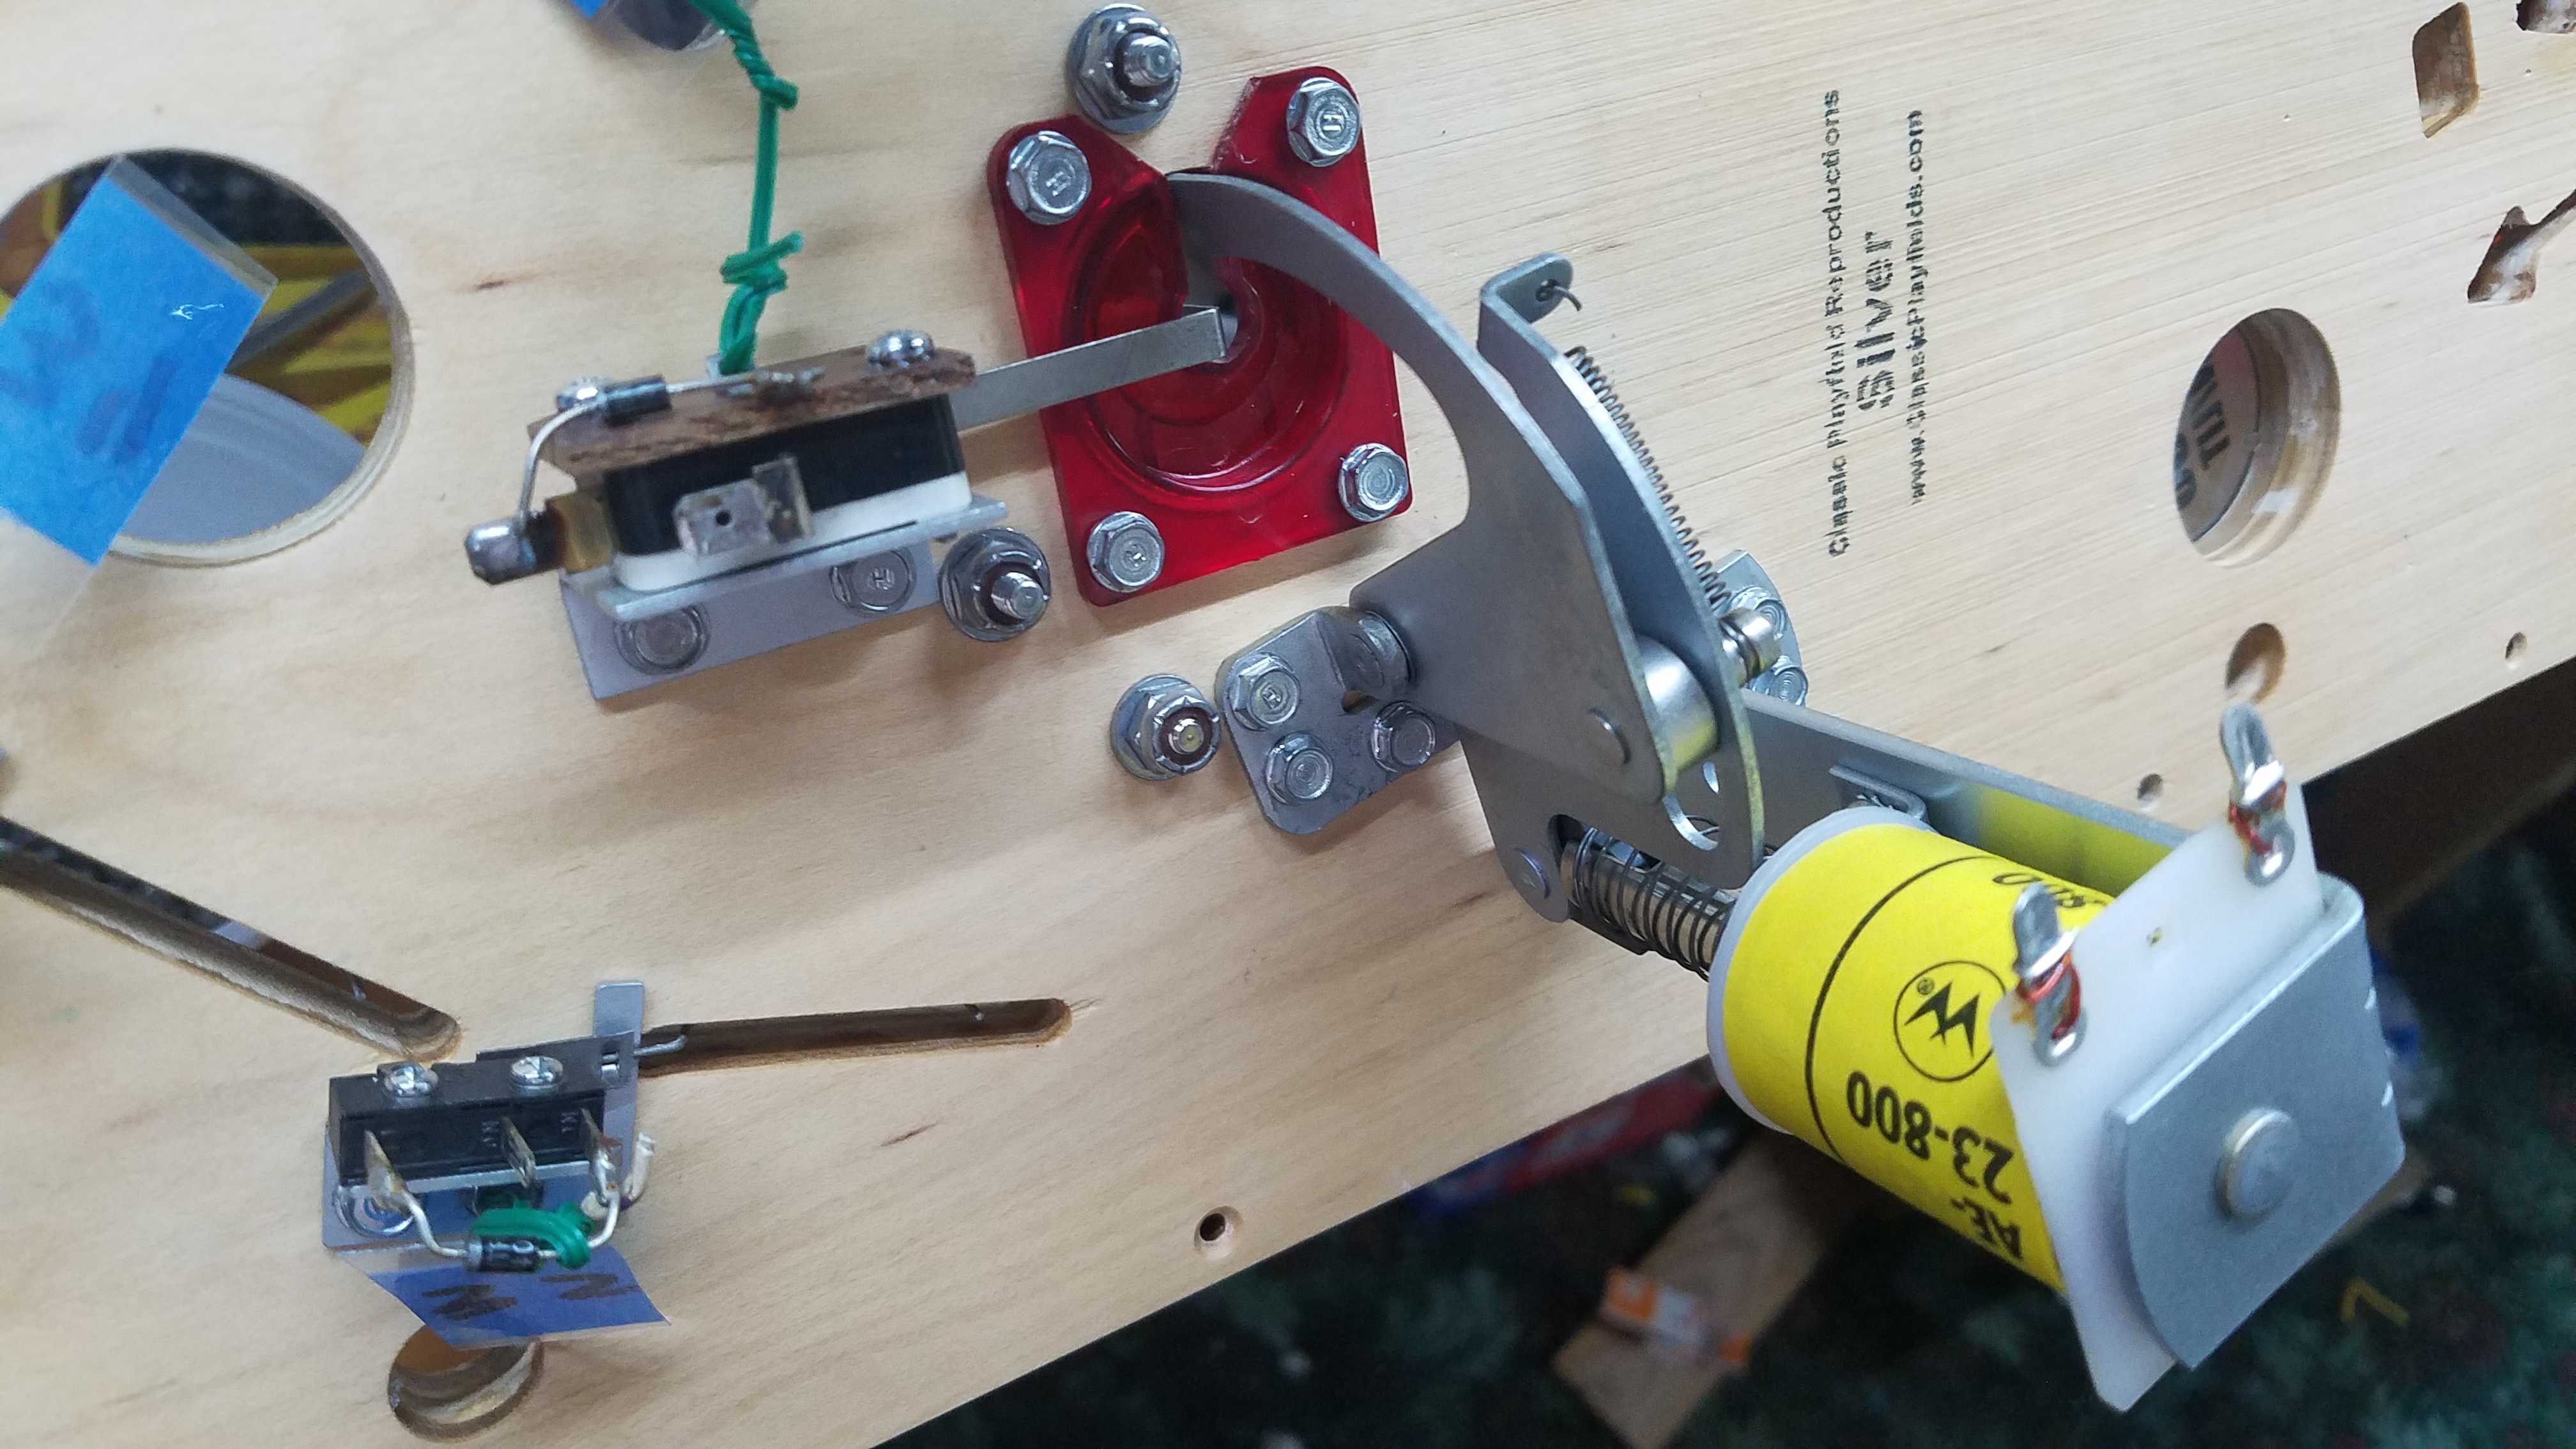
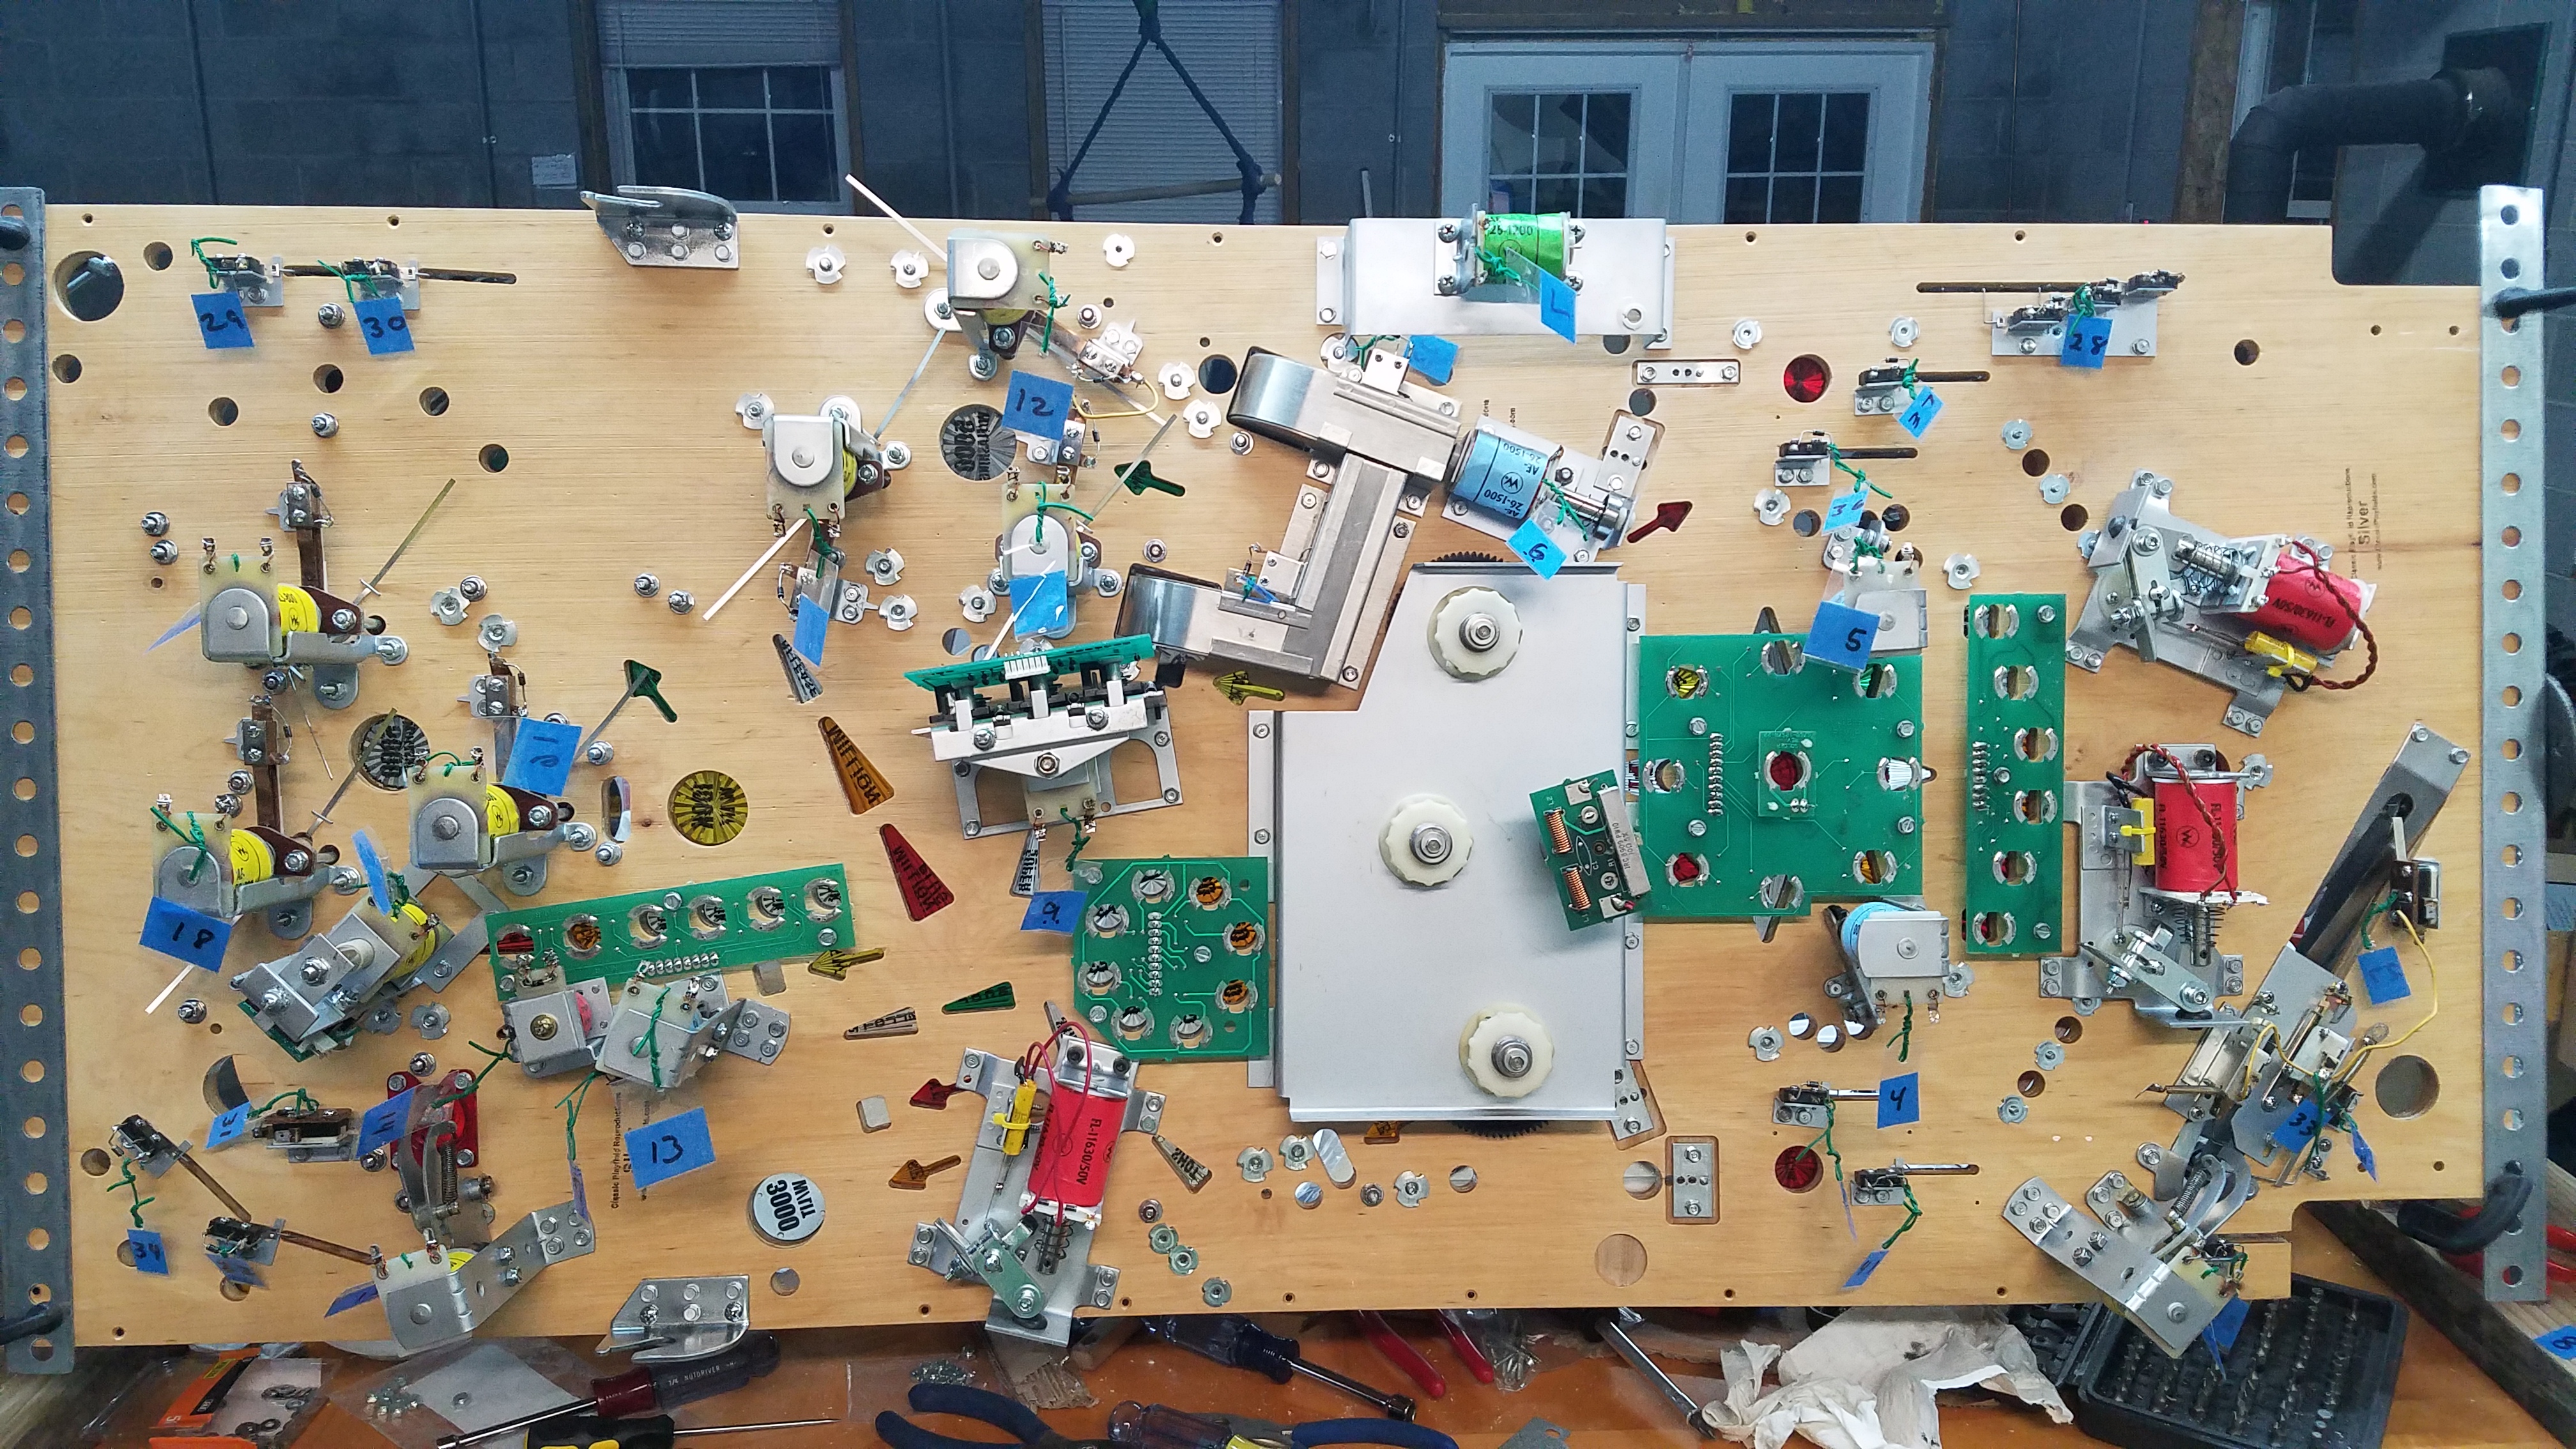
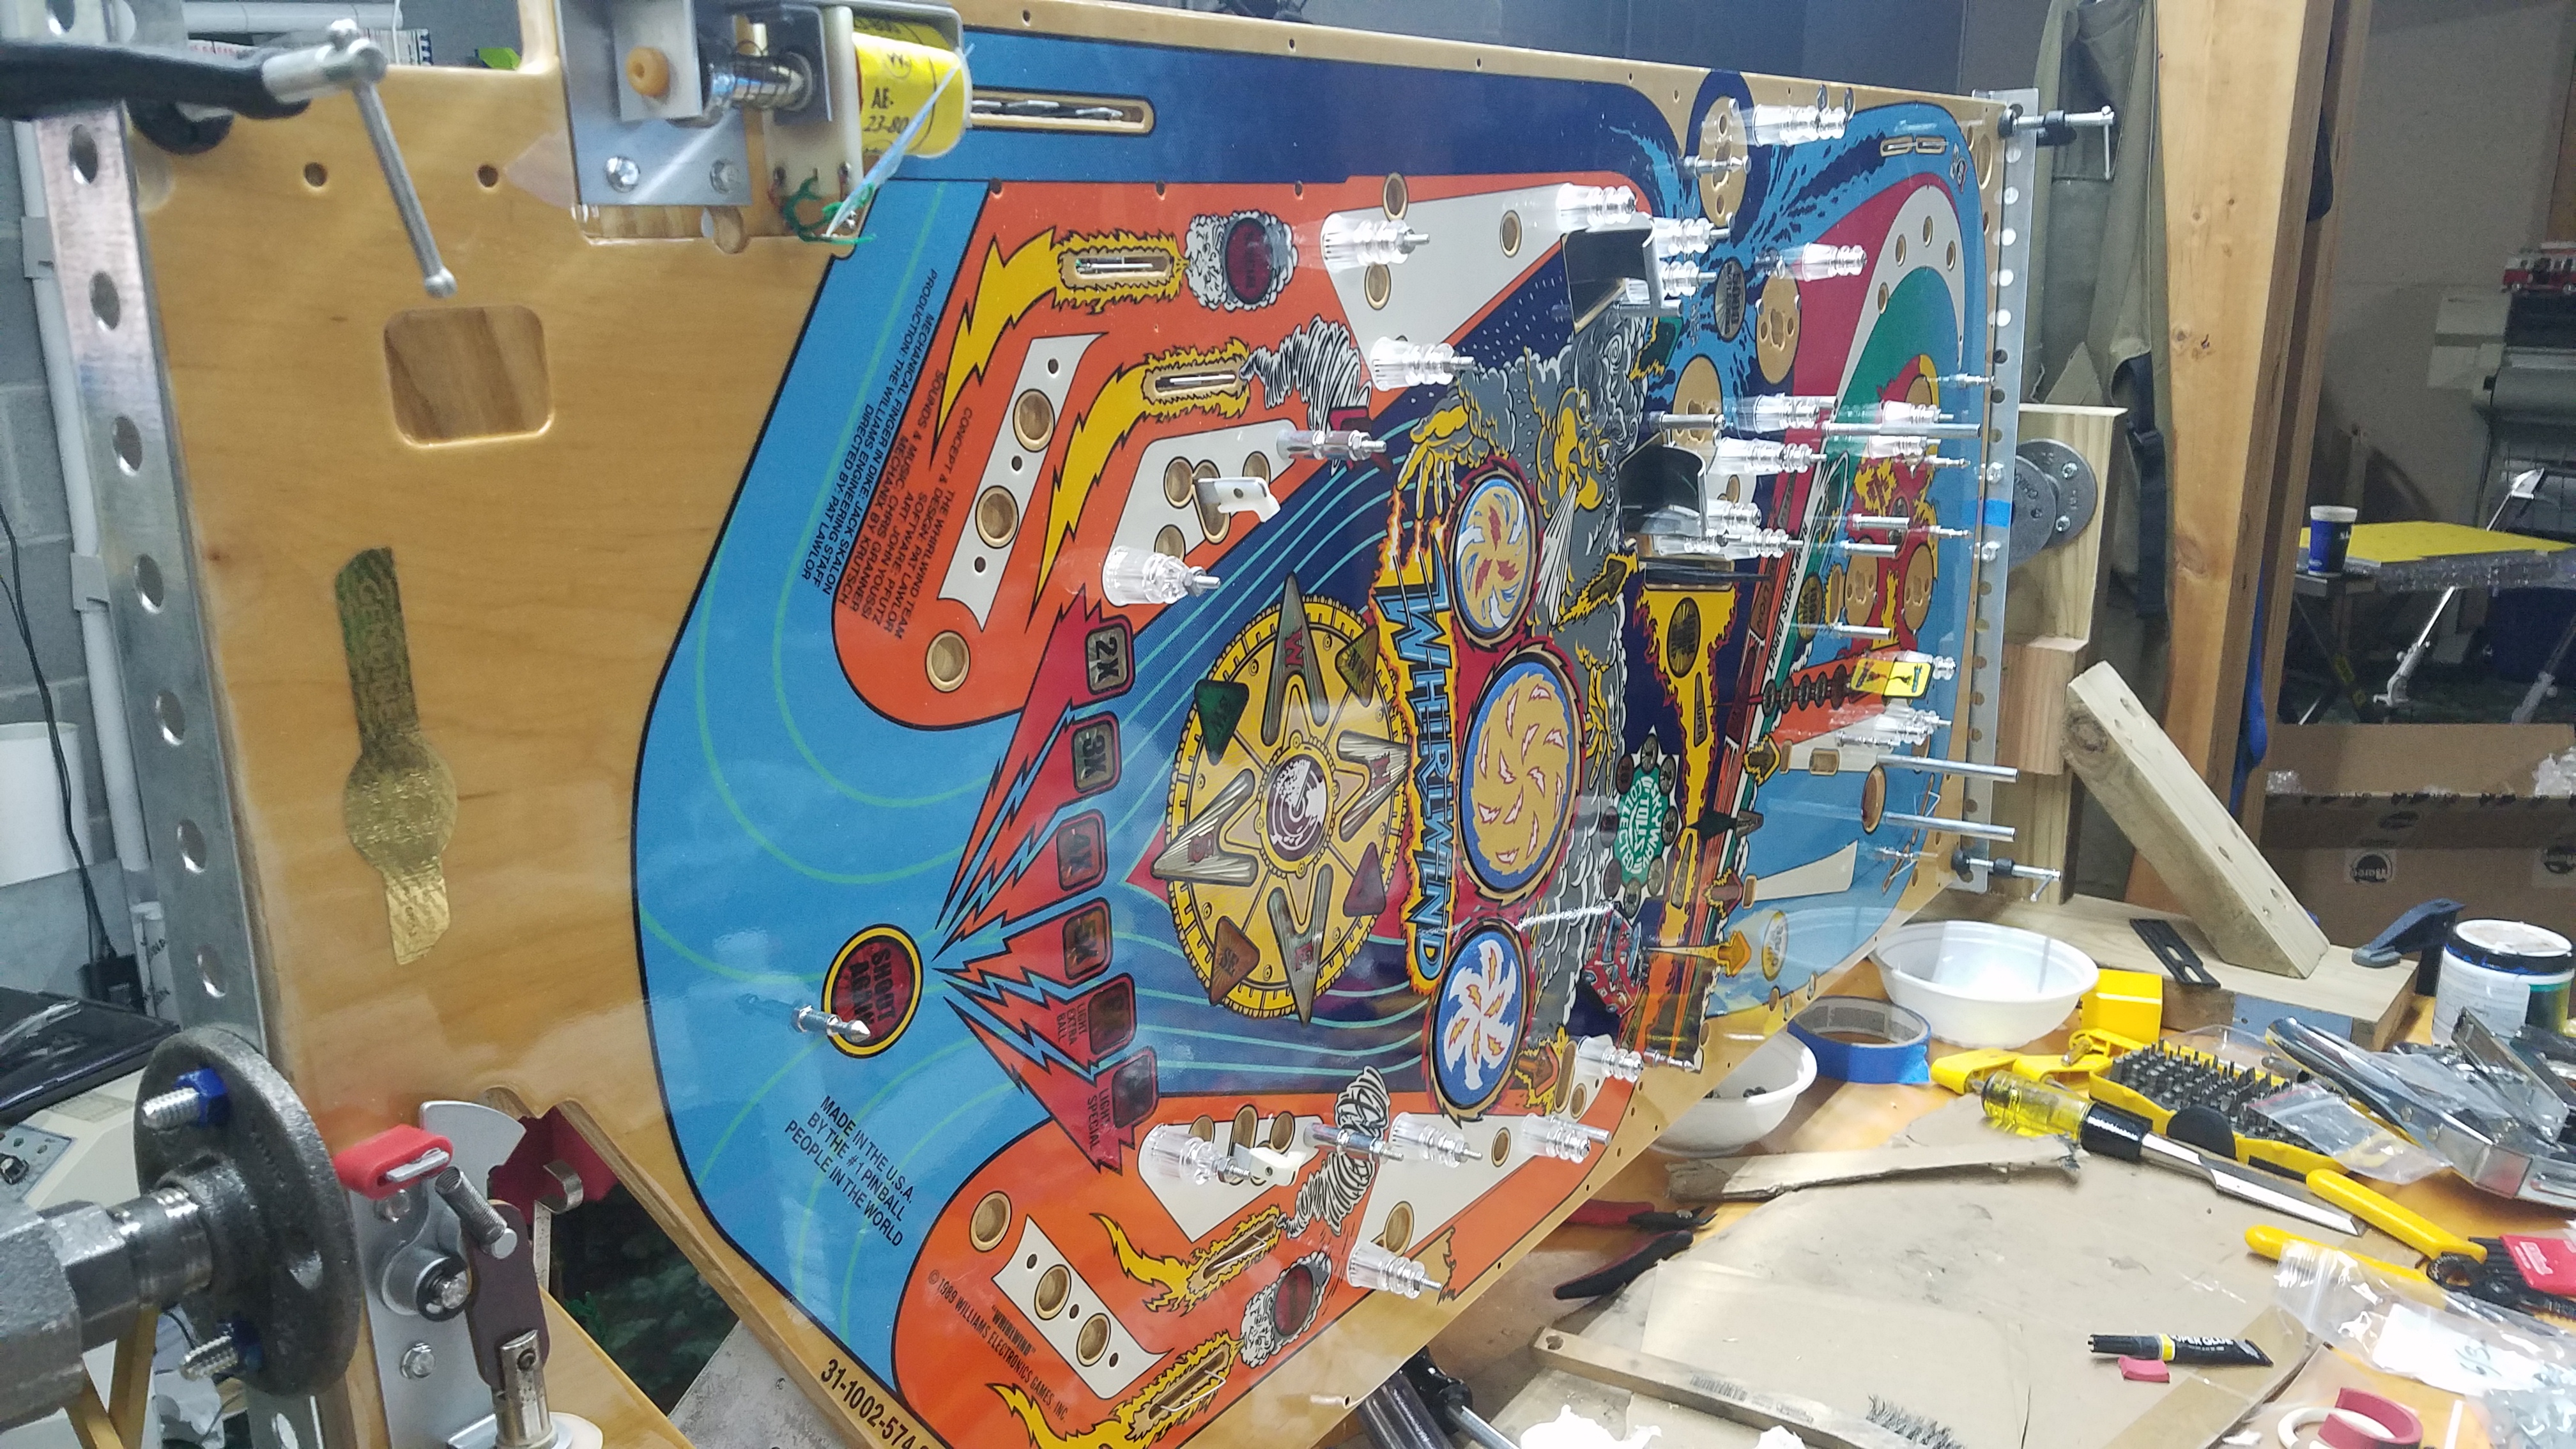
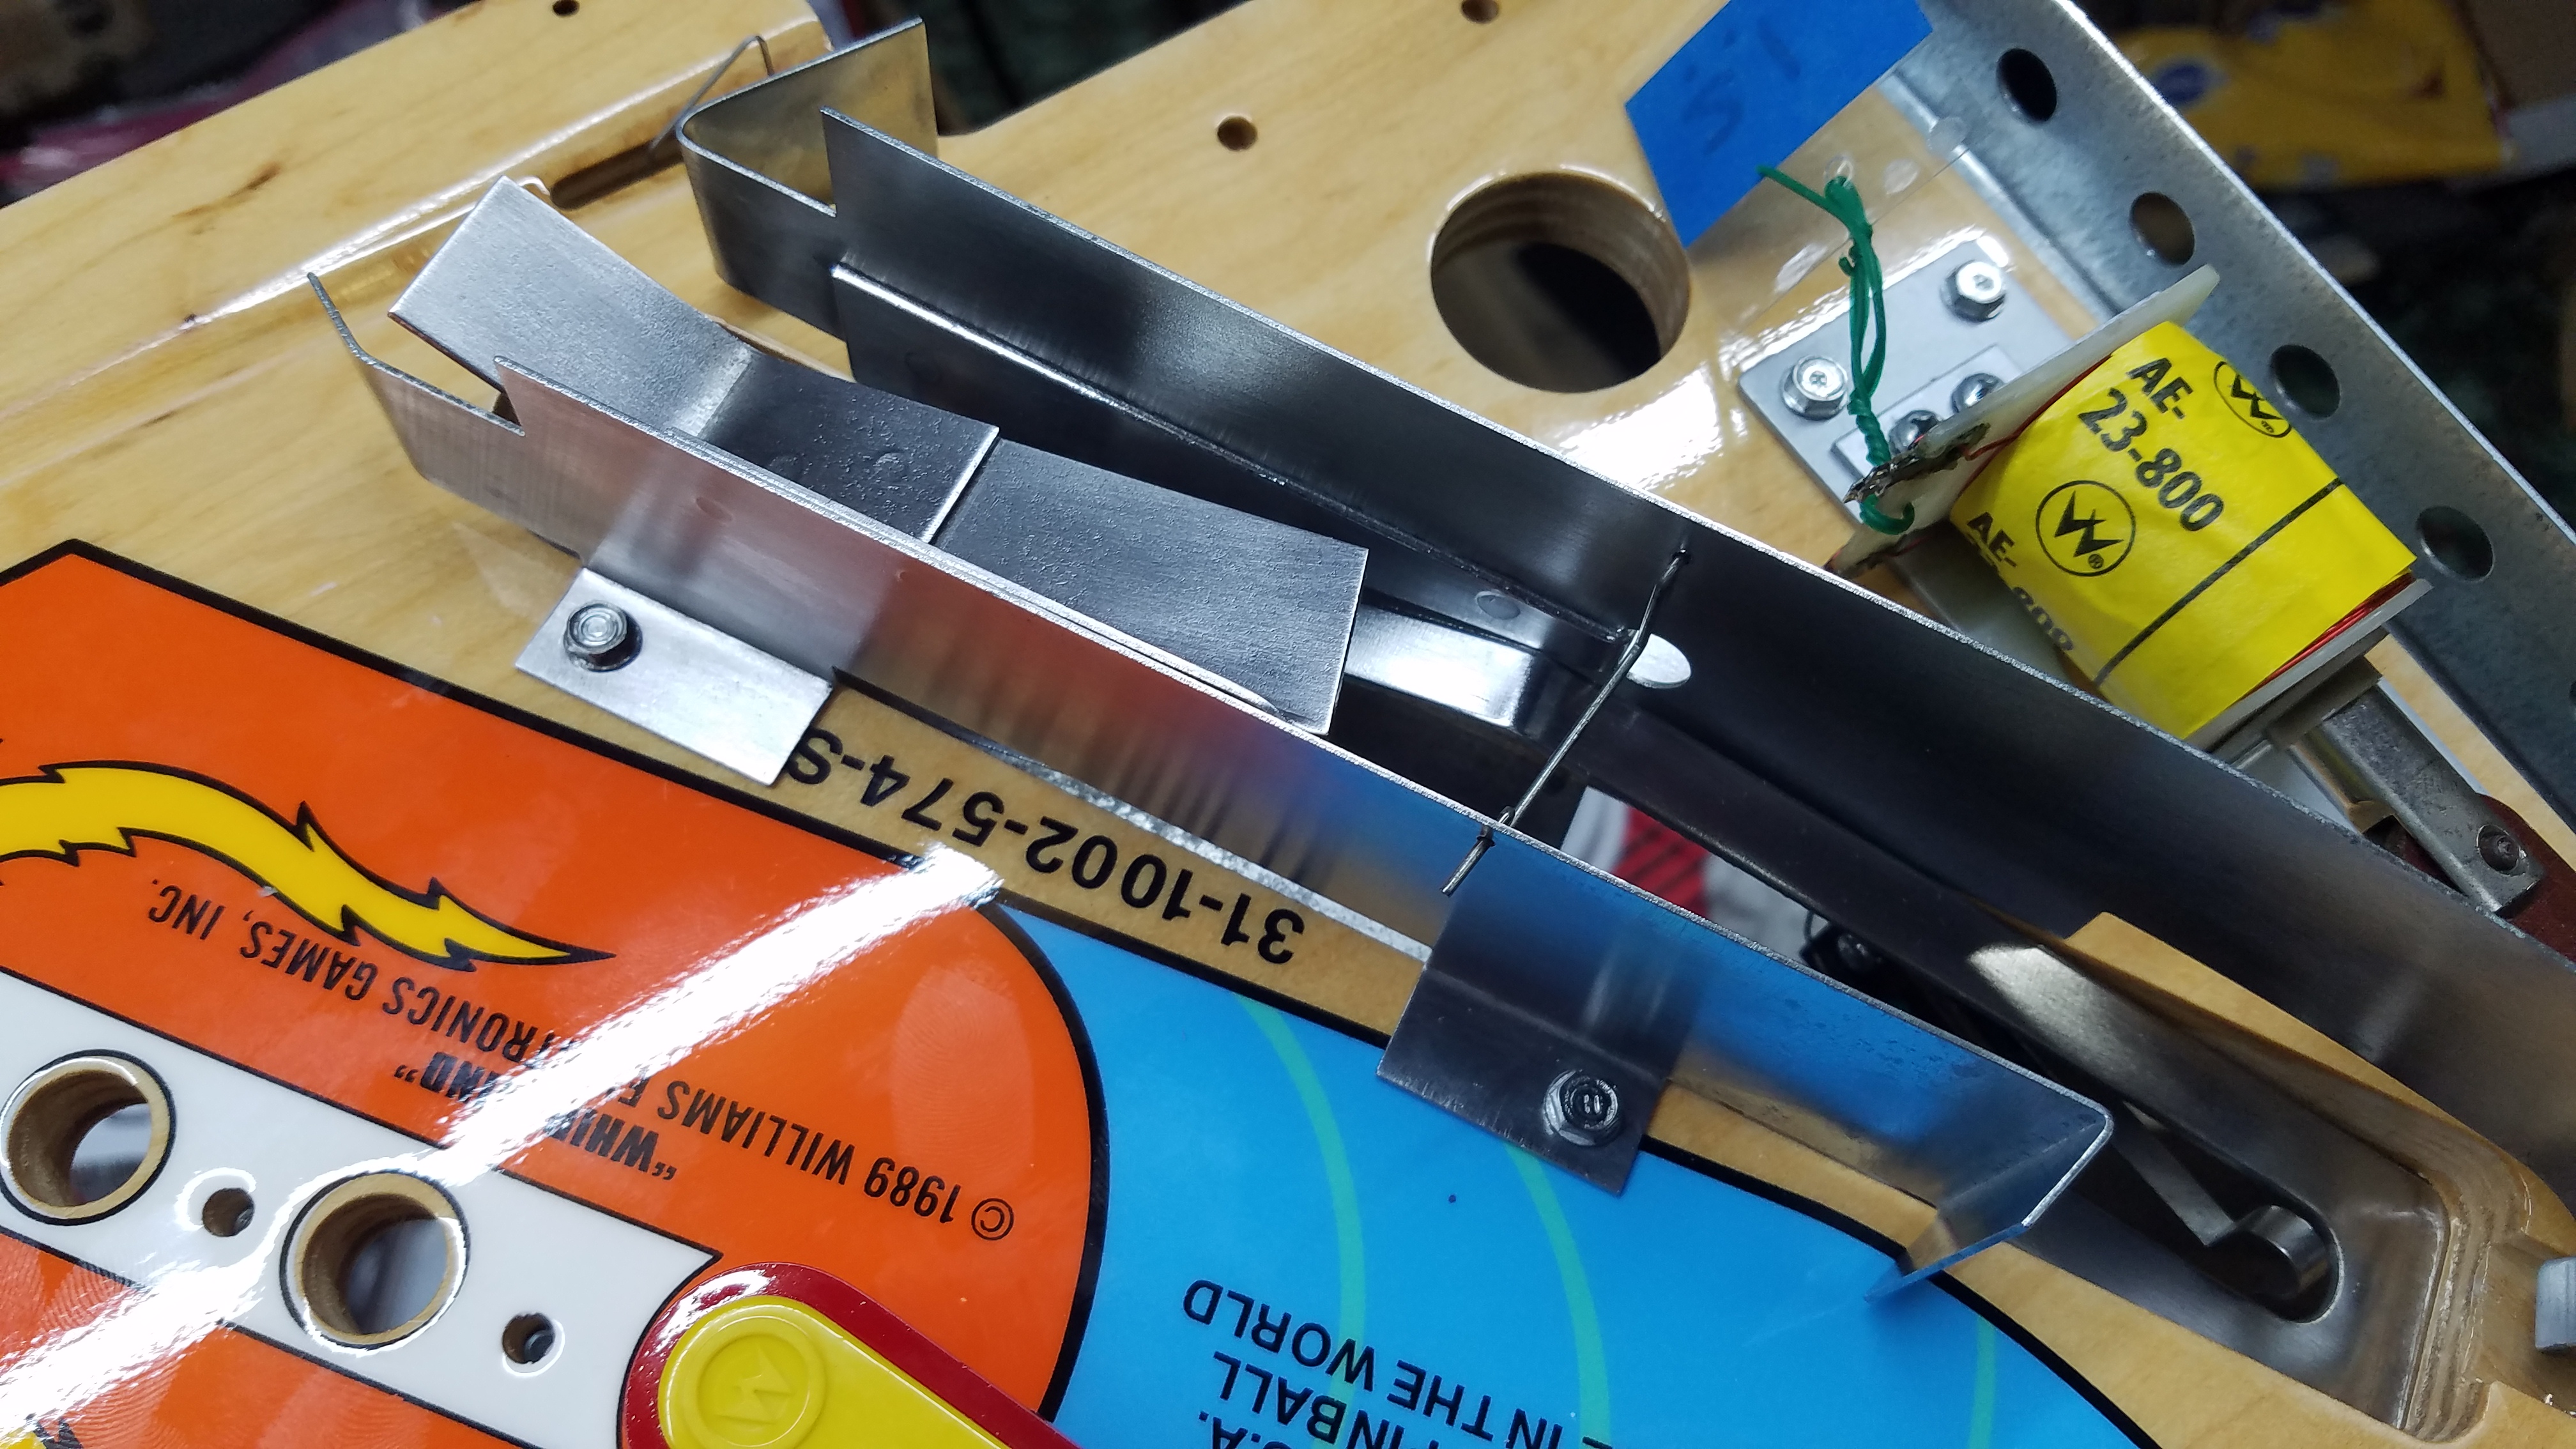
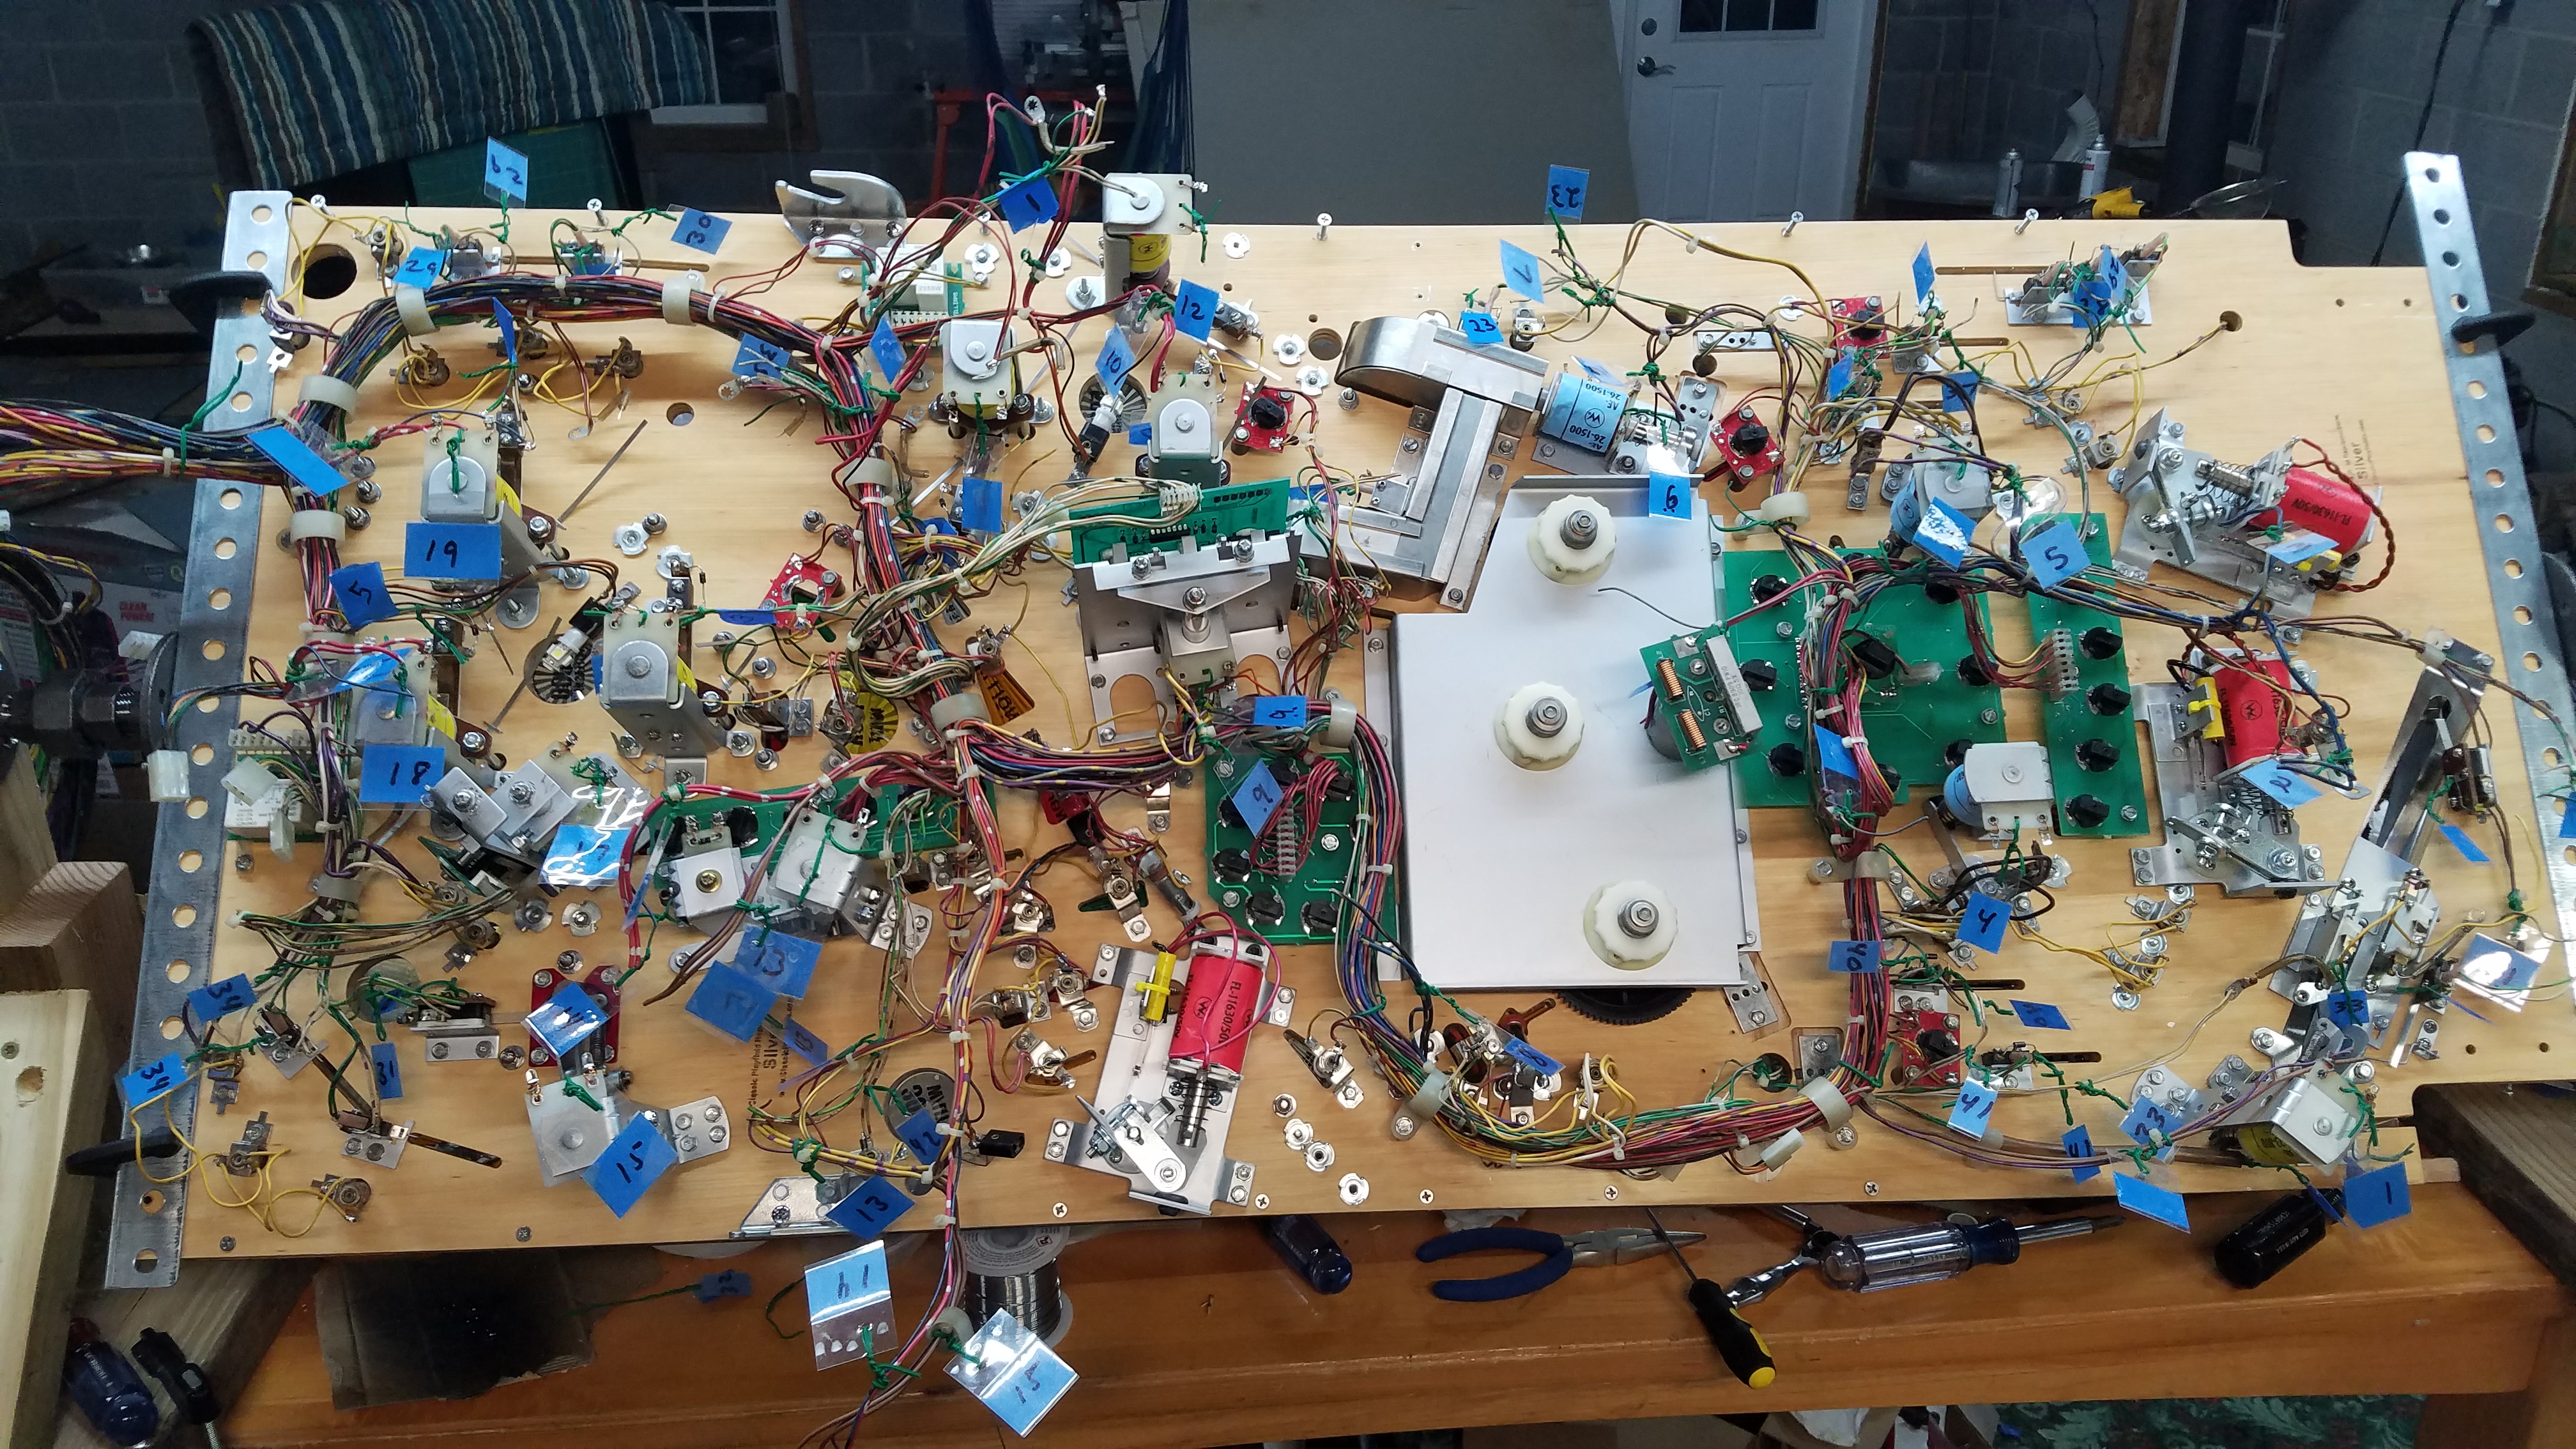
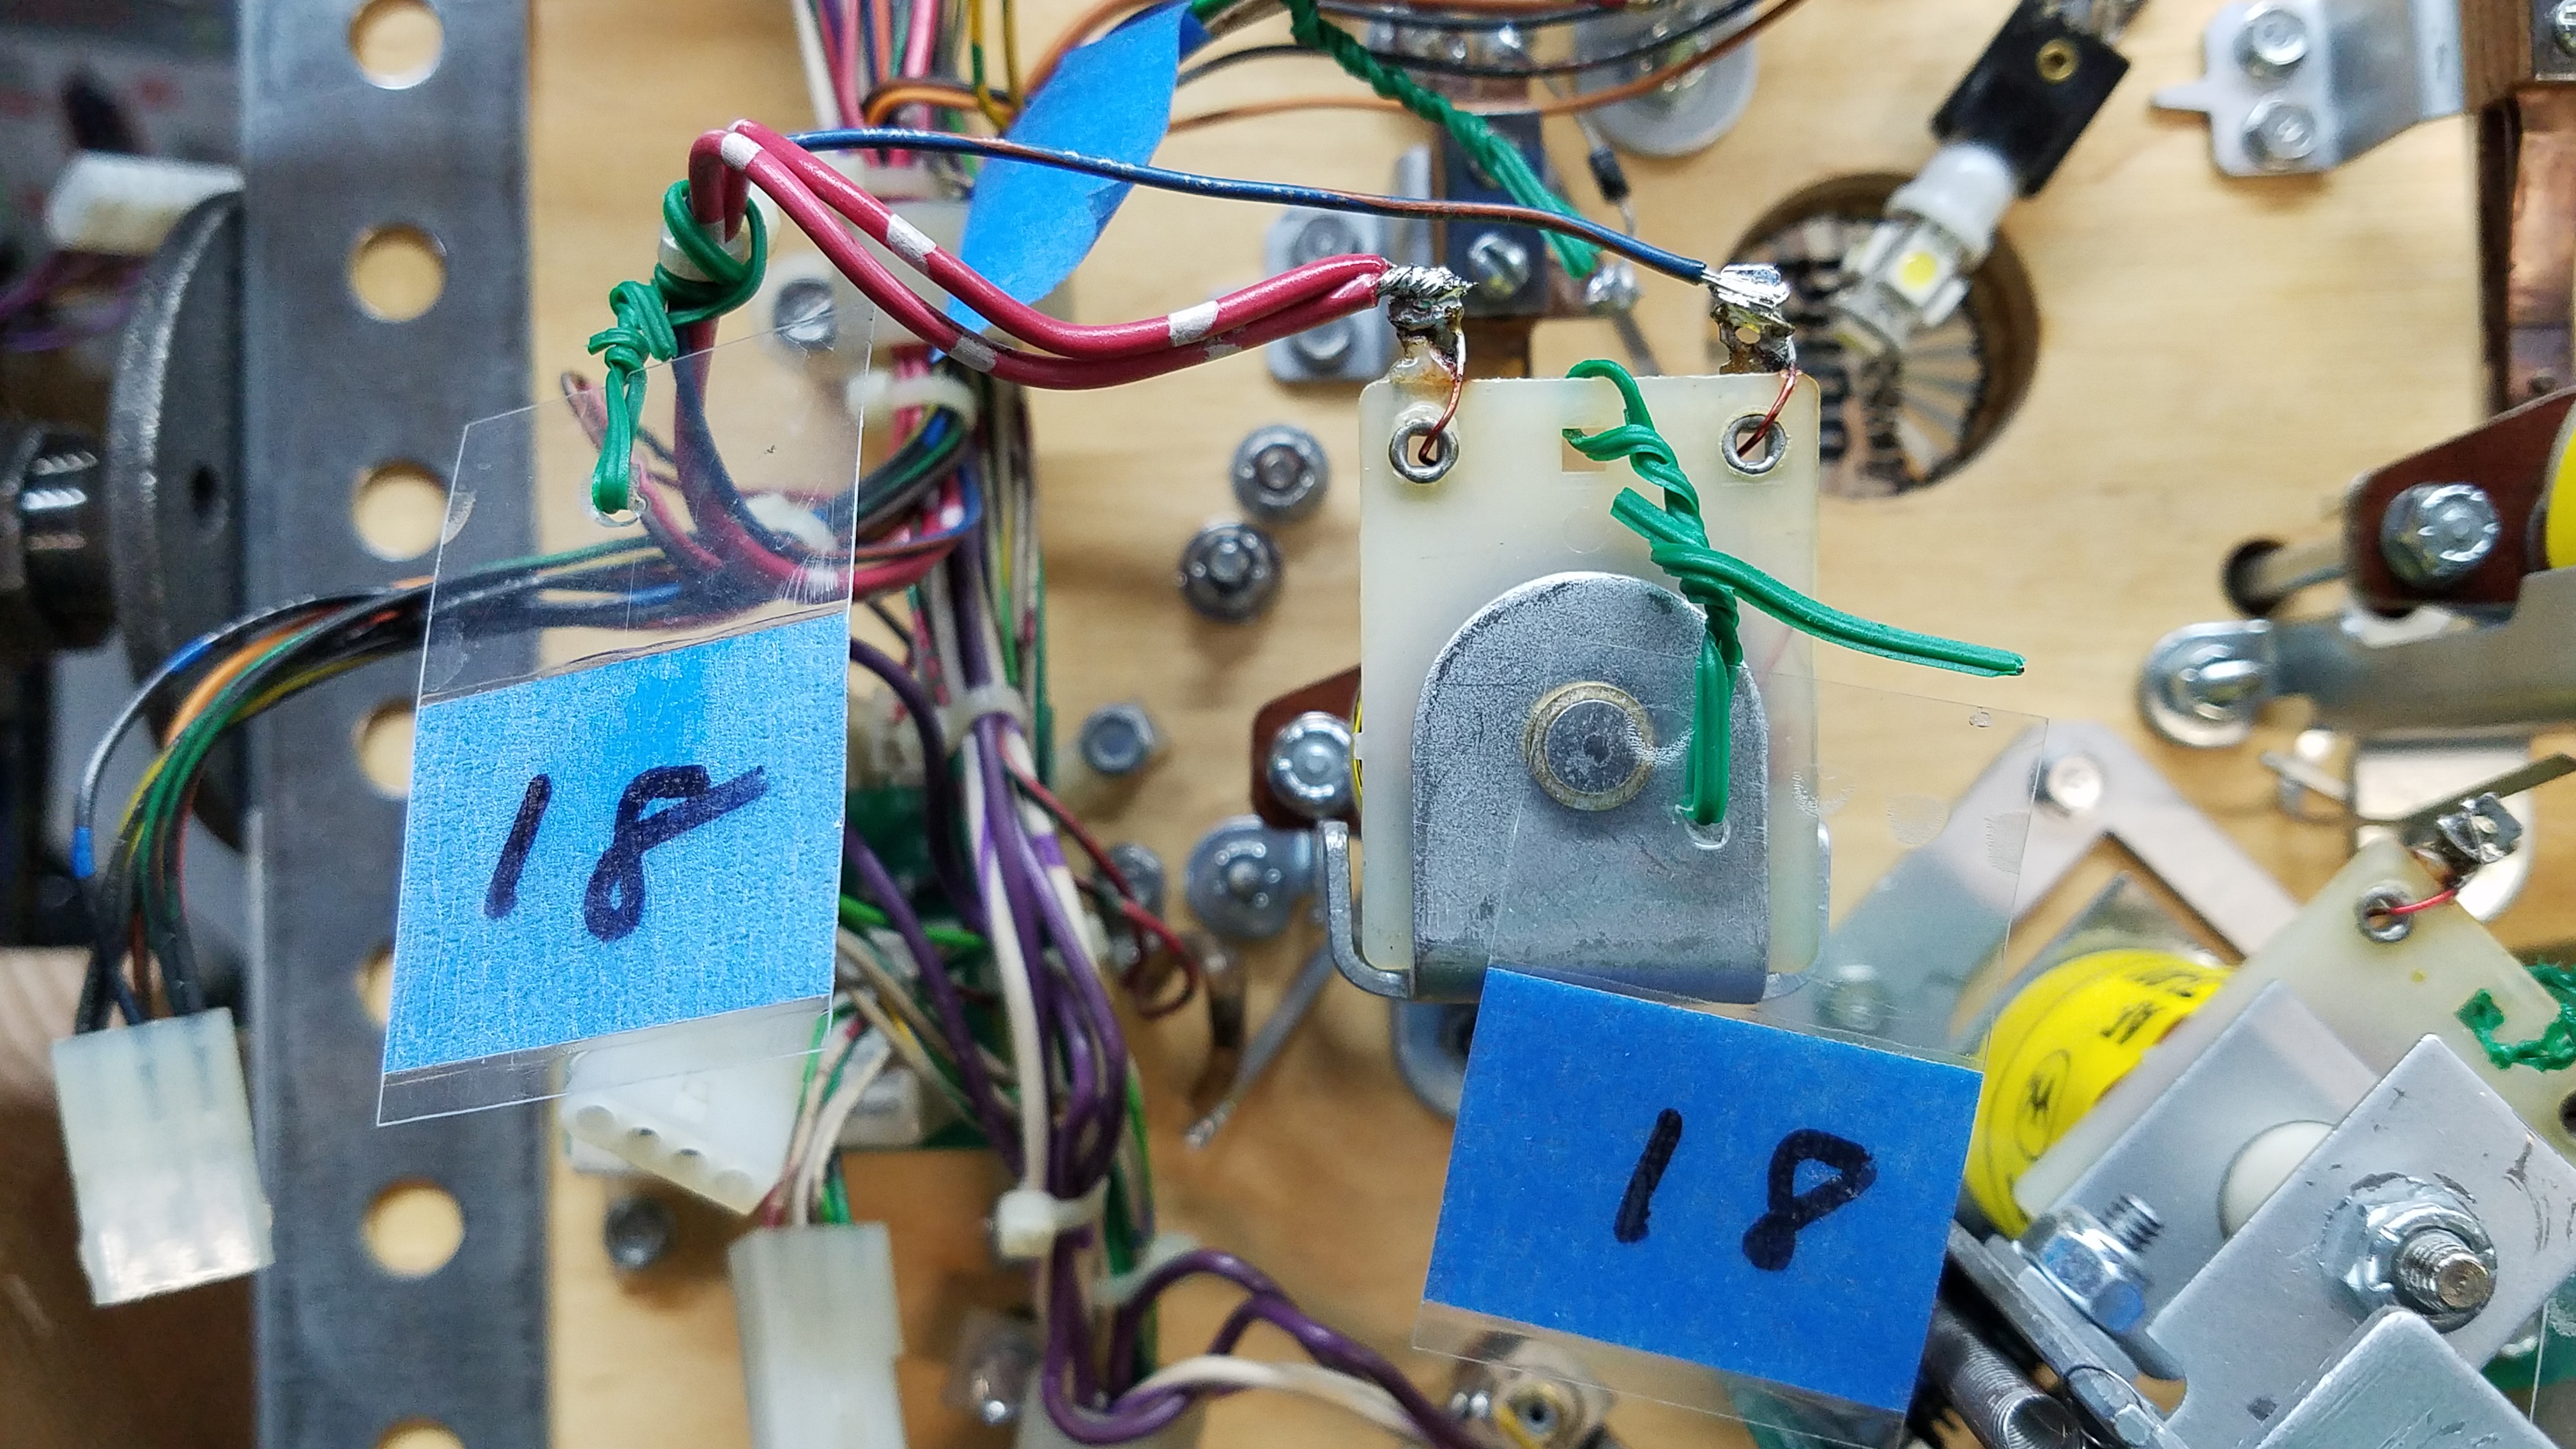
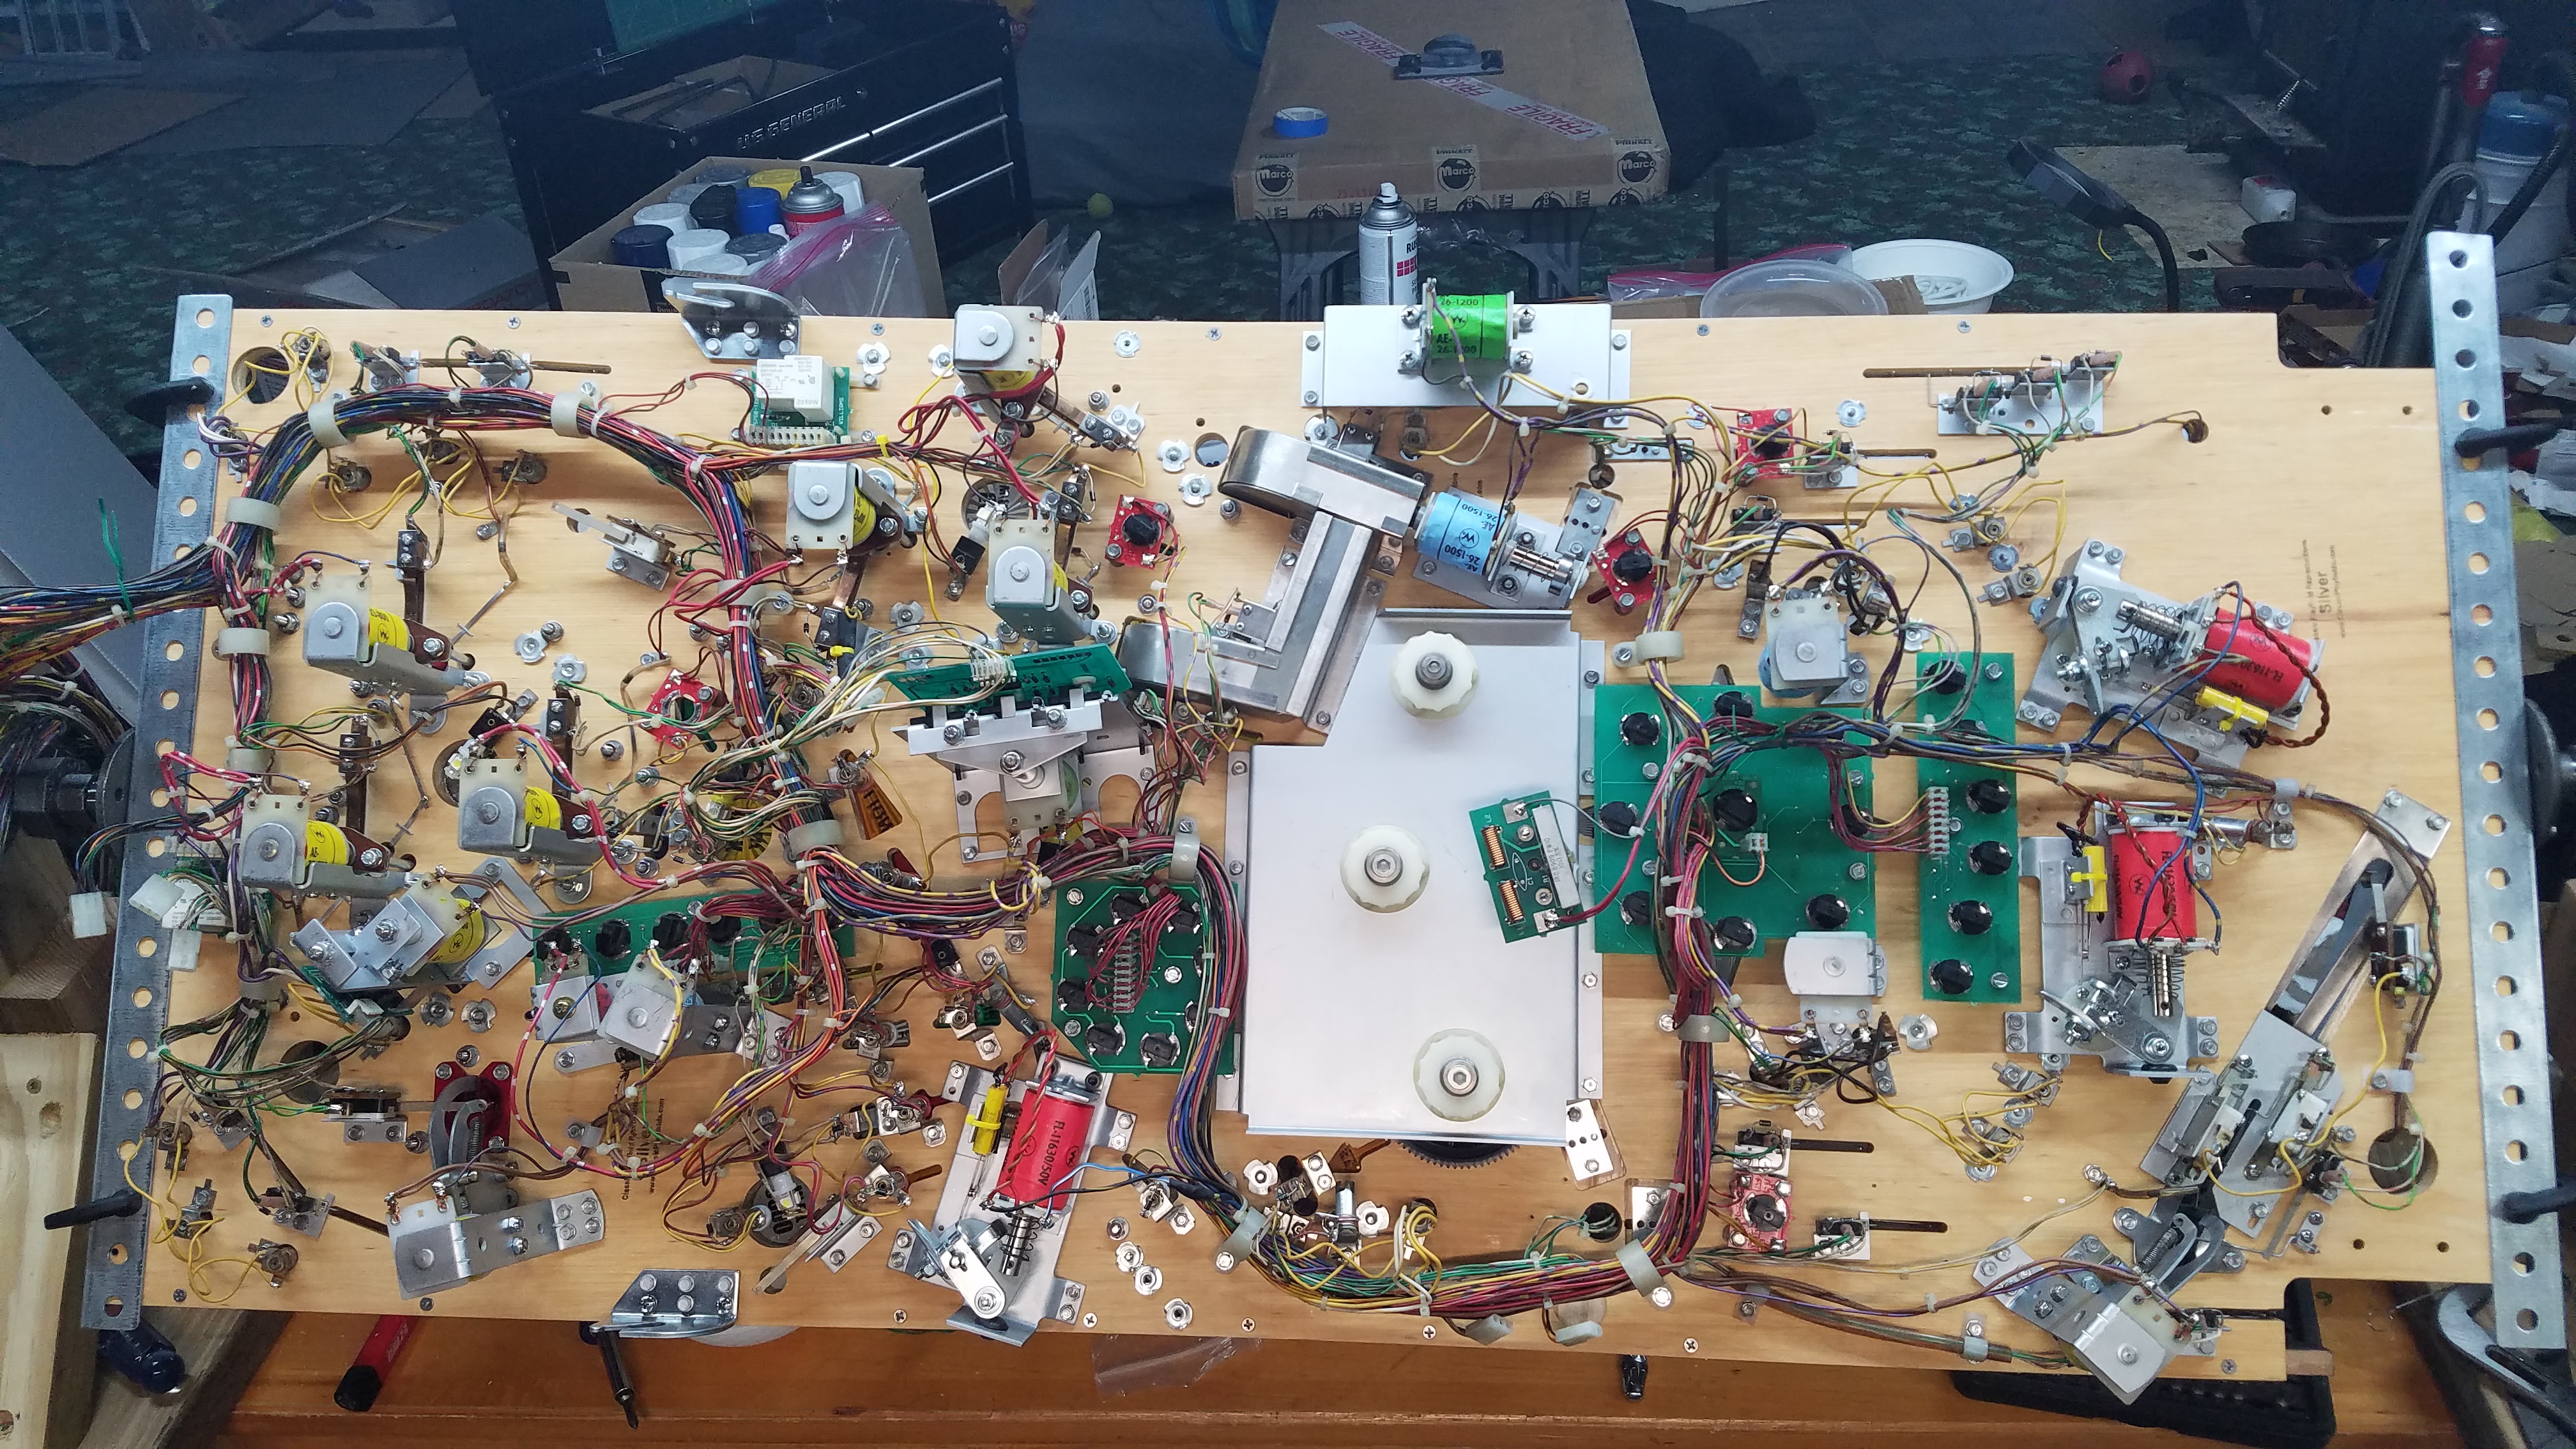
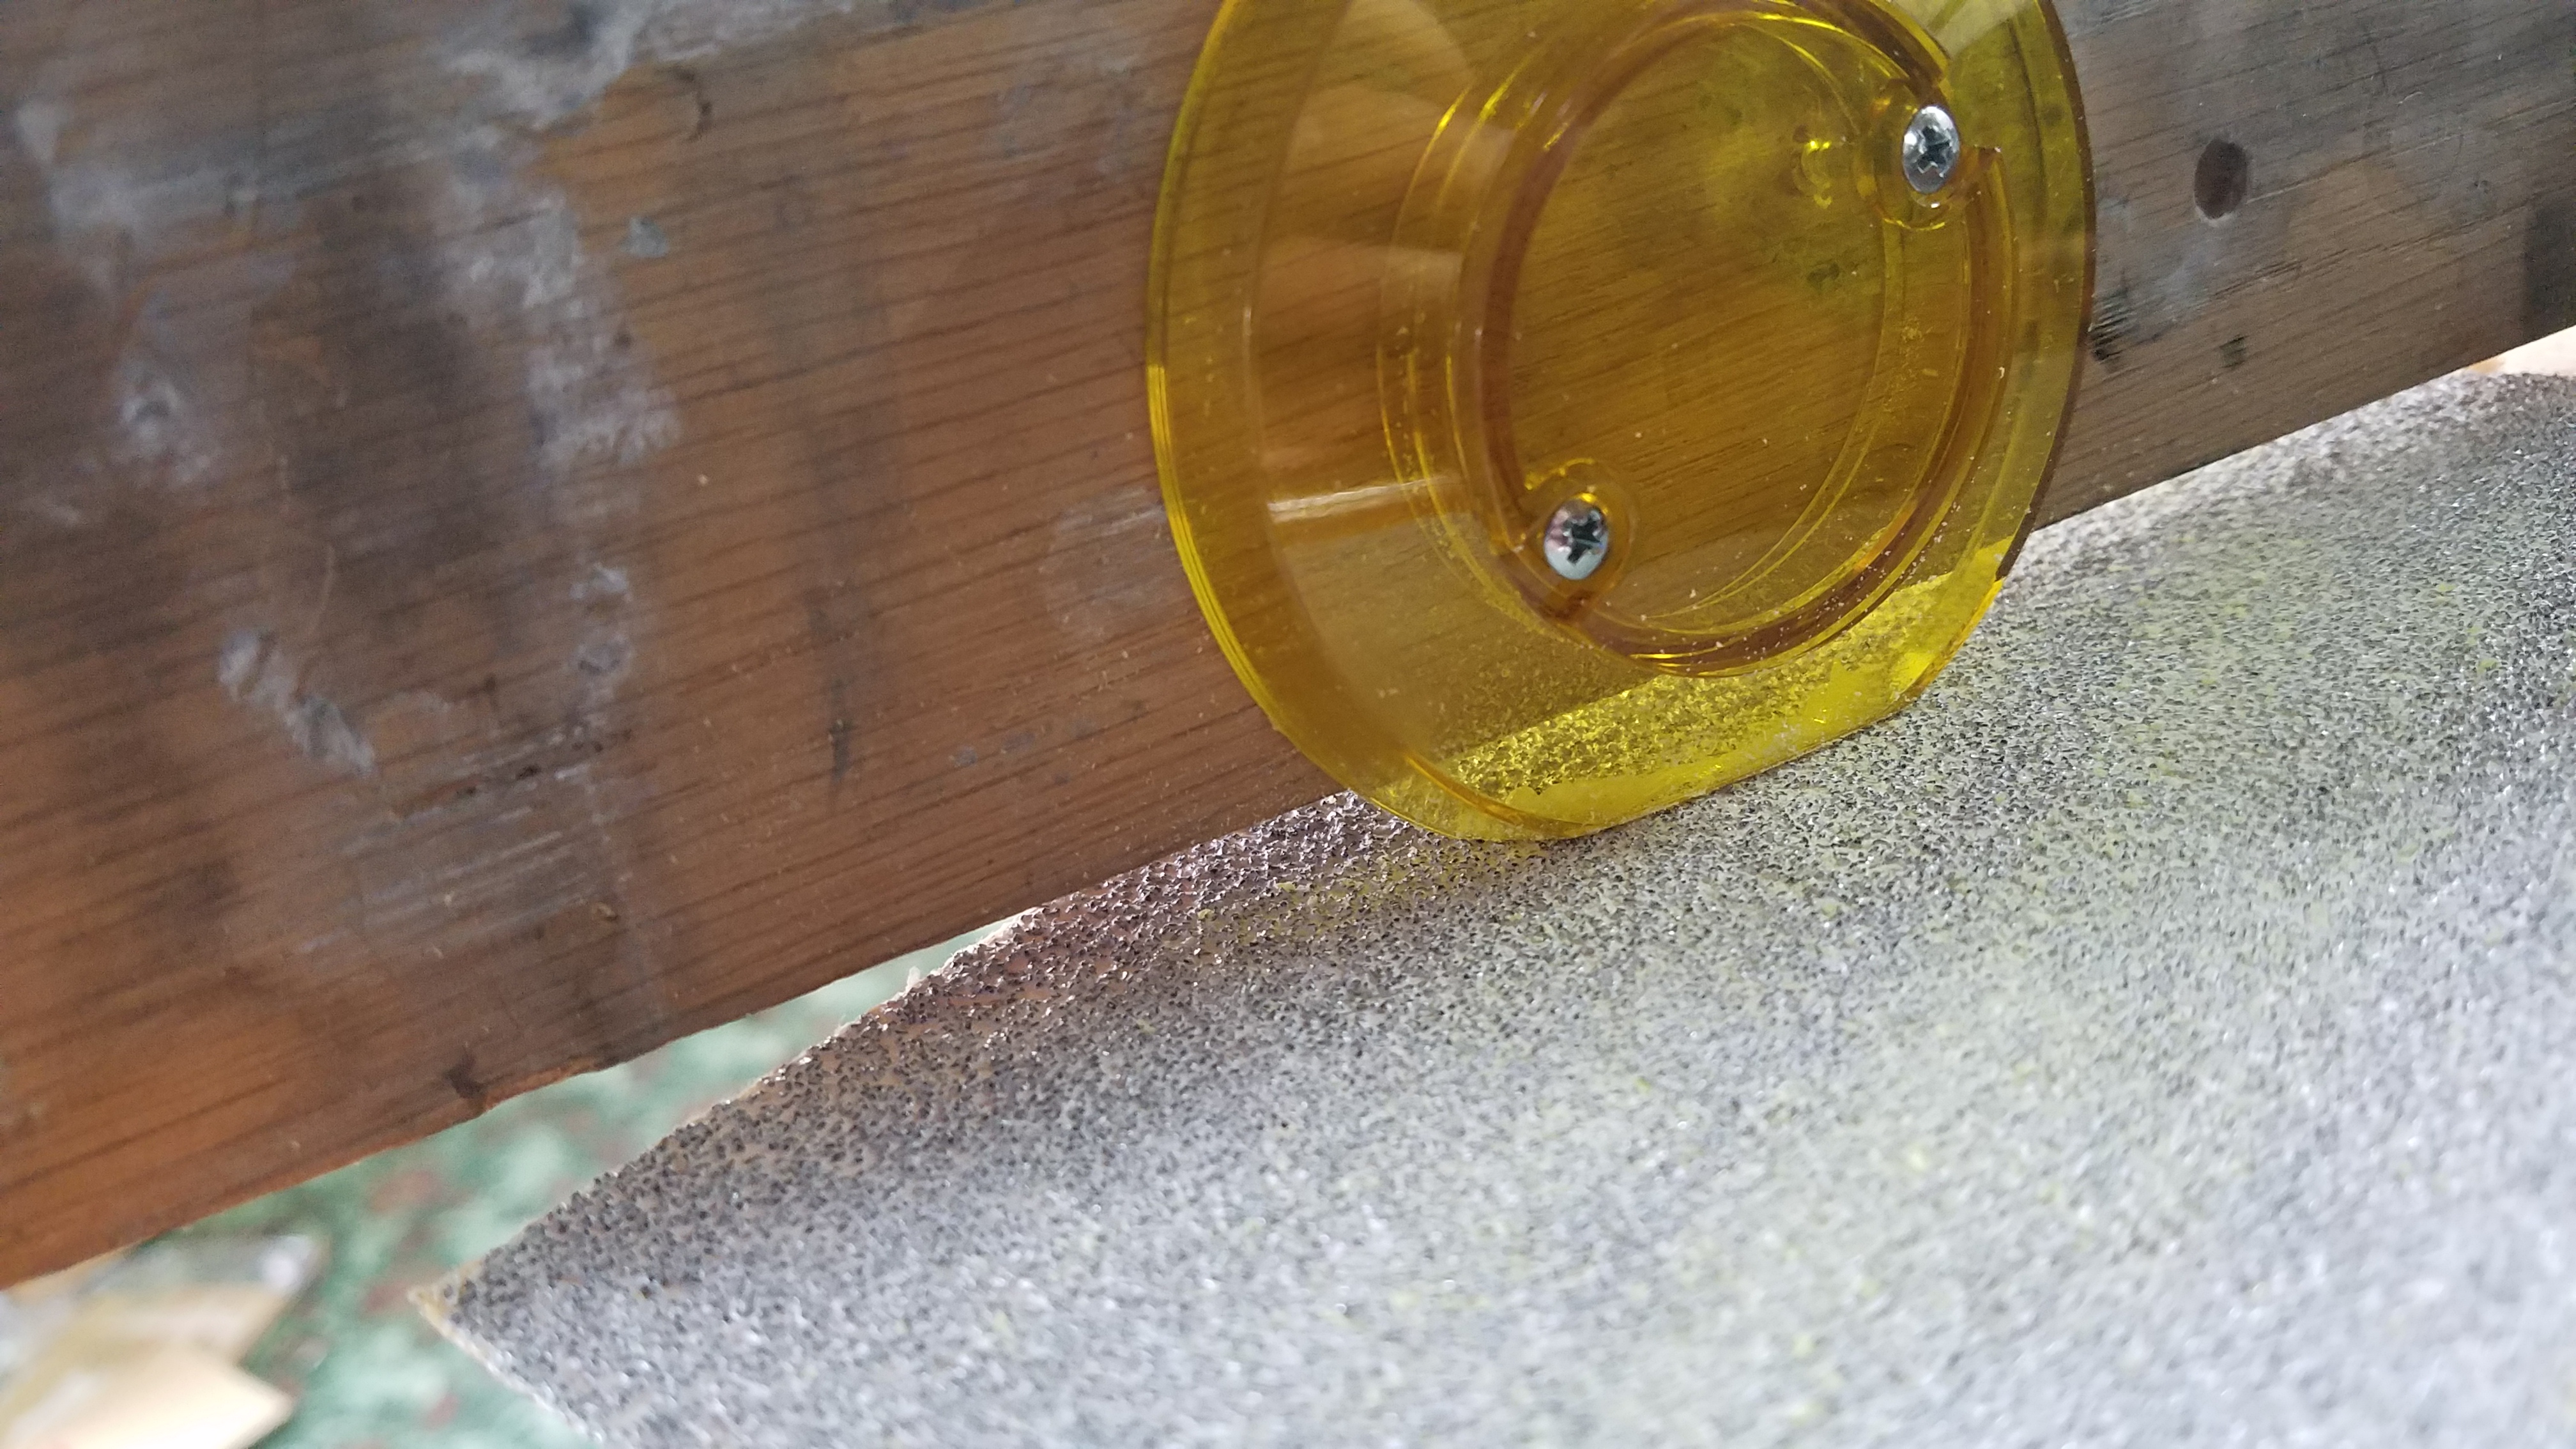
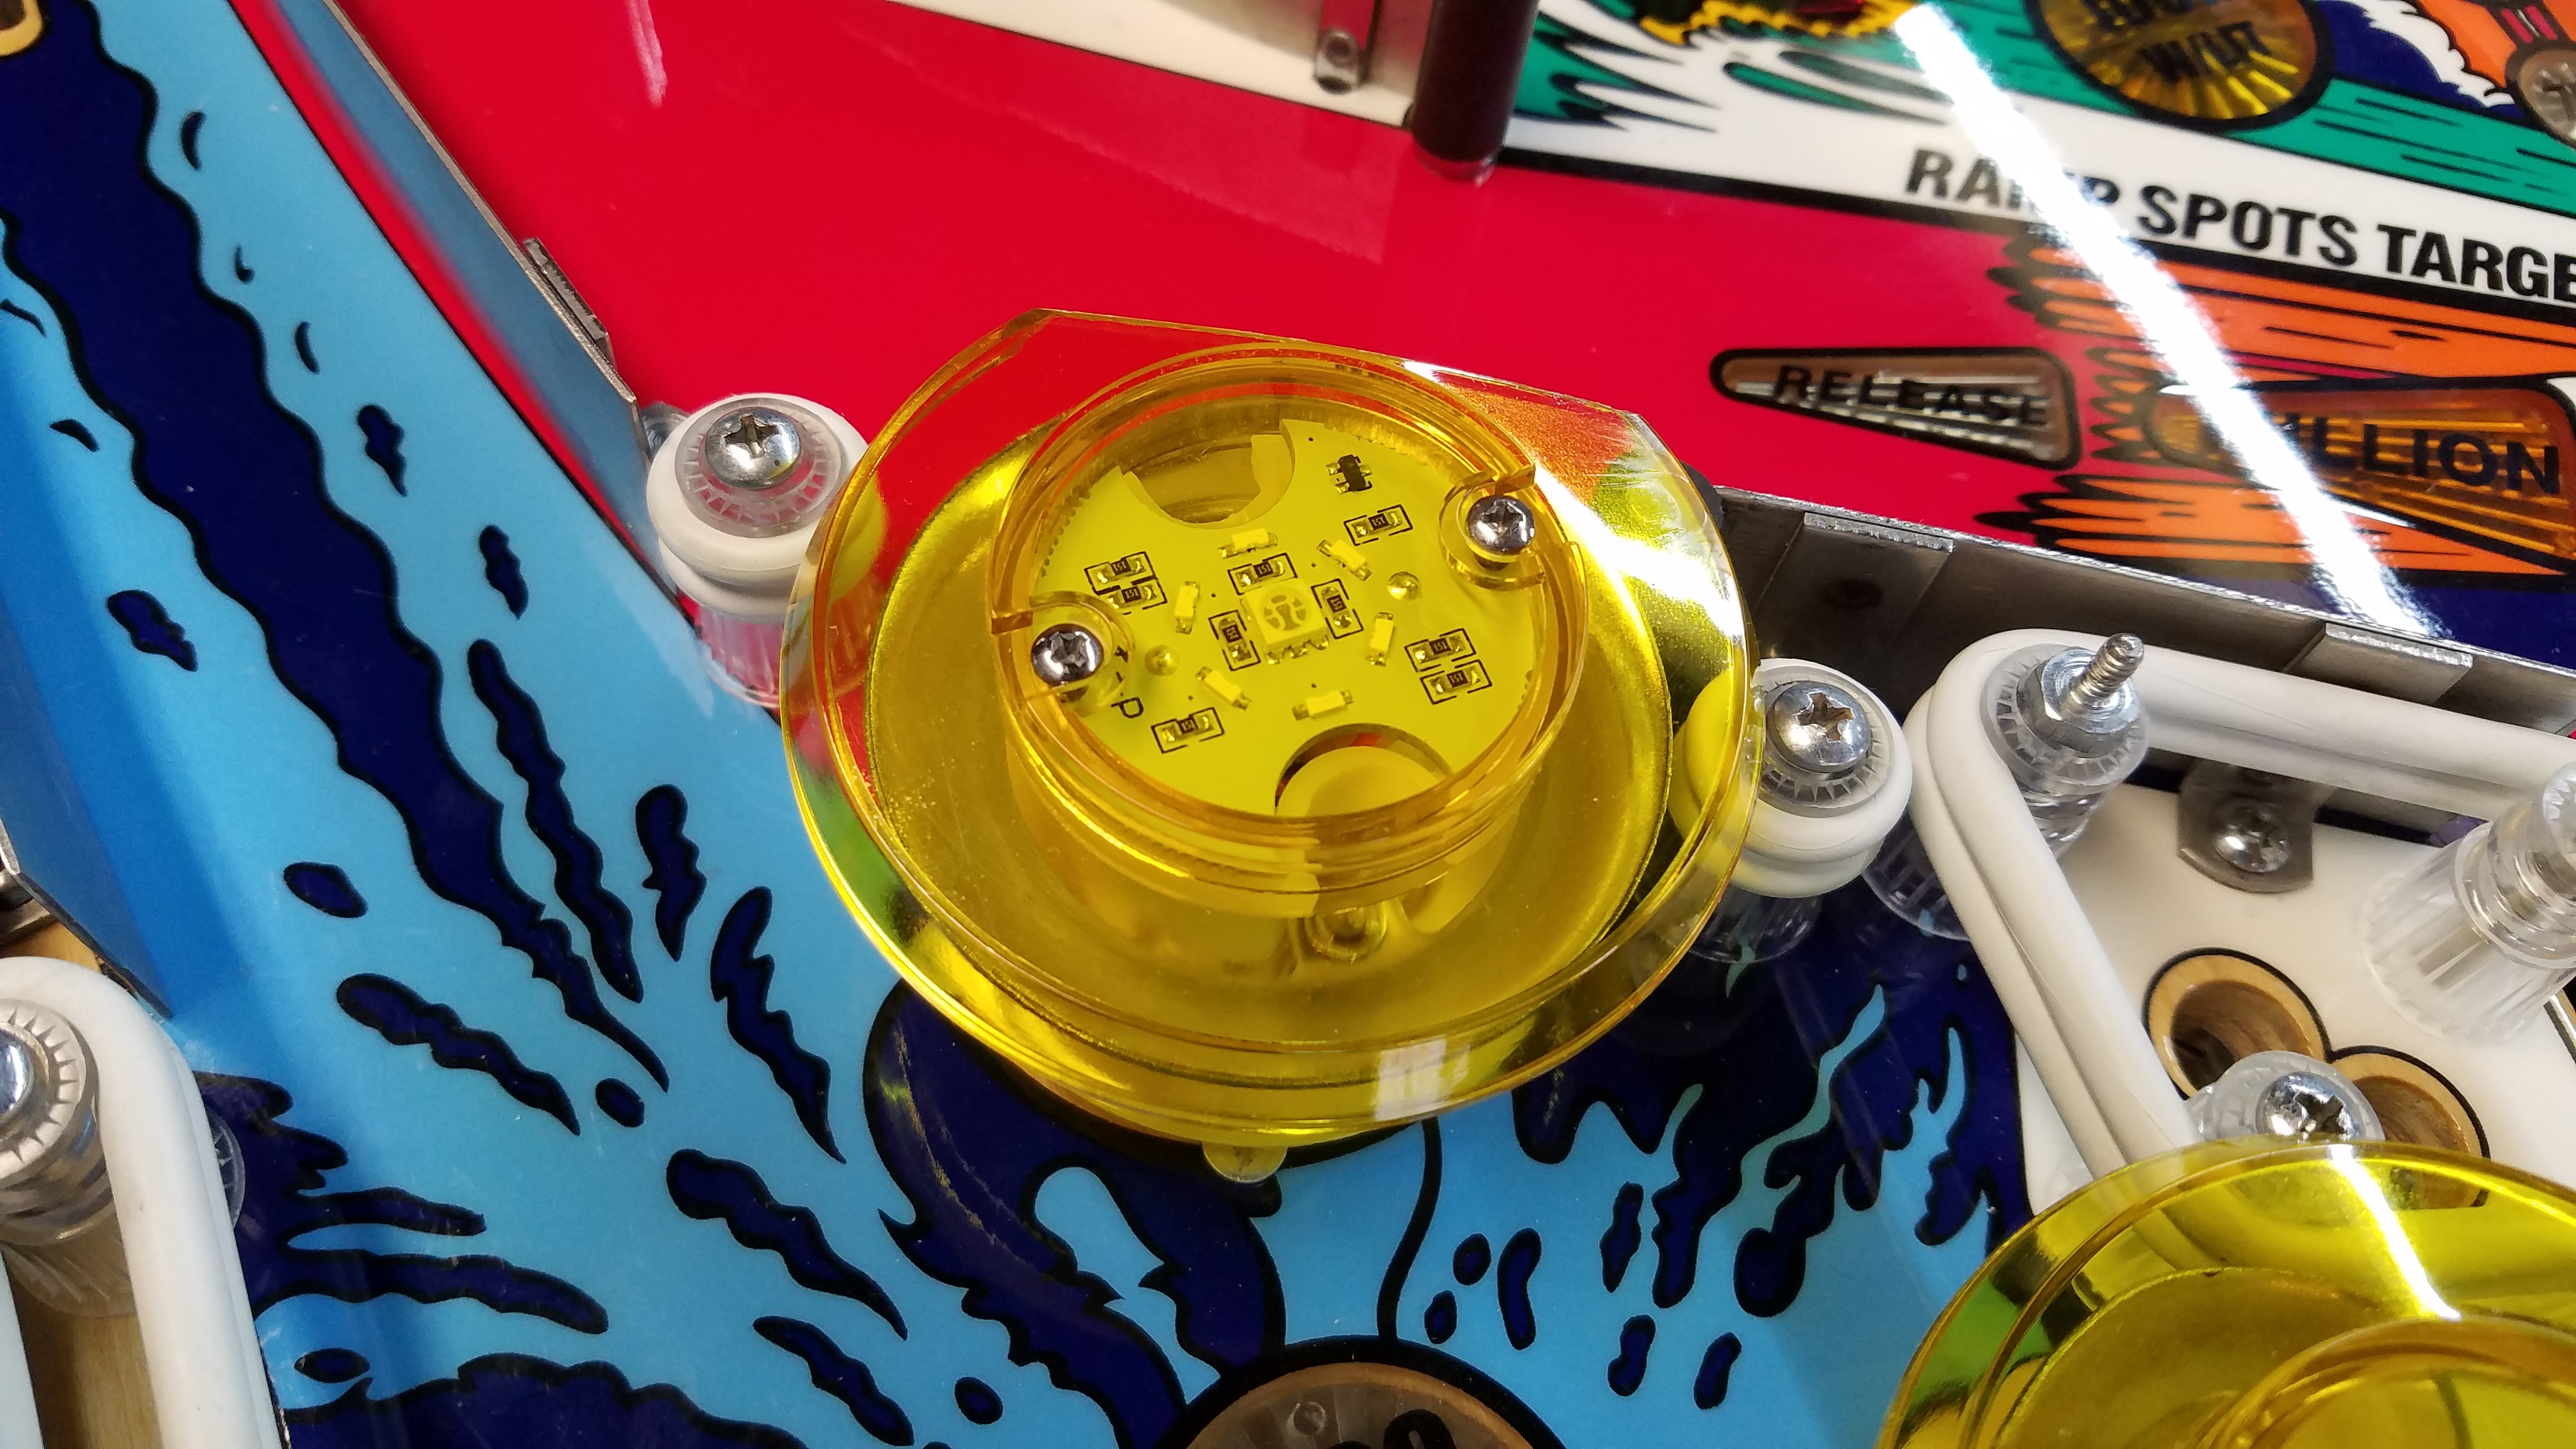
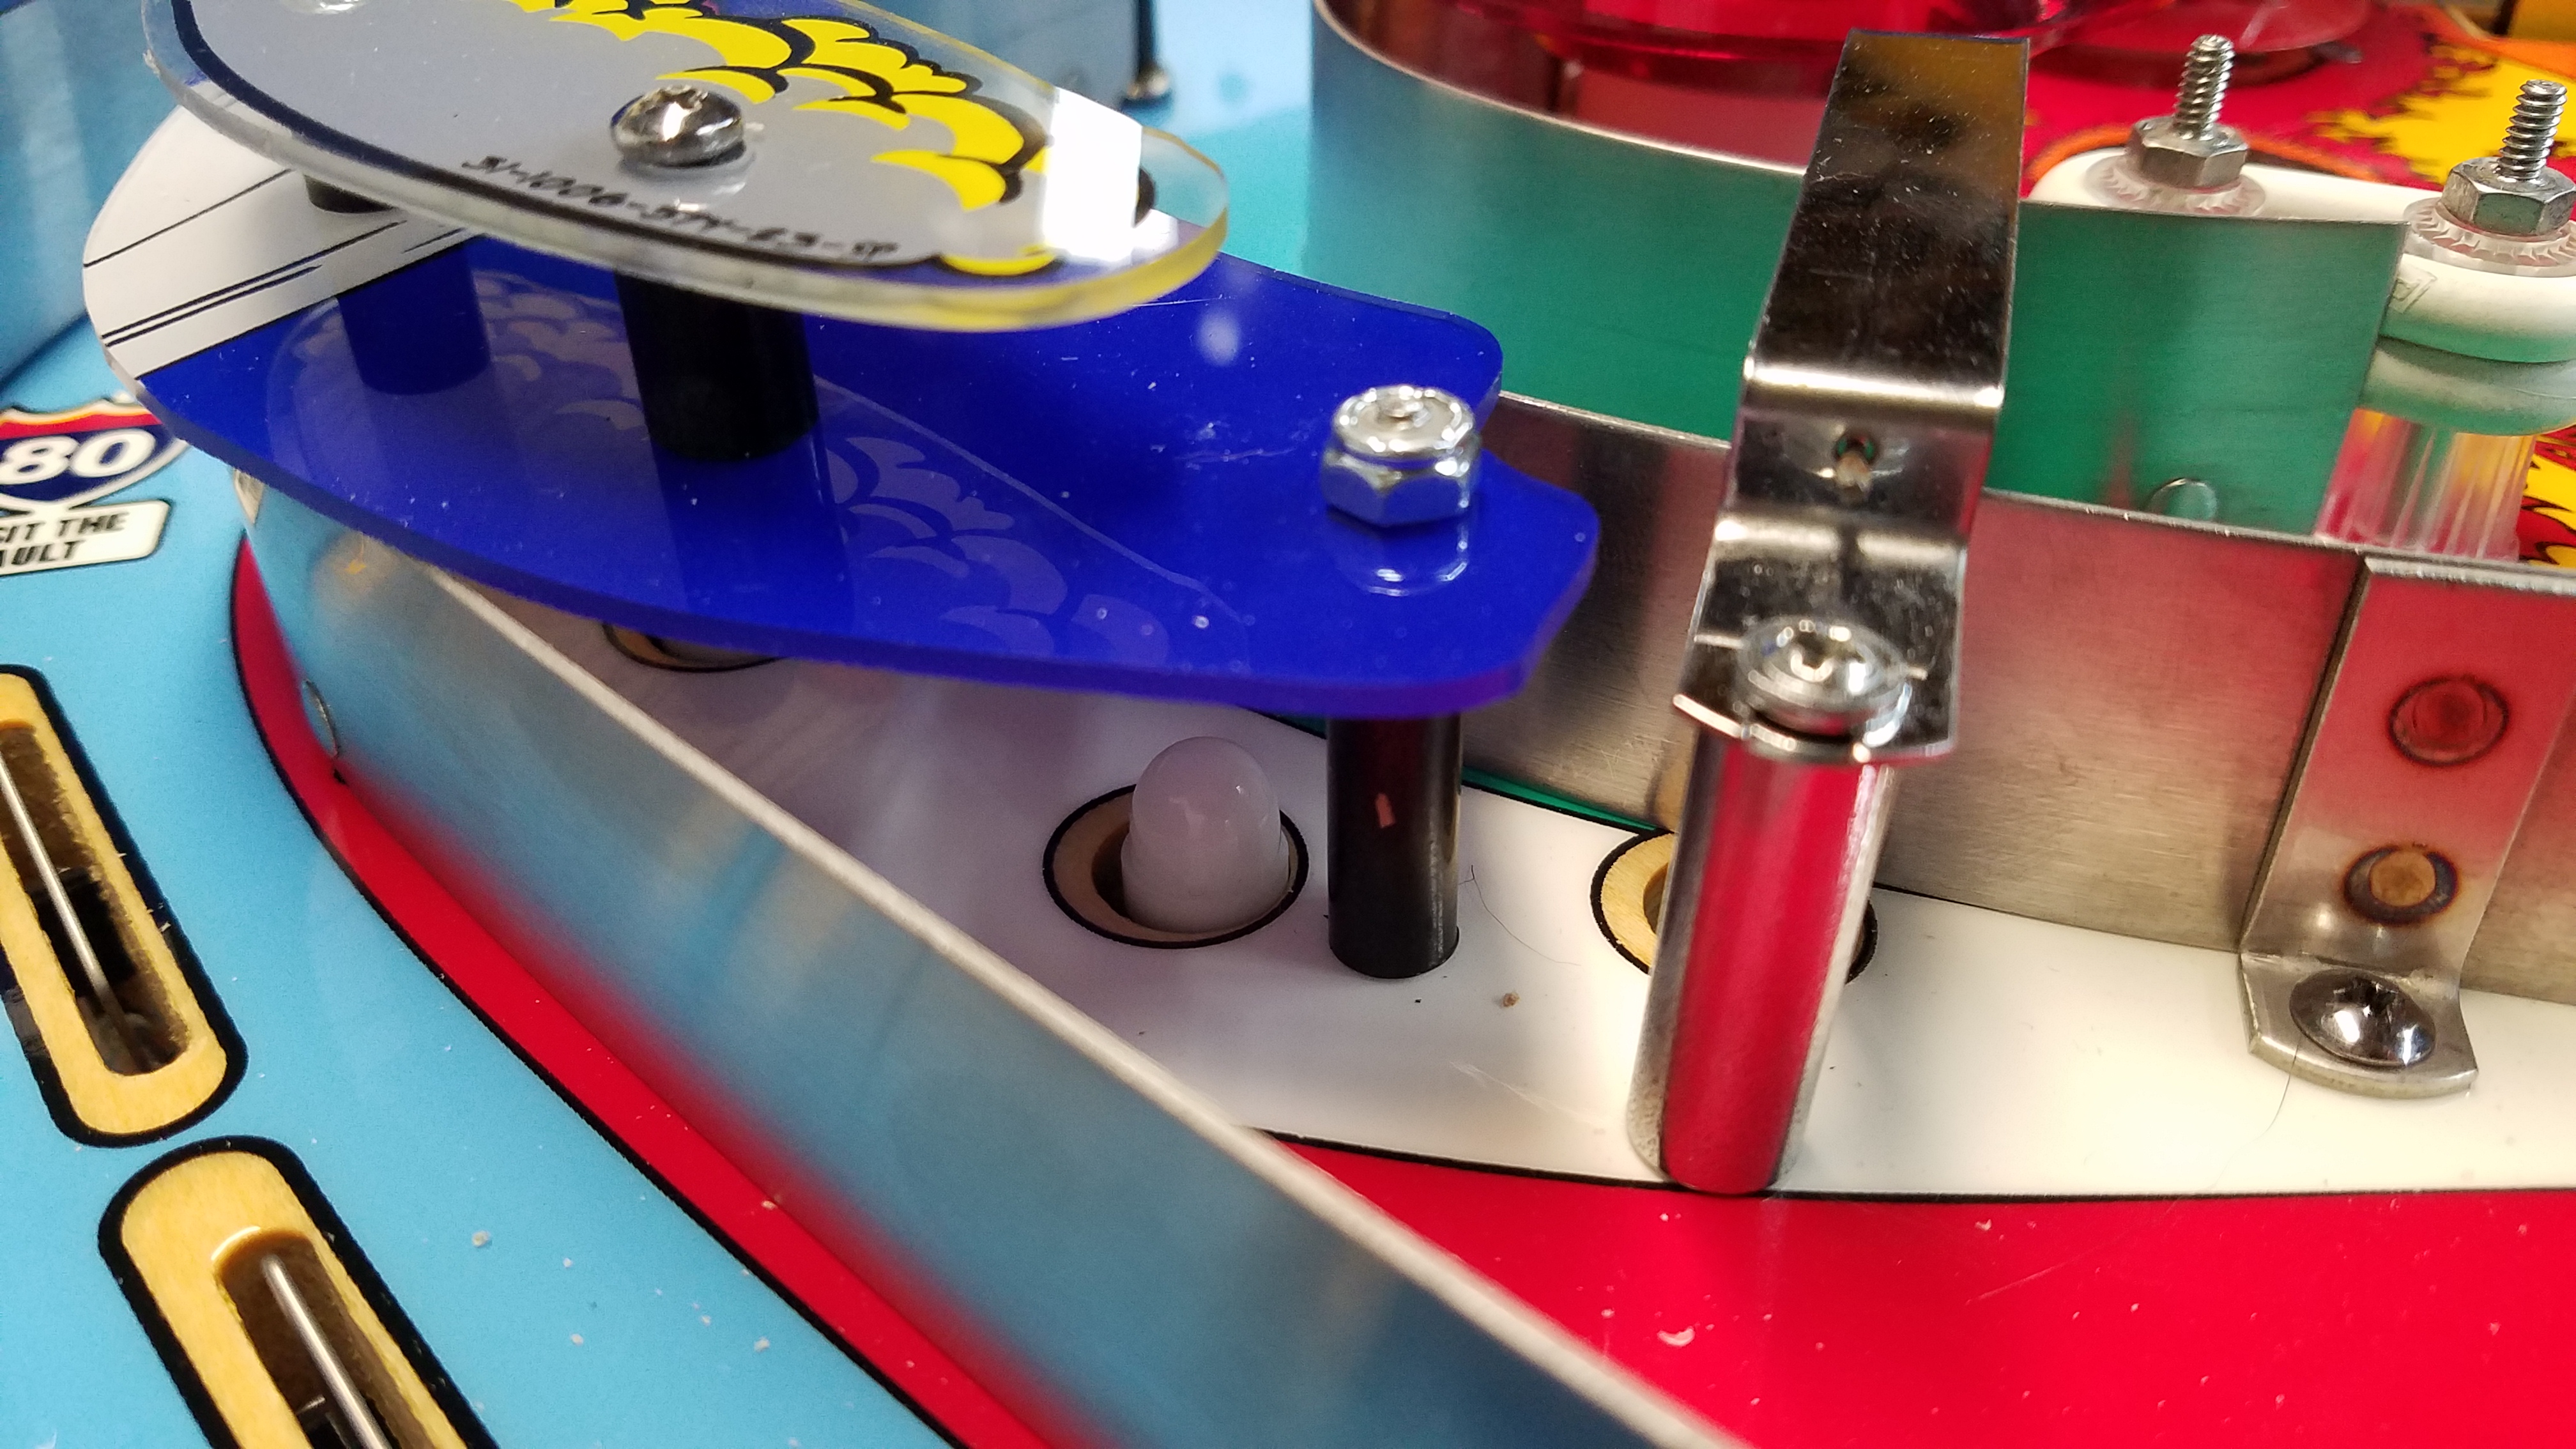
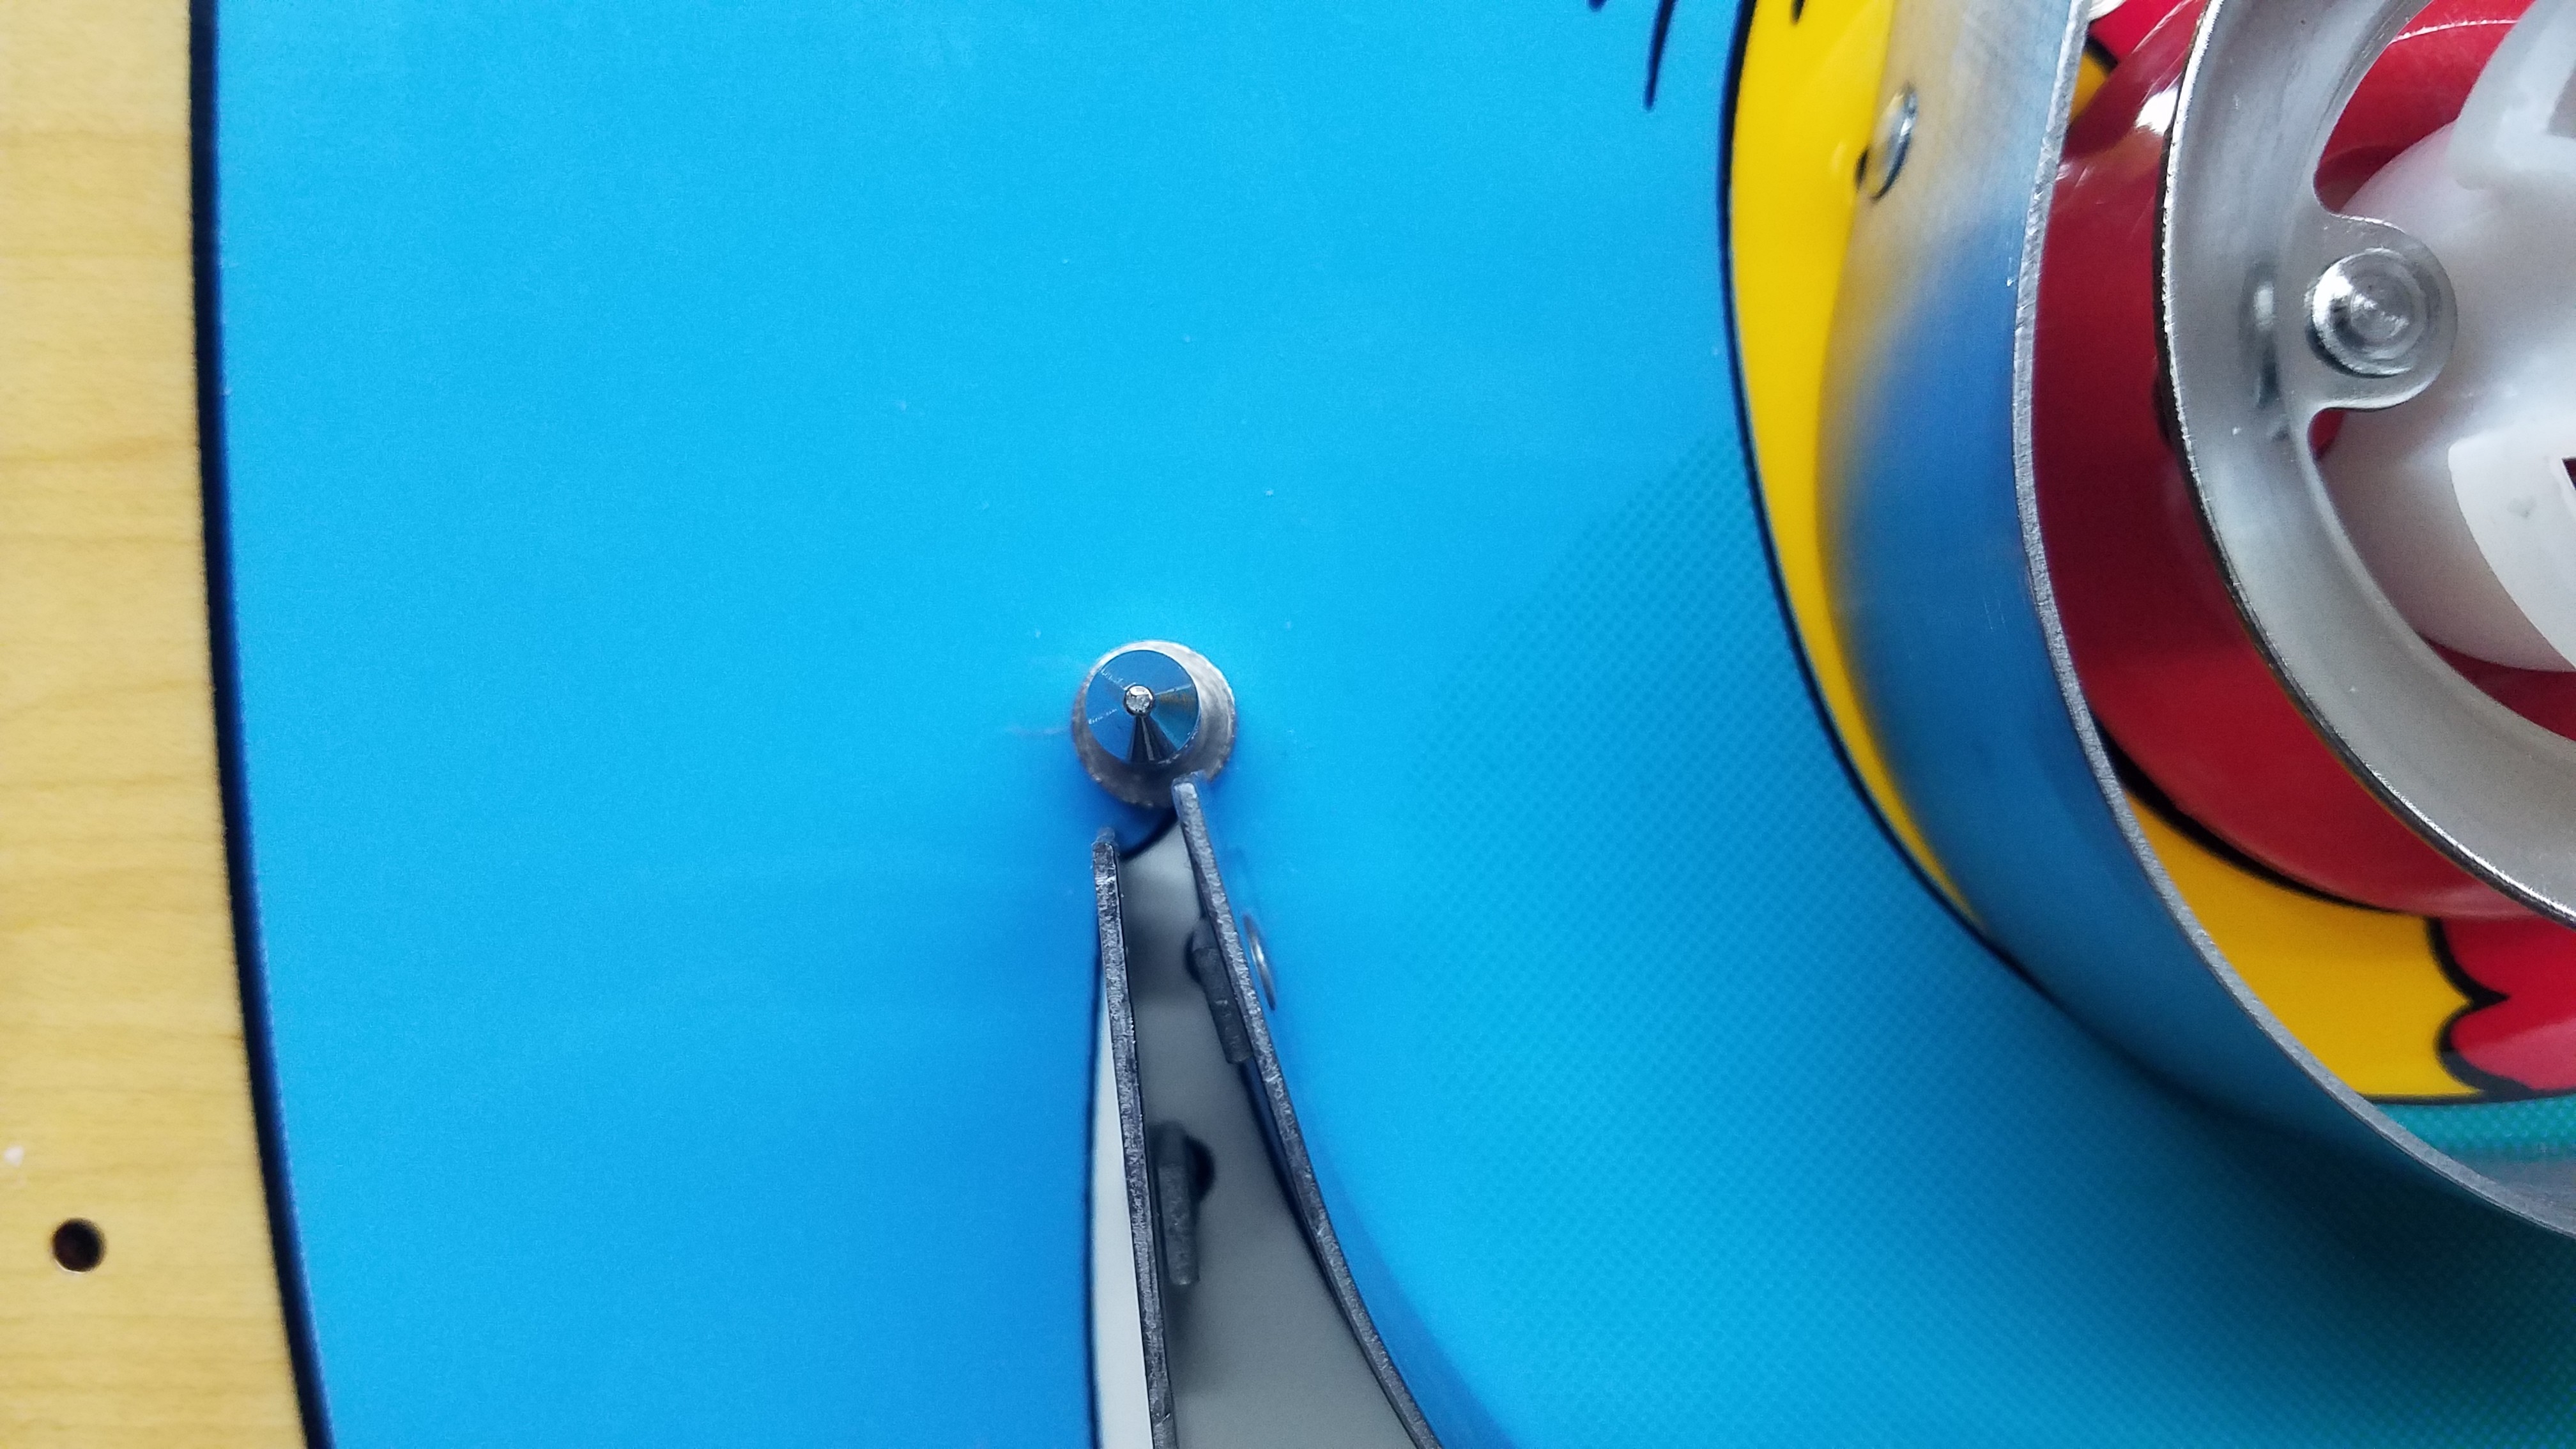
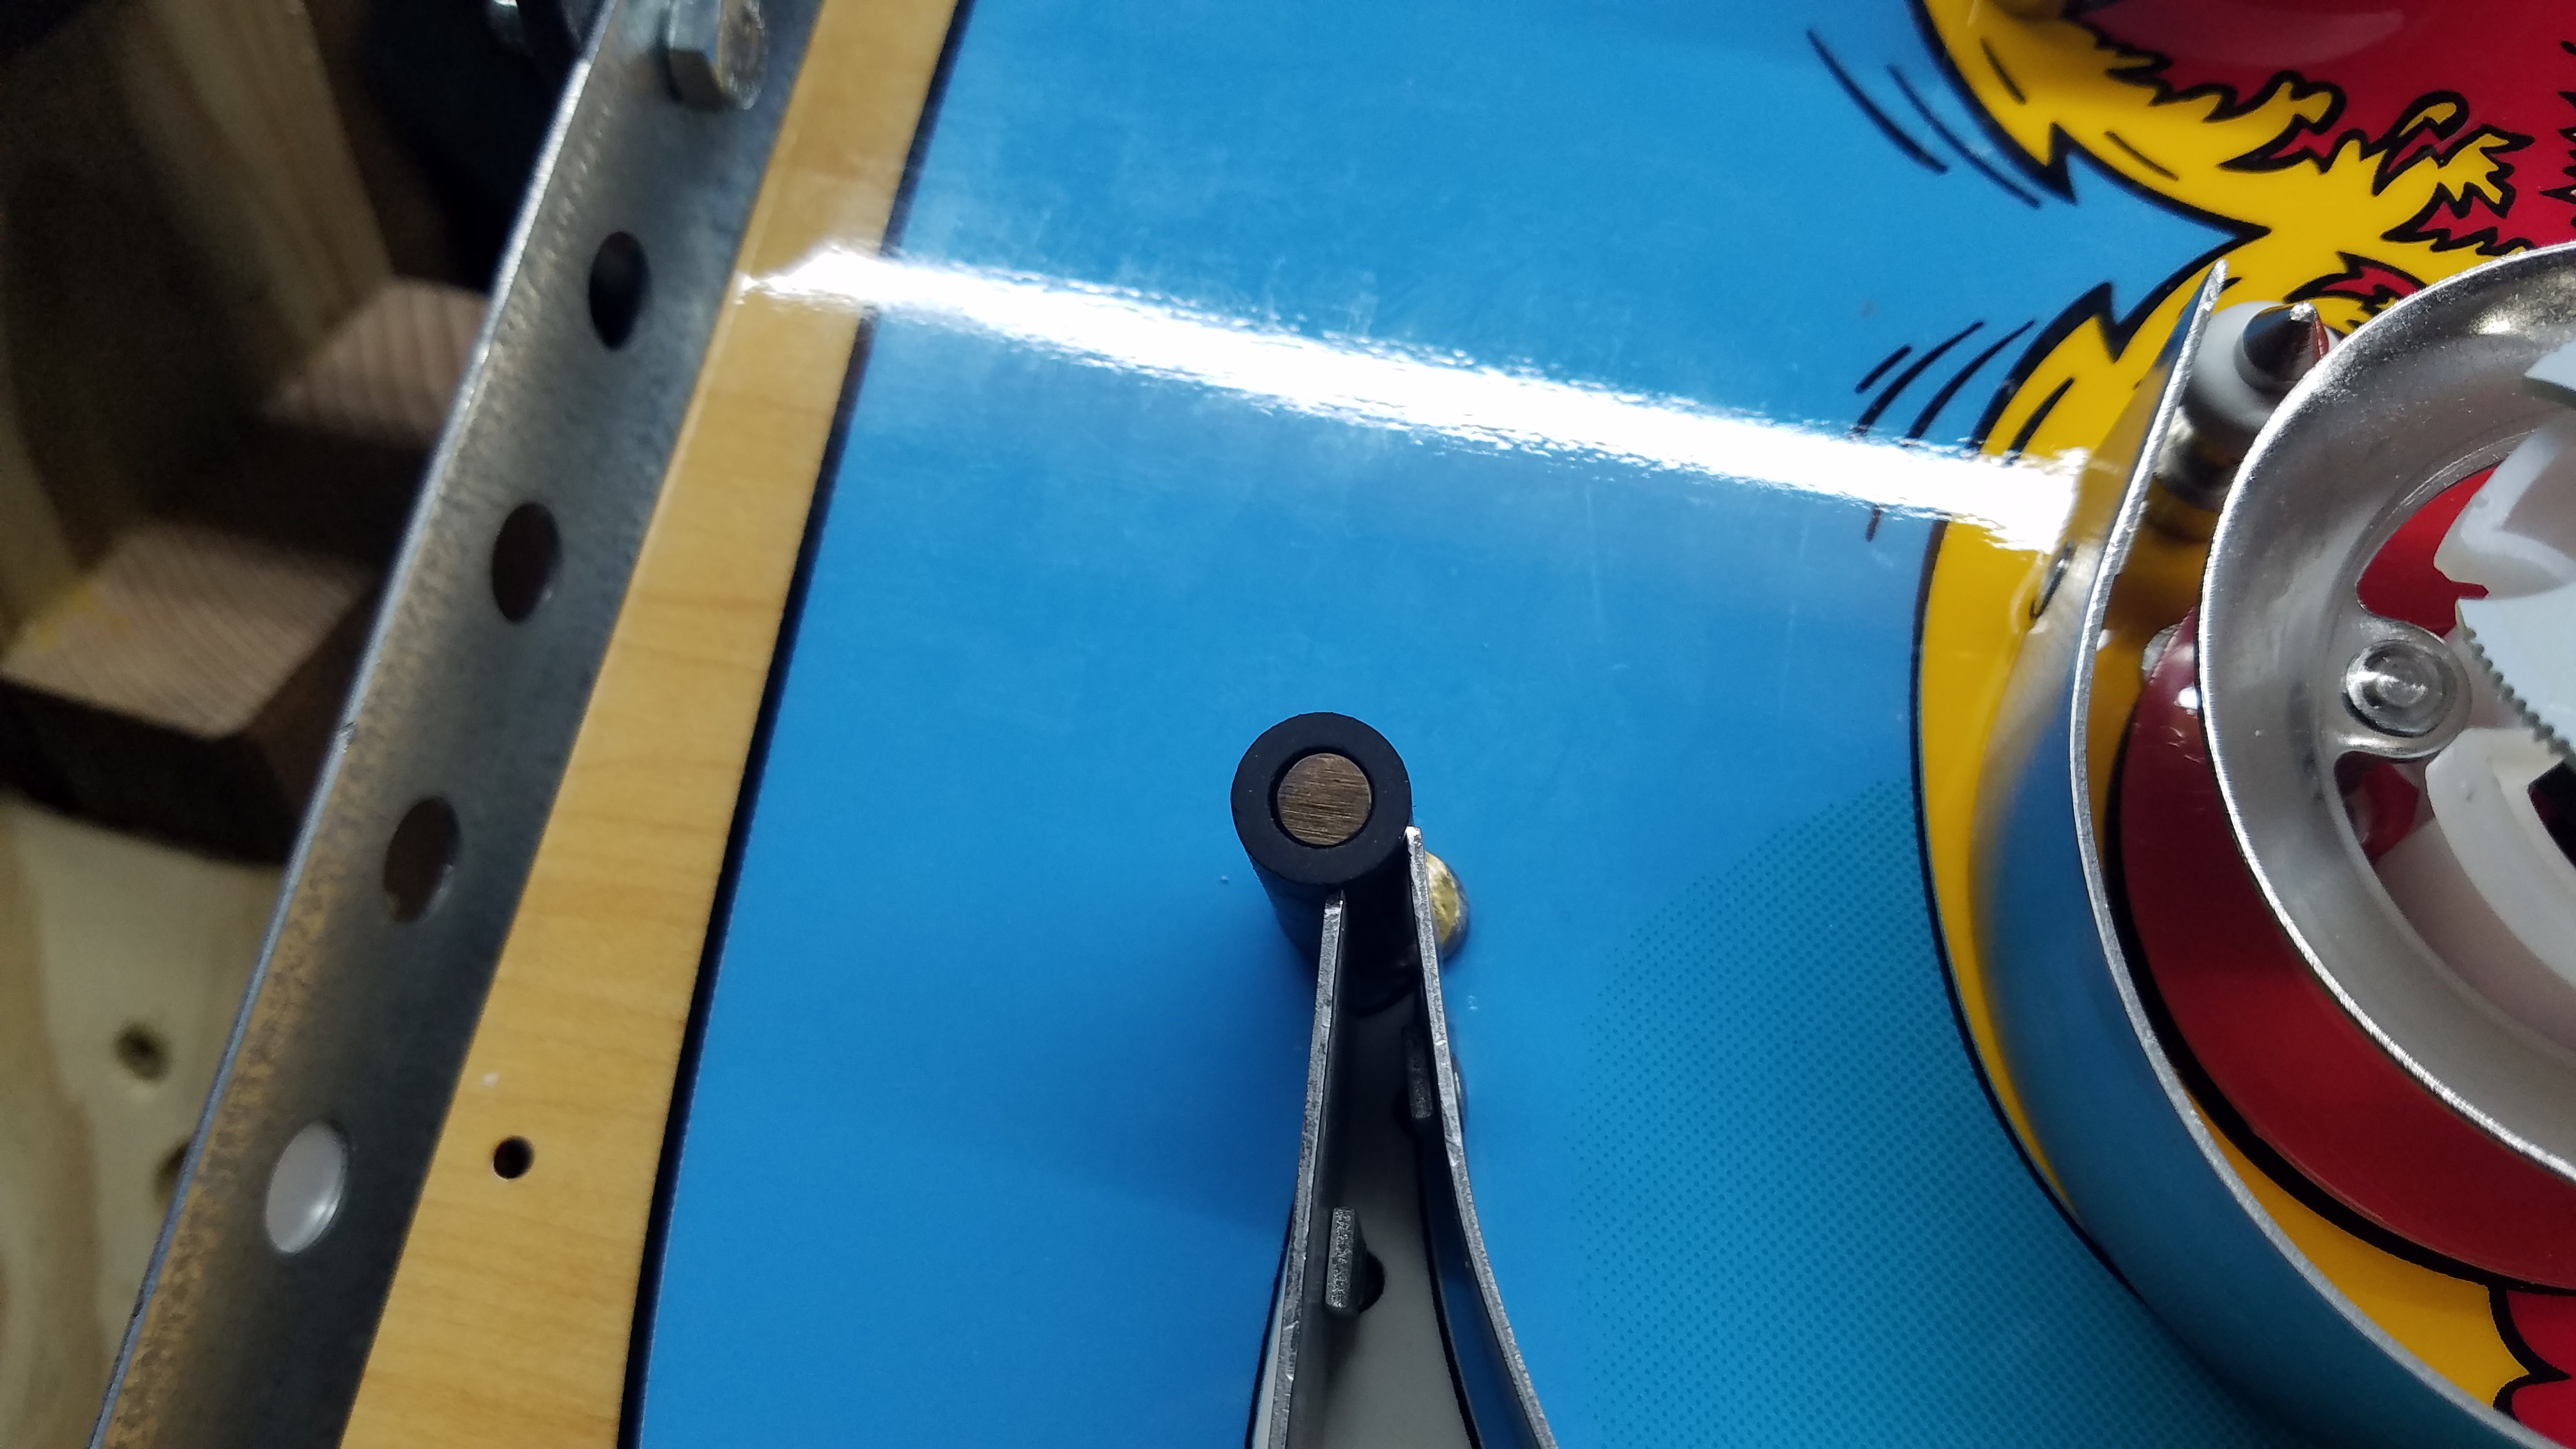
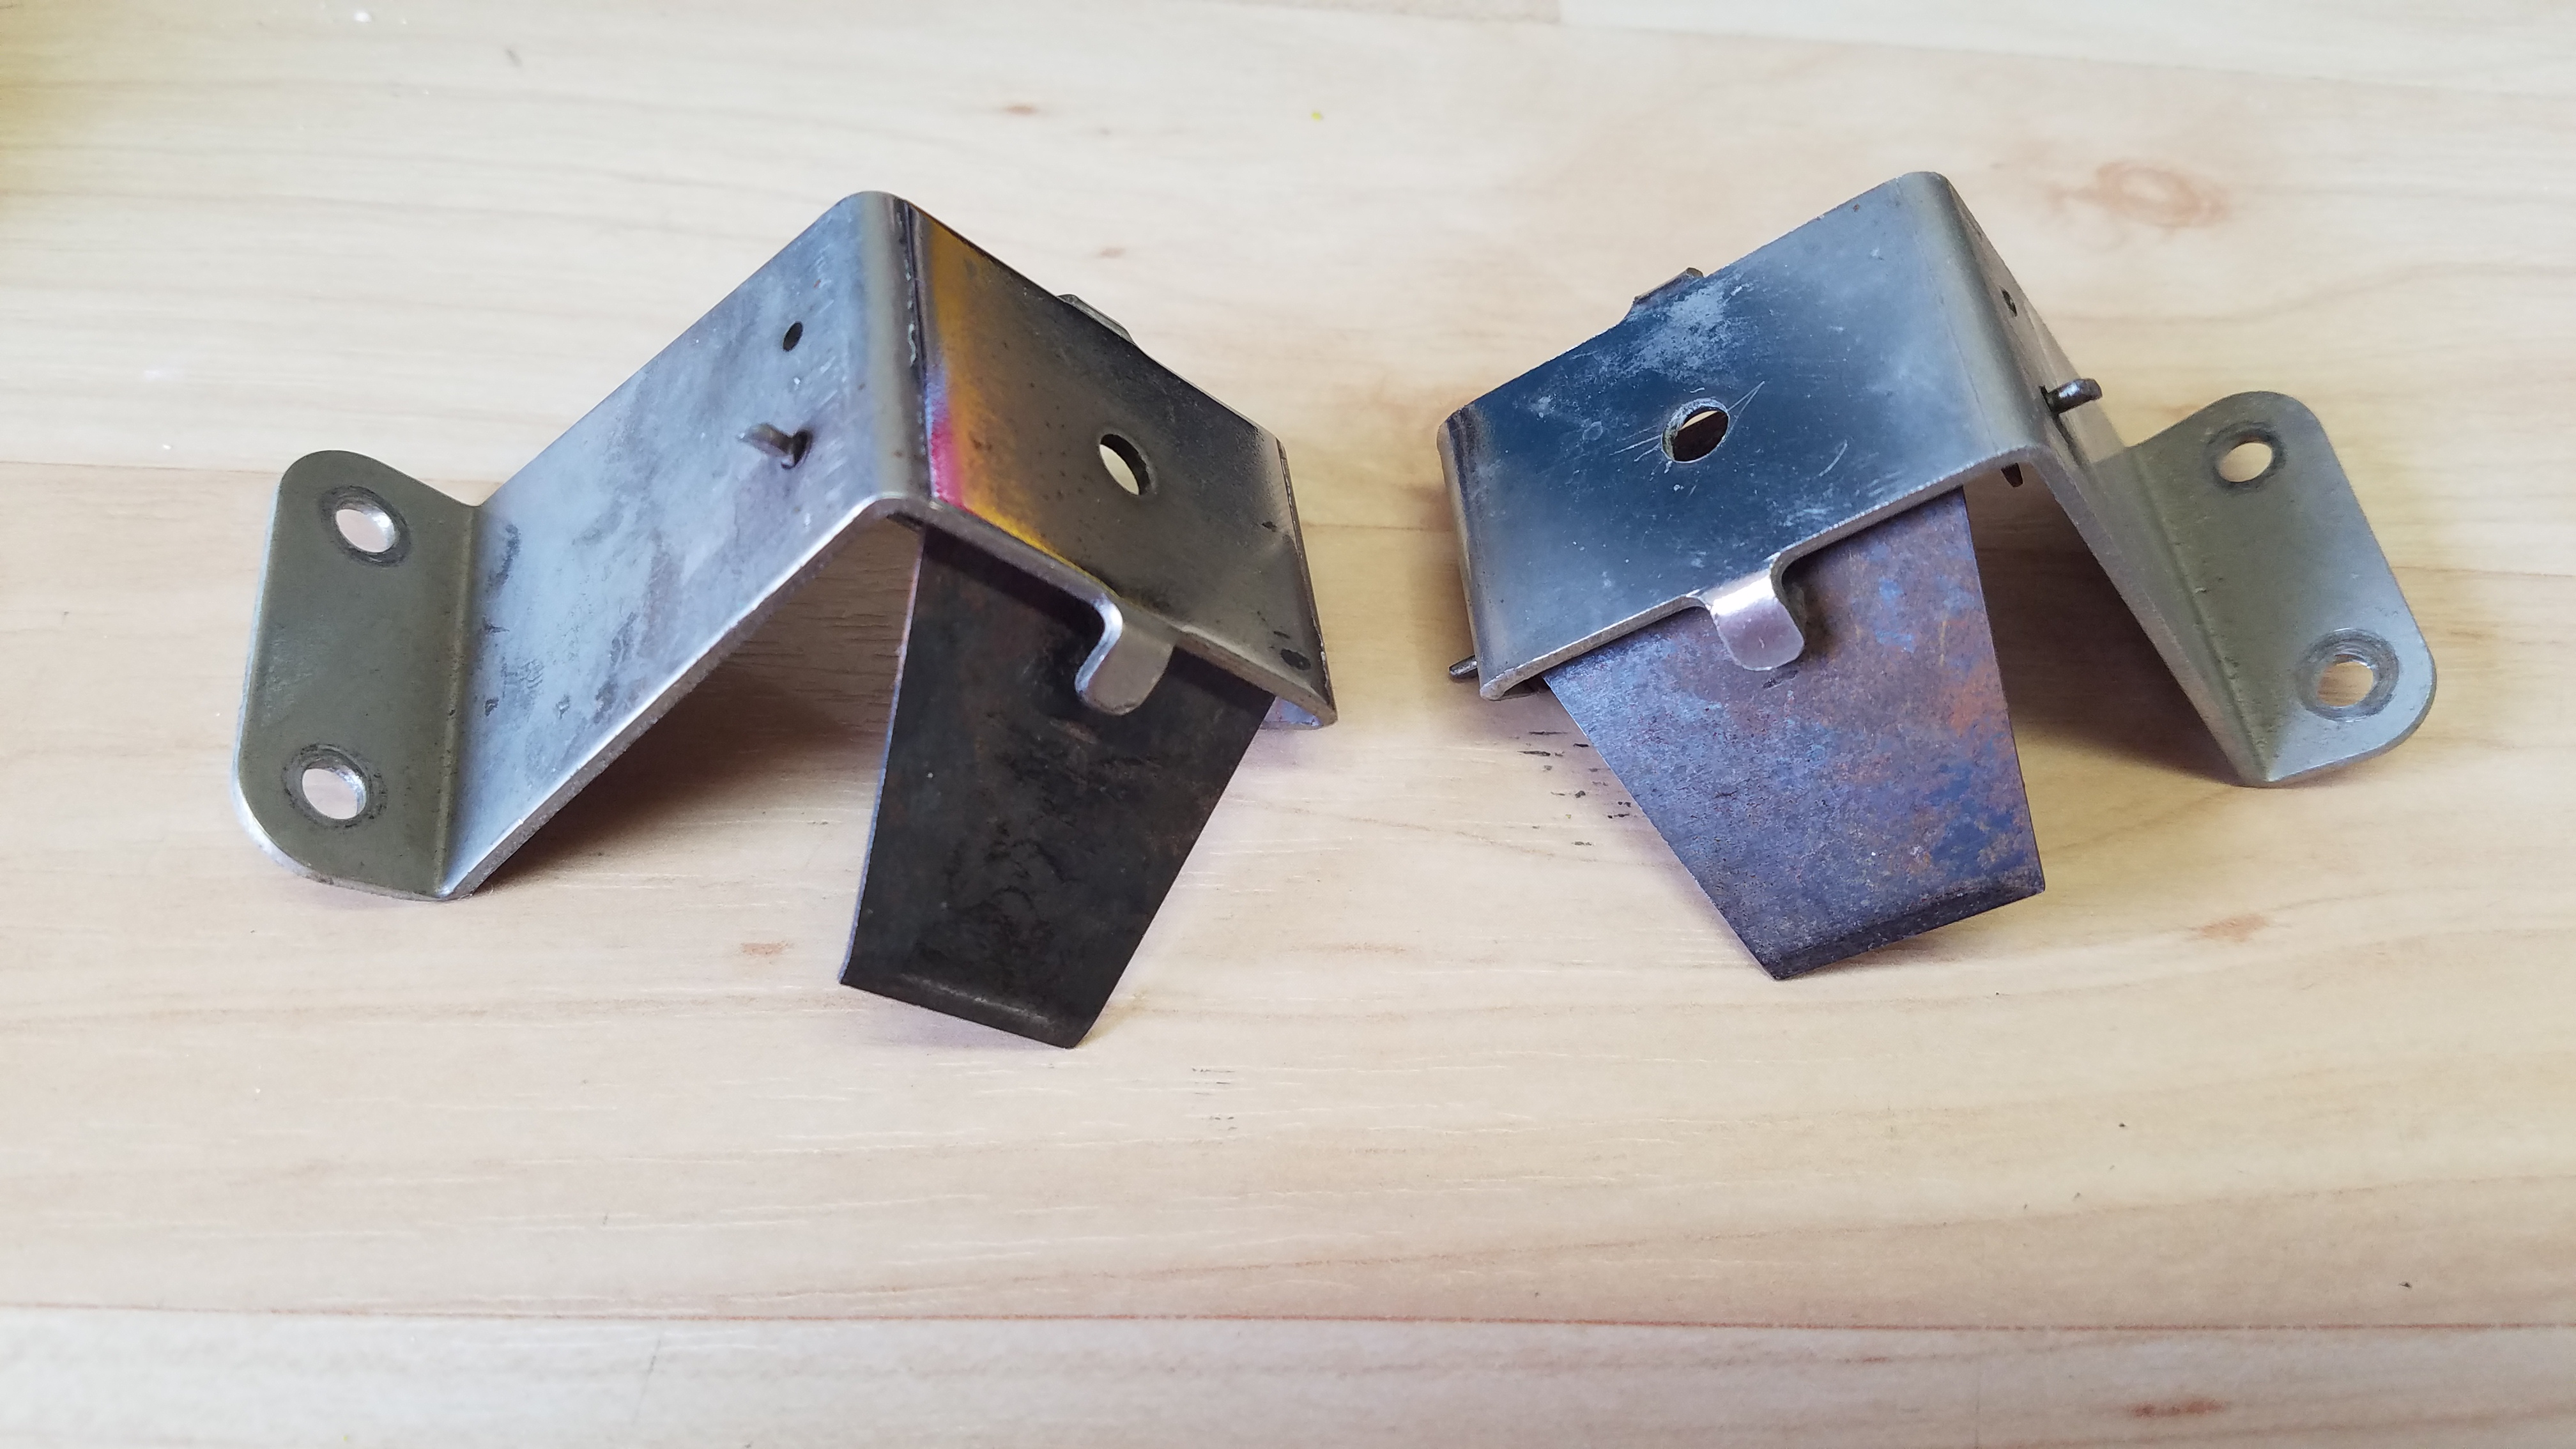
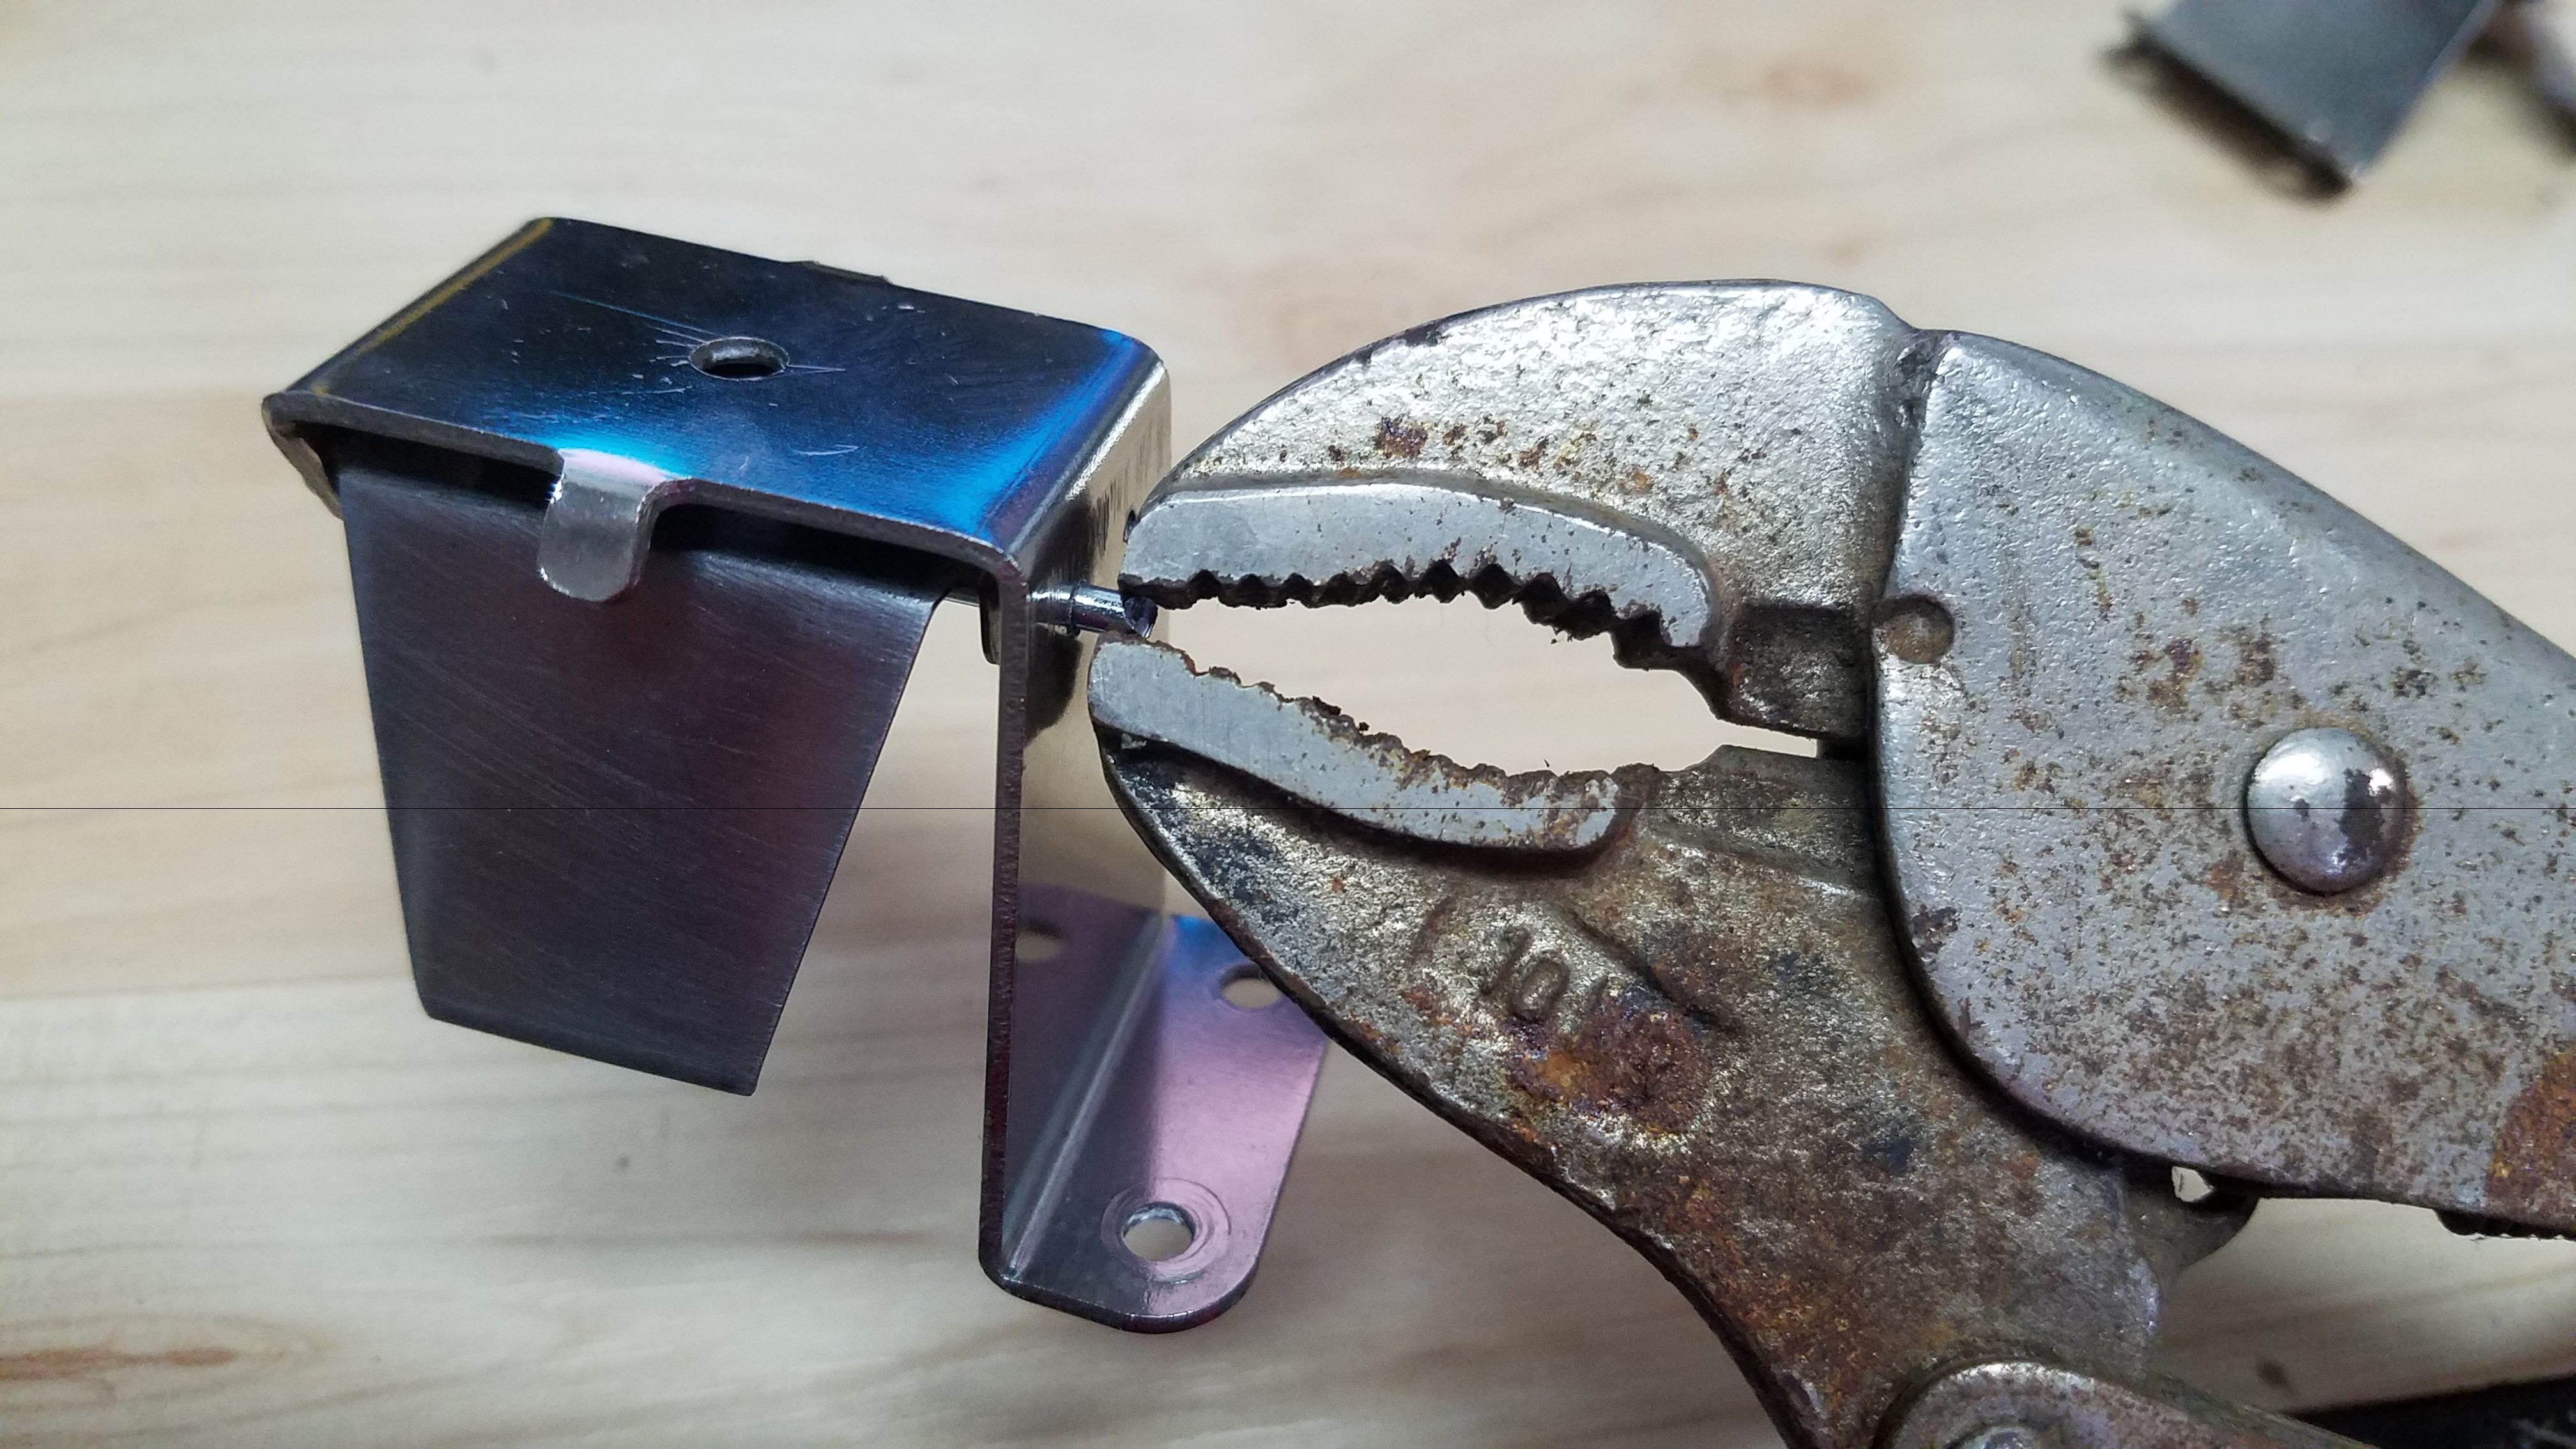
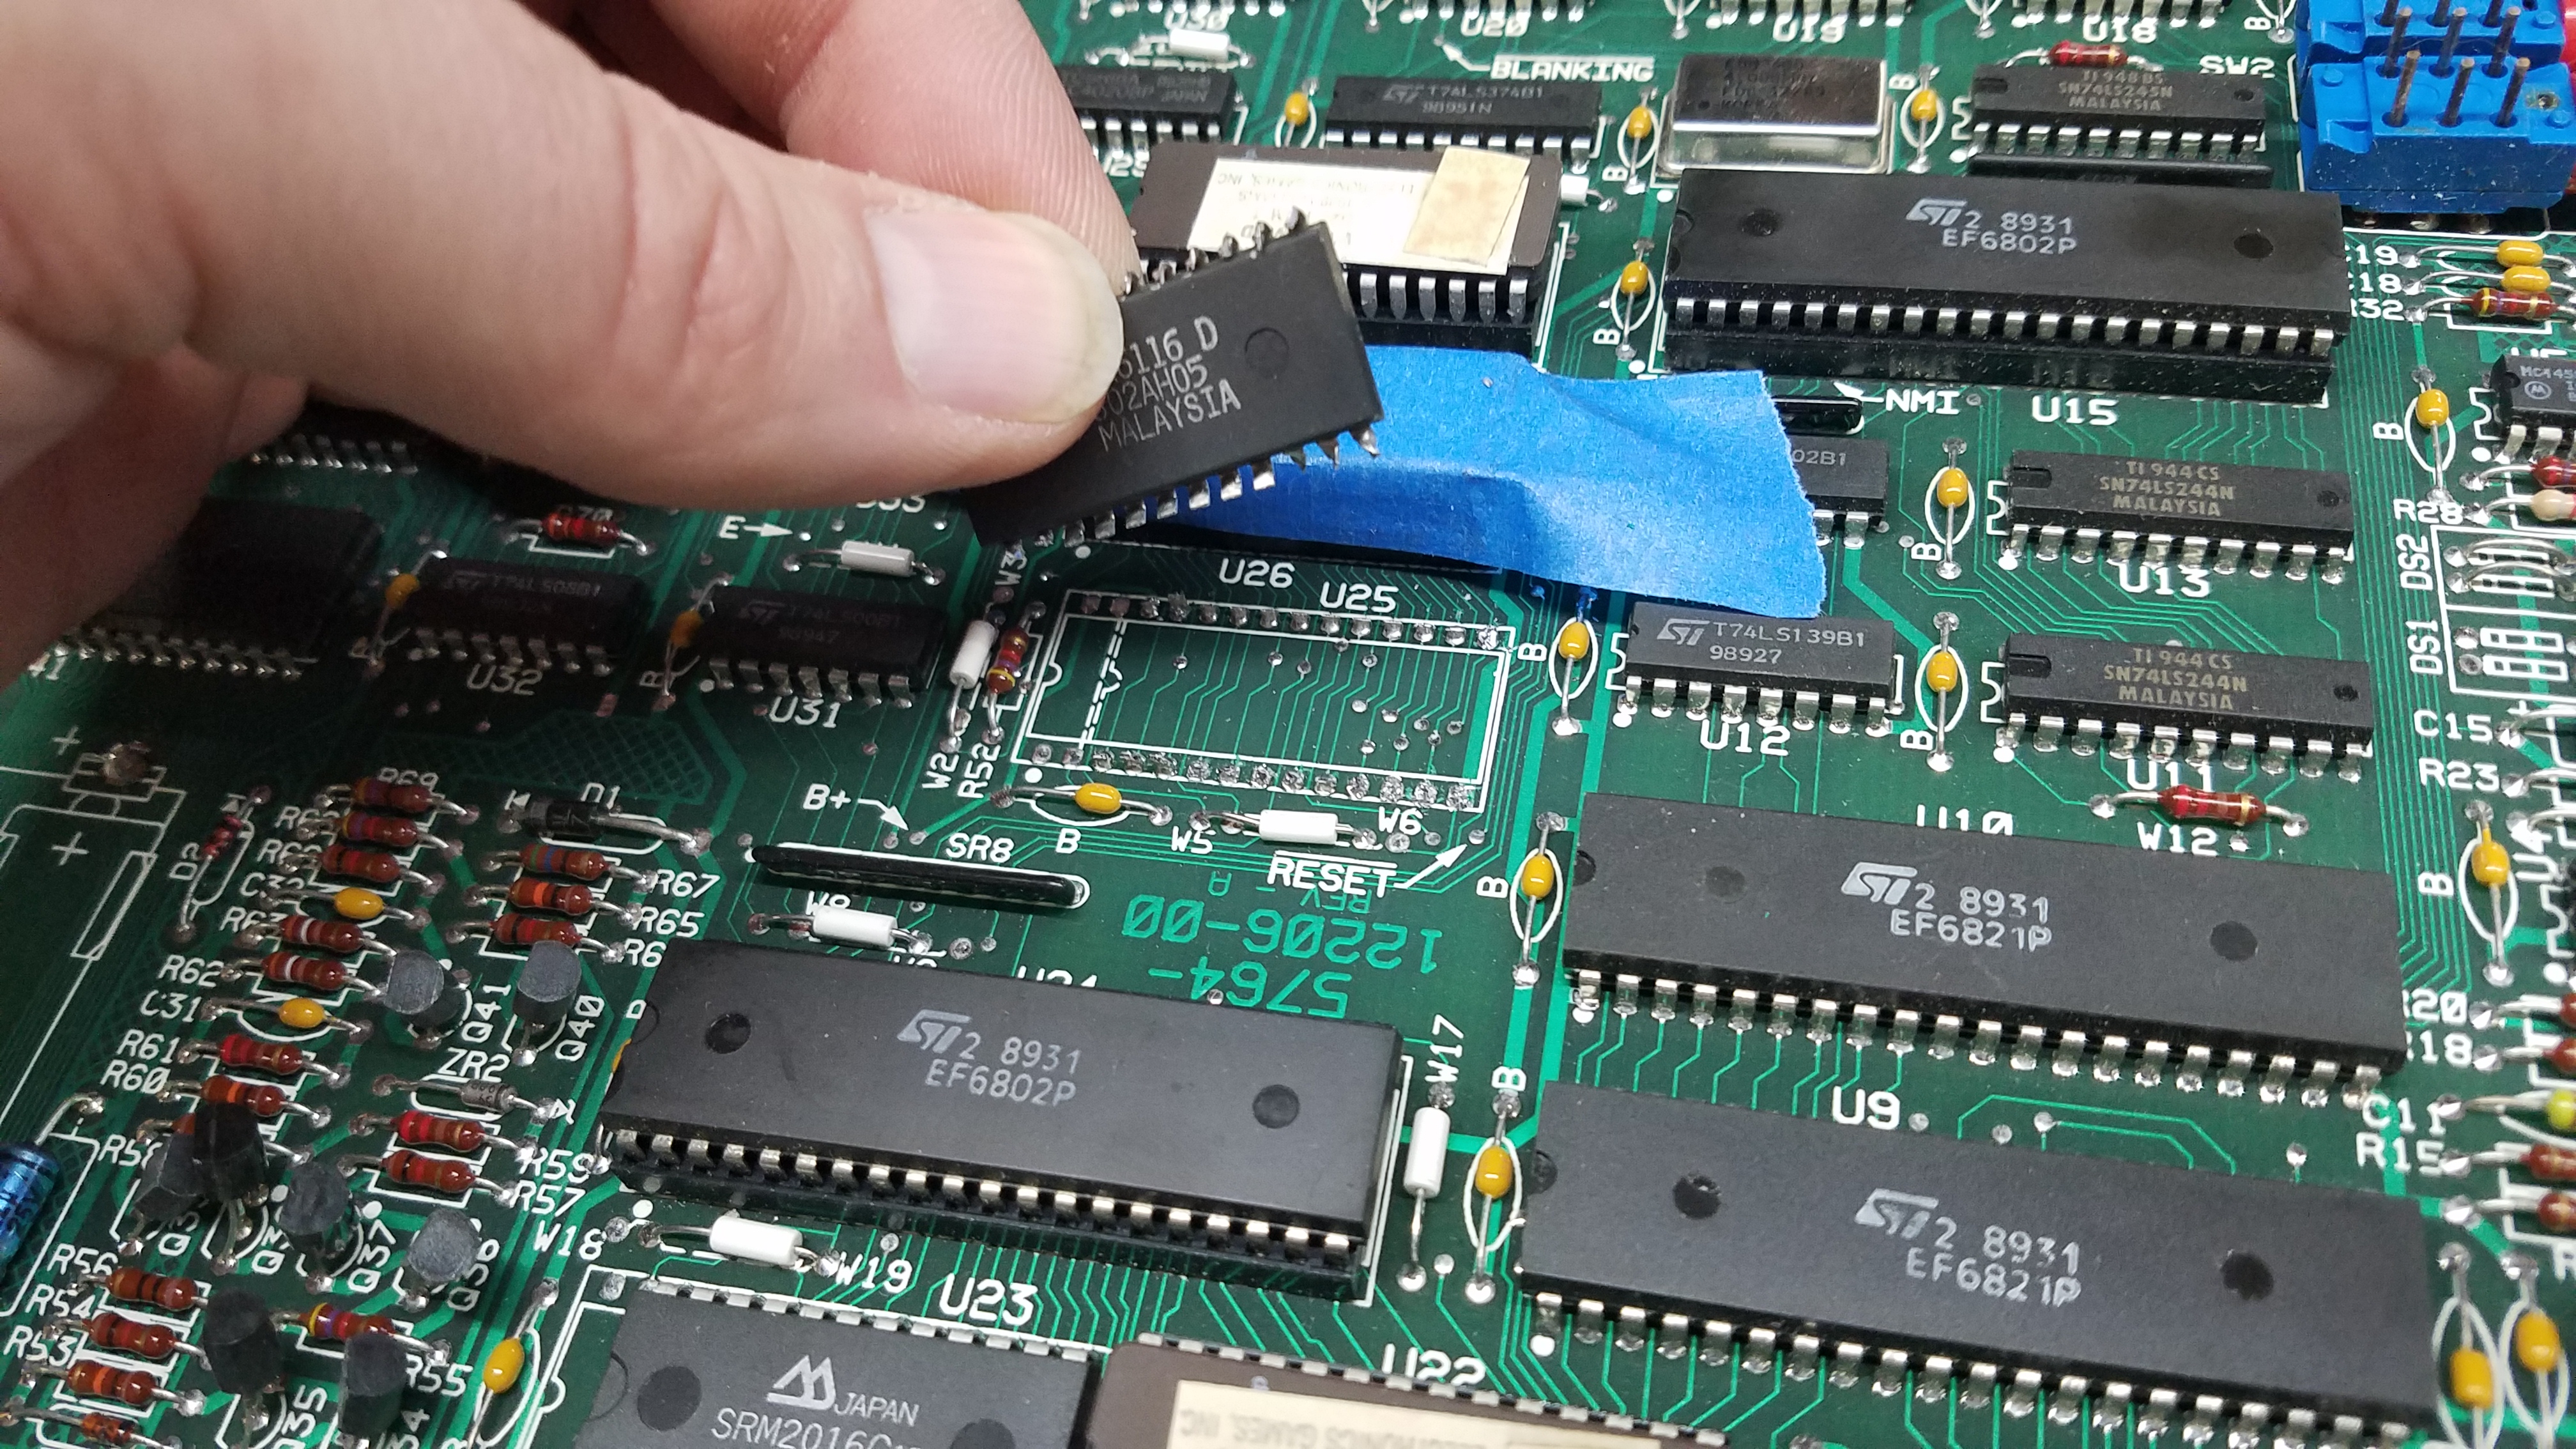
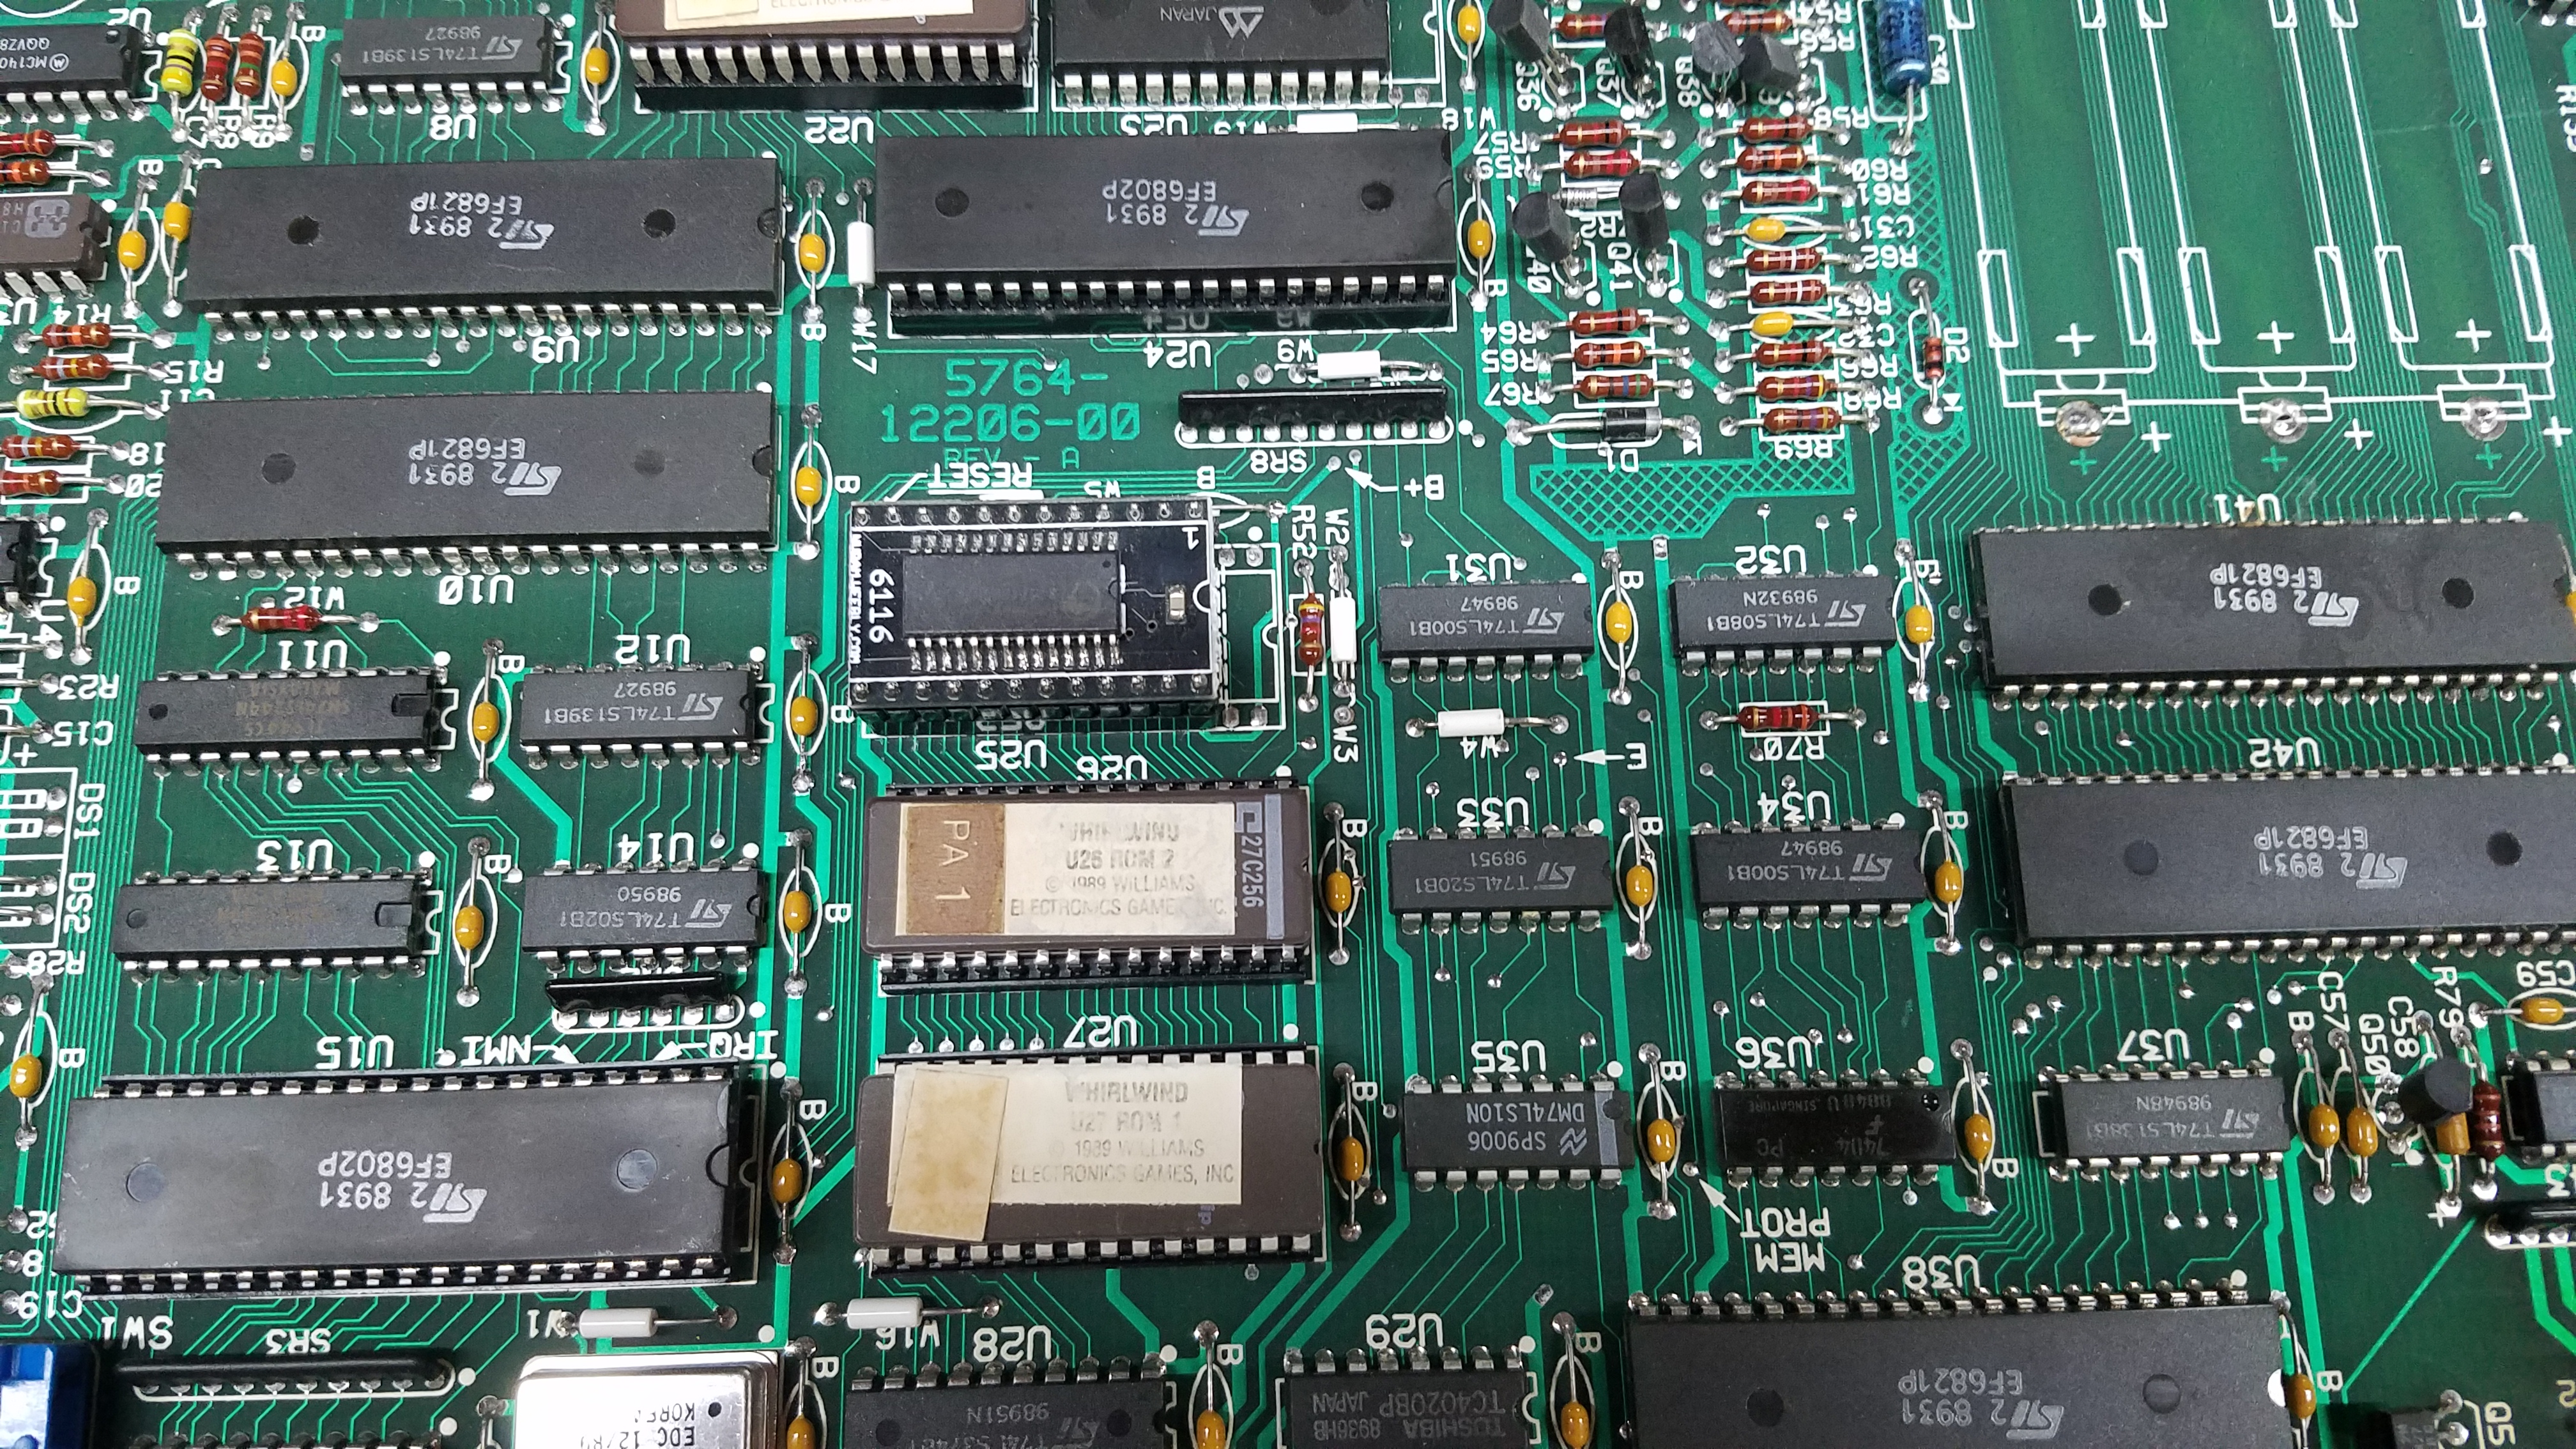
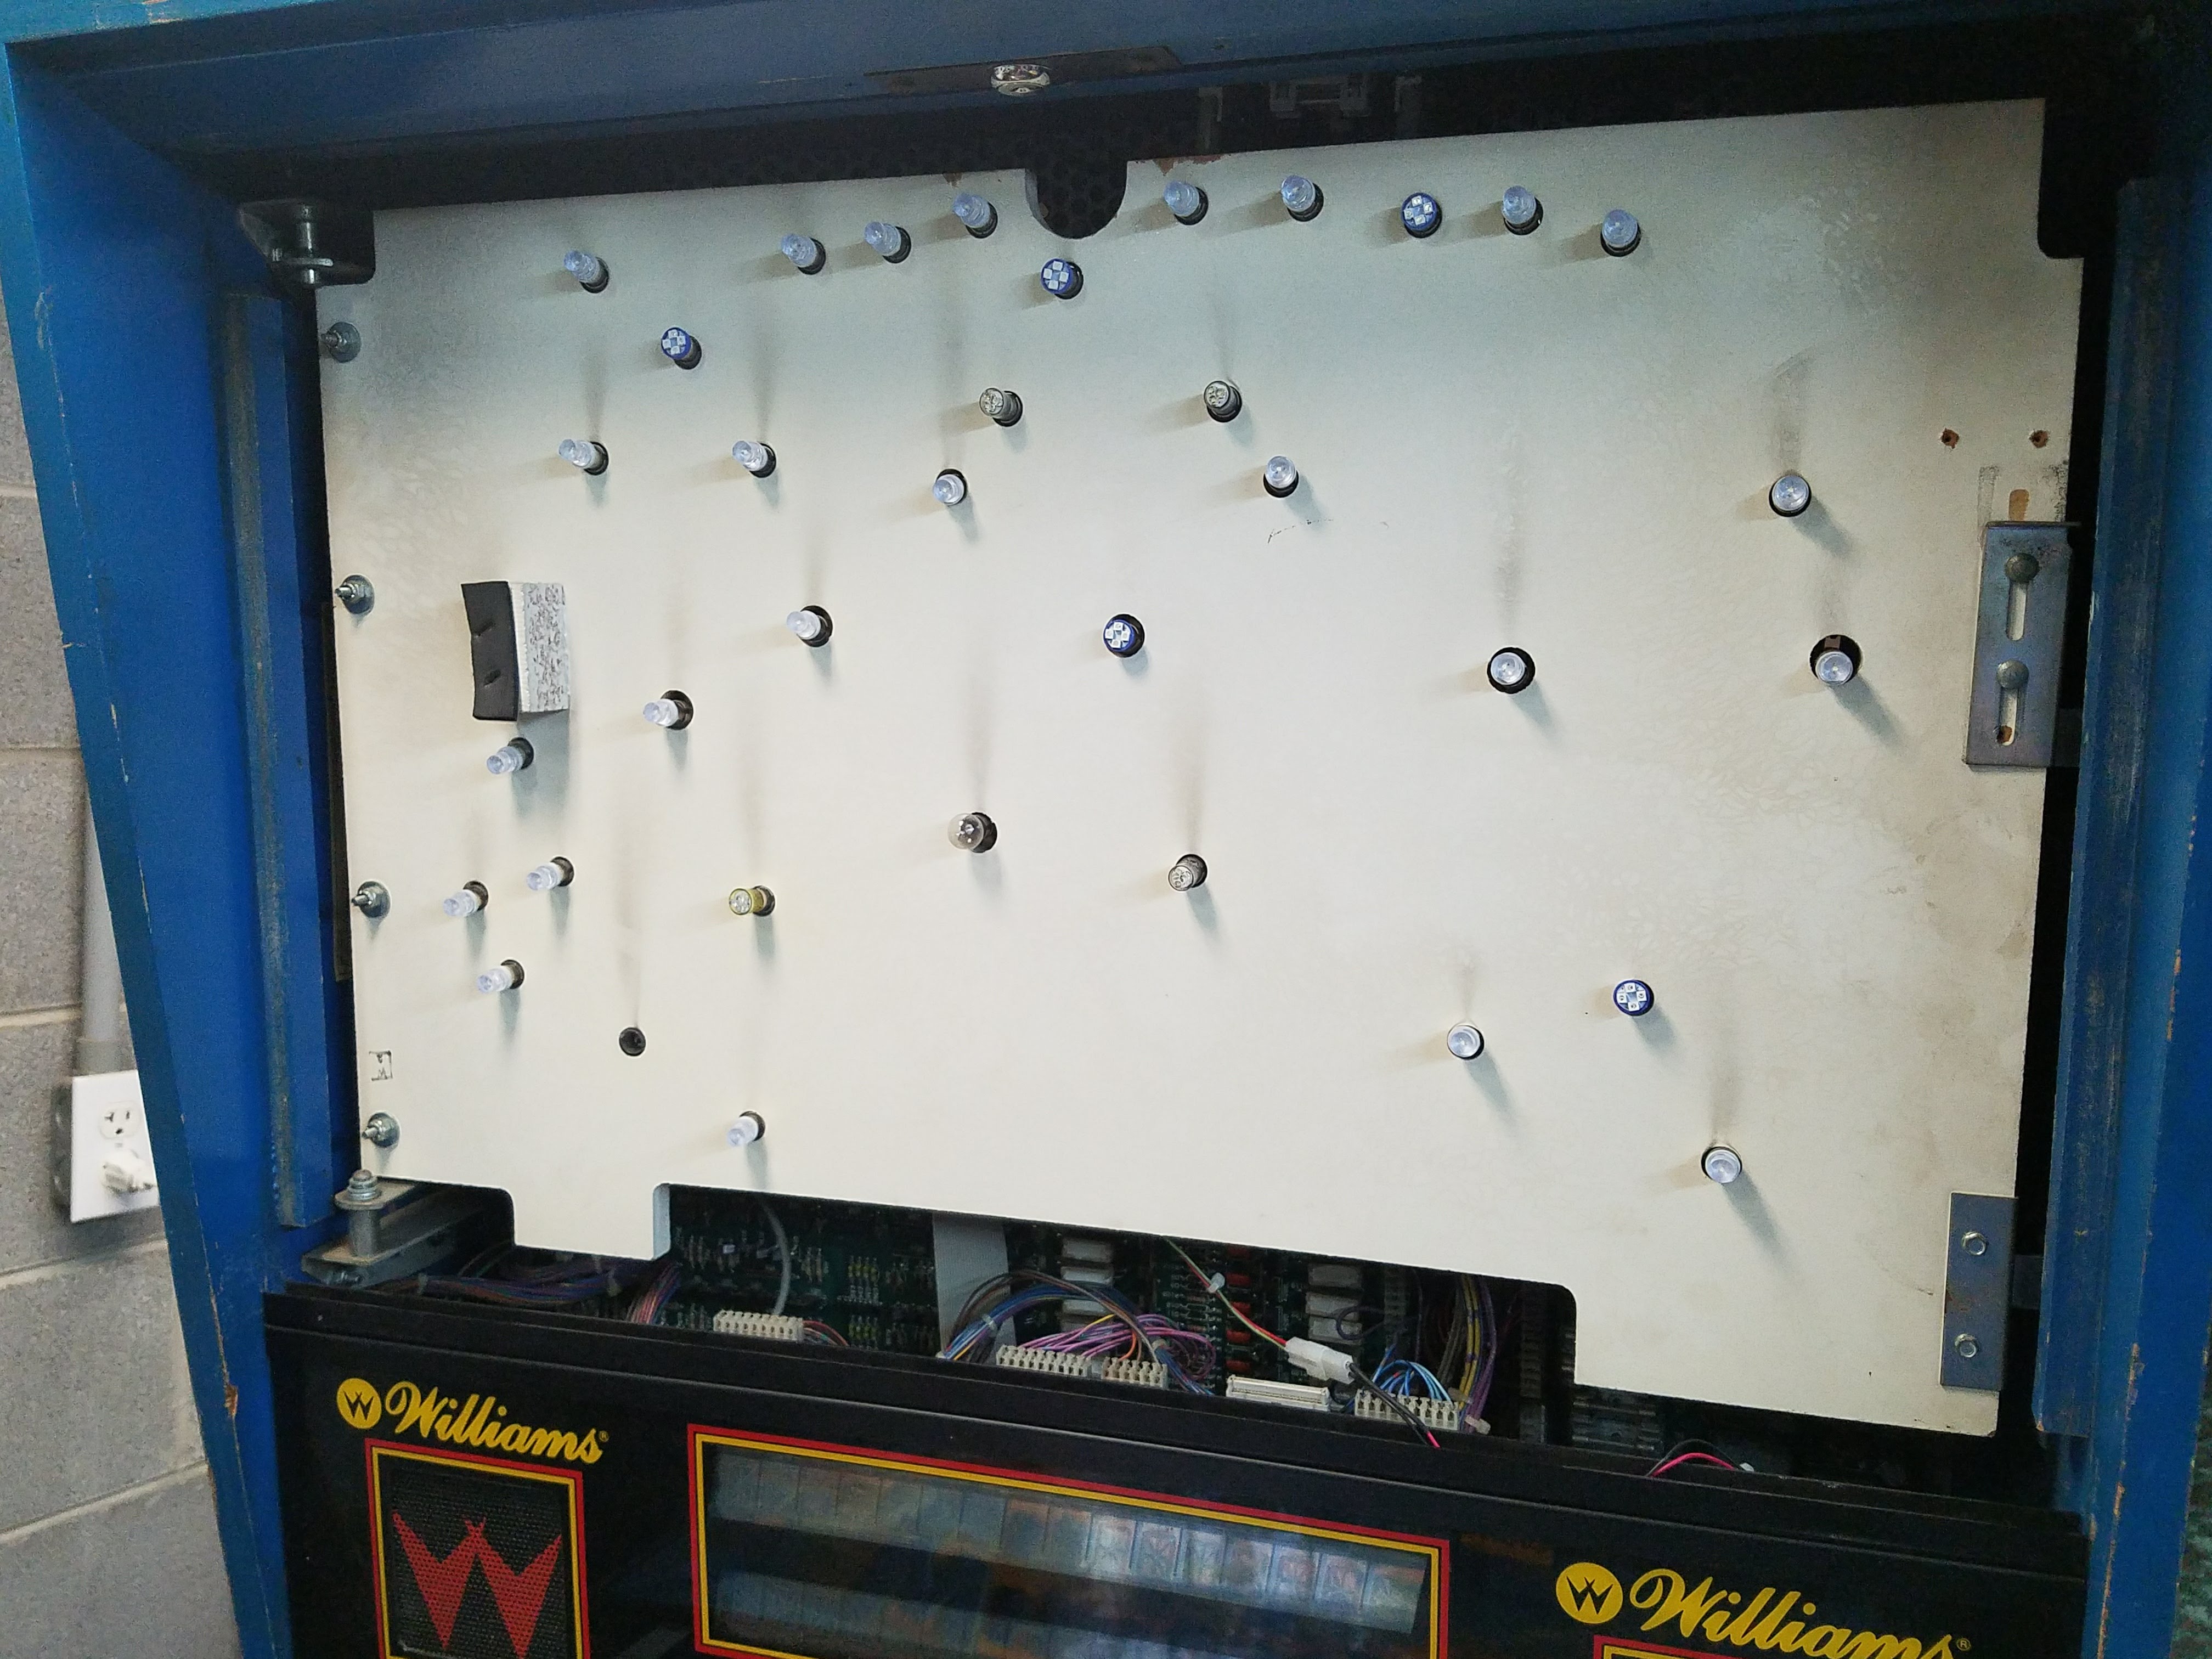
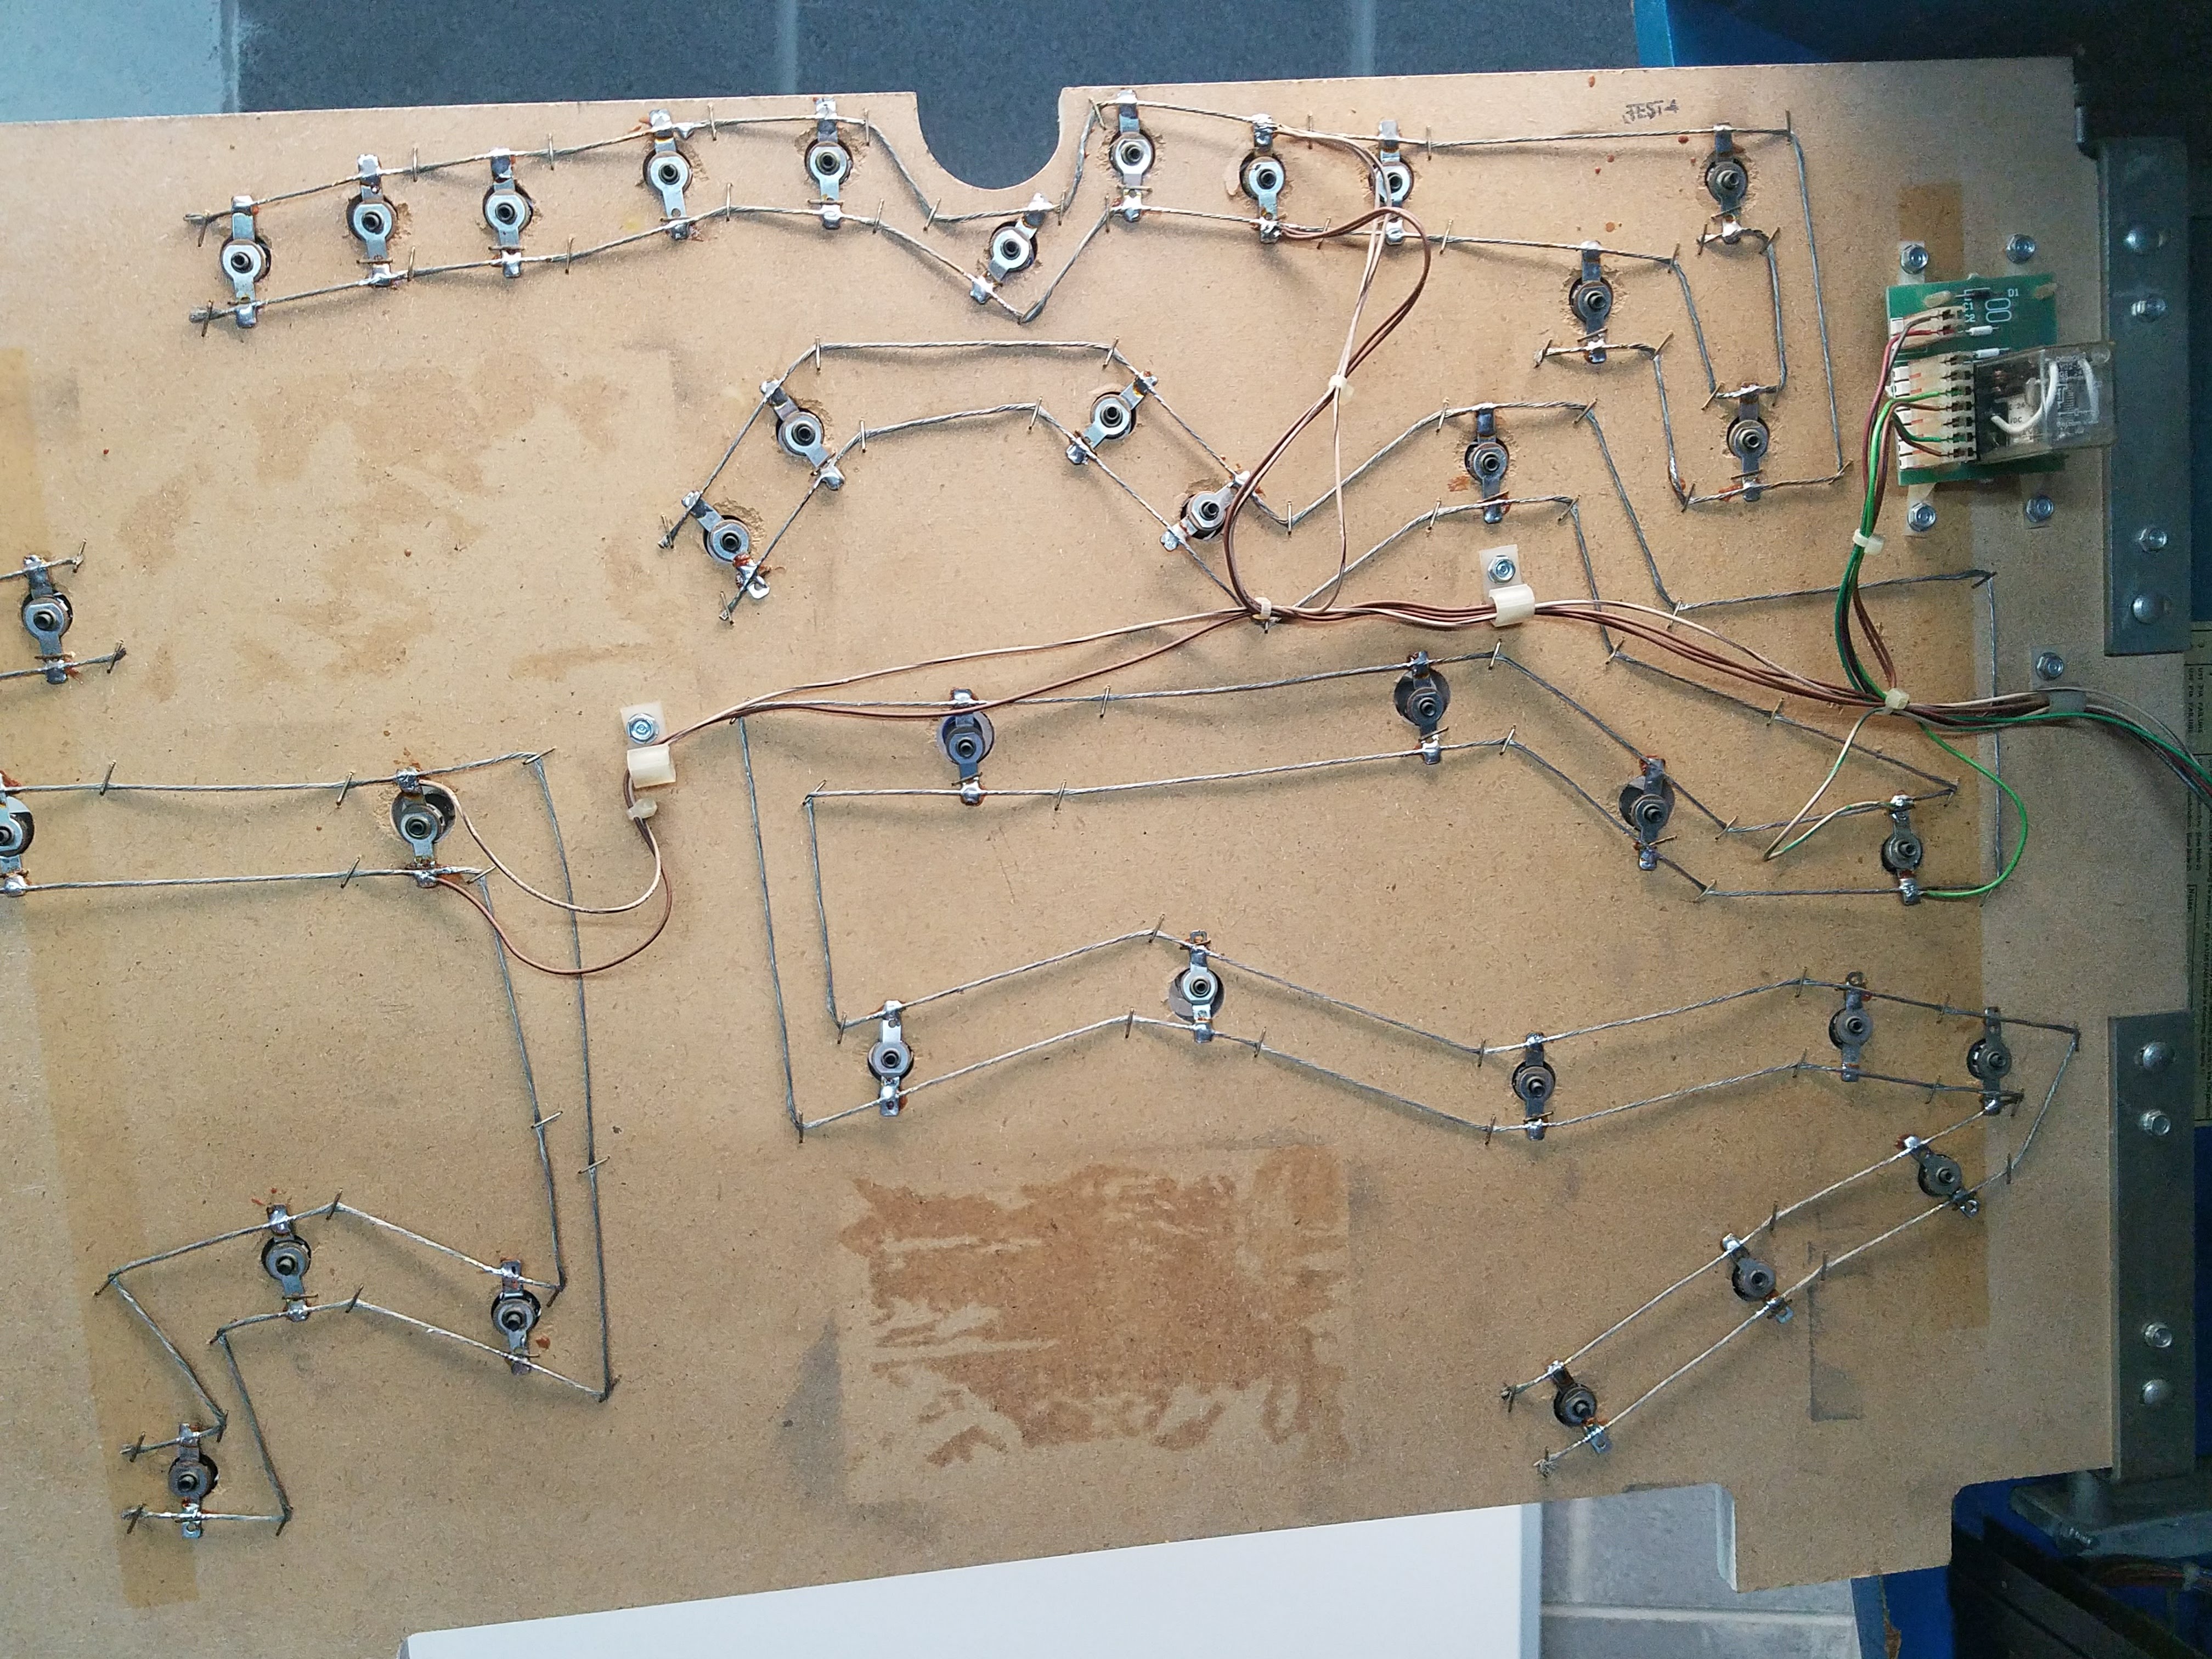
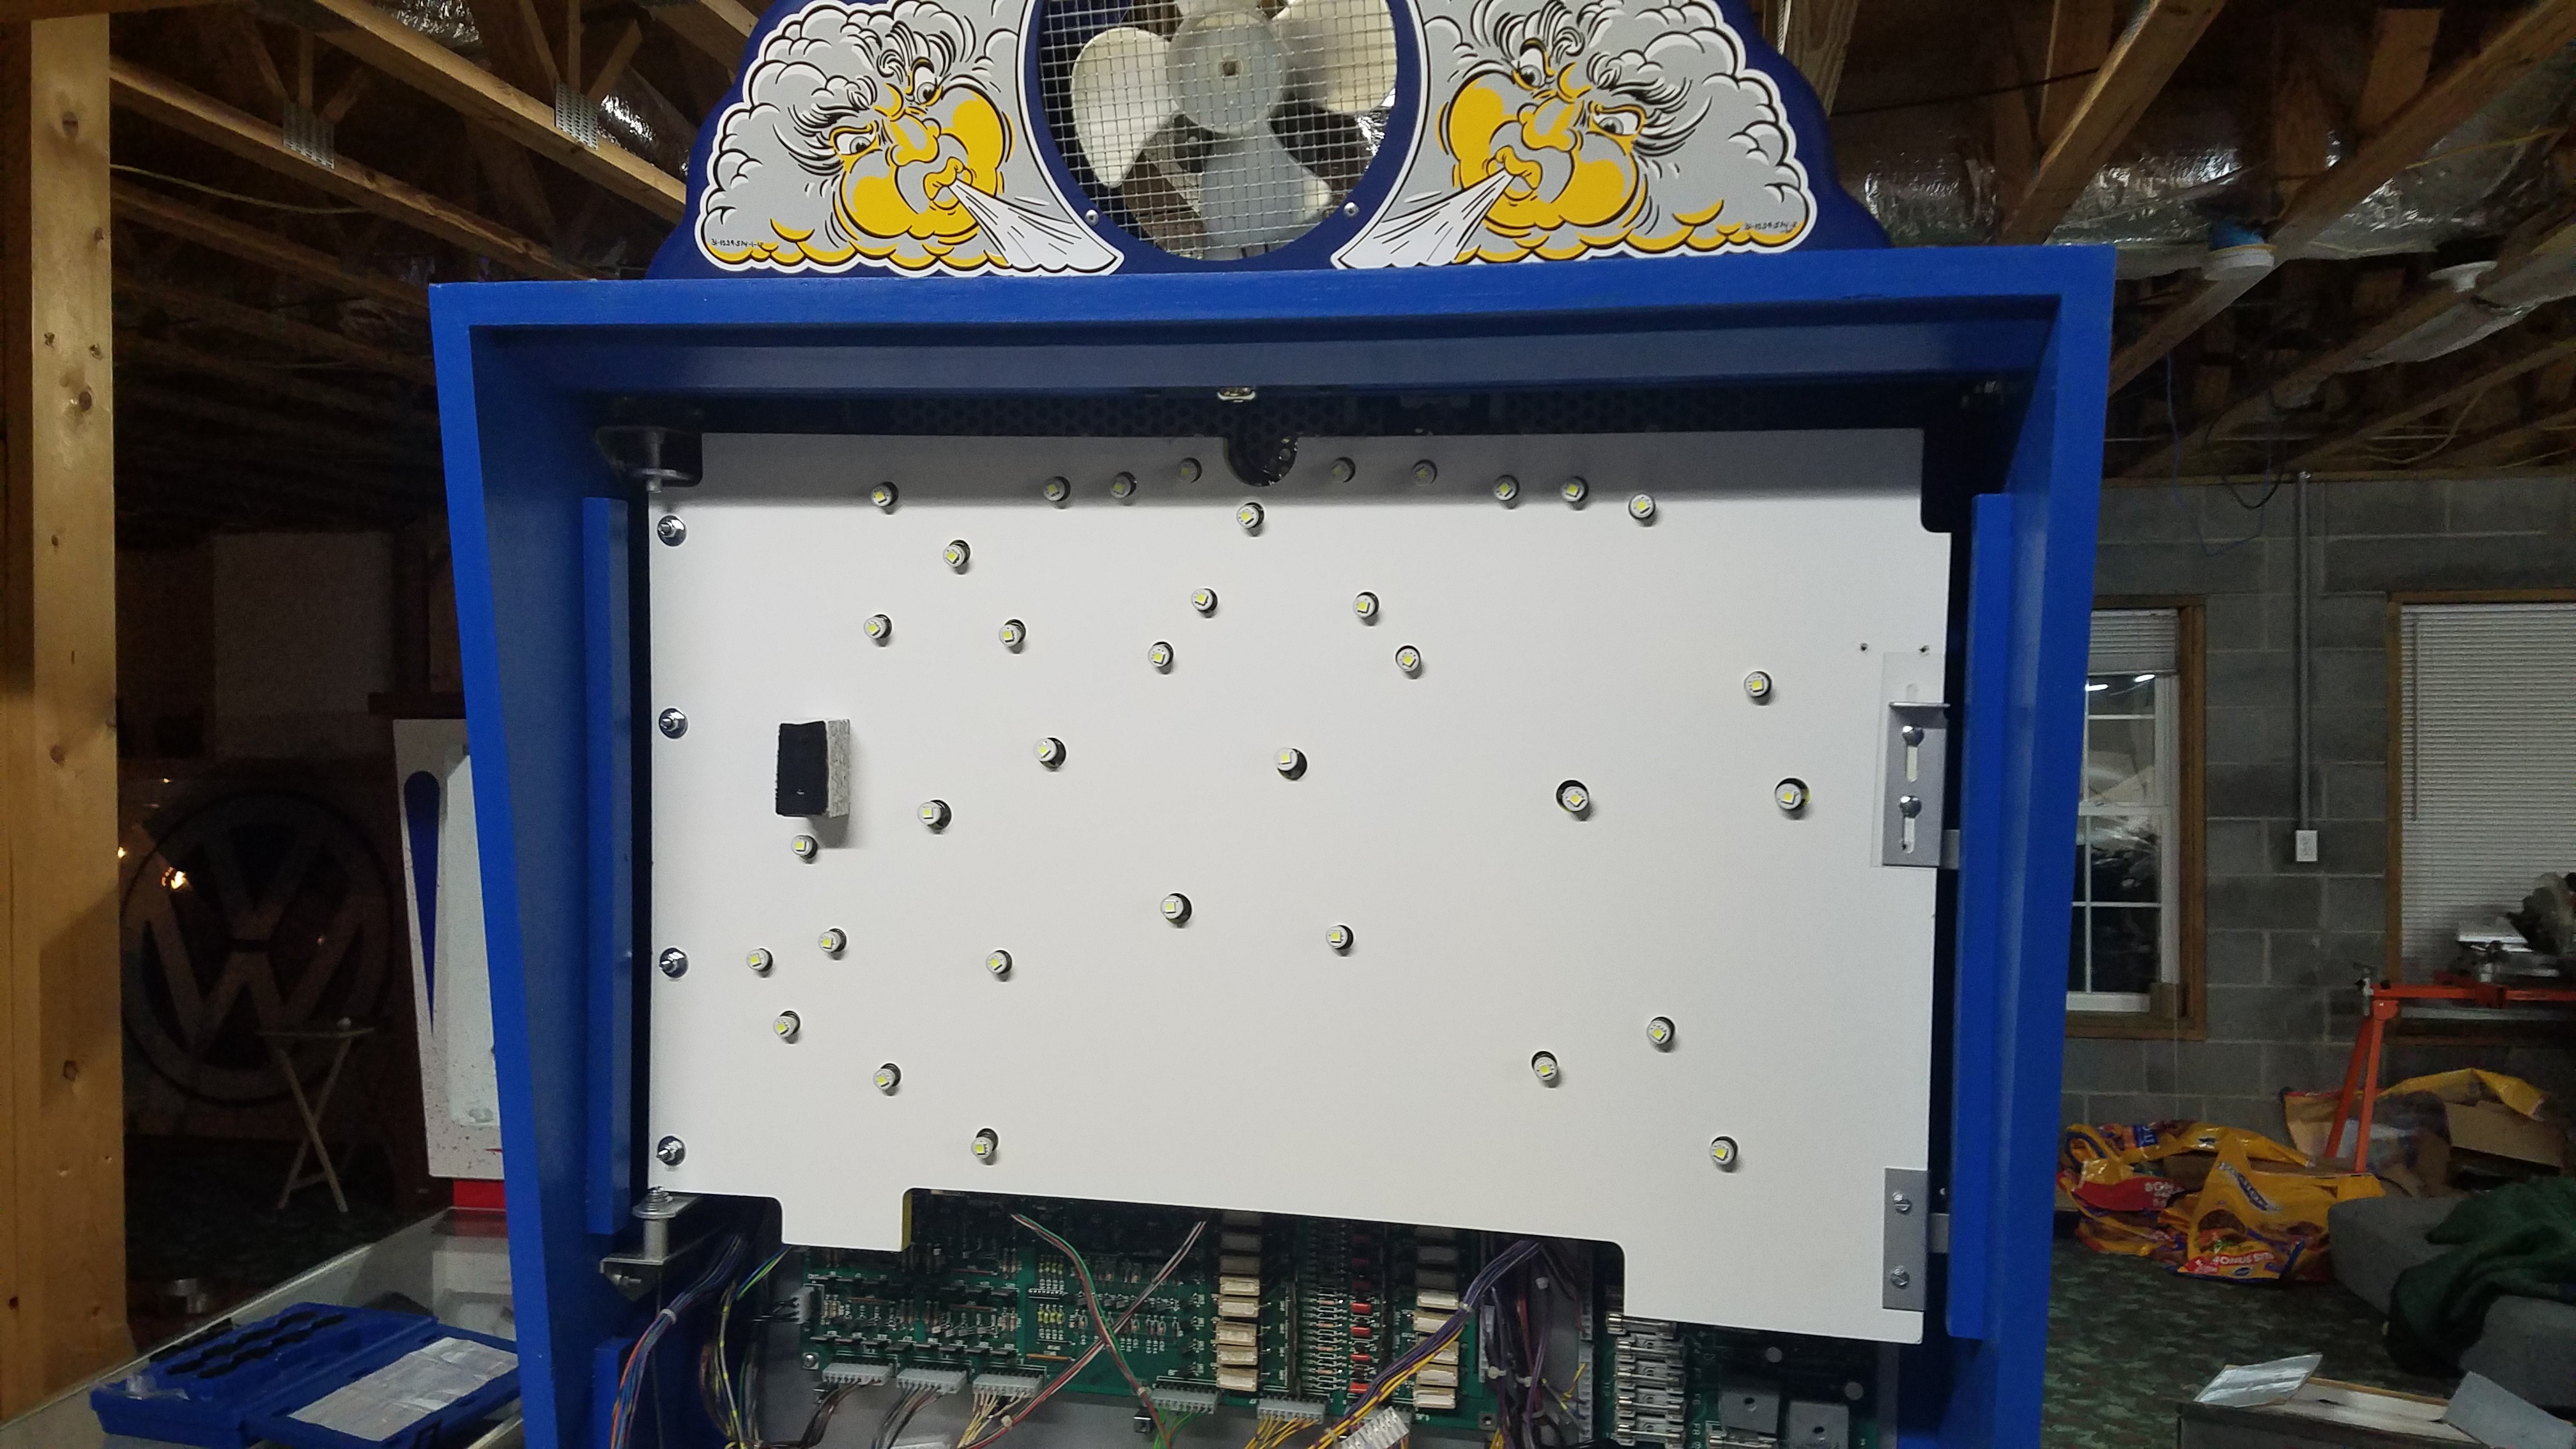
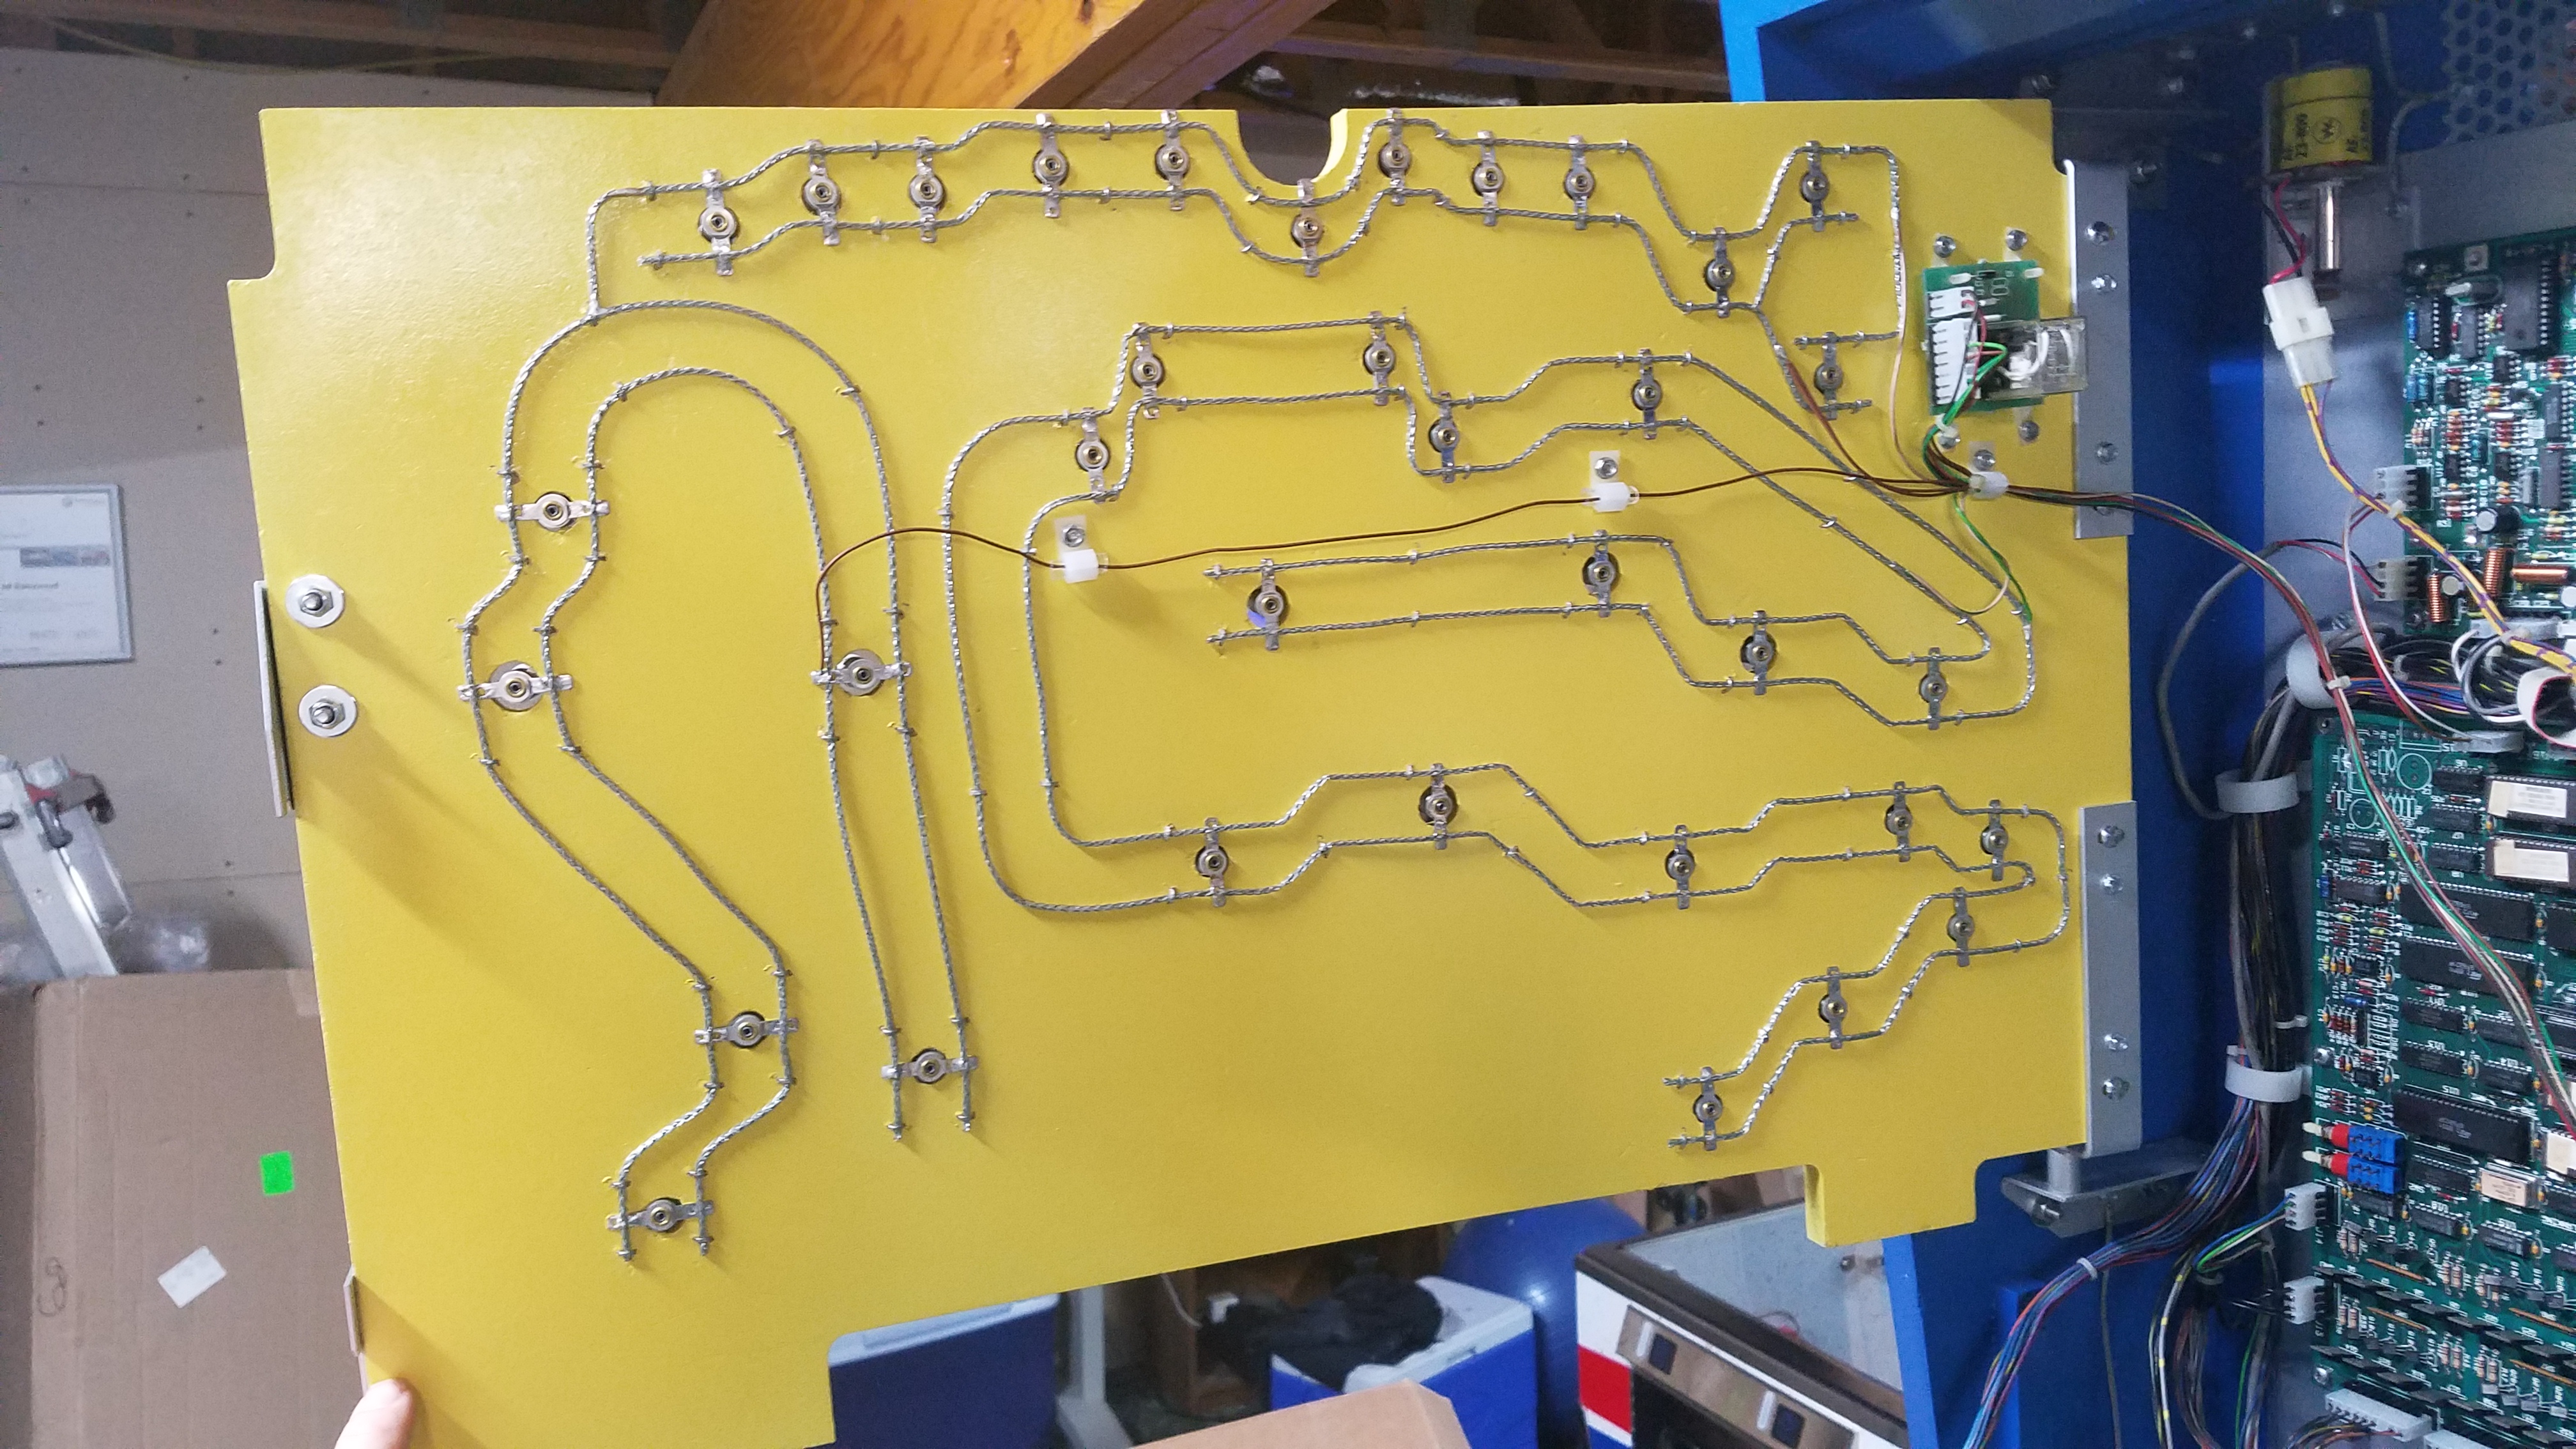
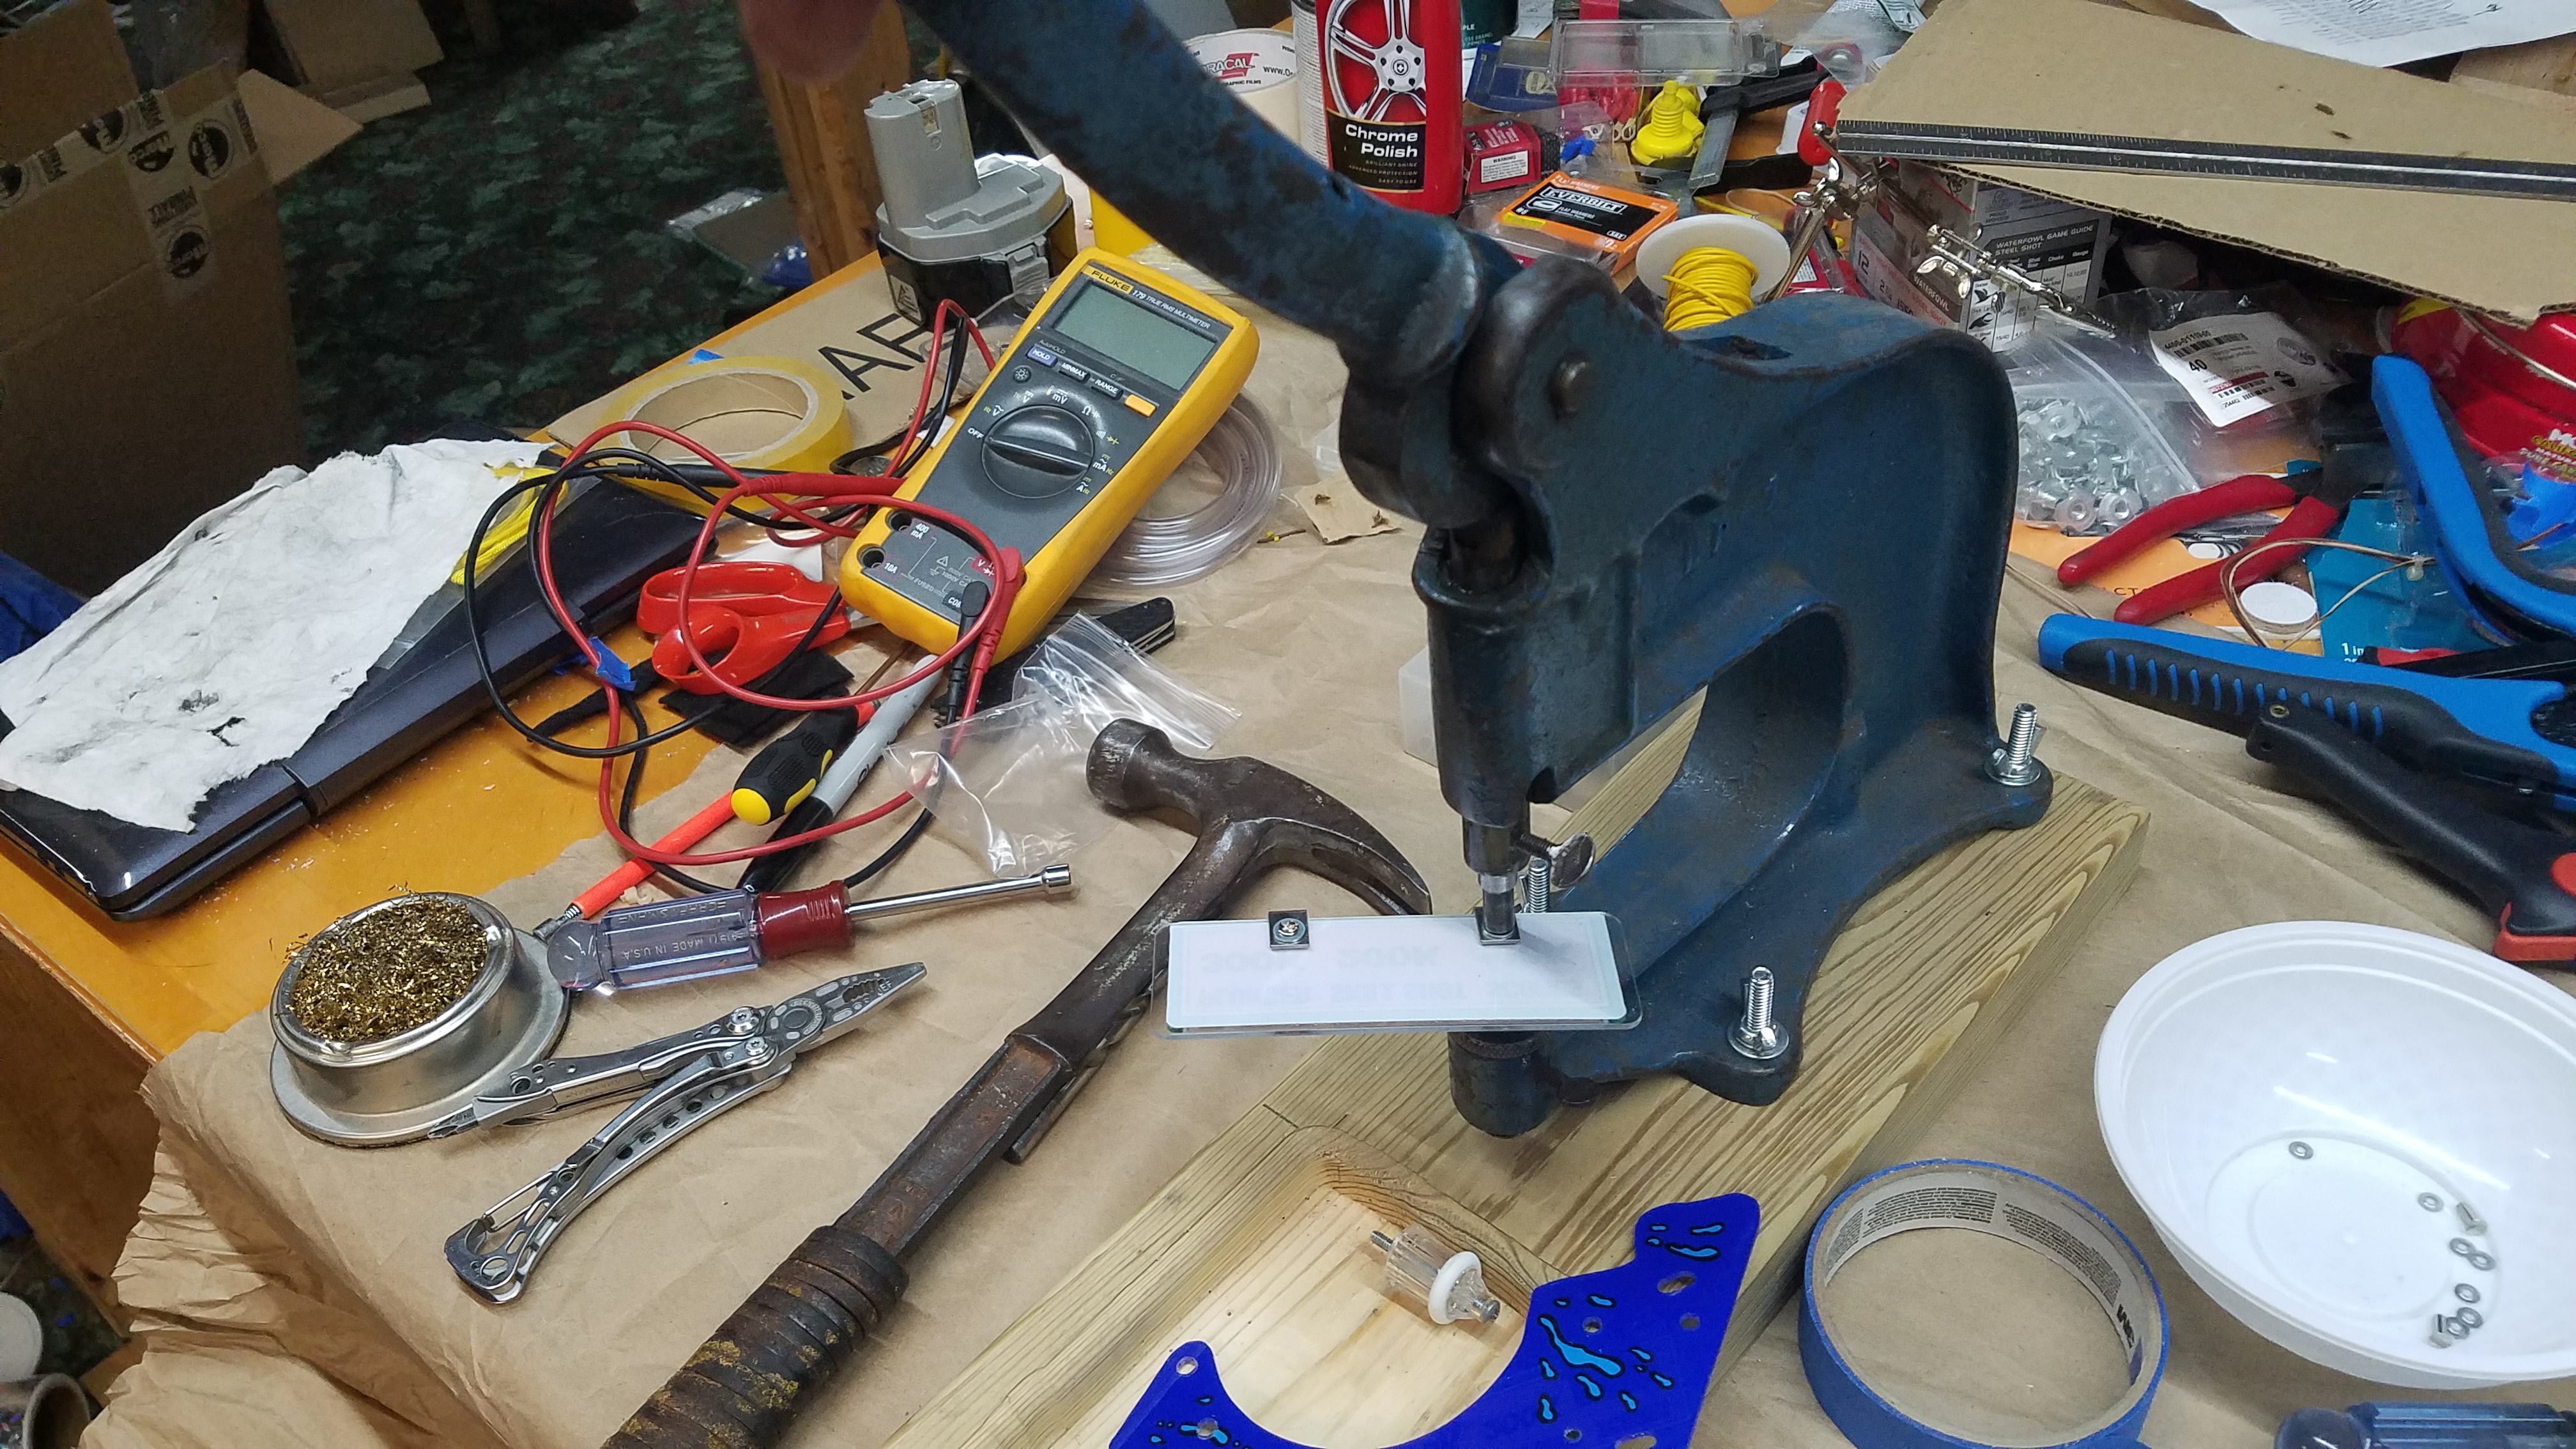
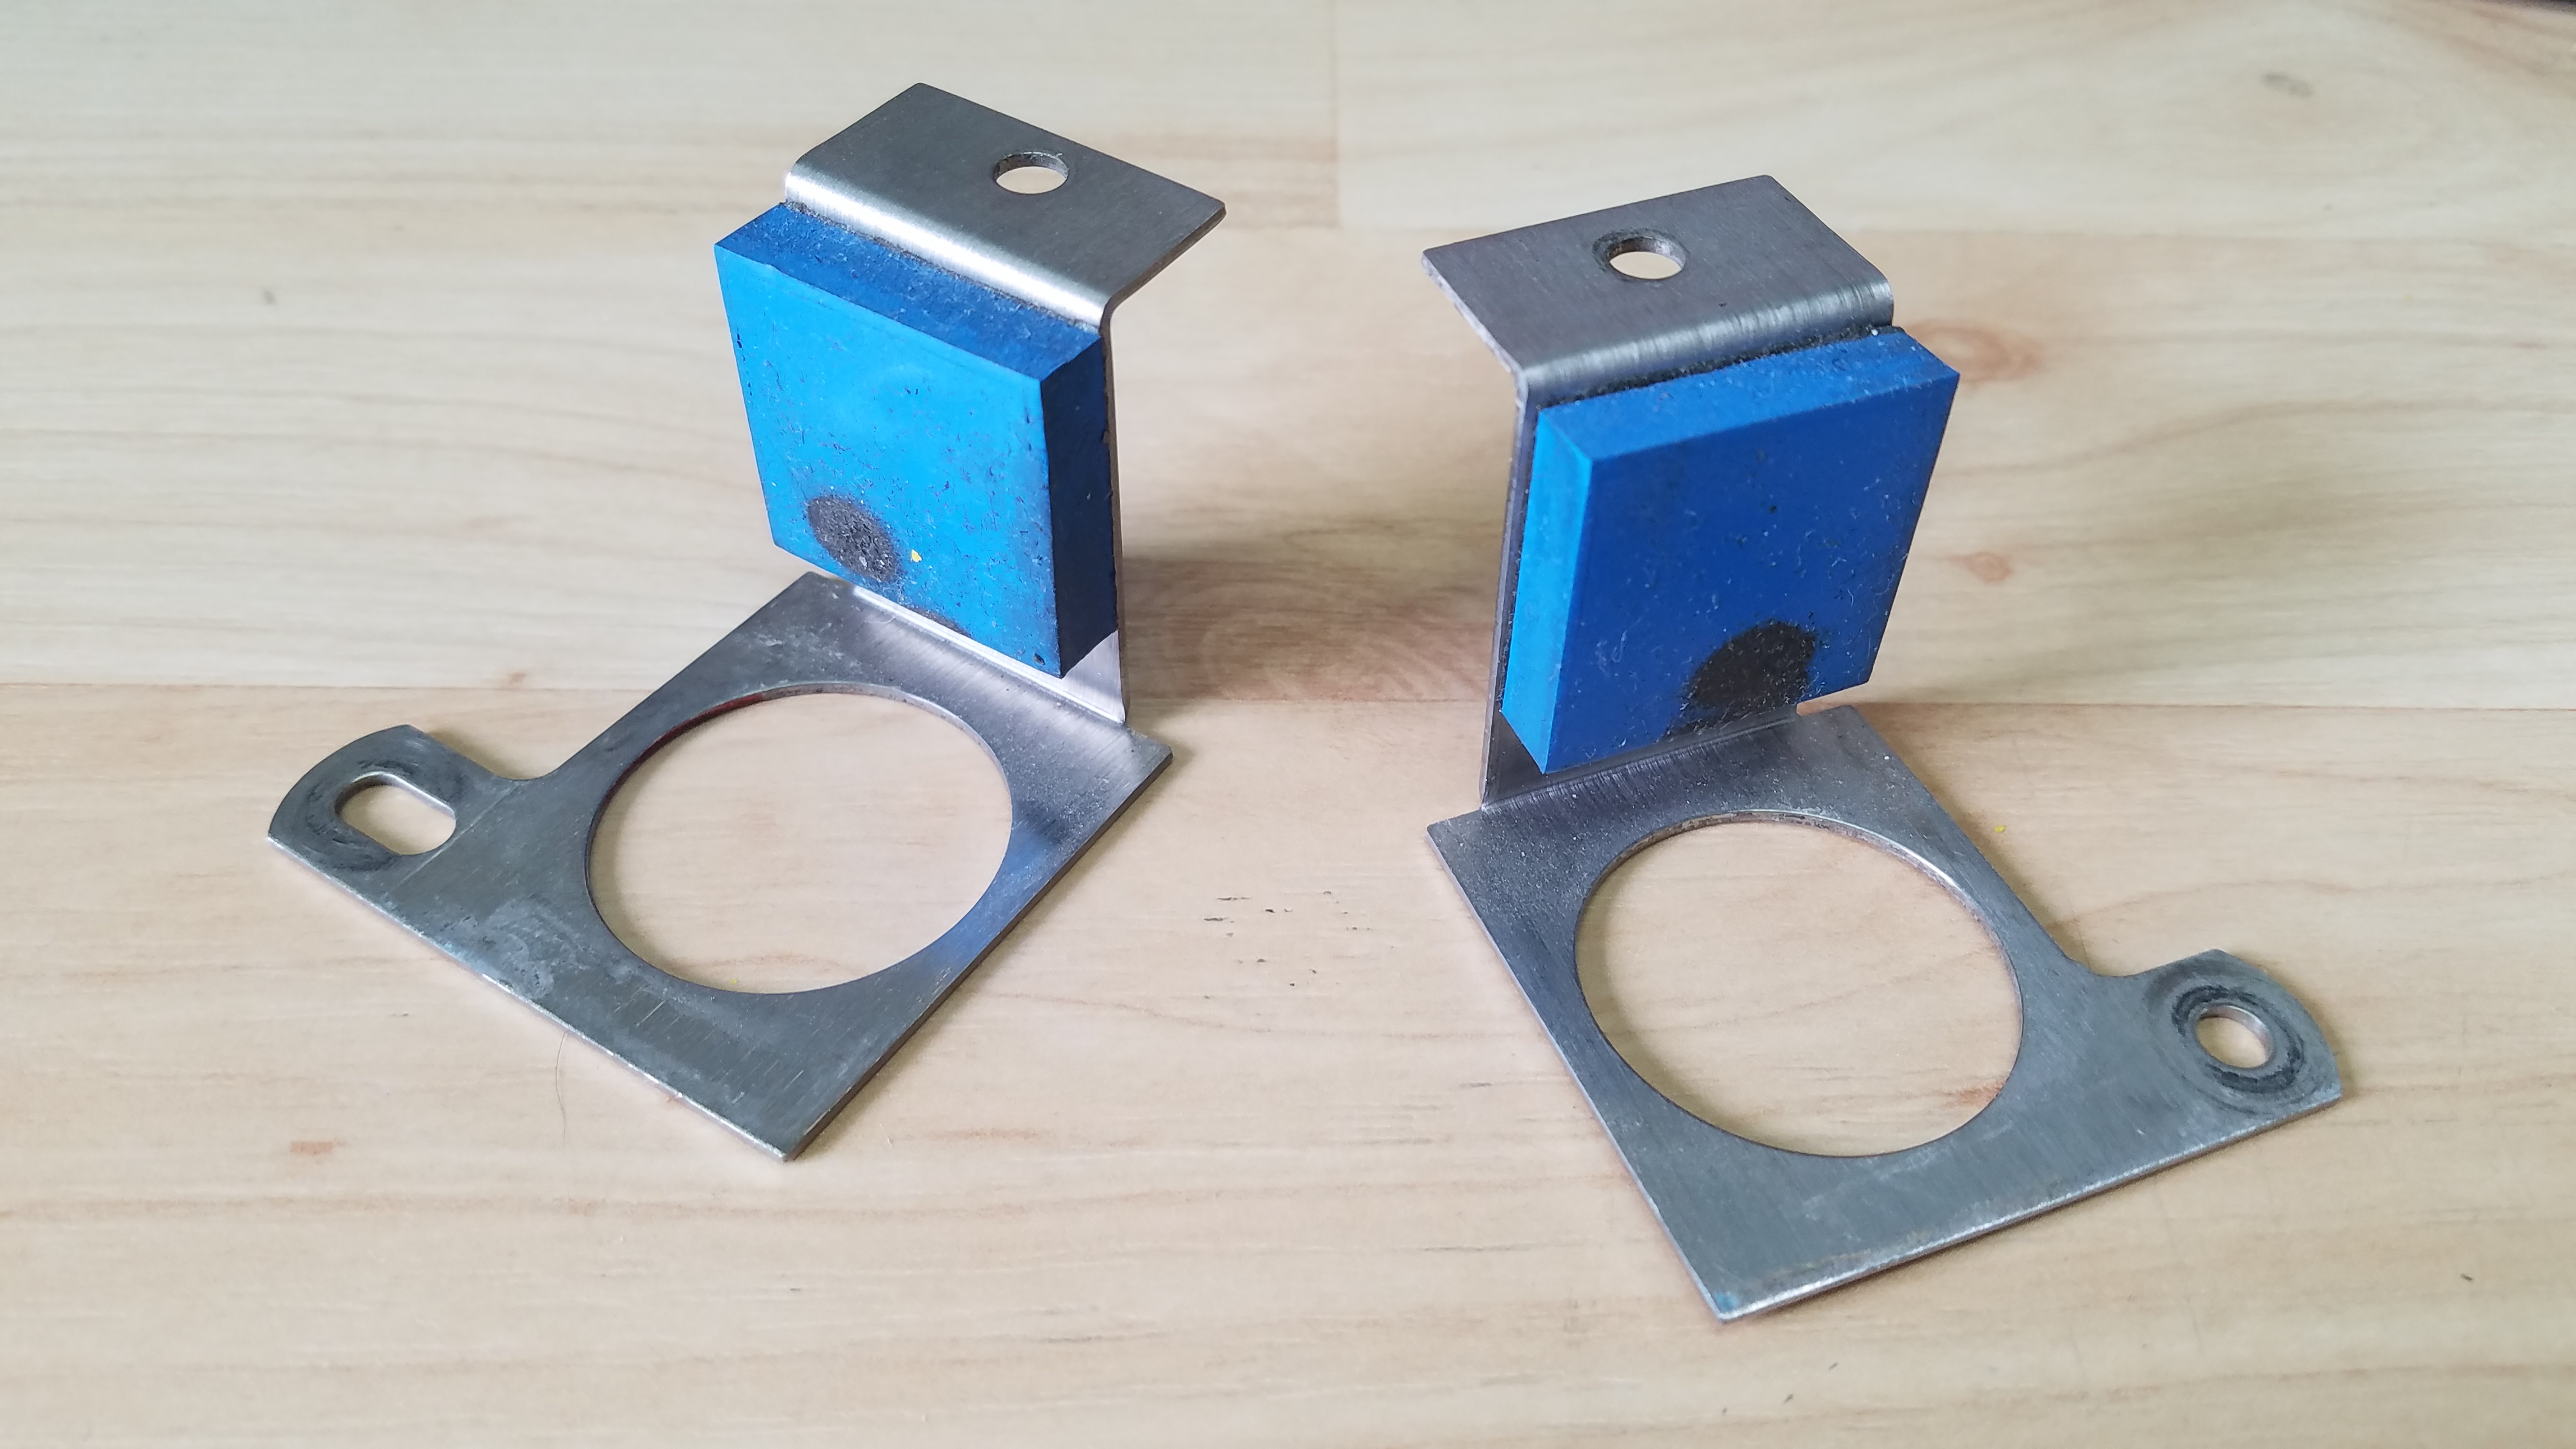
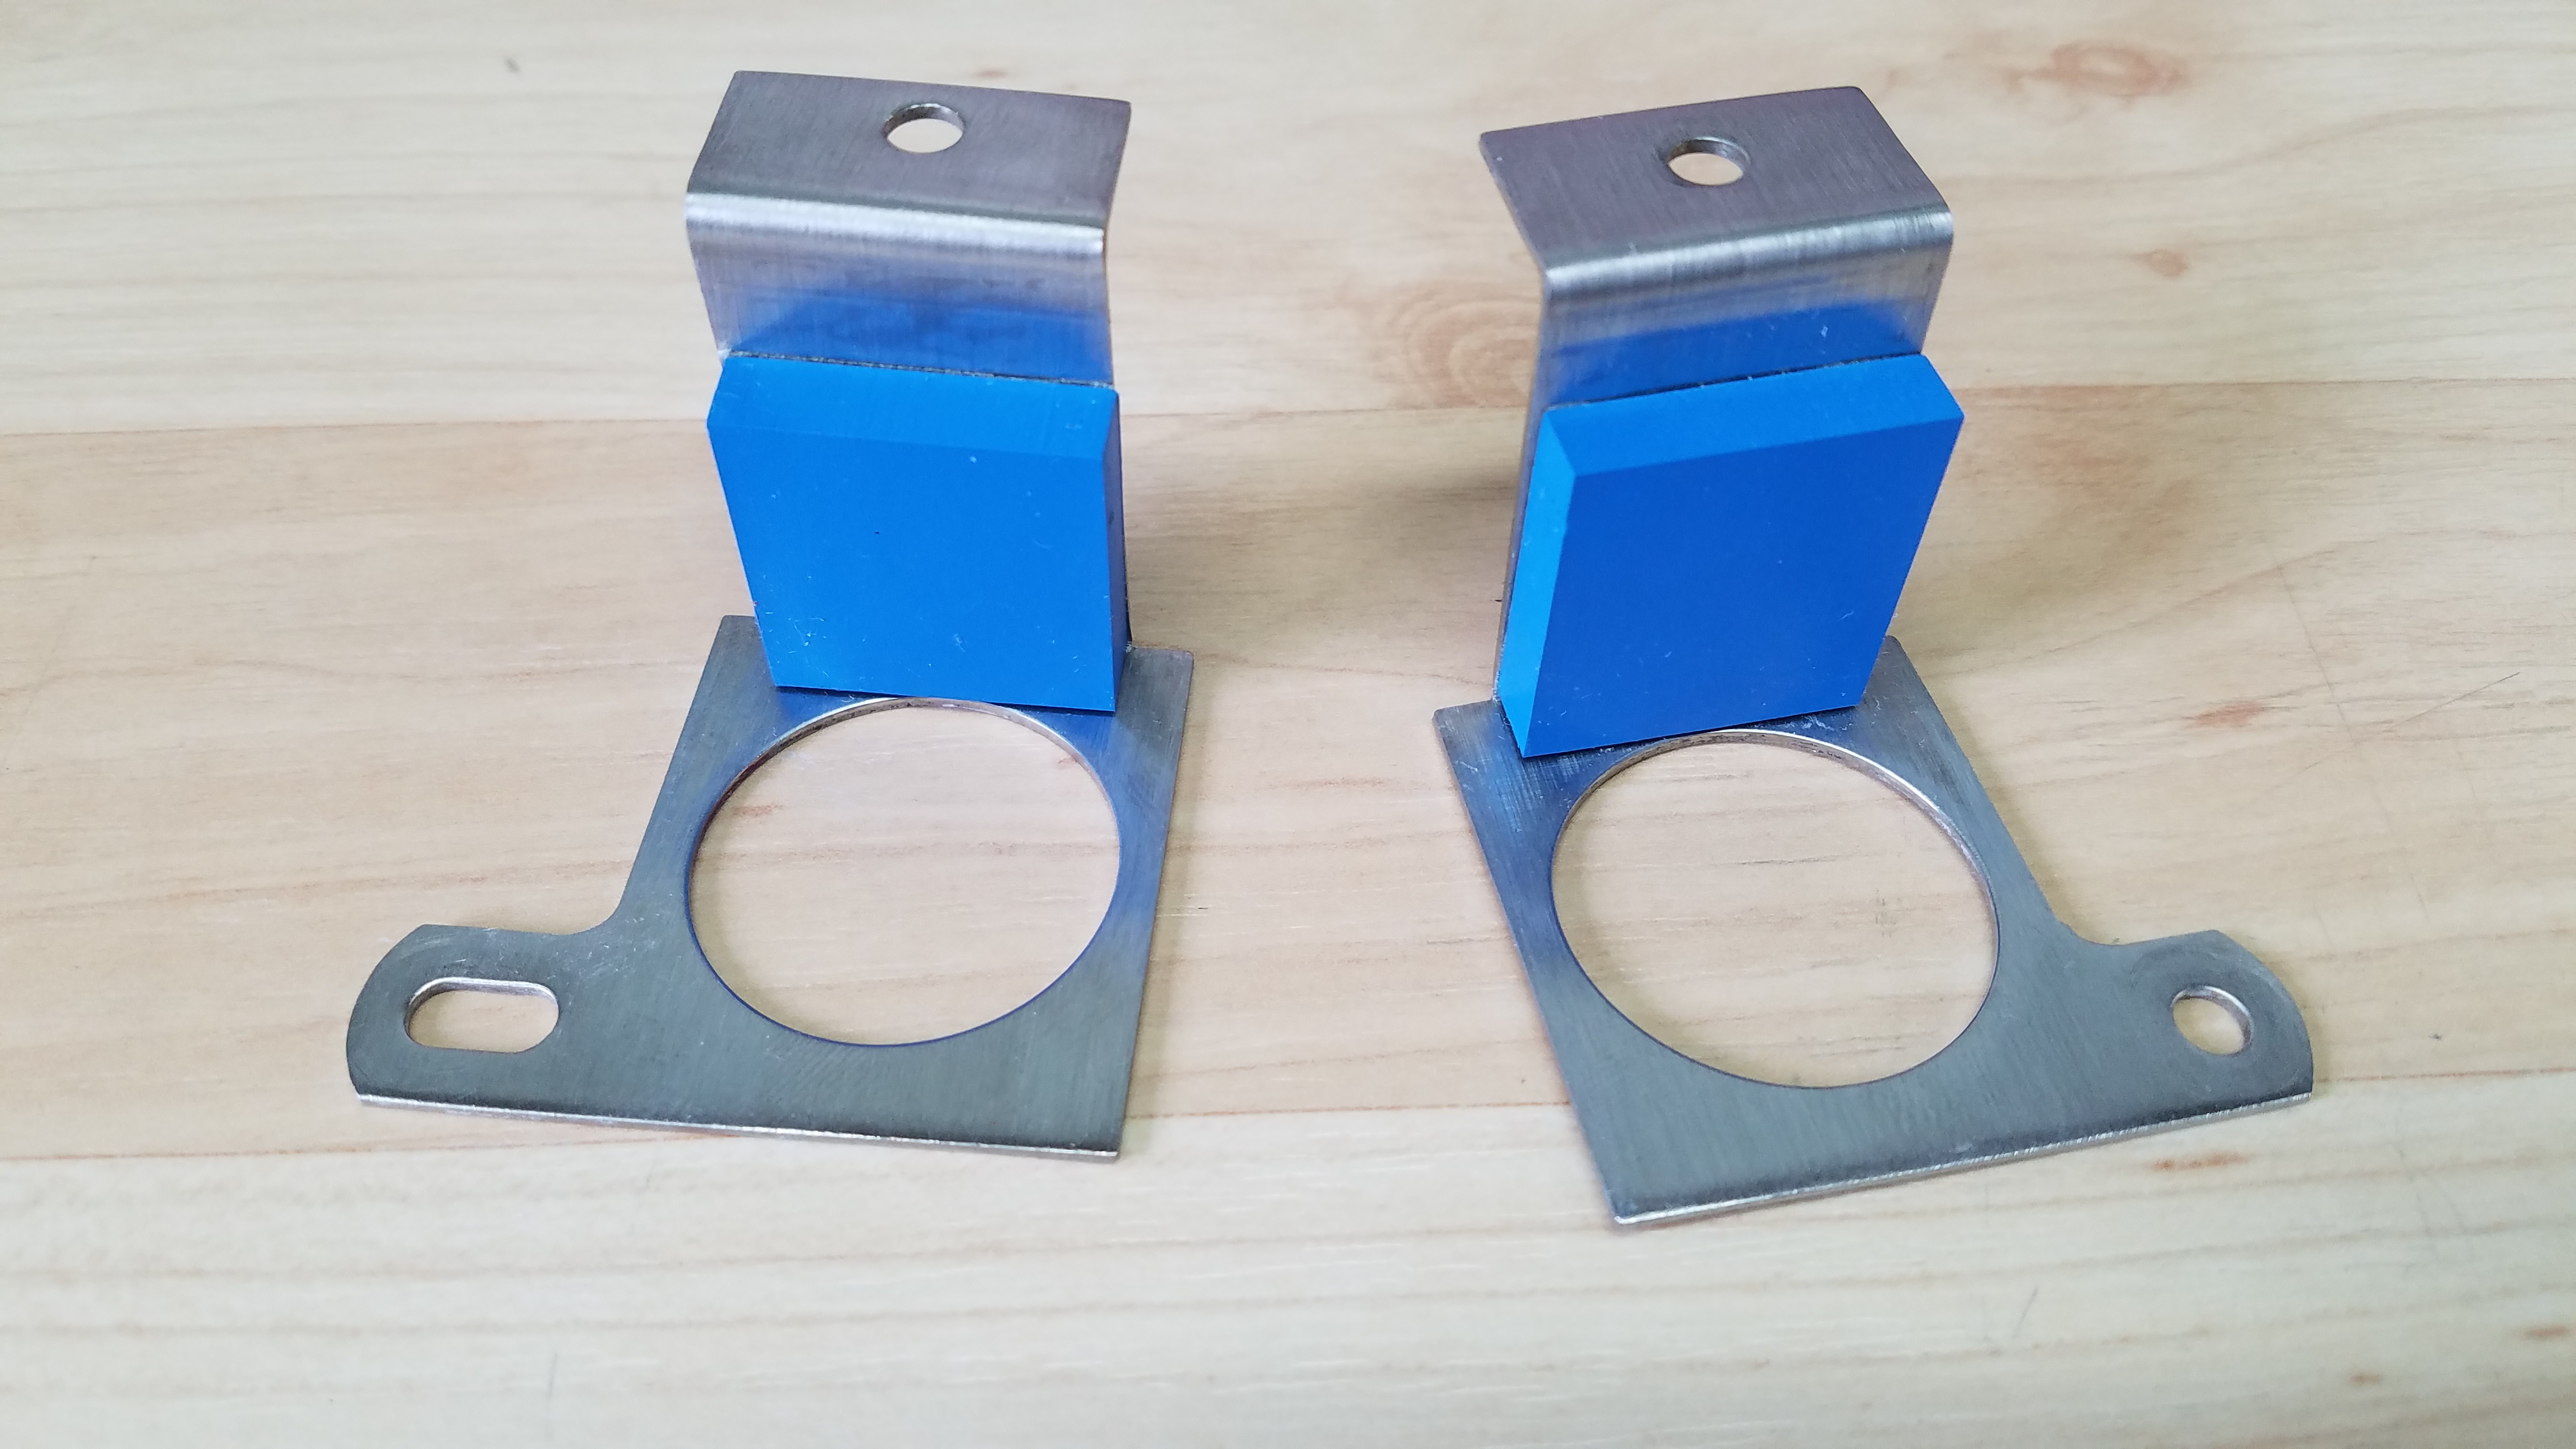
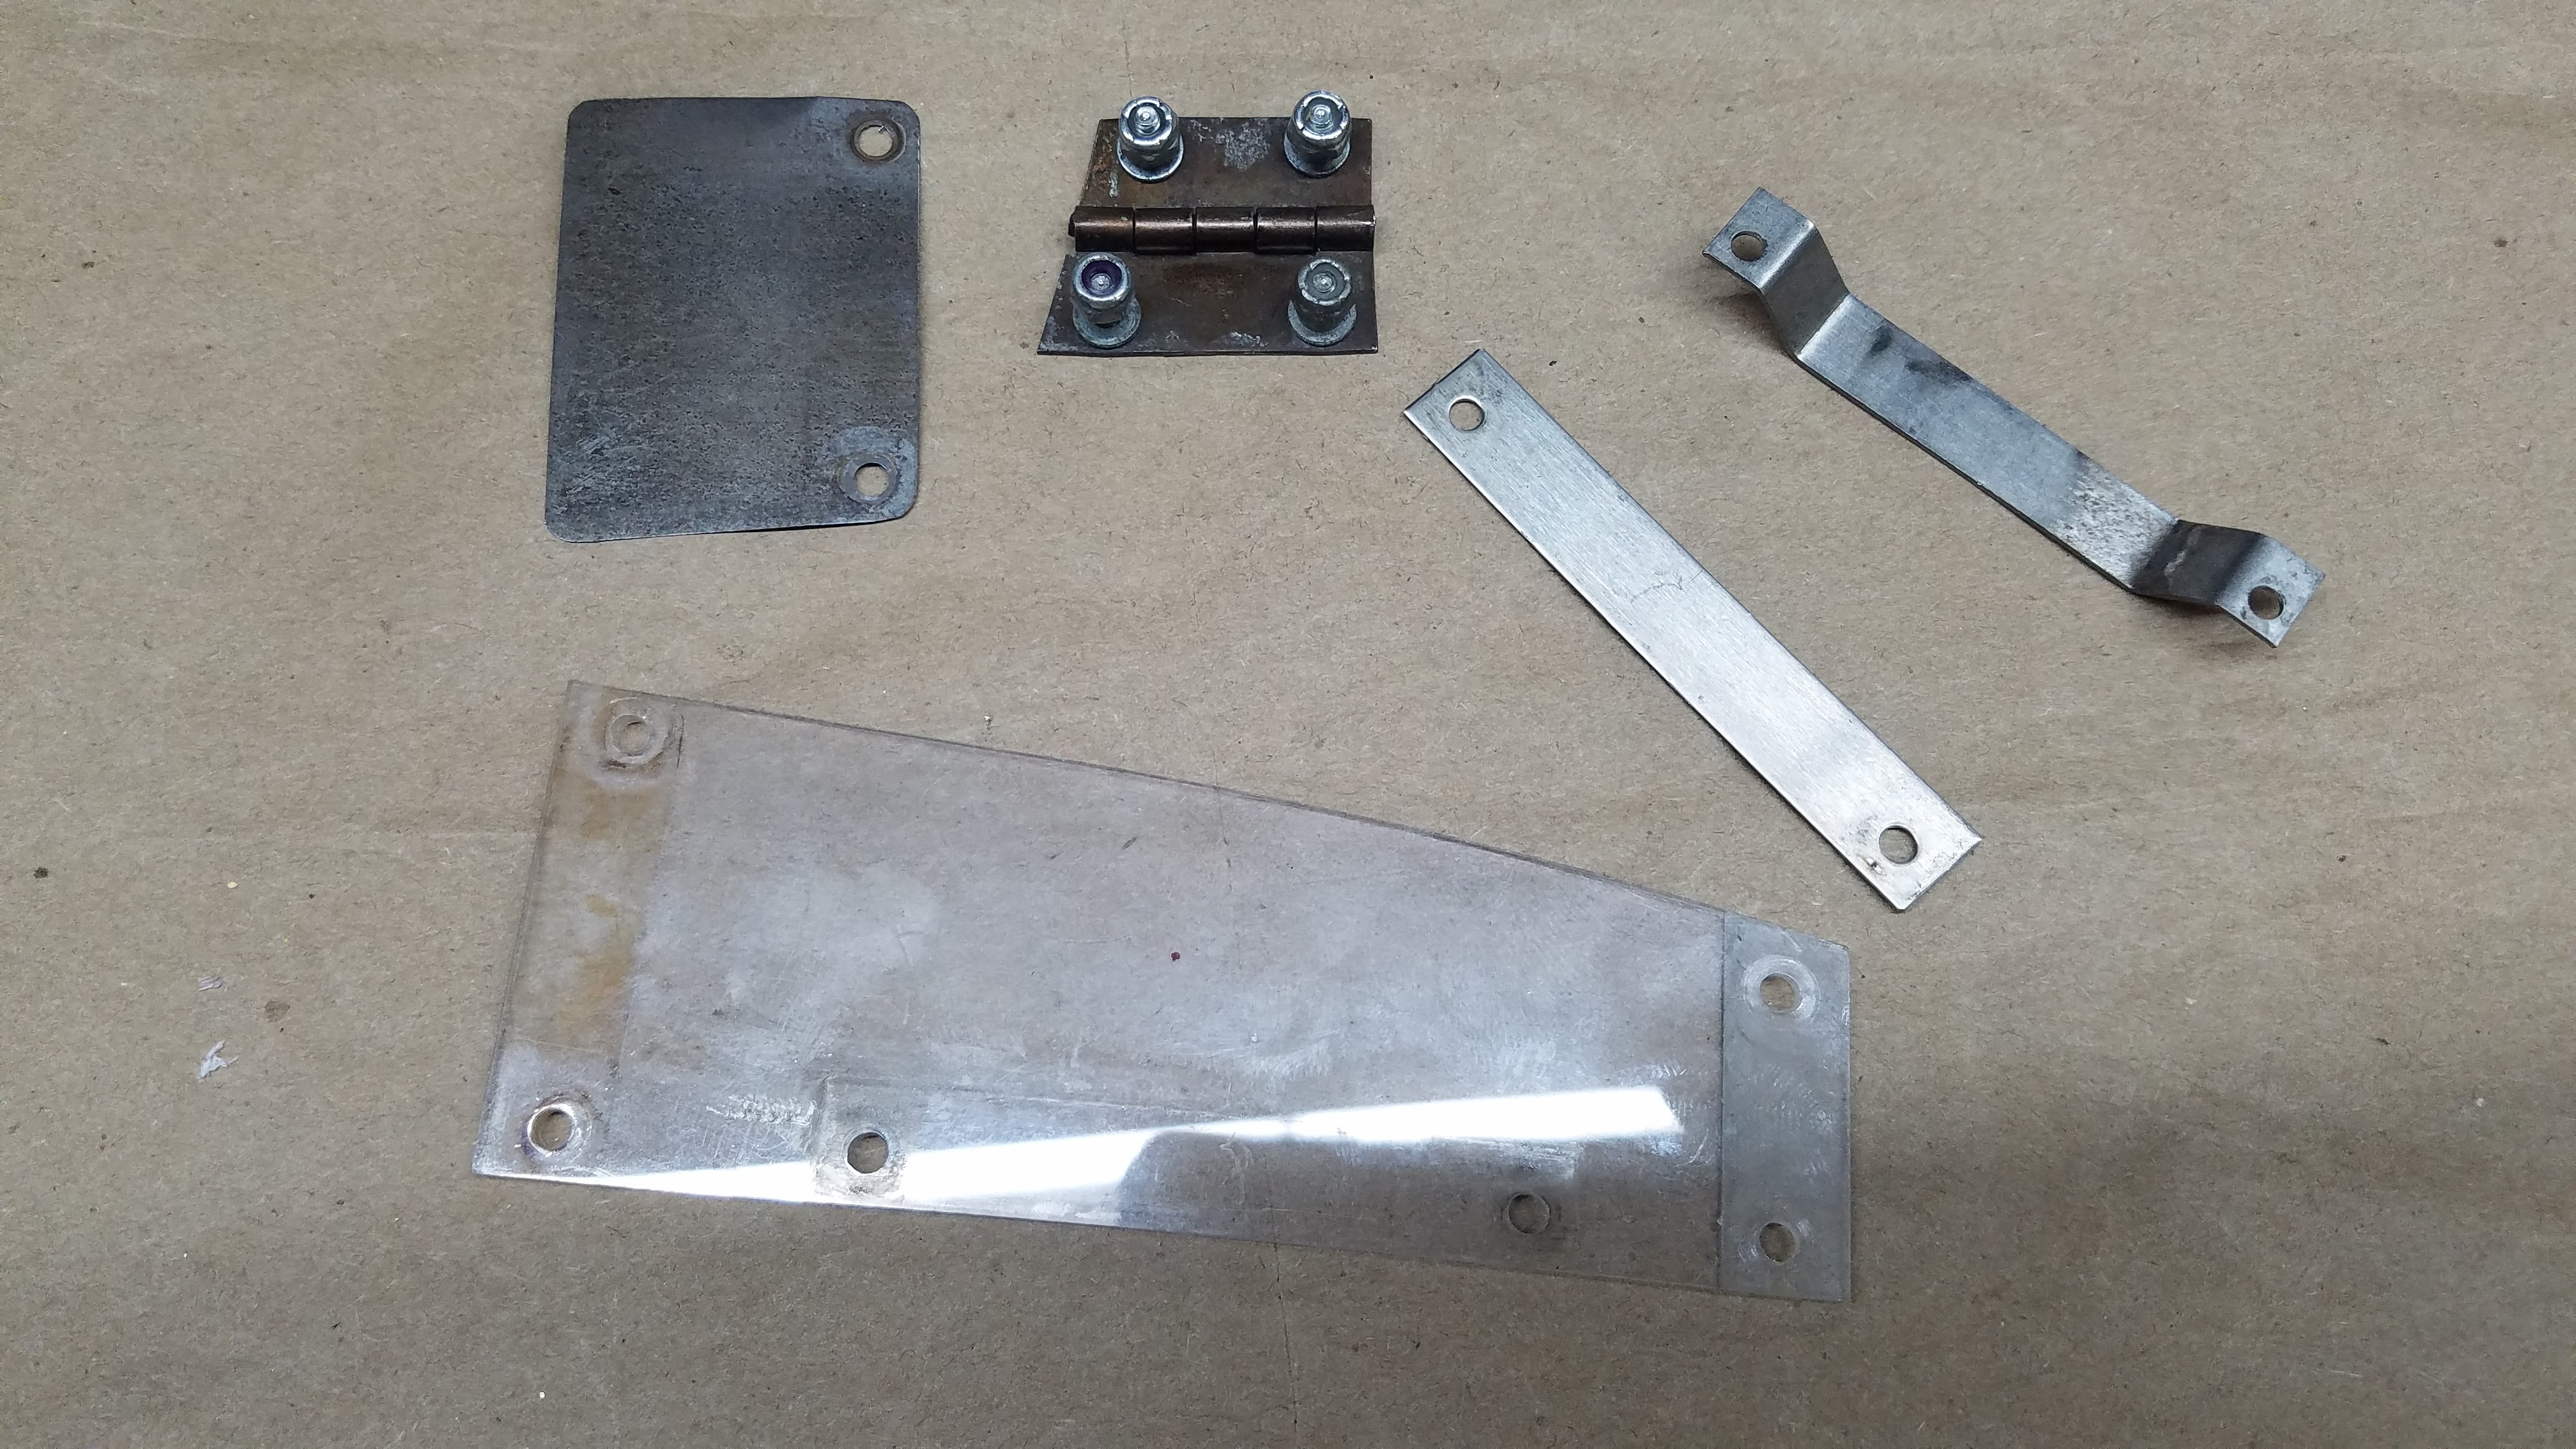
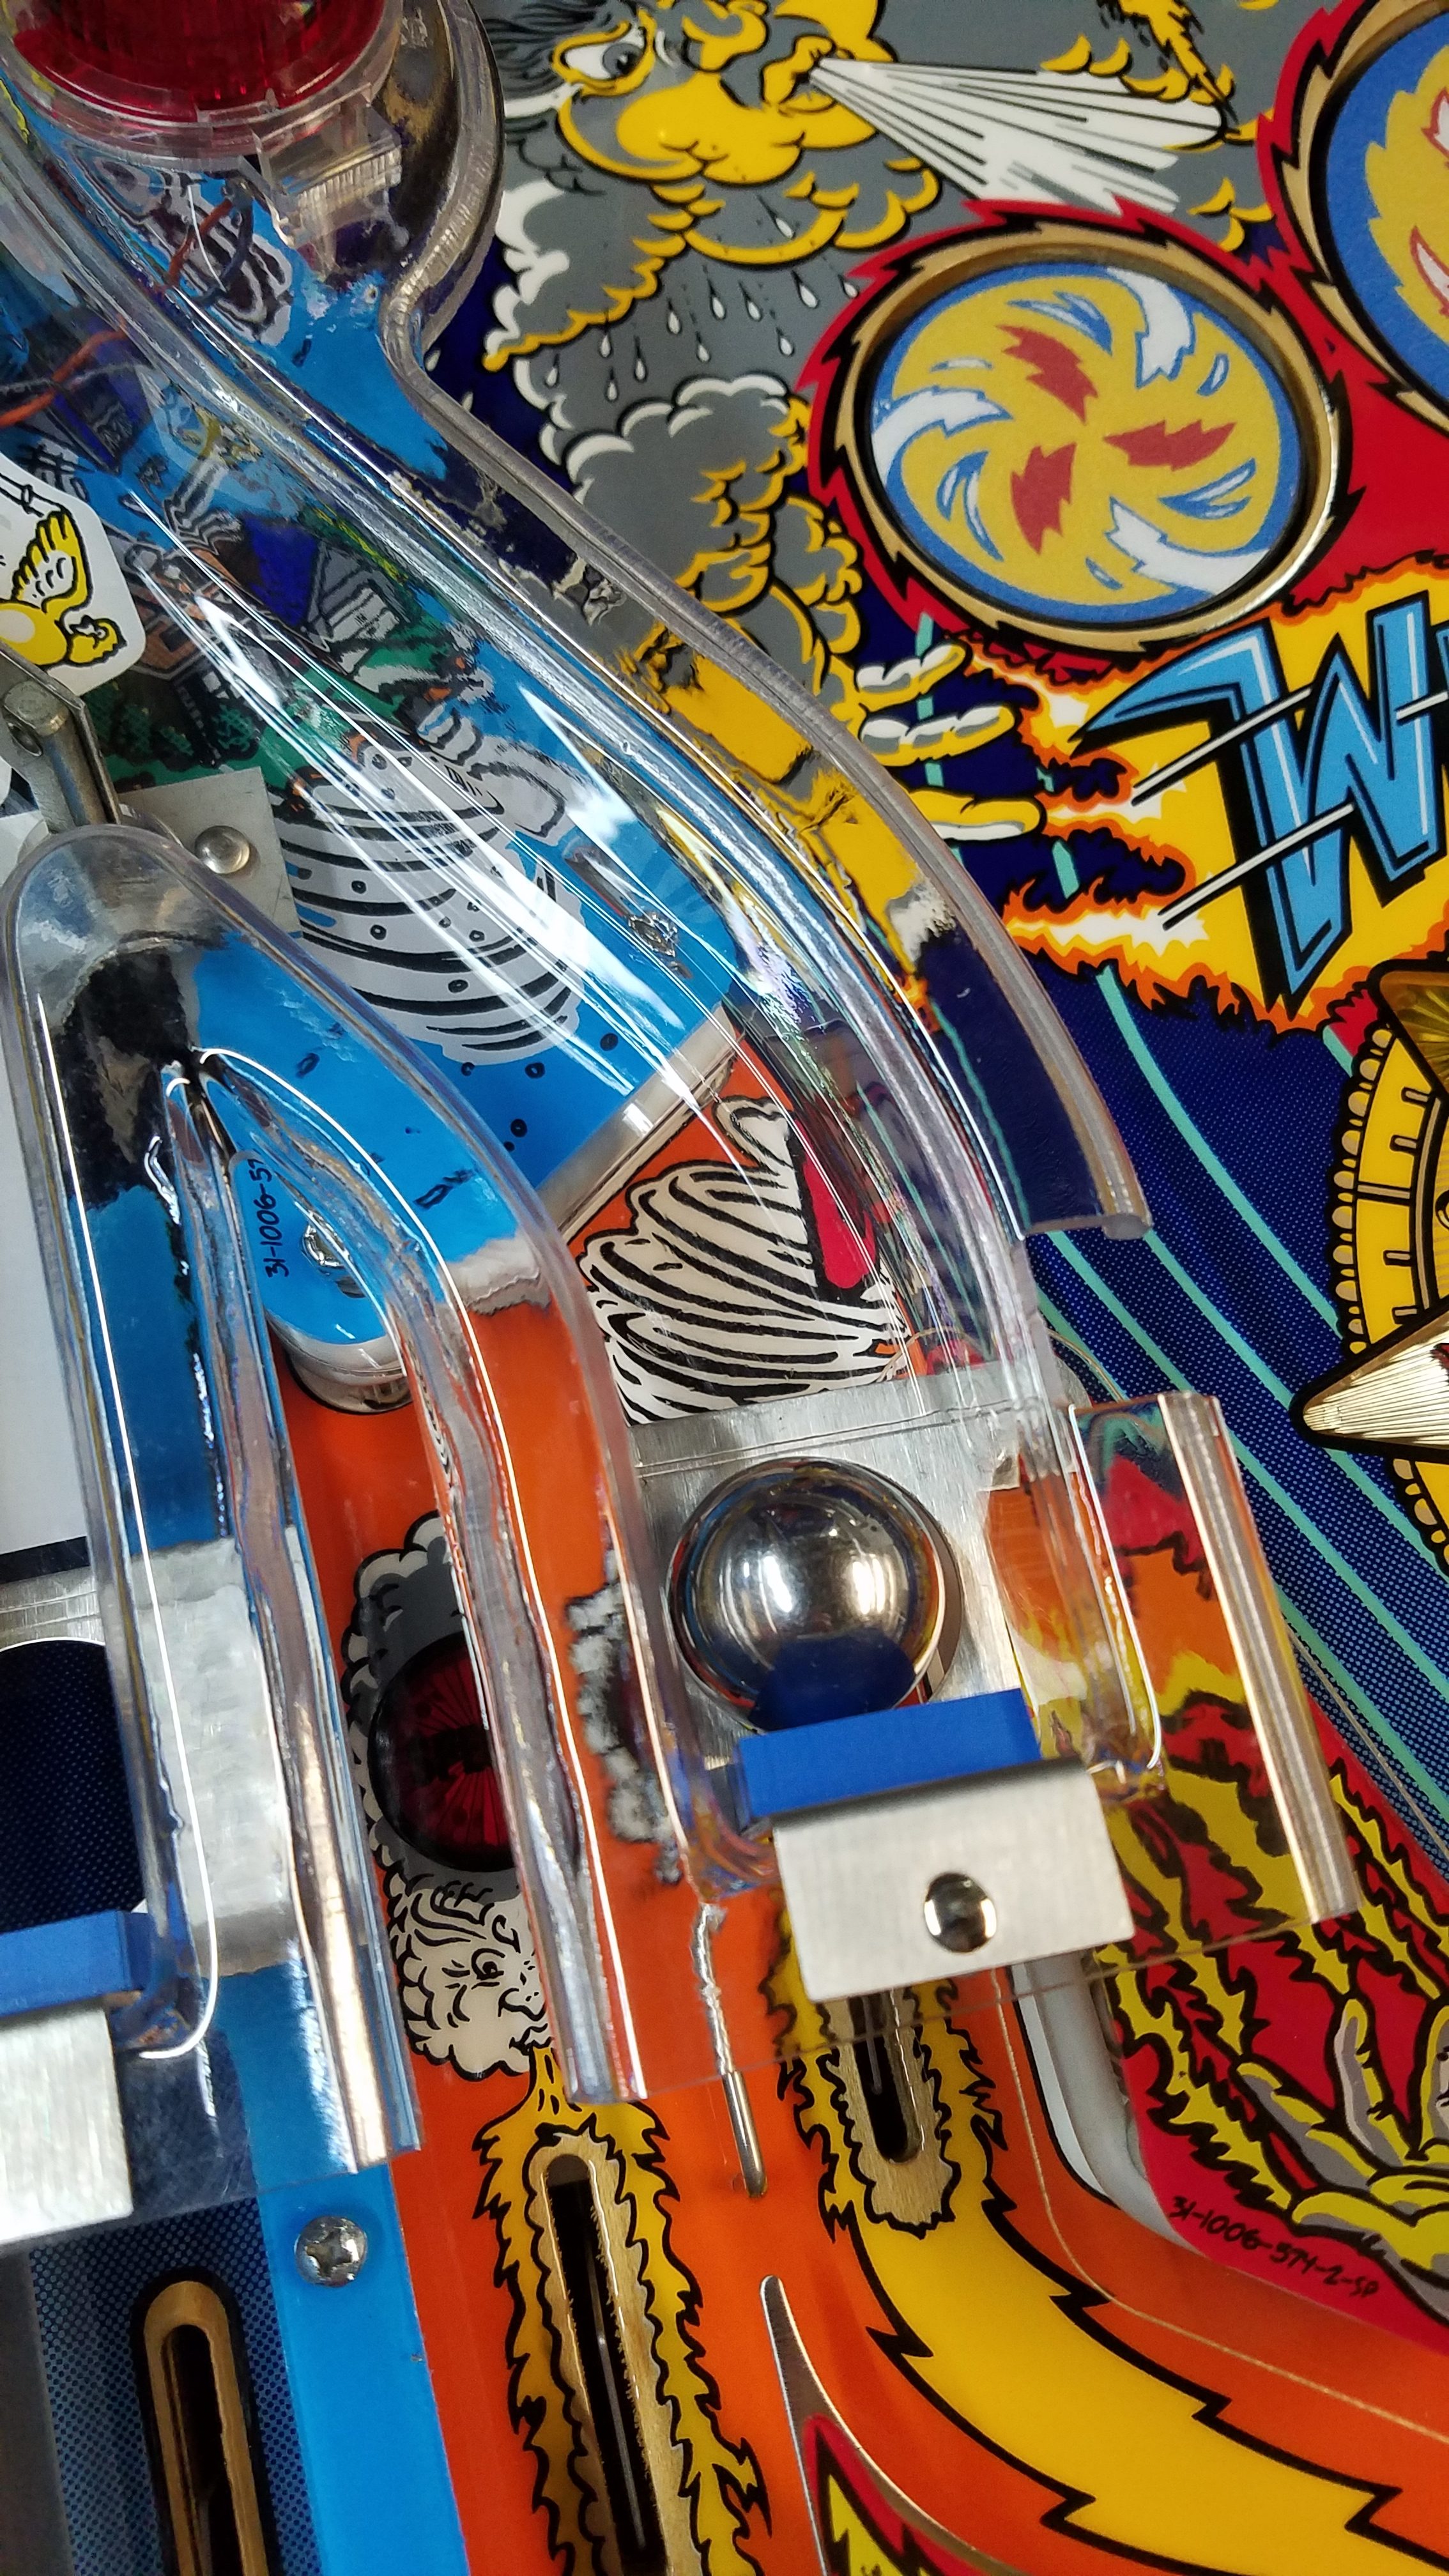
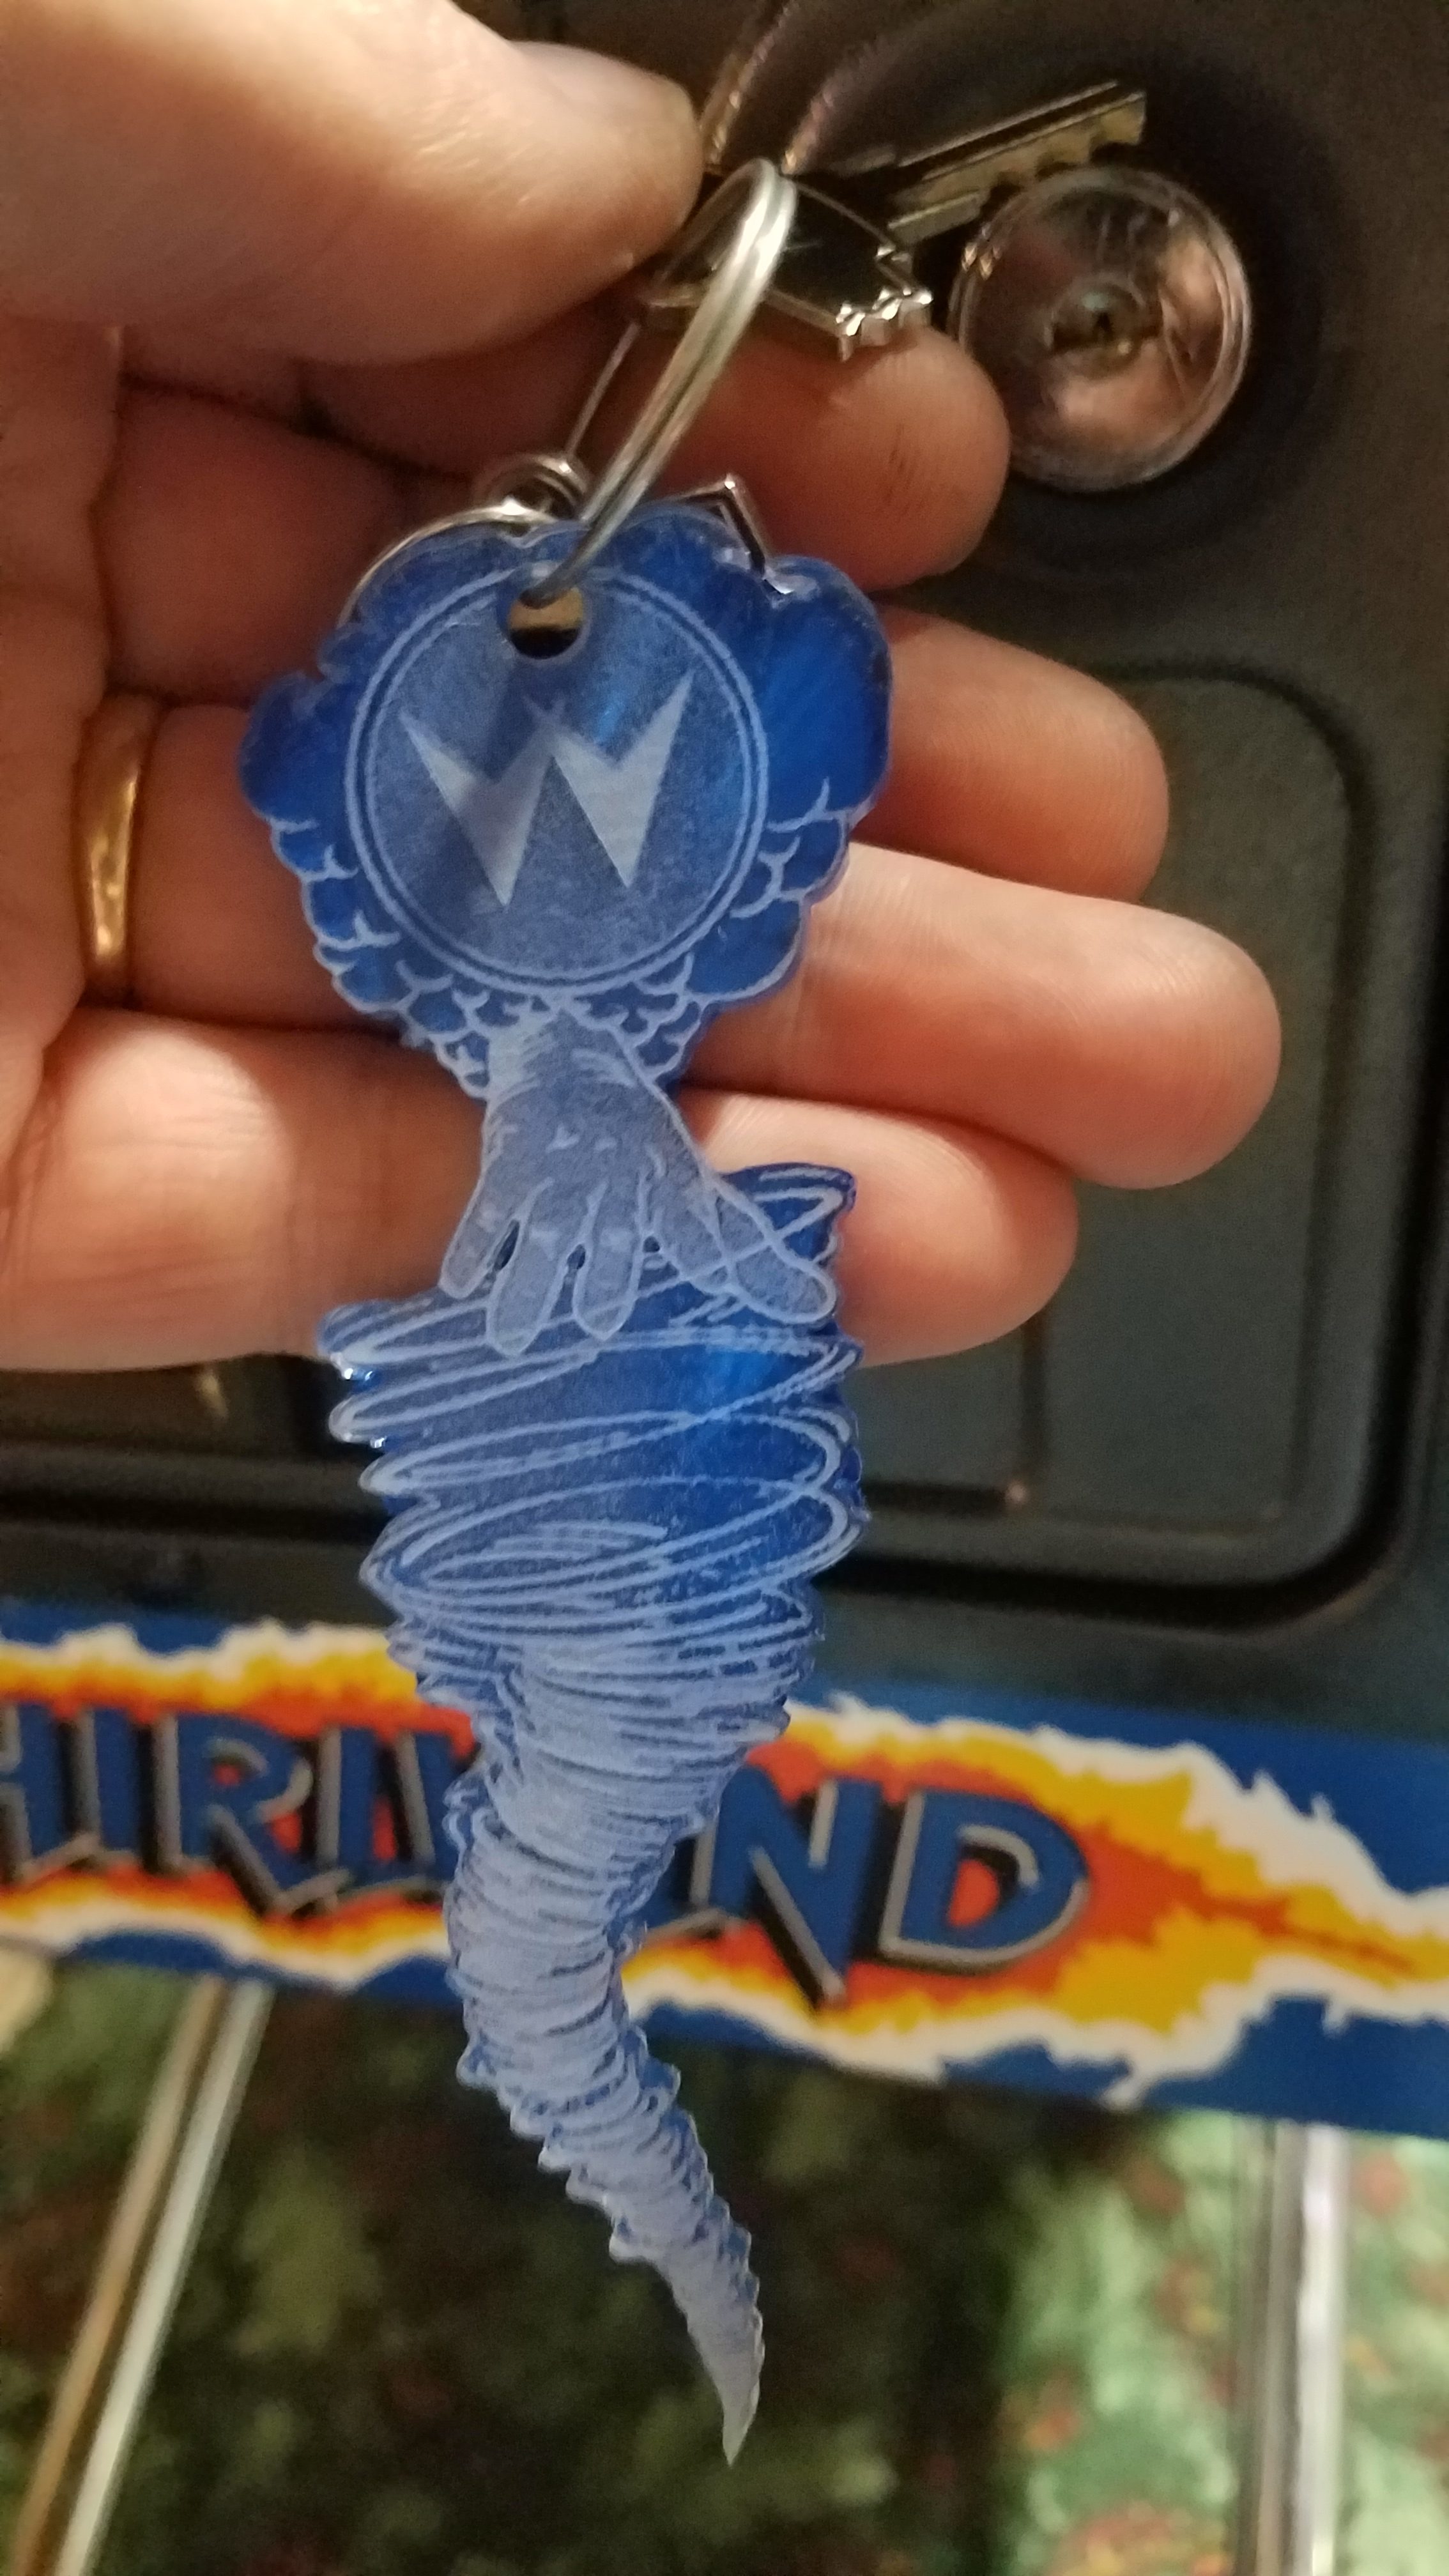
This pin needs some work, it is a diamond in the rough.Right front corner was popping apart a bit. Coin door a bit scuffed up, artwork abused.Small chunks missing from back box.Some crispy wires with crappy repair work performed.A few days after I got the pin, CPR announced repo playfields for sale. My original plan was to touch up the paint but figured I’ go whole hog on this project.Other items ordered shortly after getting the pin. Every new pin is money tossed at Coin Taker and Marco. The pin did come with new plastics.Lots of crusty-N-rusty metal surfaces on this pin.More crust to be found.If it was metal, it had rust to some degree…. I think a lot of beers and sodas were applied to this pin years ago.The artwork on the playfield was dull and worn looking. Some paint flaking off in some areas.A lot of inserts were lifting and taking the mylar with it. So the playfield was not a very flat surface.Just a sad looking corner.Lot of hardware inside the cabinet looked like this.So I take photos of all the connectors so know what went where. Once photos are taken, time to gut the cabinet.All of the cabinet hardware was pulled out and tumbled in walnut shell for several days to get the rust off of them.Cabinet and back box gutted. I’m not thrilled with the hole in the bottom plate, I’ll have to learn how to replace it I guess.Electronics sprayed down with Totally Awesome and brushed to clean off years of dust and grit, then rinsed off with water.After rinsing off with water, I hit them with compressed air to blow off most of the water, then fallow up with a heat gun to finish drying them off. Looks good as new now with all the grim cleaned off.All cabinet brackets and such were attacked with a media blaster… it is good to know people with cool toys. Sadly, the owner of said cabinet is a short Jewish man and it is set up for said short Jewish man. I’m not a short Jewish man and after an hour of using his cabinet, my back is killing me.Most metal parts were painted with Rustoleum Metallic Finish spray paint. I like the way it looks but it does “scuff” easily so handle with care while installing.A much cleaner looking lock down bracket.The wiring harness from the back box was sprayed down with Totally Awesome and scrubbed down to remove the dirt and grit from them.A lot of screw heads to be polished. Pretty much all of them I’d chuck up in my drill and polish on a piece of scrap cardboard and Mothers Mag & Aluminum Polish.All of these screw heads were hazed over when pulled out. I would polish said screws when I was ready to use them for assembly, so this was a process I repeated many times over the months. I got to where I was spending just under a minute per screw I guess.OK, this hole… I had some 1/2″ partial board on hand so needed to figure out how to get the old piece out. First remove brackets and any staples left behind.I mounted my router onto a block of 4X4 with a spiral cutter bit on it (1/4 Diablo DR75102. There is a 0.500″ gap between the edge of the cutter and block of wood.Had the depth of the cutter to just kiss though the old bottom plate. I waxed the 4X4 block of wood to help it slide smoothly along the exterior of the cabinet. This method worked out great, first time I’ve done anything like this and it wasn’t difficult.Lots of sanding and bondo on the cabinet. Also glued up the corner that was coming apart.It seems like you will never be done with the bondo and sanding, but finally the inside was smoothed out and painted.Cutting out the new base plate. Measure over and over, use as many squares as you can fit onto the project… hope for the best.And it was a great fit. I used Liquid Nails to glue the base plate in. Once it was pressed into place, I then ran another bead of Liquid Nails along the bottom seam and with a rag worked it further into the seam. Clamp up the crap out of it and let sit overnight.One classy looking bottom plate… I guess.Wrapped out he power supply and hit the metal with a wire brush on my drill. I used a 4″ metal putty scraper to protect the wrapped areas from the wire brush.A few coats of blue from the rattle can. I went back and scraped clean where the metal brackets will be touching so I could safely ground it.A Blue Angles theme… maybe…Decal time. I go with the dry method when applying. I get things lined up, secure one end with tape, remove backing from one end and apply, then remove the rest of the backing and apply the rest. The white thing is a Big Squeegee Yard Sign Tool. It is made for getting smooth application of adhesive lined materials like this.The surface area is cleaned to death, the decal is placed onto the work surface and lined up. Here I’m using a lot of dead weight to the right side to secure the decal in place. Then on the left side, peel back the decal from the backing paper and trip off the backing paper. From there, use the squeegee tool to apply the decal on the left side. Remote the dead weights from the right side and flip the decal over onto itself and get the backing to start to peel off… then squeegee towards the right side getting a smooth application.Took a while to get the location lined up for the Start button. I wanted it as centered up as it could be.With a sharp knife, I trimmed up the decals that extended past the edges. Now the cabinet looks good as new.The coin door was stripped down, clean and painted. A couple of wise guys really pushed on how much a good looking coin door helps dress up the pin. They are not difficult to take apart and clean up.Looking so much better in there. No rust to be found now. Updated brackets for the leg bolts installed.Cutting the new speaker hole in the base plate. I set the depth of the cutter about 0.300″ and made a full circle pass. Then set the depth to 0.700″ to go the rest of the way through, but left a few “tabs” so the cut out would stay in place for my center pivot hole. I then went back and used a small saw to cut the tabs out.Inside of the cabinet now looking great, not a dumping ground for dirt, random screws, a few dead bulbs and 2 roaches.Back box clean up, electronics put back in.With the cabinet and back box completed, time to work on the playfield…Lots of photos taken from all different angles. Close ups here and there as well.More photos… month later you will be using these photos to figure out where odd hardware goes…. but not the rust… screw the rusty stuff.Was this pin on route at the beach or something?Still more photos as you strip stuff off… what goes where?That is about as much I can strip off the top side.I spend all of 10 minutes working on the floor with the playfield leaned against the wall and trying to strip the bottom down. Nope, my back says that isn’t going to work. So I built a simple rotisserie. This was a great investment.I made little number tags, two of each number. Blue tape that was laminated and then cut out. Used twist tie wire to secure one number tag to a coil and the matching number tag to the wiring.Once I had all the coils tagged, I cut the wires and remove the coil and hardware.Then I tagged the switches.And now the switches were removed… just wiring and bulbs.Wiring harness removed….… and dumped into the dishwasher. Ran once, then “flipped” the wiring harness over and ran again.All the bits and pieces that were pulled from the underside were refreshed.Brackets and hardware cleaned and painted. New coil sleeves, new coil wrappers. Screws polished as needed.Same treatment for the switches.Brackets cleaned and painted, screw heads polished, switches cleaned up.T-Nuts mounted to the new playfield and then secured to the rotisserie.There are dimples in the playfield to help you line things up for the mounting screws, but I found about half of them were out of place. So I’d line things up and make a new dimple with a sharp pick, then pre-drill my holes.This was one of the more difficult items to install. First the red plastic part, then the switch, then the kick out hook then the coil.Most hardware mounted back to the underside.A lot of the hardware that went into the T-nuts or through holes was easy do using the prior photos to know what went where.And with a fair amount of elbow grease and free time, crappy looking rust chunks can be turned into shiny-ish parts.This was what I feared the most… getting the wiring harness all sorted out. It took me about 20 minutes to get the harness laid out roughly in place. I just started at the bottom left corner and worked my way along the harness. Once it was lined up nicely, I secured in place with the plastic clips.How do you eat an elephant? One bite at a time. Same thing here… how do you wire it all back up… one wire at a time. Again, started at the lower left corner and soldiered wires back to coils and switches as I worked my way from one end to the other.All wired up. So this wasn’t any difficult. Can you soldier a wire? Can you do it 287 more times?New pop bumper caps, but one of the yellow ones is “custom” to clear the left ramp. I mounted the old one flush to the board, marked the screw holes, then mounted the new one and sanded.Just like the original, but new looking.There were some supports for the plastics that the end user had to install, no pilot holes or anything to help you line them up. I used the base from a combination square to get a center punch lined up then tapped to dimple the wood.With my dimple, I was able to pre drill and mount the hardware so things like up perfect. Even though I was pre drilling the holes, I had 2 of these screws snap on me. After the 2nd one, I put a dot of carnauba on the tip of the screw and this made them go in easier and no more snapping hardware.This was an issue, the pr drilled hole for this post was out of line, the post extended beyond the ball guide, the ball would hit it. Then add the rubber, even worse. This would screw up the ball travel big time.I took some careful measurements and my can-do Hebrew friend helped me fabricate an offset post.Now the ball travel is to factory design instead of being kicked “to the right” as viewed in this photo angle. This is in the back of the playfield and you really can’t see it unless you know to look for it.Ball gates are metal… and all metal in this pin has to be crusty. I took them apart and spit shined them.I had cut the pin out of them and used a nail to replace the pin. Here I’m using some Vice Grips to squish the end of the nail to flair it out so it stay in place.I’m a big fan of doing a battery delete.. so scrap this chip out.NVRAM chip installed. Now I don’t have to worry about battery rot again. These kits are under $20.Back box light board as I received it.Nothing special, gets the job done.Cleaned up, fresh coat of white paint and new Coin Taker bulbs.May as well cross over to the “over doing it” category.Some of the plastics have tubular rivets. Having a press like this makes pressing rivets a simple task. It is possible to do with a hammer and die, but you loose a large degree of control and most likely will need a helper to hold stuff in place for you.Just like the factory original. Well, this pin came with plastic protectors as well, so sort of like the factory original.Lots of little details were addressed during the rebuilt.Blue pads pulled off, metal brackets cleaned up and regained. I used Wurth double sided thin tape, item number 0894235319. It is a bit costly… suggest to get job at VW dealer and have Wurth rep give you a “sample roll”.You can’t get new lift ramps. Mine was in decent shape, so I drilled out the rivet and went to town cleaning on it.Used Novus 3, 2 then 1 on the plastic. At first I was using a soft rag, but I just ended up using my bare hands instead, really working the Novus over the plastic.Testing things out… found a few issues with control lights where I had 2 wires crossed. and then a ball that didn’t drain to the left return lane…The plastic protector was sticking out too far, so I sanded a notch into it to it wouldn’t cover the drain hole.Got most of the bugs sorted out. In this photos, I hand’t finished the lock down bar or installed the new playfield glass. The score display isn’t messed up, just doing an animation when the photo was snapped. The apron was repainted and new decals added.Wife had a custom key chain made.
My wife and I got a few games in and more or less it plays, shots are doable, but a bit of ball hop on the left return lane to the flipper because of how the pre drilled holes are located. I’ll tweak the left ball return guide later to fix that. So basically less than 24 hours from completing the project it goes to Nashville fro the expo for 2.5 days of stress testing.