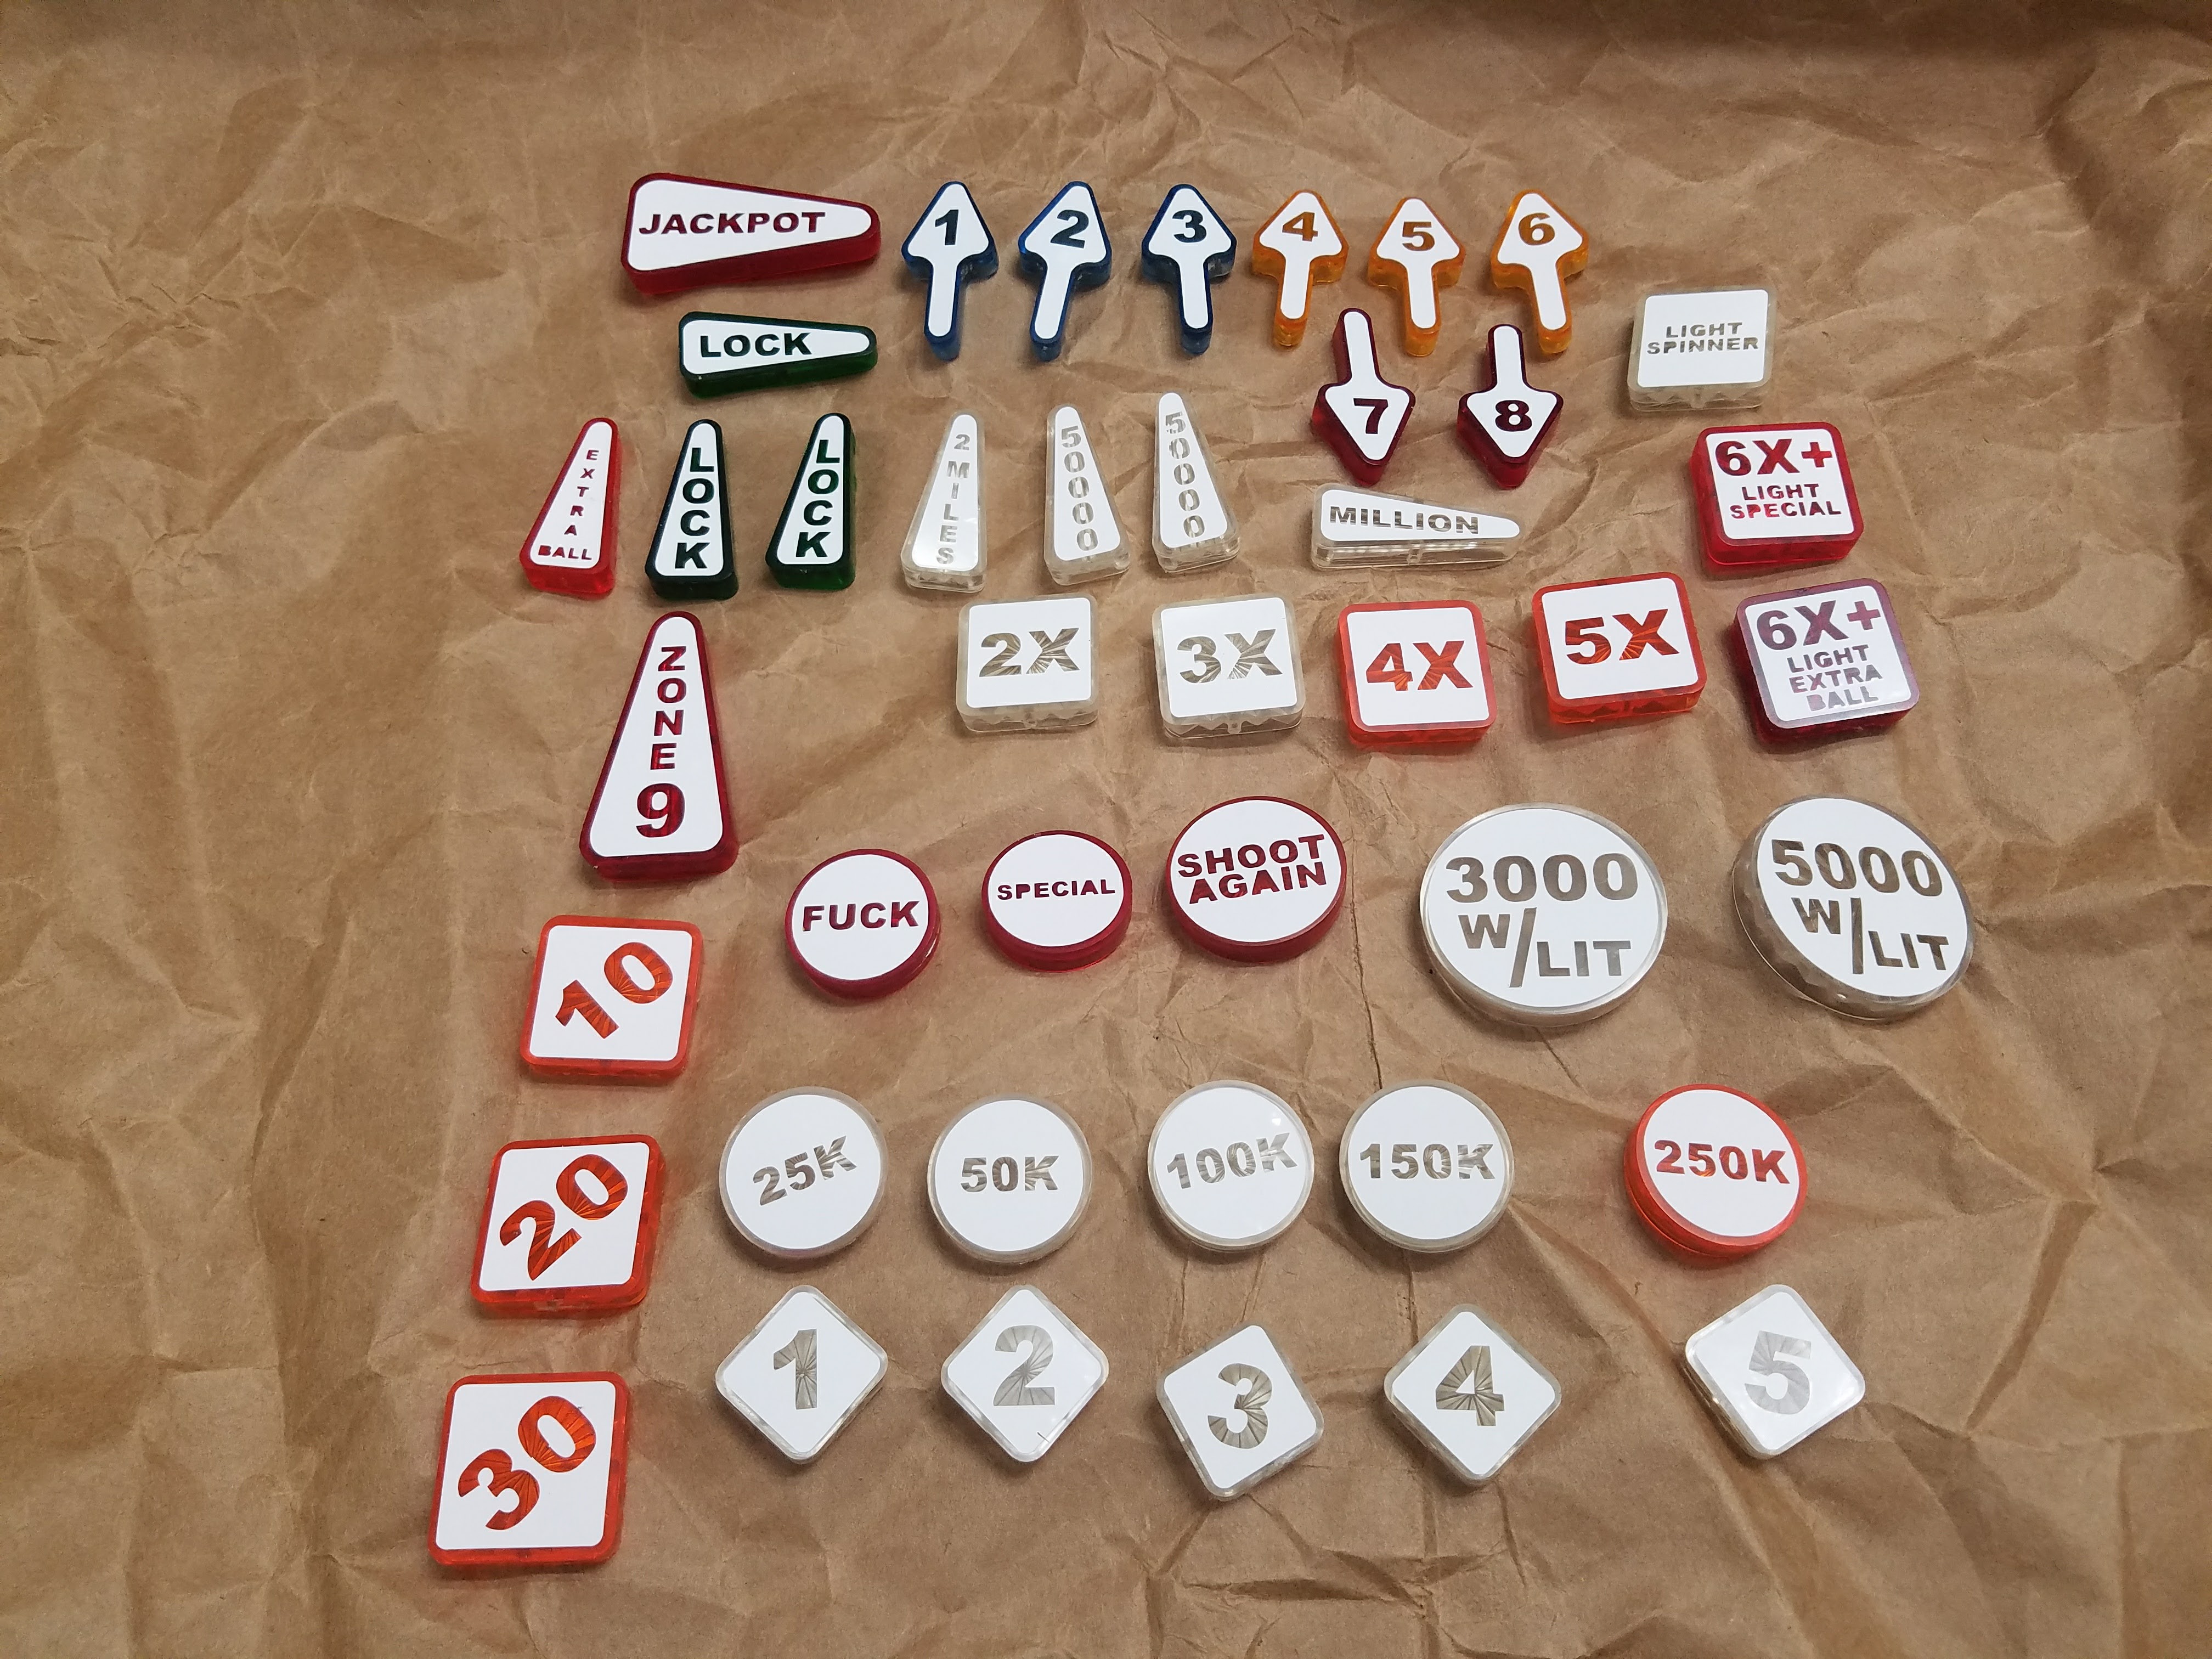
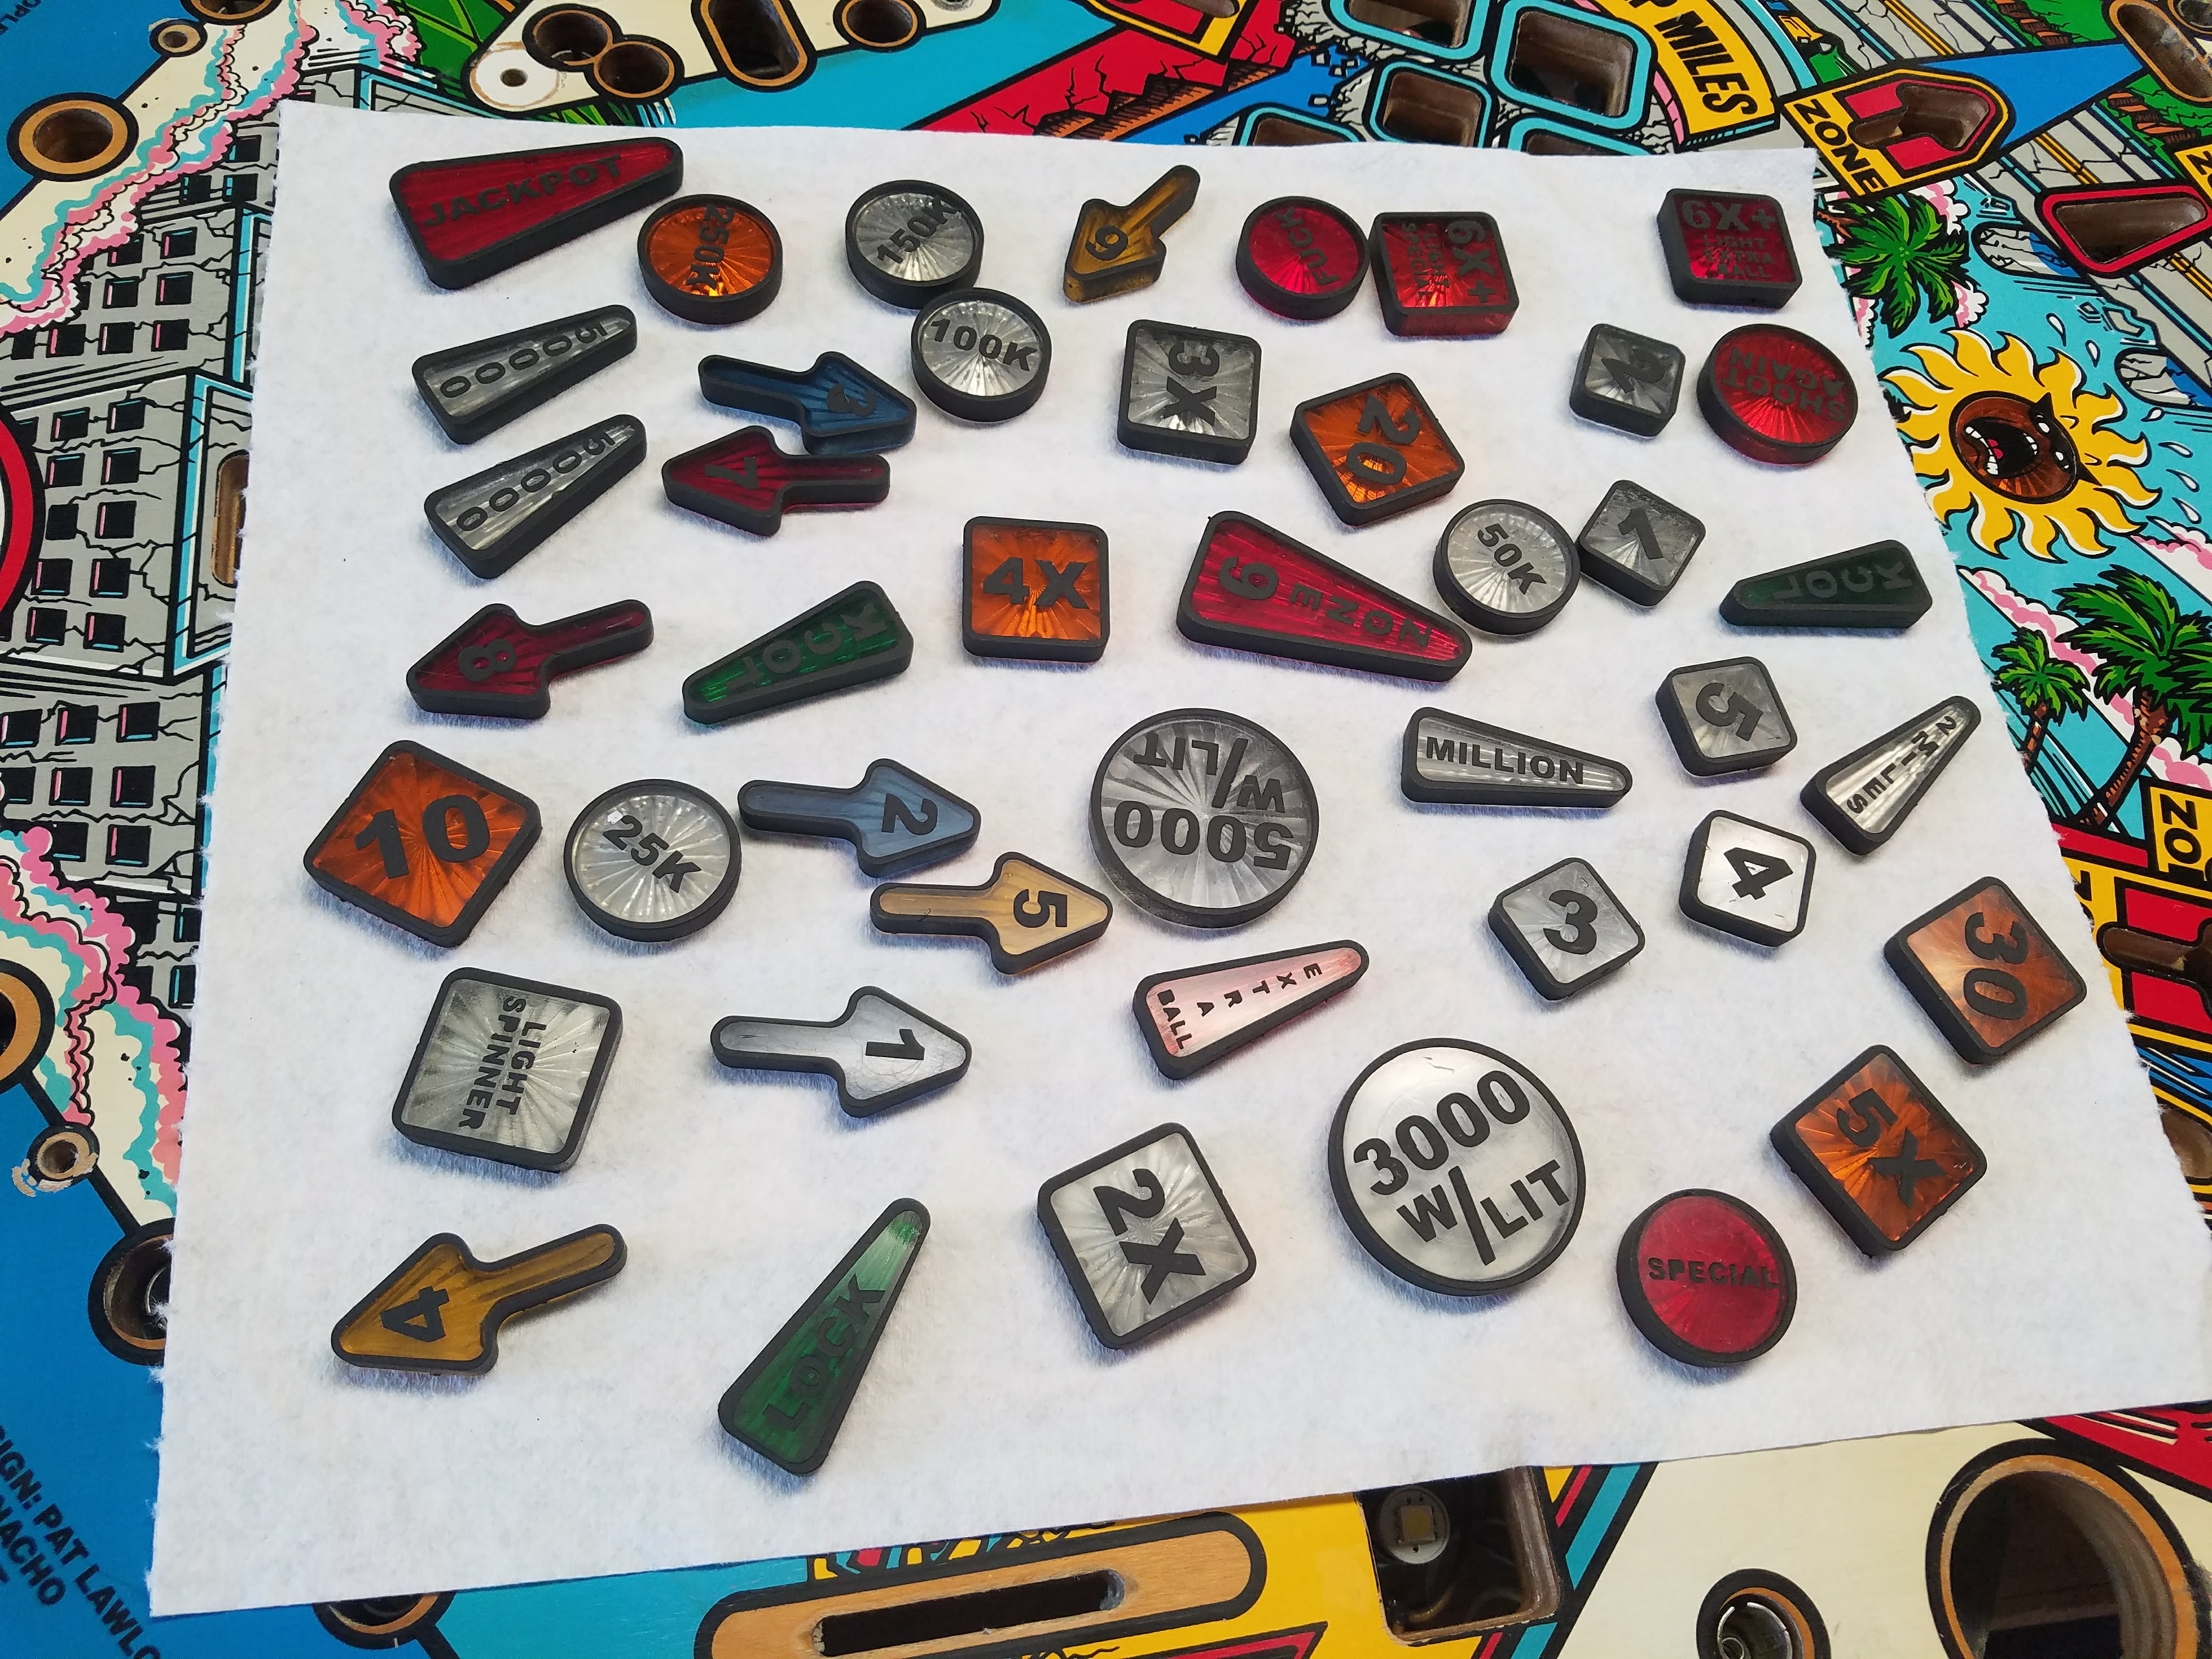
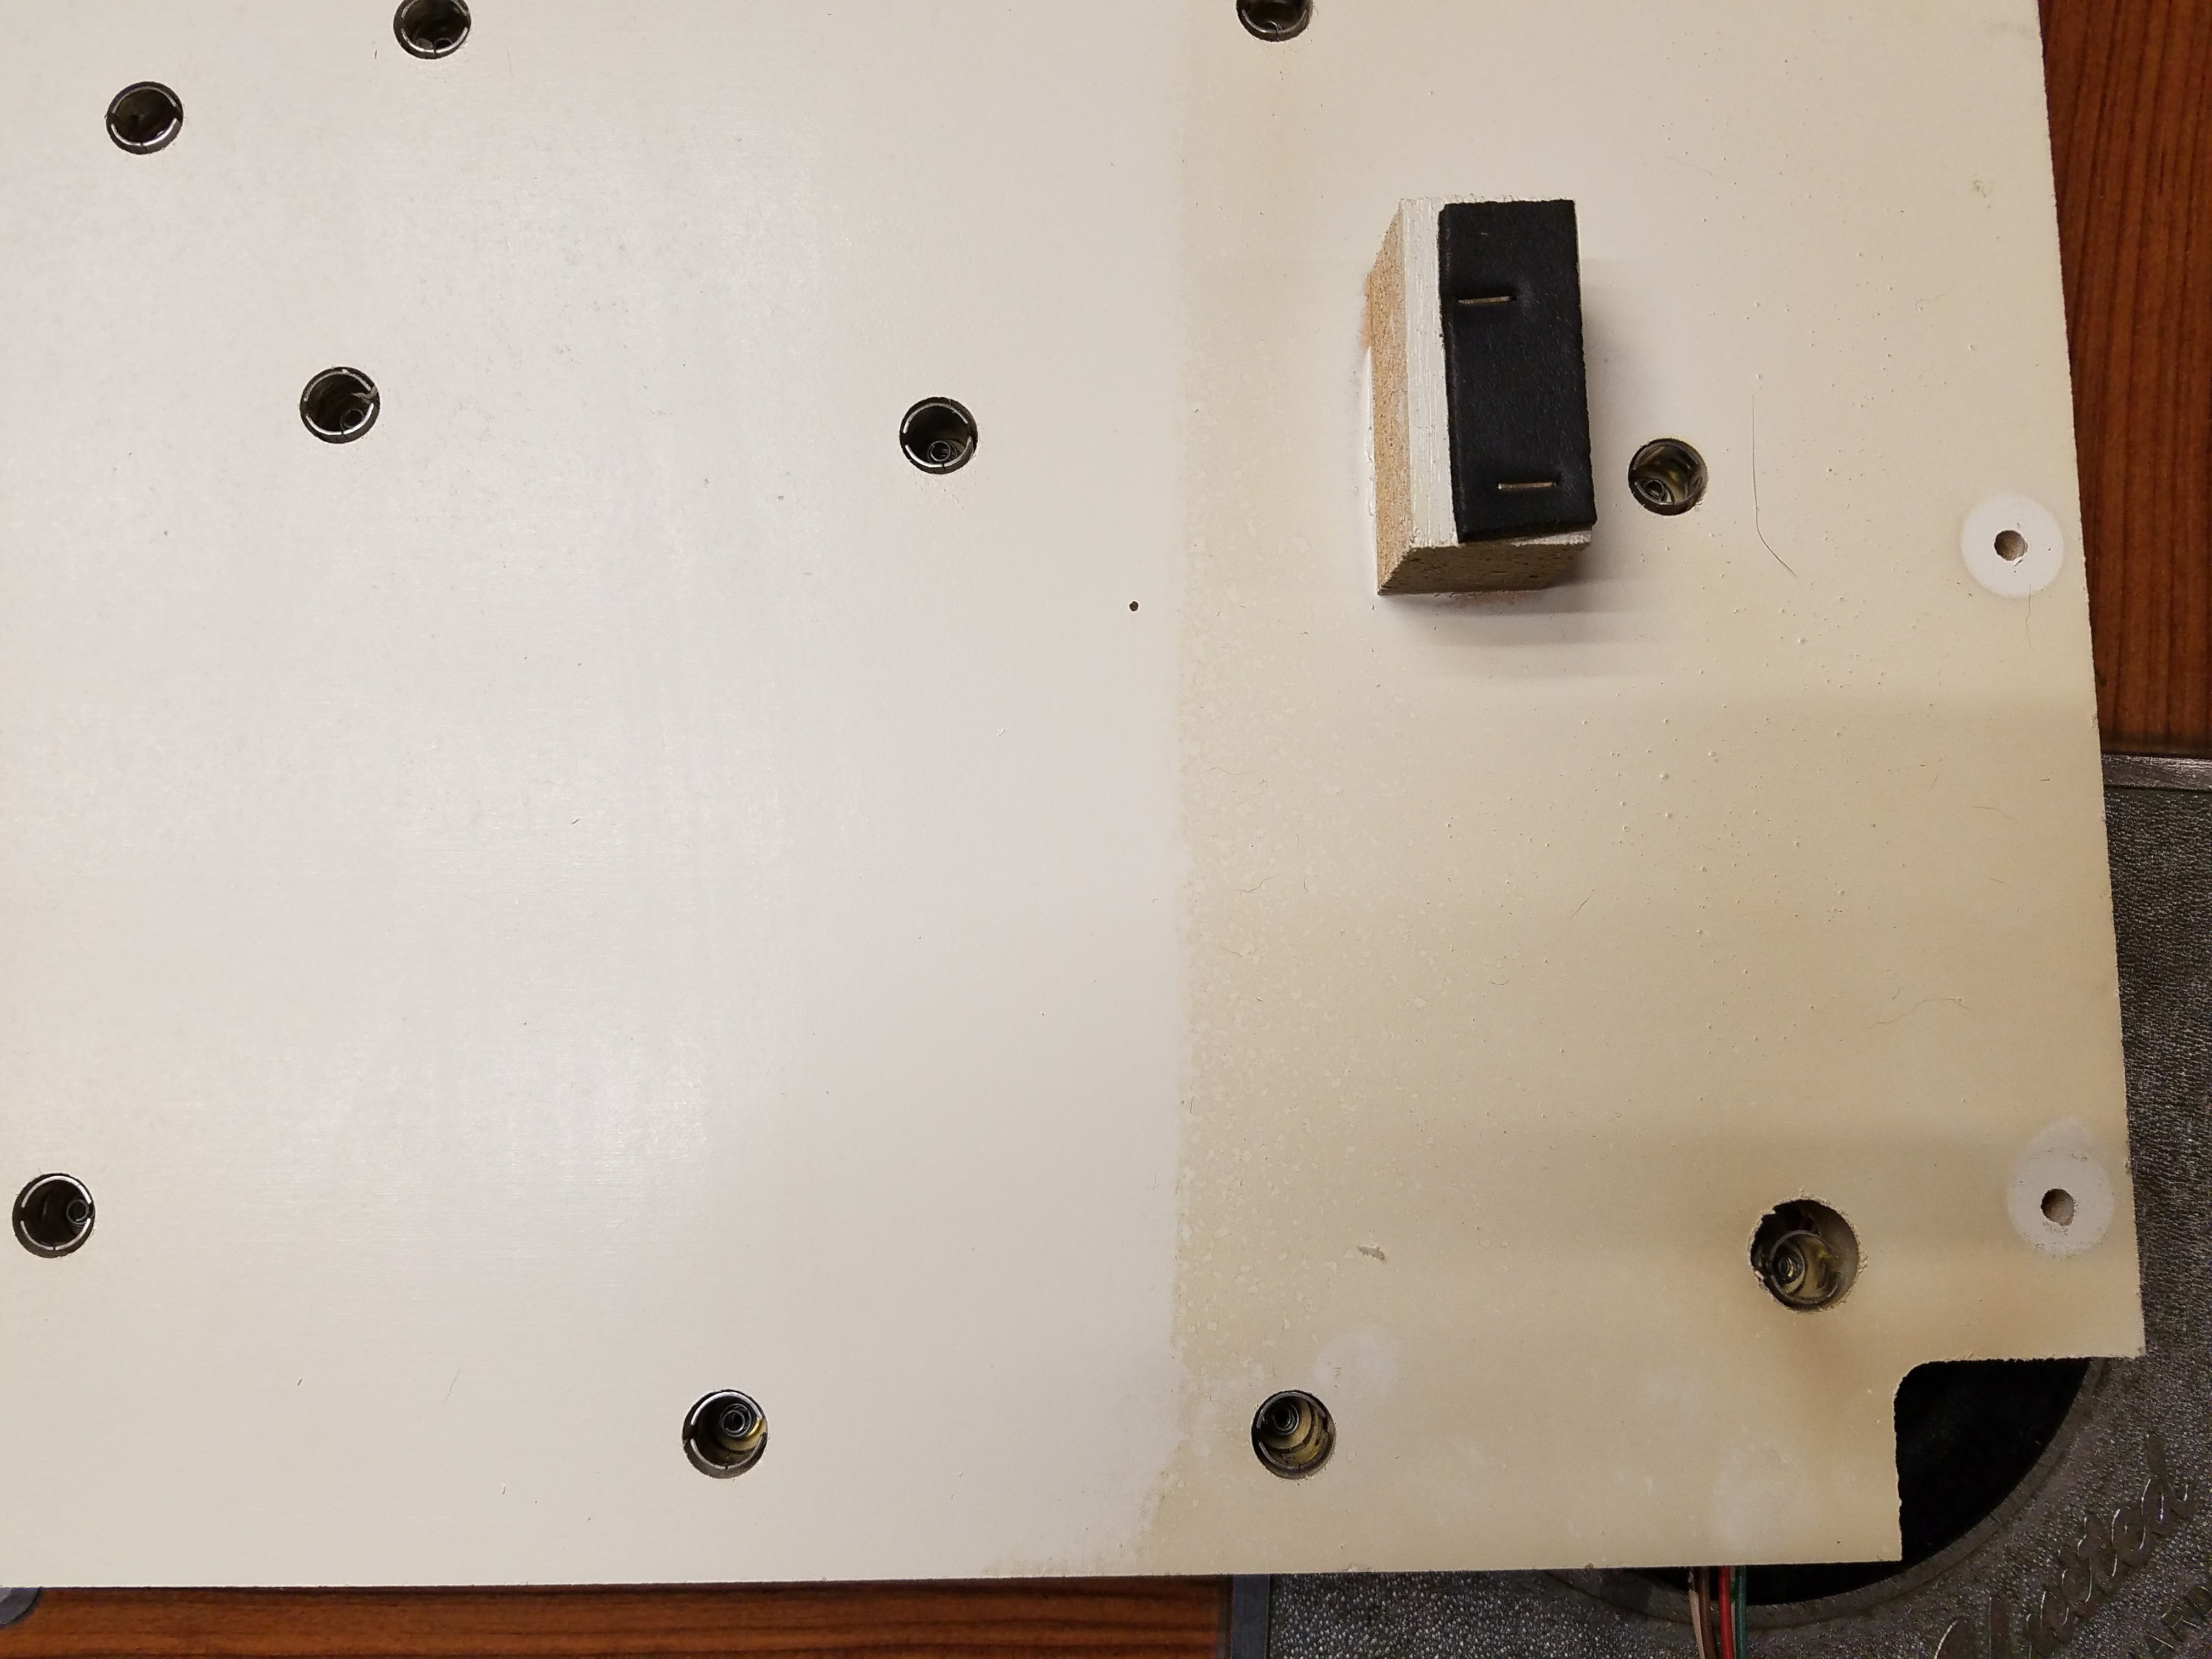
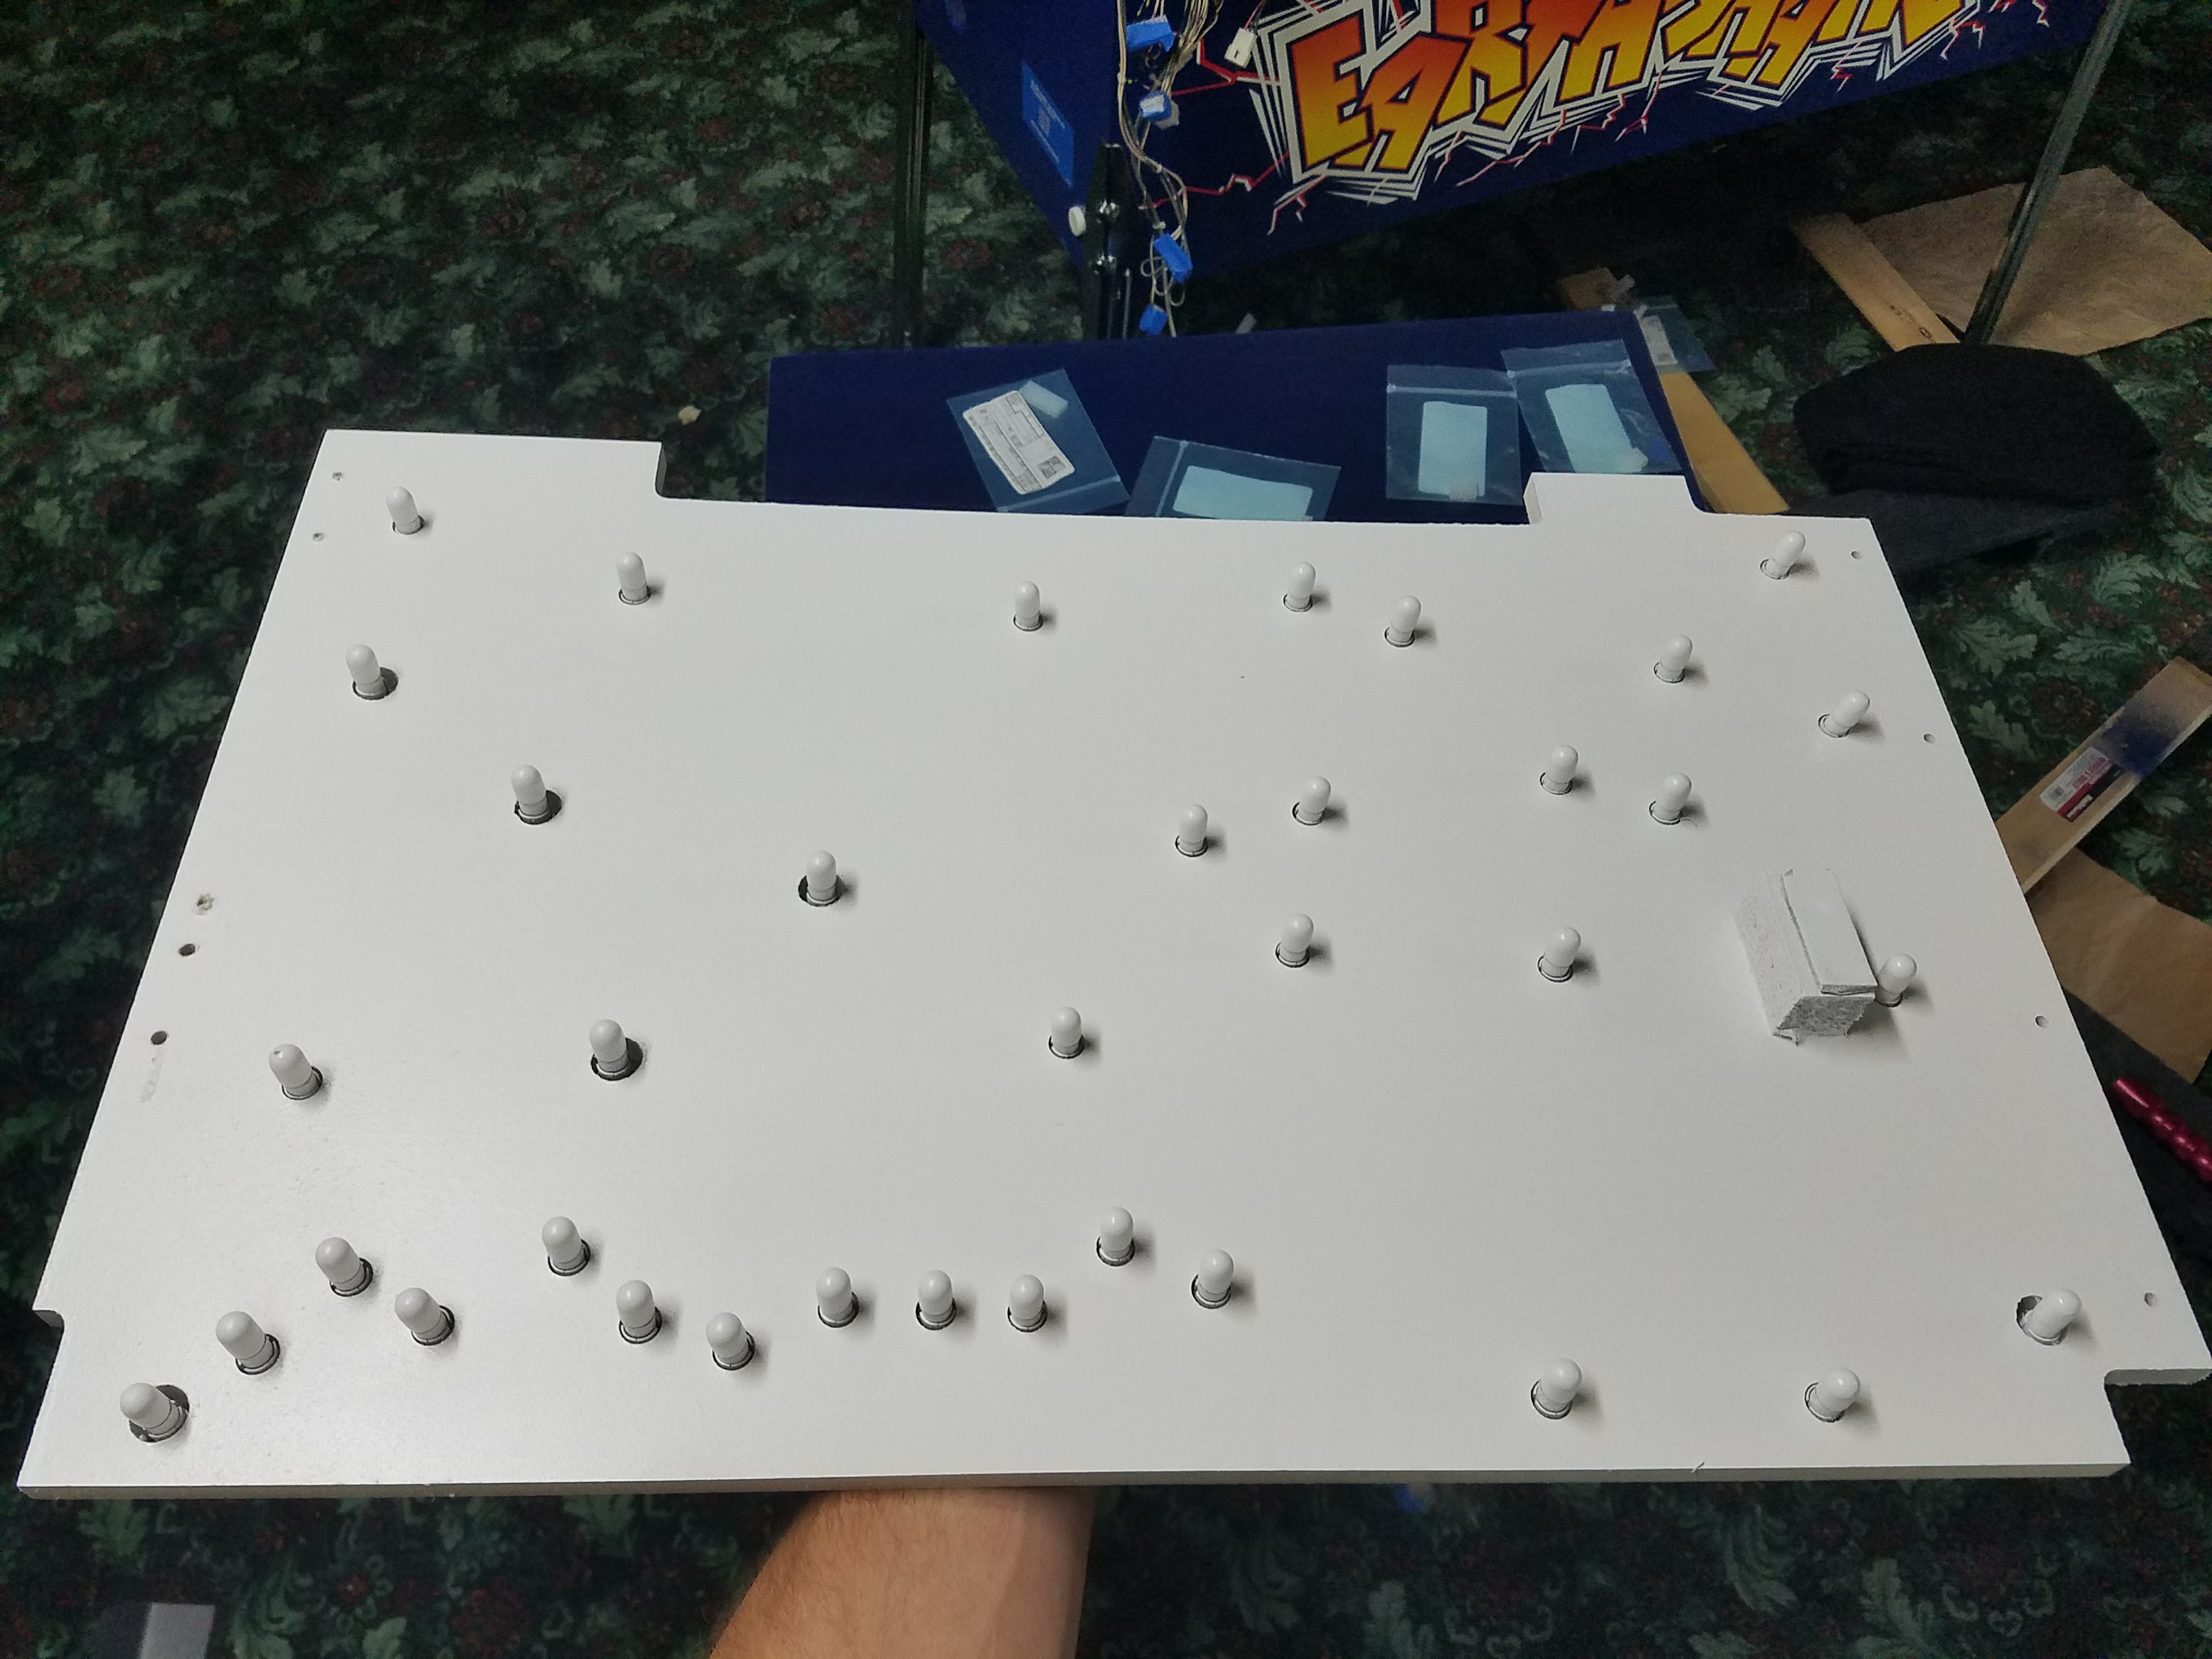
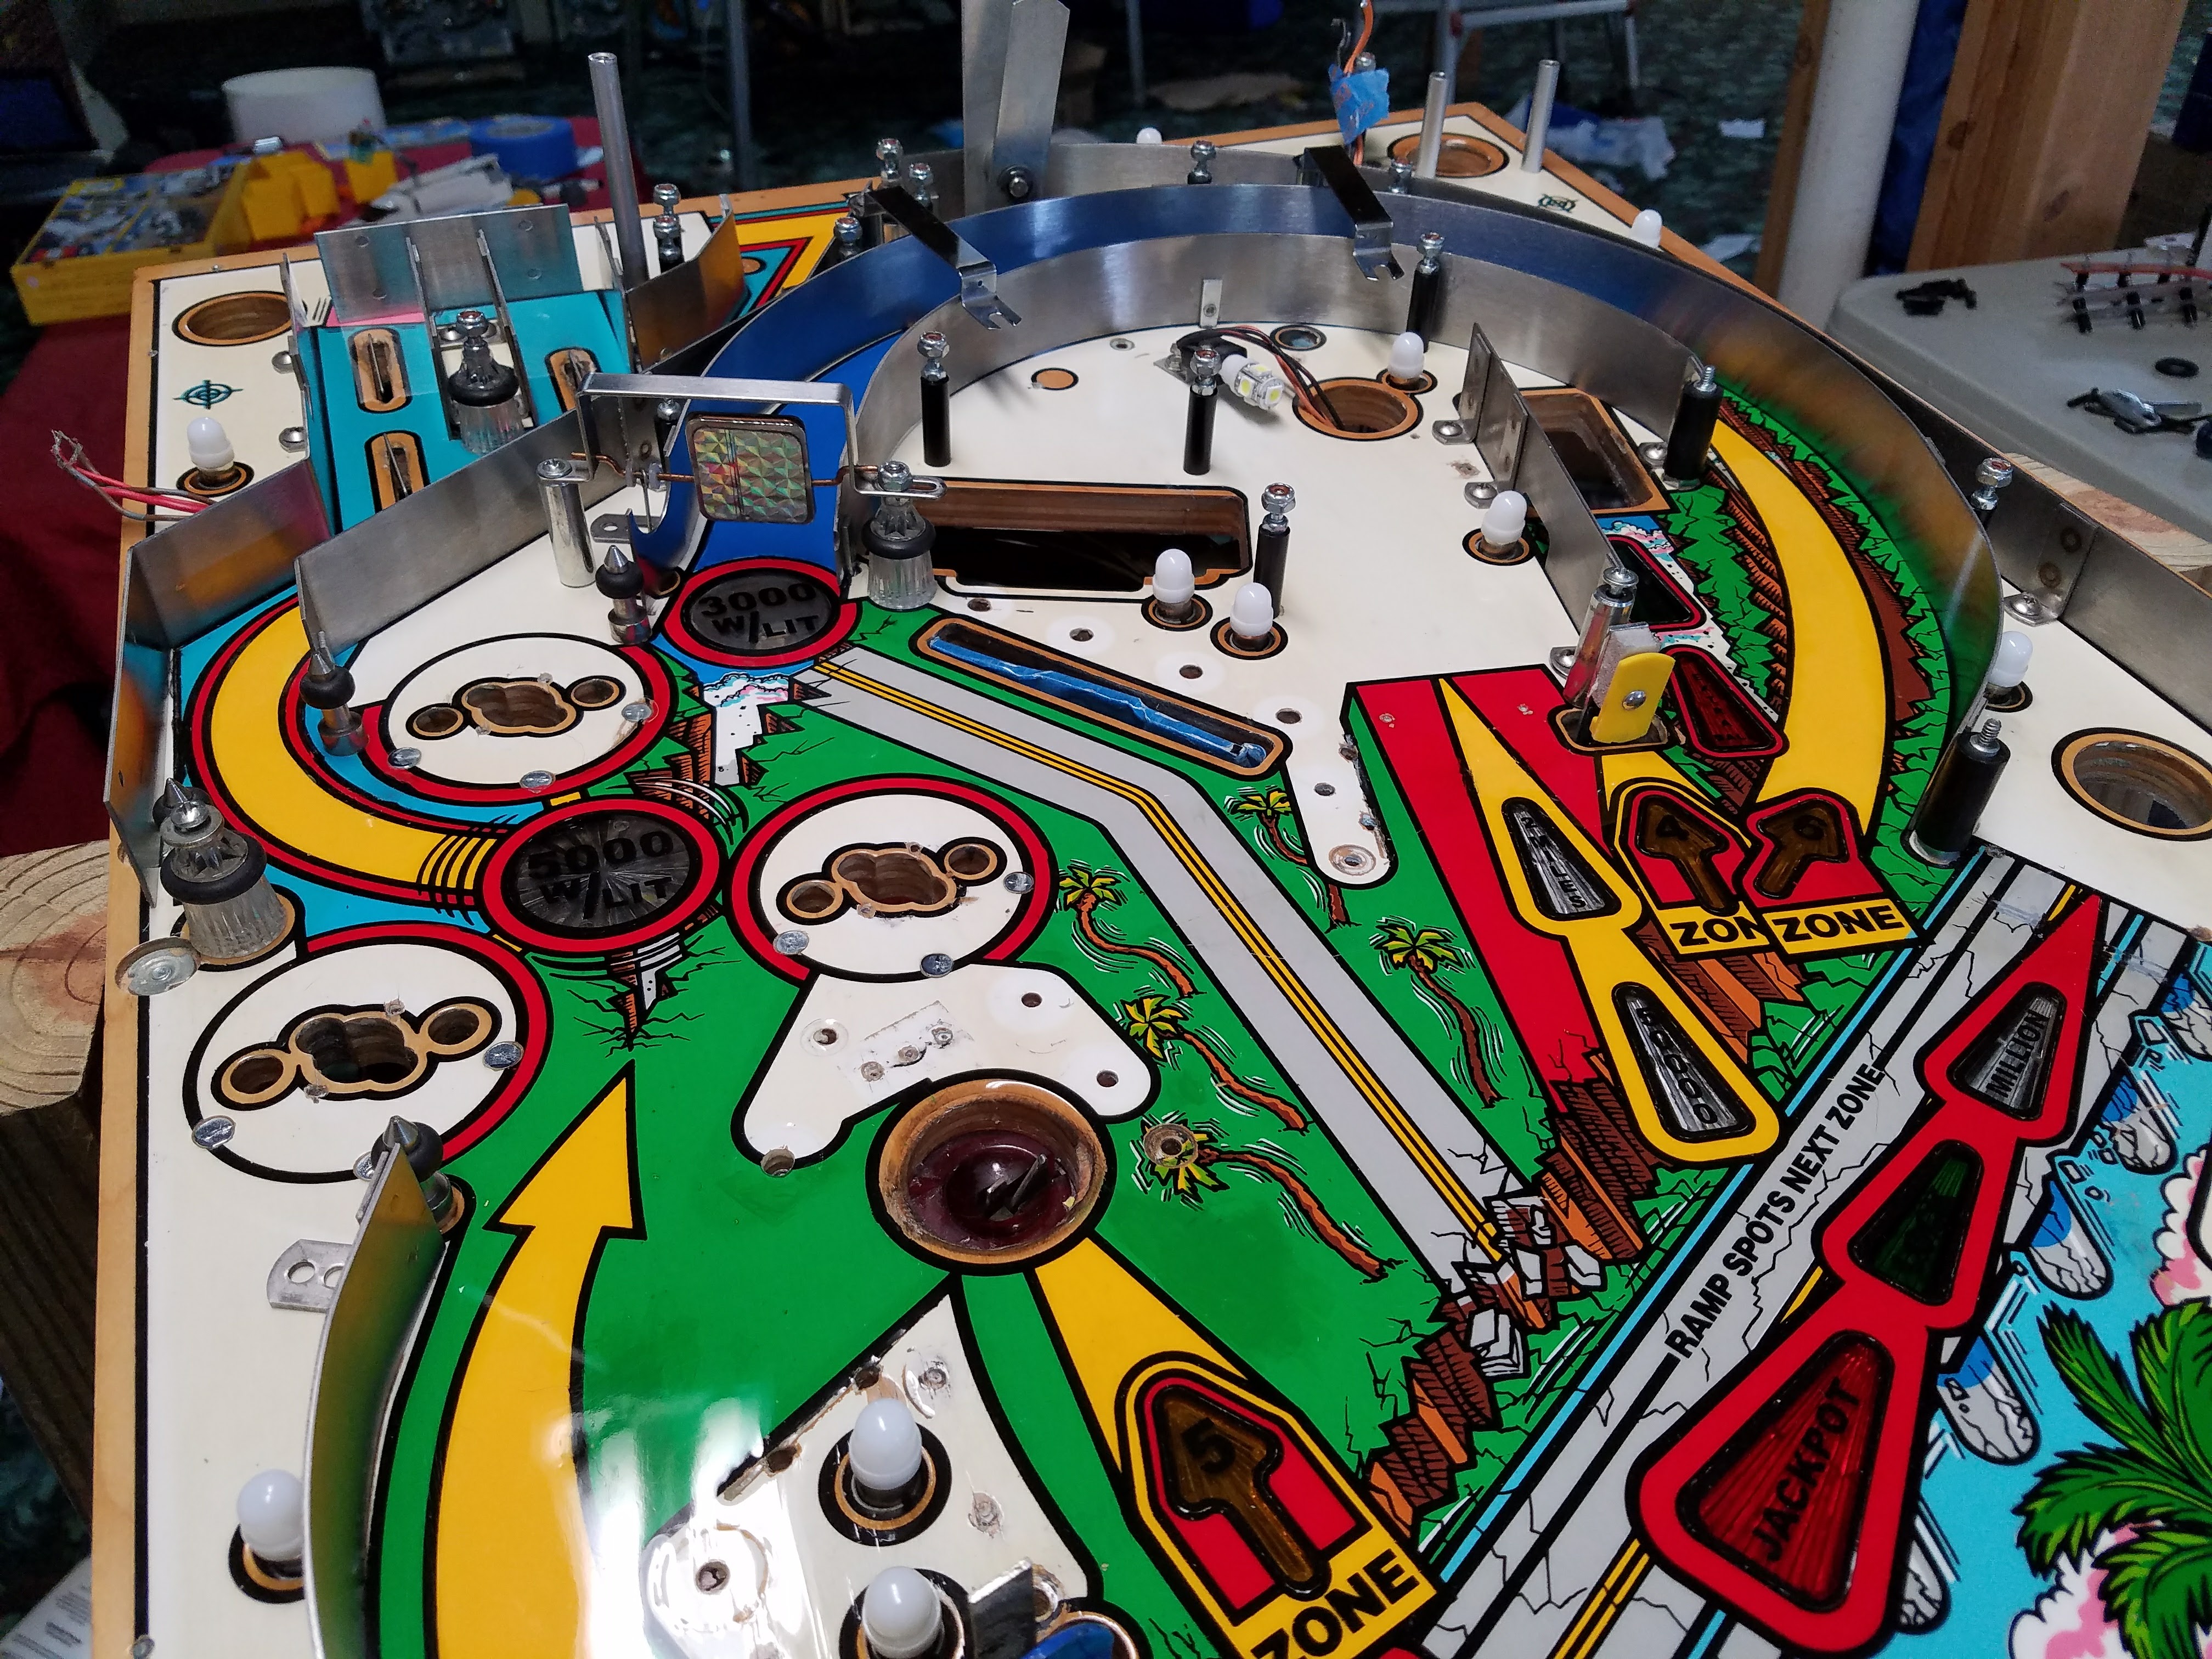
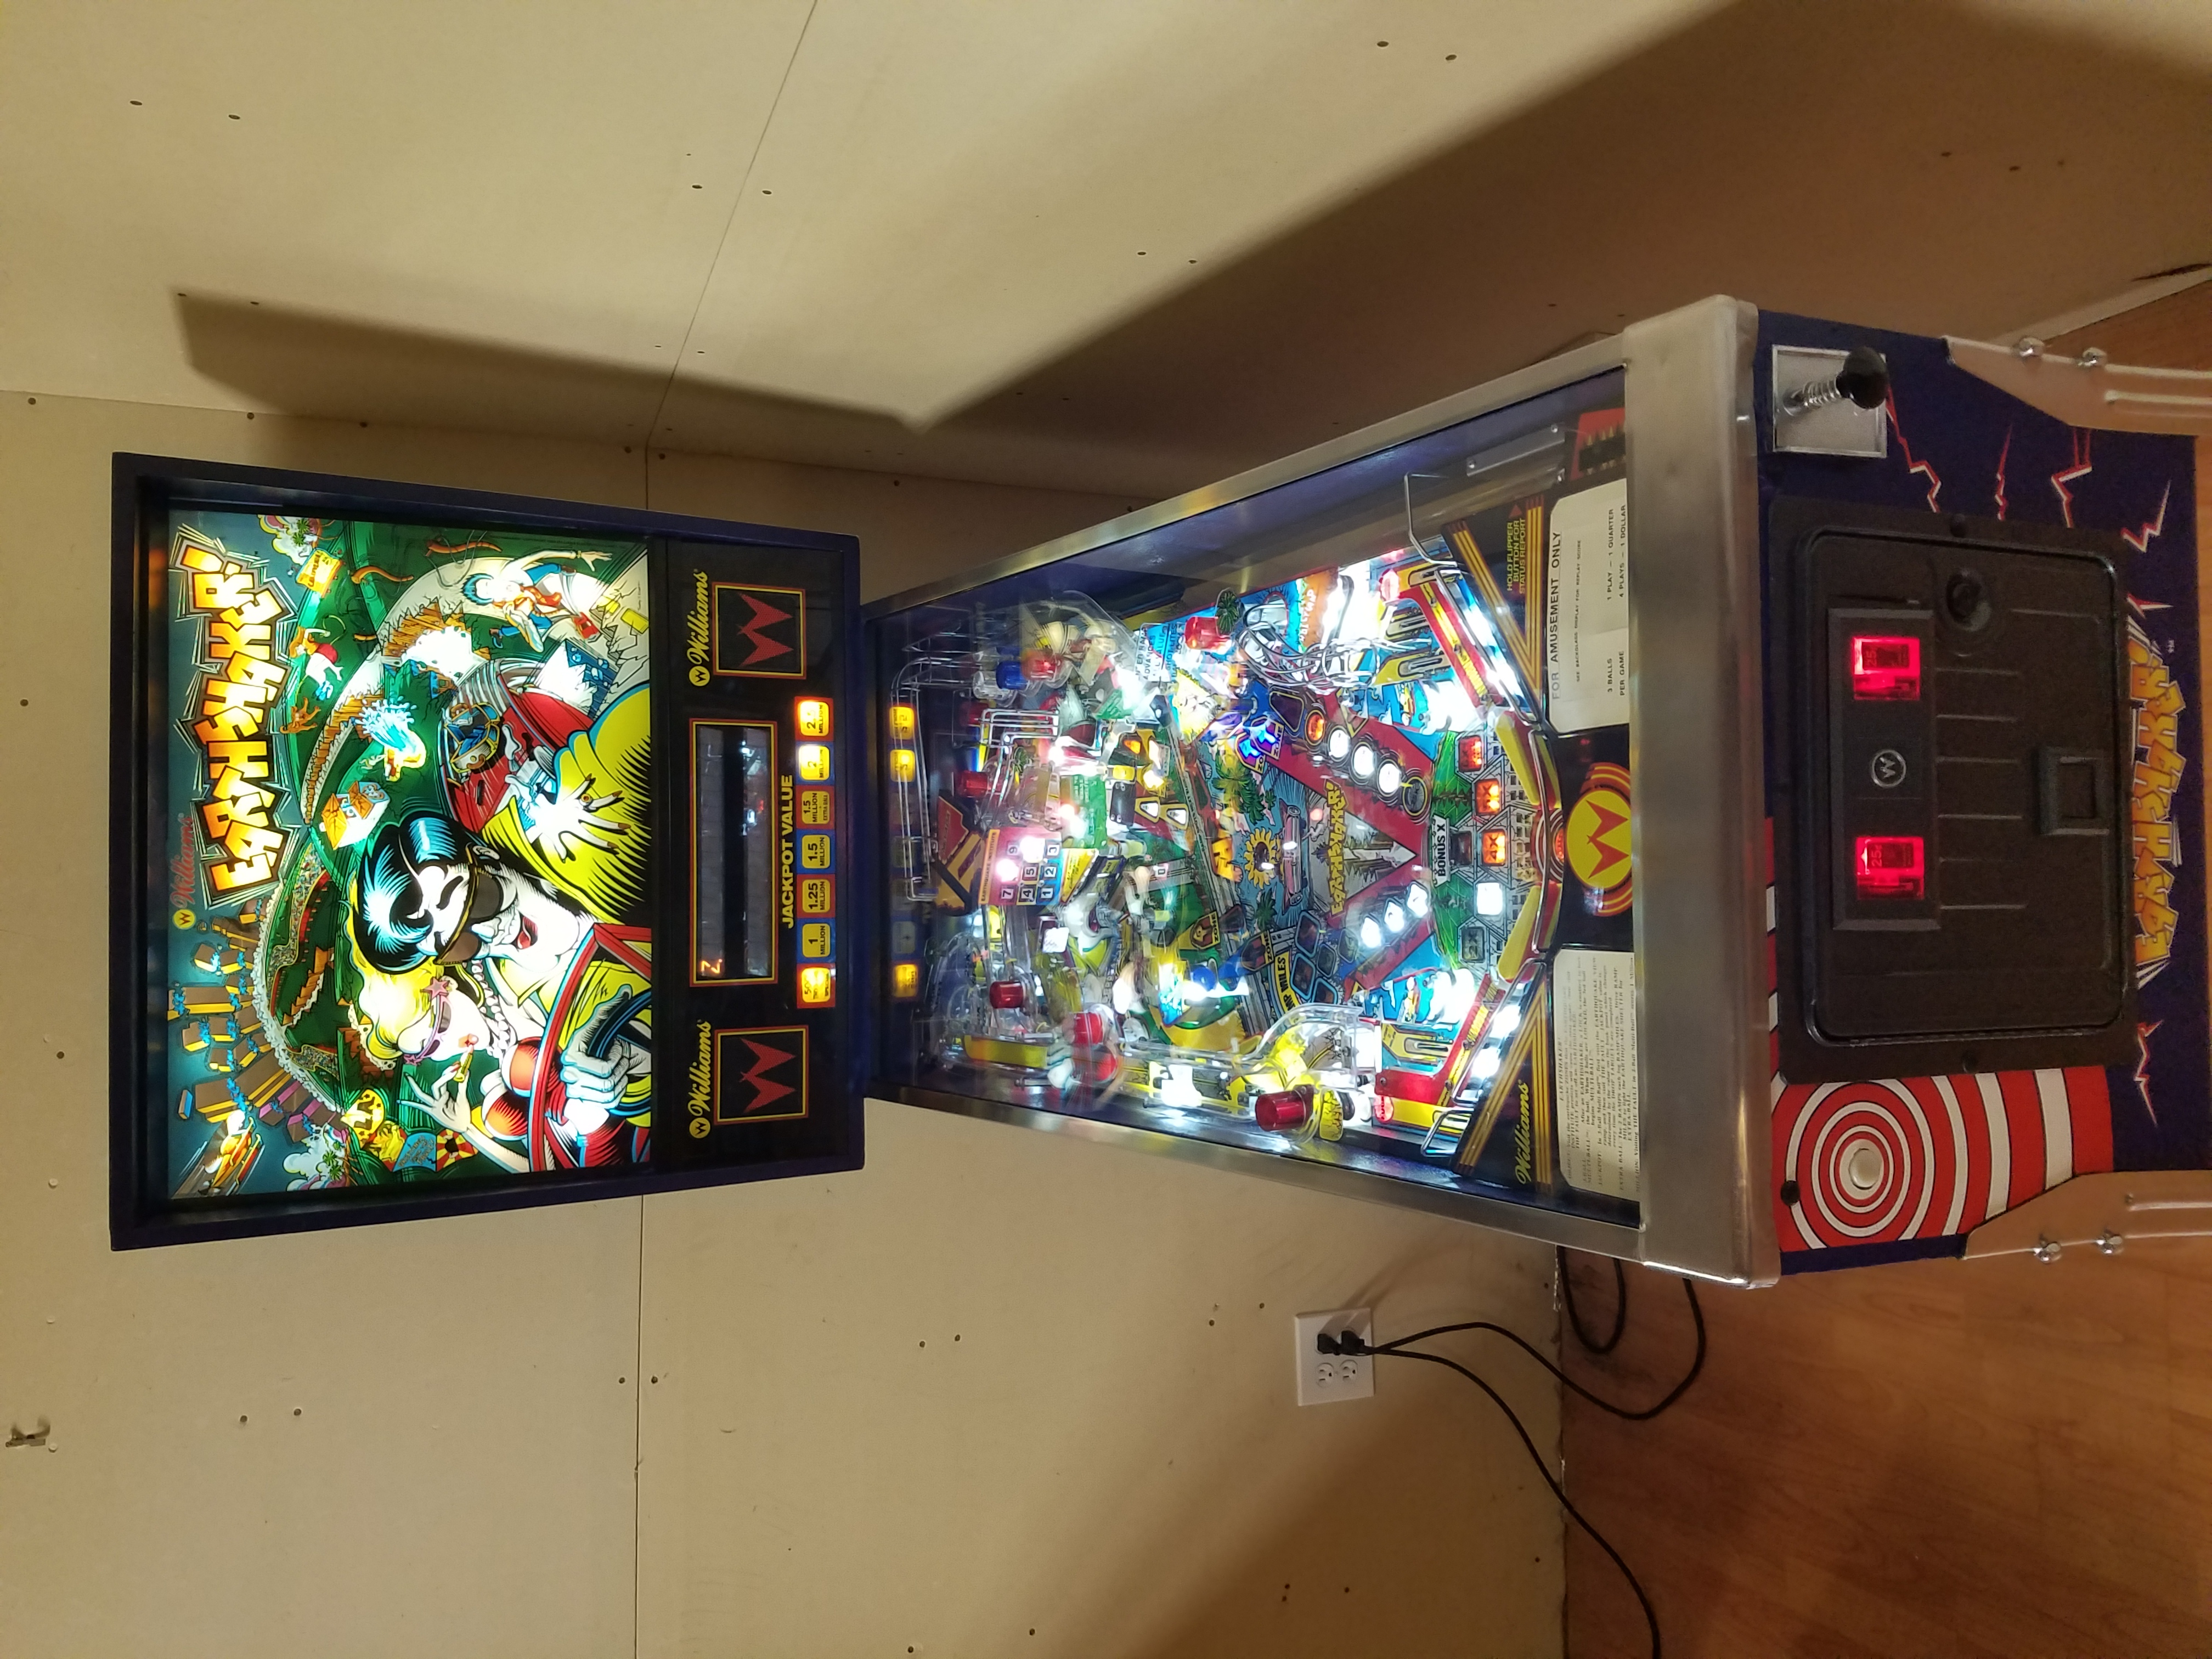
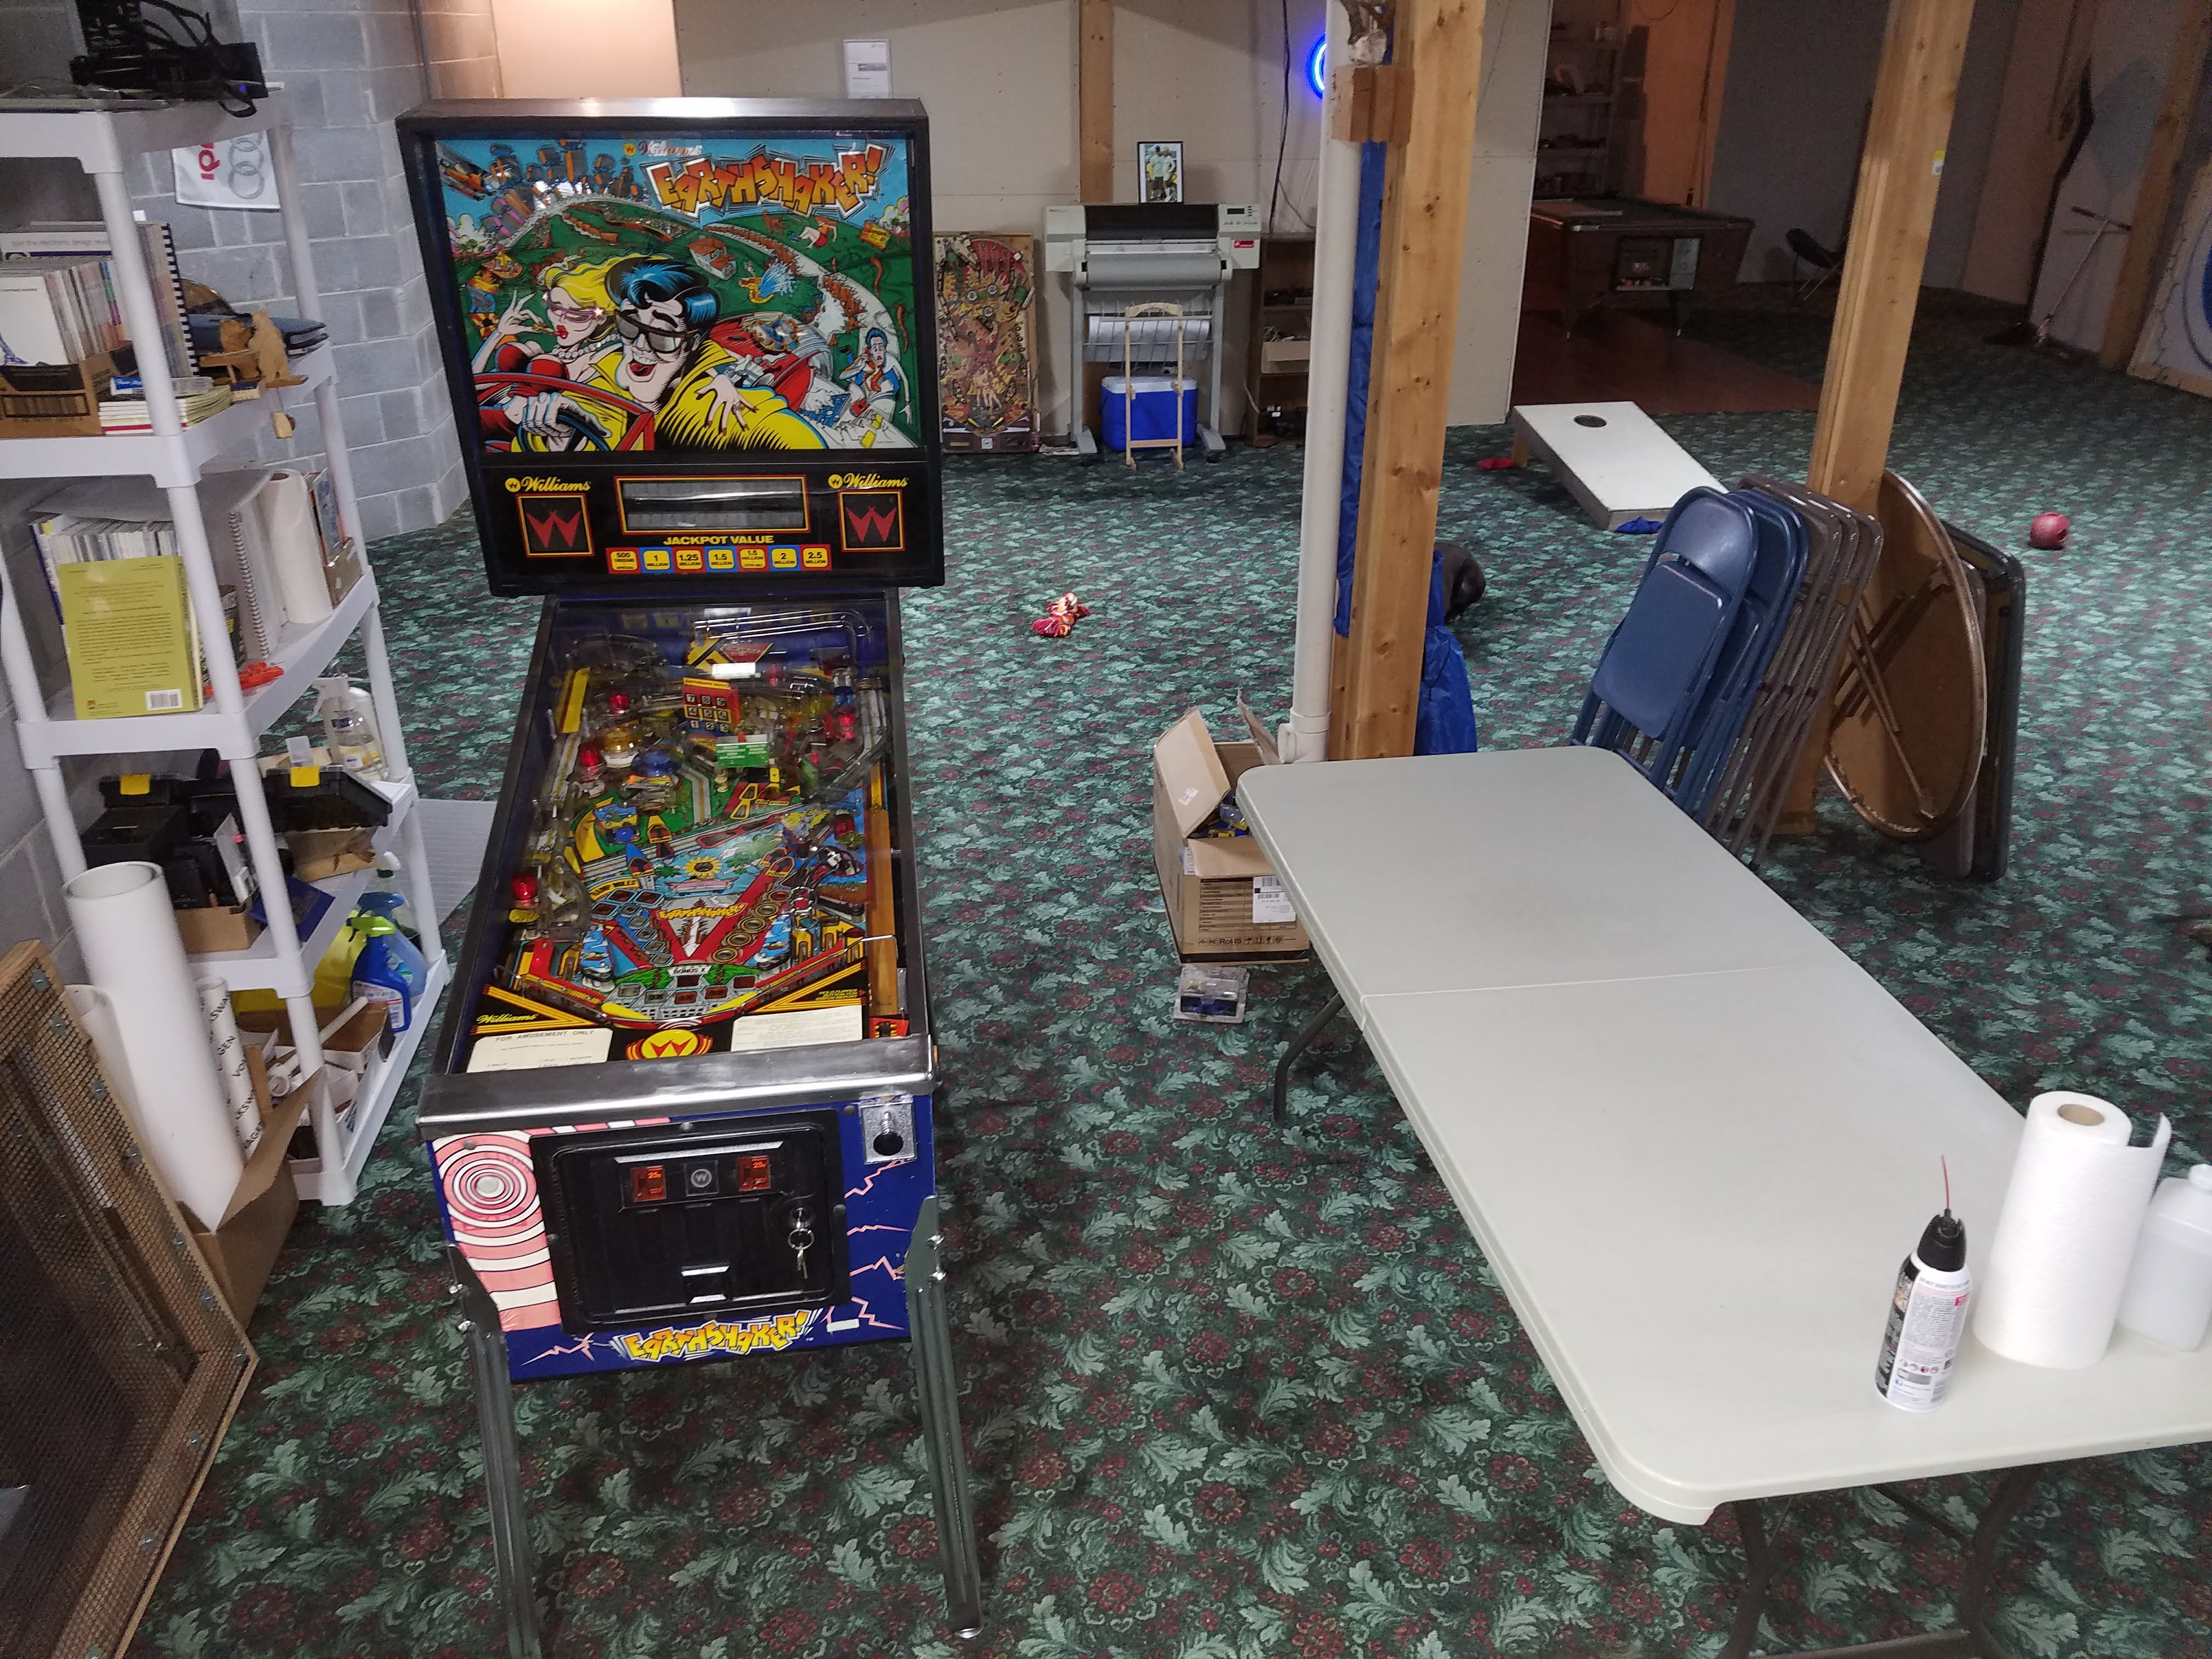
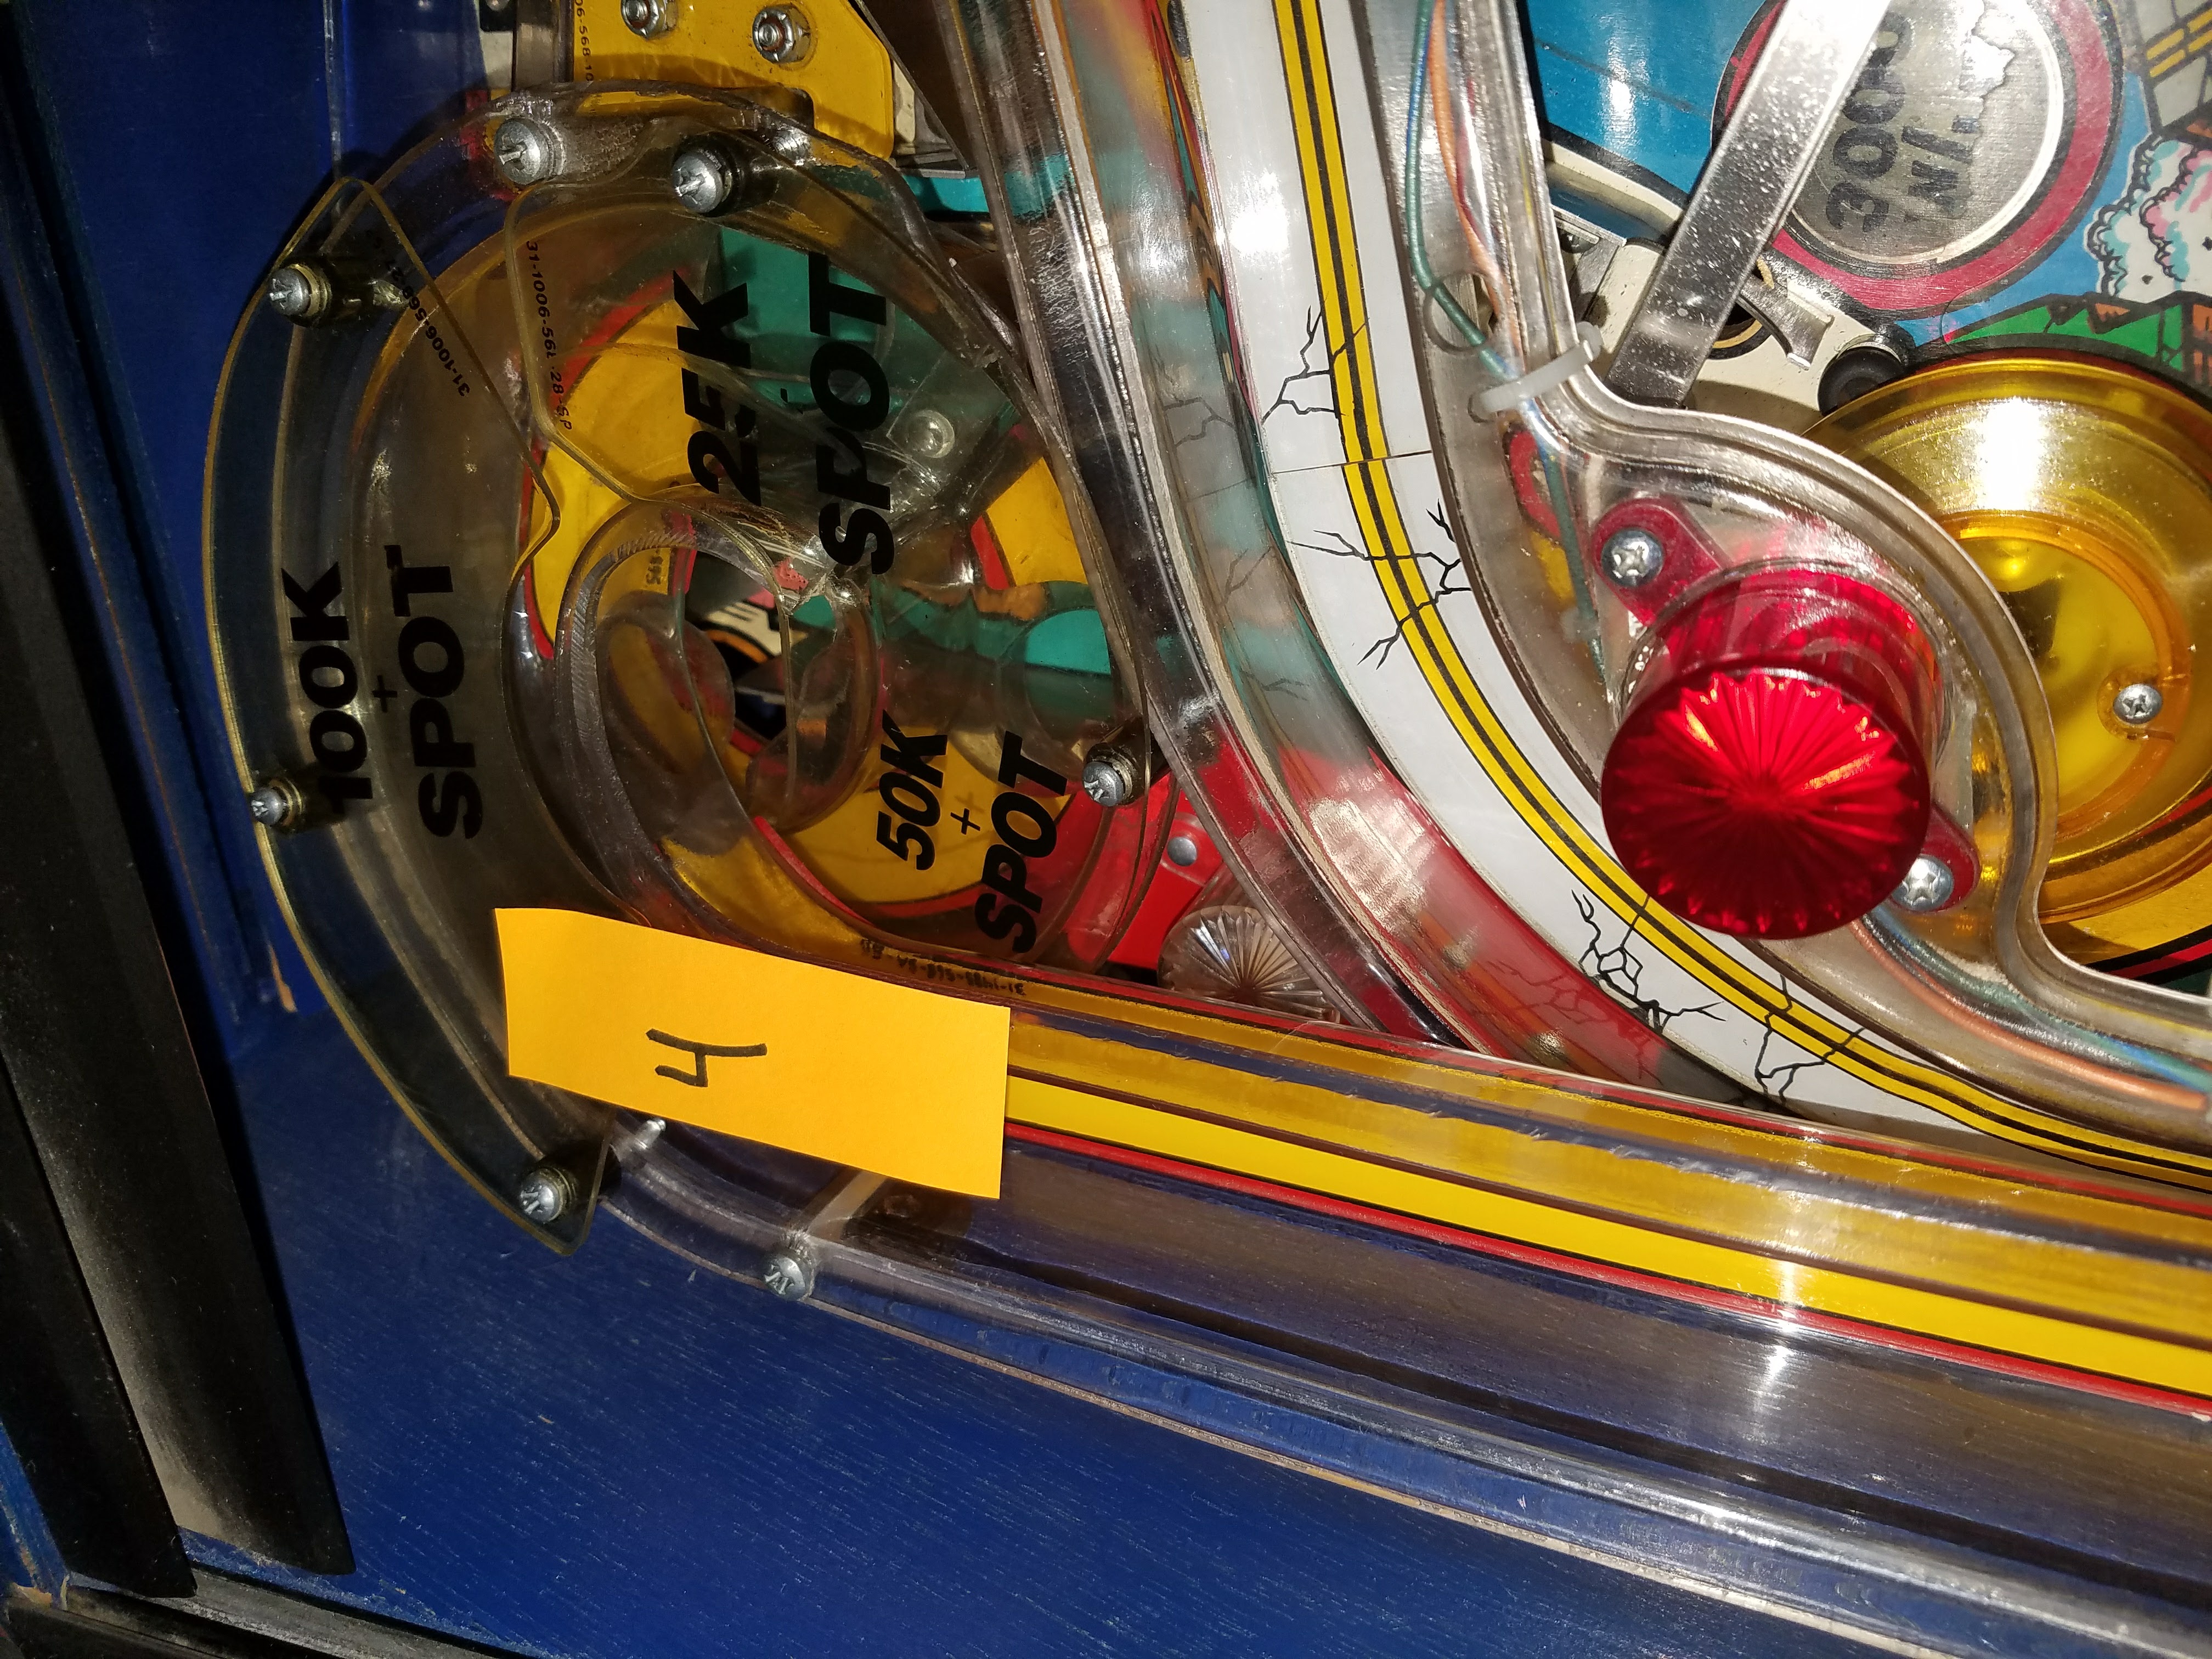
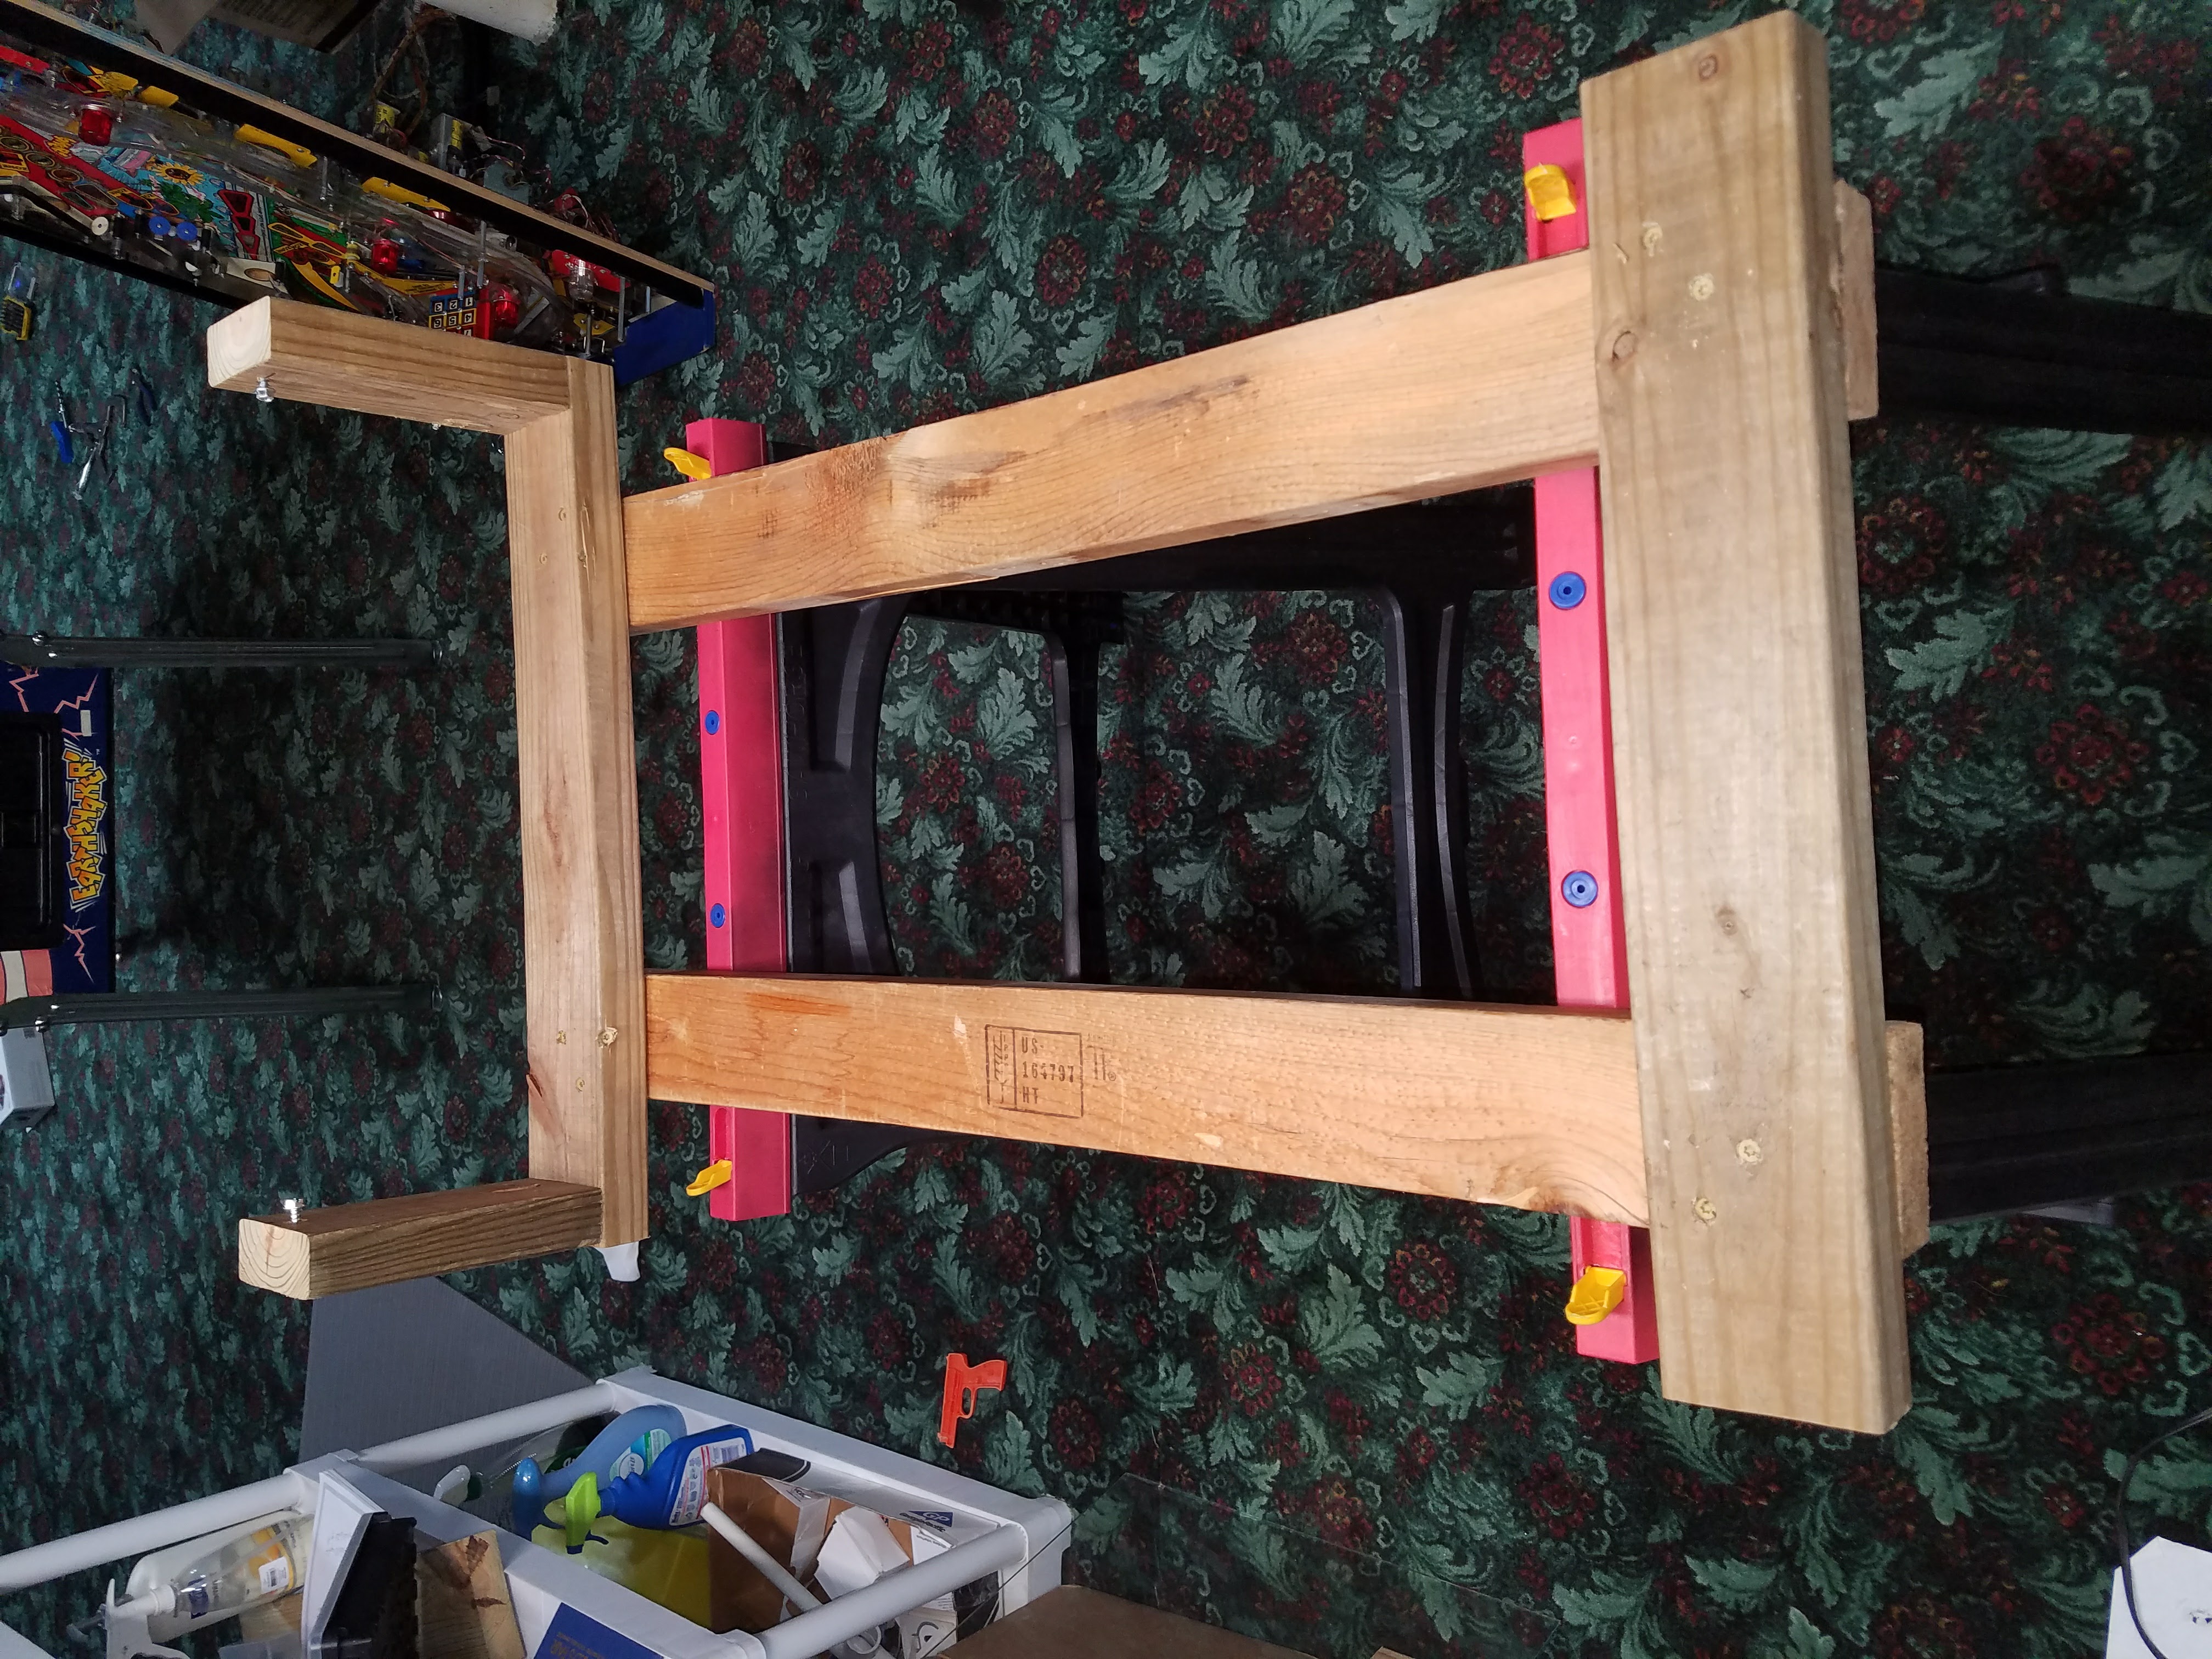
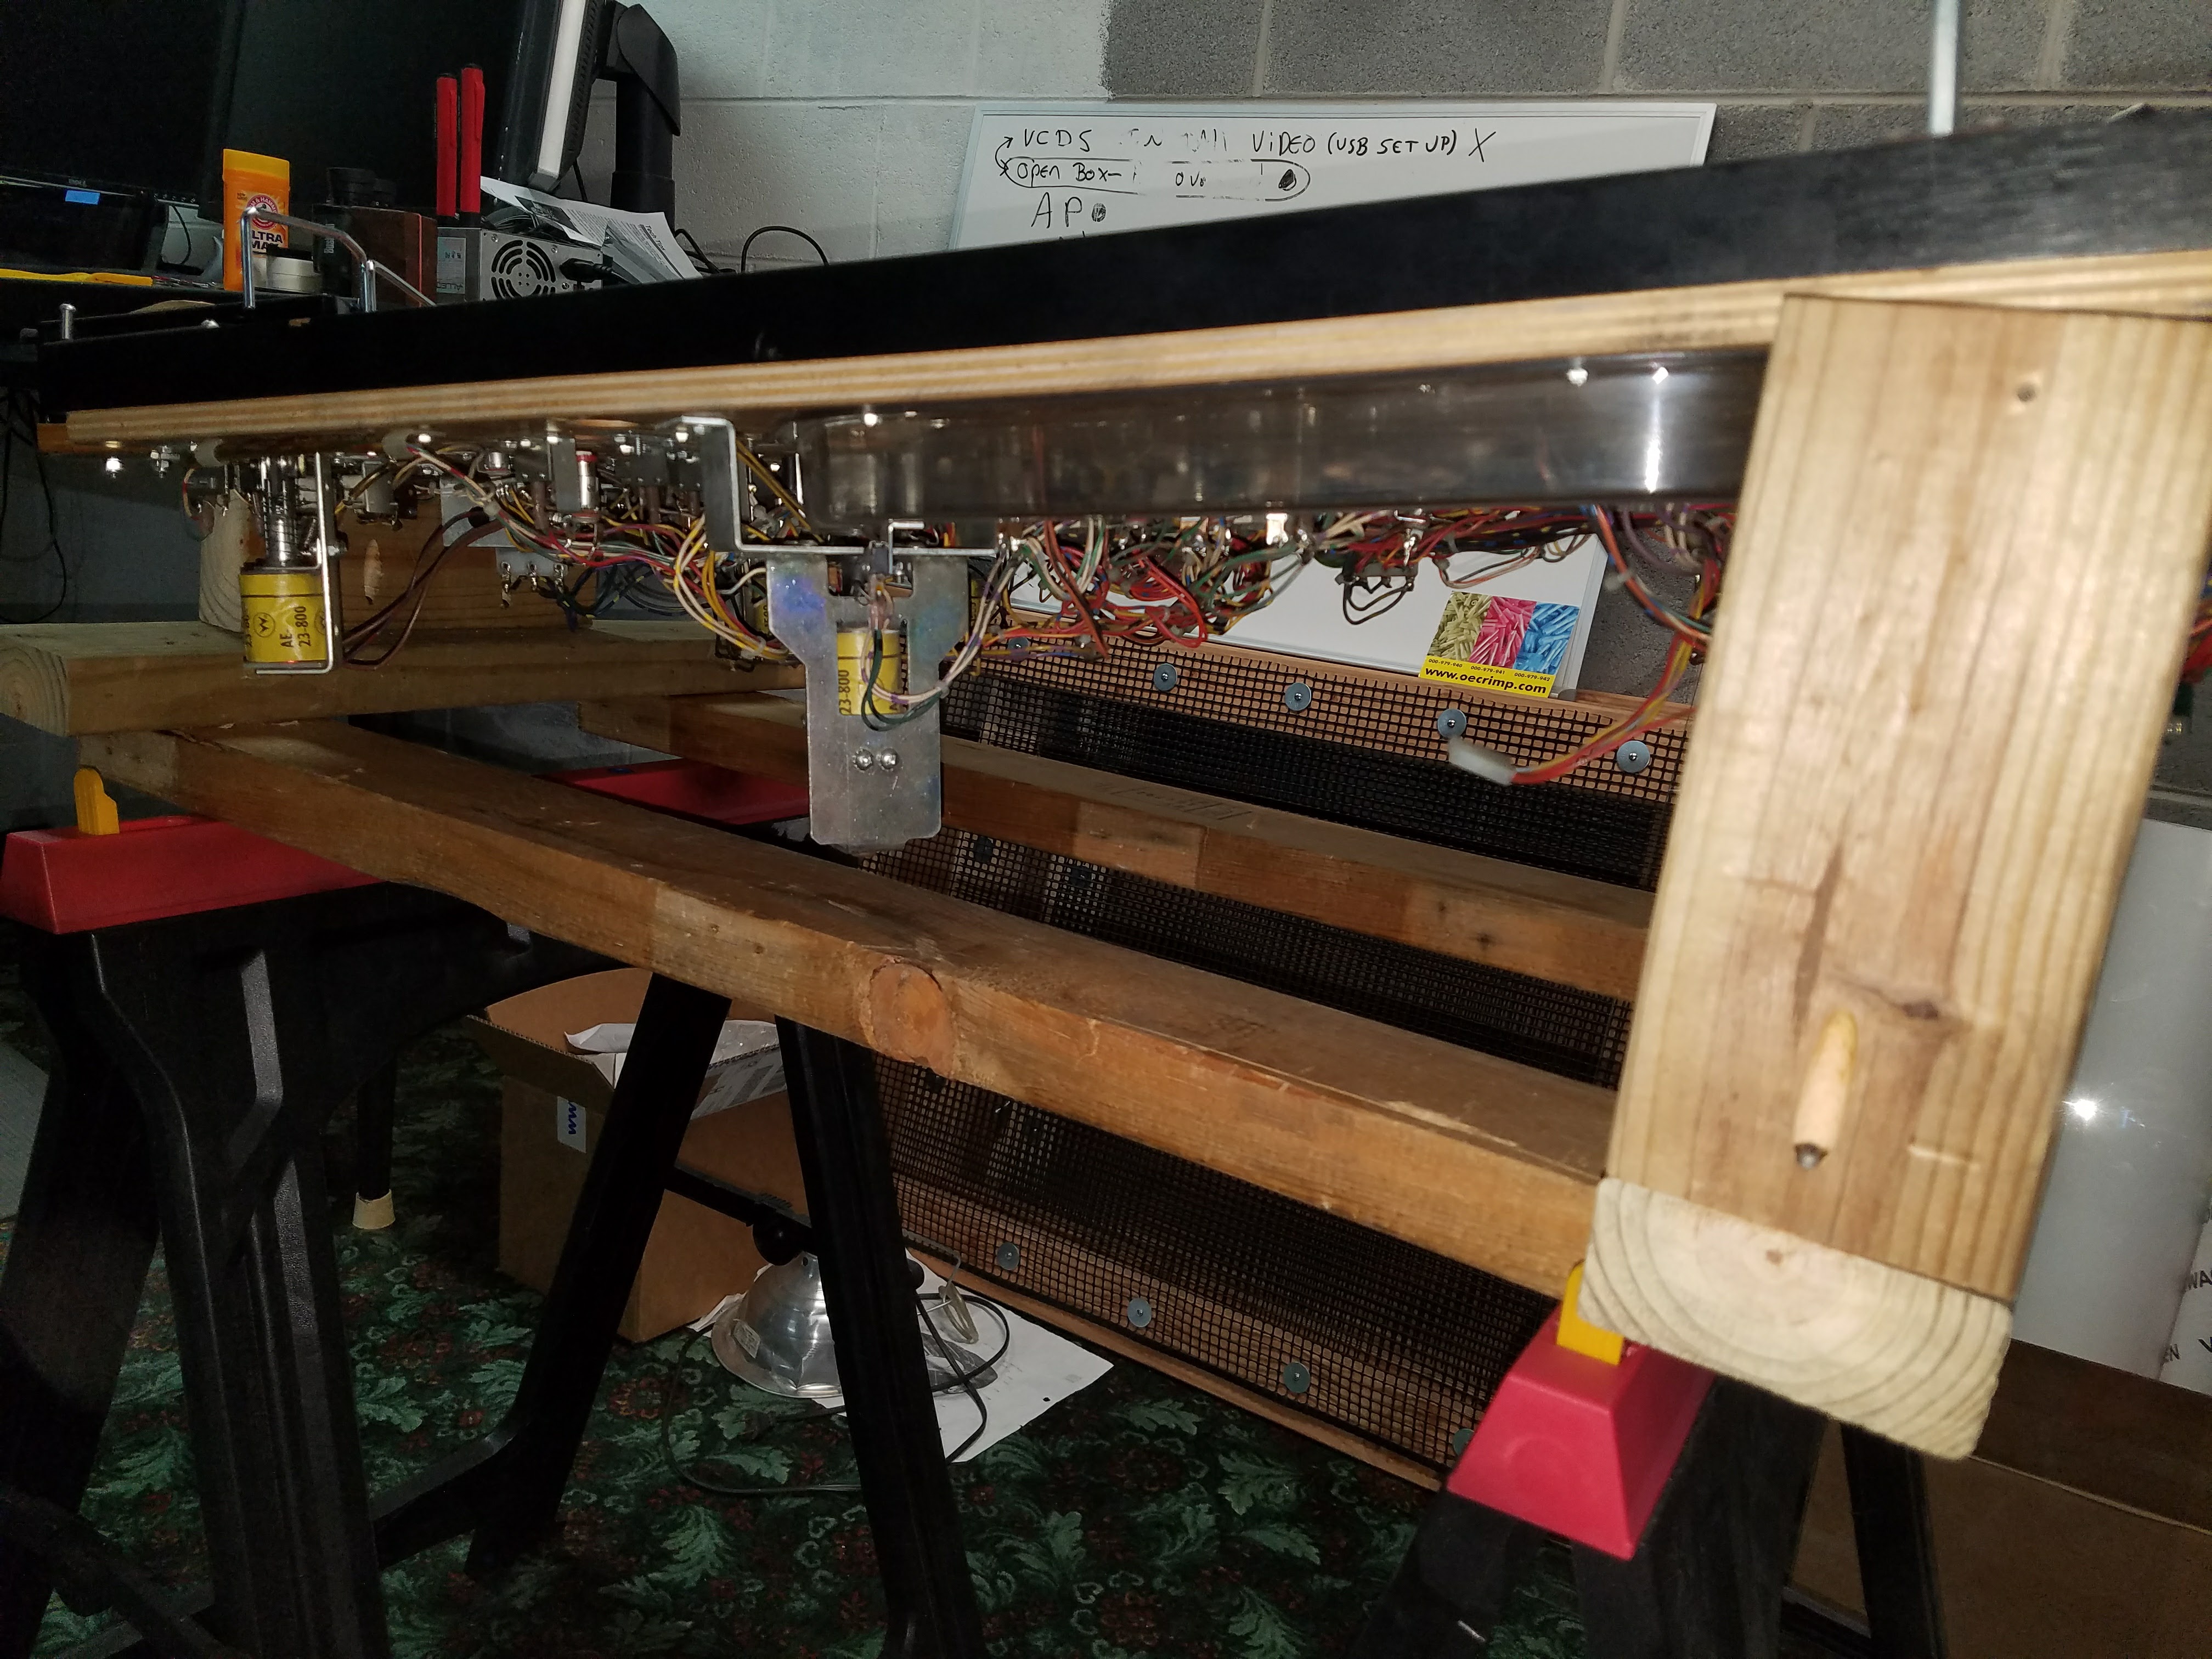
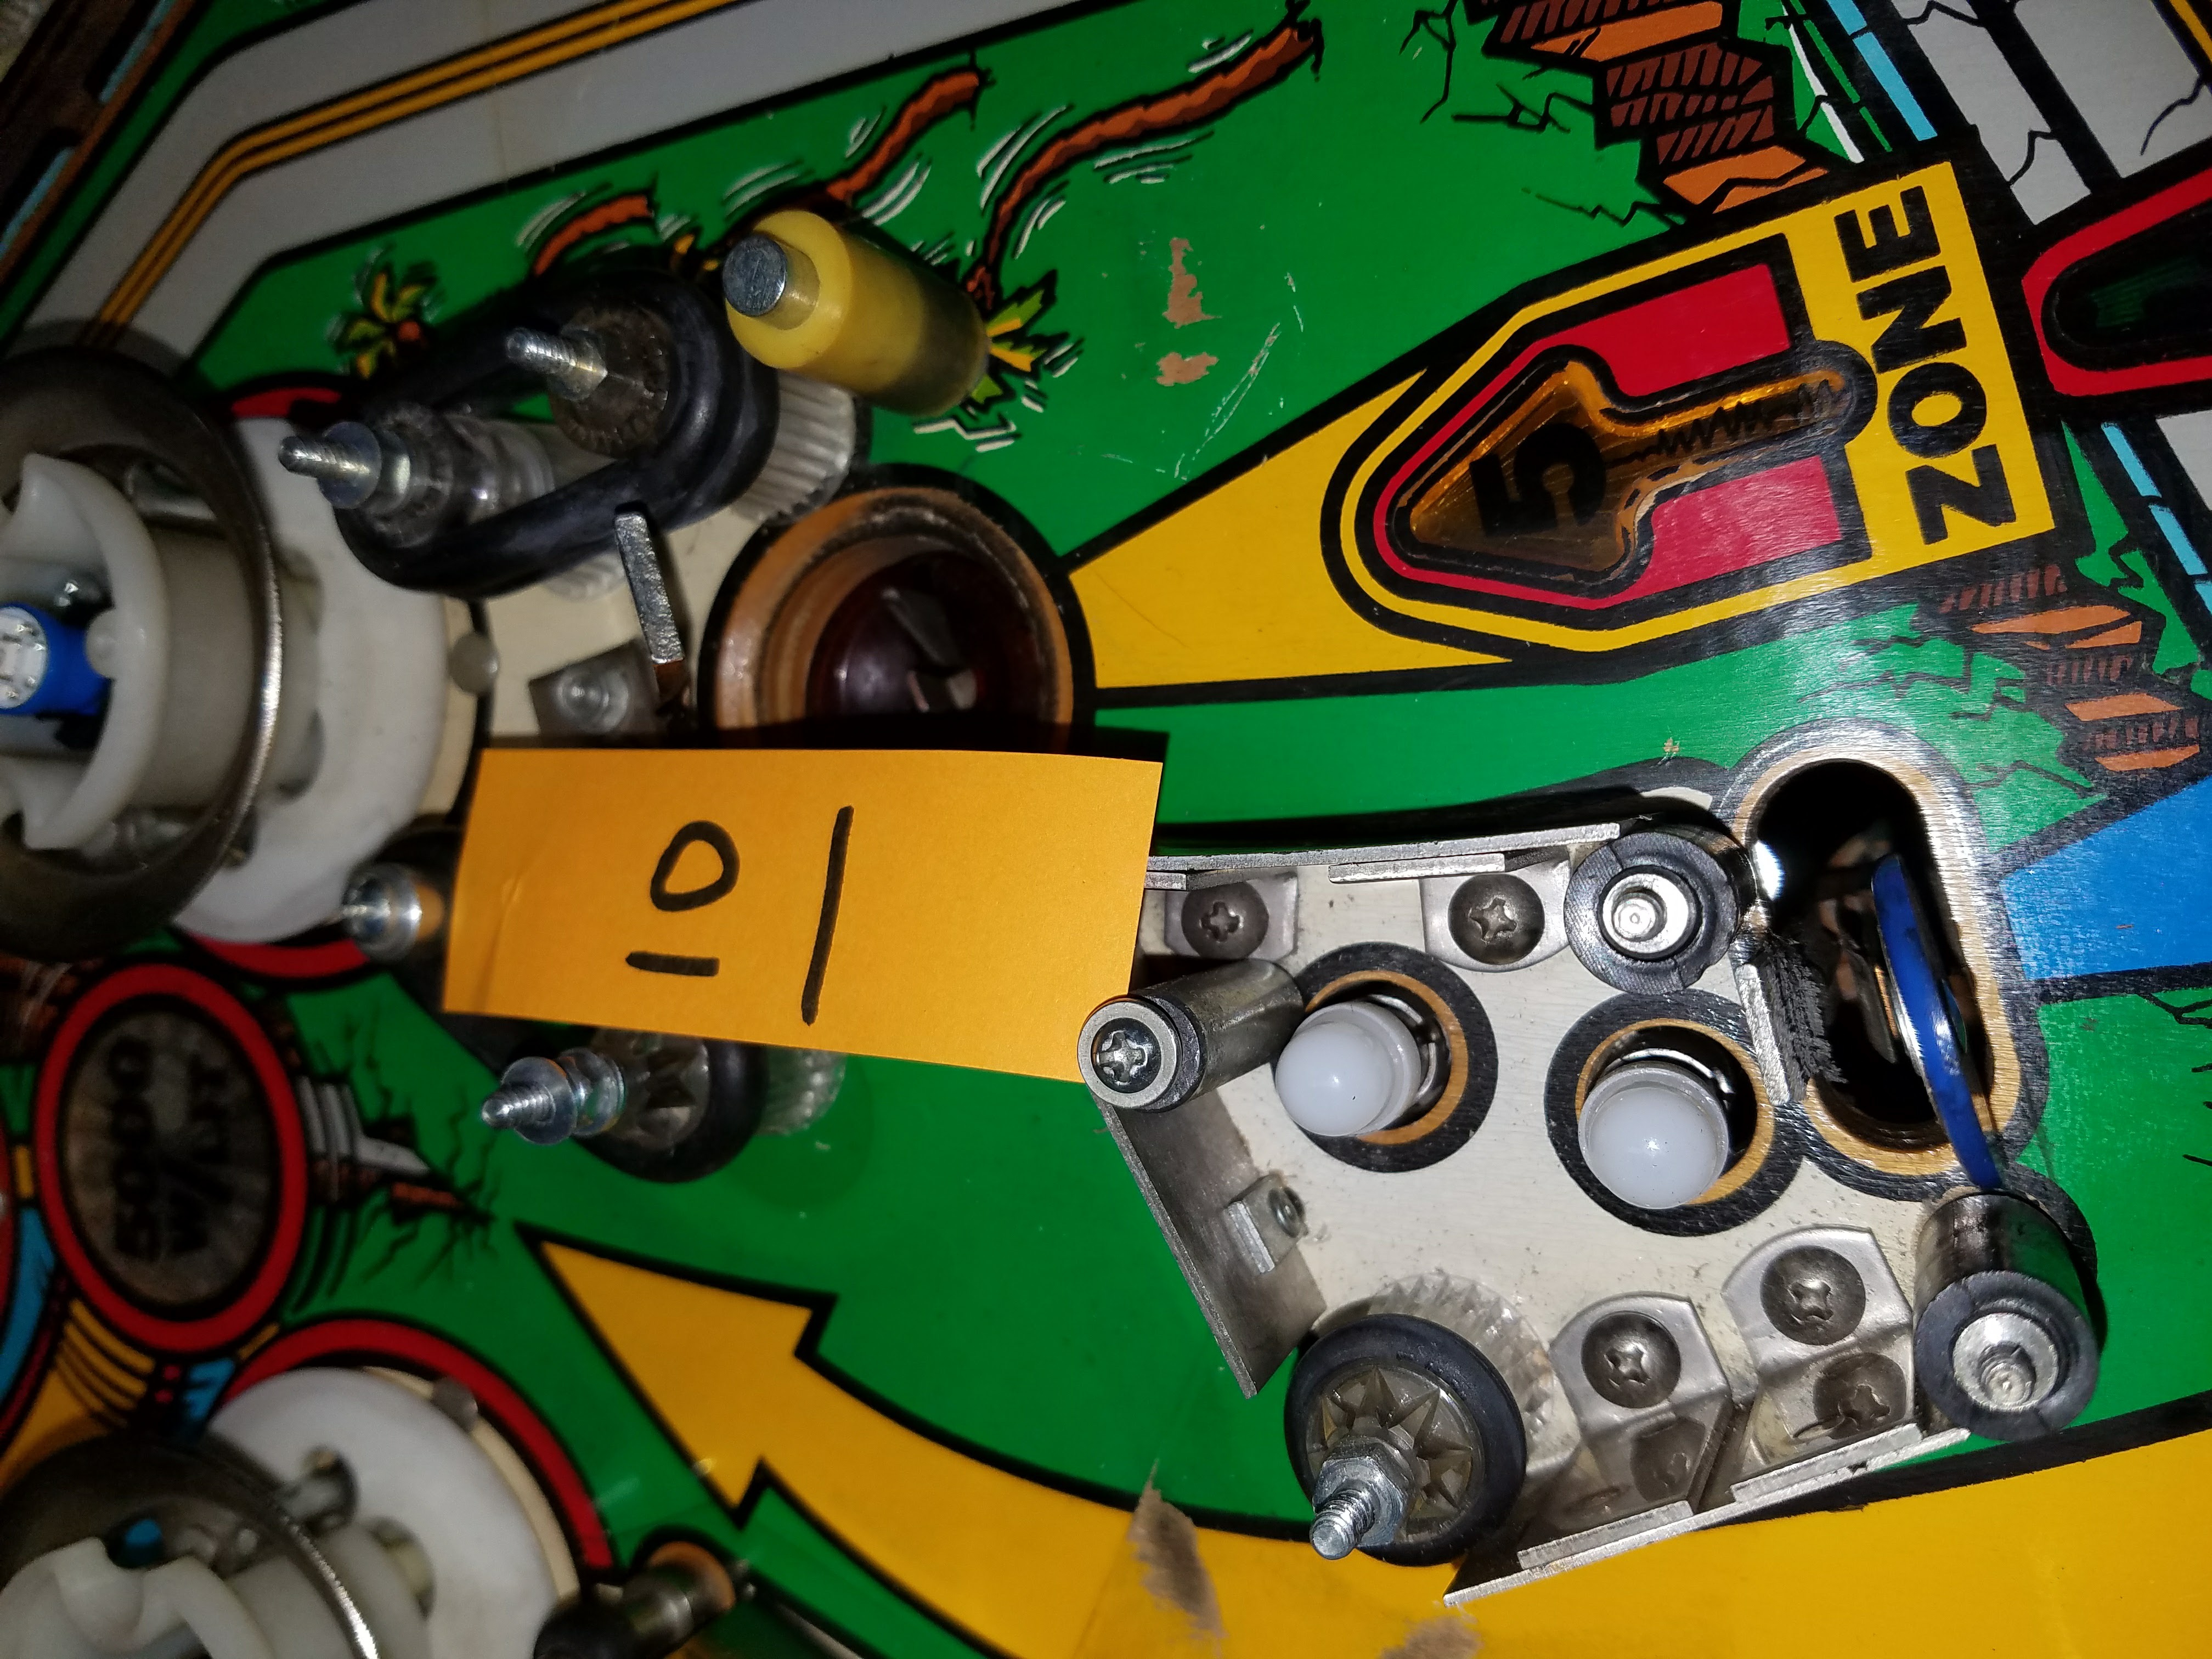
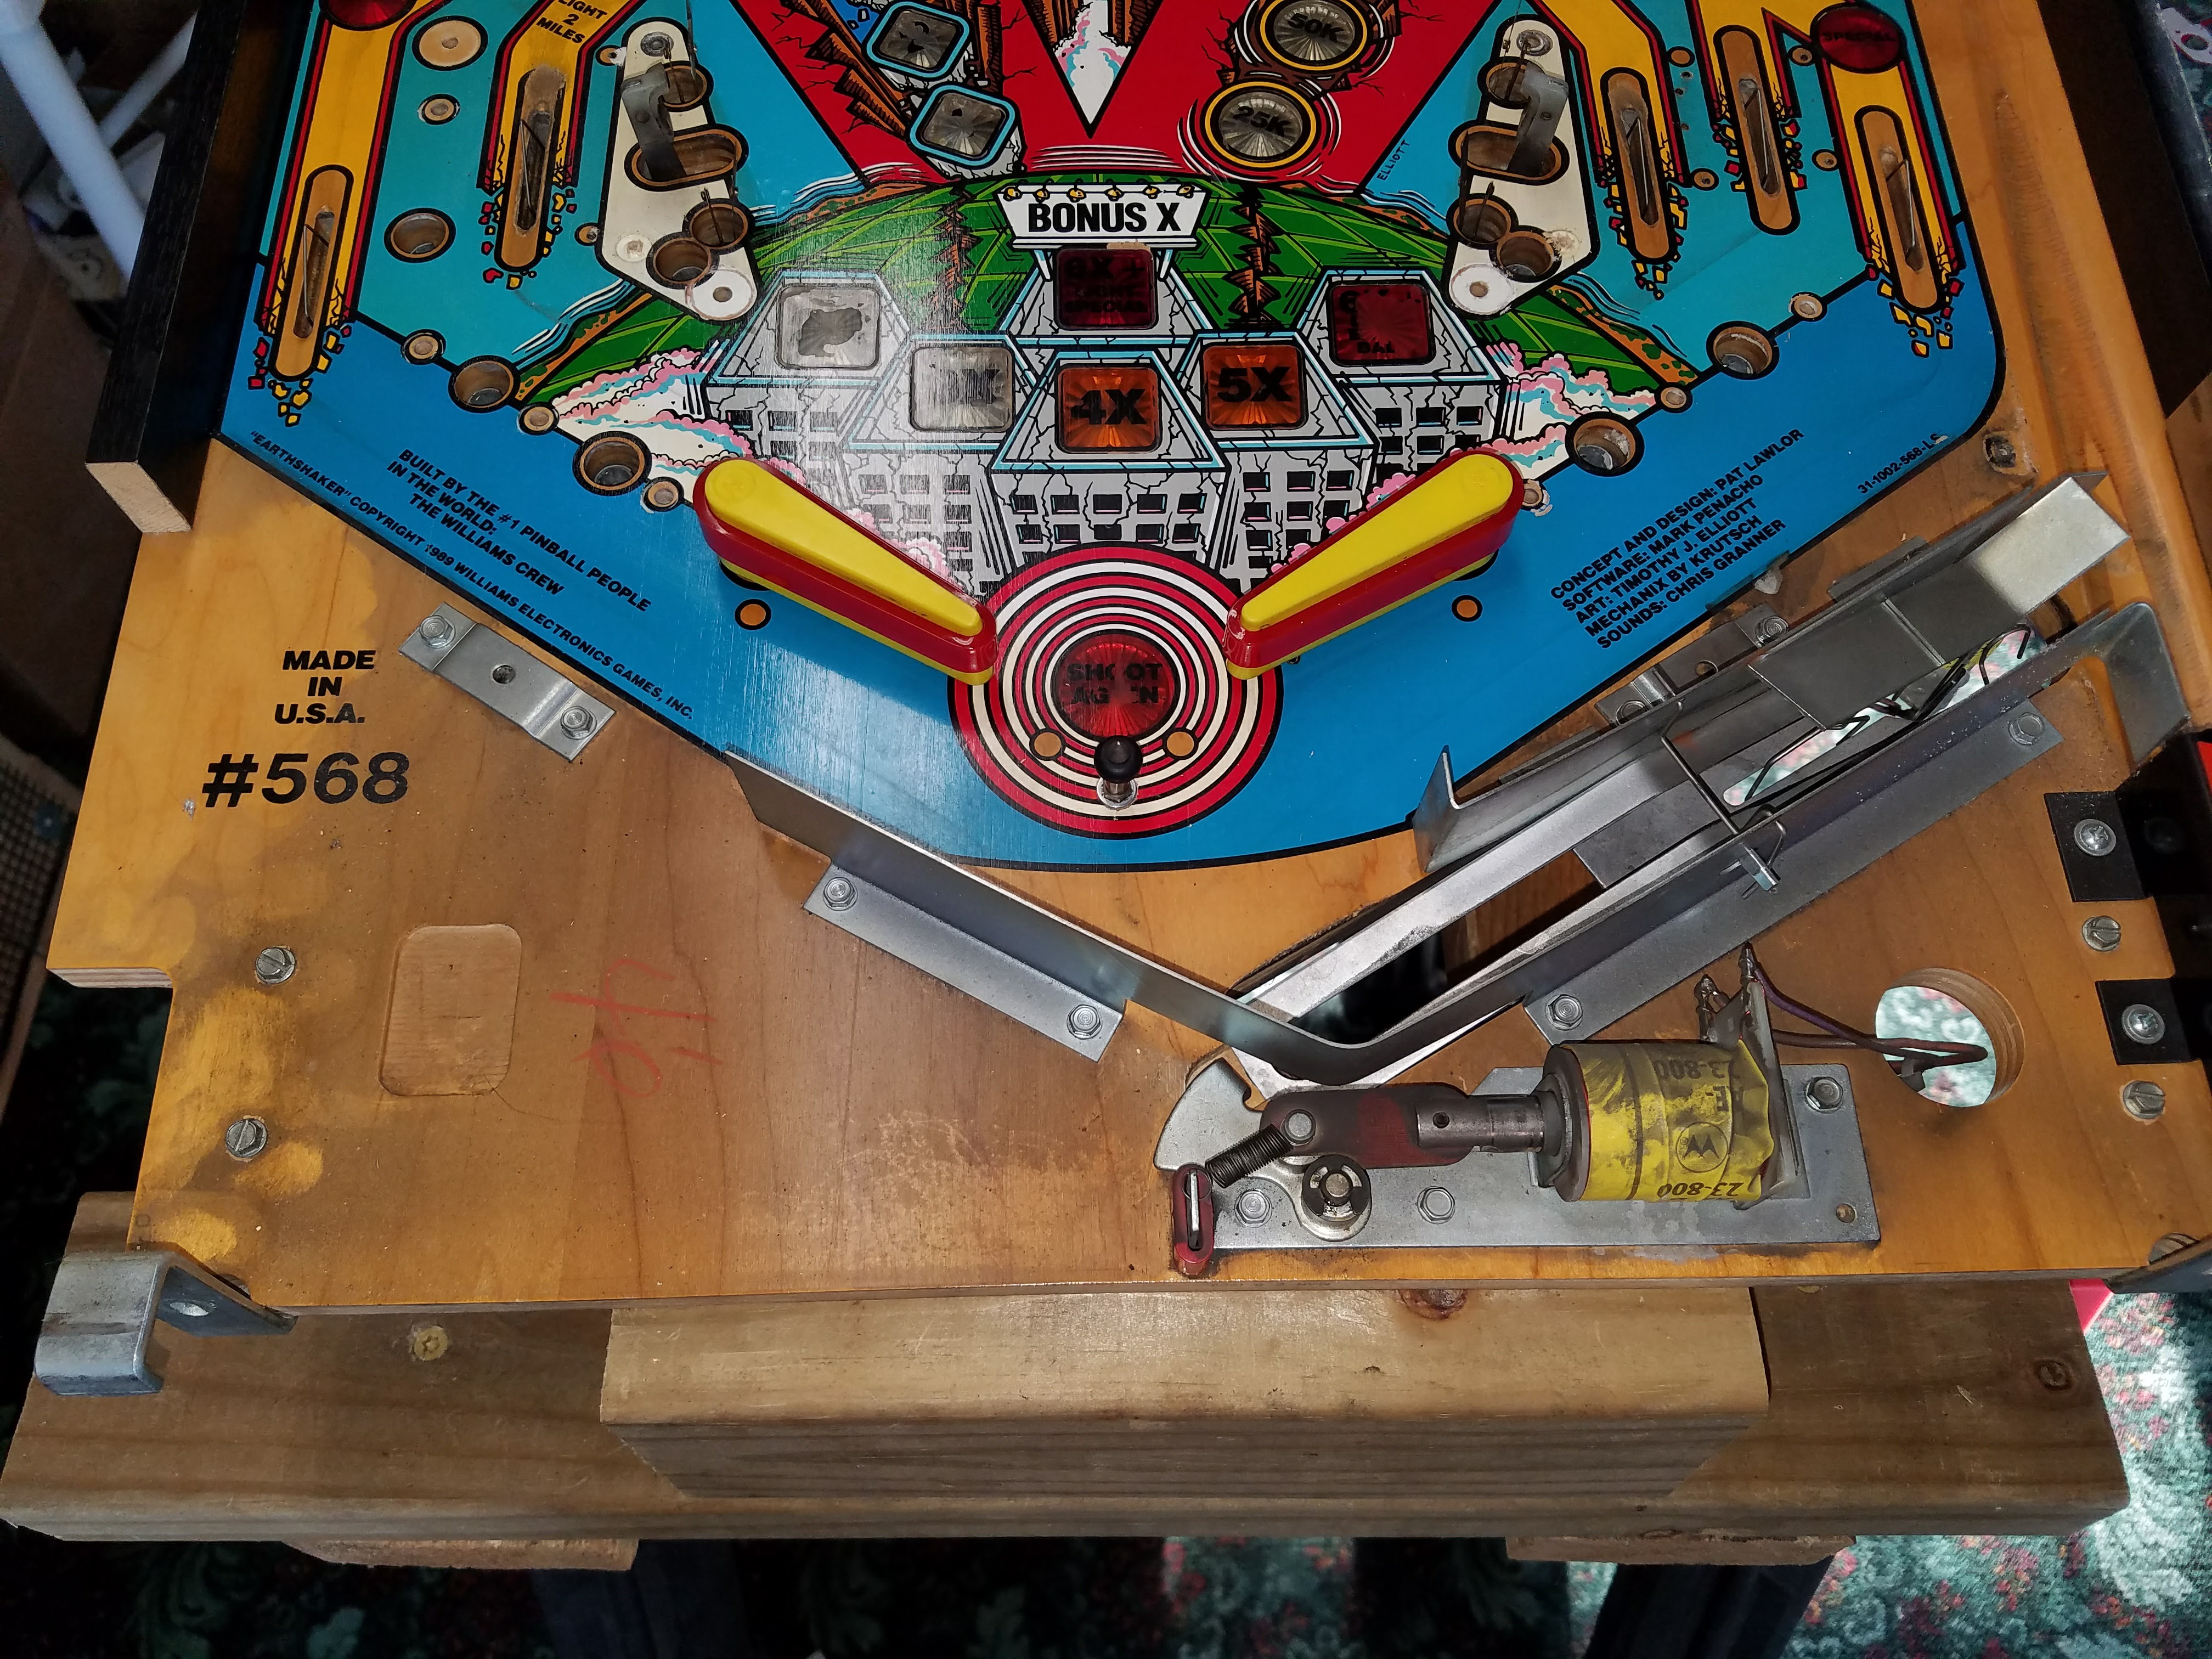
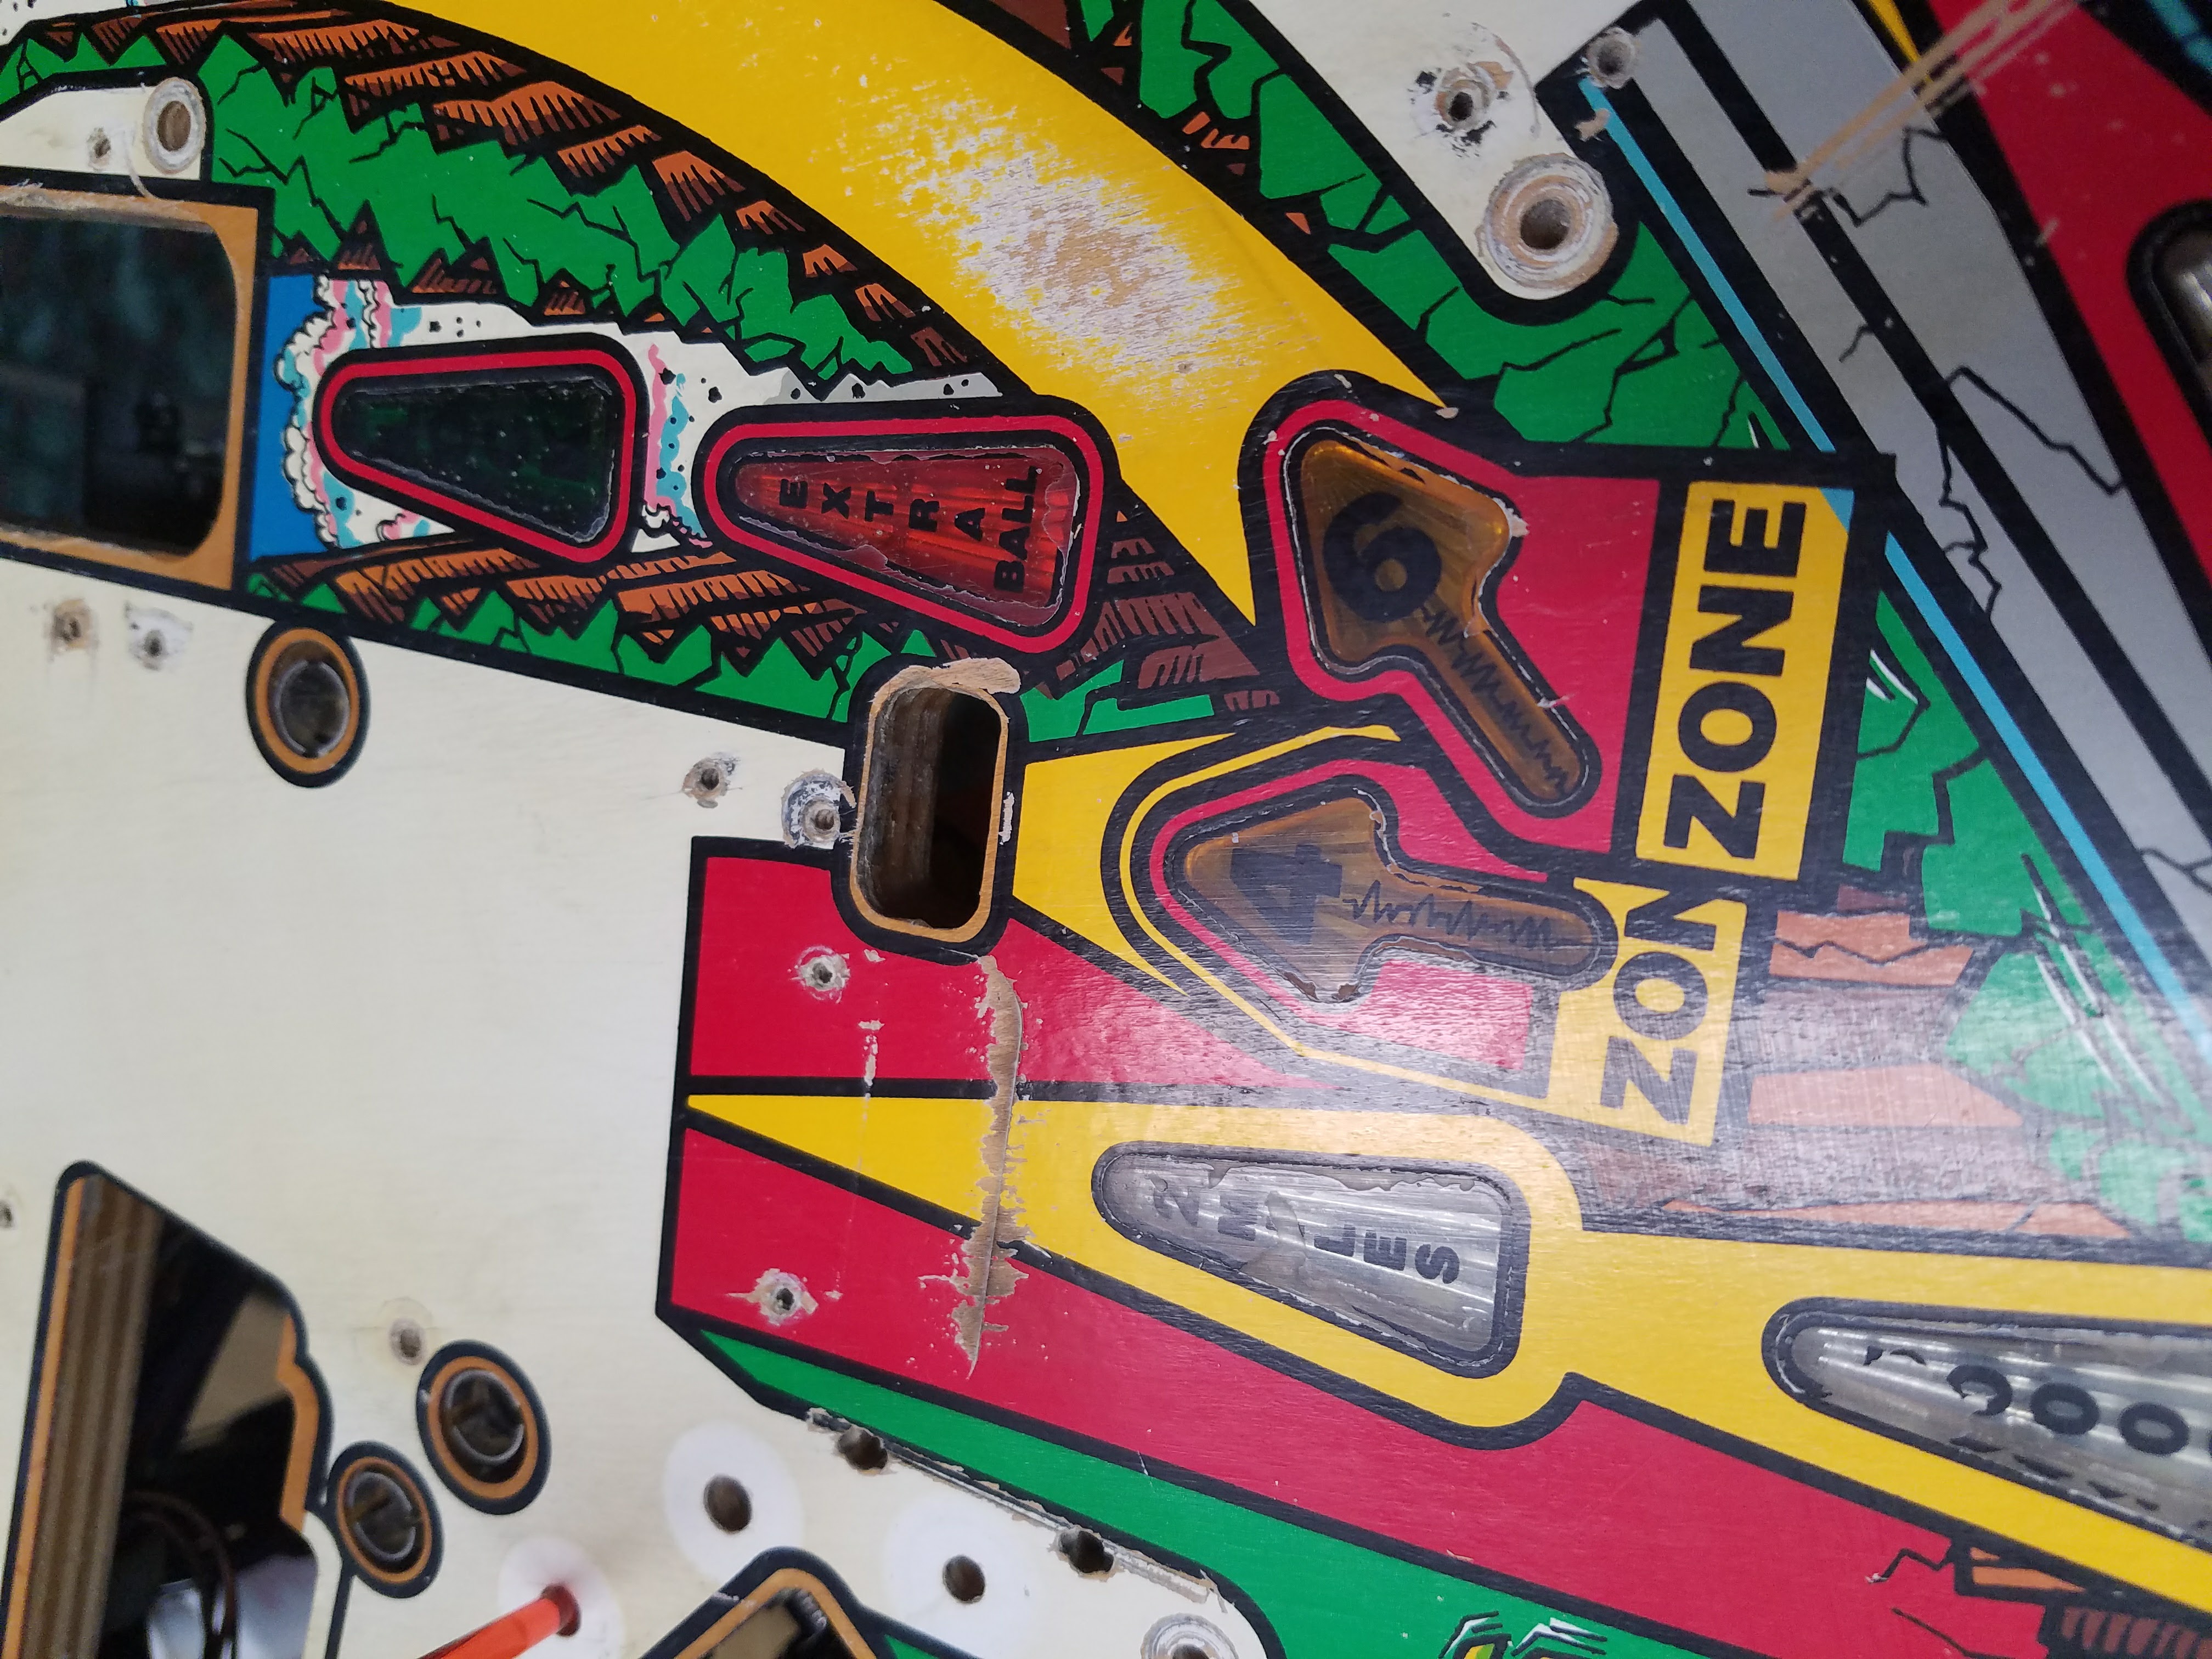
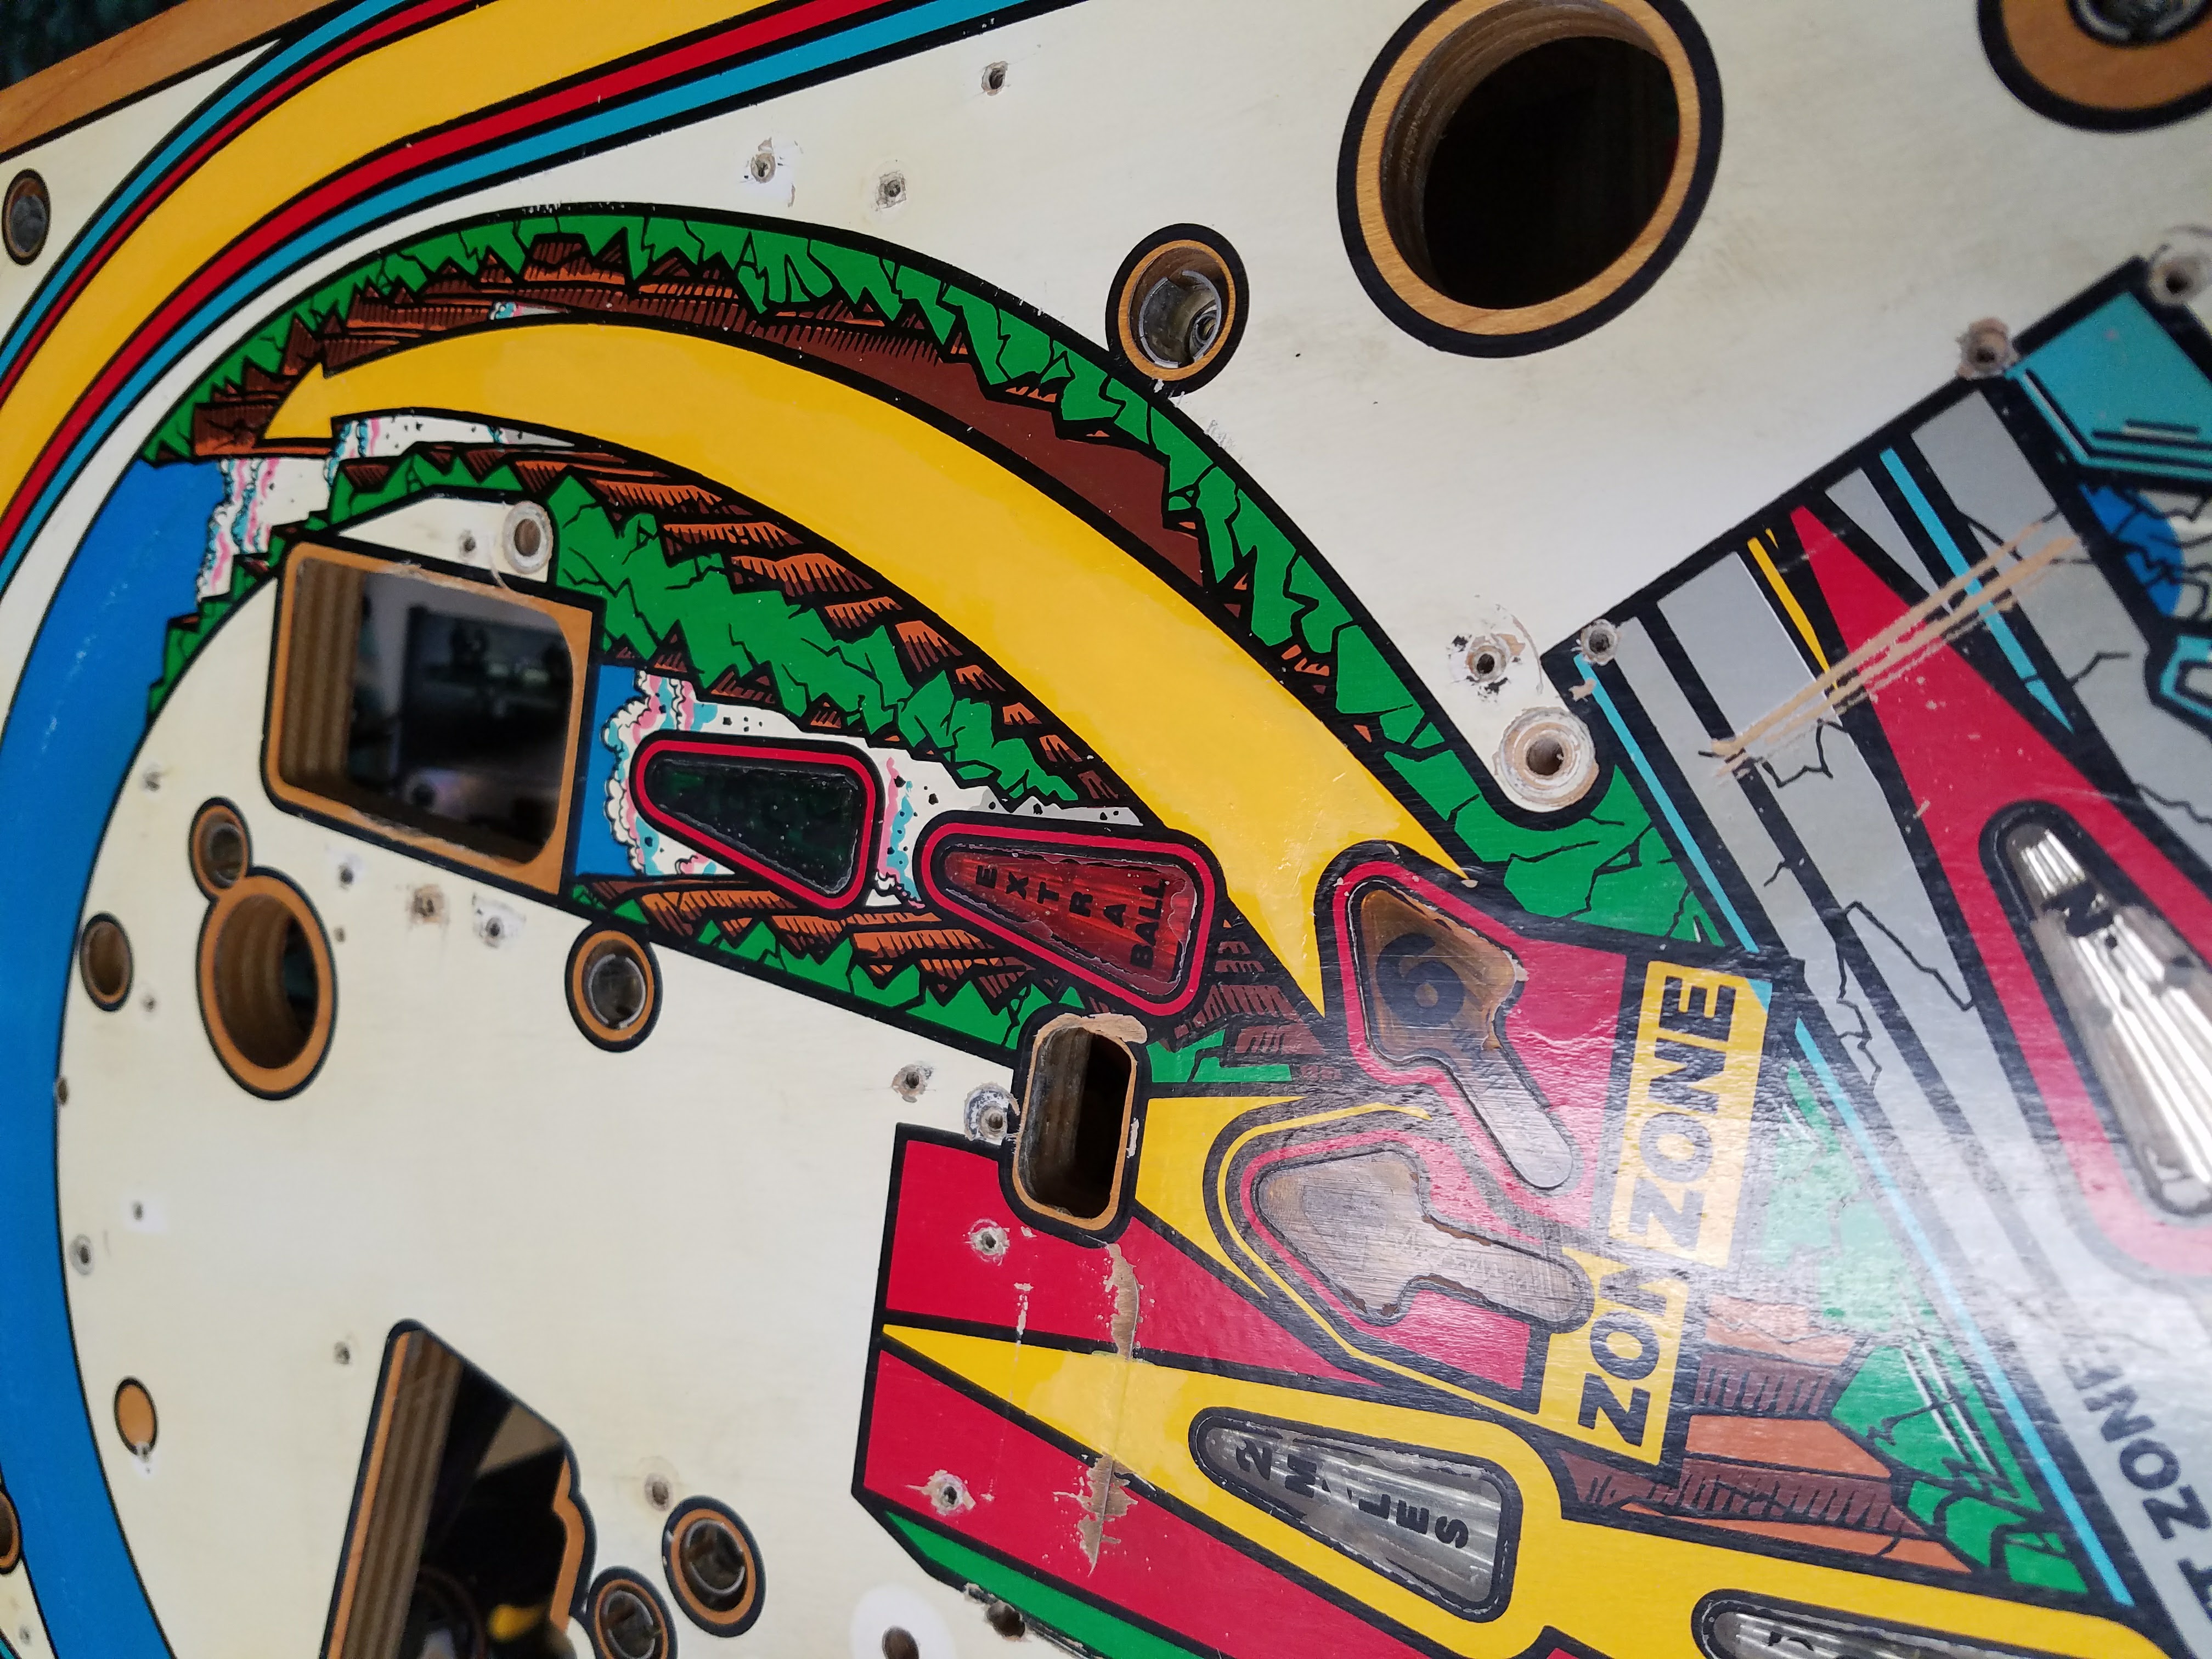
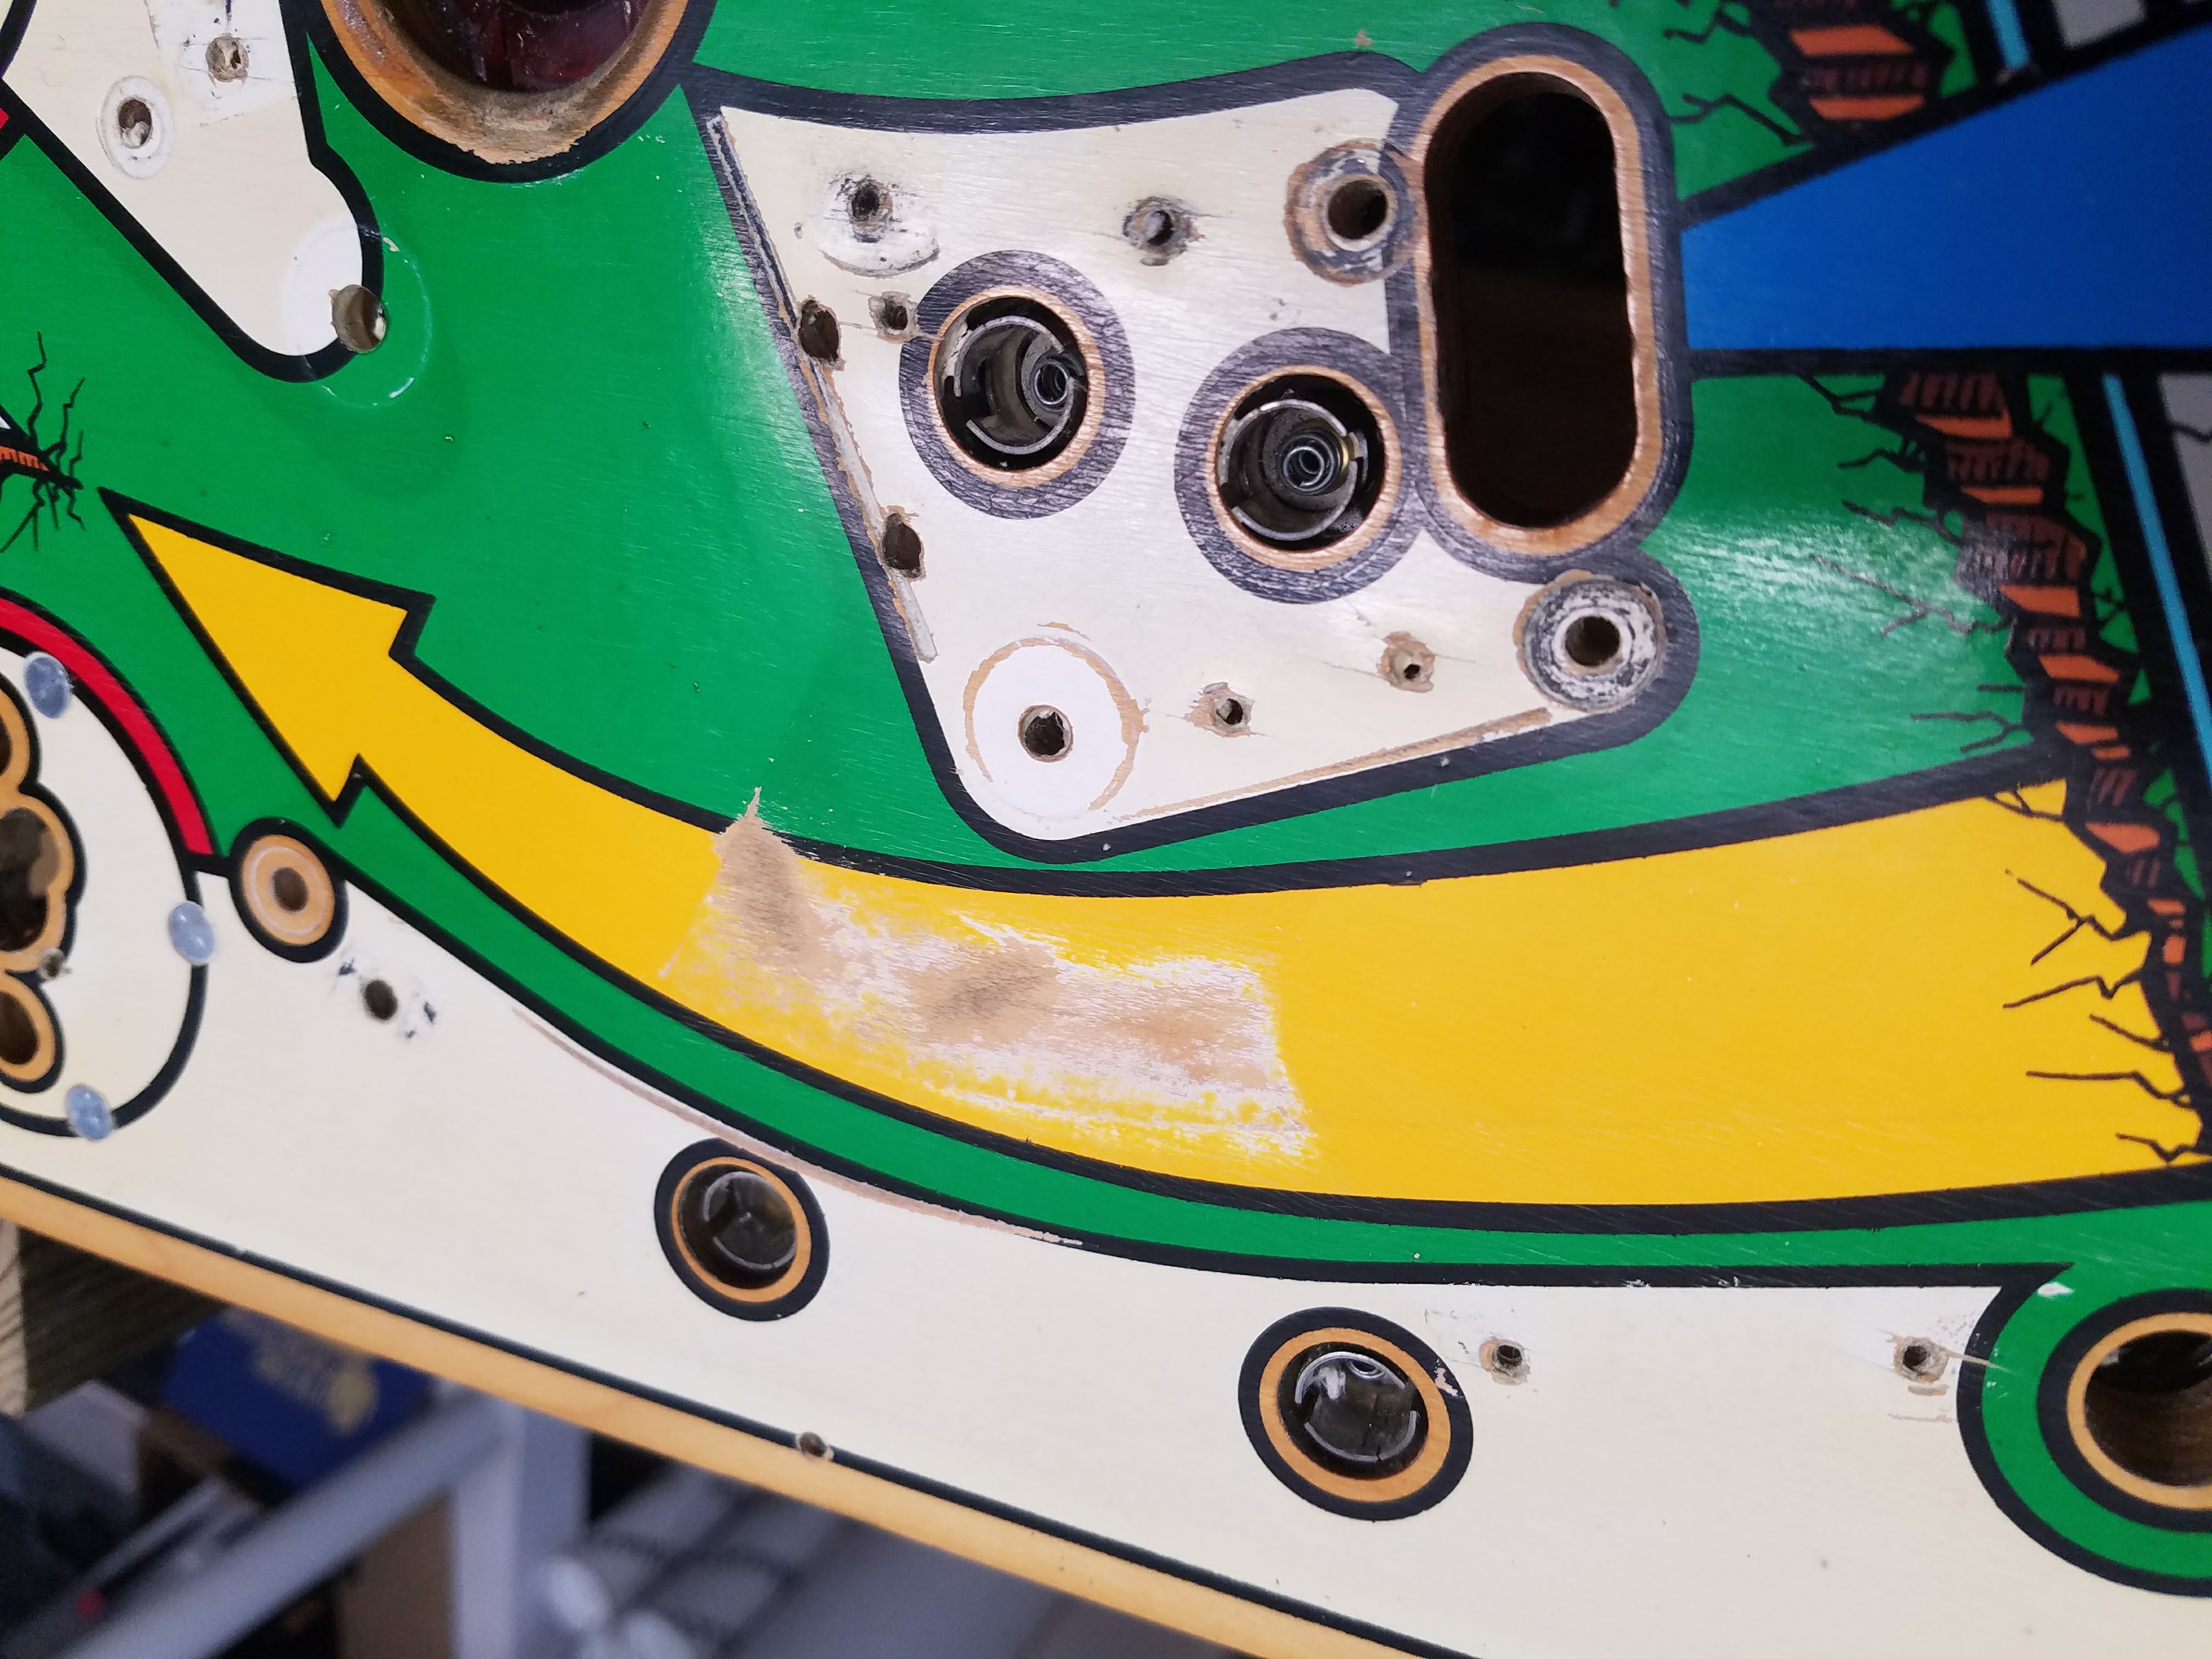
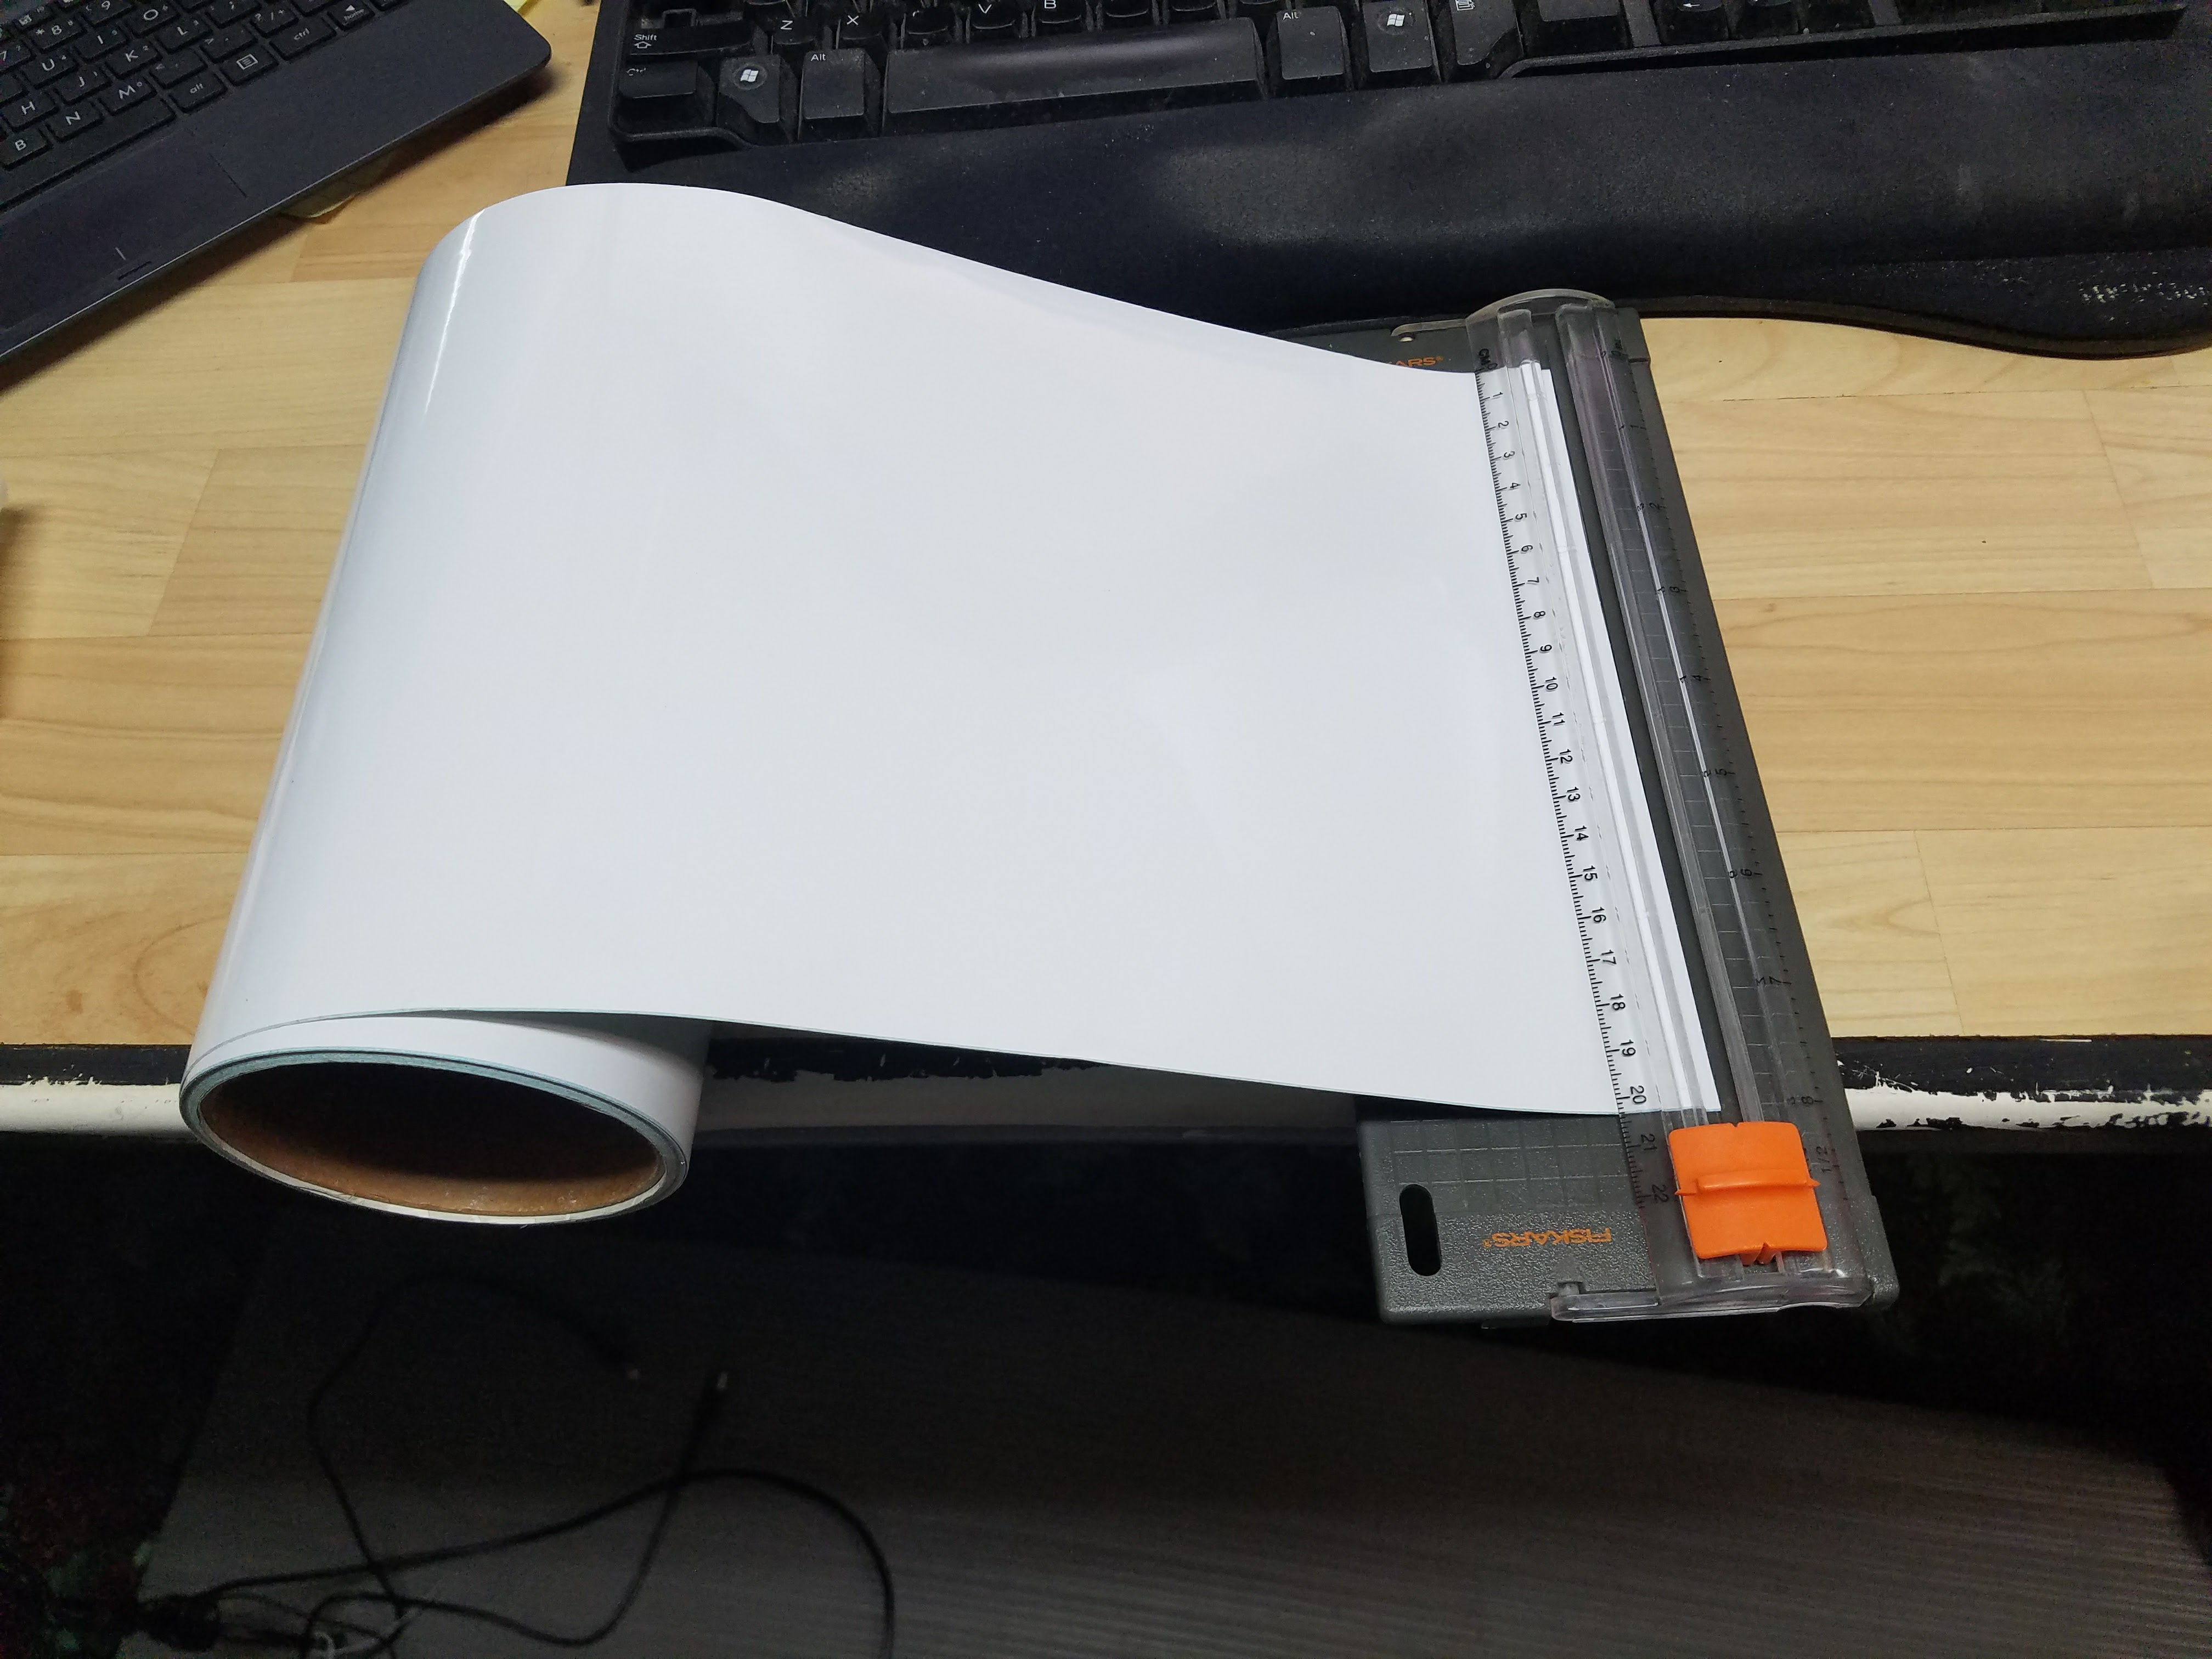
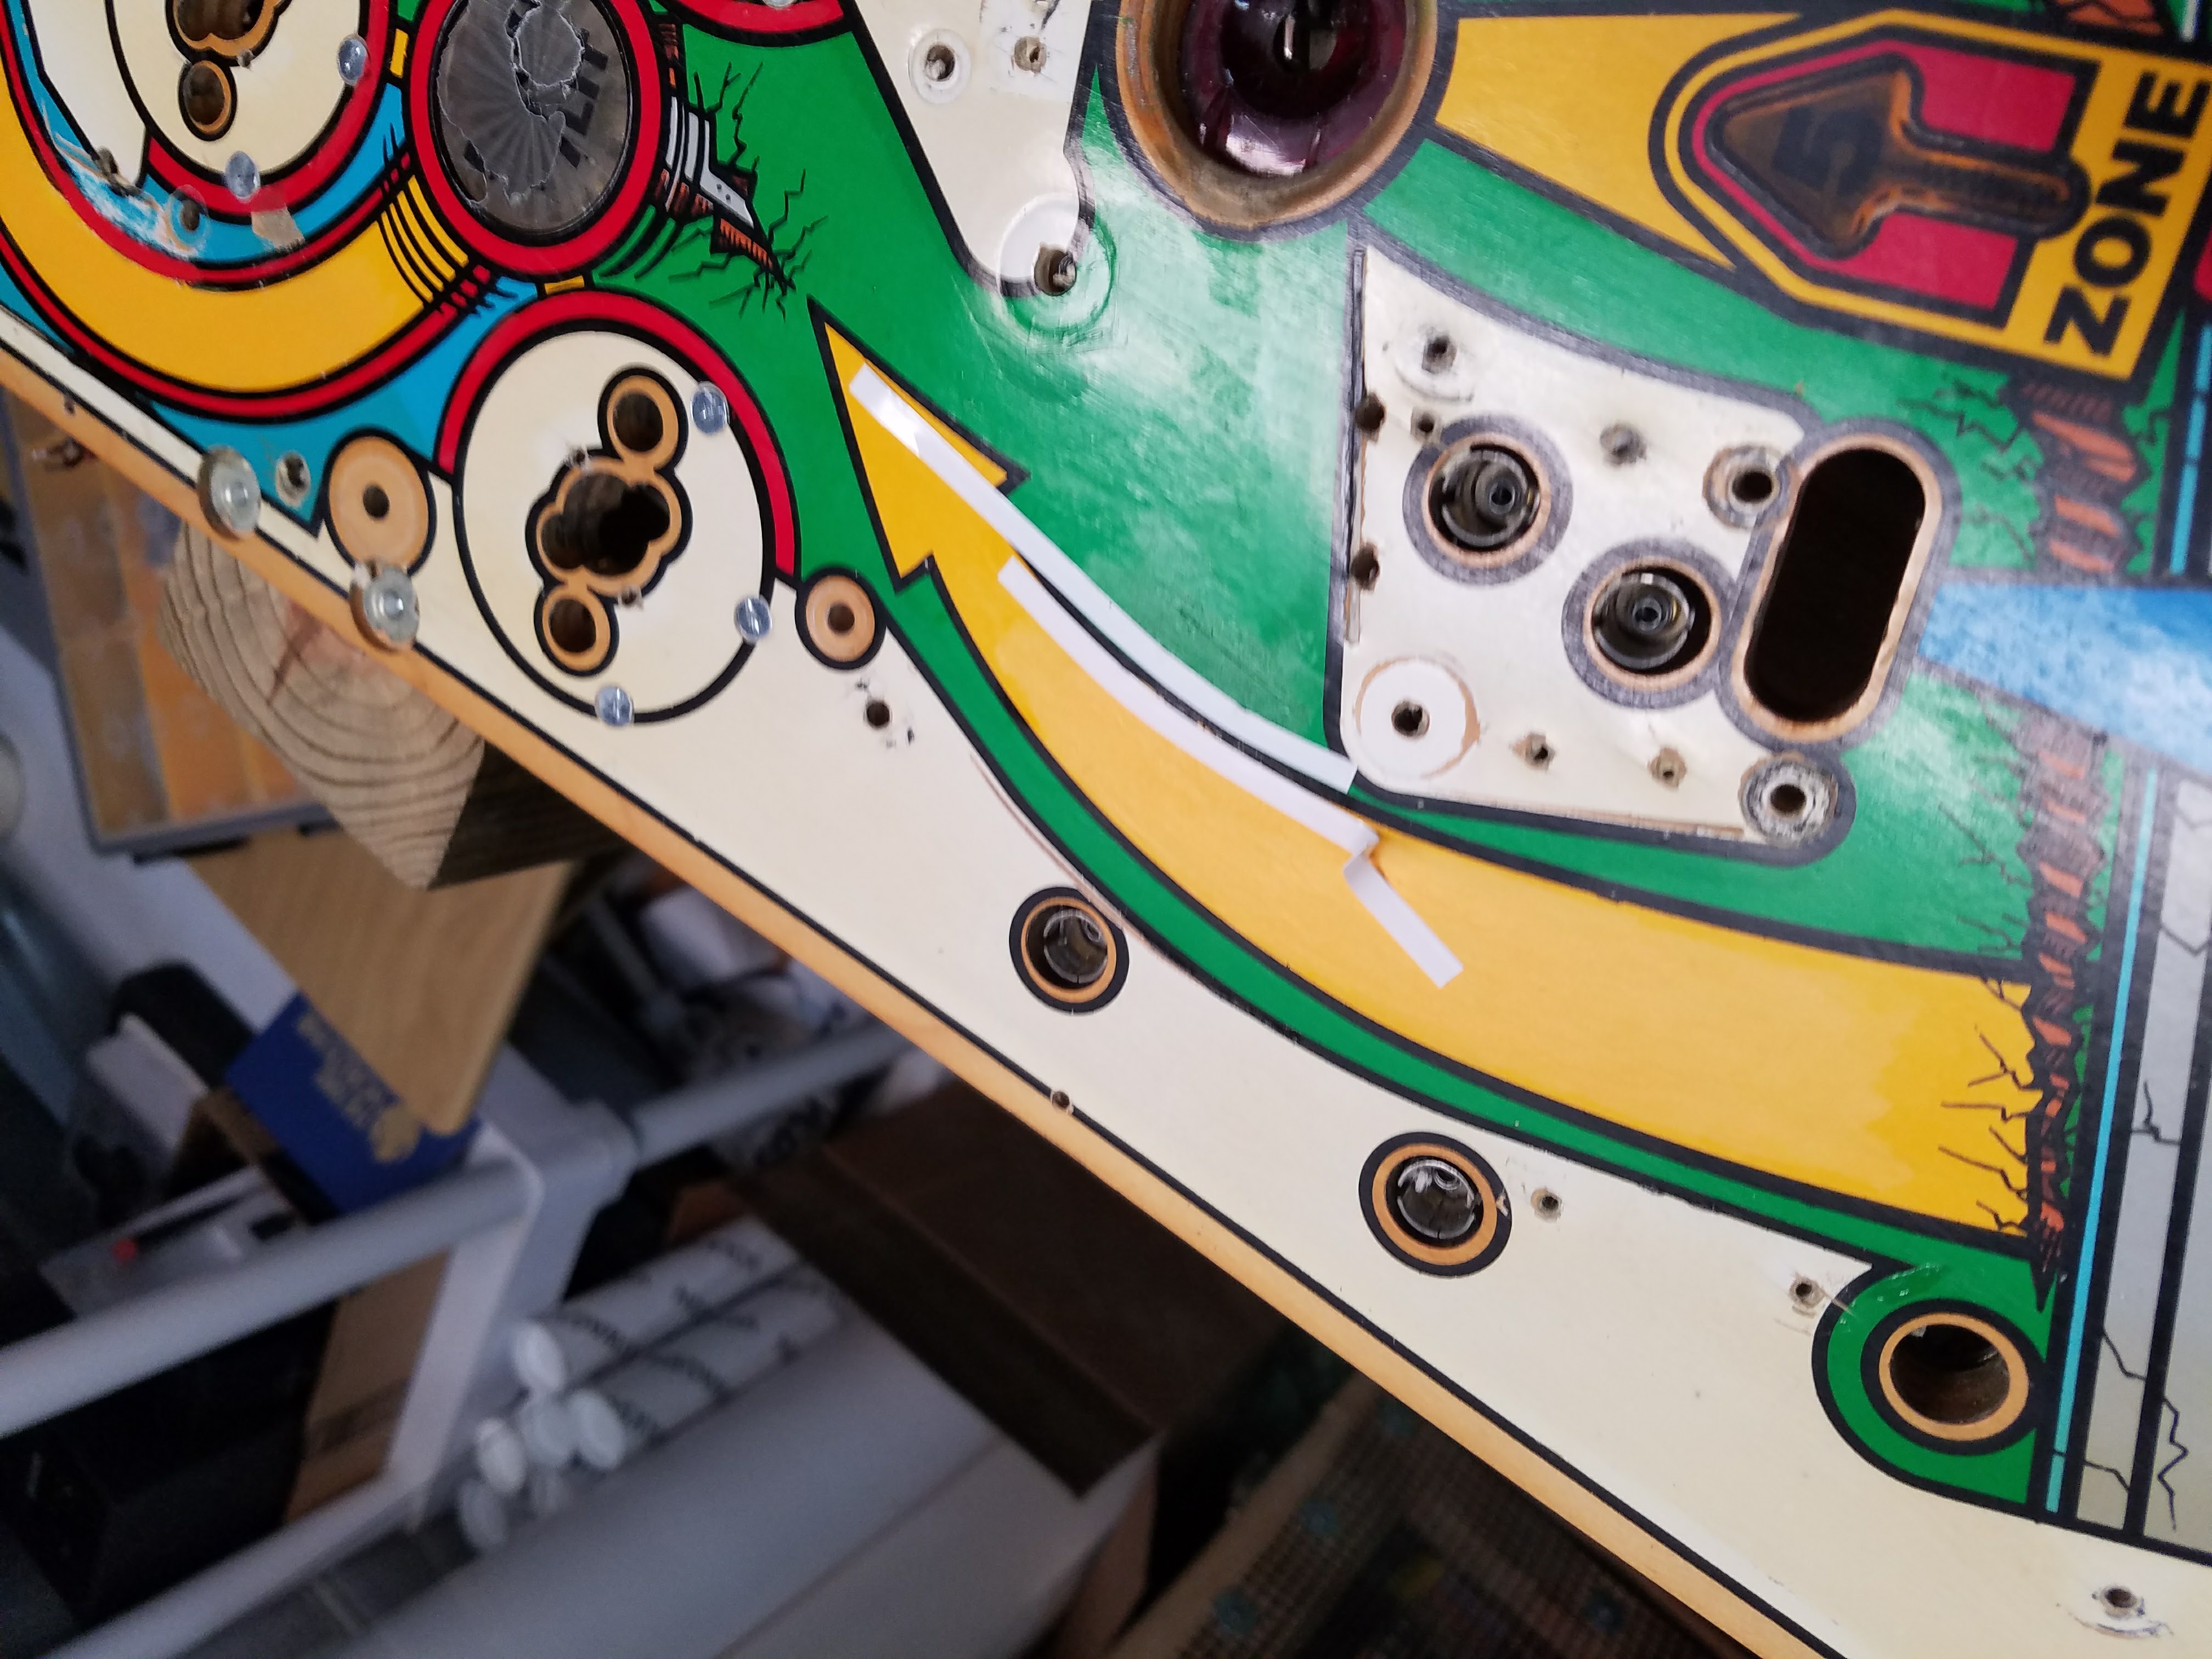
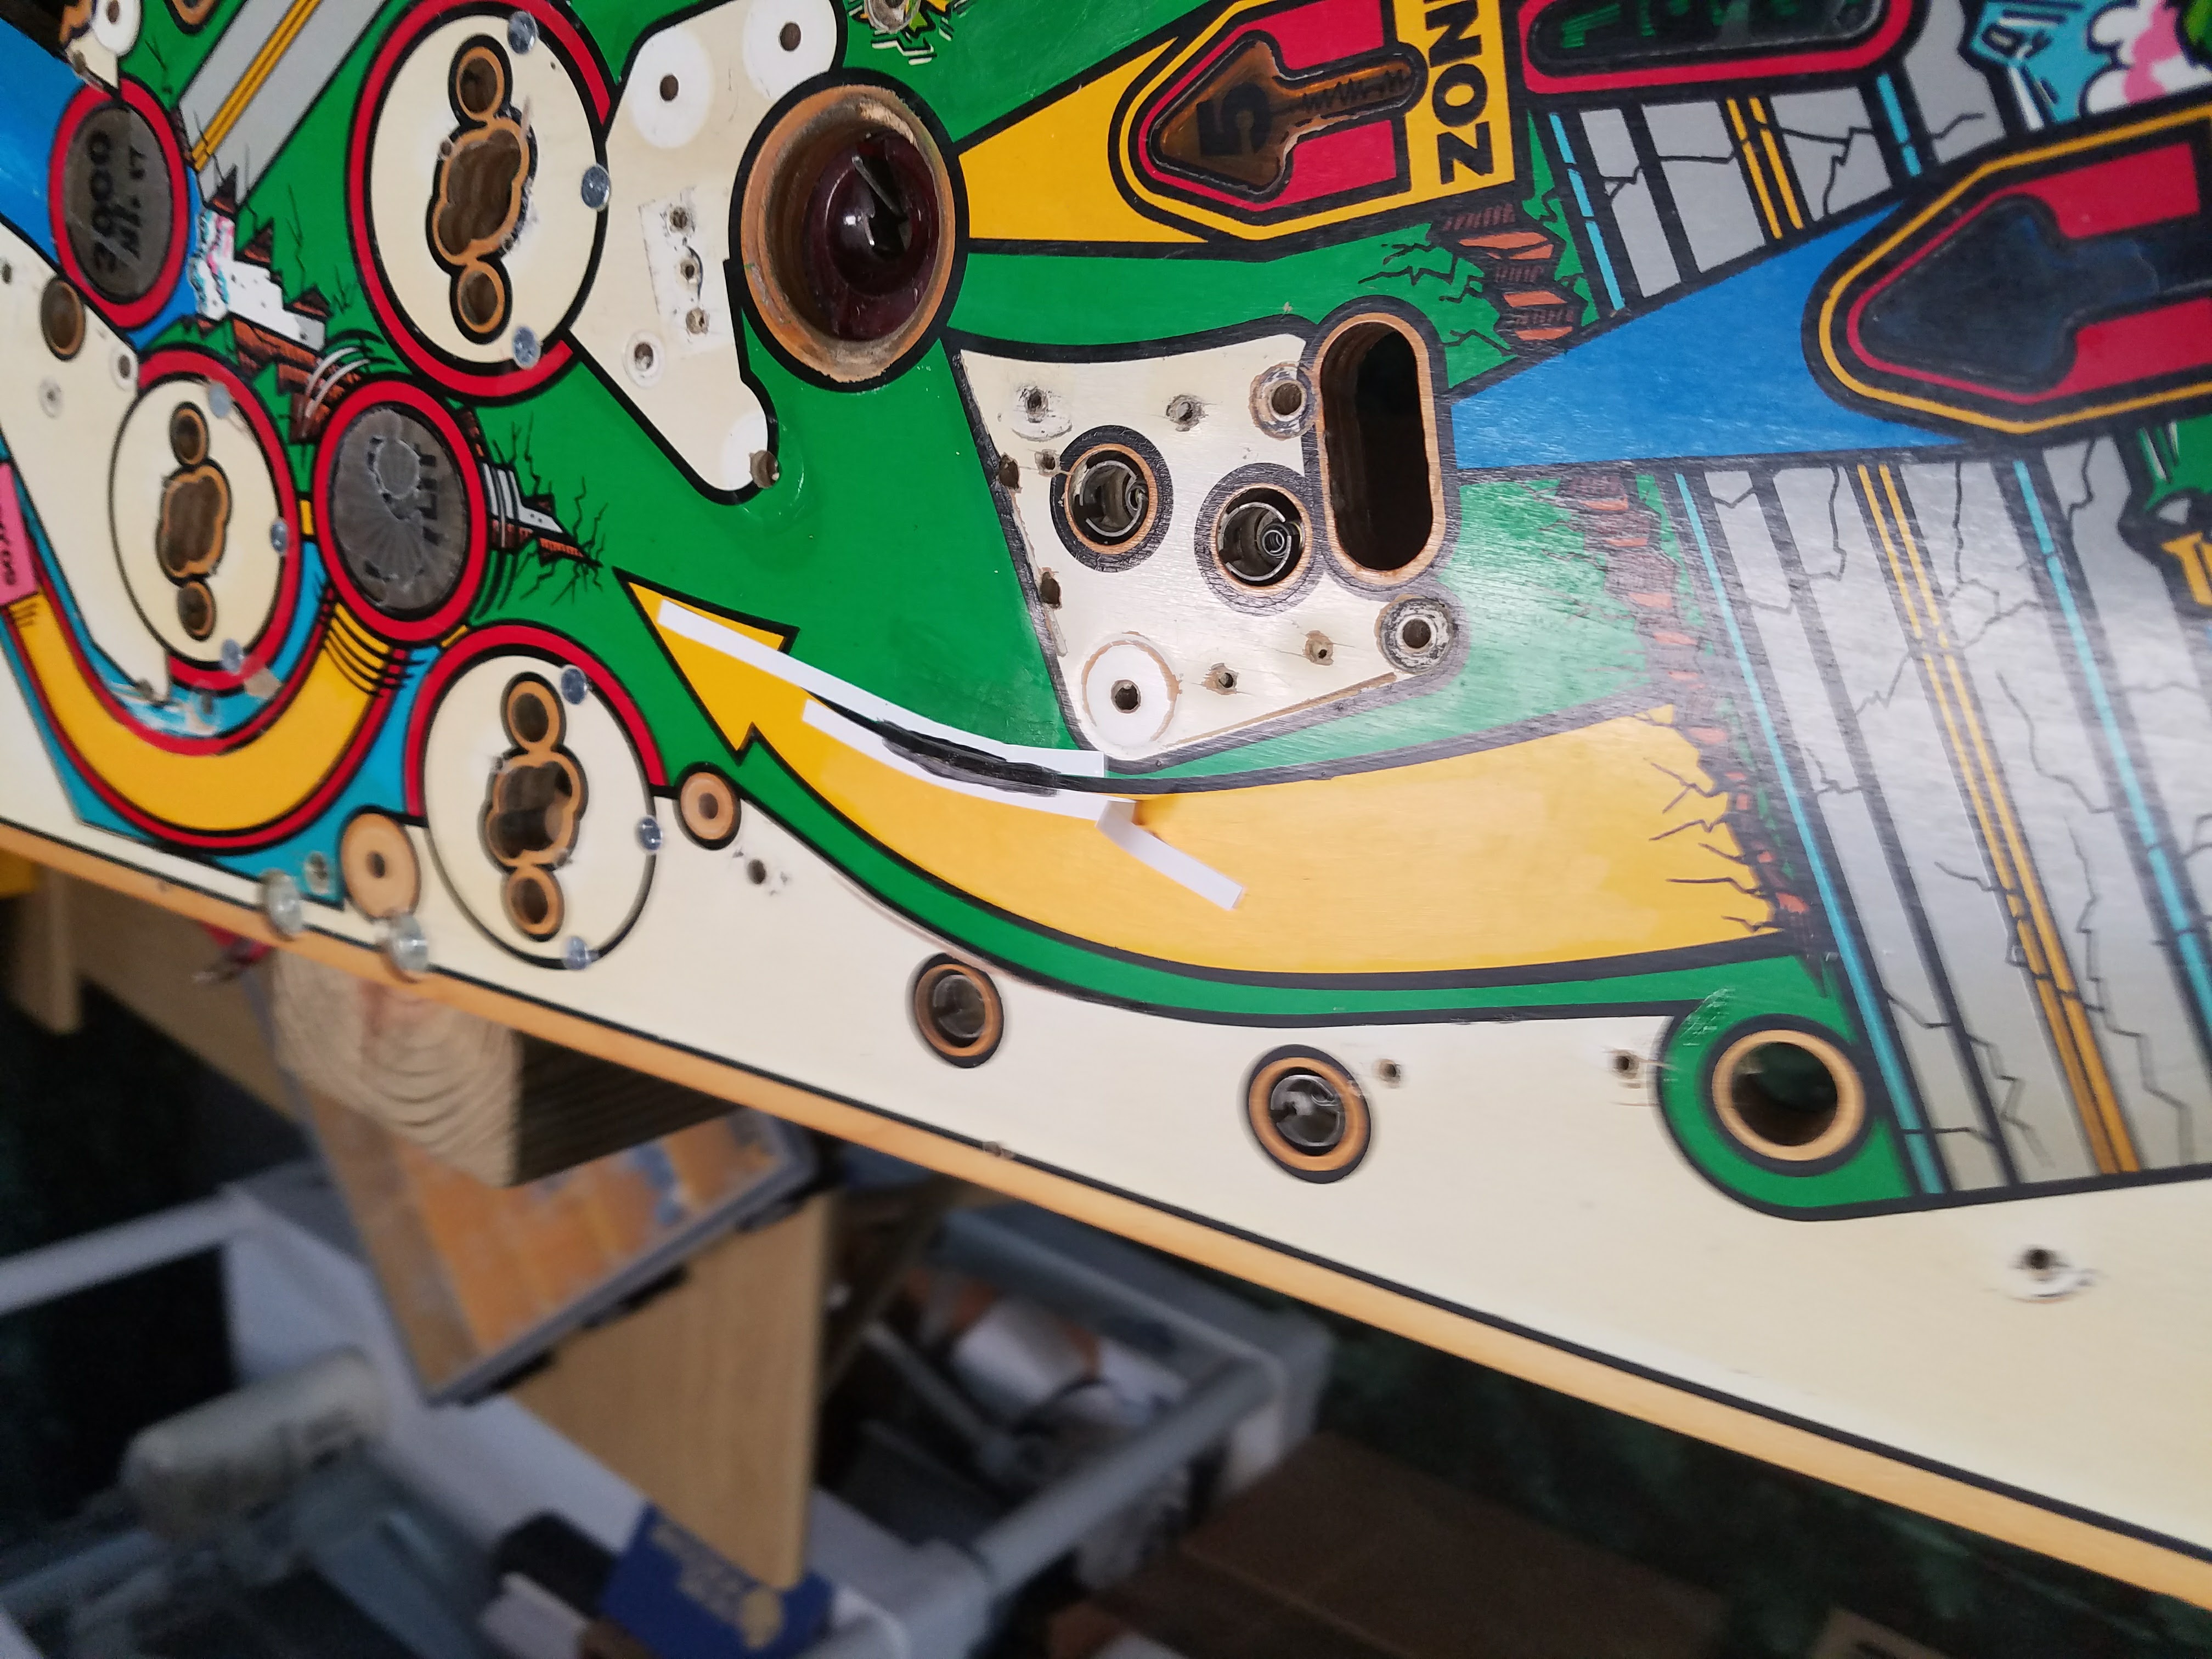
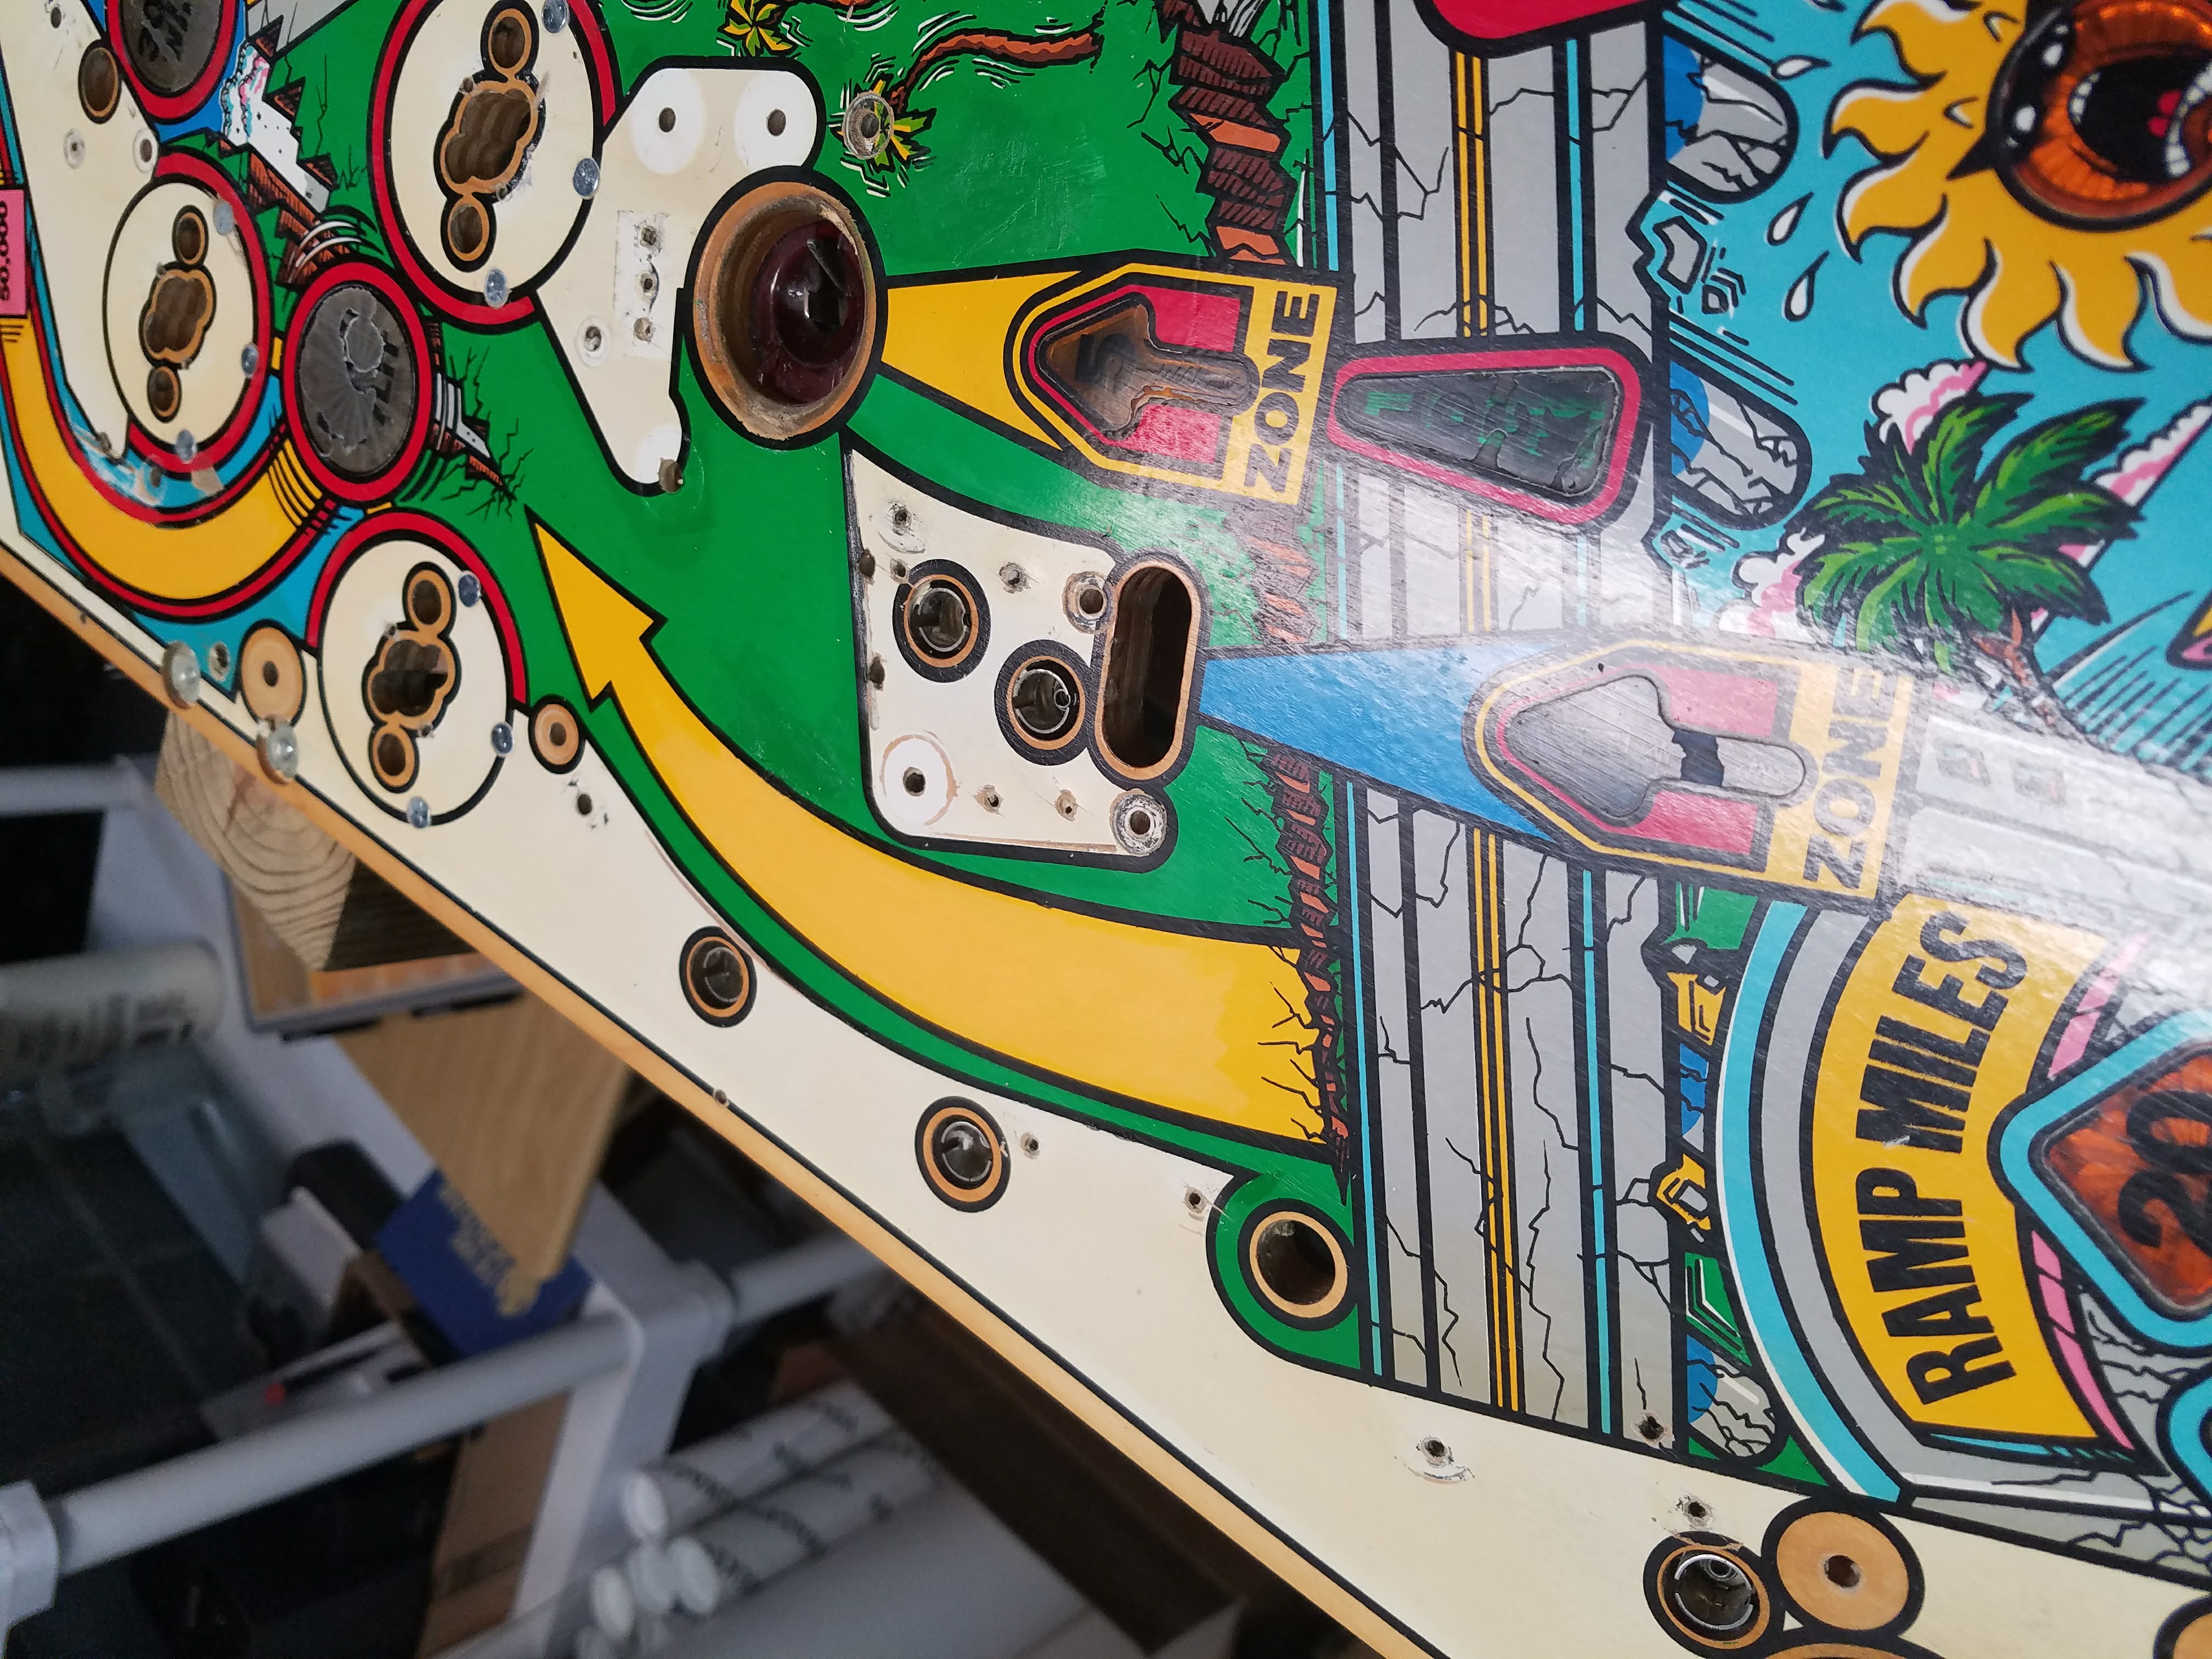
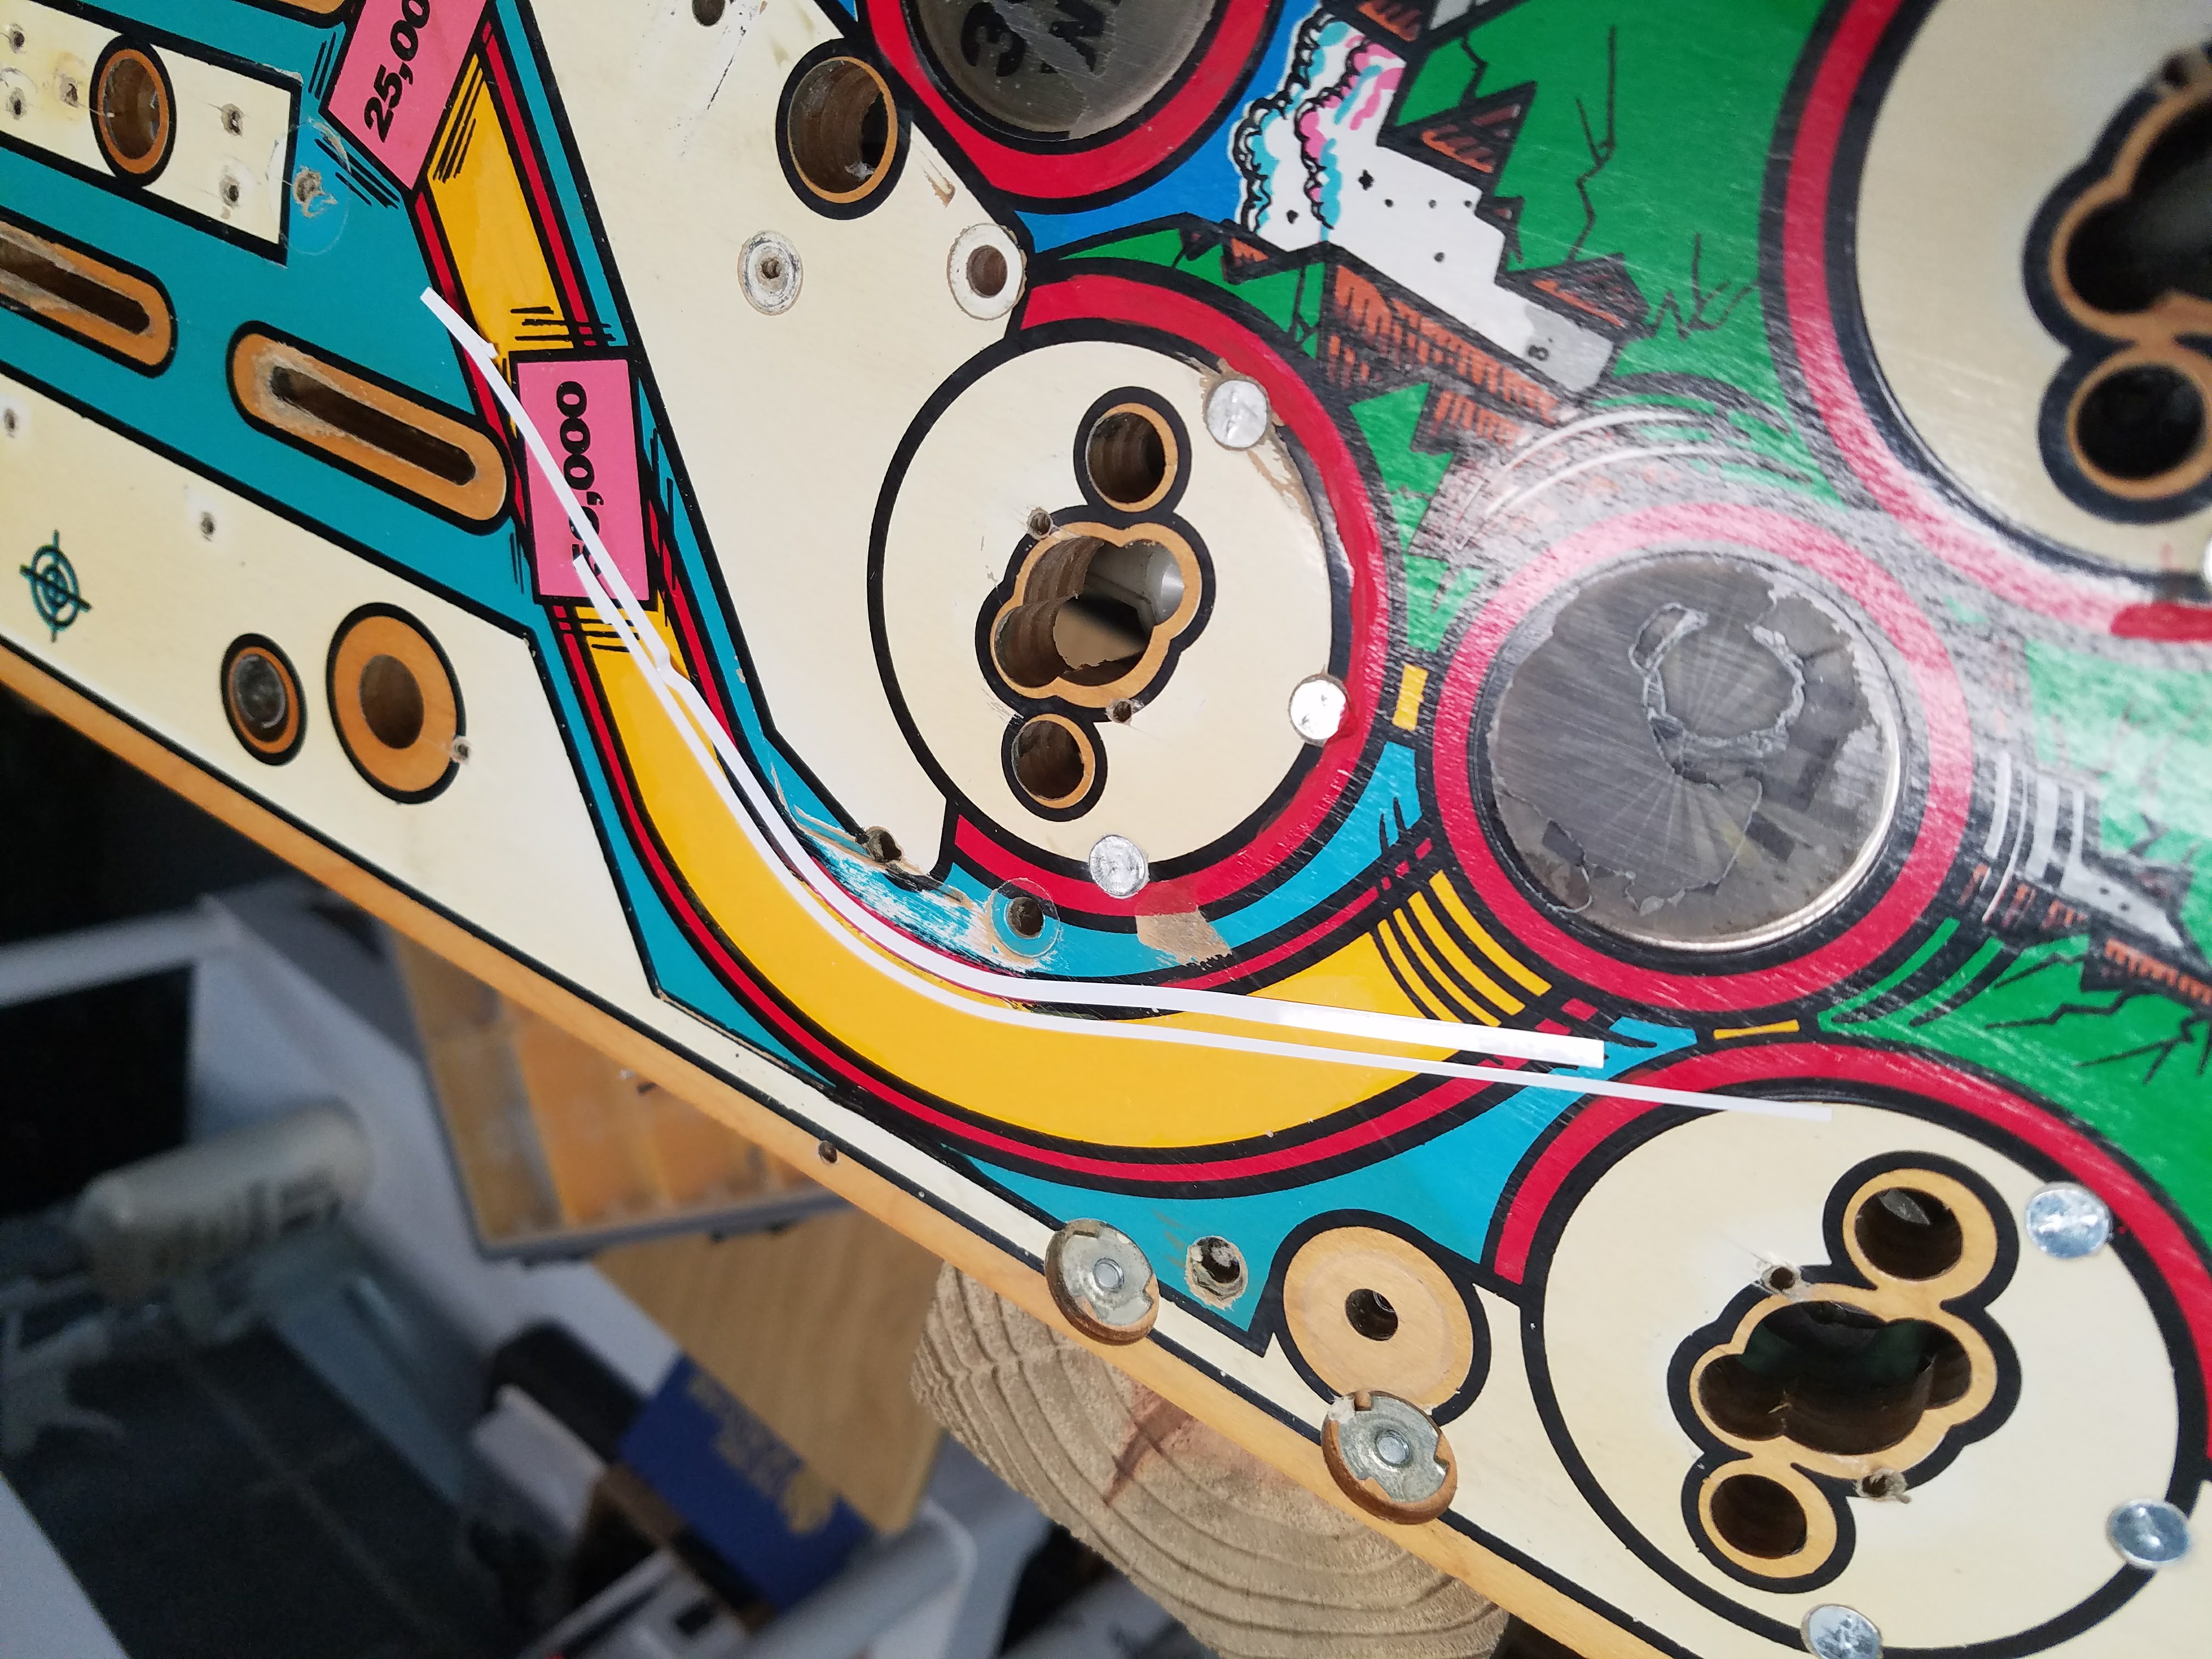
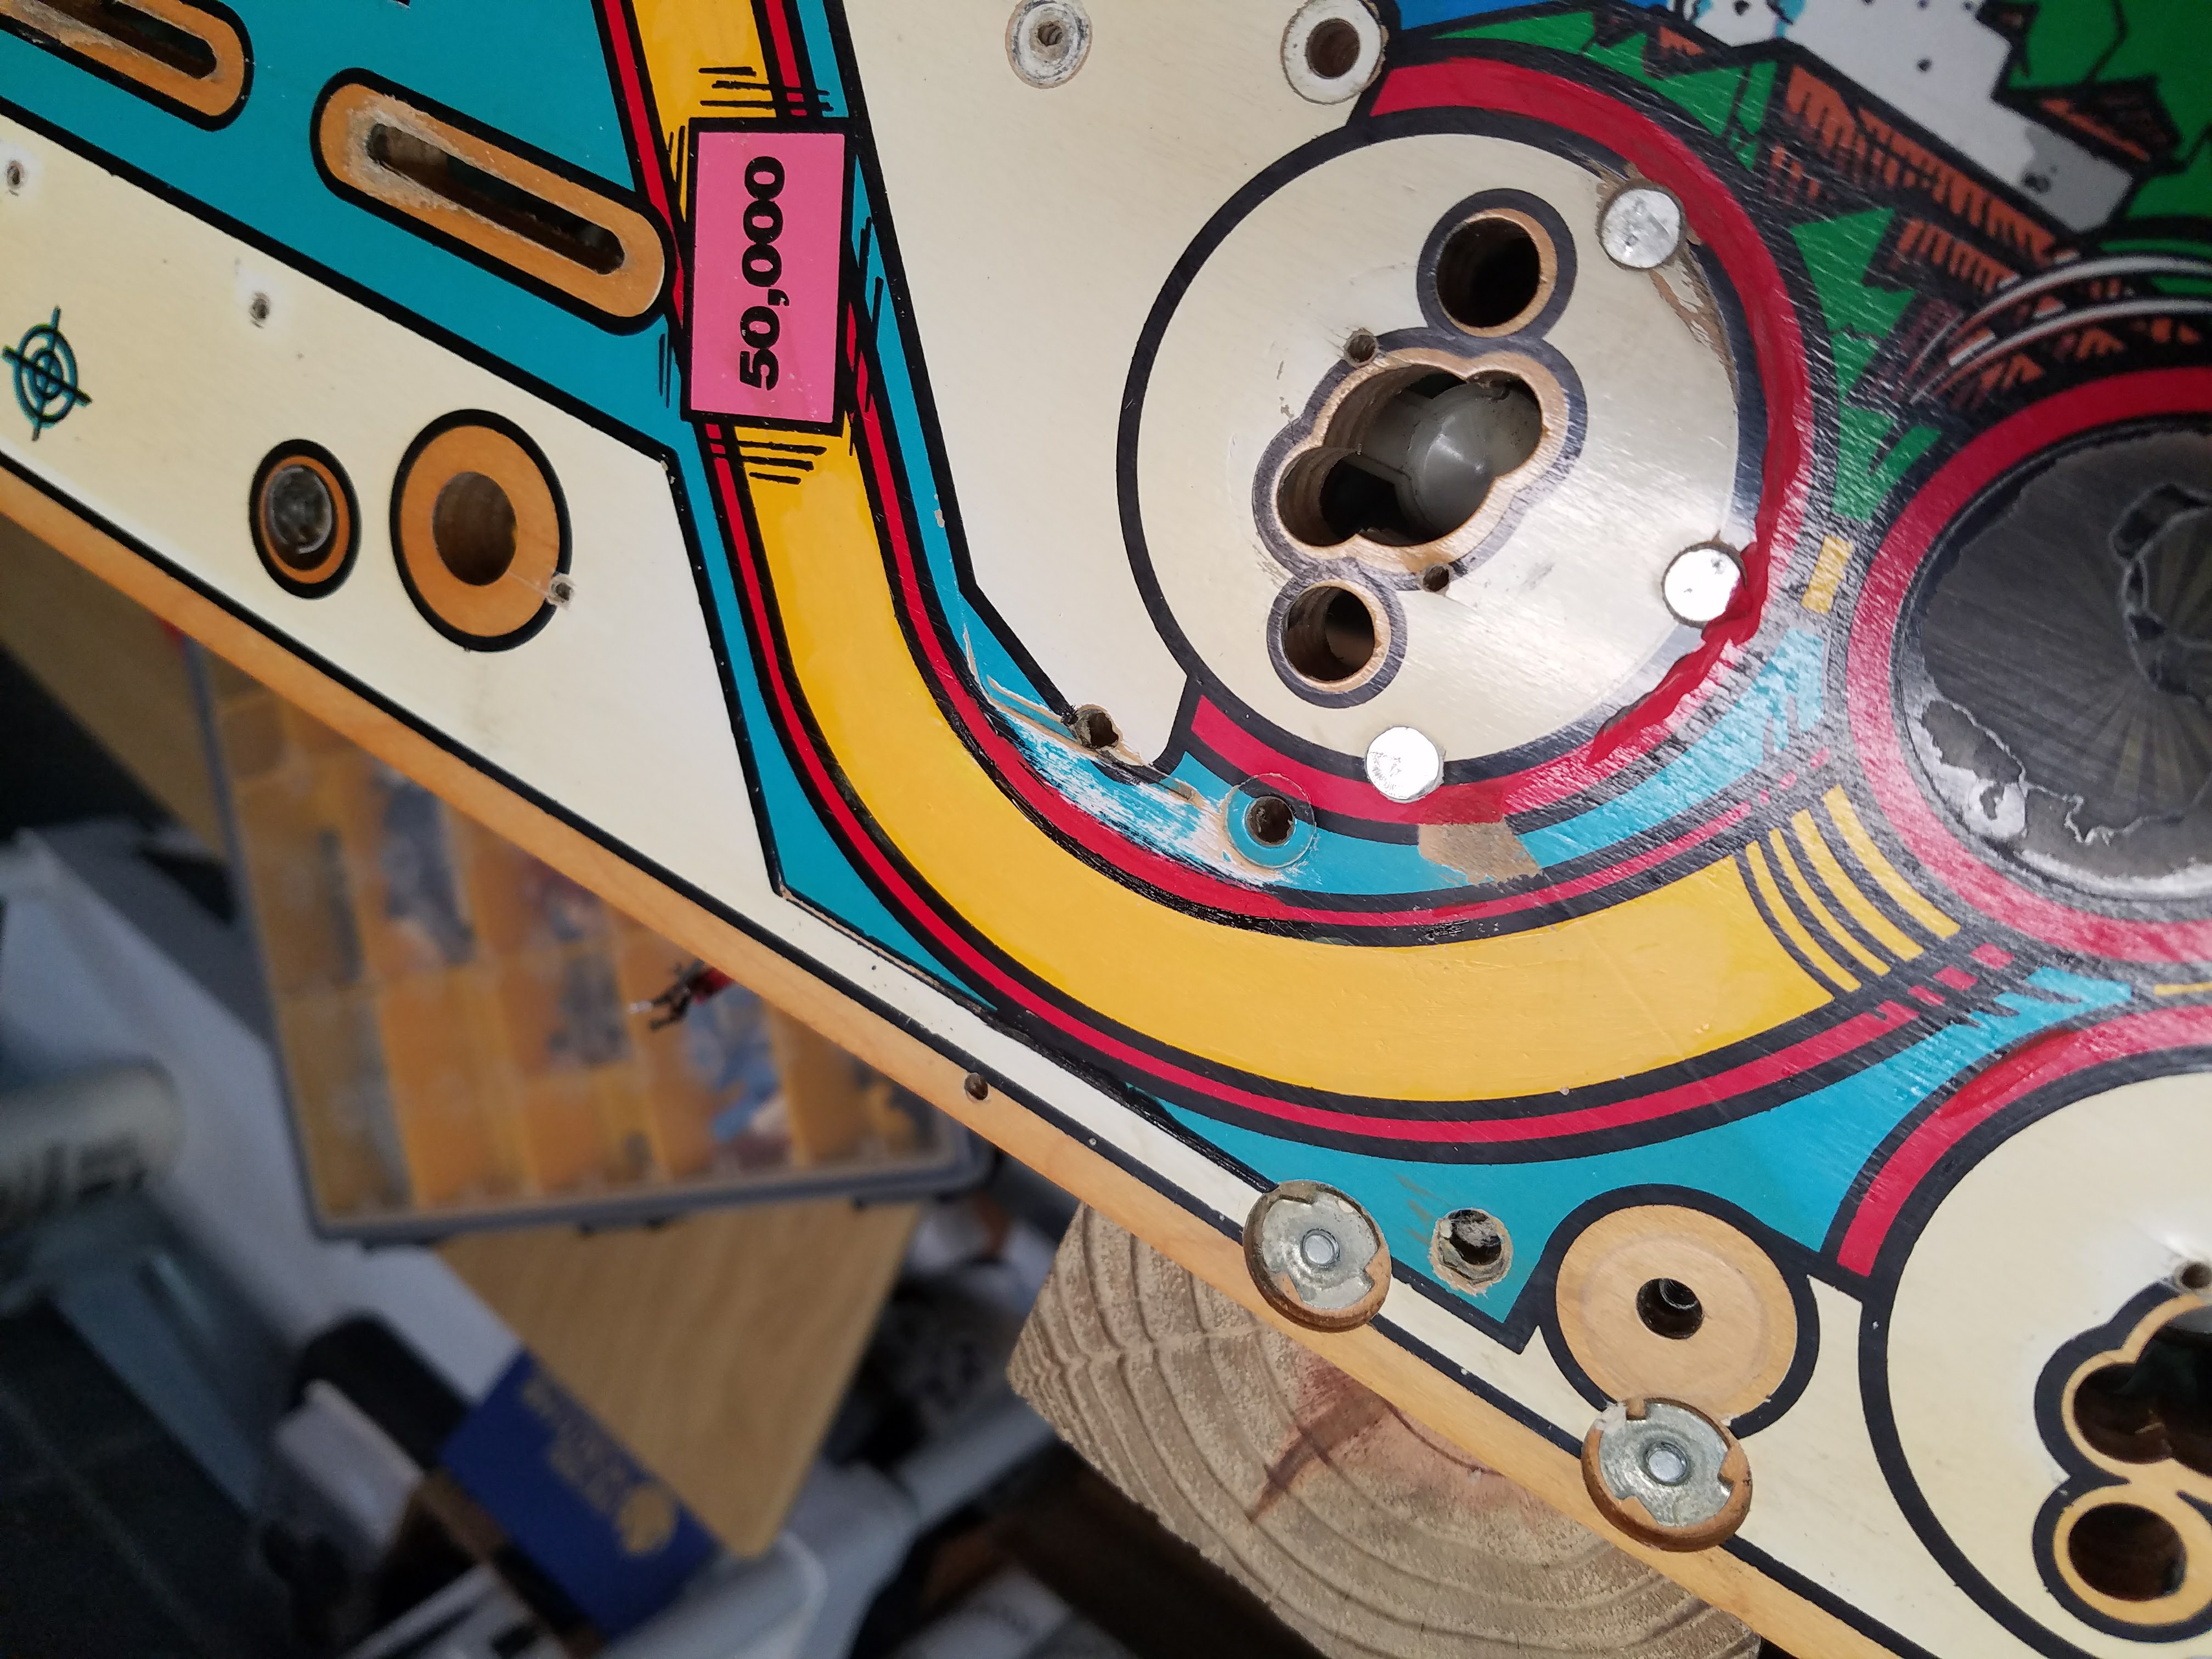
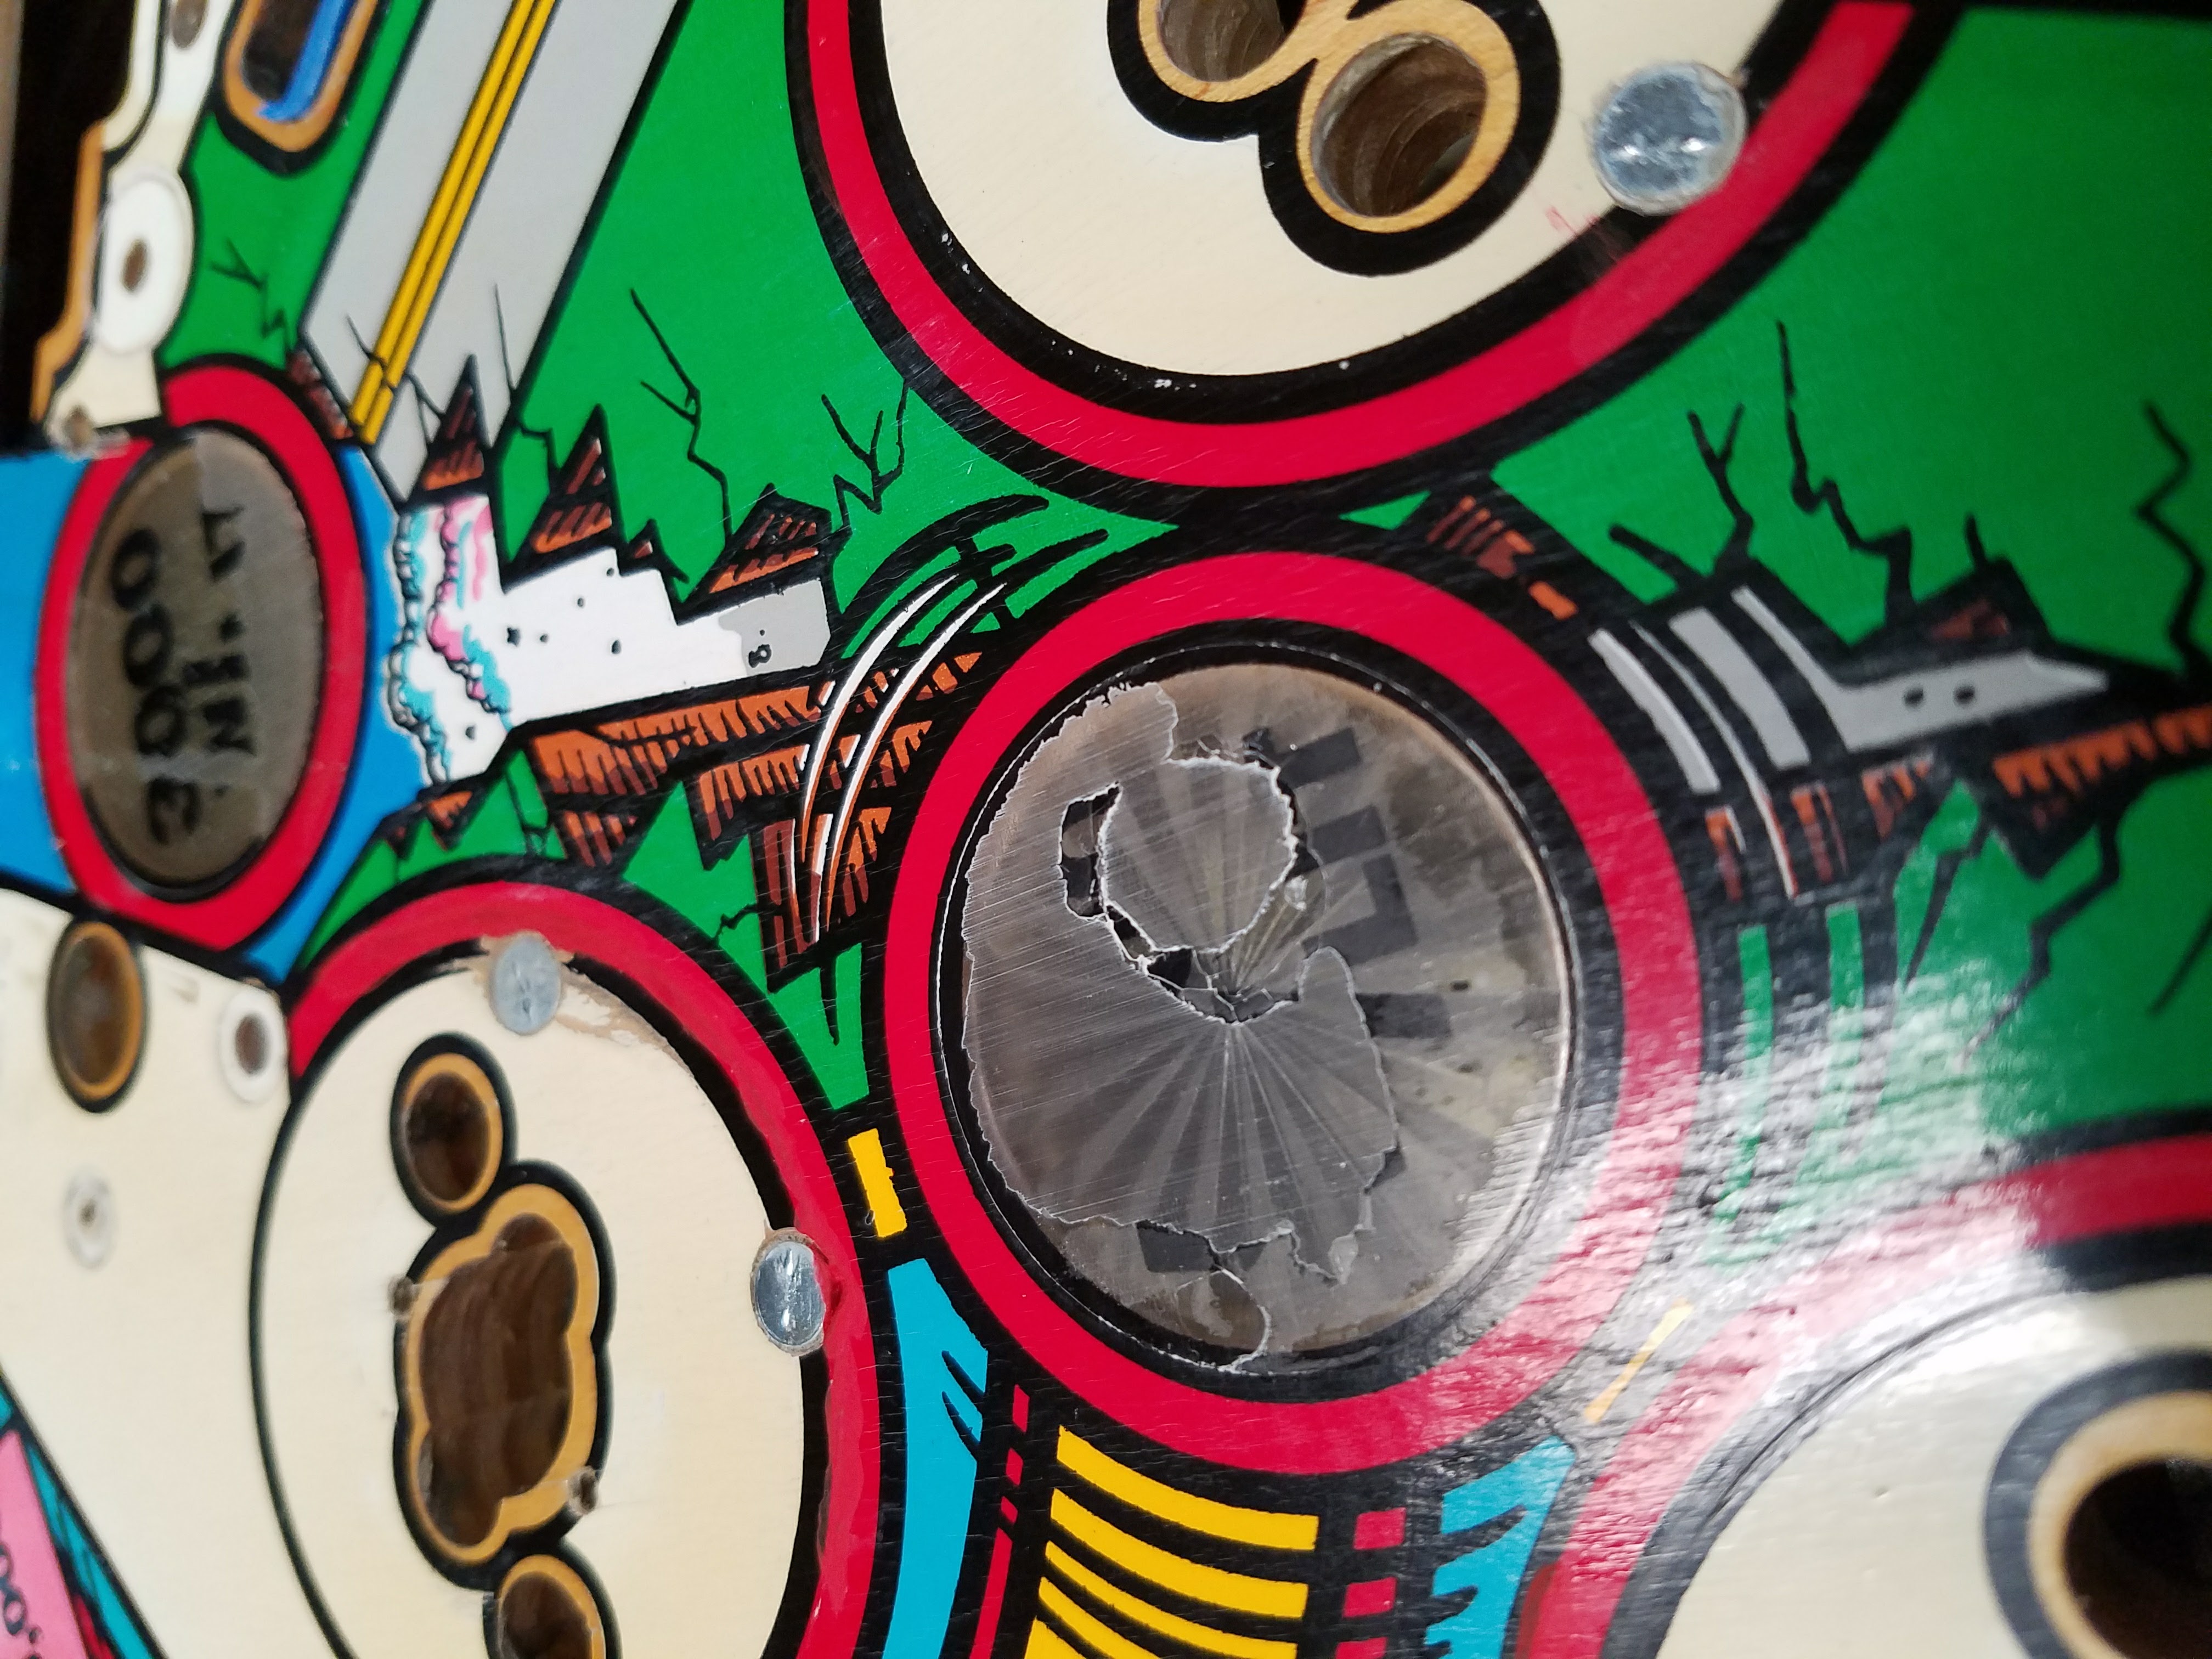
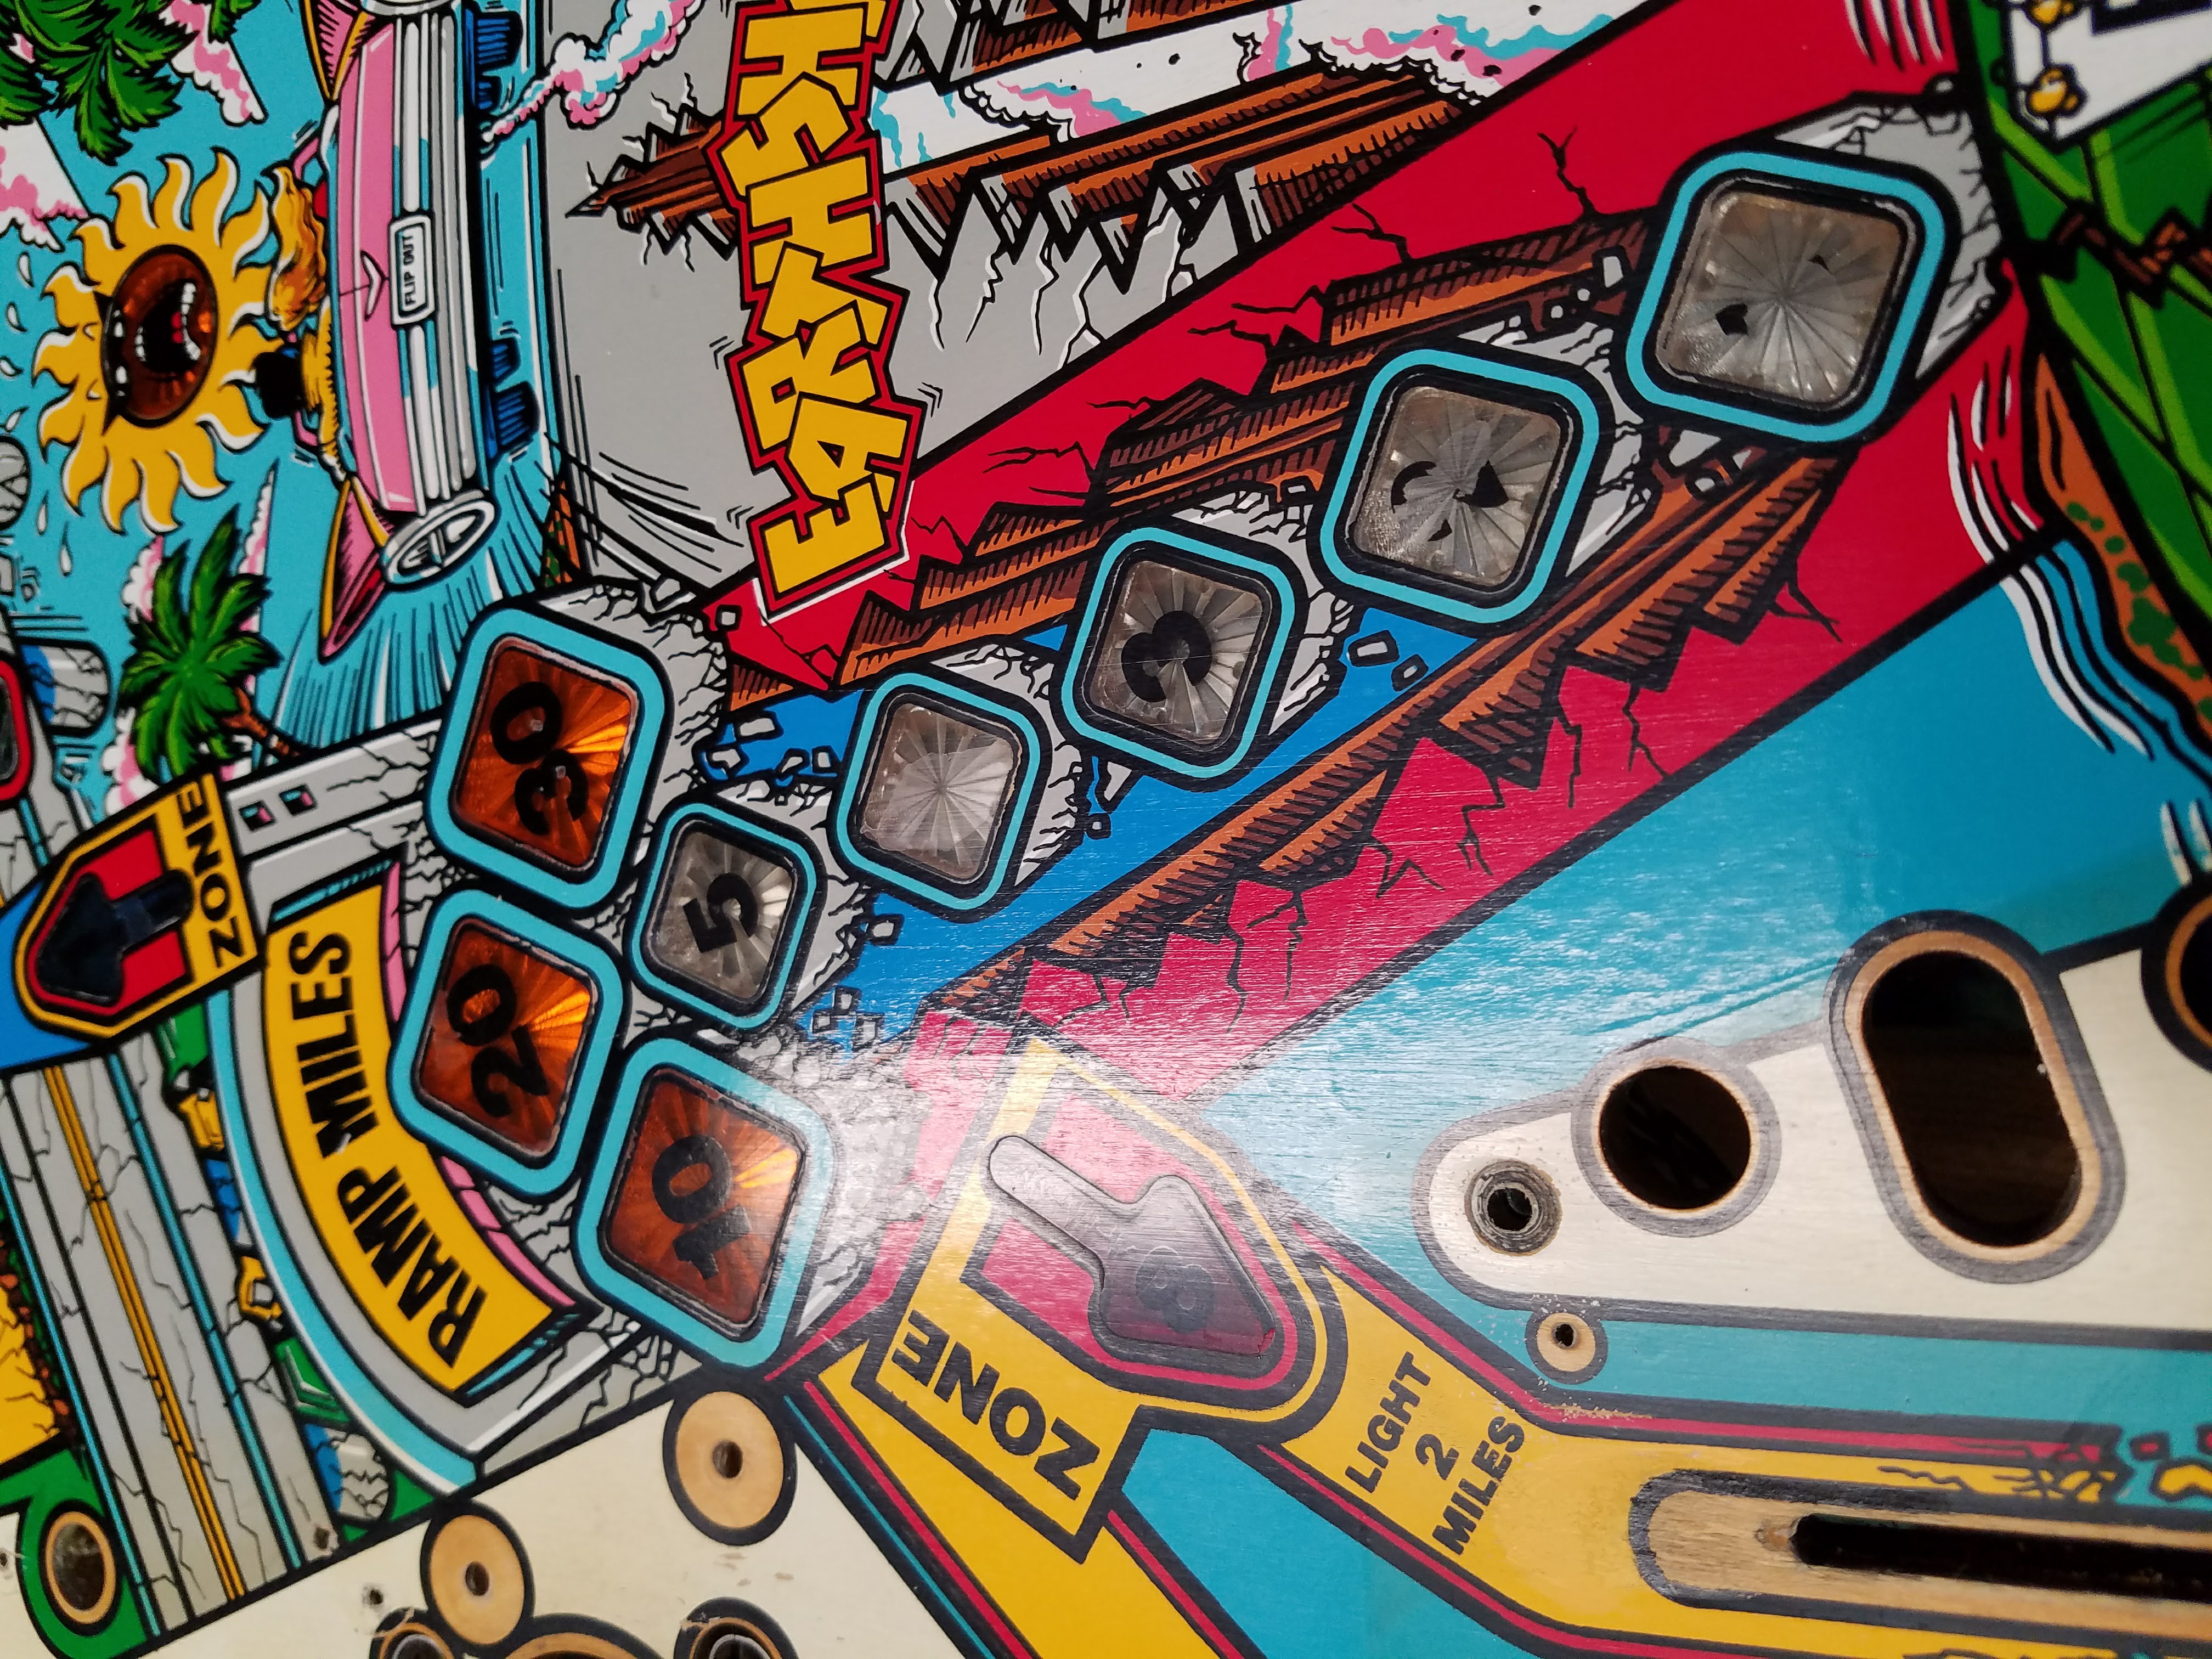
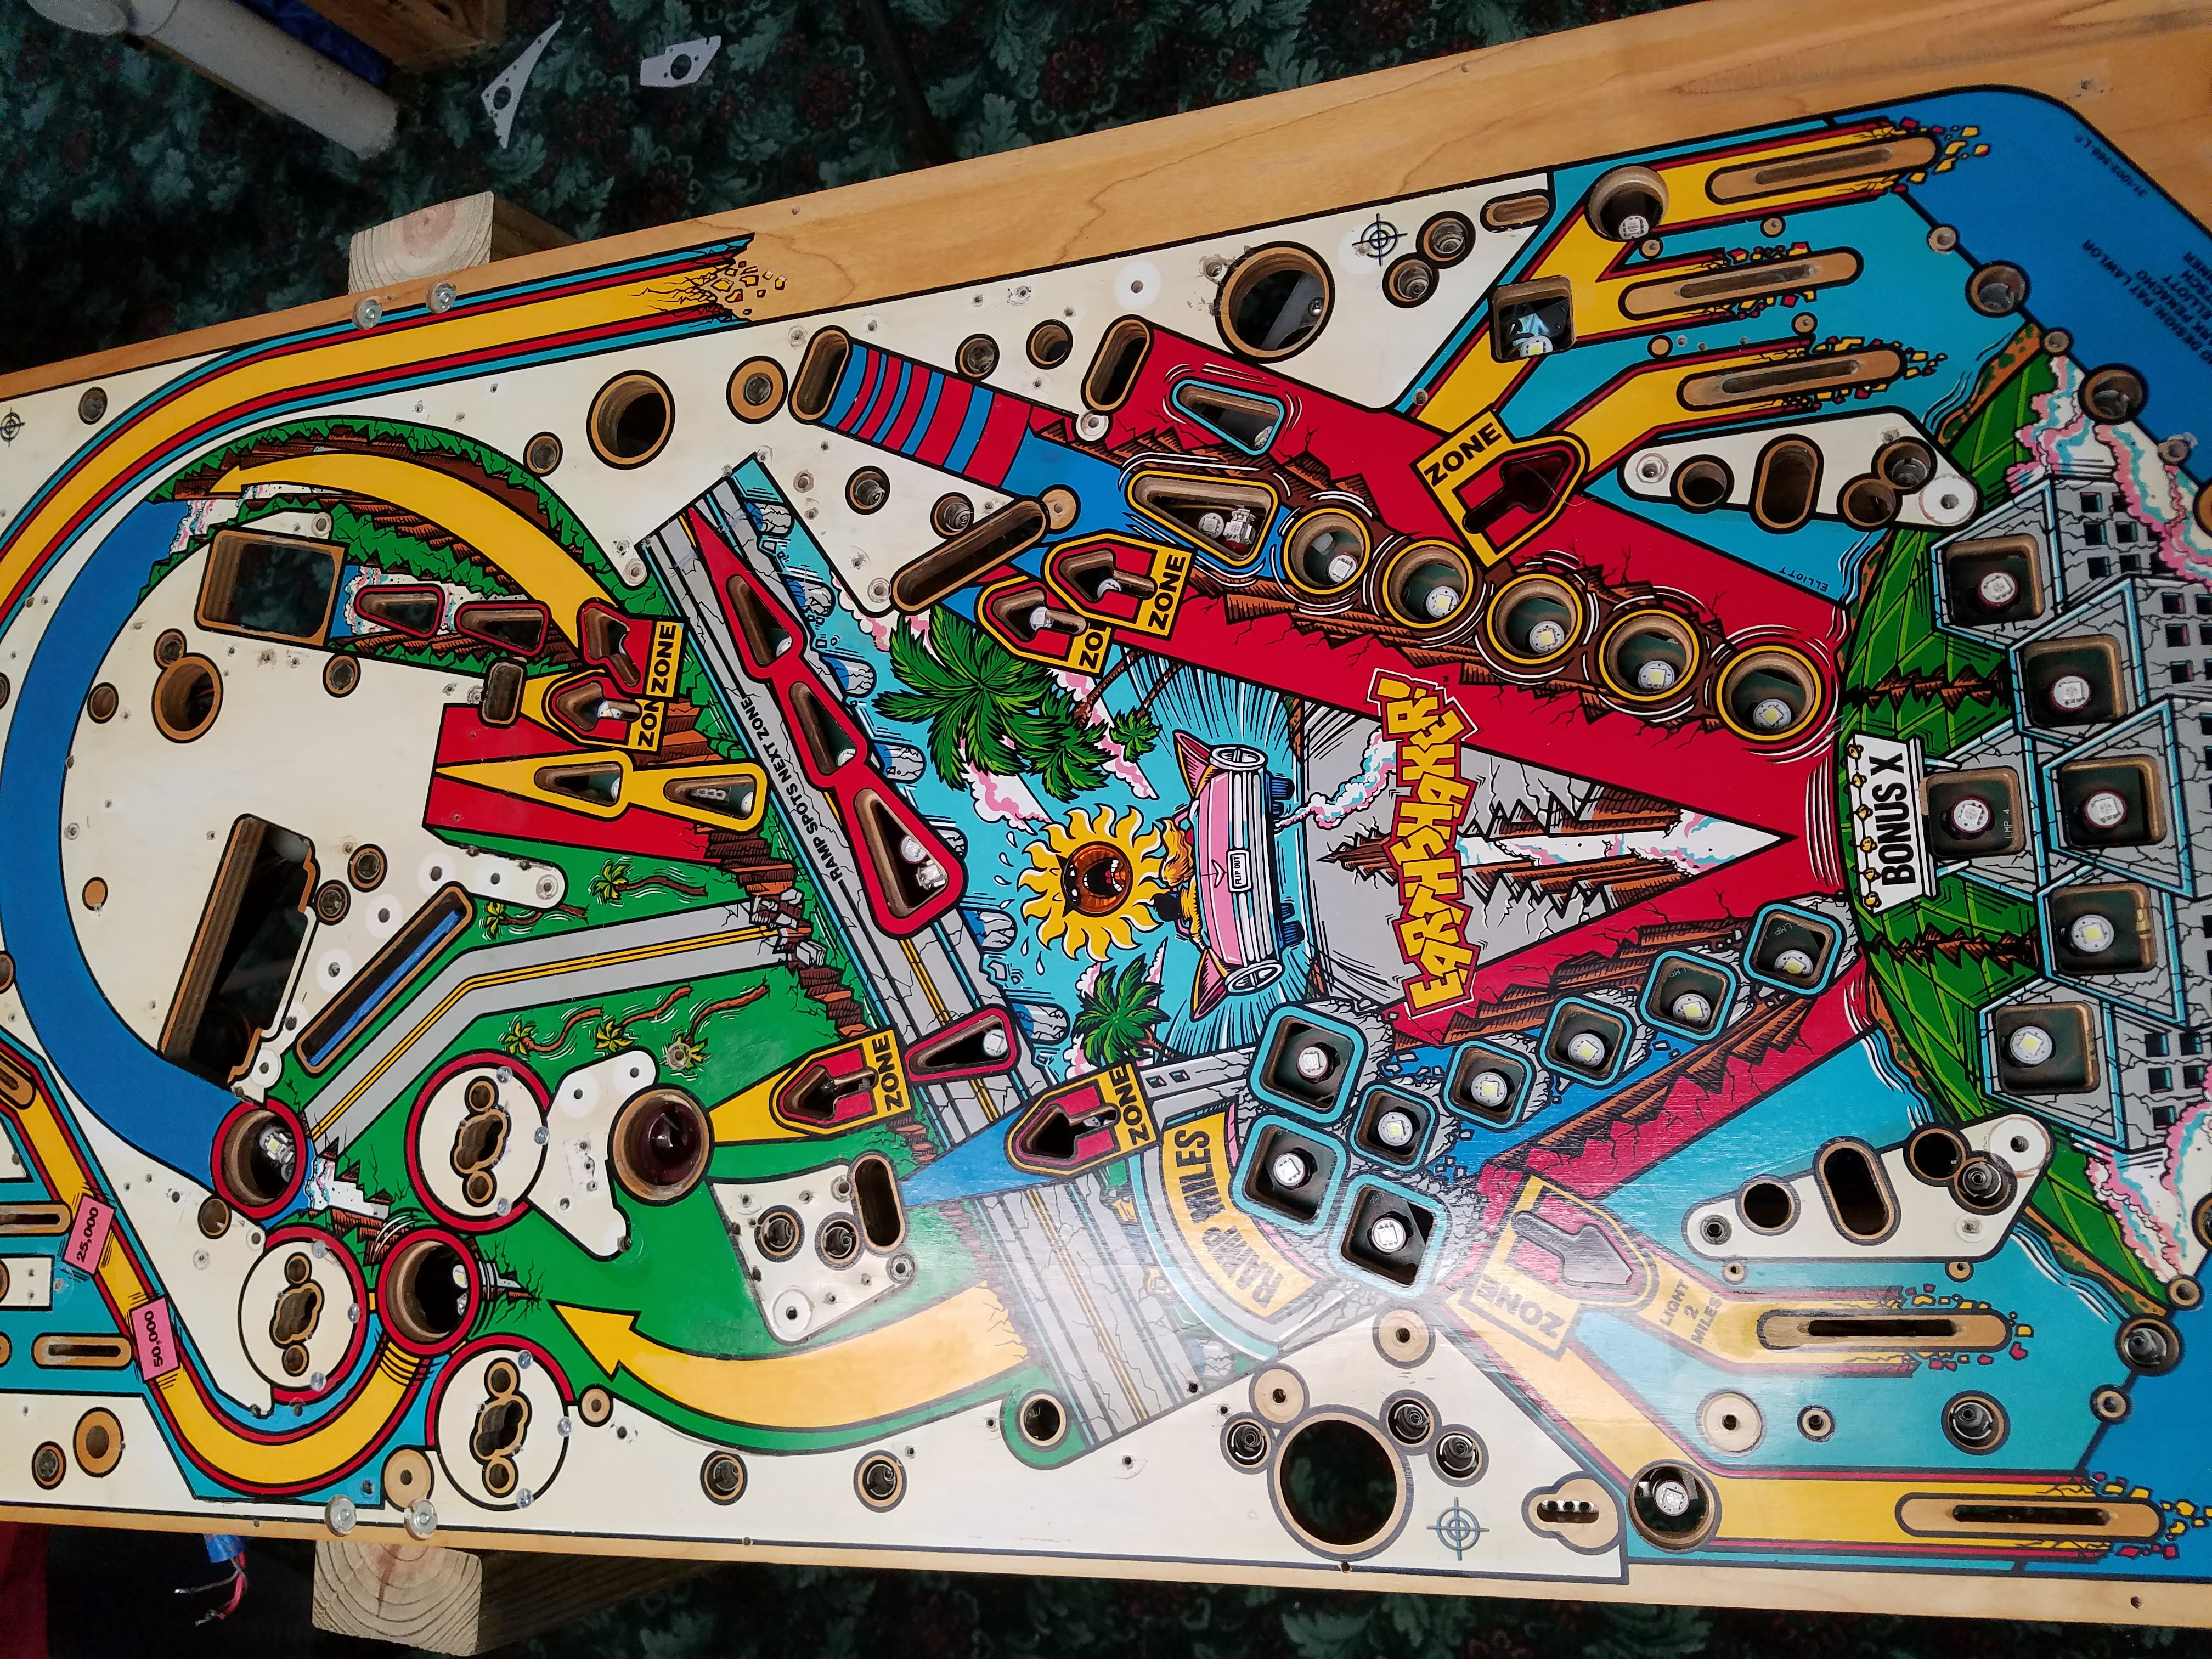
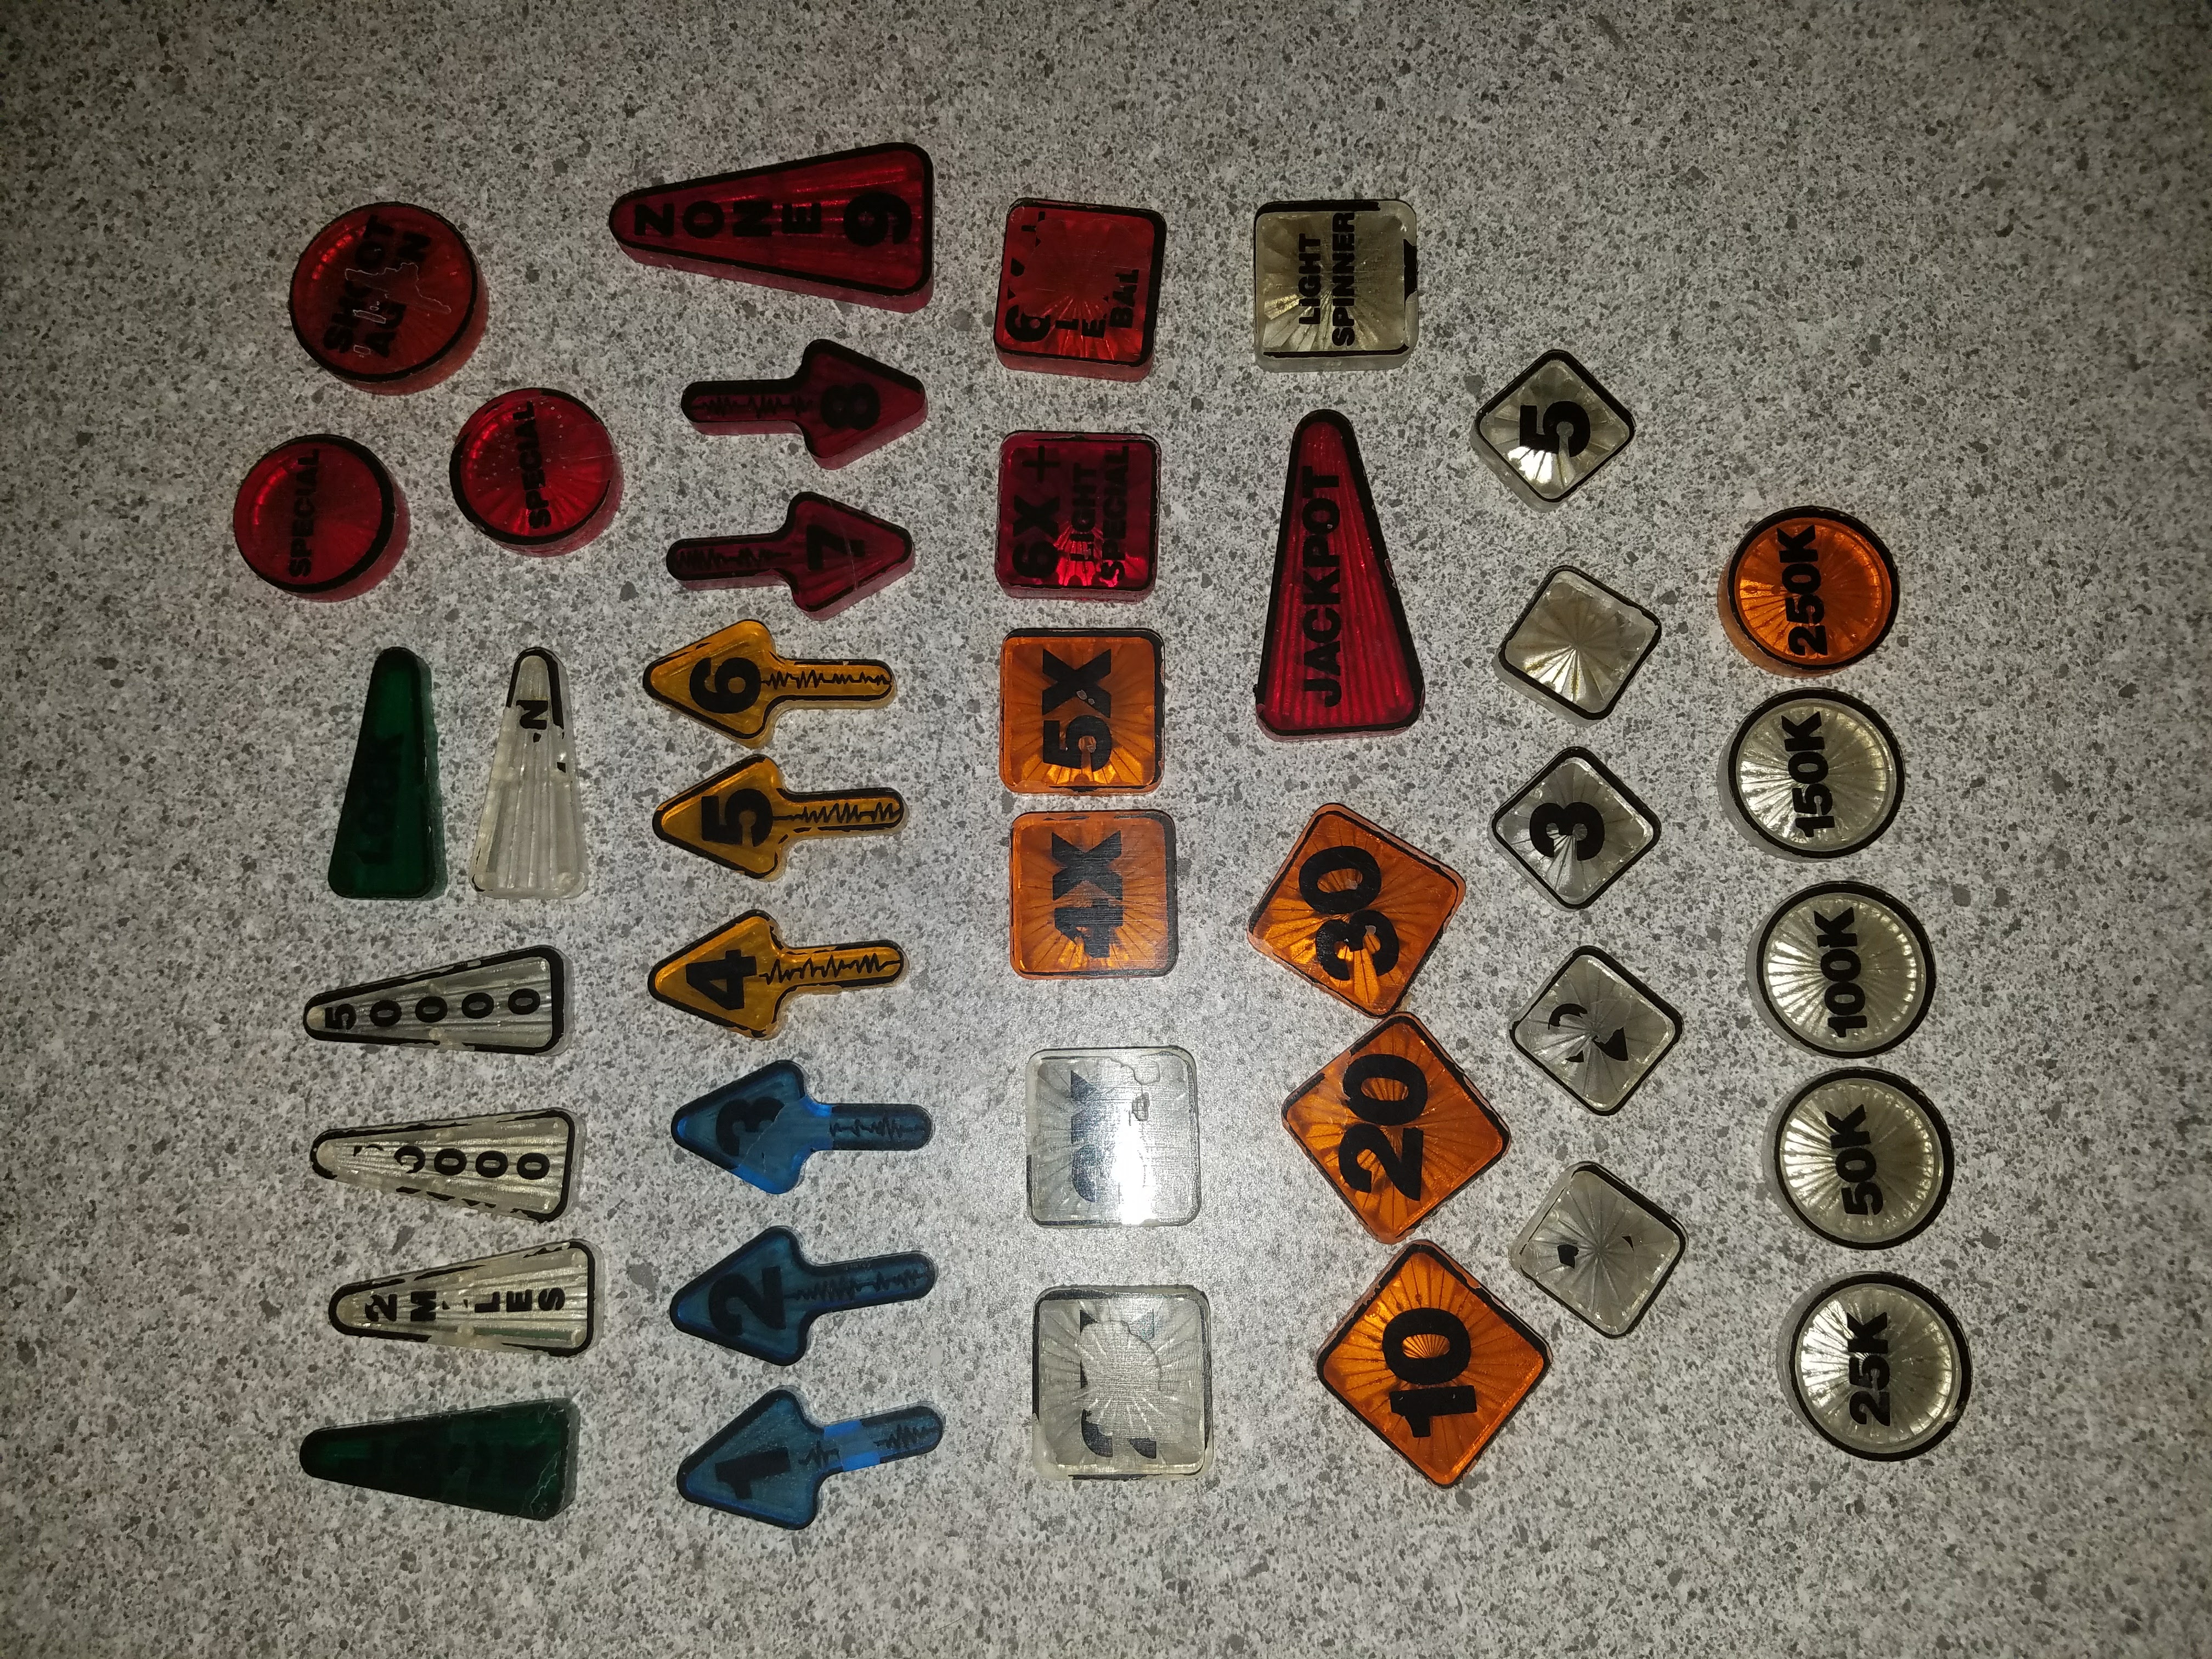
I got the new plastics when they were for sale a couple of years ago but was kind of afraid to install them. I finally get around to do this… just going to do plastics over a long weekend in December 2016. So here we go.So start taking a photos. I would number an area, take a few photos, then start removing hardware and drop into a plastic bin. I started with the easy stuff first.So when I started to get to this point, I found out it was going to be difficult, if not impossible, to access items with the playfield in the cabinet. So I figured I’d pull the playfield out and work on the floor… that lasted all of 3 minutes. I need a stand for the playfield.I grabbed some scrap wood I had and screwed this together.I added a block at the end for the playfield to rest on. This setup worked out really good in the long run. I could tip it up to get to the underside as needed.About this time I’m really starting to notice the paint issues on the playfield. I have to decide if I want to tackle this issue.Lots of hidden dirt and dust, I guess that isn’t too much of a surprise.I end up stripping the top side of the playfield down. Turns out this wasn’t so difficult to do. Can you turn a screw? Can you turn 429 more screws? If yes, then take a lot of photos as you screw things around.So I started with fixing up the yellows. I would carefully clean the area with melamine foam and isopropyl alcohol.The yellow I purchased was pretty much a perfect match. I found for small areas a small paint brush worked good. And for larger areas the cheap foam brushes worked. If you get paint where it shouldn’t be, it can be wiped away before it dries.When I went to clean up this area, 4 seconds later it was much larger bare patch… I’m guessing it was “quickly” touched up at some point in the past.I was needing some “pin stripping” tape, so I took some vinyl I have on hand and cut into thin strips.After the yellow was touched up, I masked off for the black line.Put down some black paint.Remove the vinyl tape and the end results look pretty good for a first timer who is winging this project.Another area where the black lines needed to be touched up.Much better. The more I did this touch up work, the more comfortable I became doing it and would look for more area to deal with.As I was getting the paint work fixed up pretty good, then I started to notice how bad some of the inserts were.More inserts with issues….. I’ve come this far… may as well travel a bit further…Removed all of the inserts. Plenty of info on this on YouTube… I used a heat gun on the top side while pushing from the bottom side with nut various sized nut drivers. I never put too much pressure, I let the heat soften the old glue so the inserts would come out without much effort.So how to fix these. Those clear decals that go on top, I’ve never heard good reviews of them, it is always “this is the best option you have”. I wanted to try something different. Fist thing I did was sand all of them flat and polished them back up.
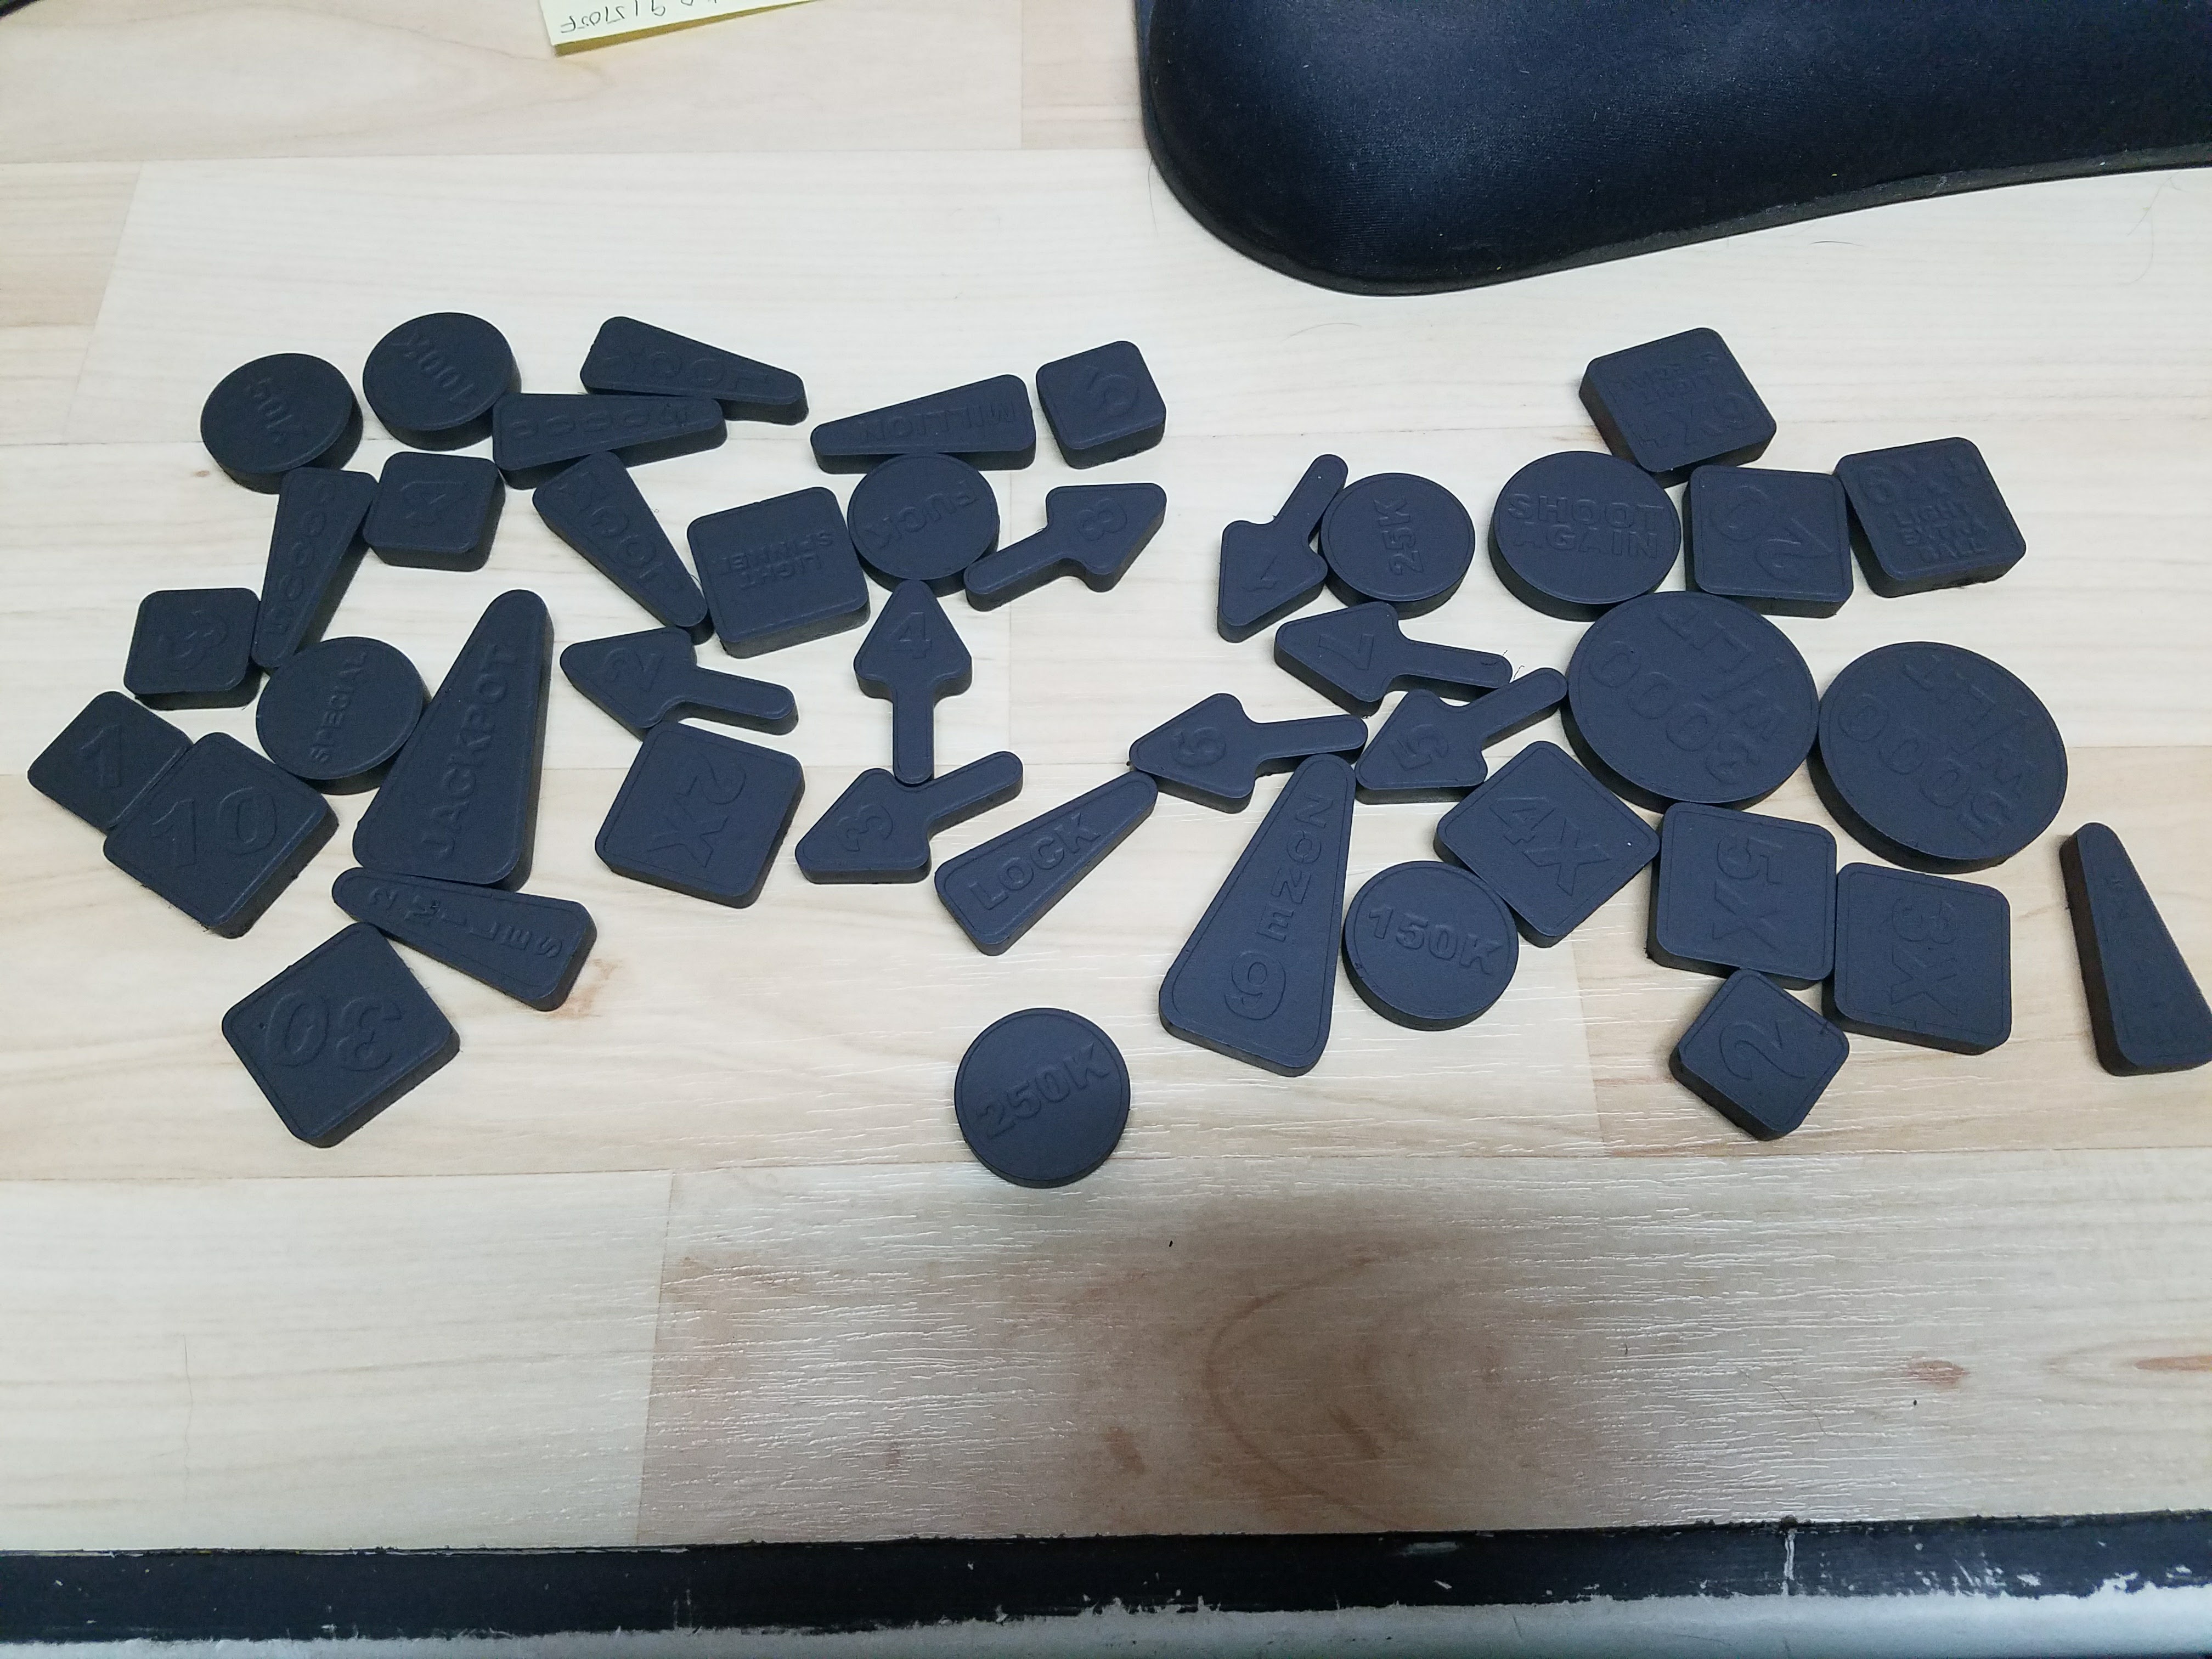
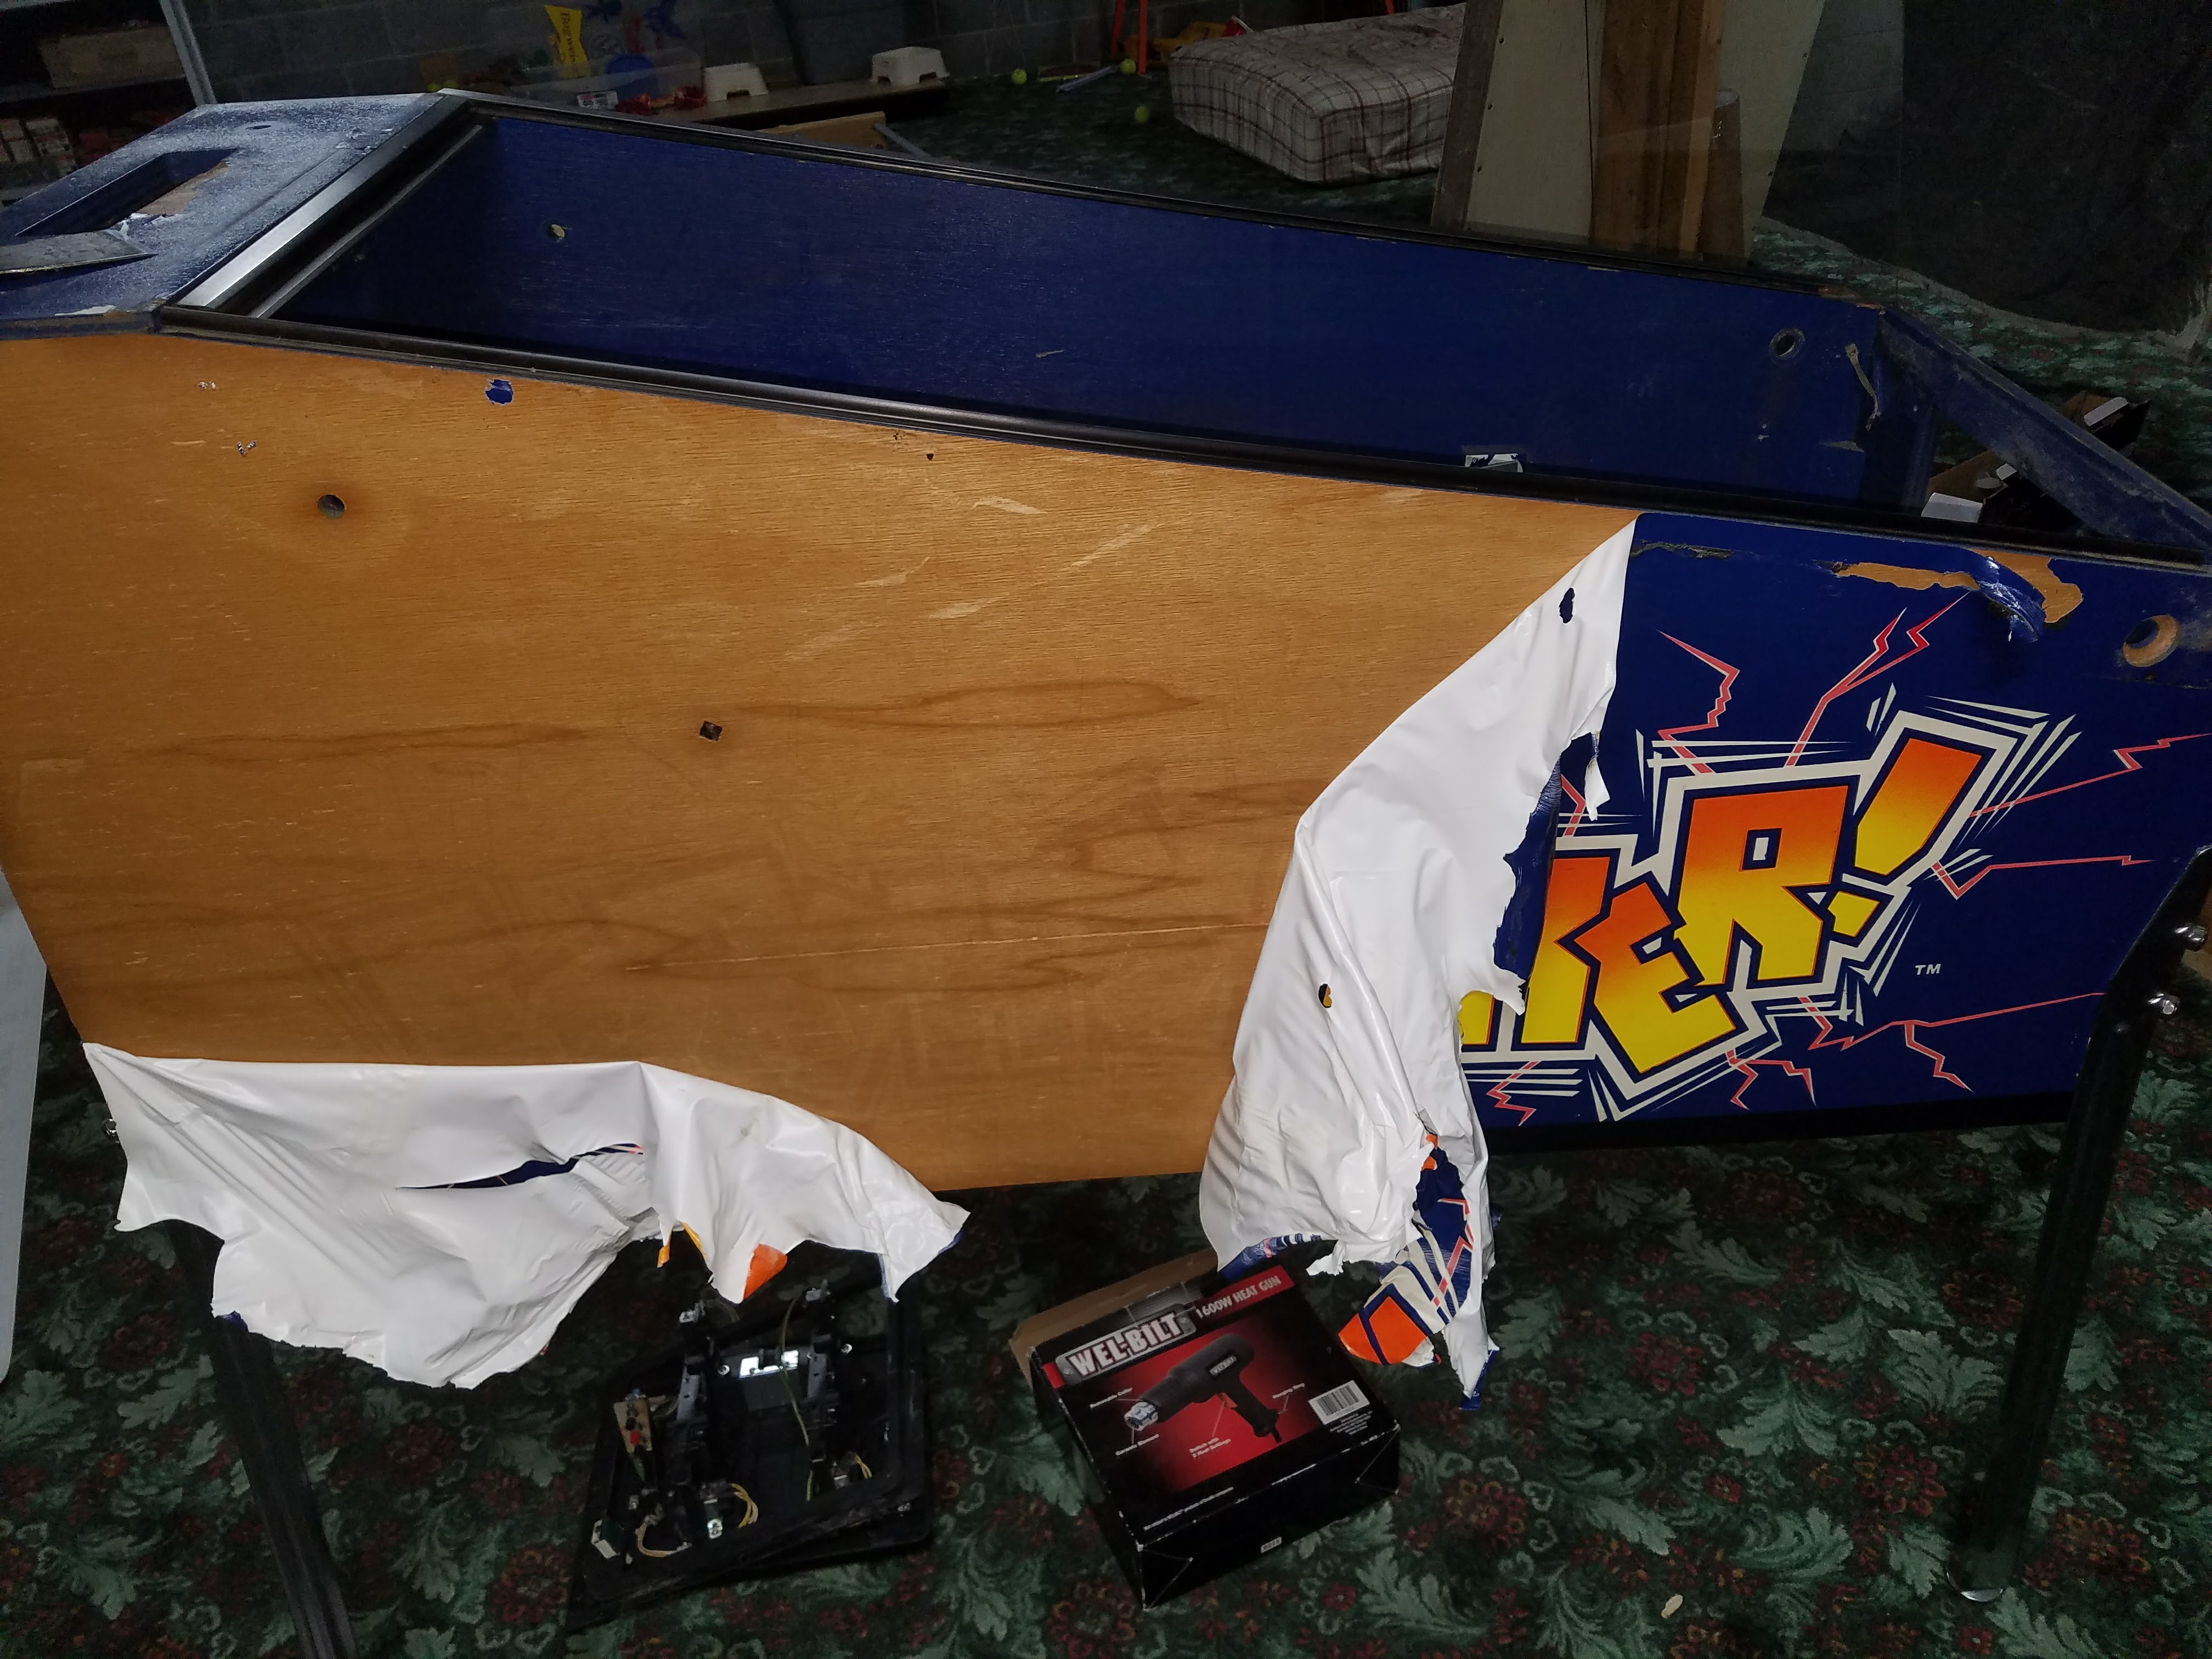
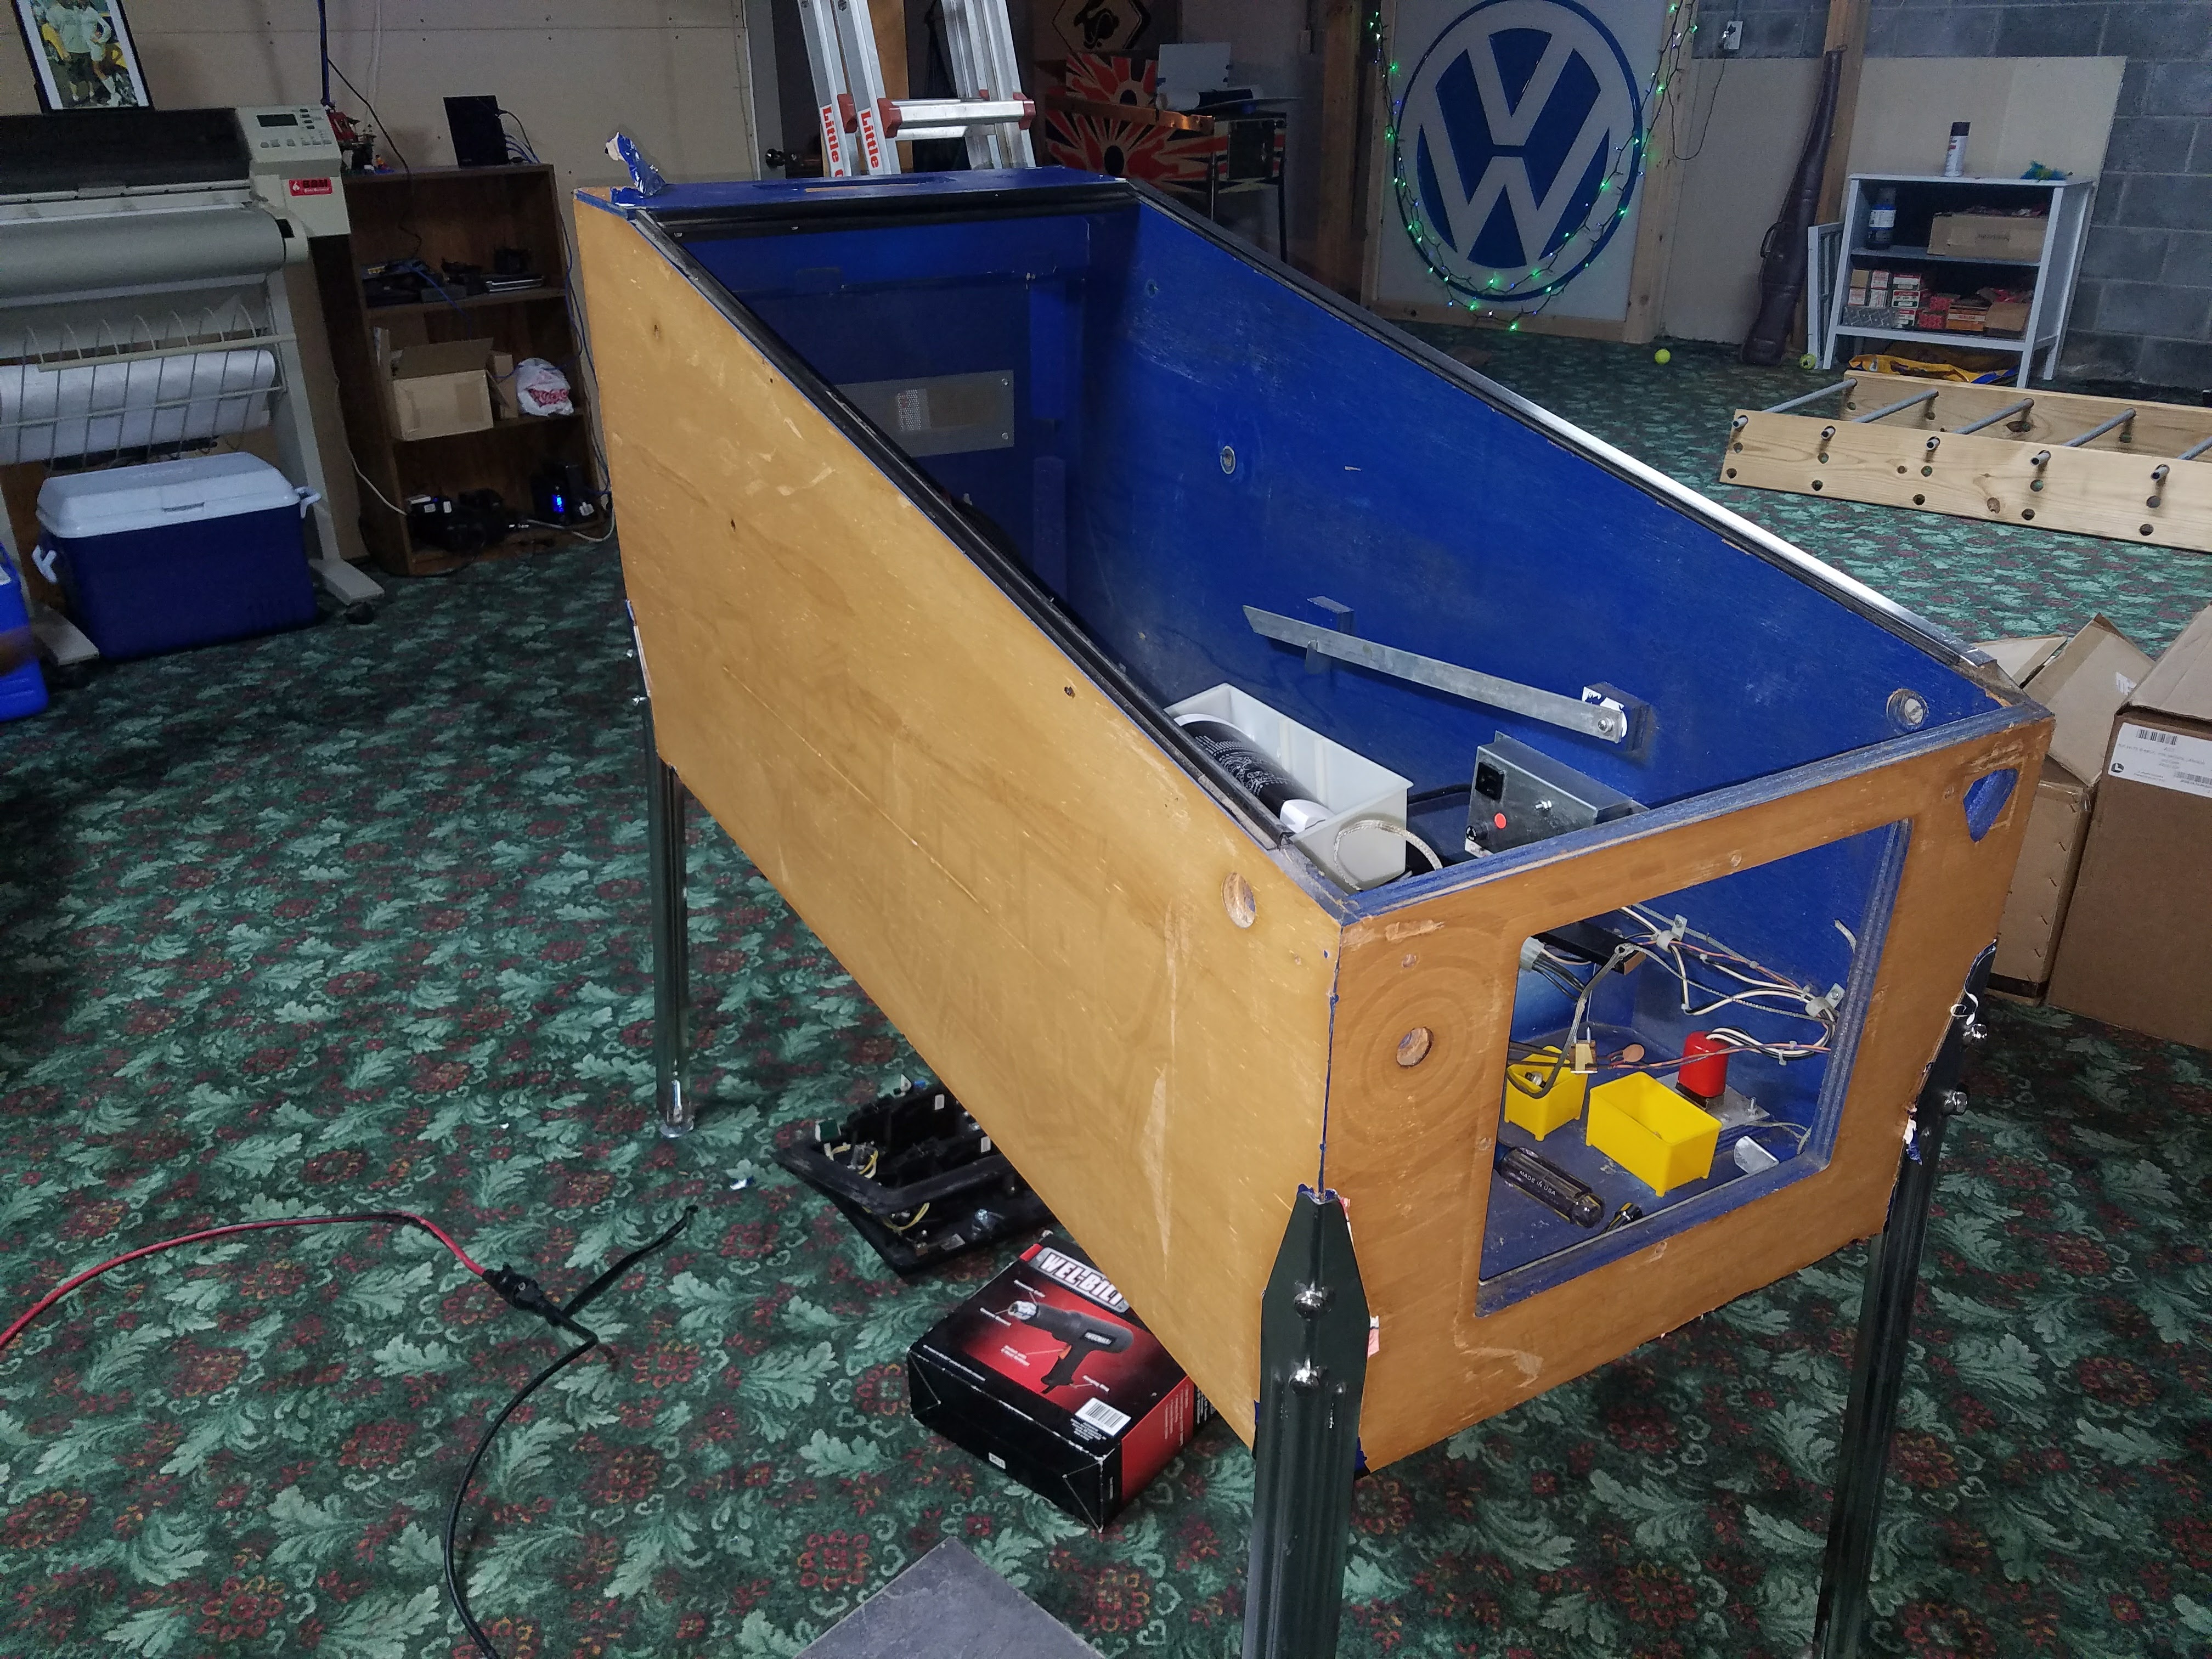
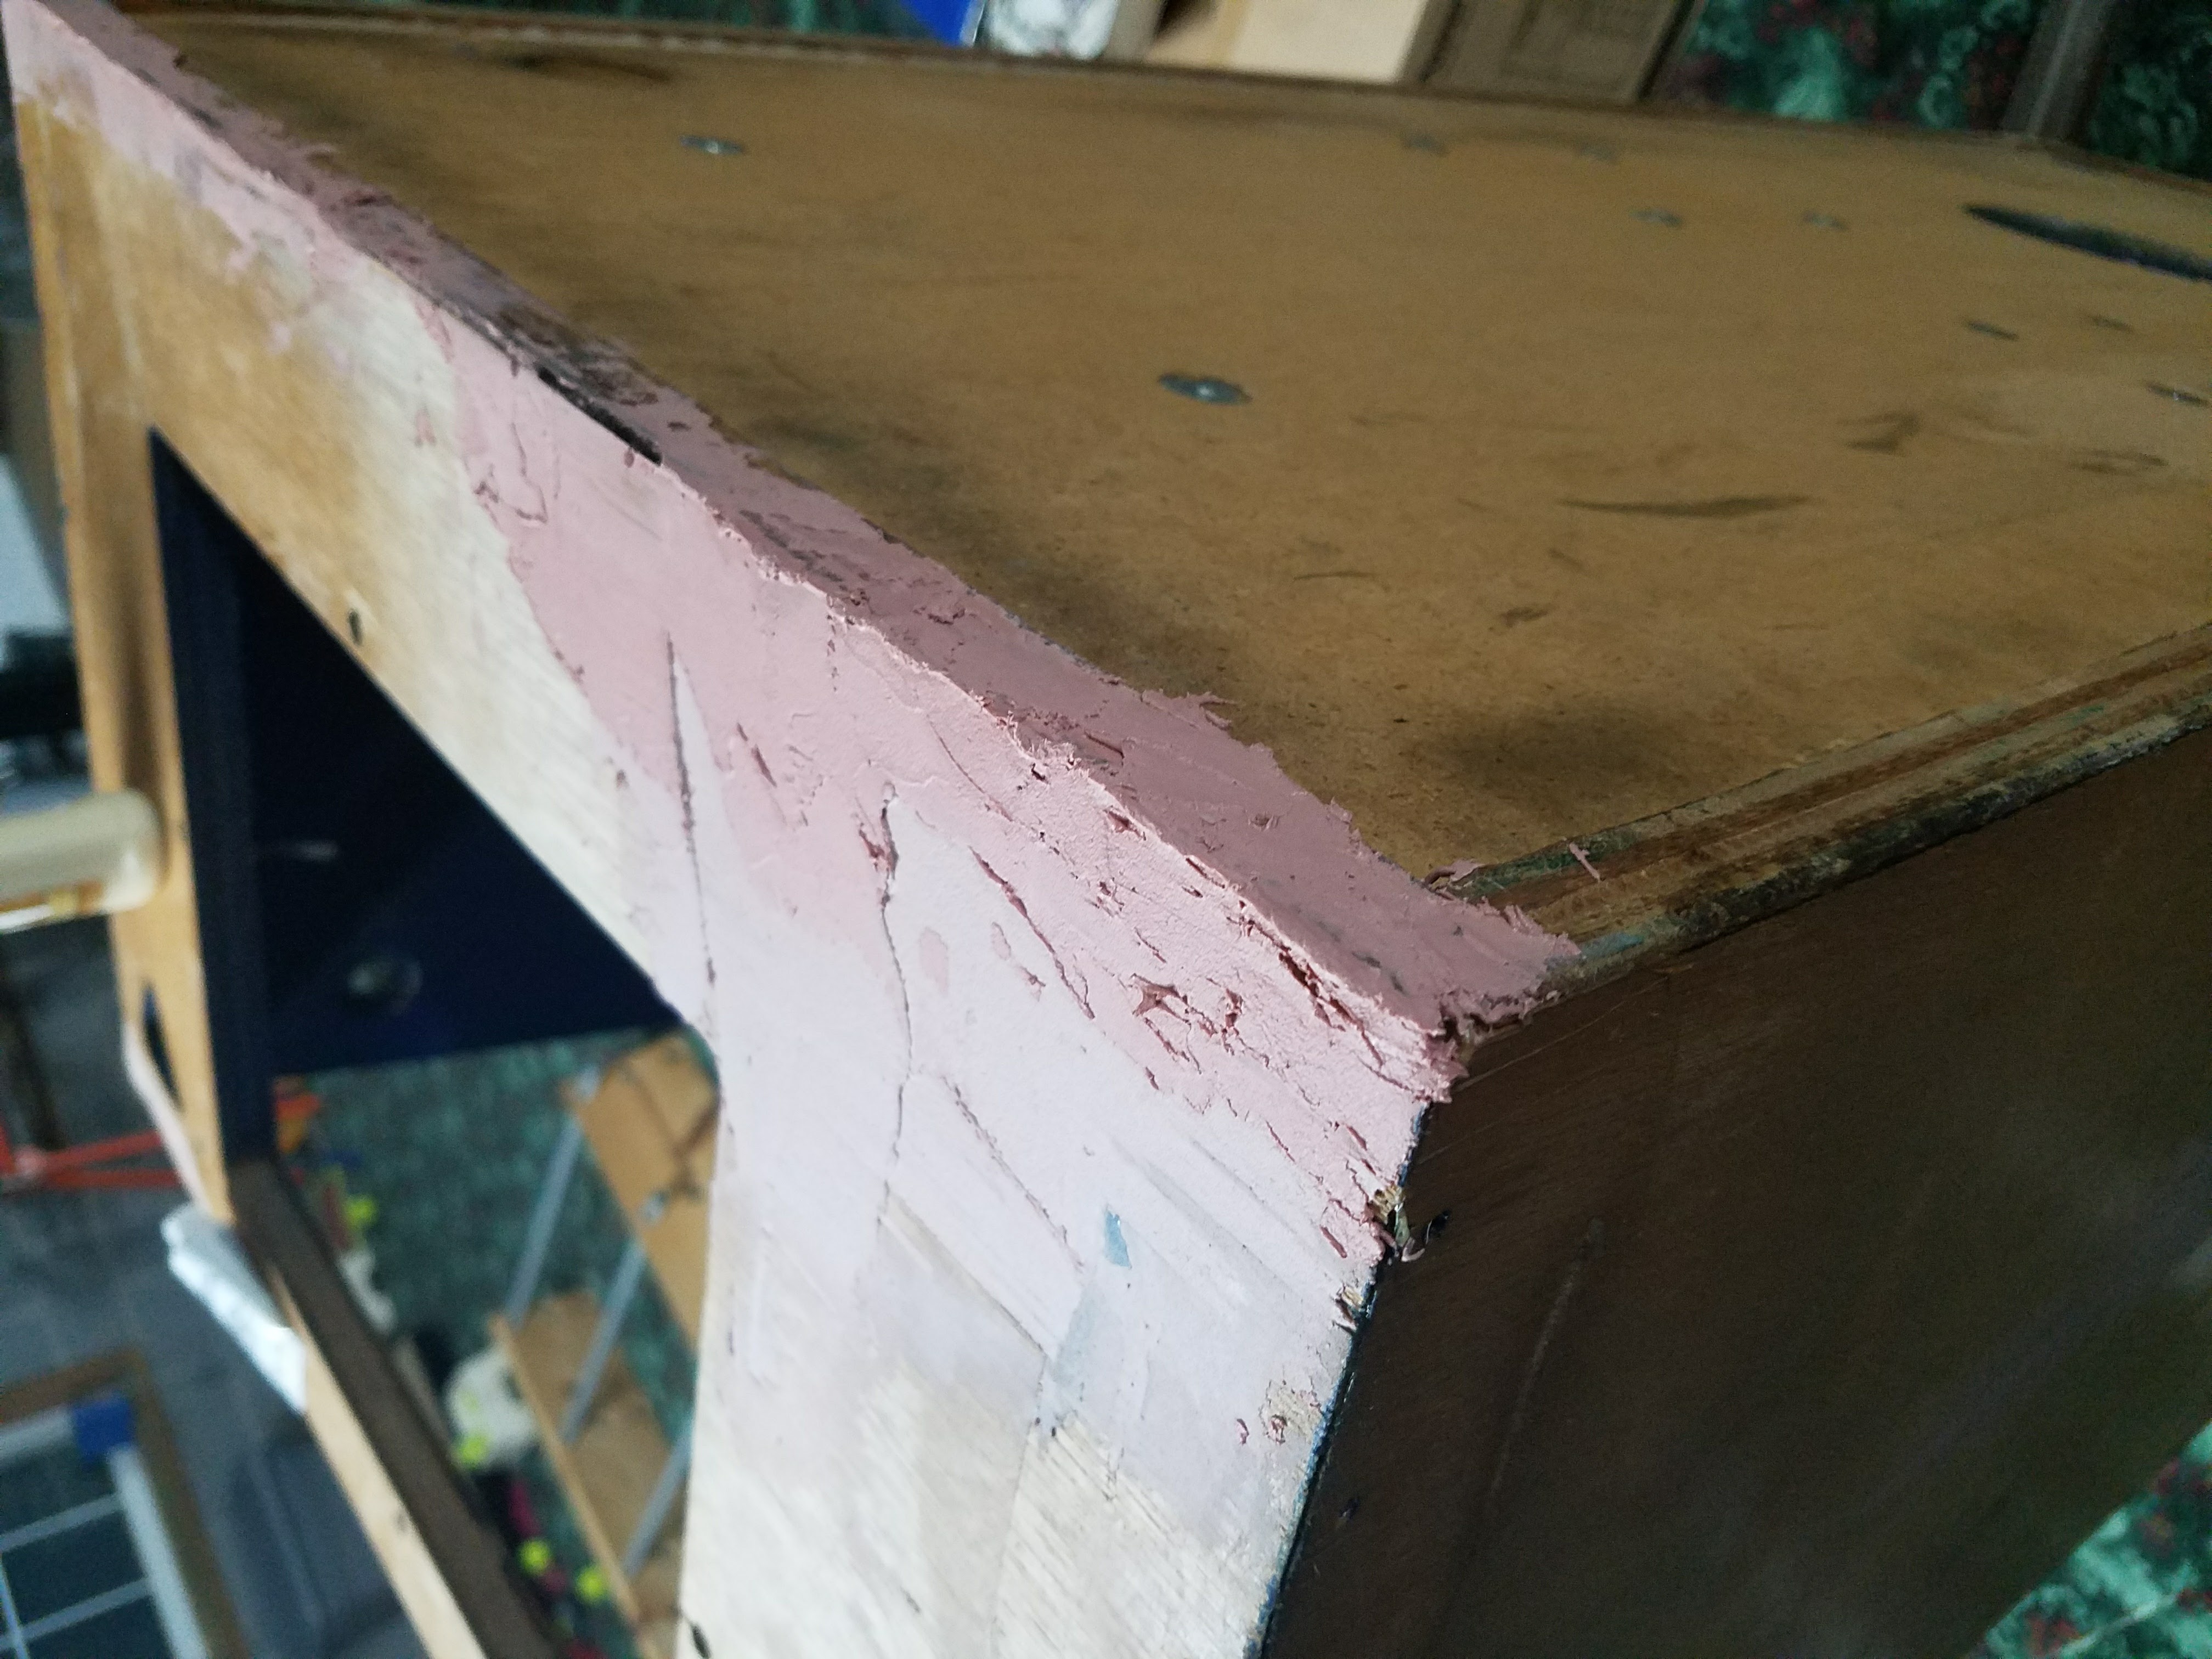
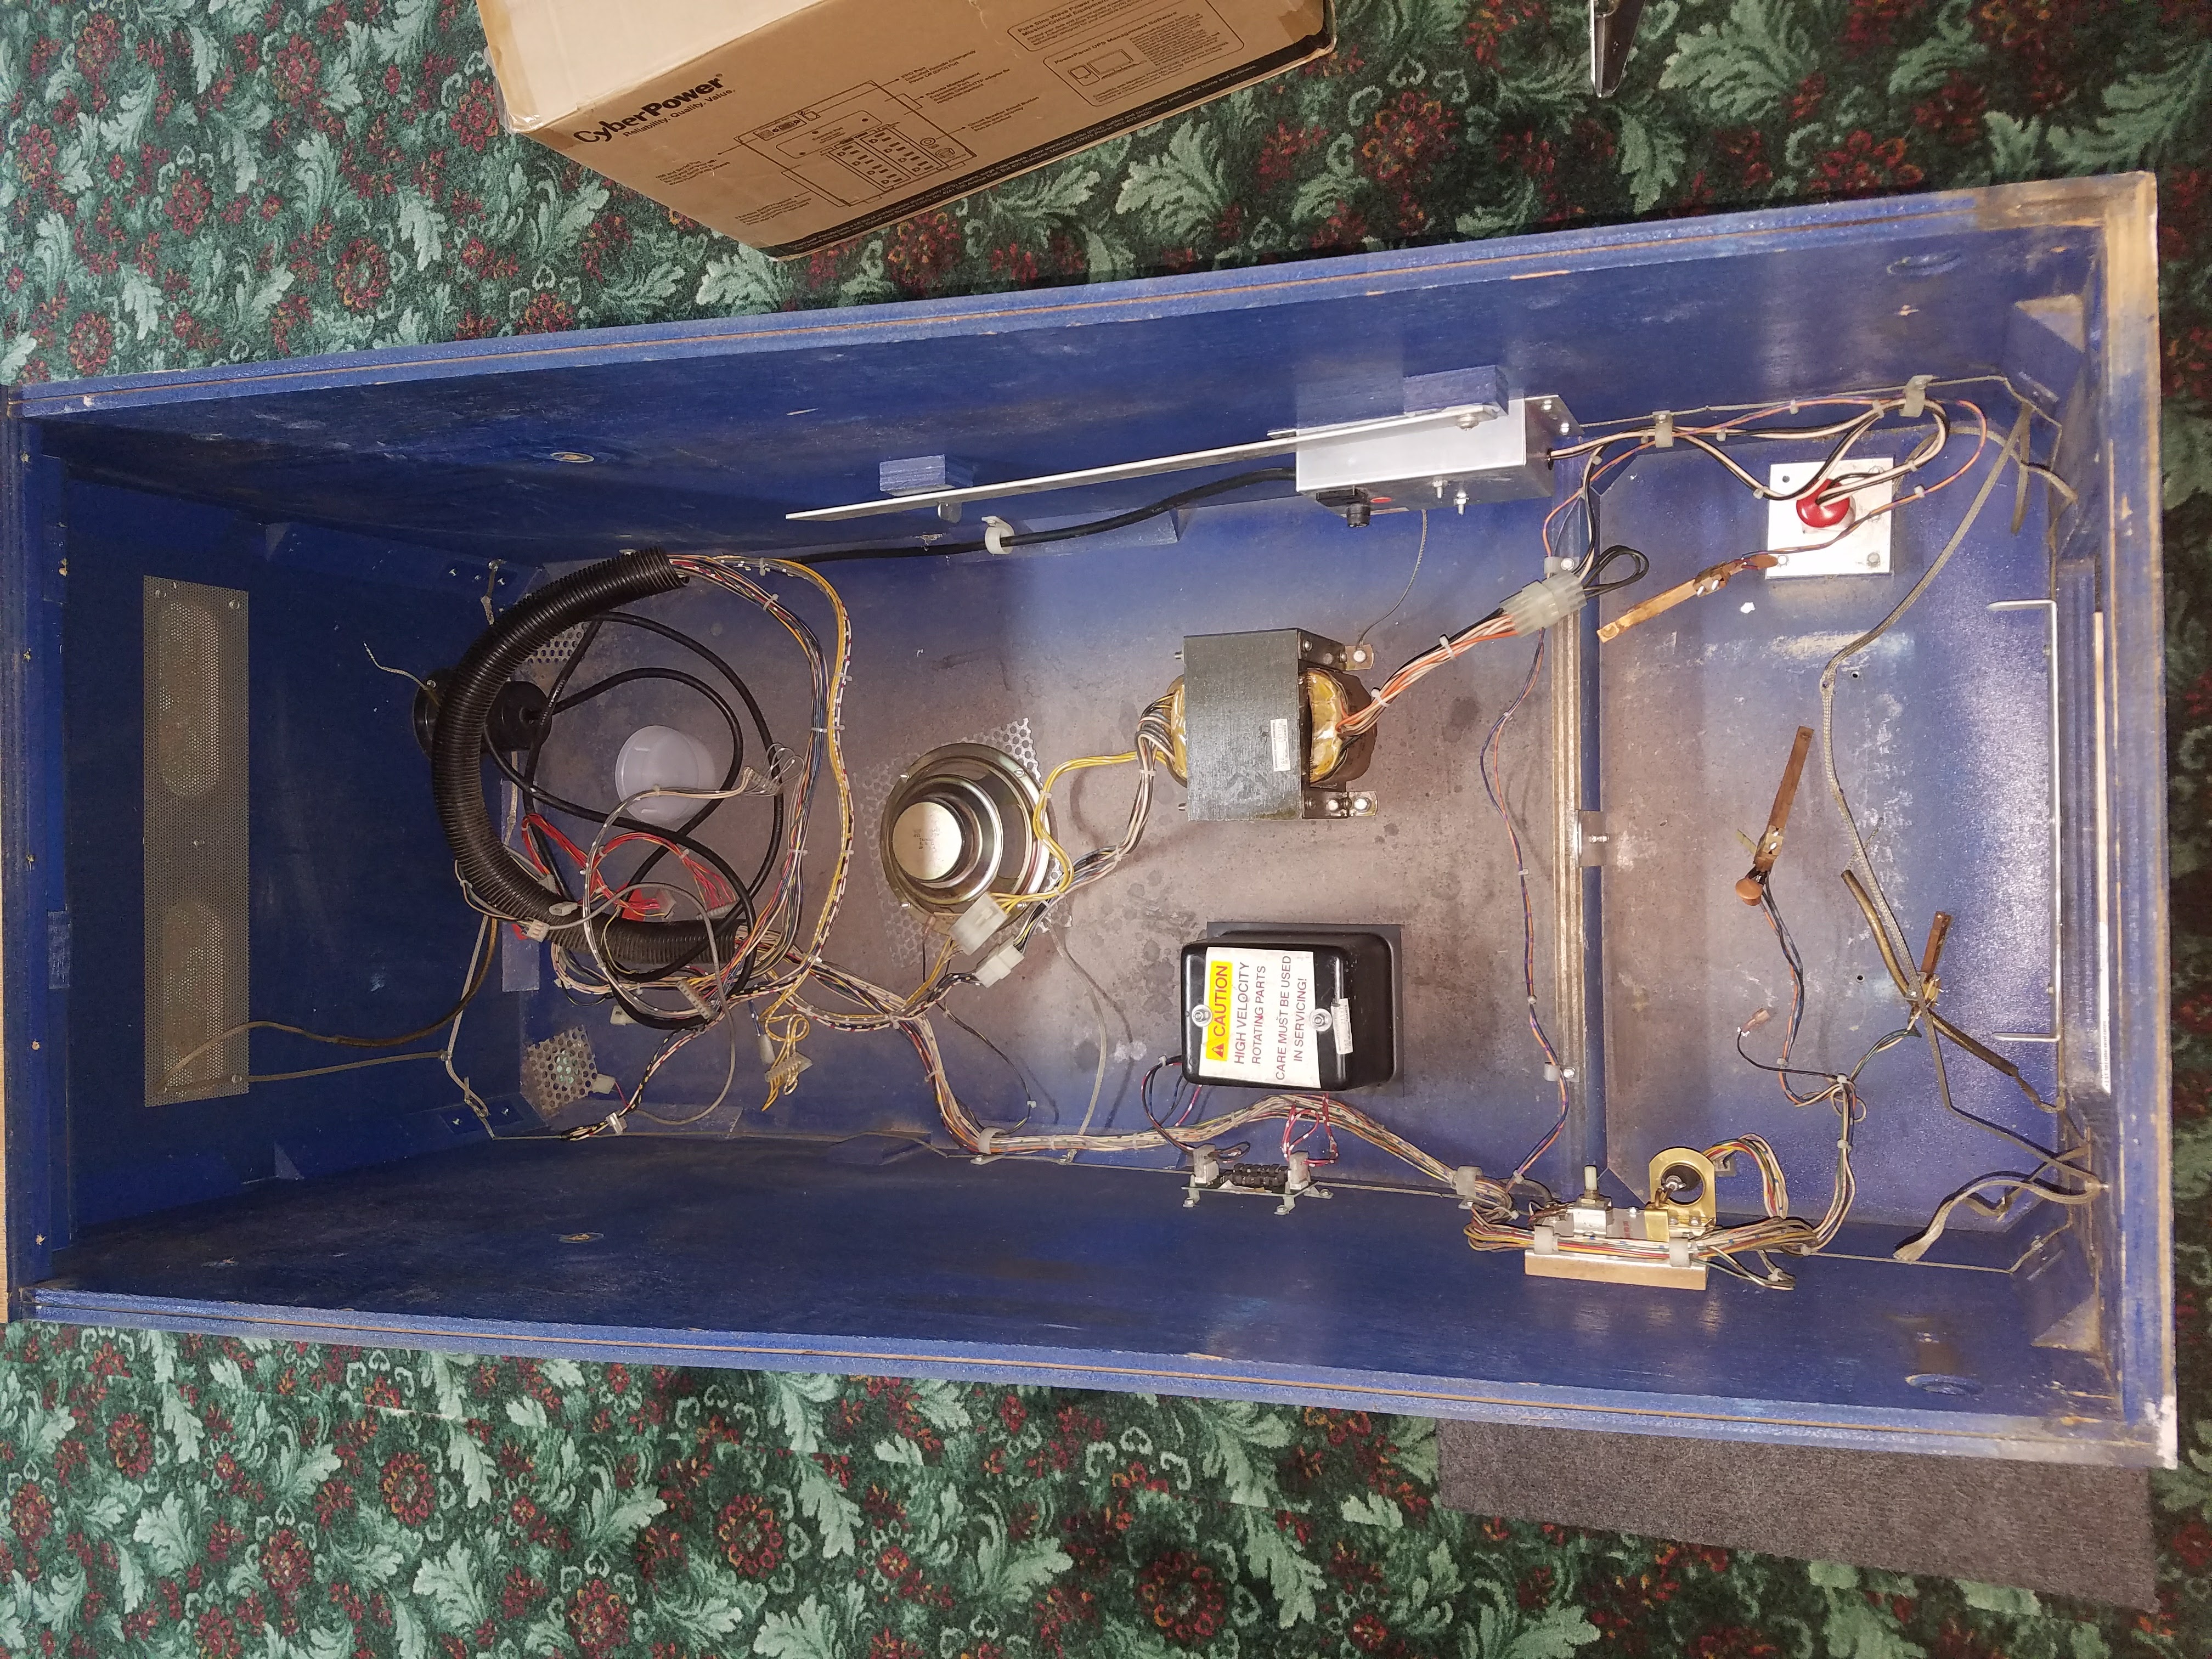
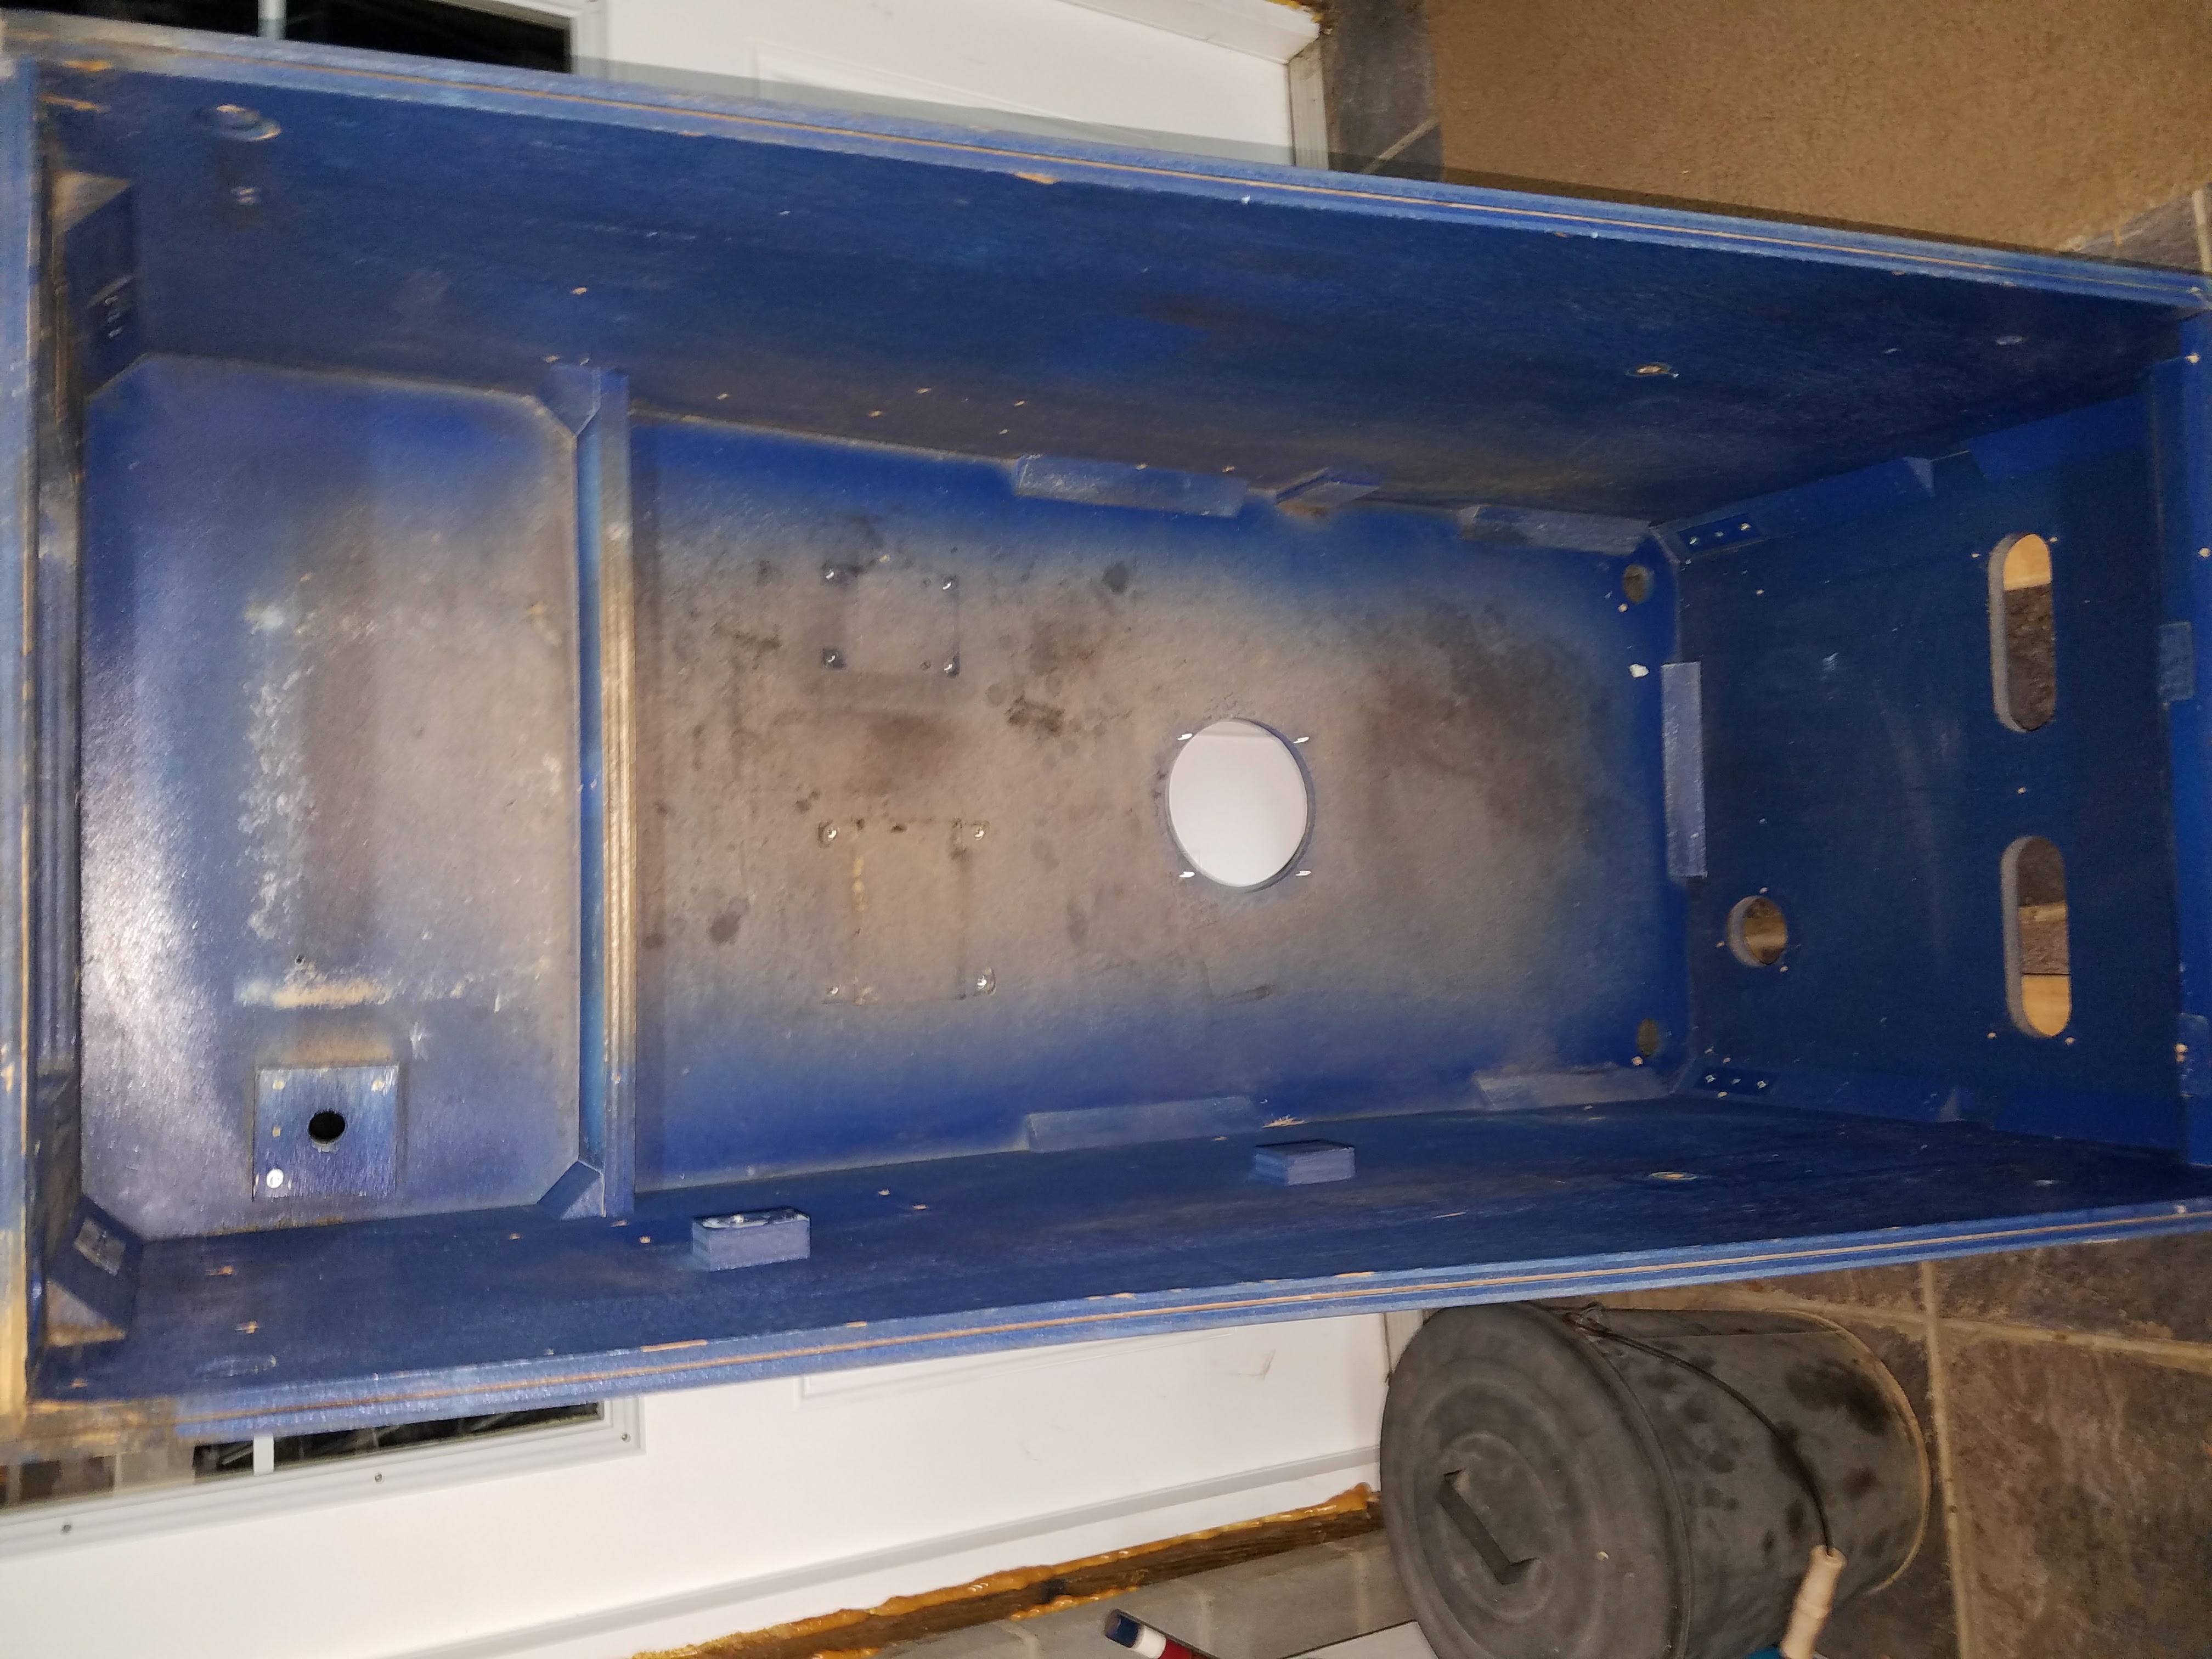
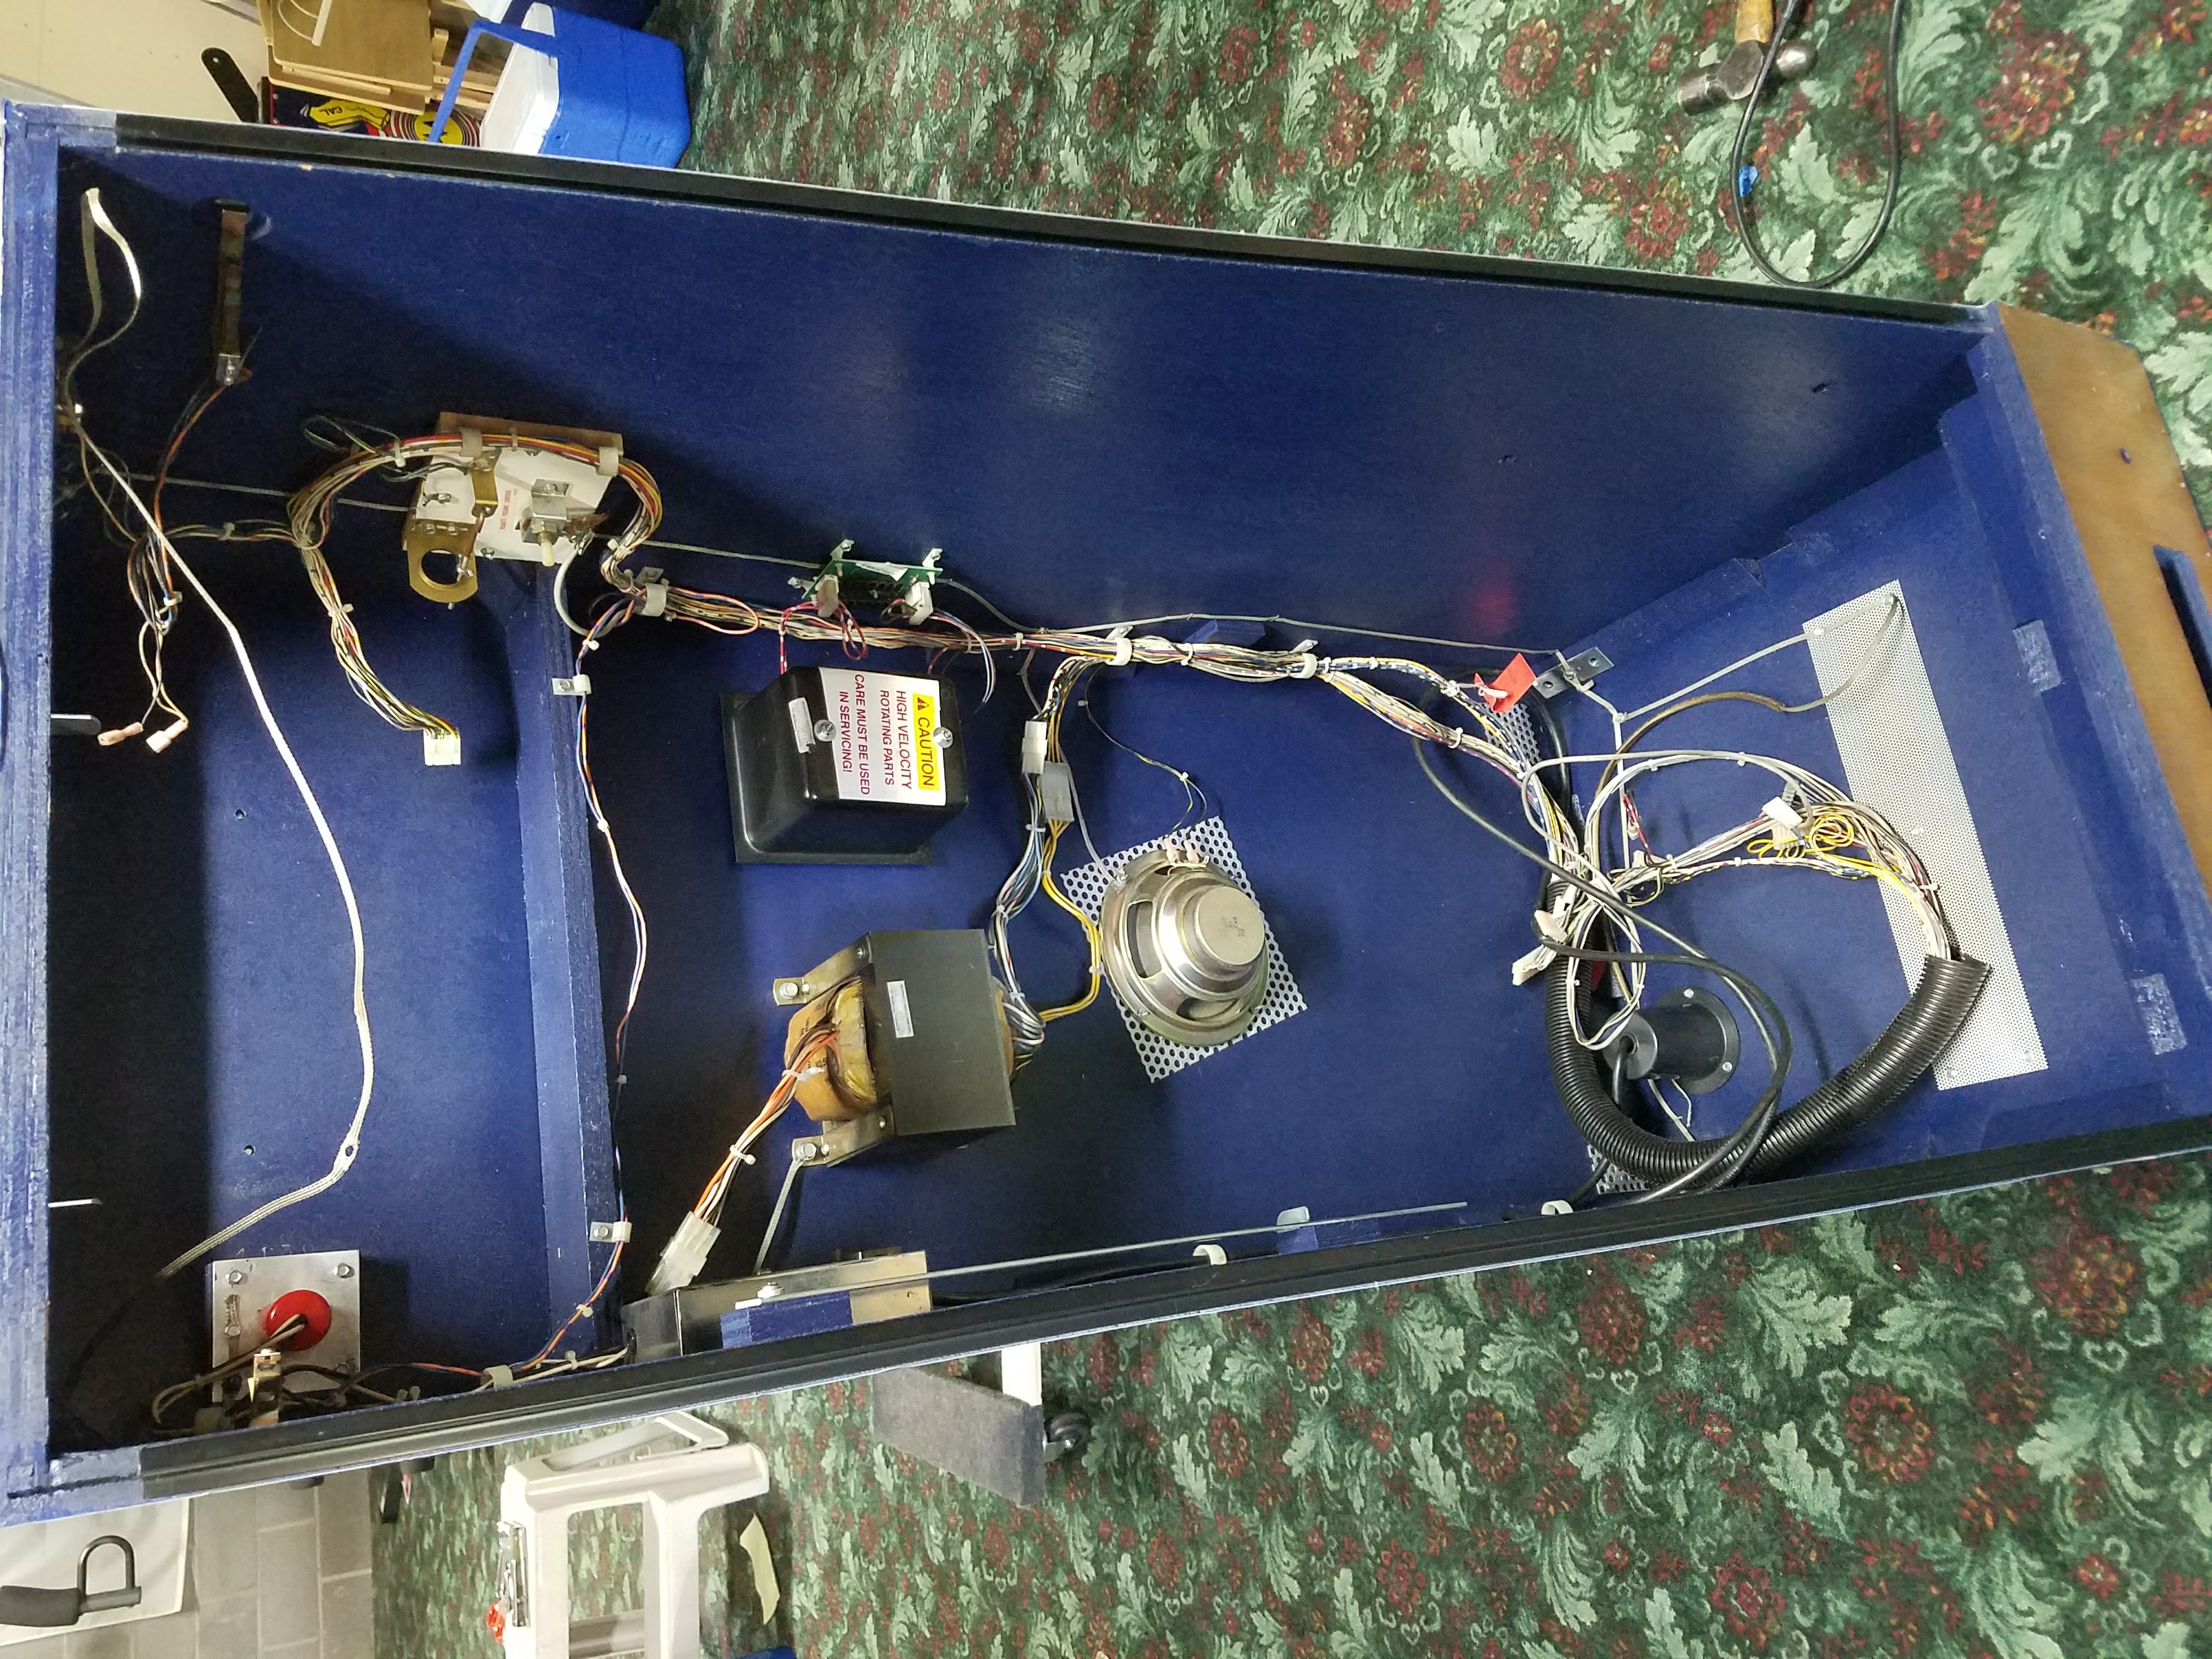
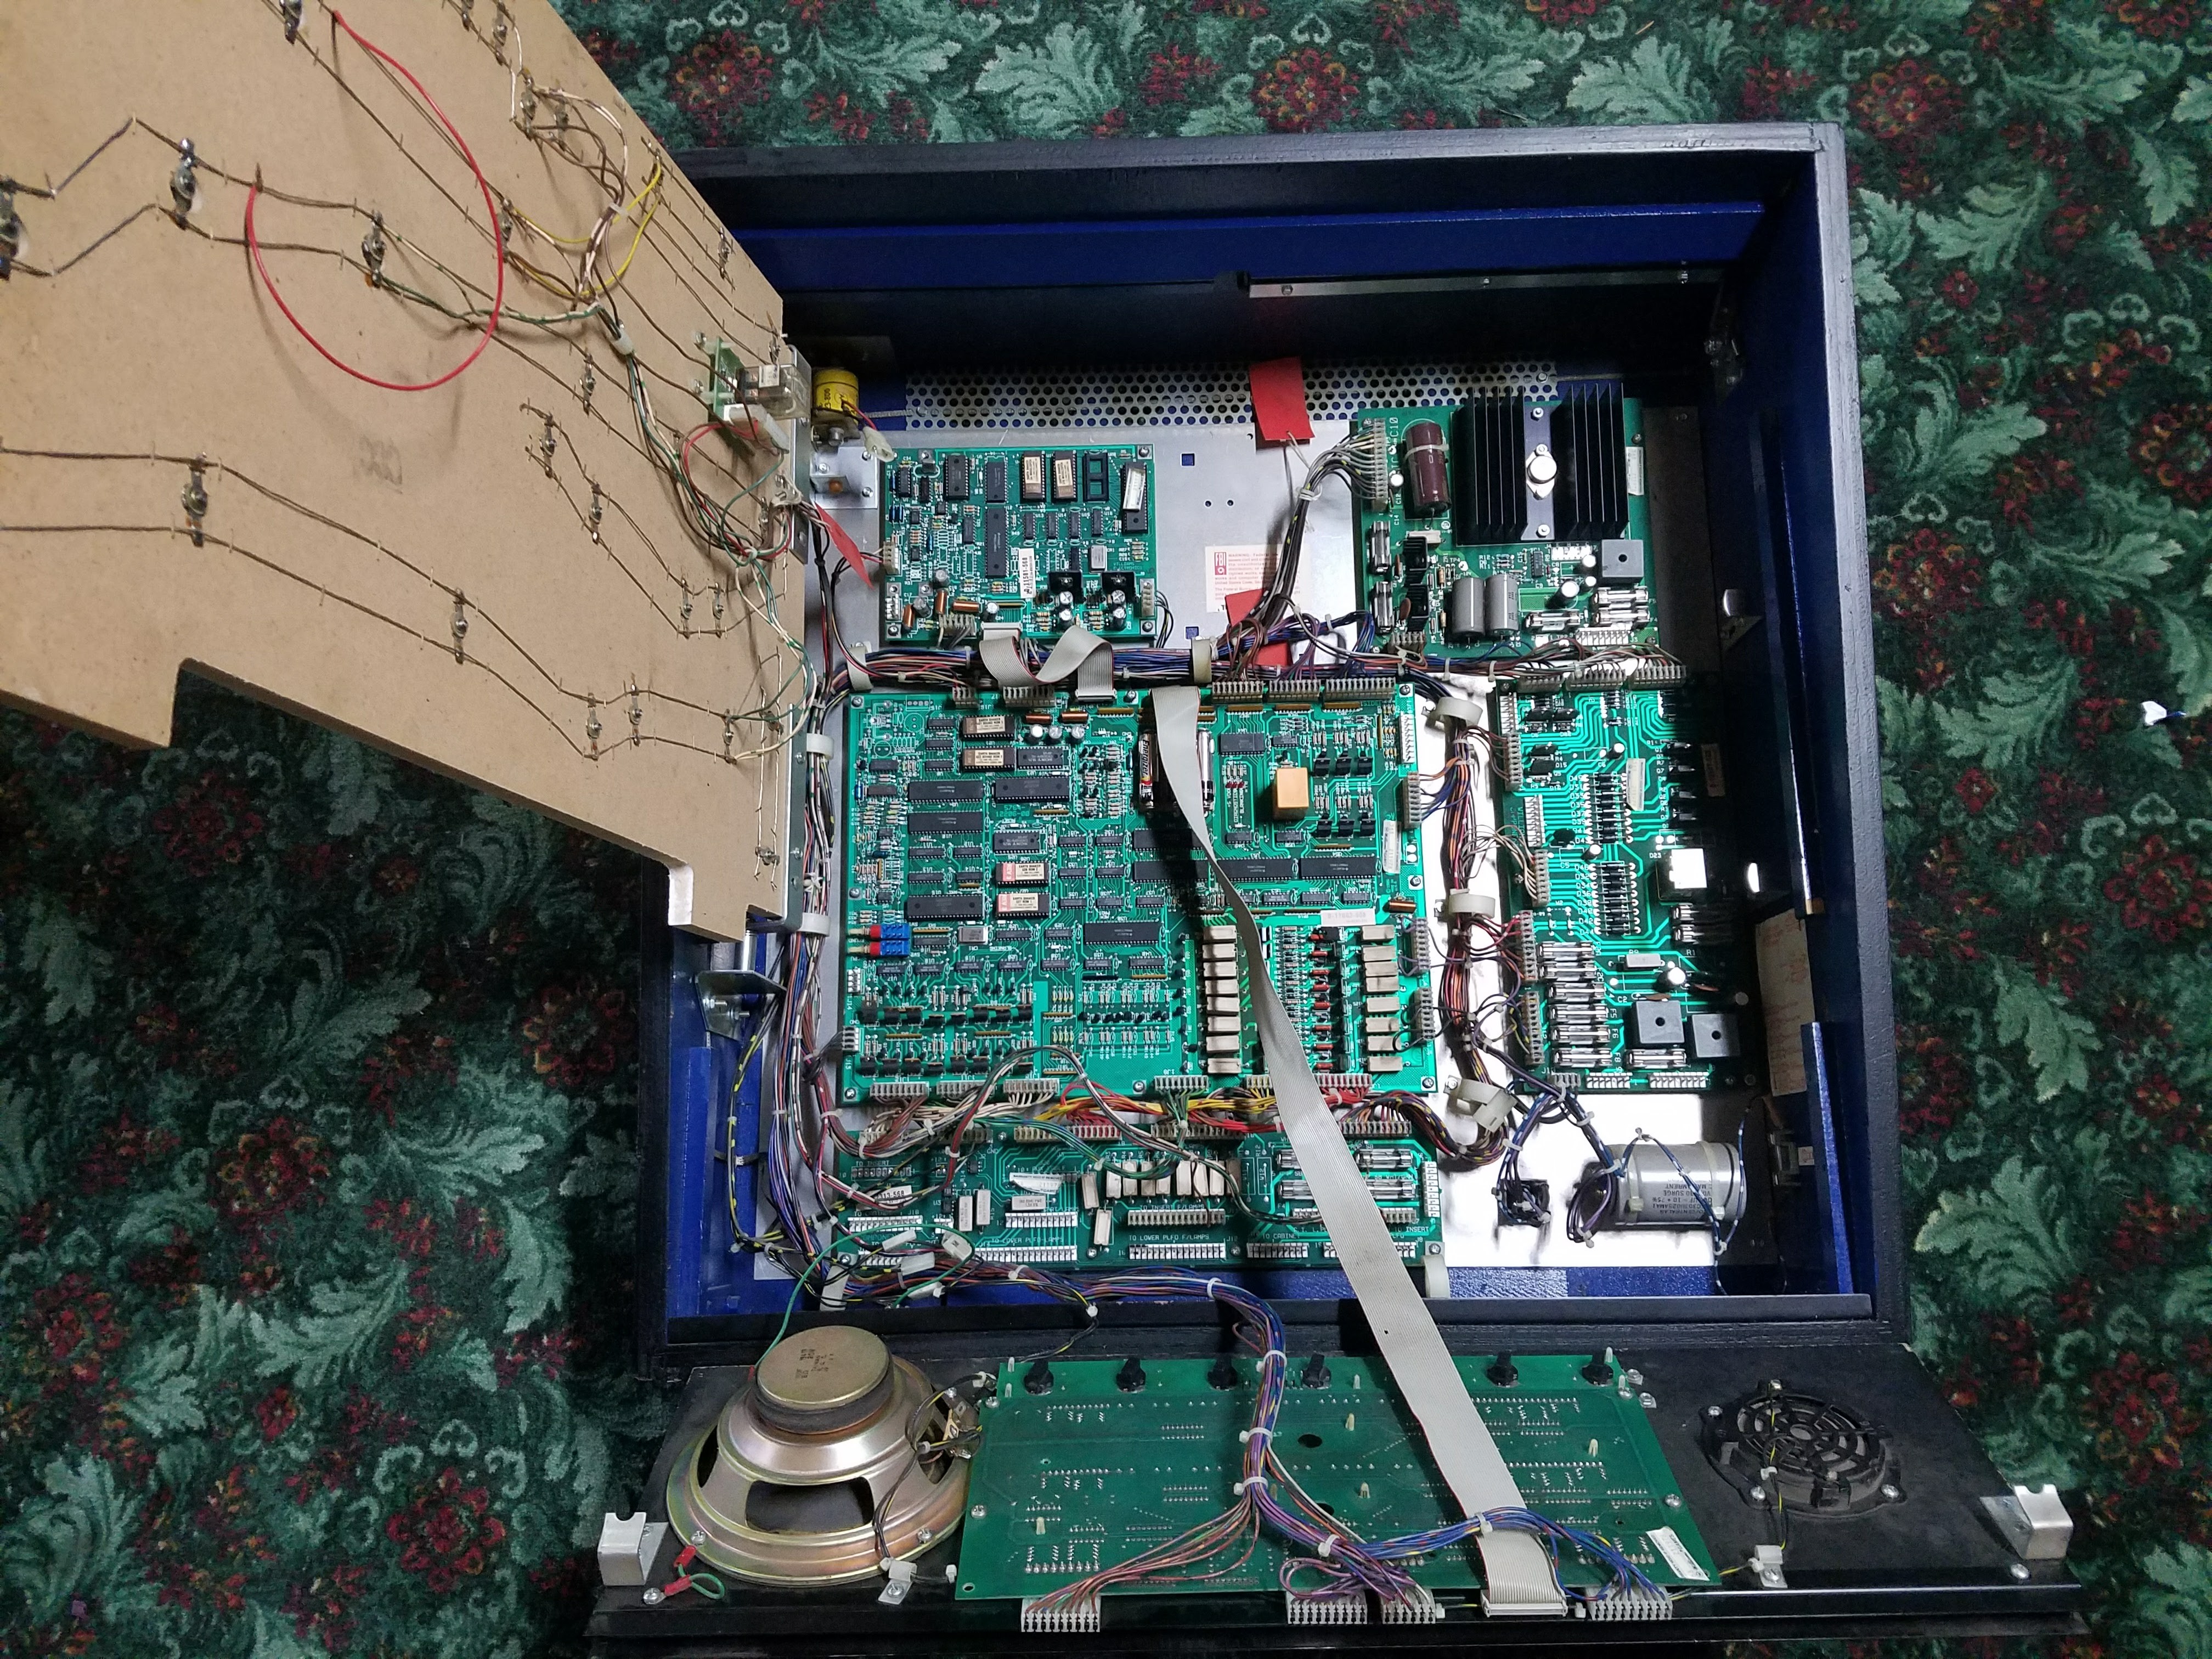
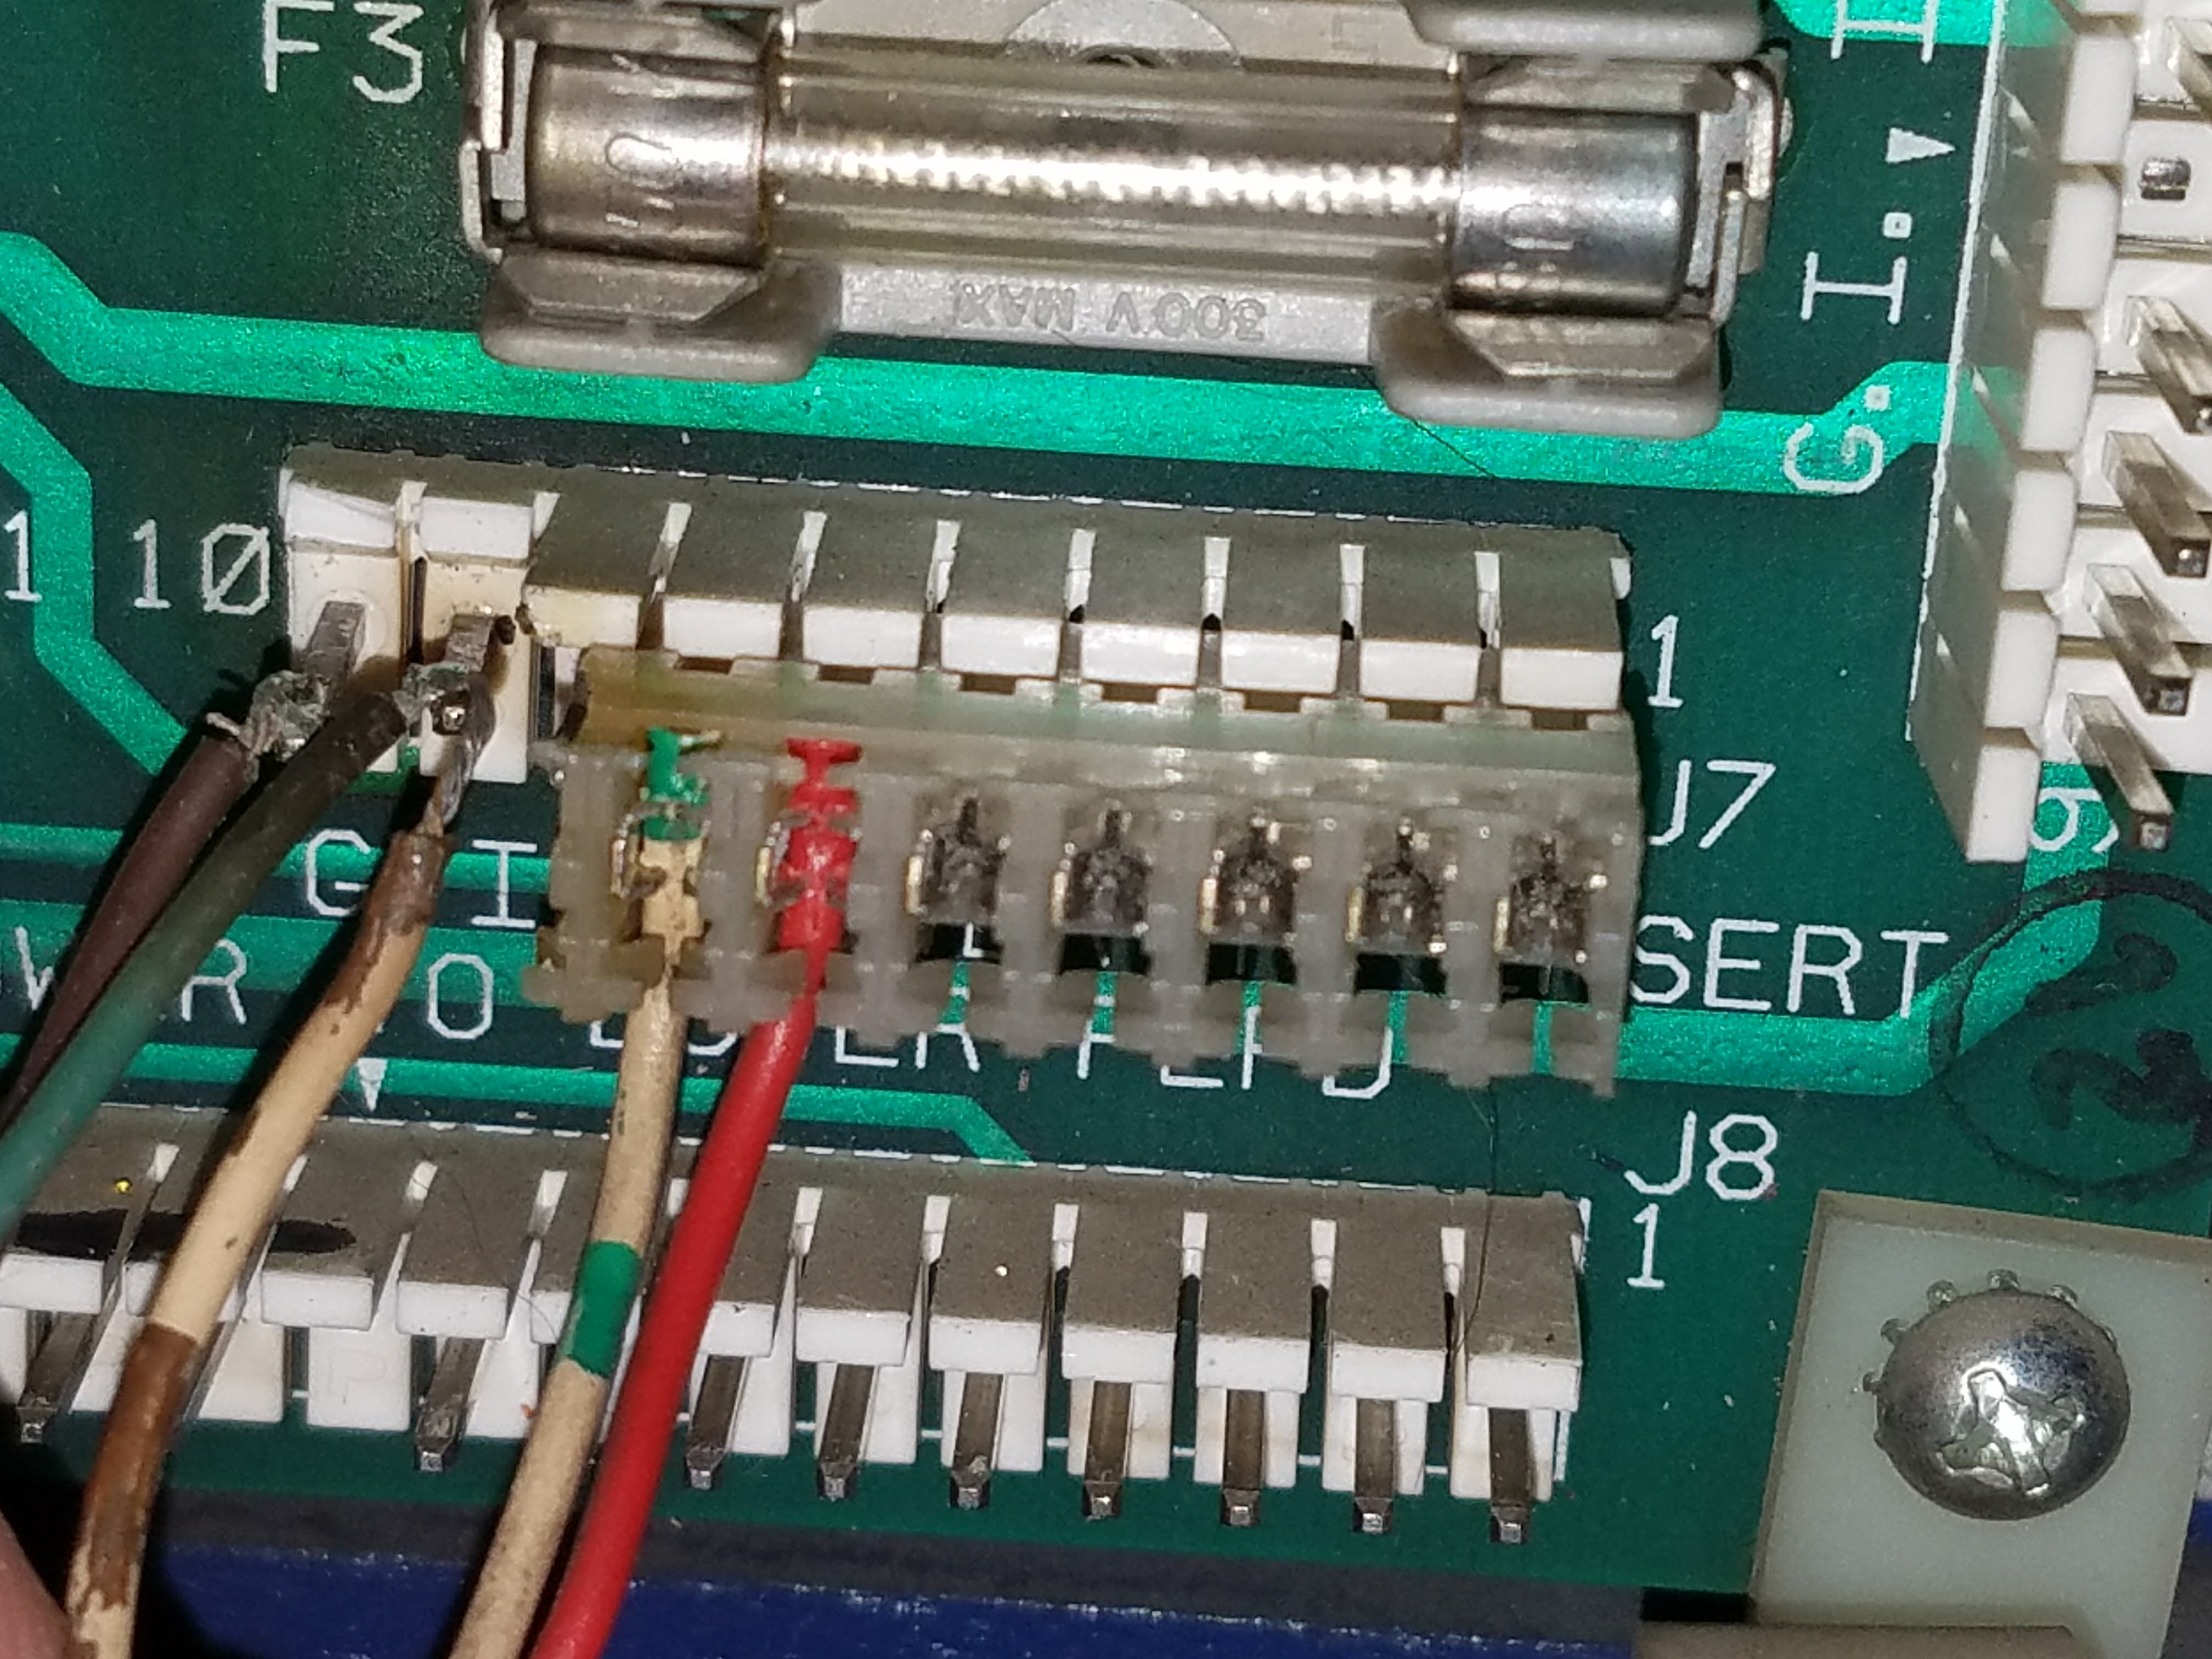
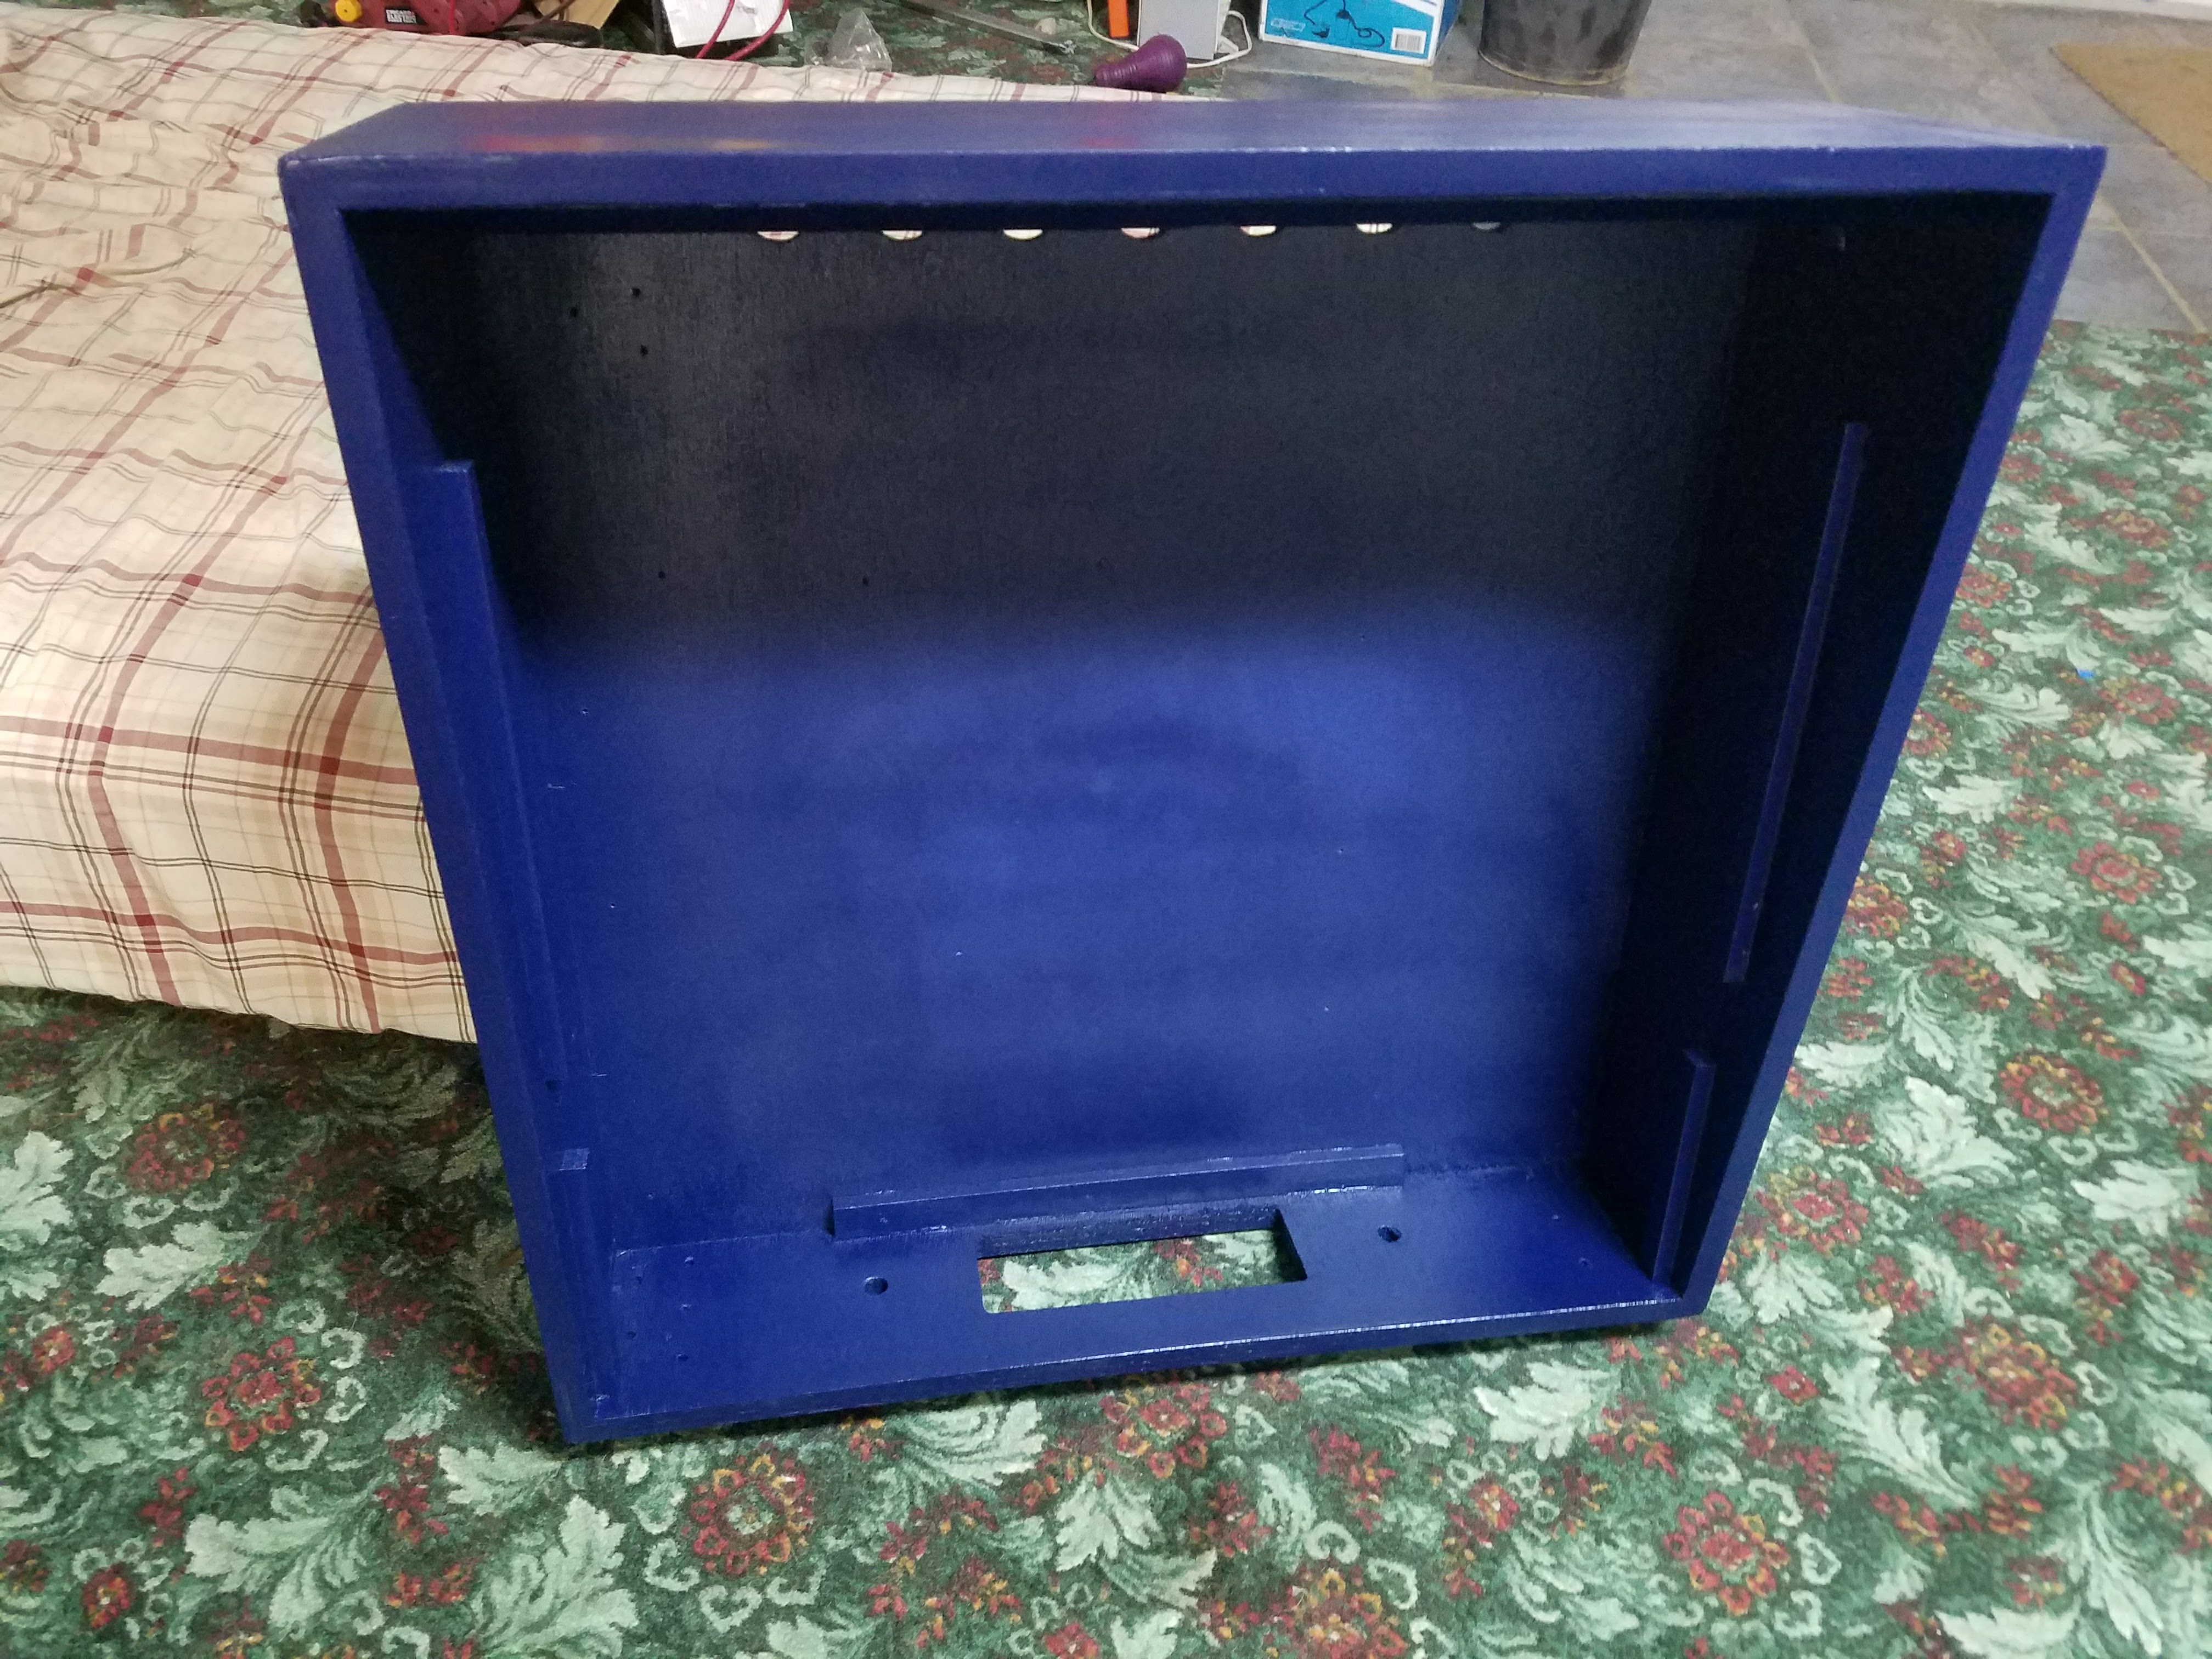
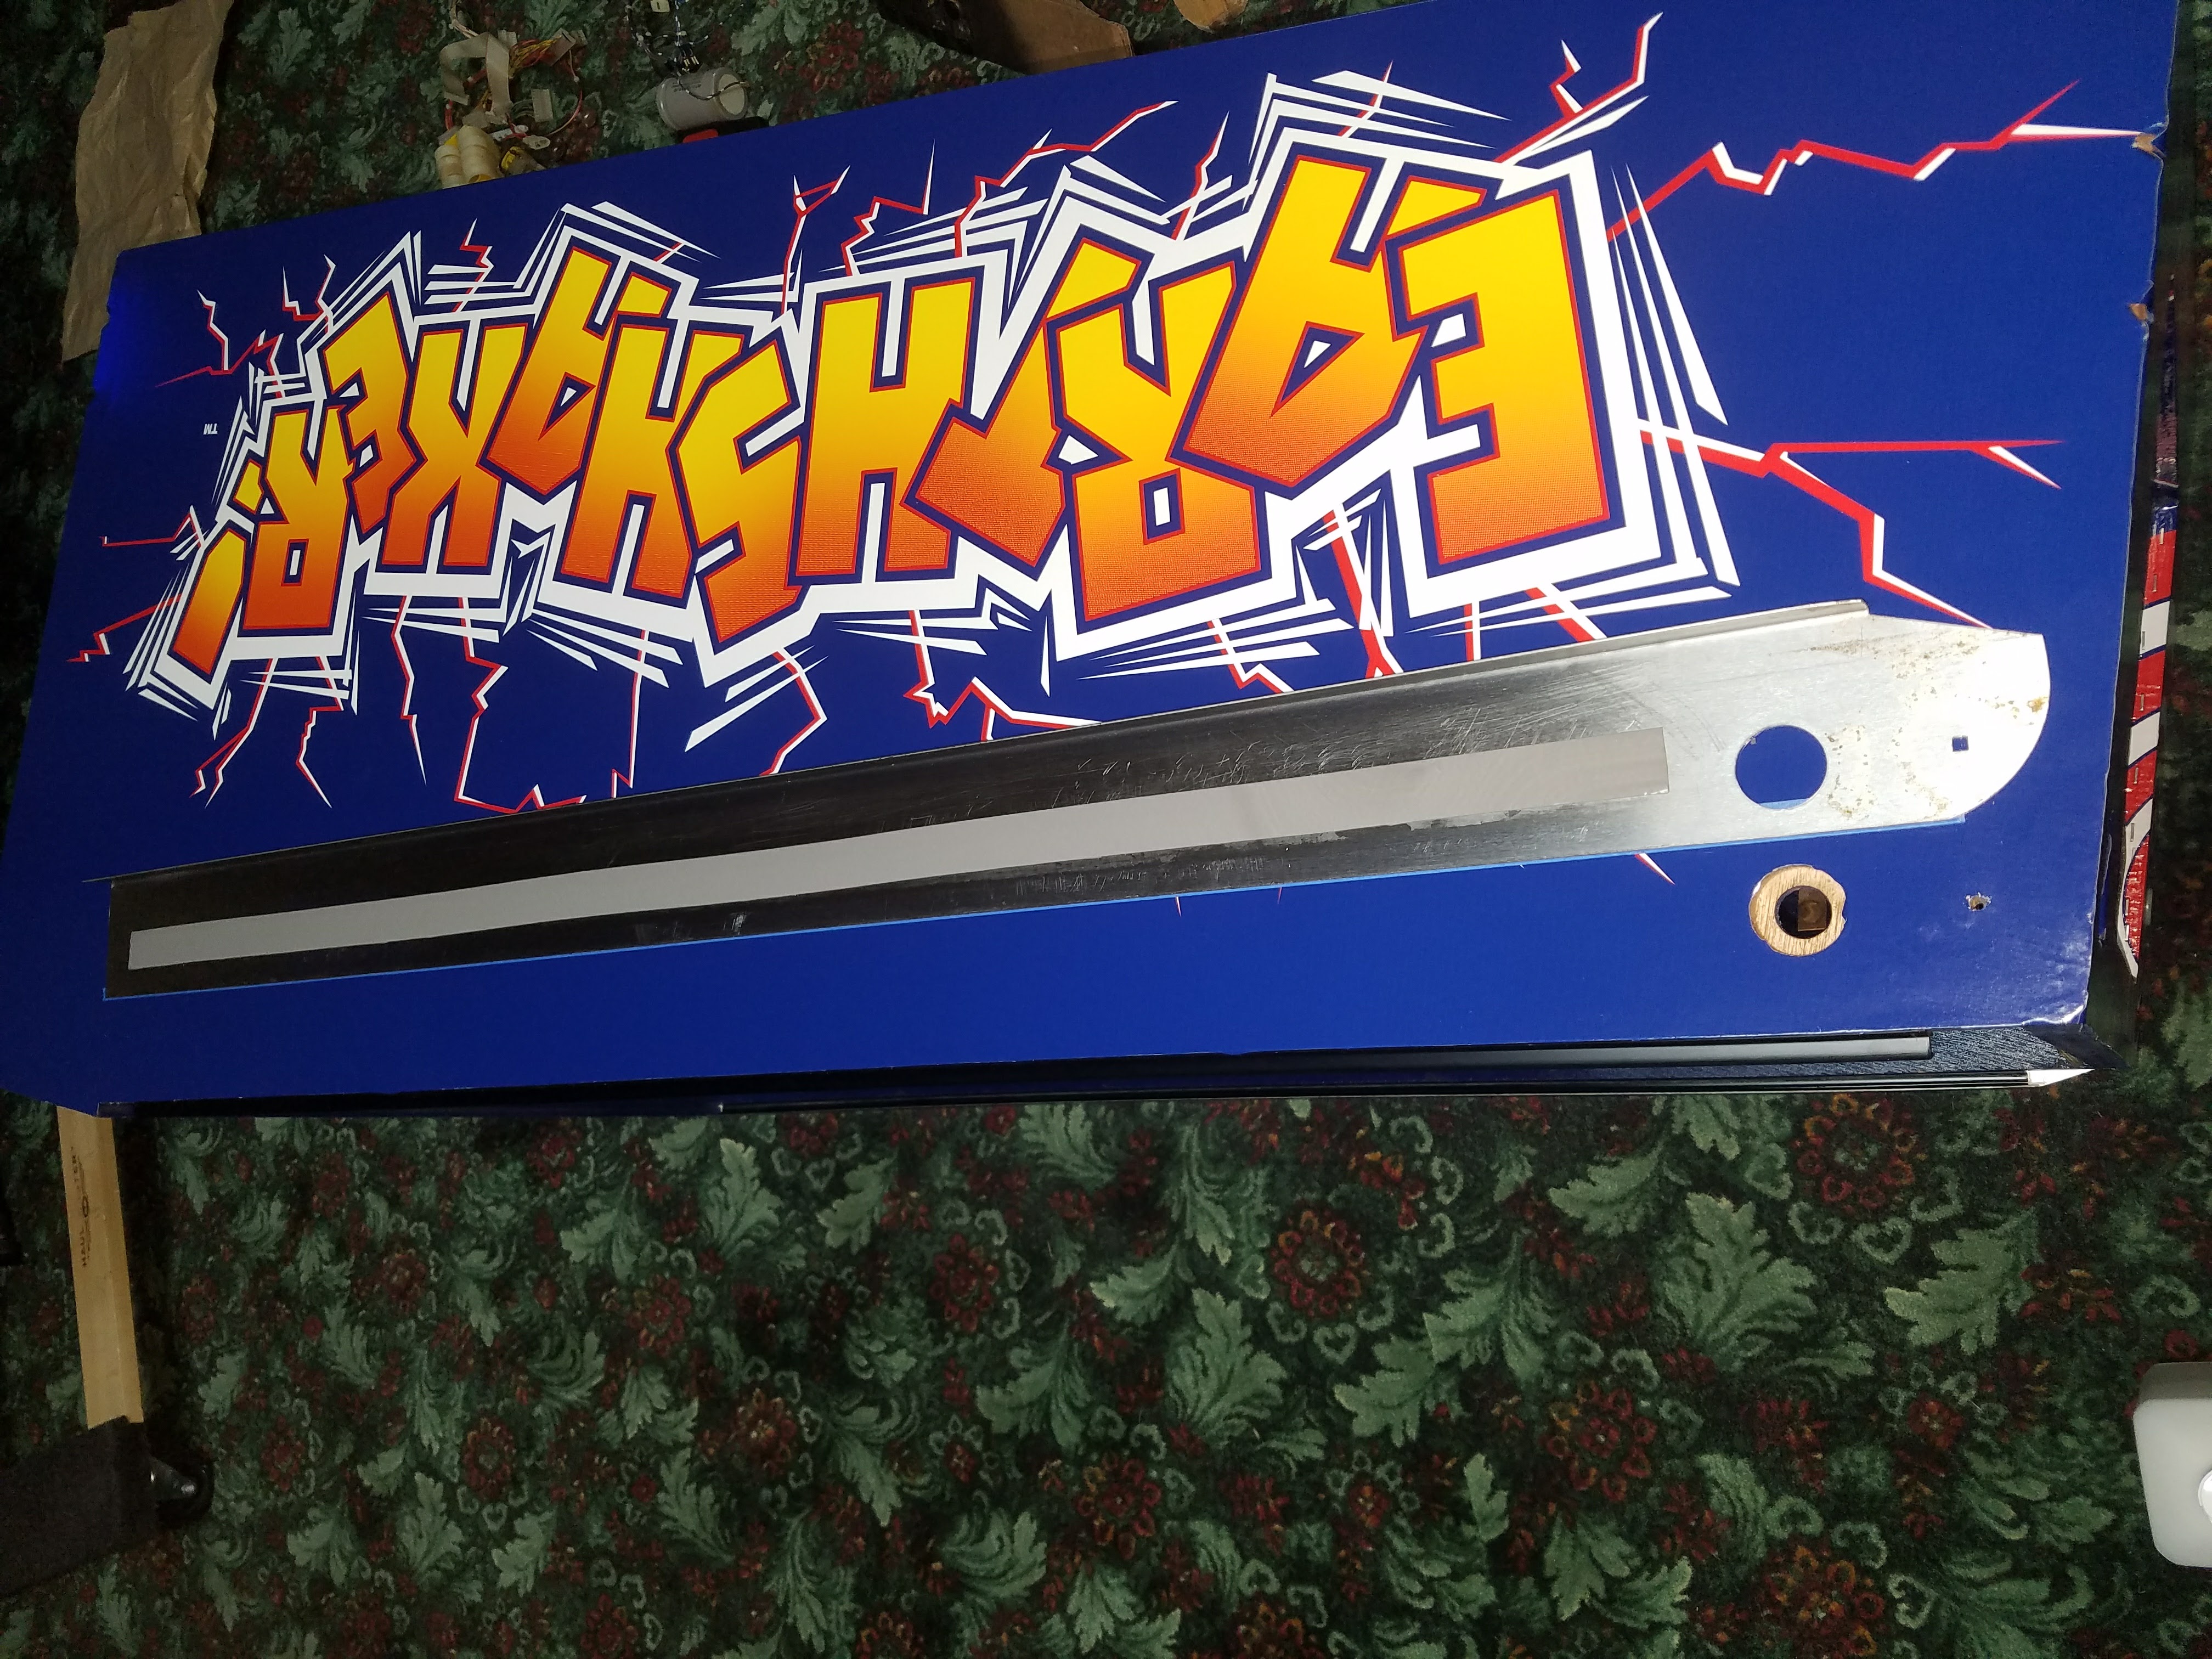
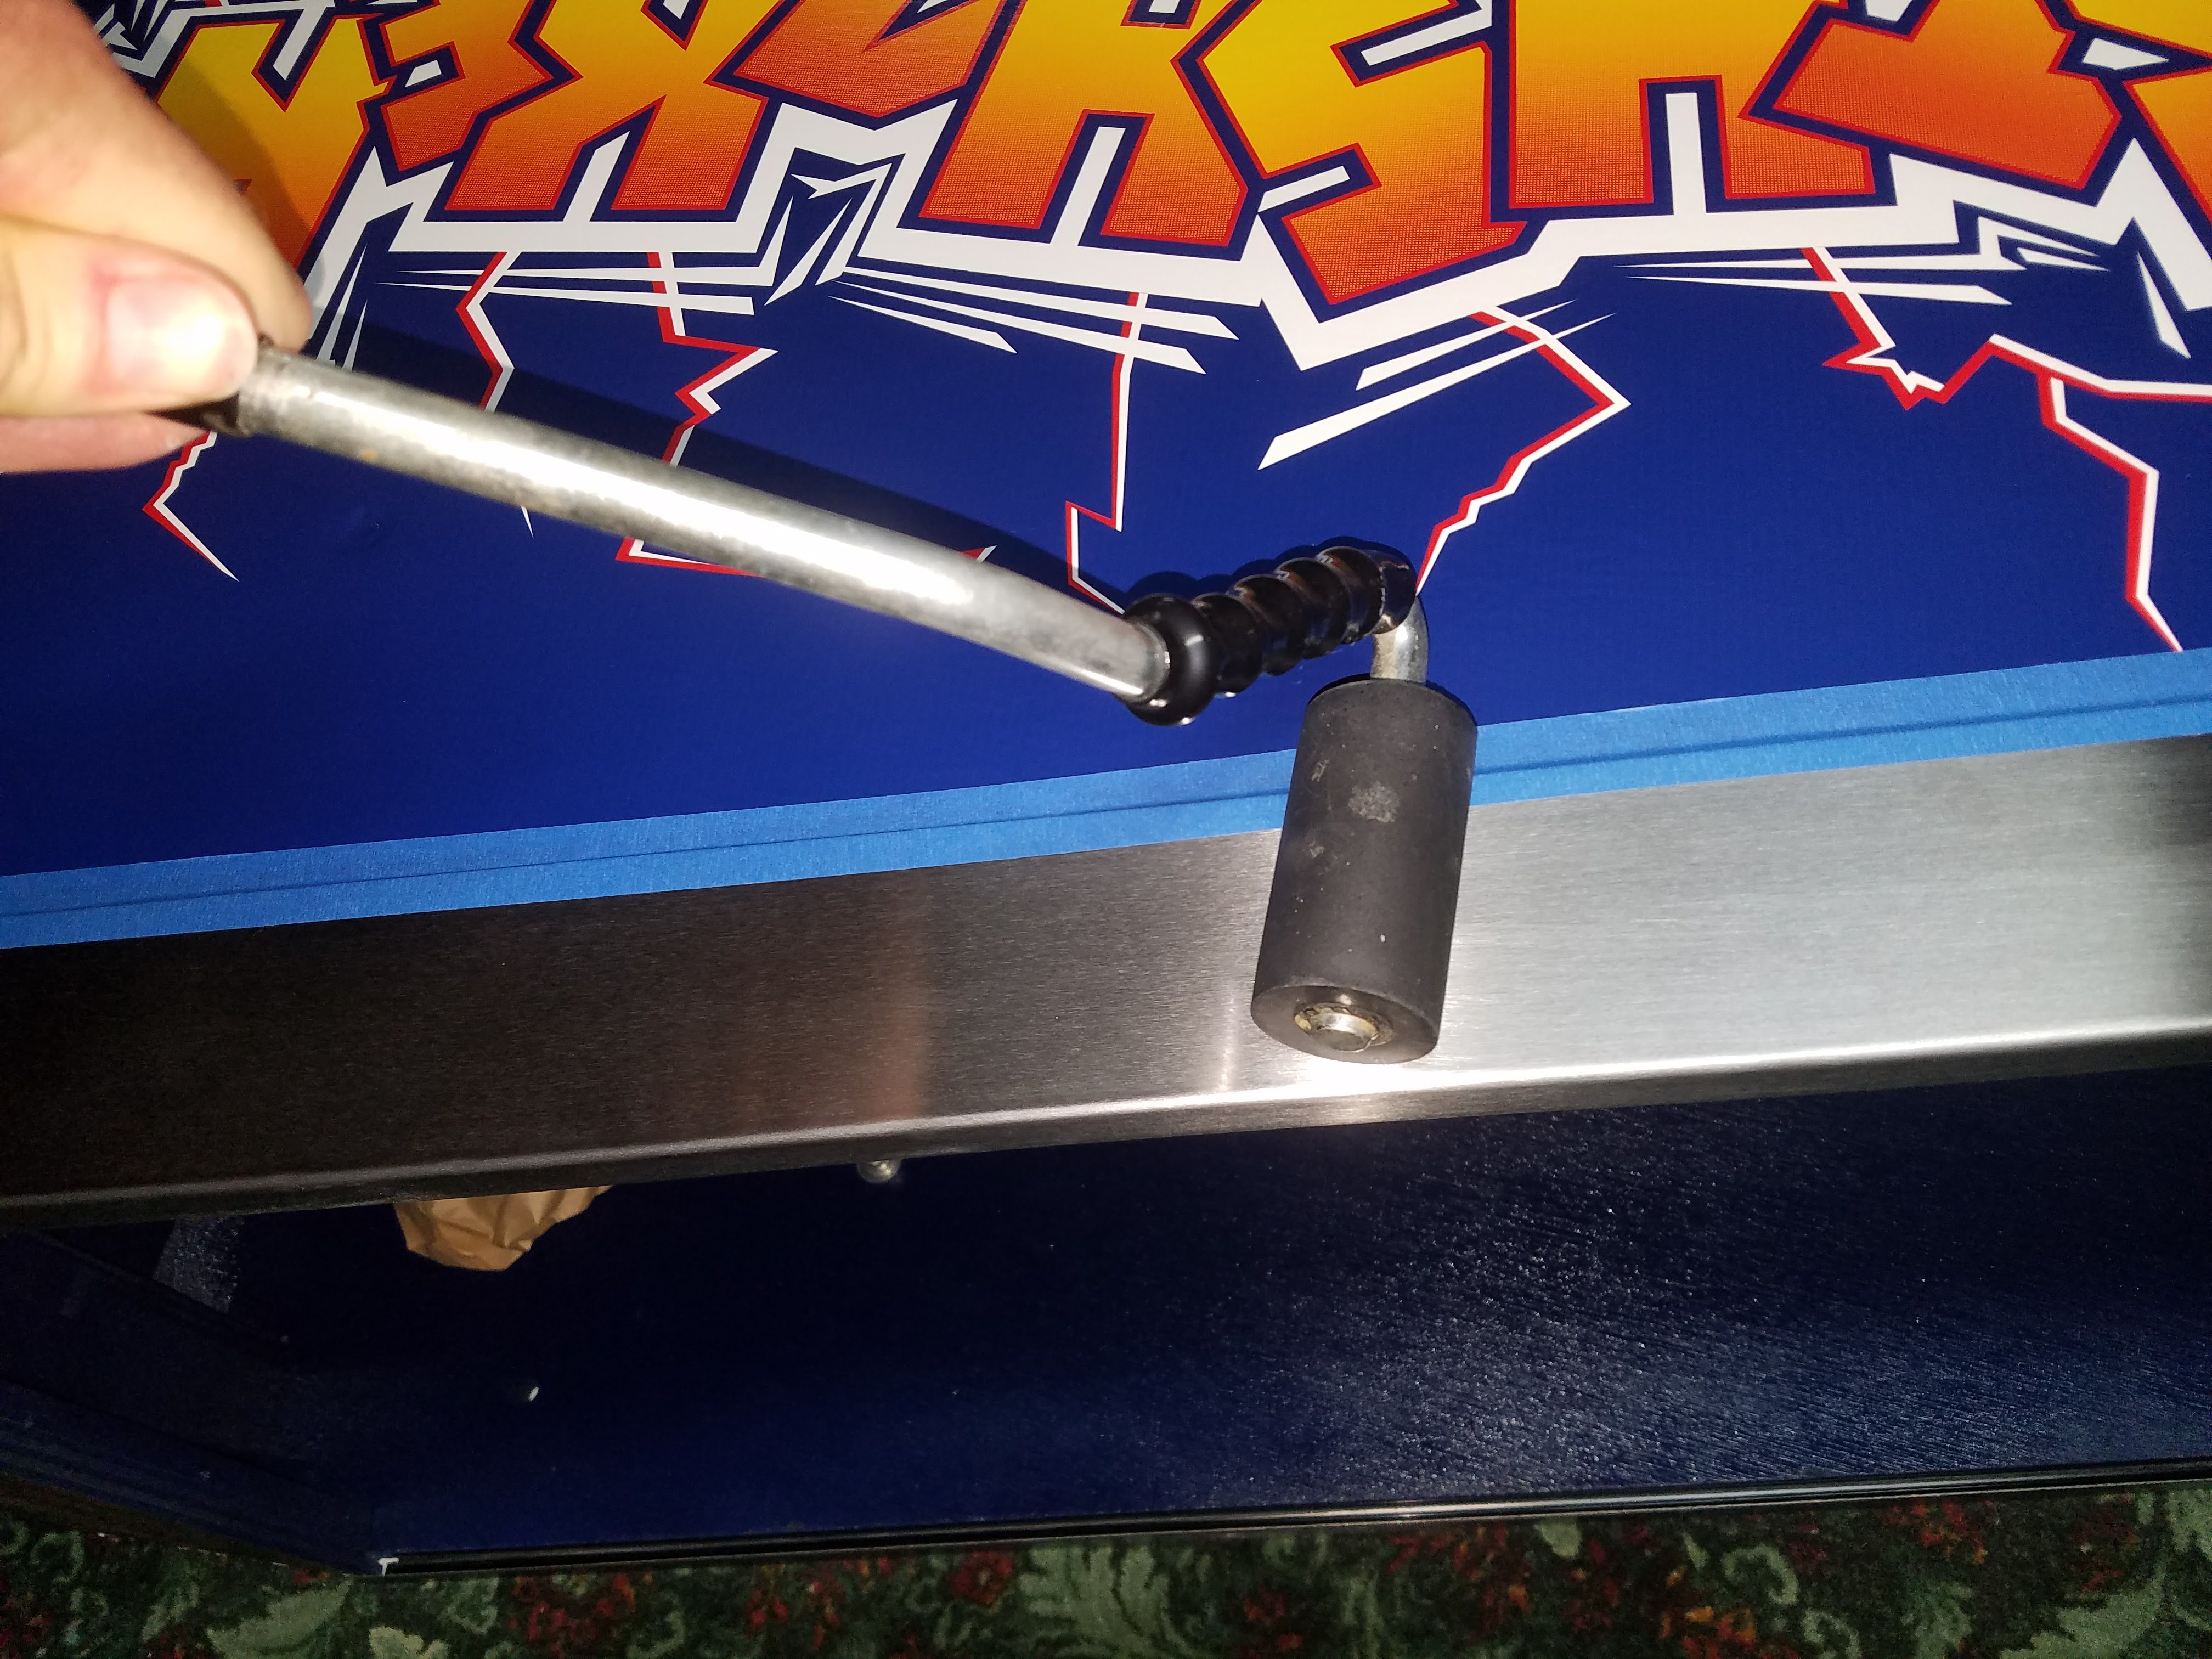
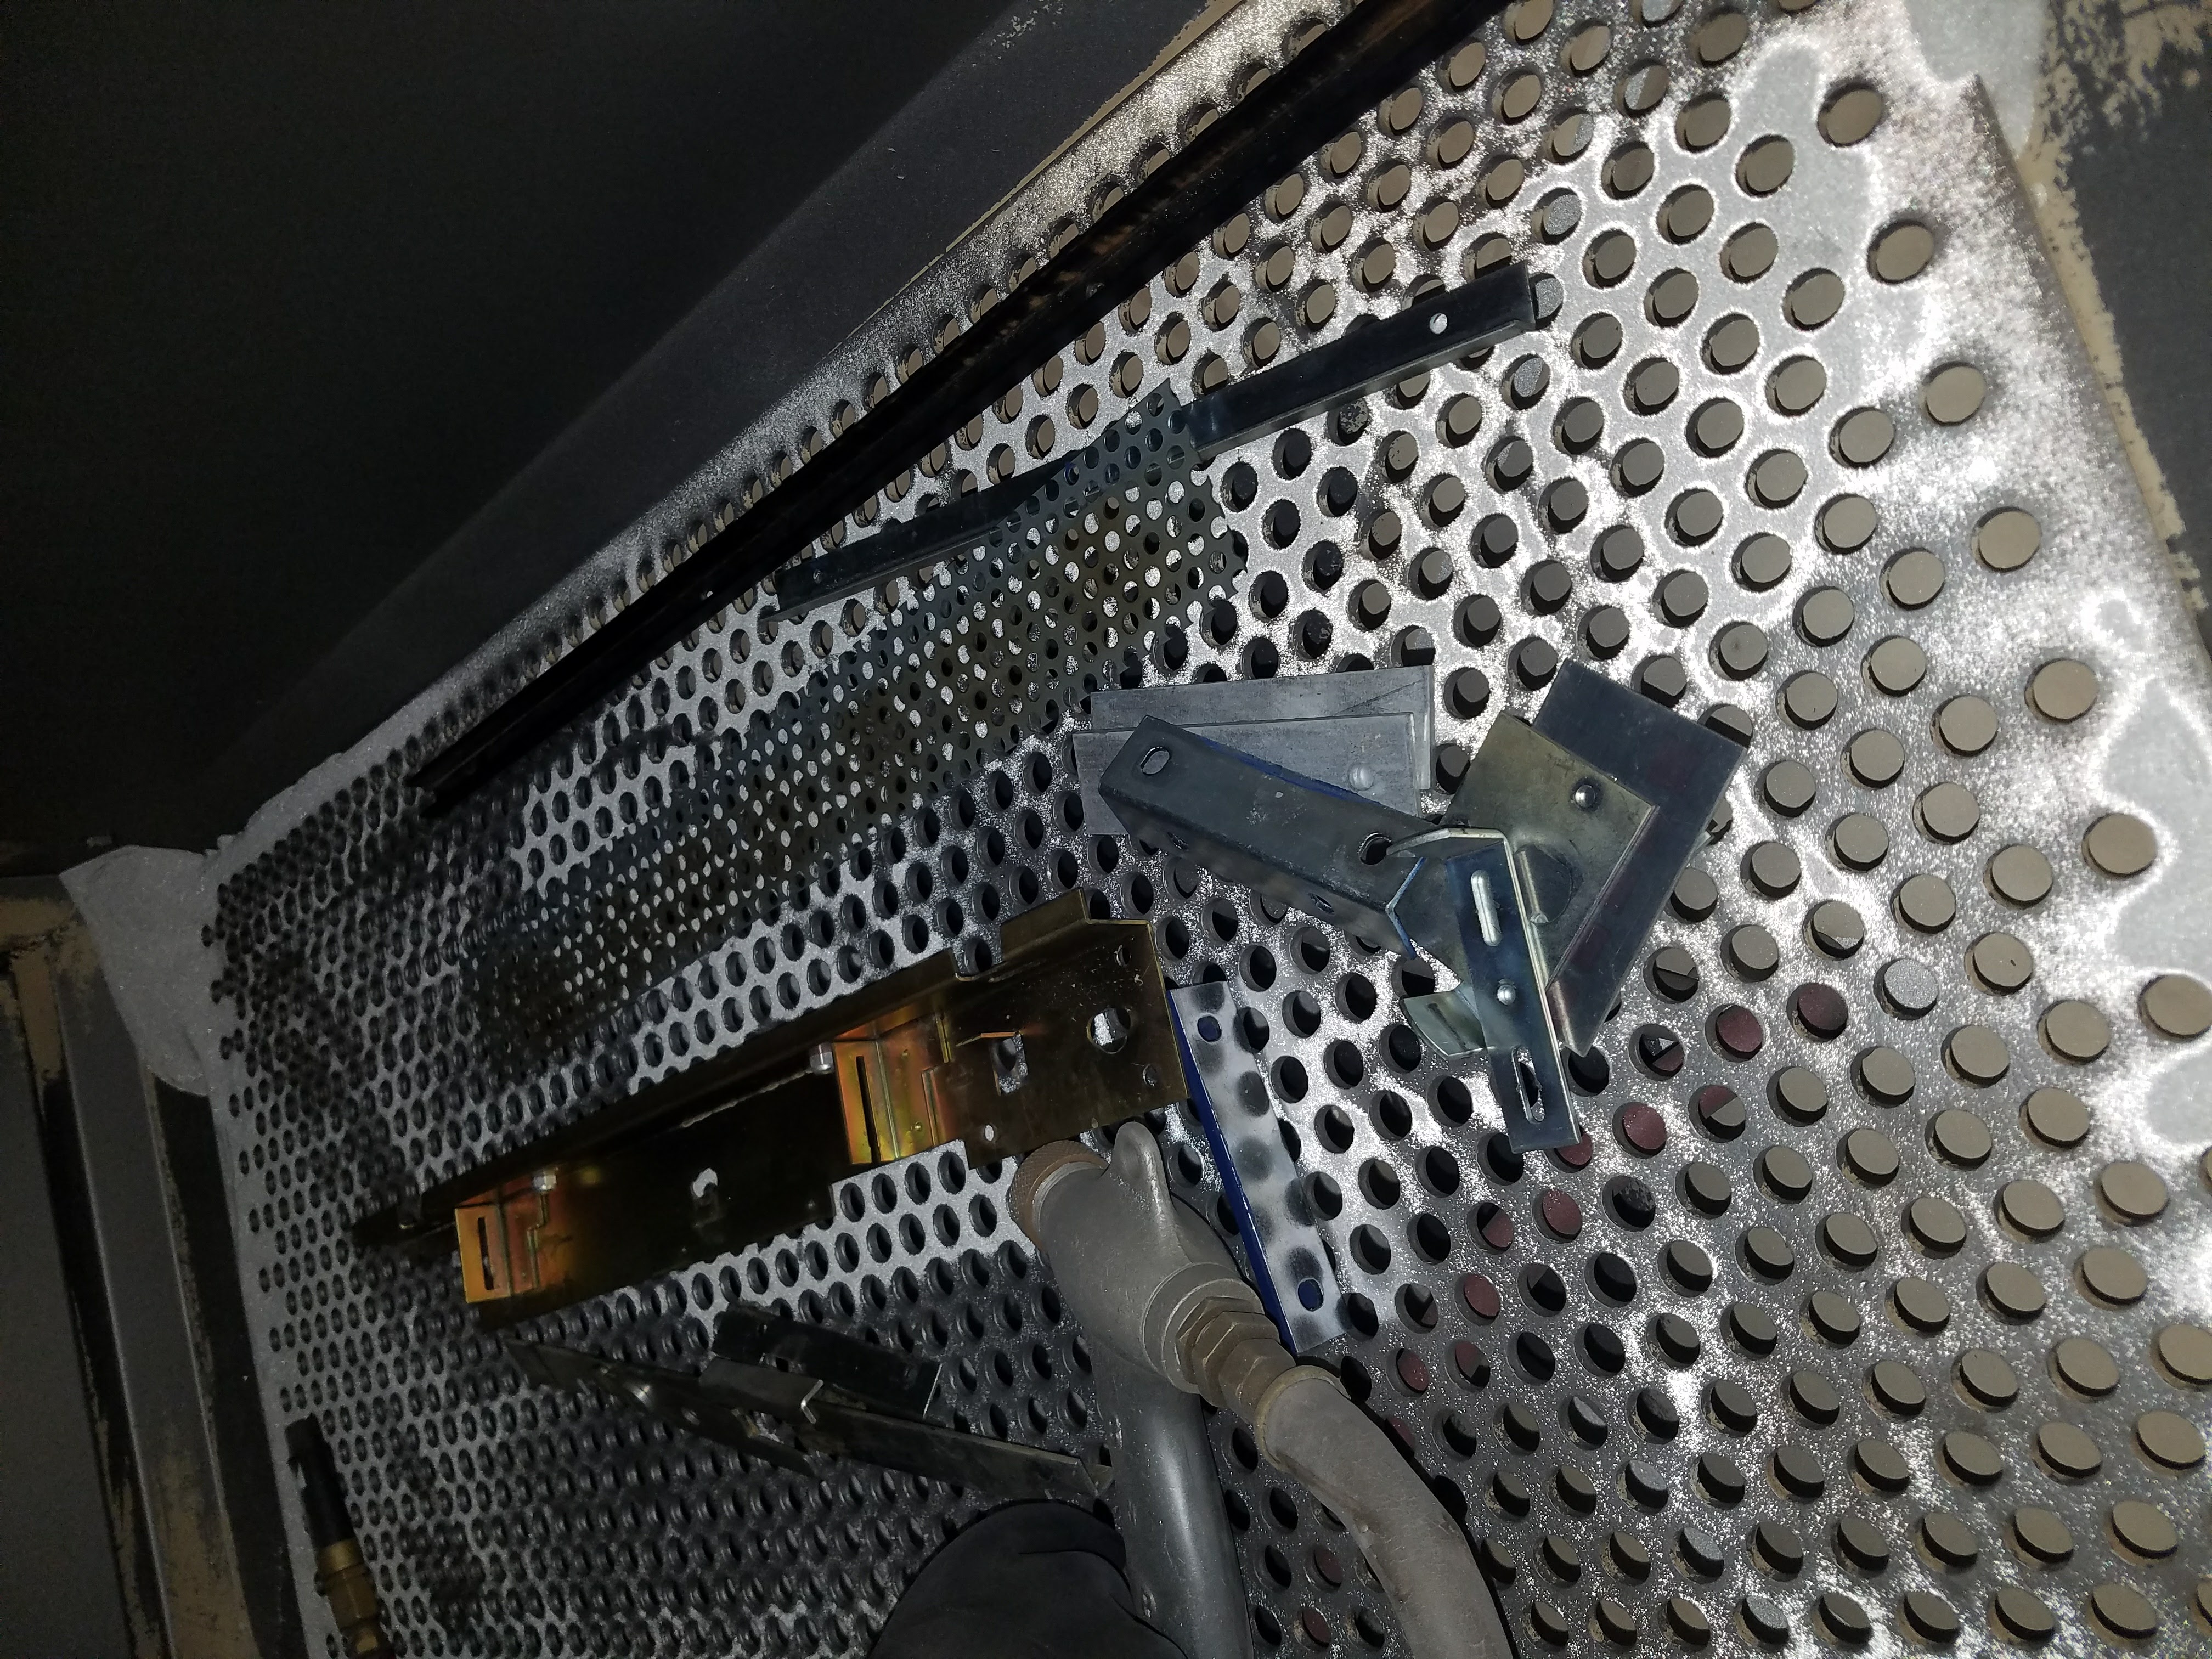
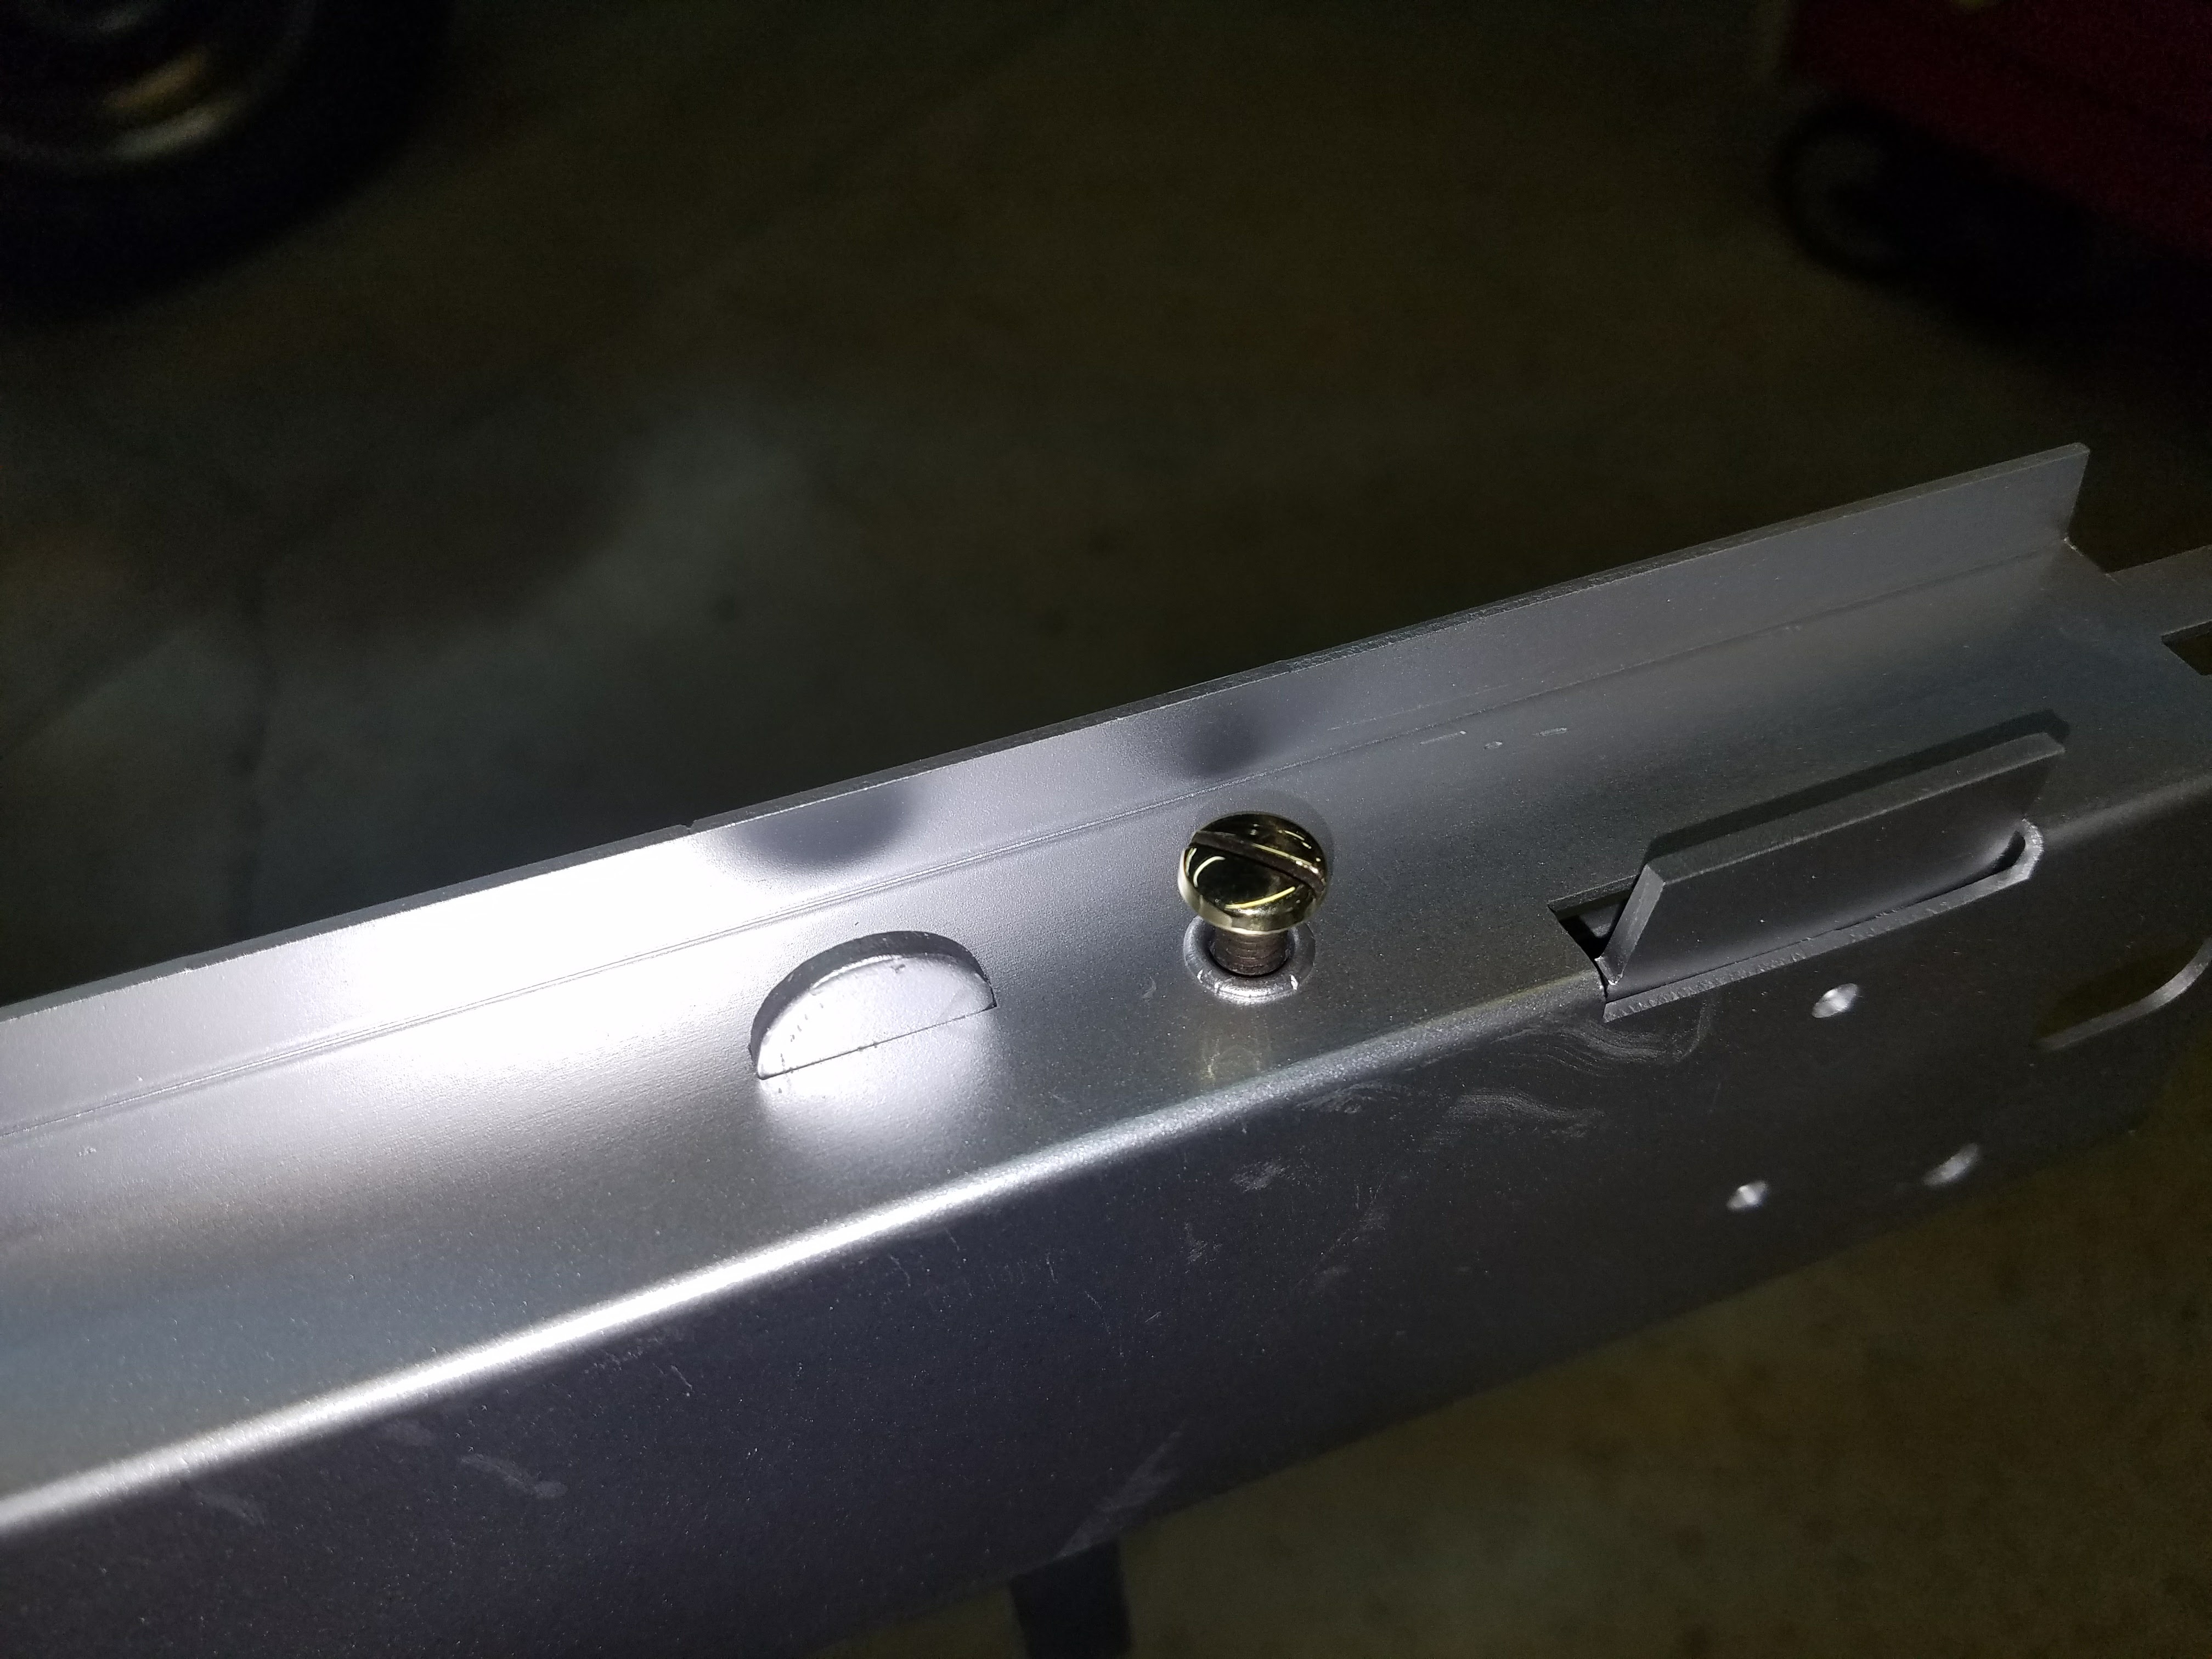
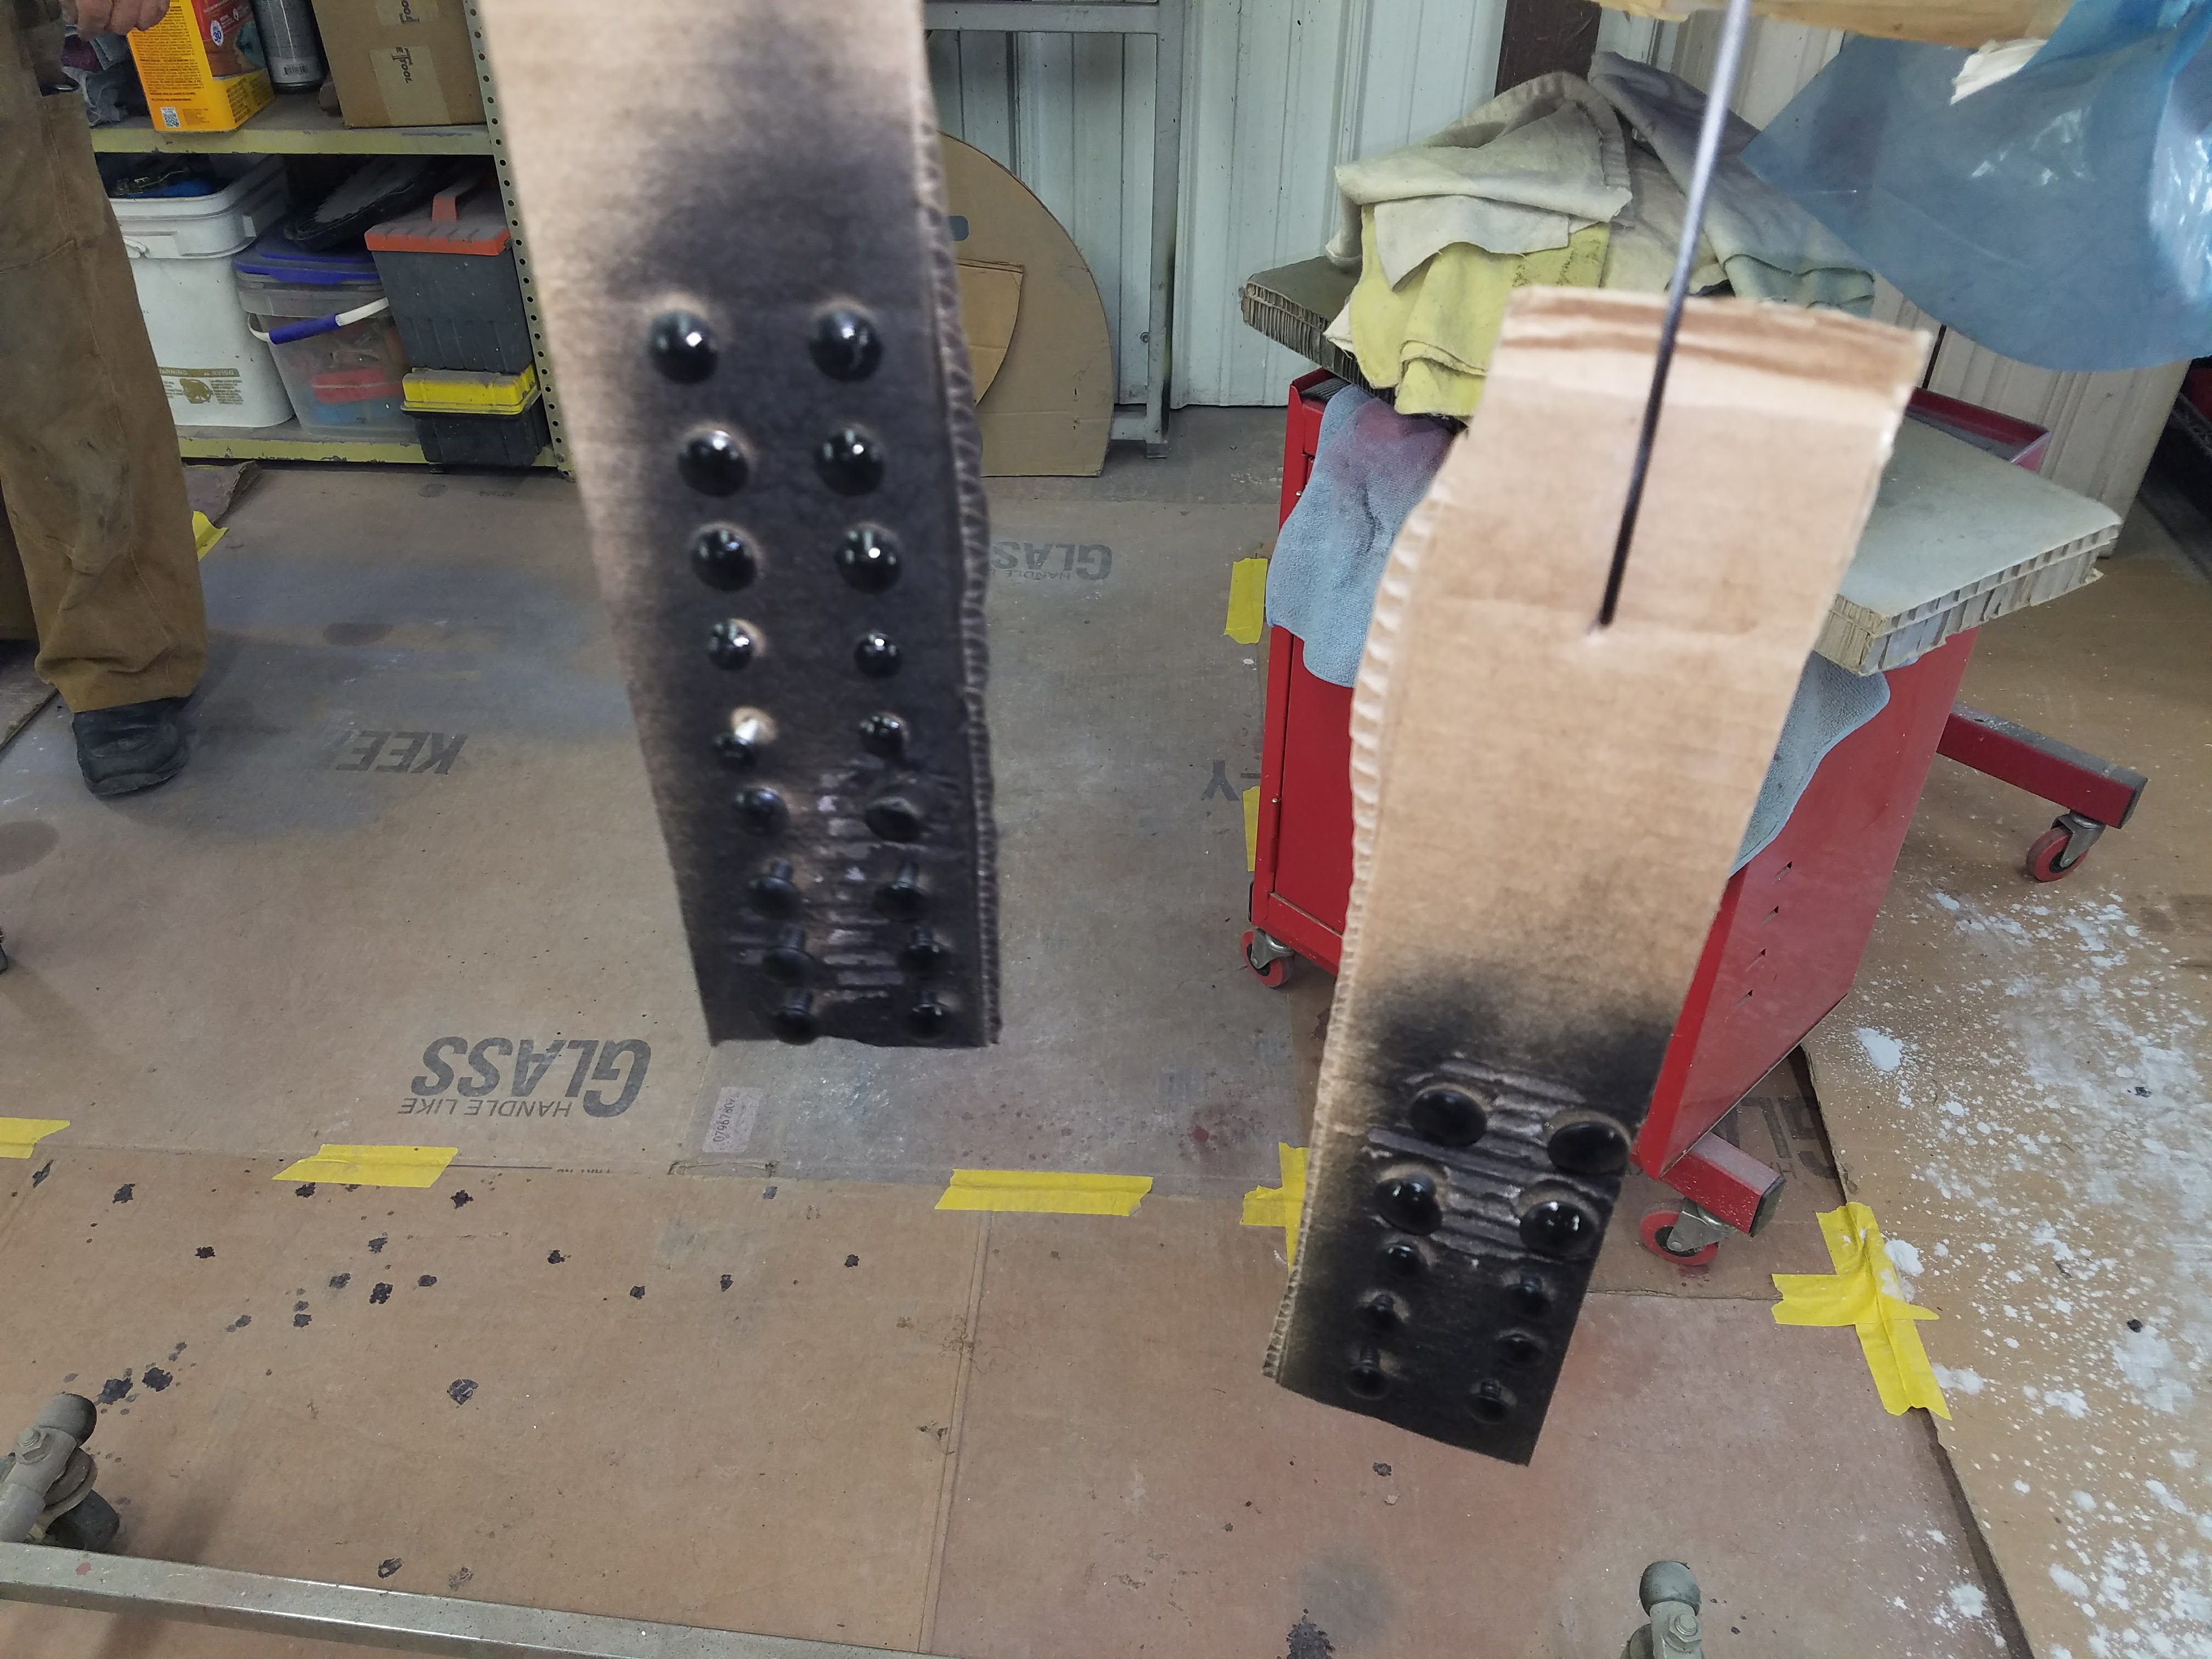
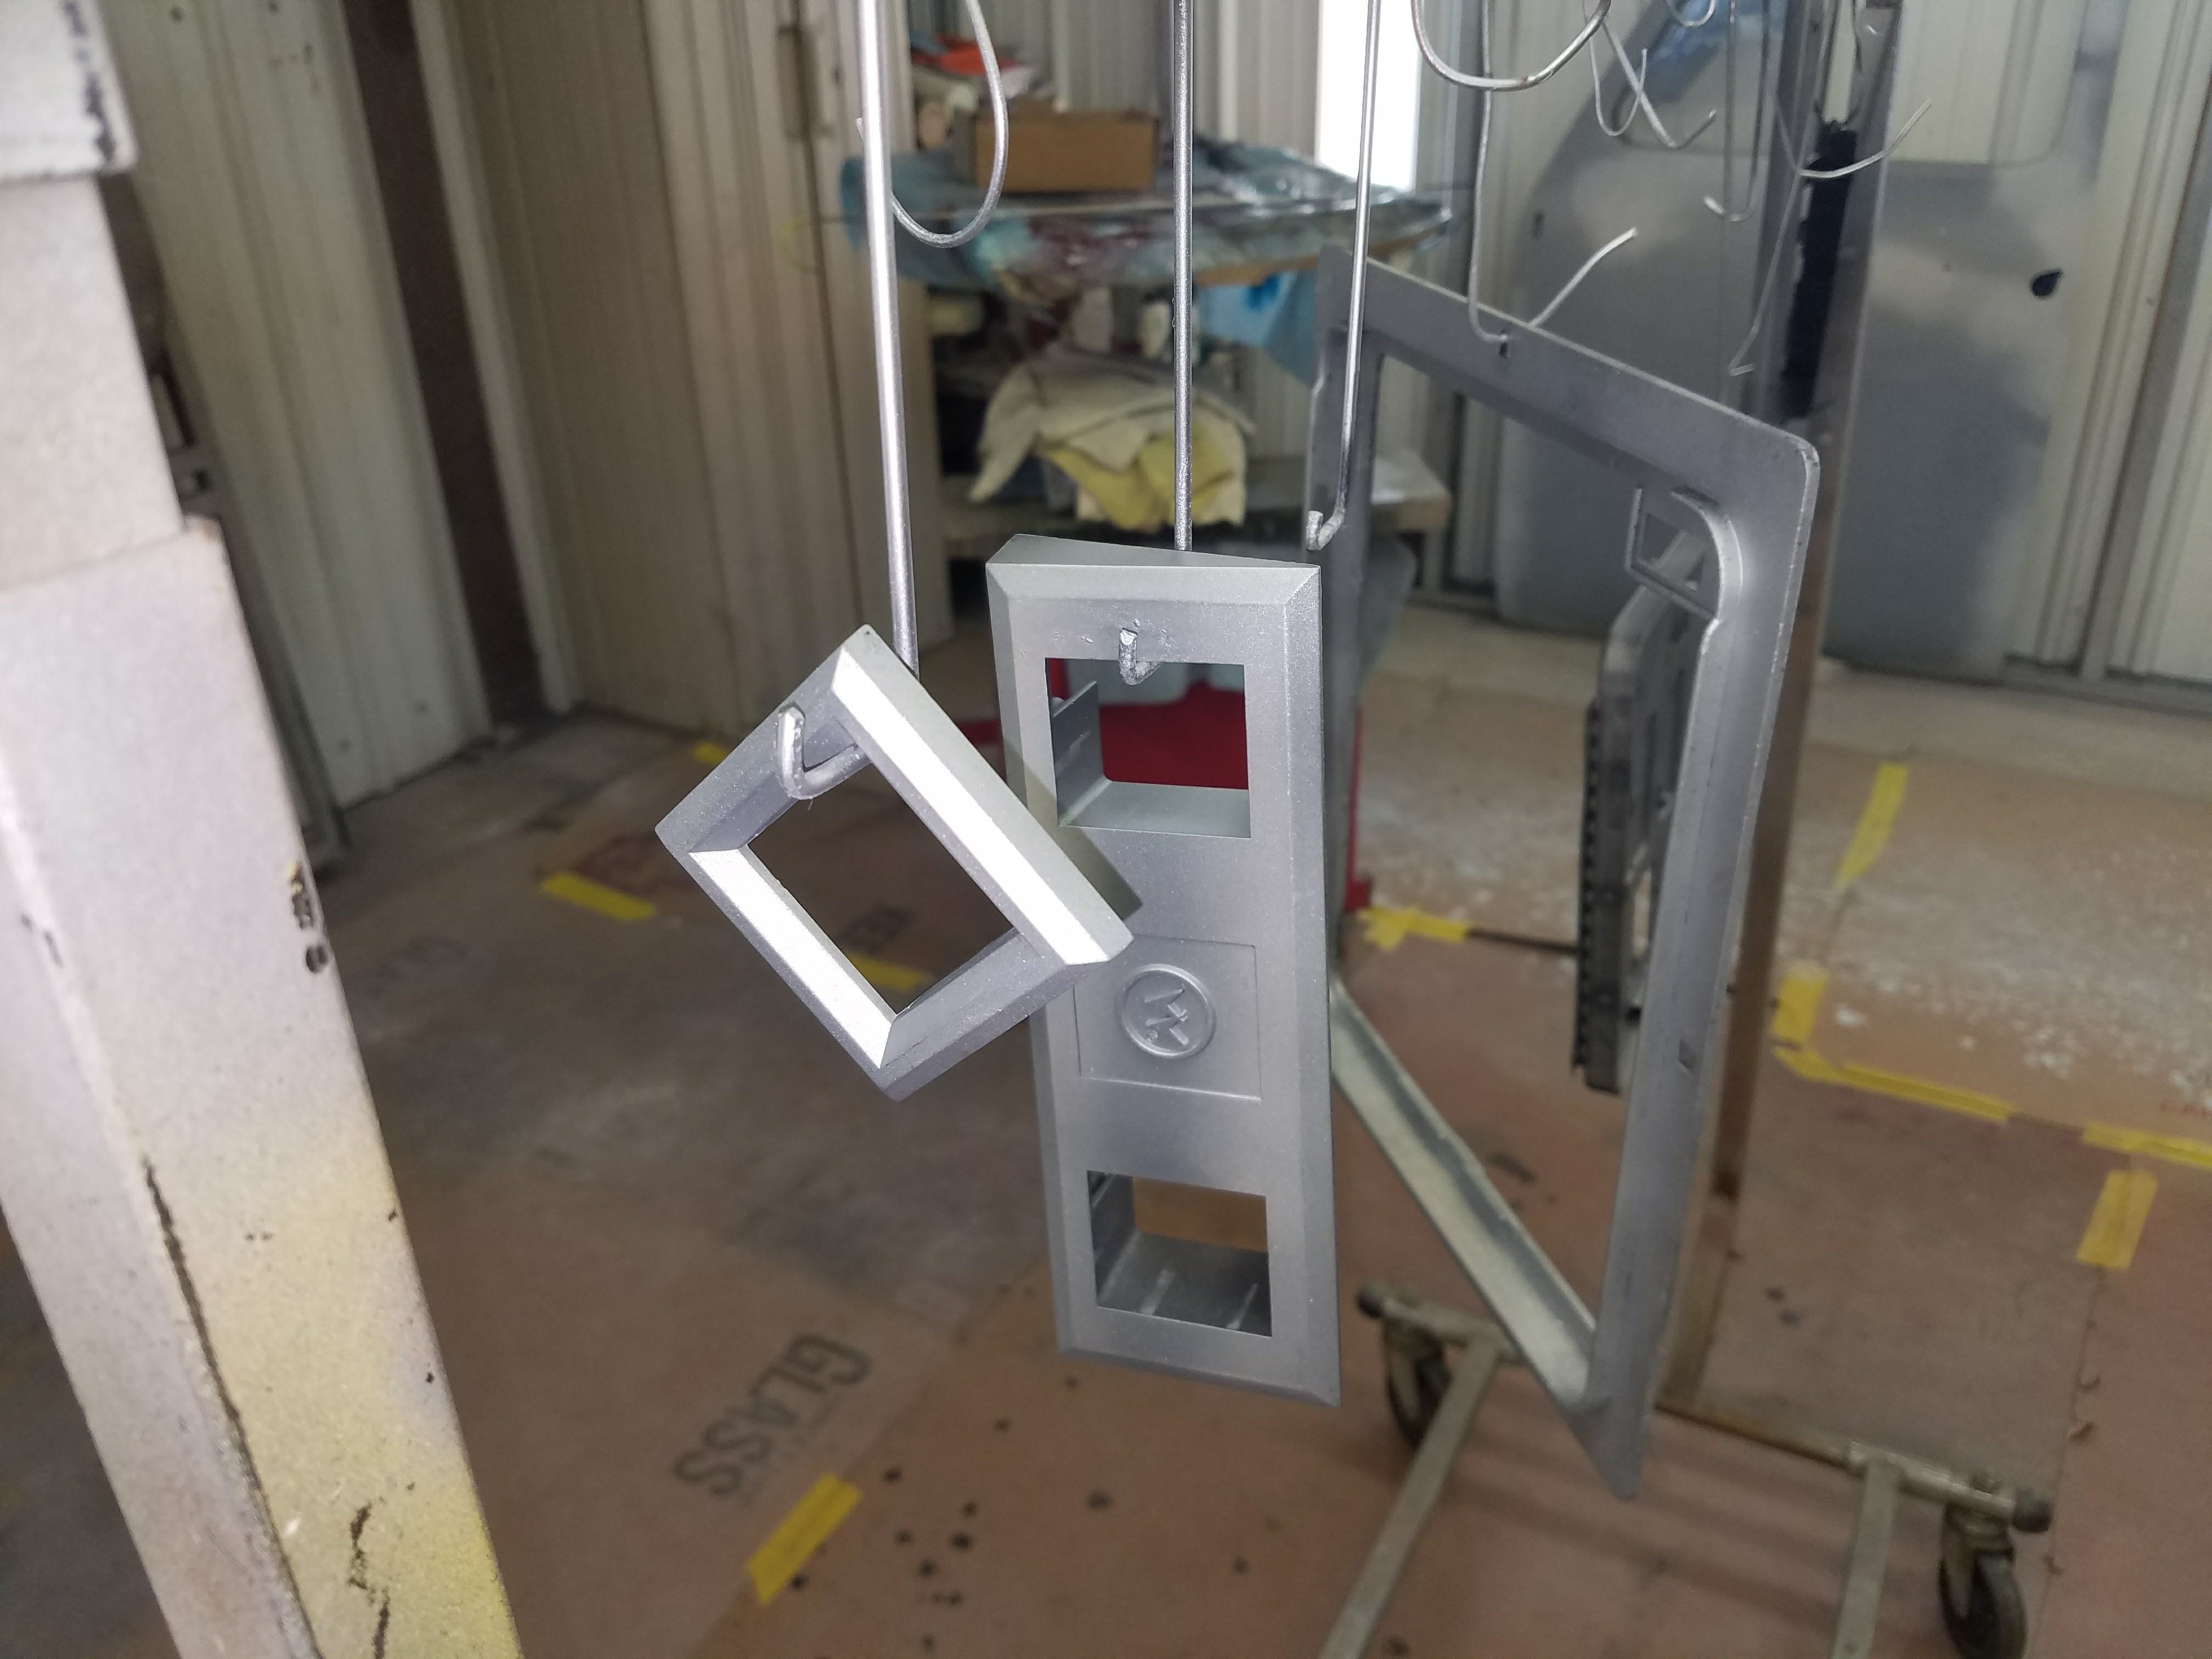
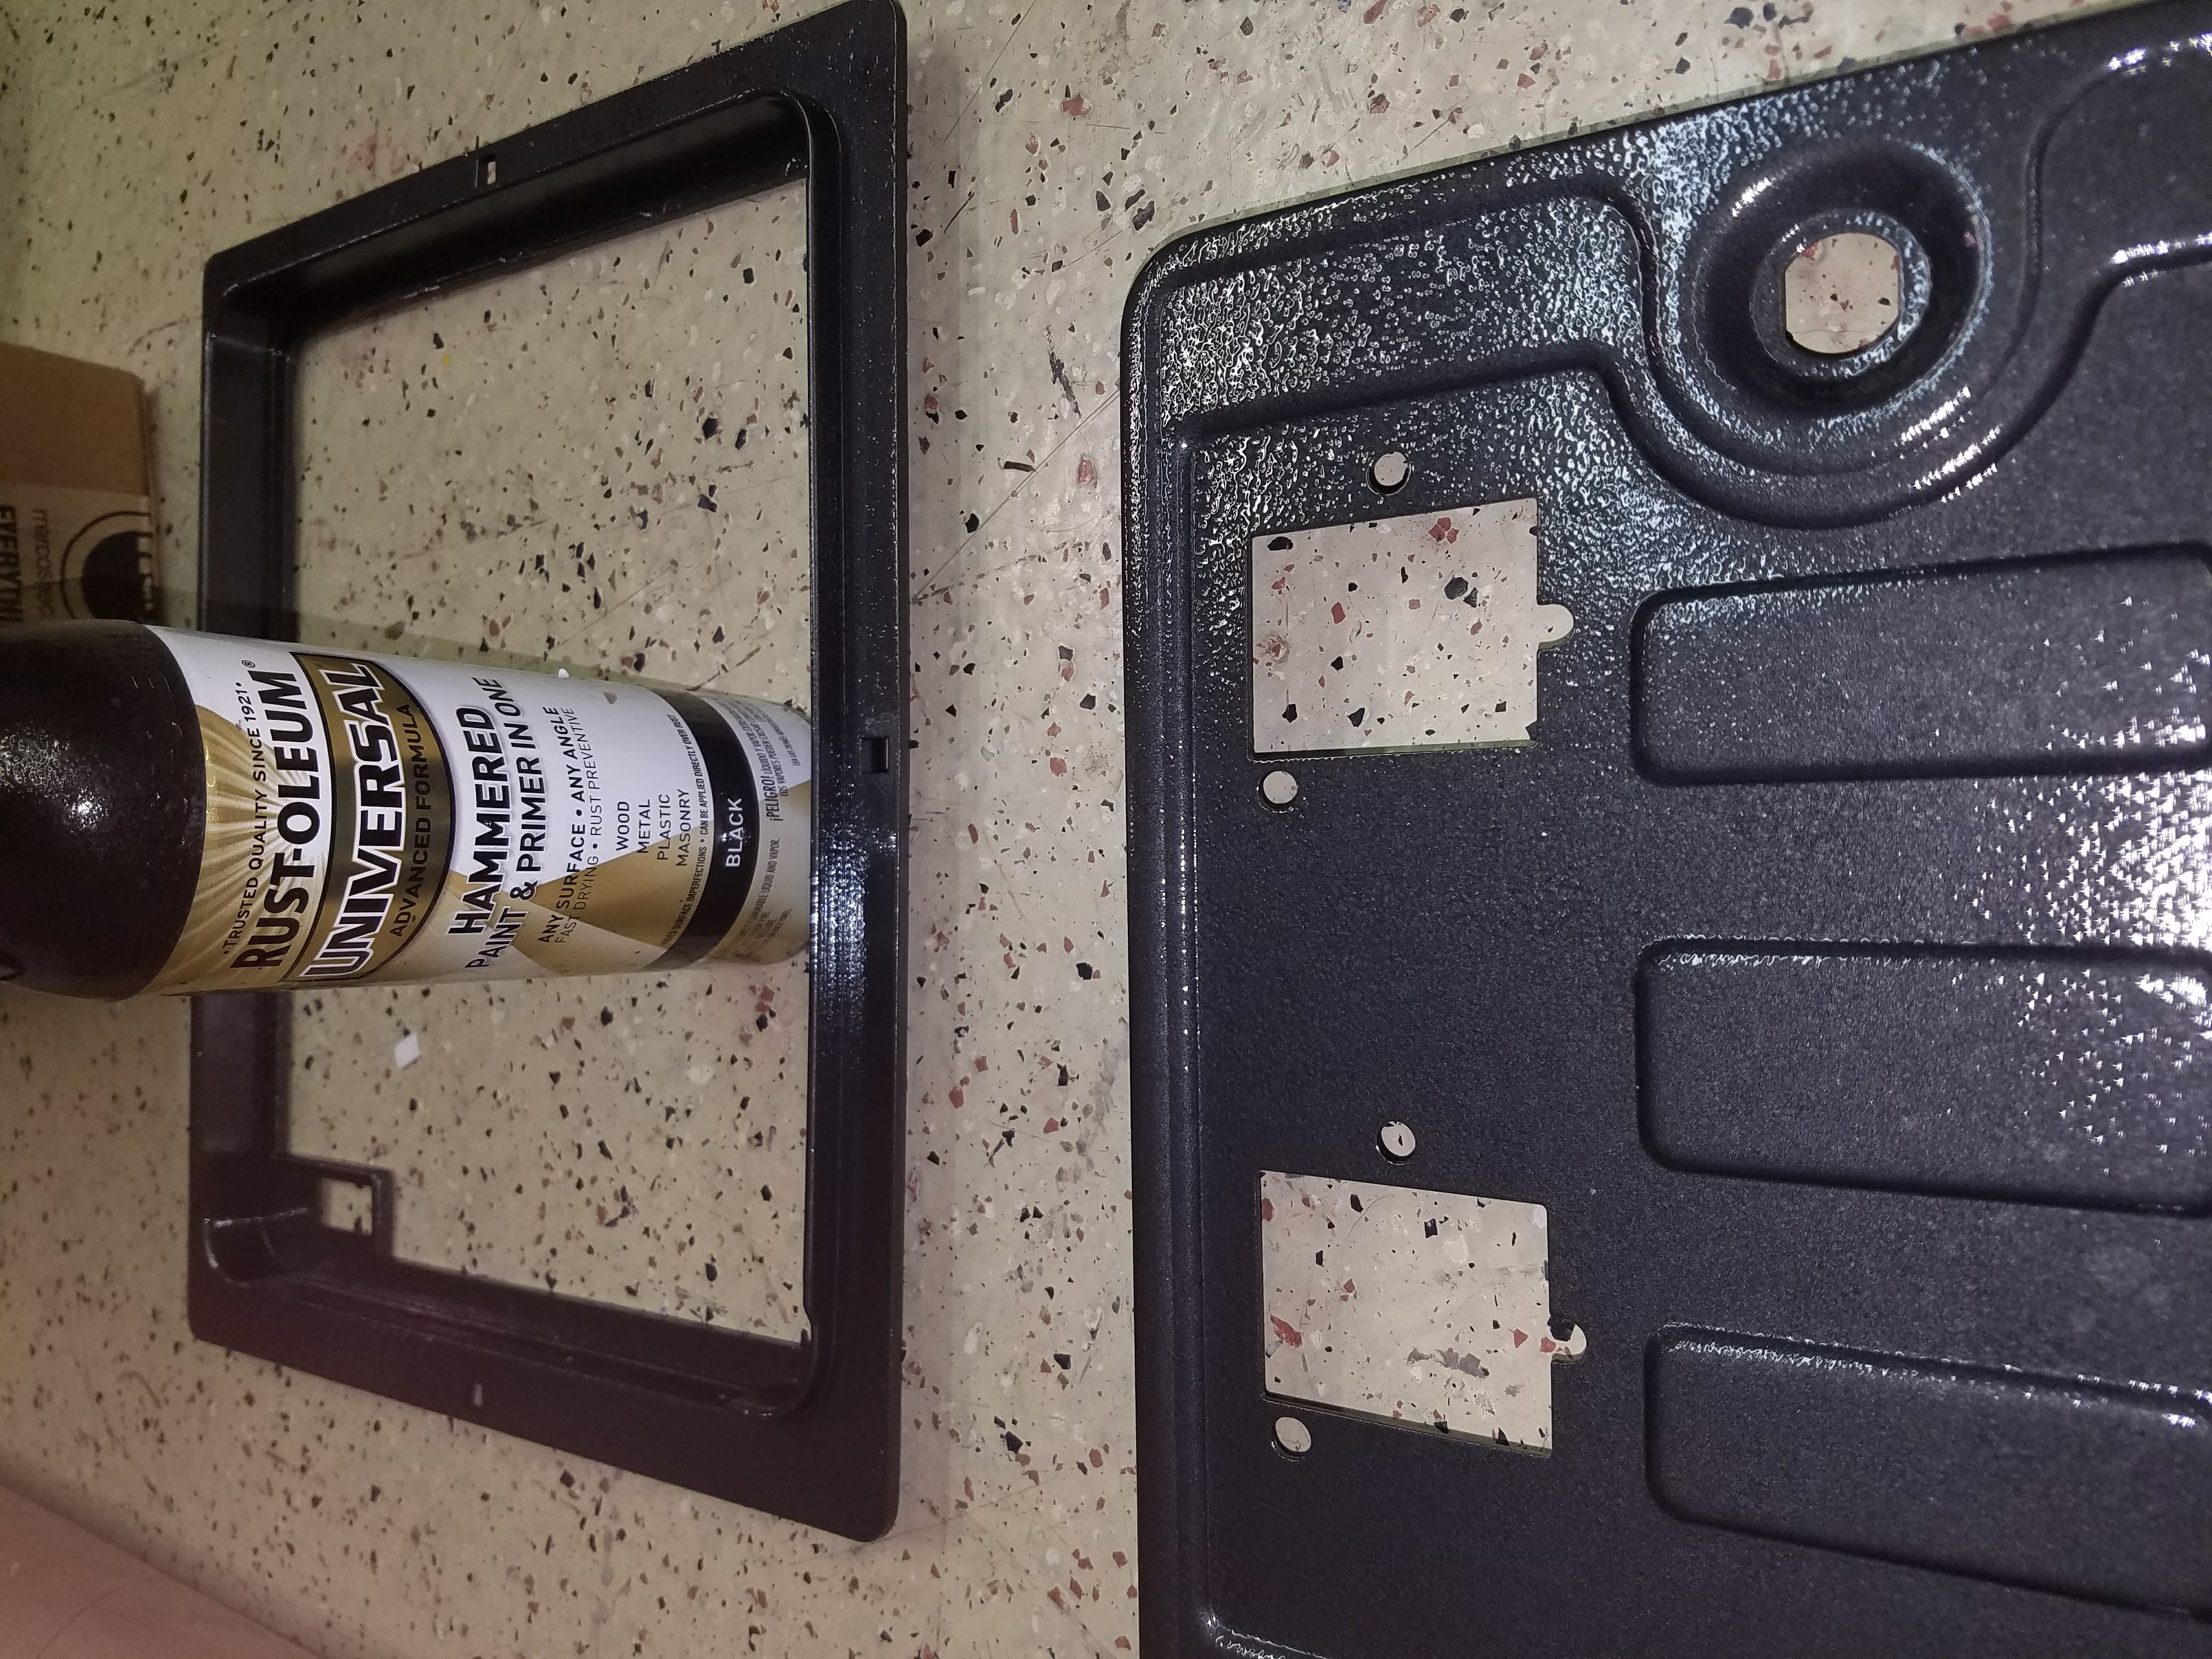
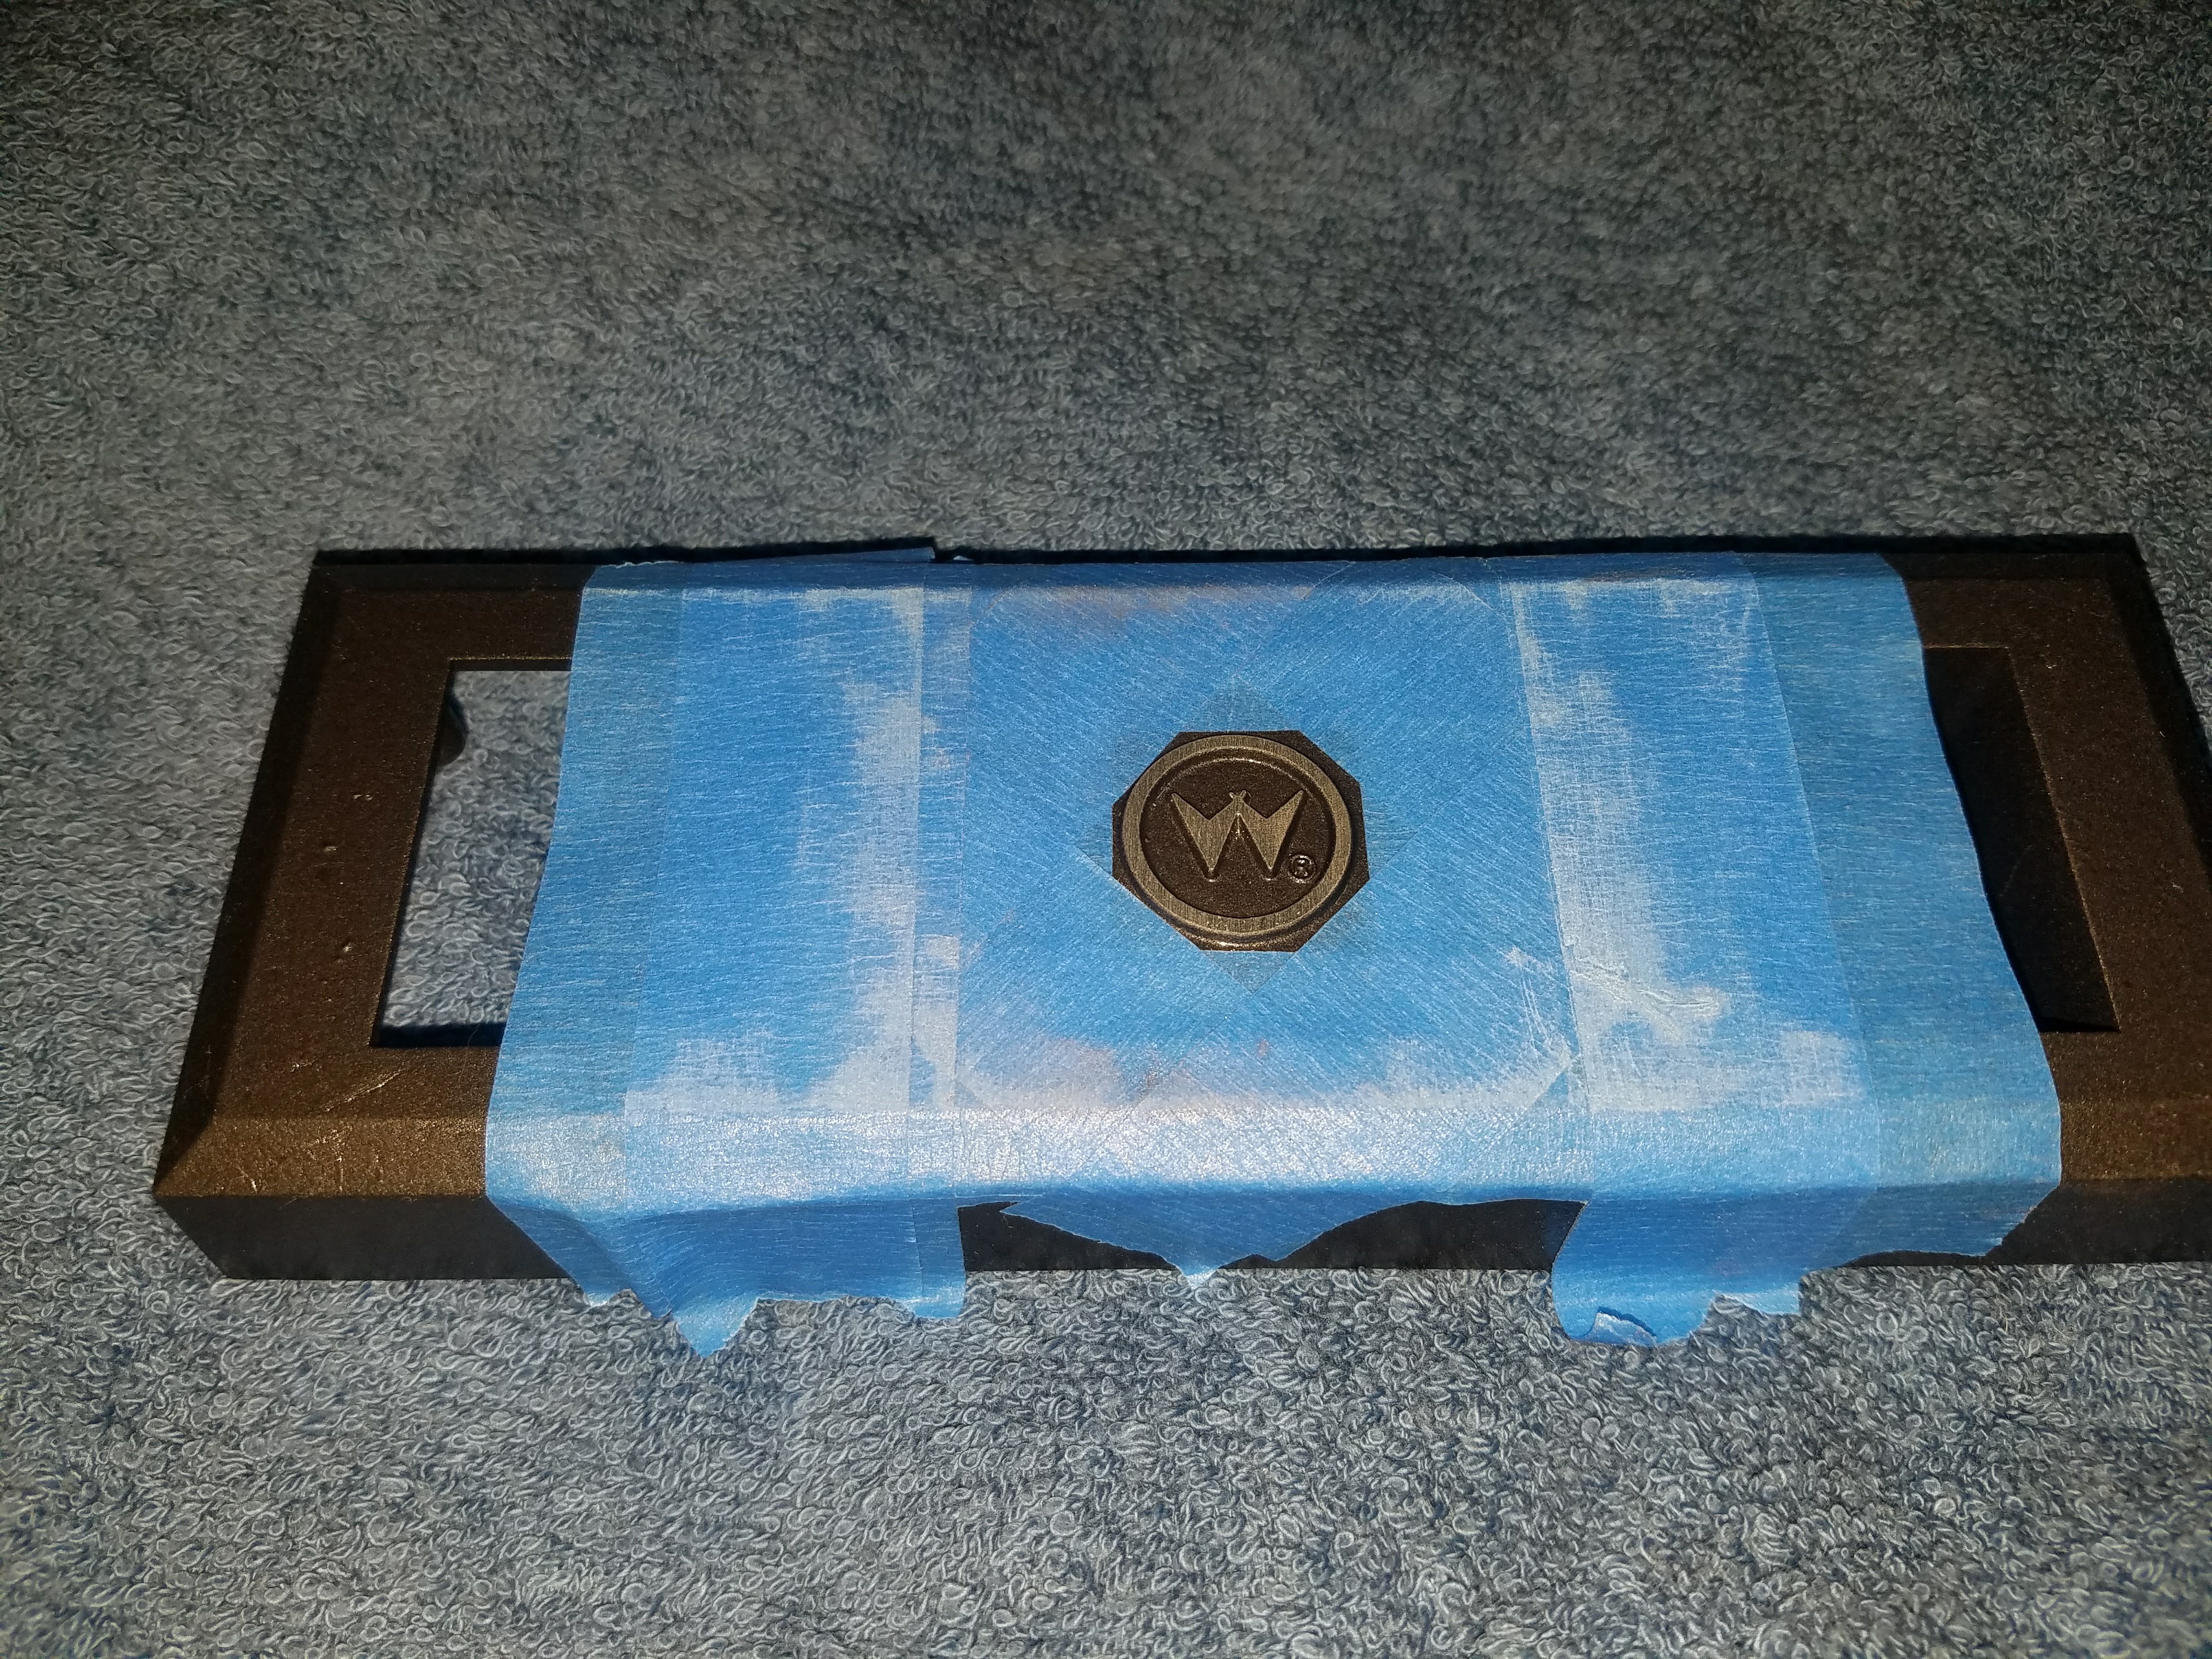
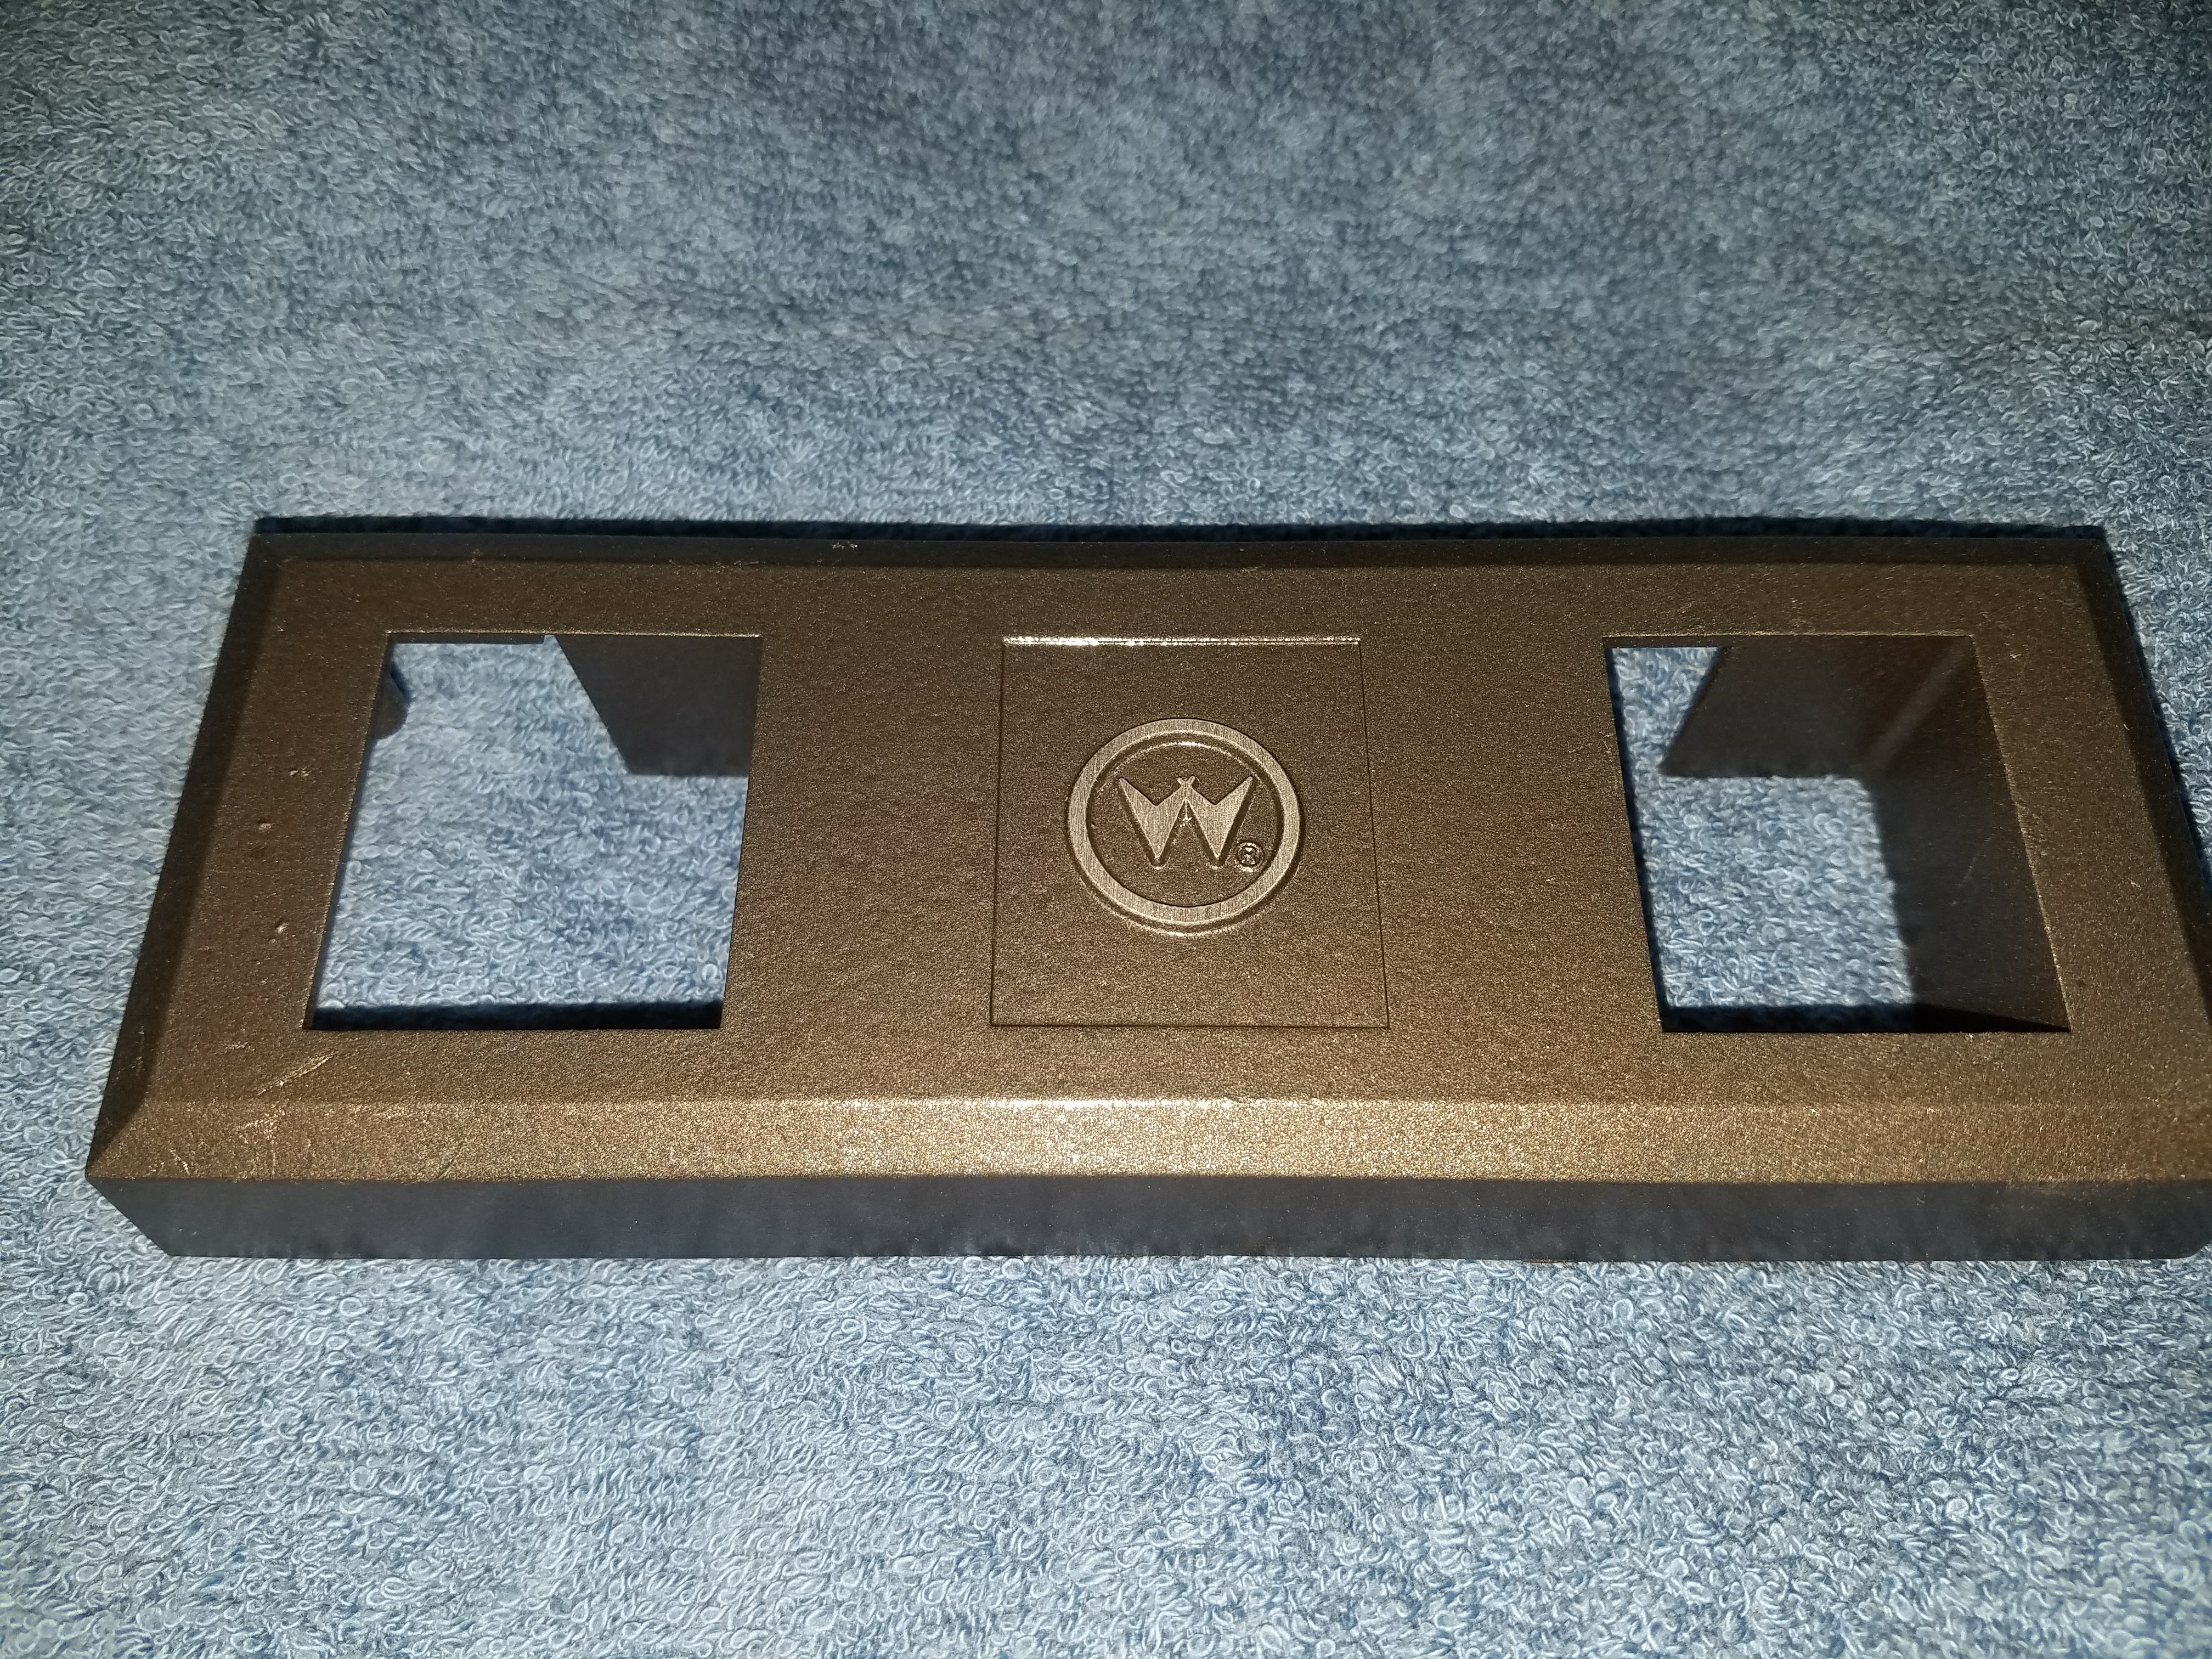
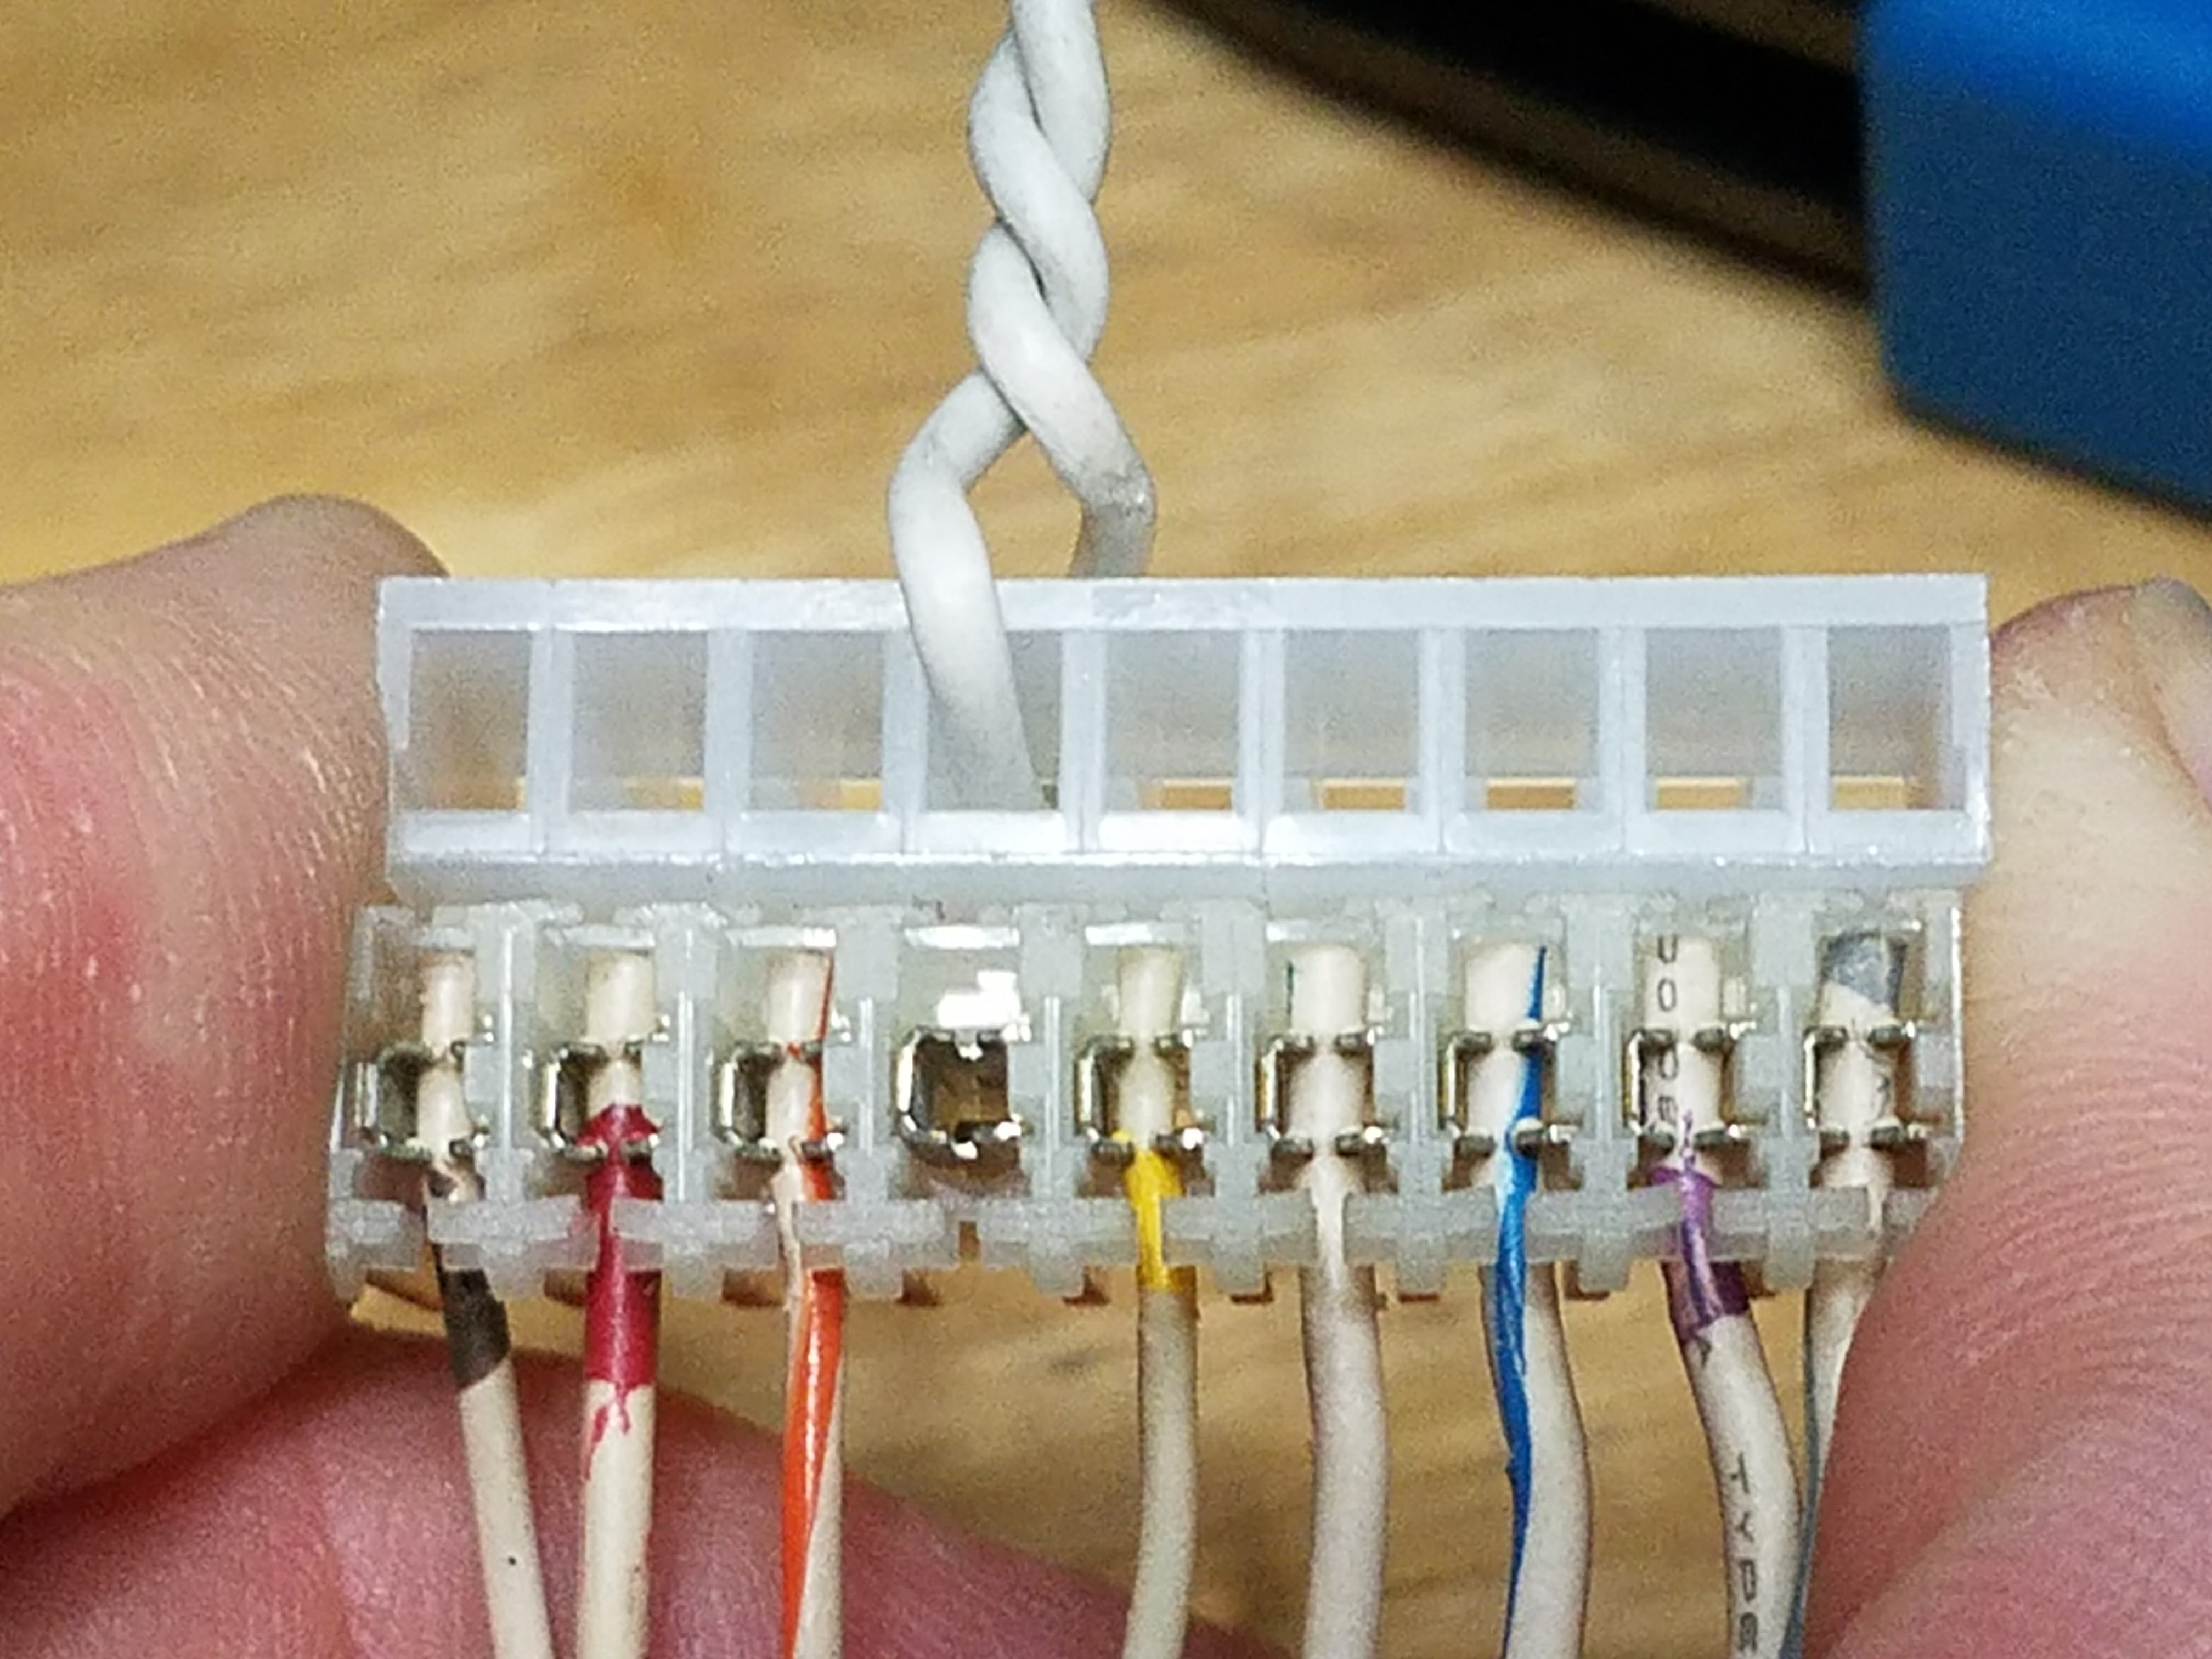
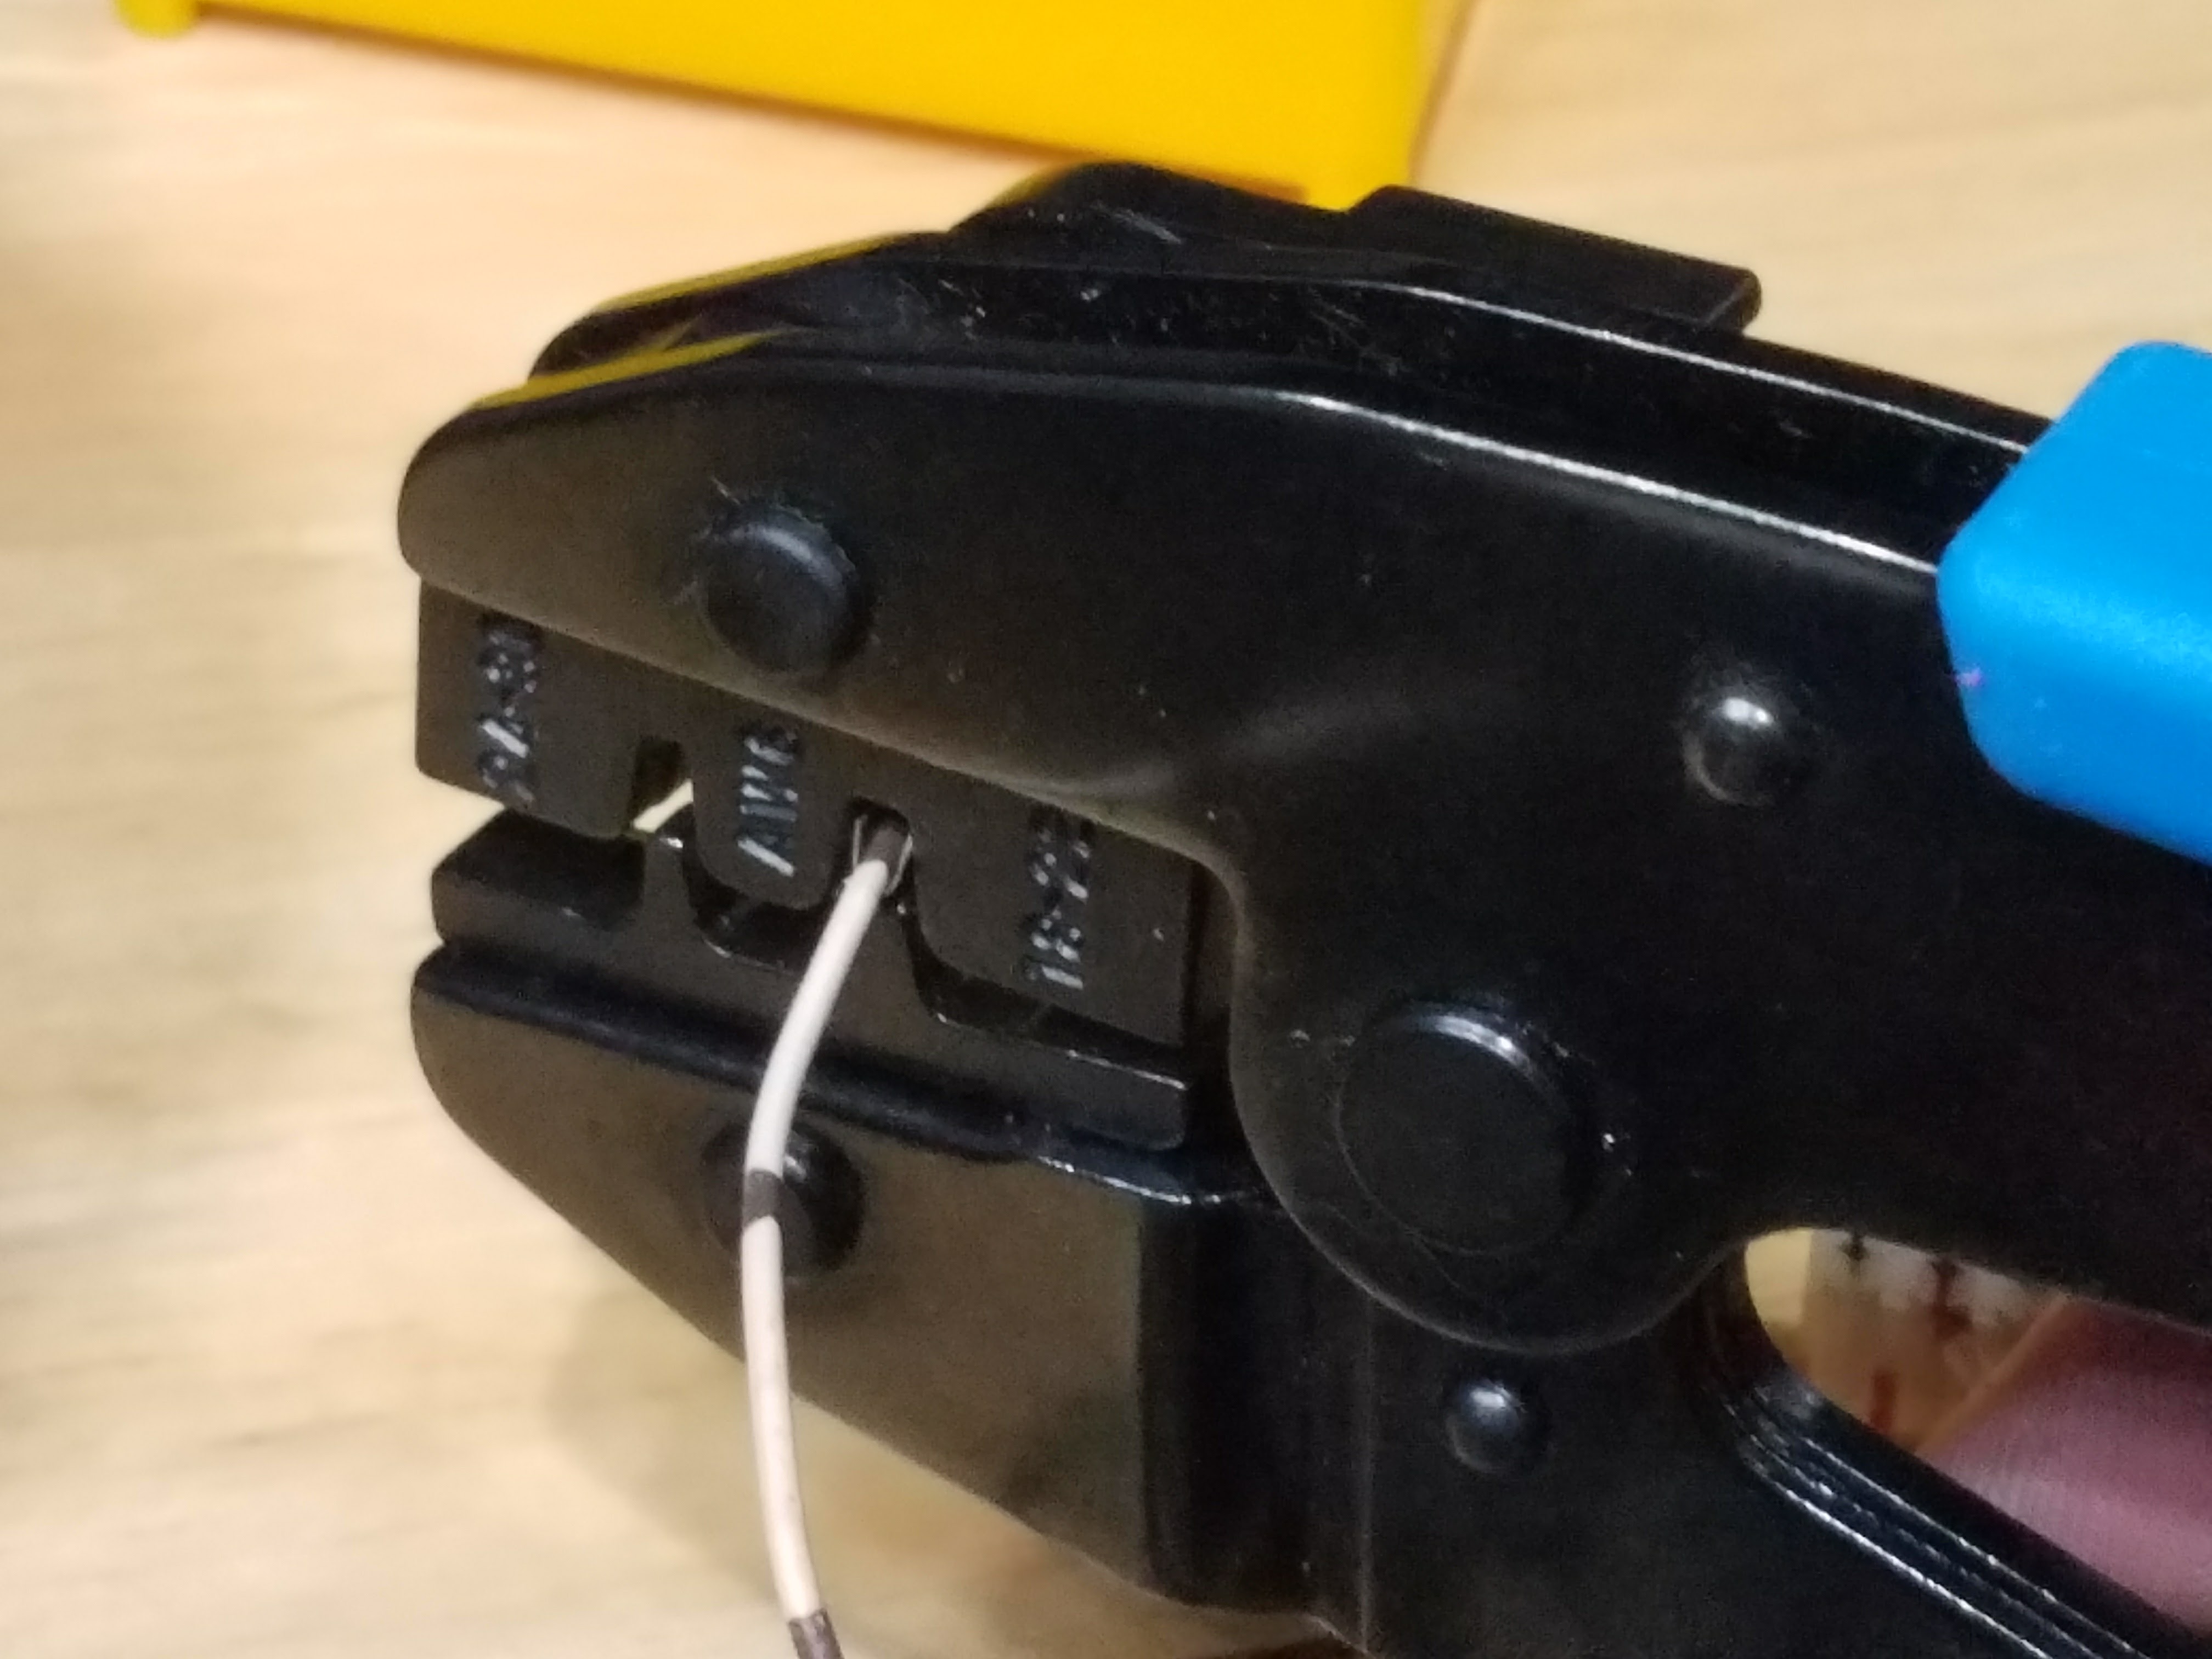
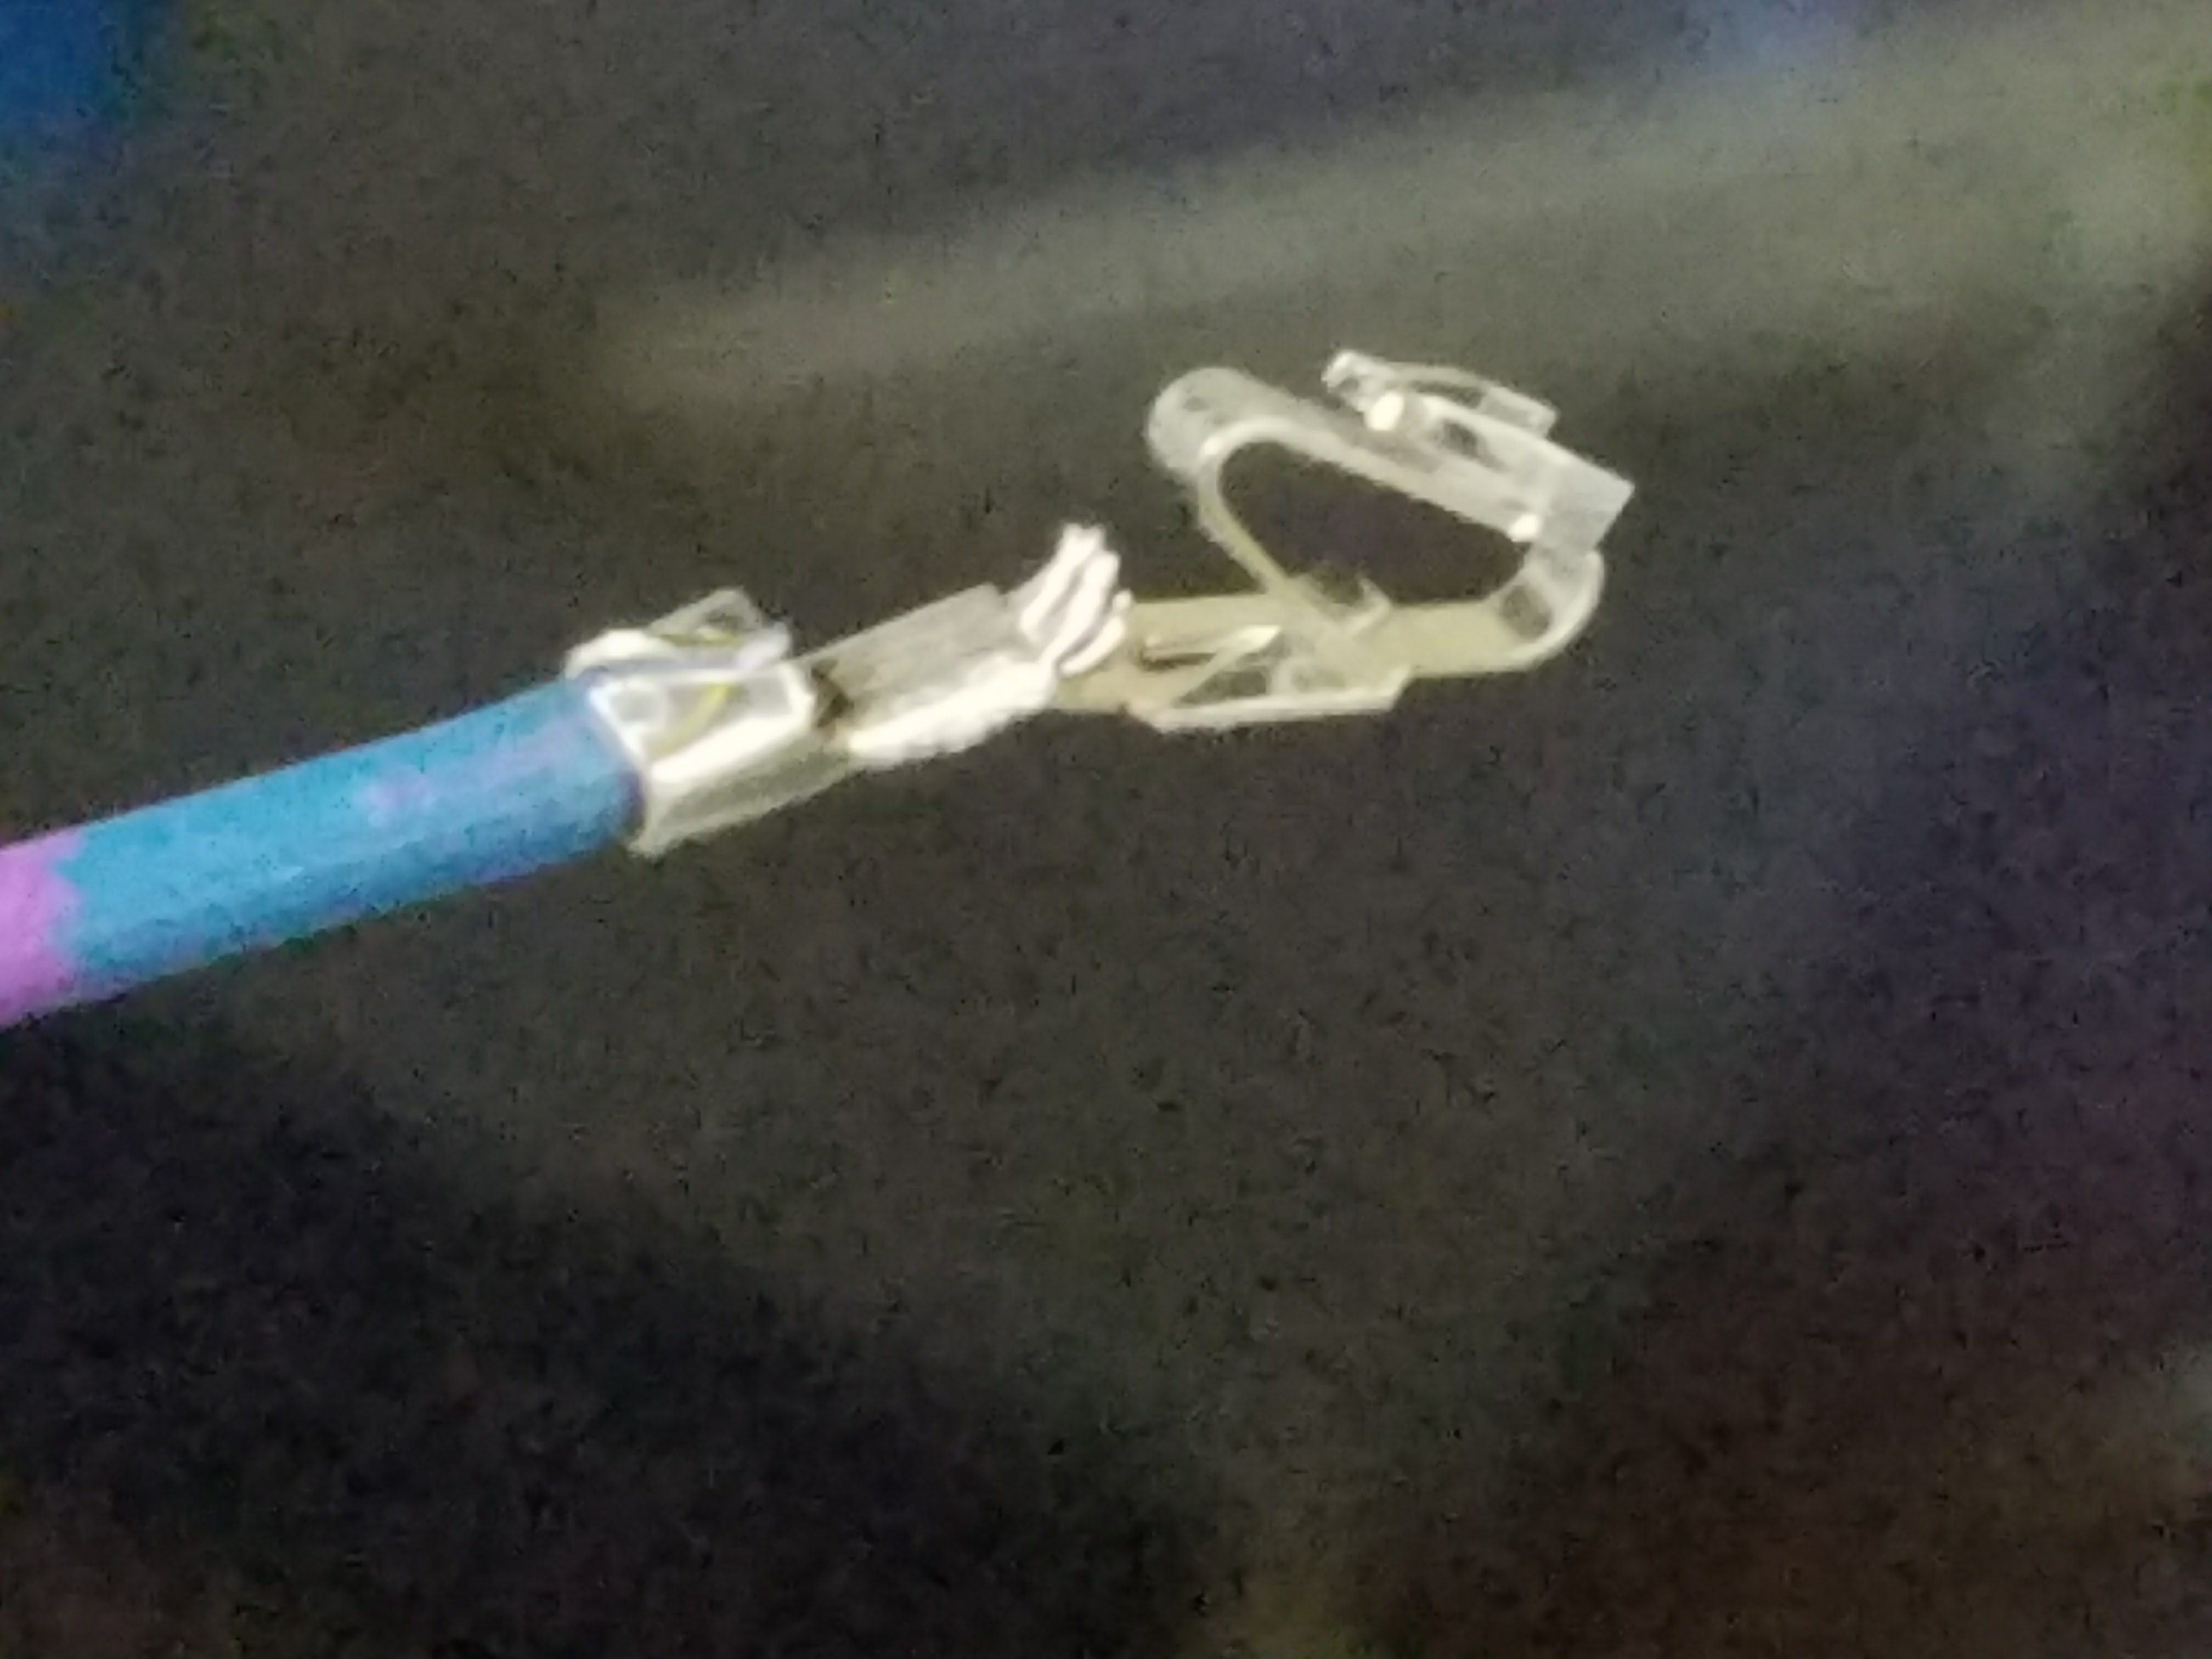
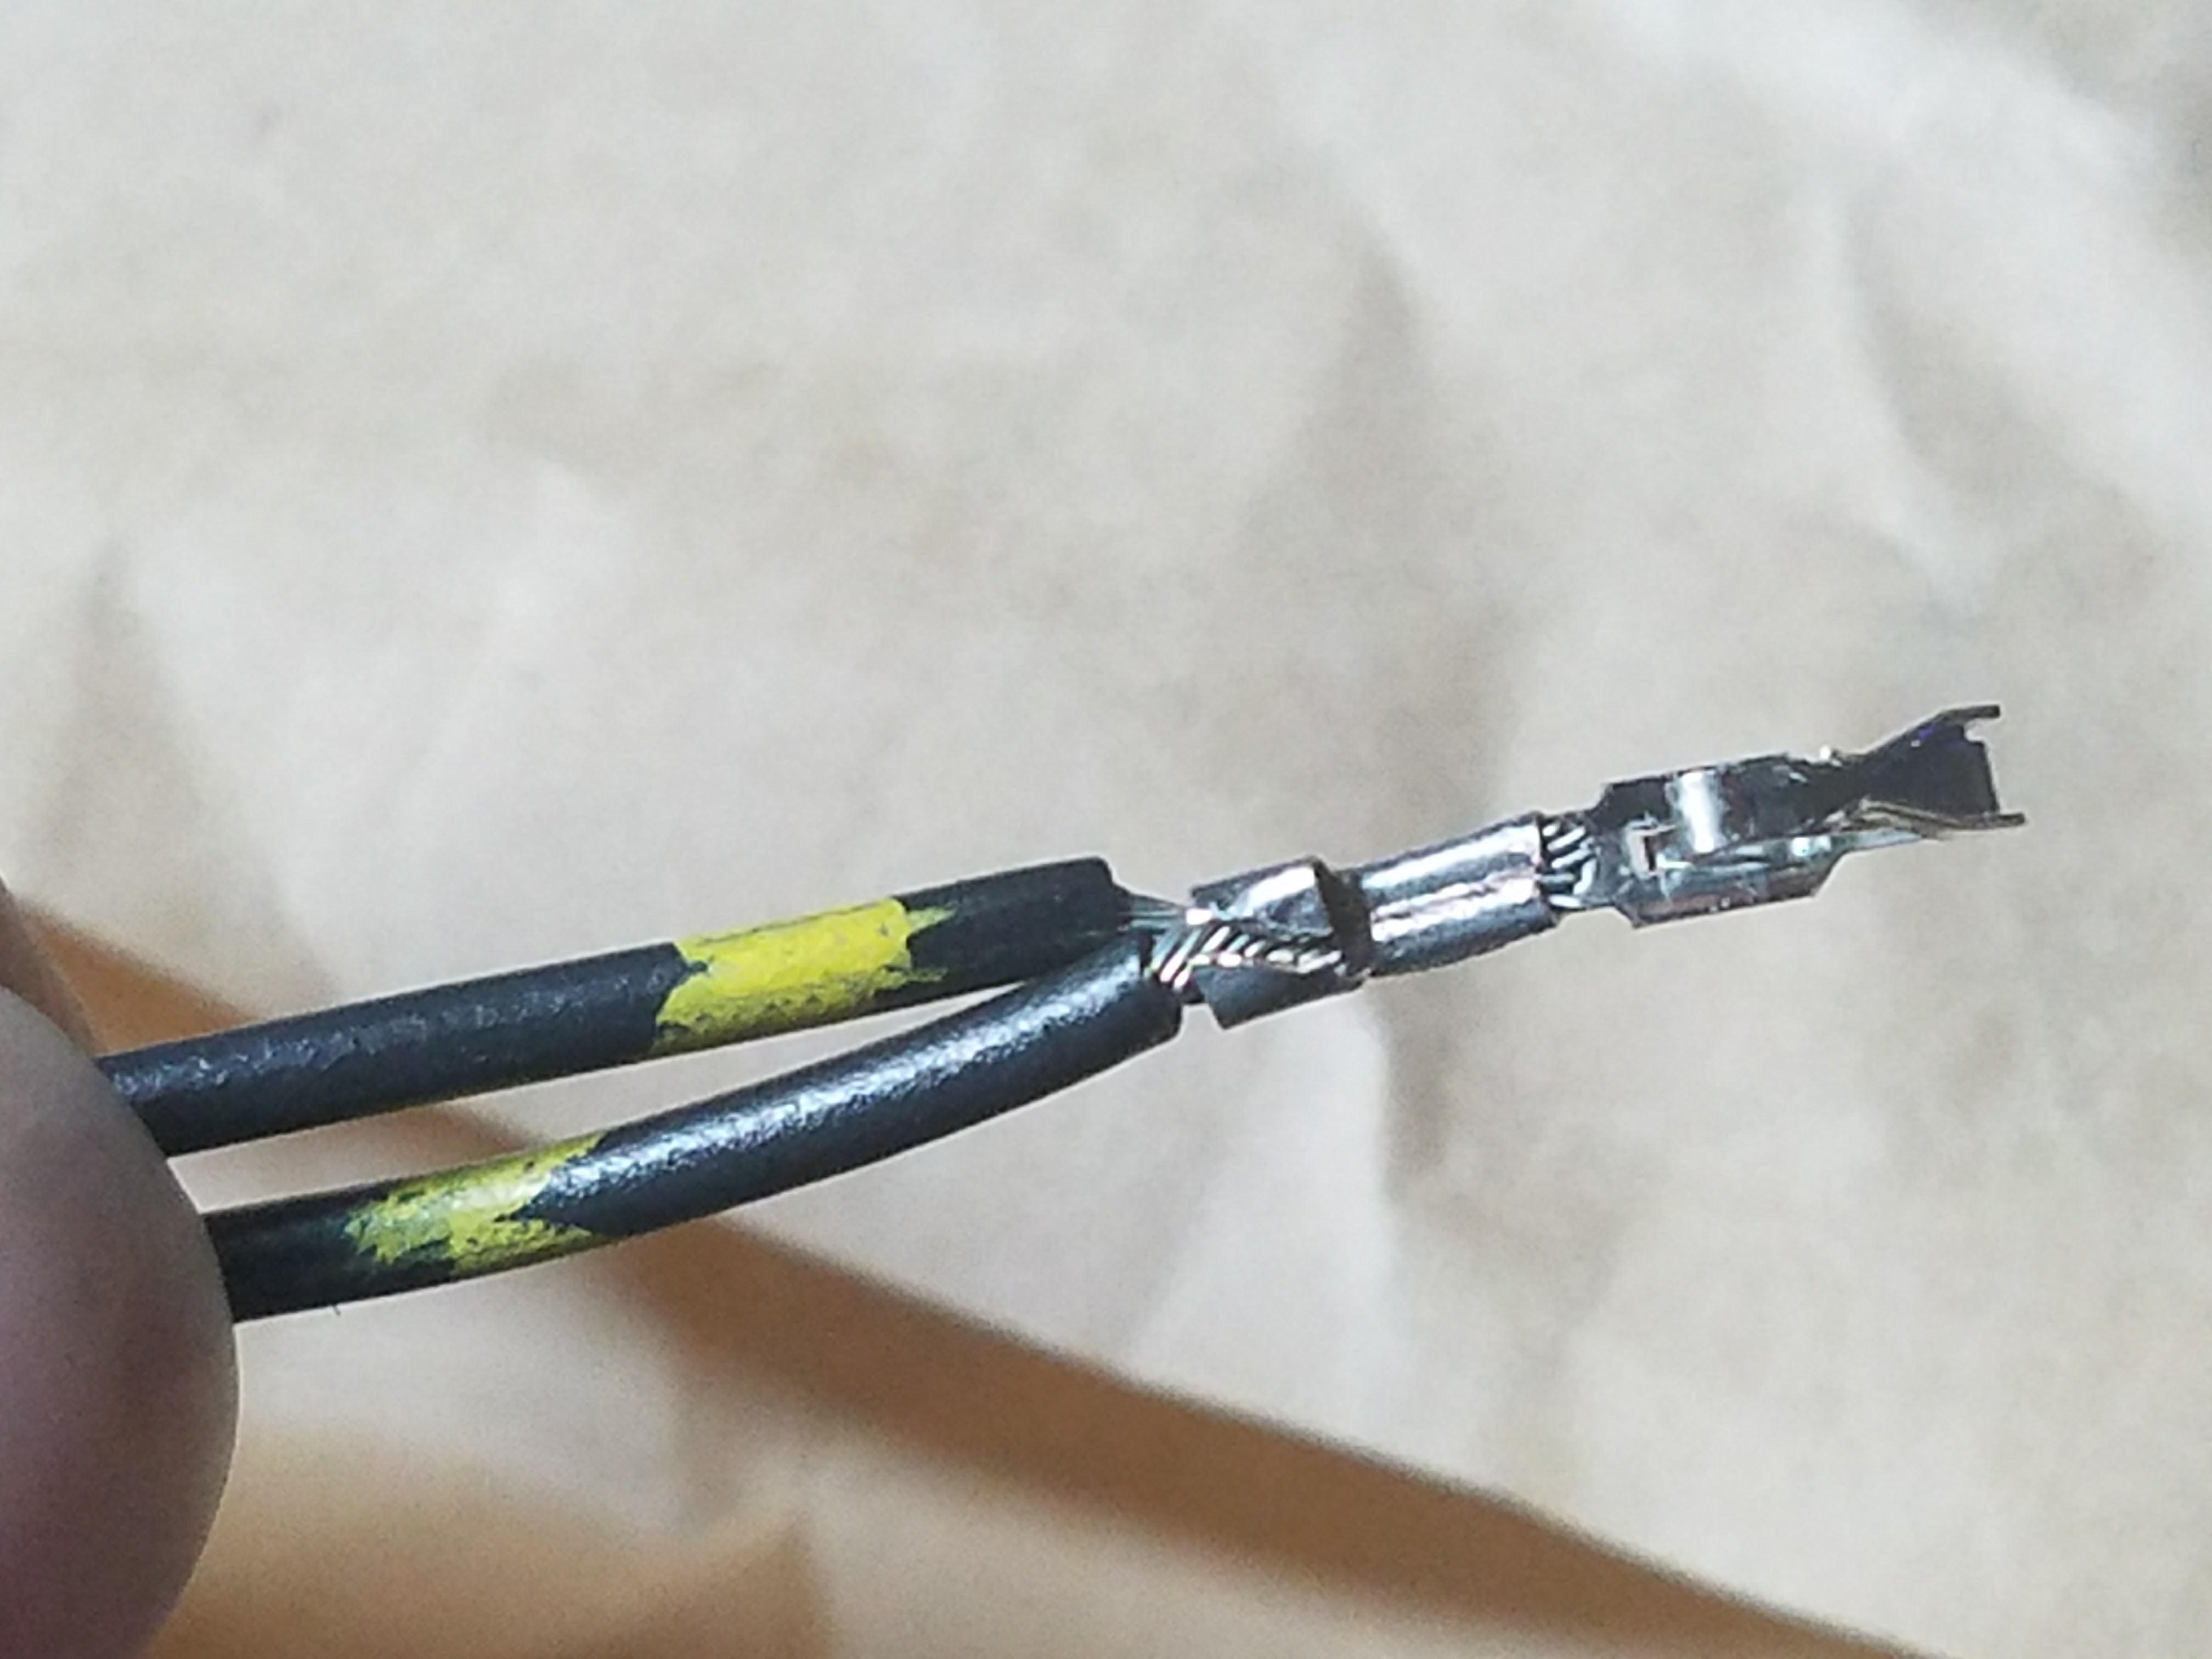
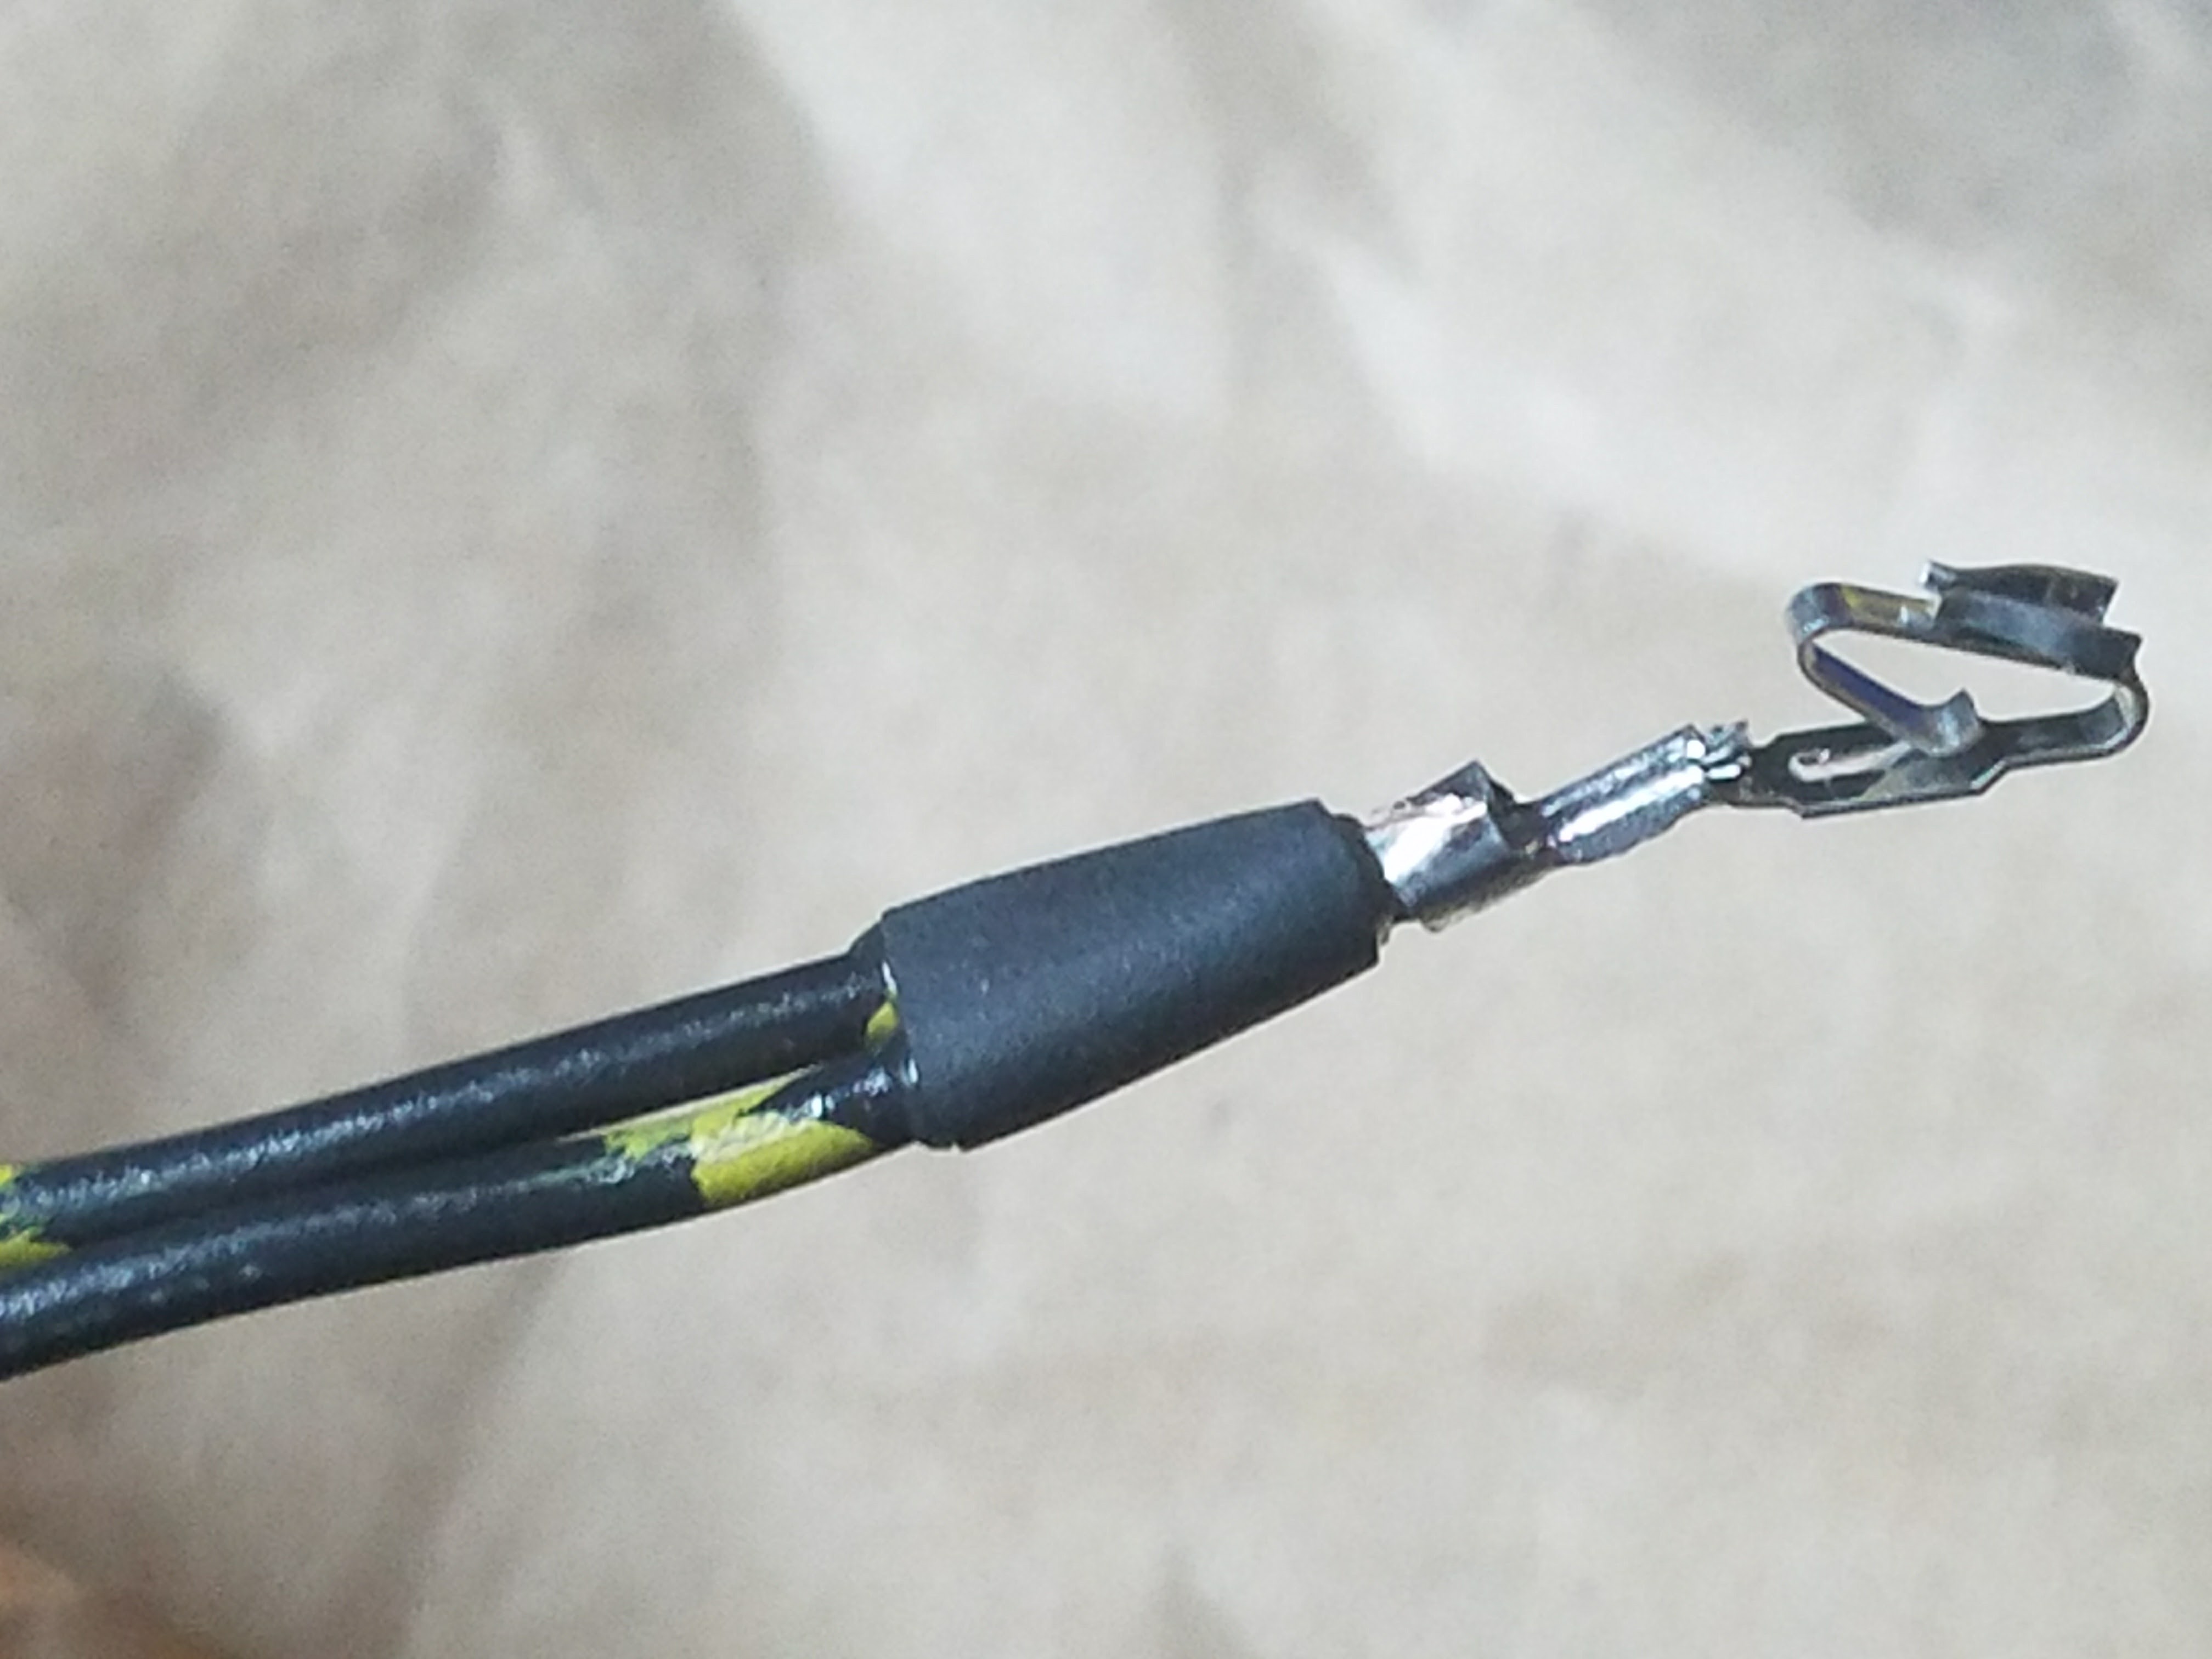
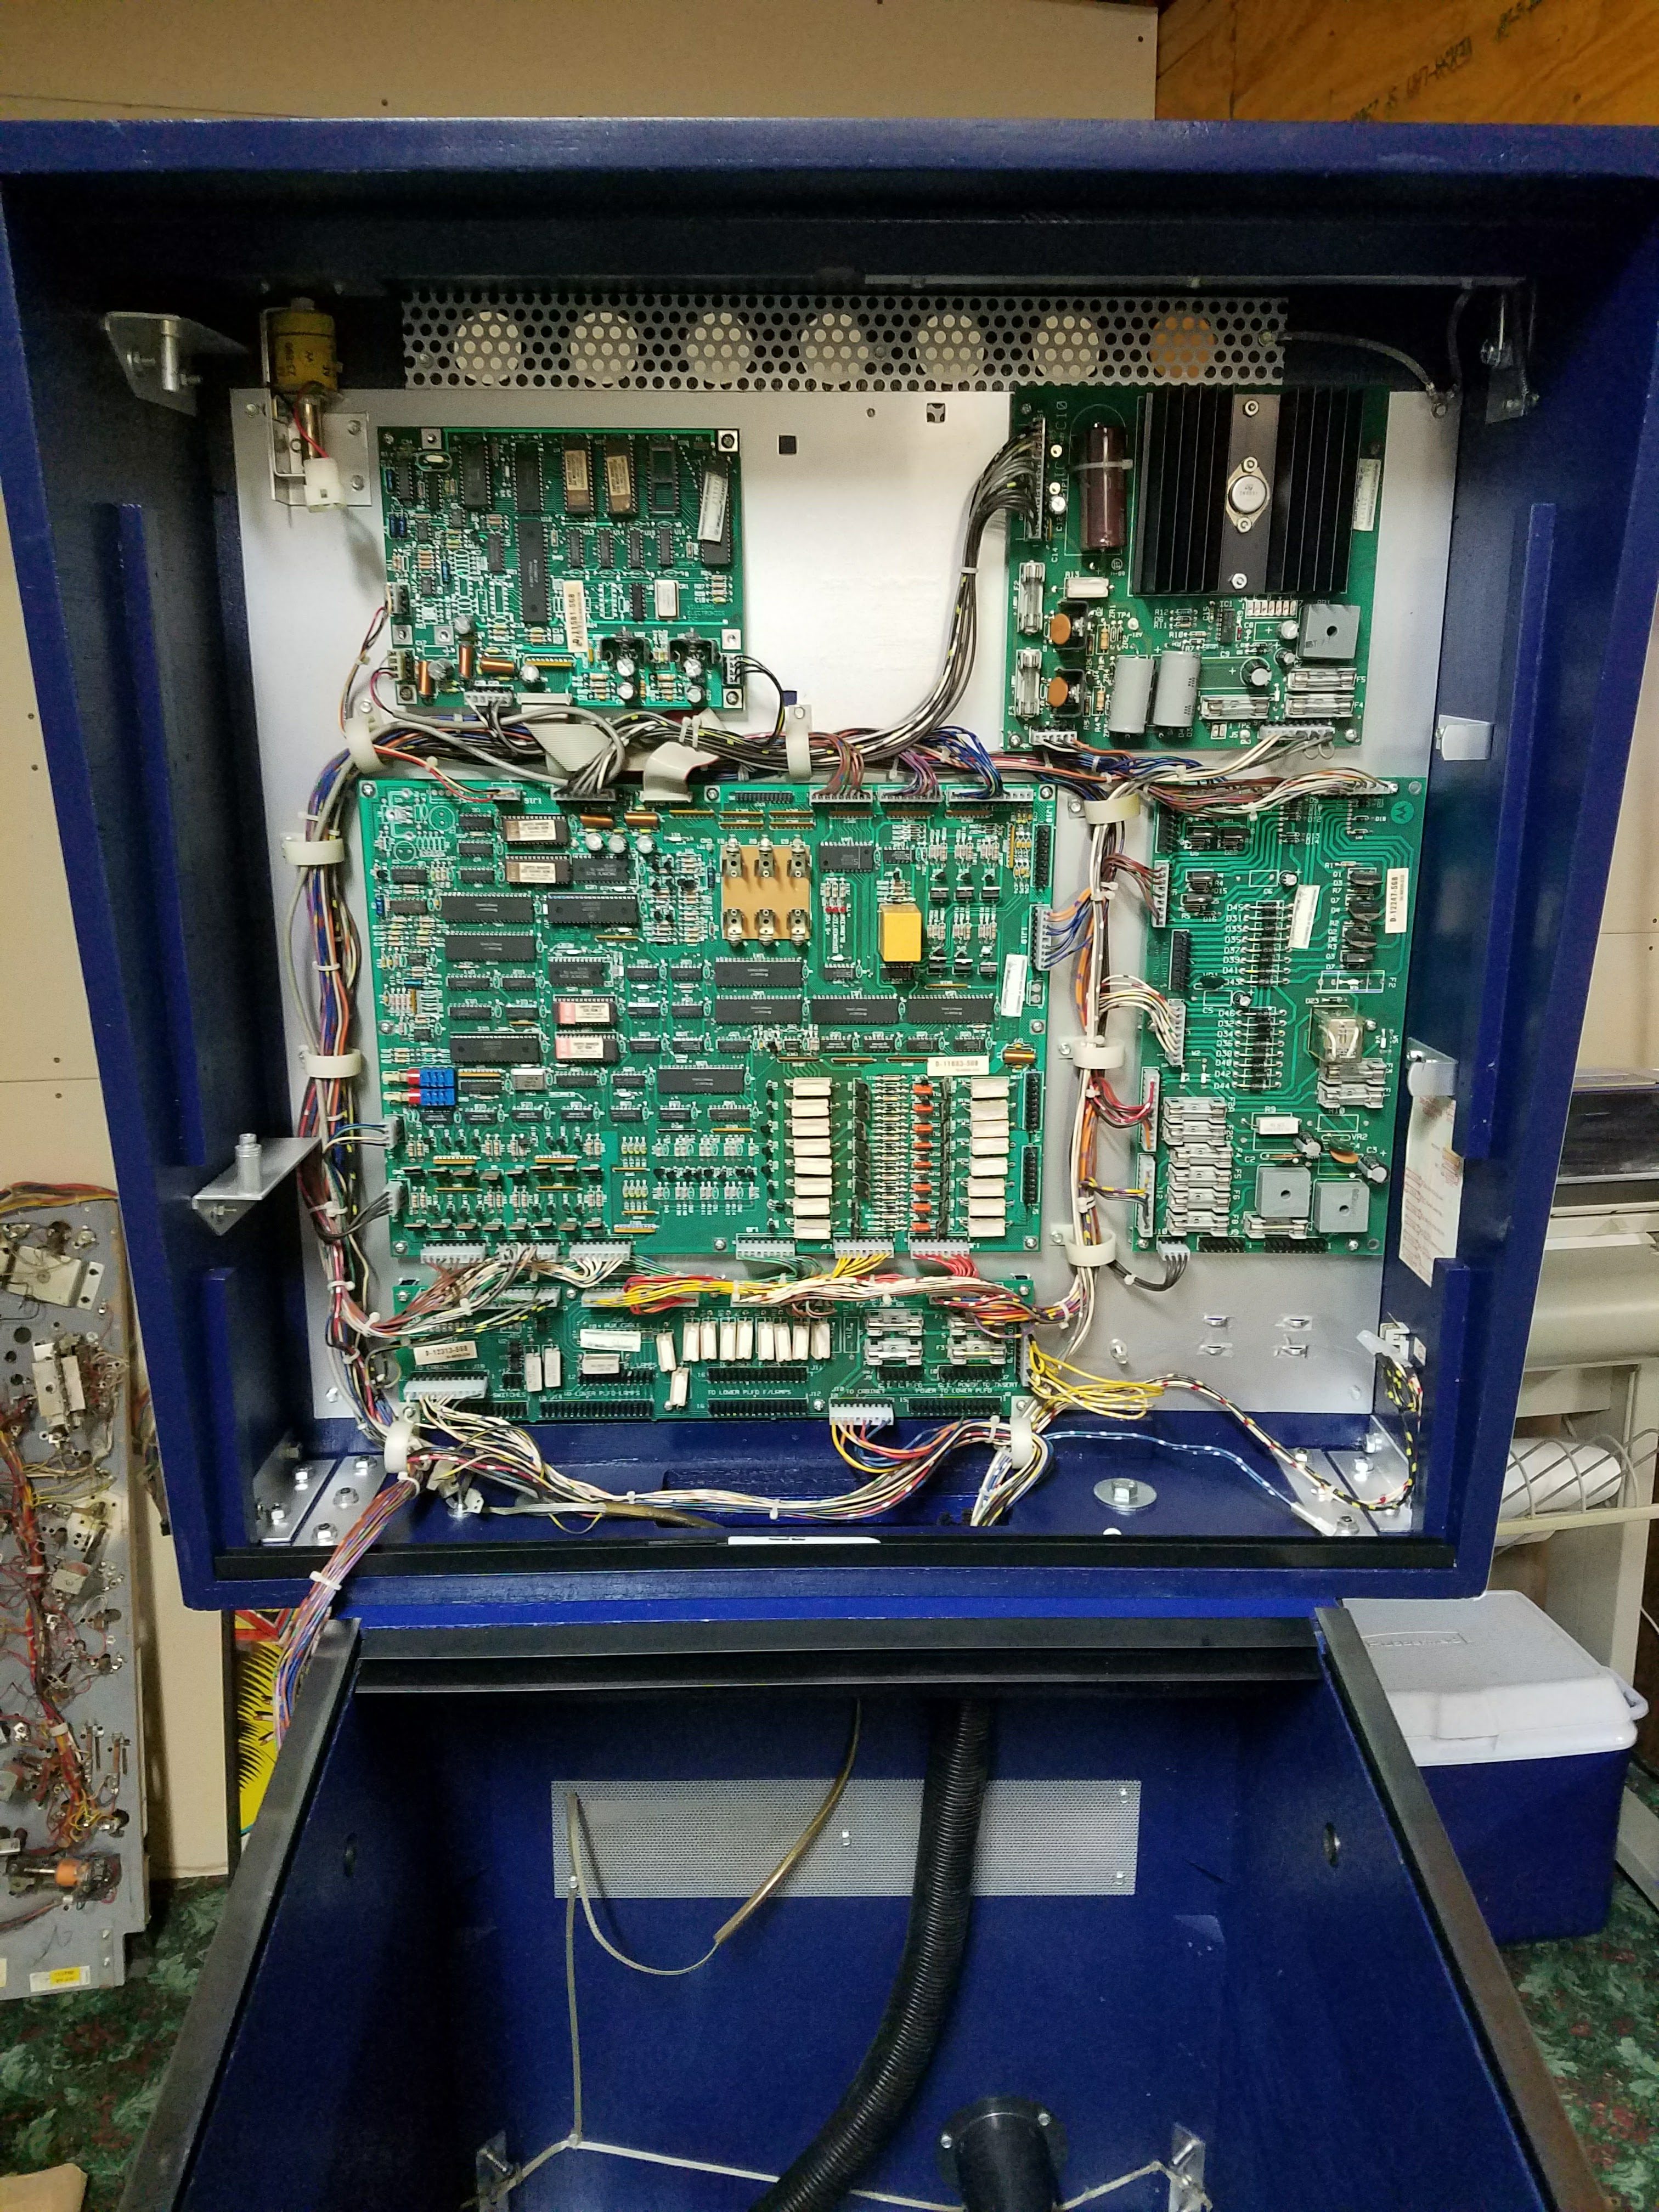
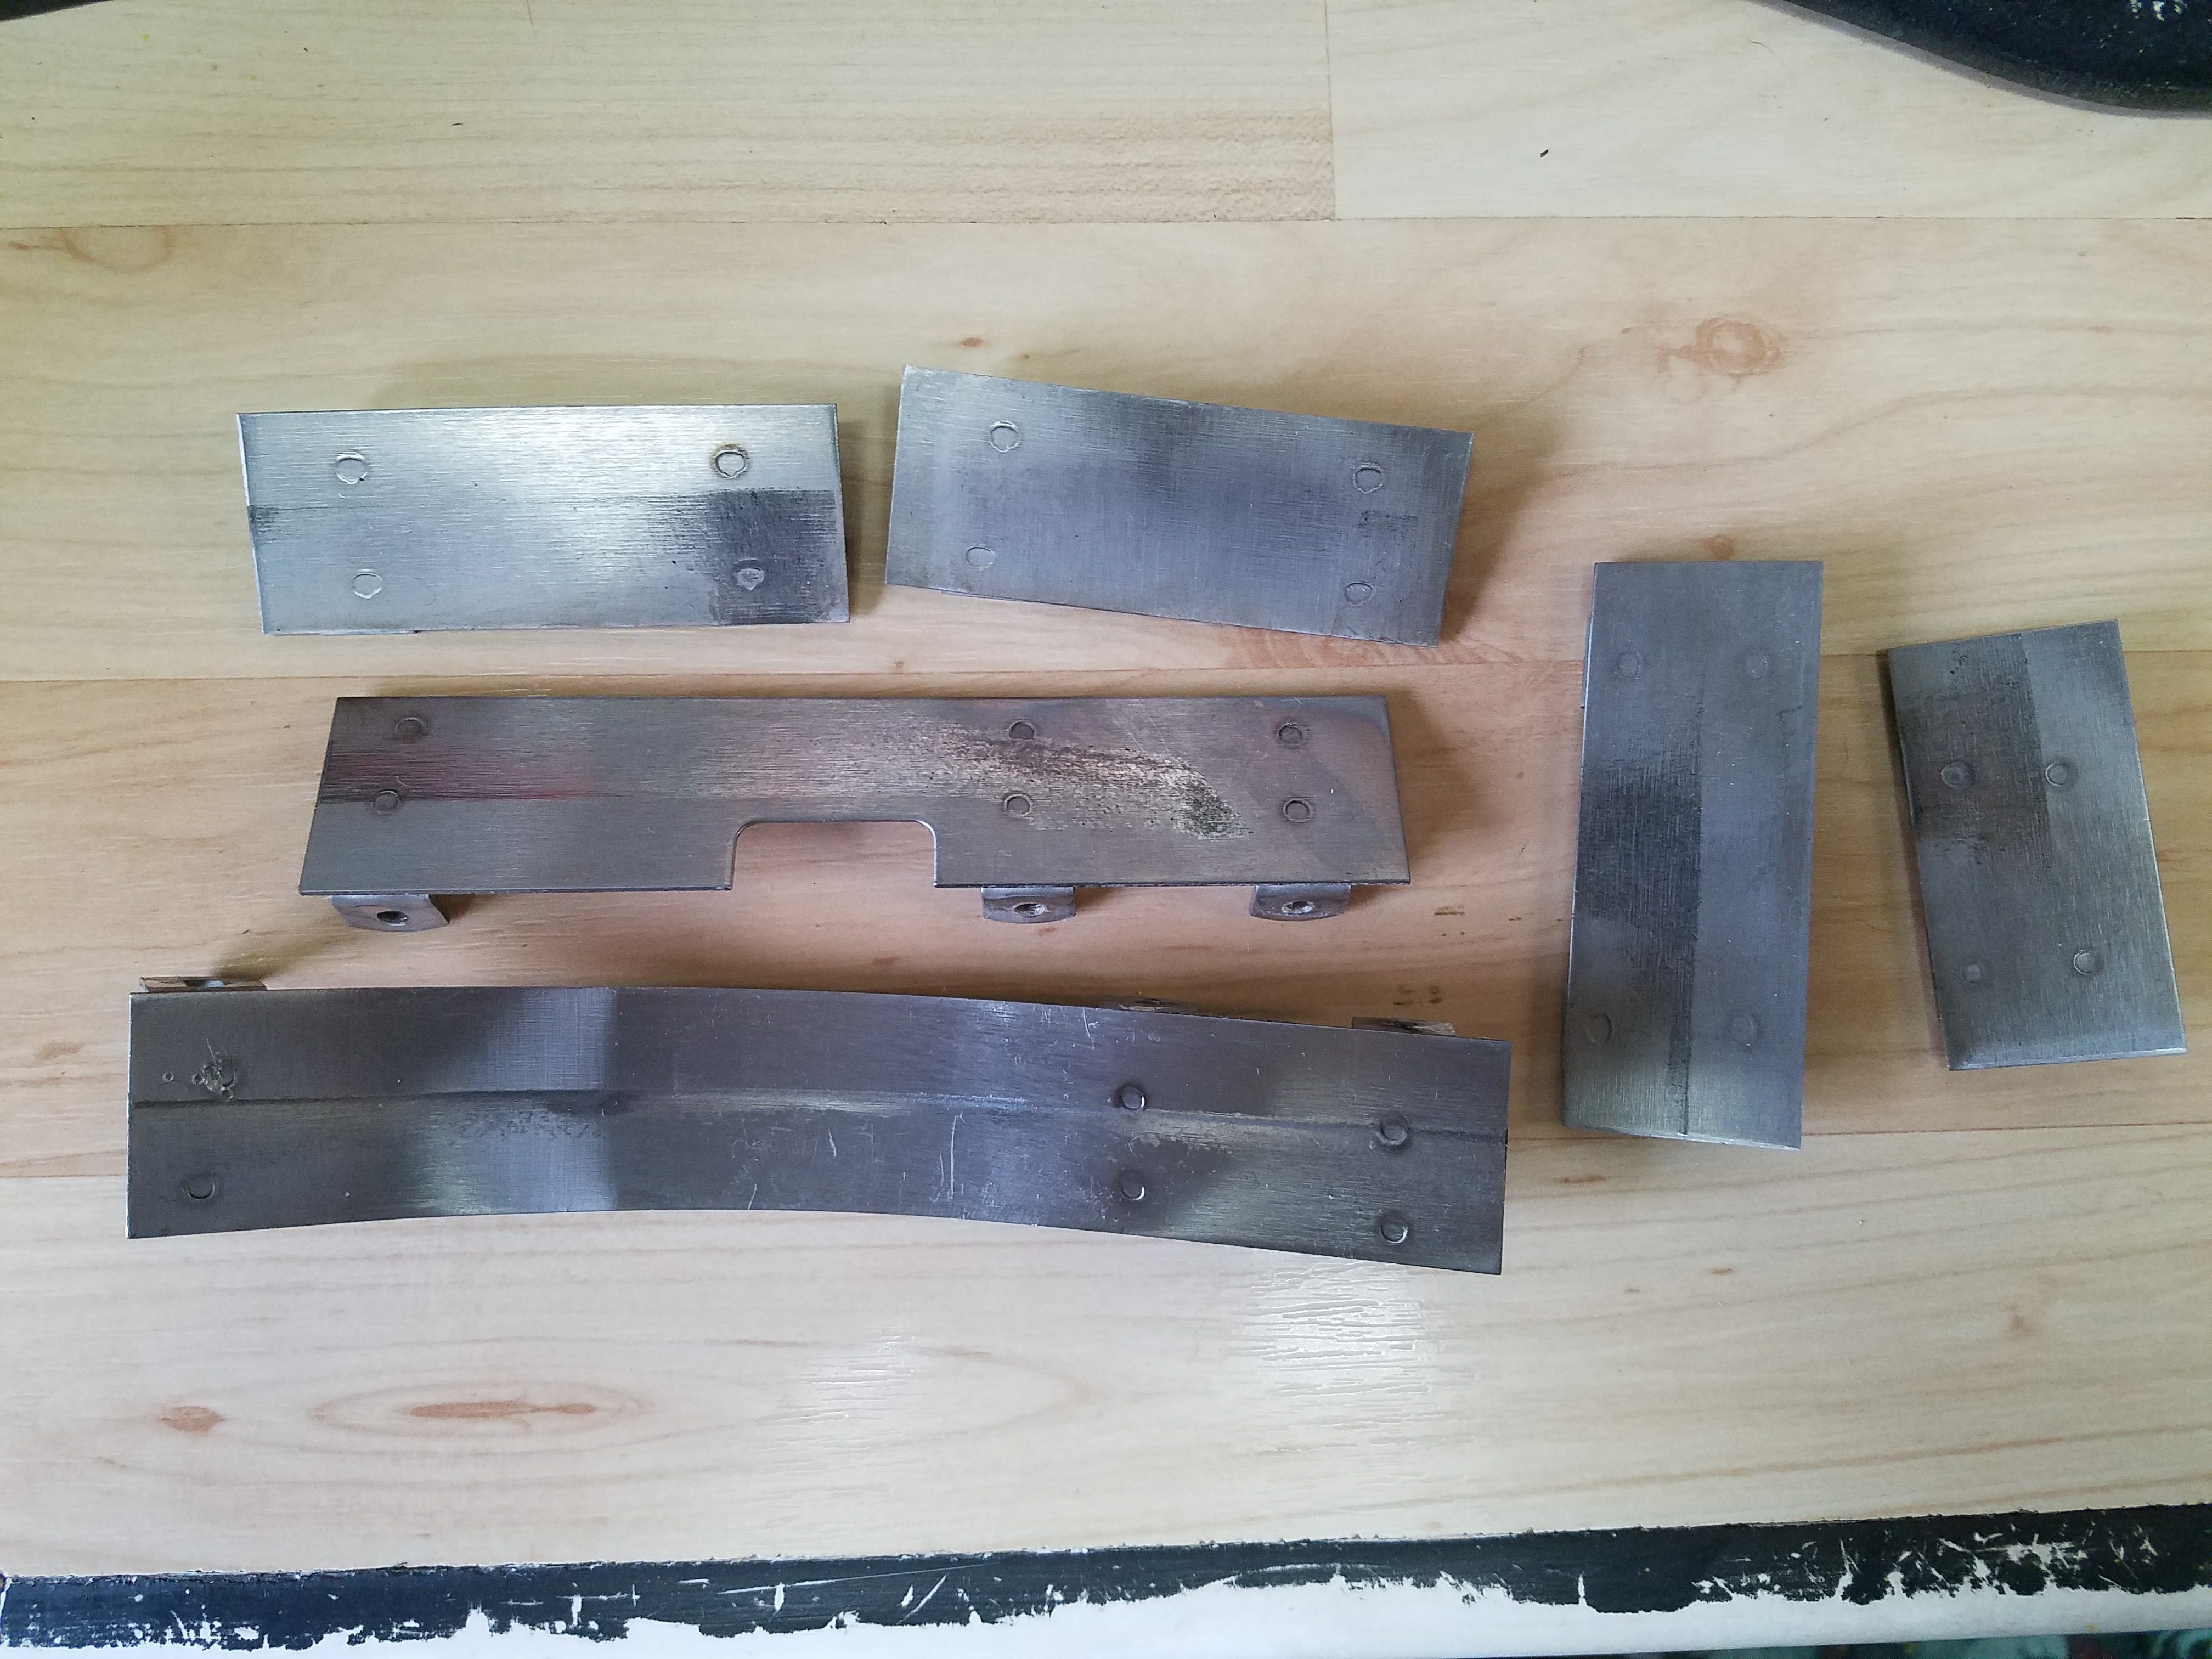
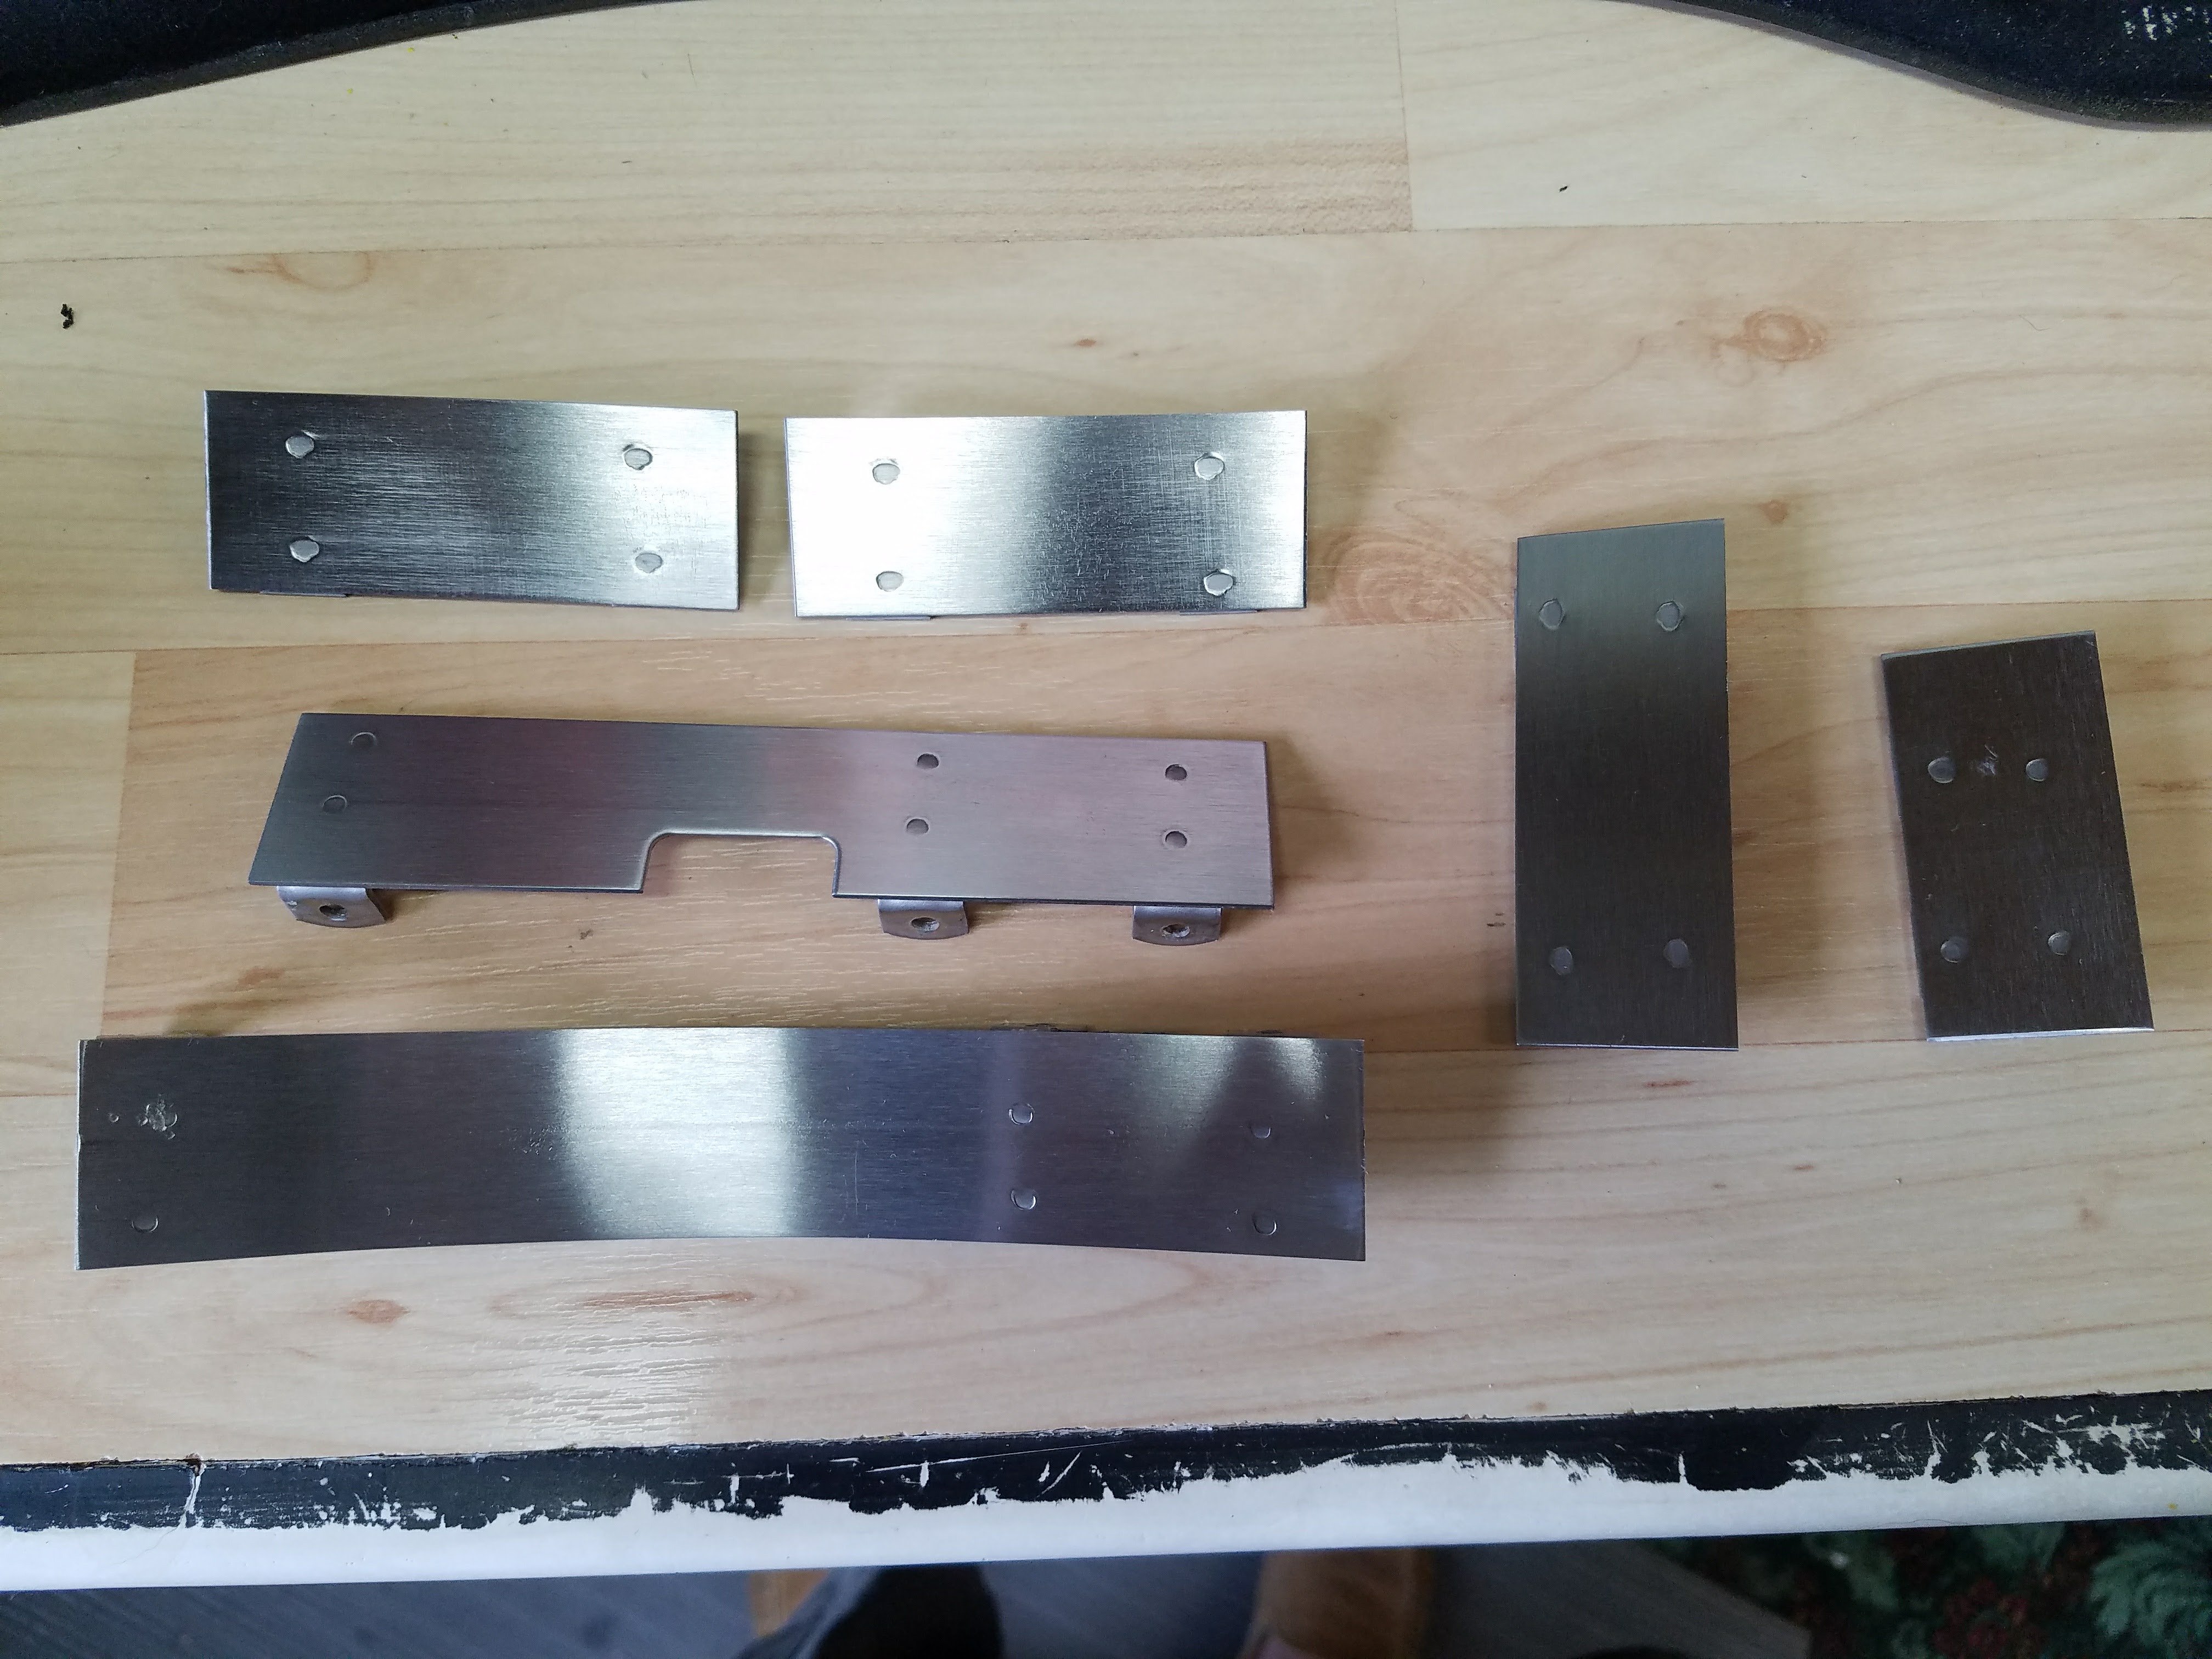
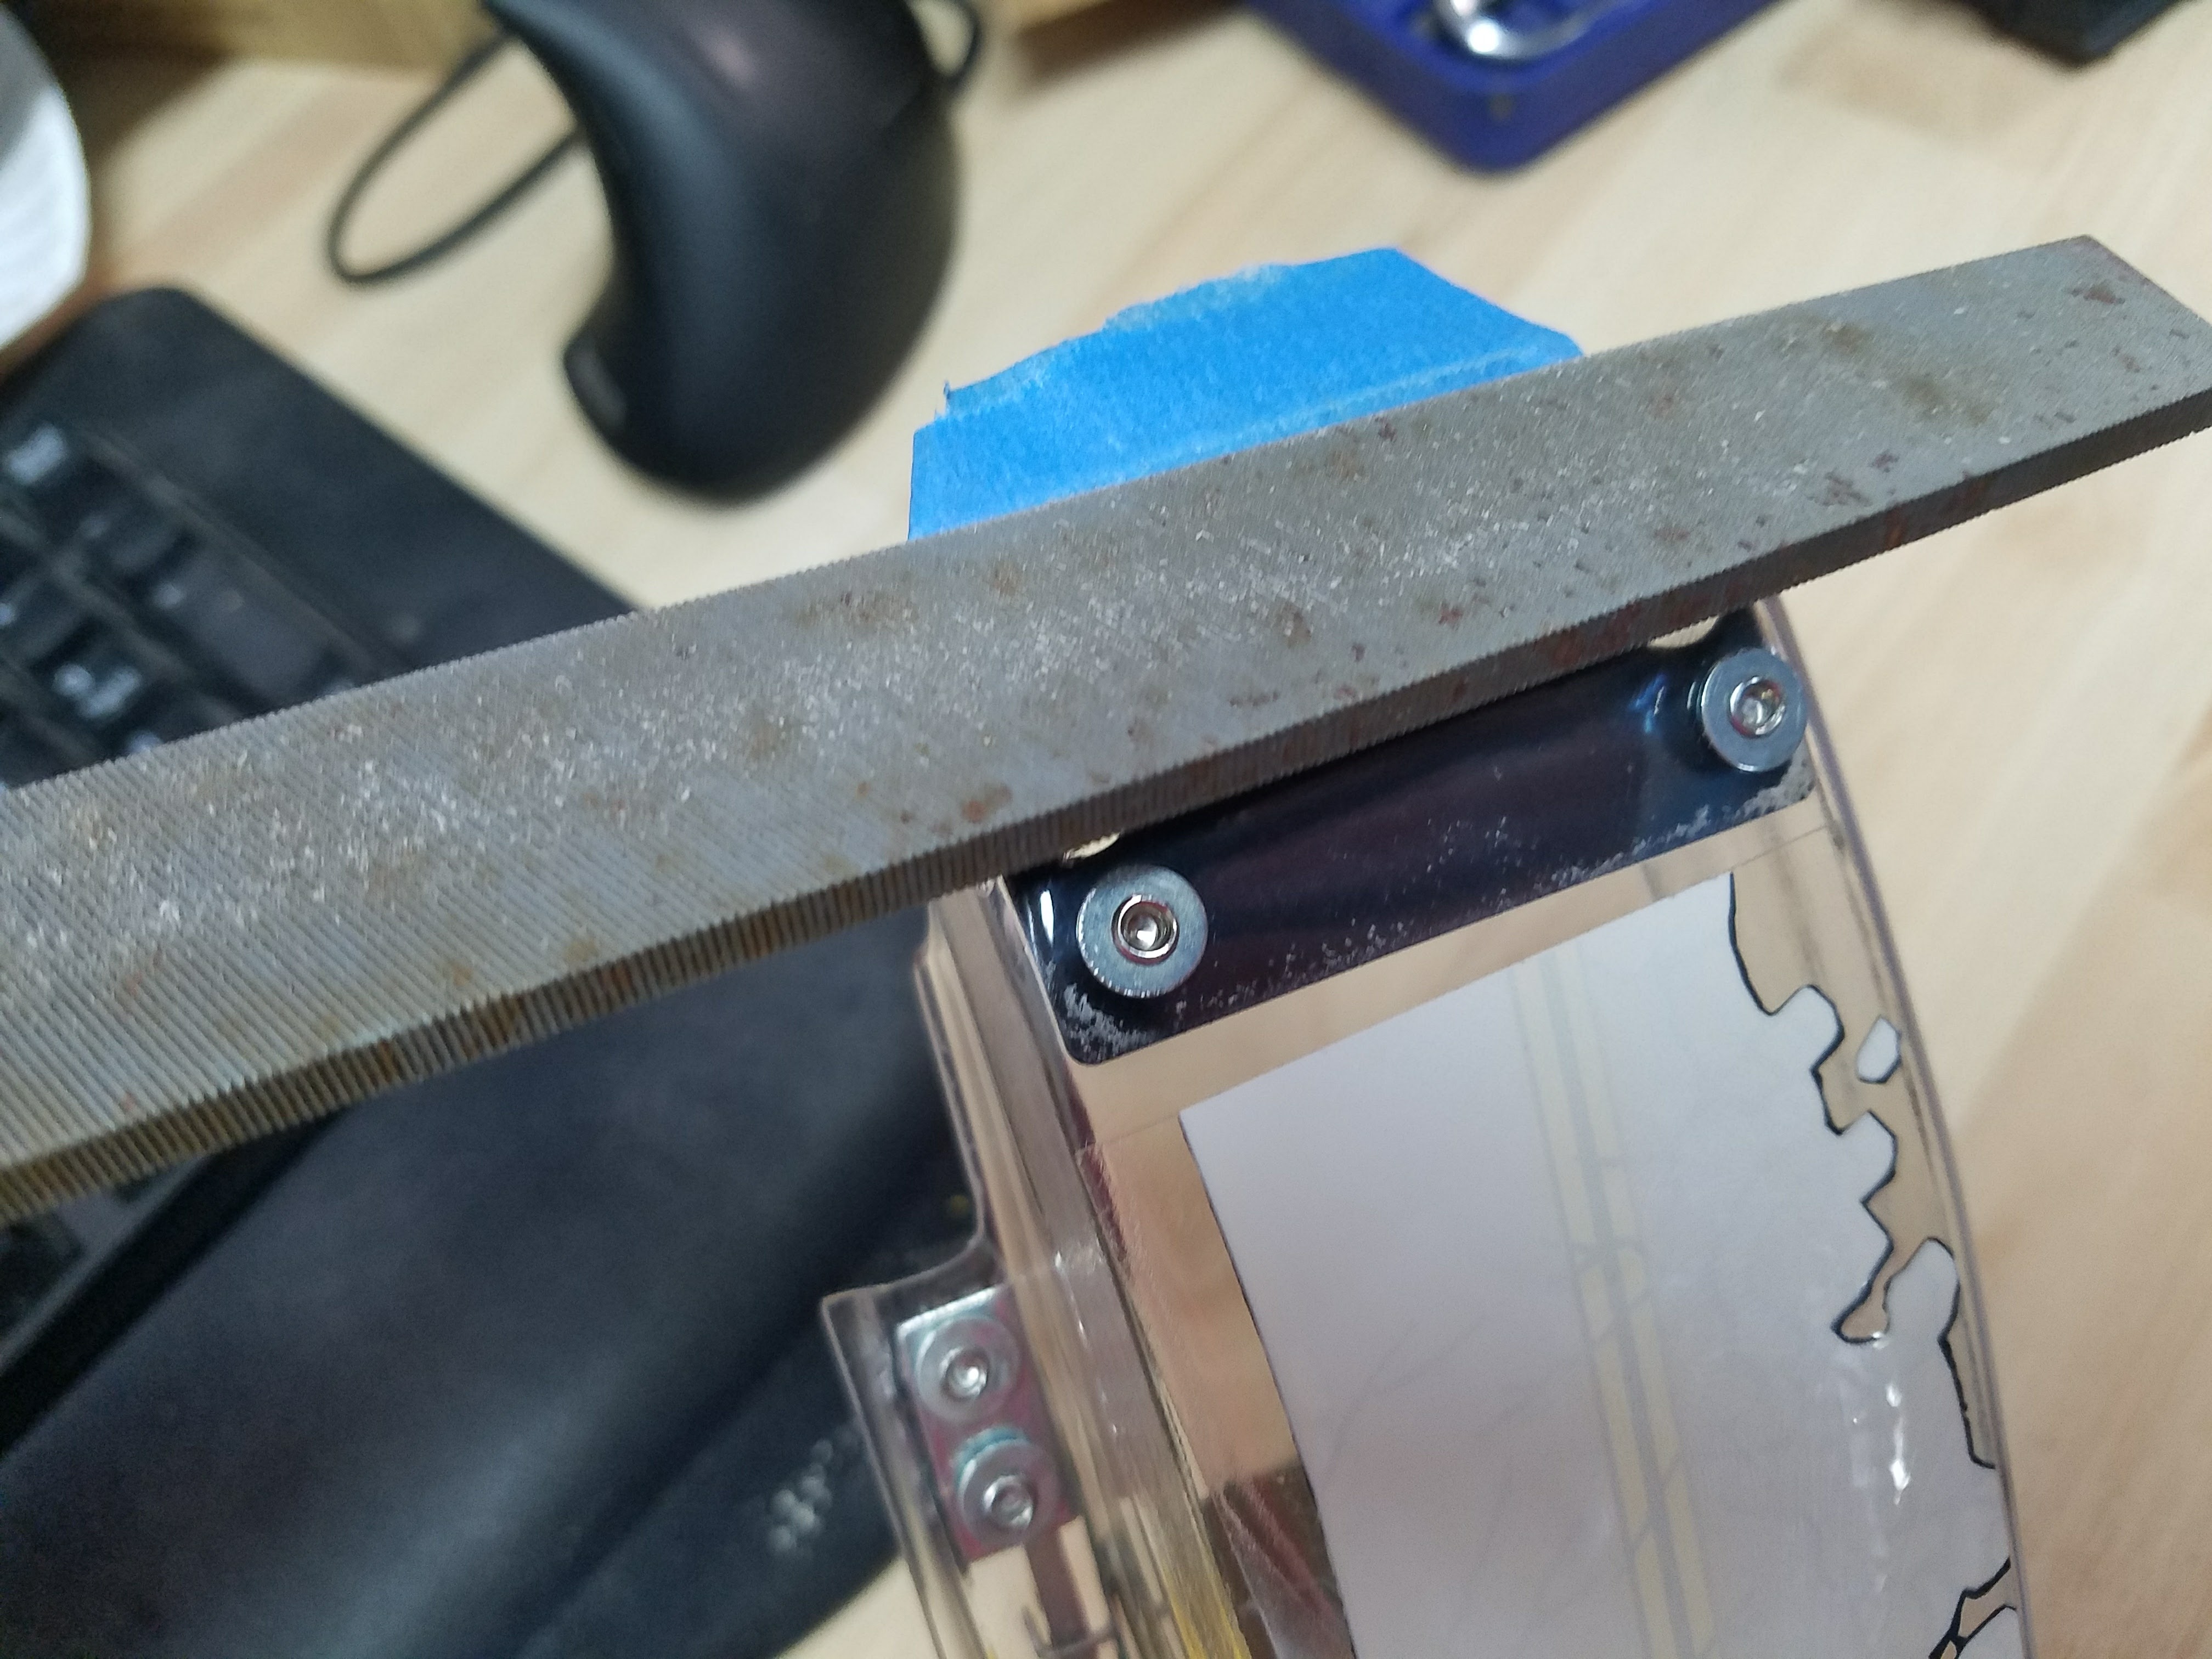
This took a lot of tries to get the stencil stickers centered up nicely. I tried using soapy water so I could apply, center up and then press into place, but didn’t work. It was just apply and hope for best, if not, remove and apply another stencil sticker until I got it centered up.Applied several light coats of black spray paint so they were covered up nicely.Once the paint was dry, I carefully removed the stencil sticker.I’m happy with these results.Even the small detail of the “EXTRA BALL” turned out nice, I was afraid that would be too small of detail. I left the fault line crack design off of the tails on the arrows, my vinyl cutter wasn’t able to handle detail that small. When I put these back in, I used wood glue.There were some major delays in getting the playfield clear coated once I had it ready… so I’m looking at the cabinet… it could be better. With the heat gun I was able to remove the scuffed up graphics. You can kind of see where some one had used black paint along the bottom edge to cover up damage.With the old artwork removed, I needed to address some damaged areas where the ply was pulling apart. You can kind of see an area below the lower left corner of the coin door opening. I would work wood glue between the plies, the lay on top of that some plastic wrap and pat down. From there I would put a block of wood on top and then 30lbs of weights or clamp down.Once the wood glue had dried, I would fill the voids and gaps with bondo and then sand smooth. Also used bondo in areas with dings and such in the wood until the exterior was pretty smooth.While working on the cabinet, I decided I should “clean” up the inside. That isn’t dirt or dust, just the bottom isn’t painted. I took several photos of the inside cabinet before gutting it.Gutting the cabinet was an easy take, maybe 20 minutes to remove everything.I used spray paint on the inside of the cabinet. Cleaned up a lot of the bits and pieces before putting it back together. I less than 2 hours spend on the inside of the cabinet and would strongly suggest to put in the effort to do this since really make it look better than new.Was now ready to turn my attention to the back box. Was just going to pull the boards out and paint the inside as well.Well… that isn’t good…. and now I’m going to replace all the headers and crimp on new terminals.Gutted, cleaned and painted.I used the dry method to install my new “next gen” decal kit. It looks great. I resurfaced the side rails using the Westward 26W967 belt from Zoro.com in my belt sander. I put the flipper button in place to help get the rail lined up, then used blue tape to make a hinge.Remove the flipper button and flip the rail over. Apply double sided adhesive tape.Carefully flip the rail back over and press into place. I ended using blocks of wood and clamps to really “press” the rail down and left overnight.I have access to a media blast cabinet so I used that on all of the metal hardware I removed from the cabinet, including the coin door.Brackets and such were painted with silver paint after being glass beaded.The mech for the lock down bat was kind of “crusty” before I glass beaded it and gave it a light coat of silver paint. The brass screws used to adjust the lock down bar were polished up.All of the pan head bolts were stuck in cardboard, glass beaded, then painted black.Parts of the coin door after being glass bead blasted and ready for paint.Hammer painted the coin door. I should note that while the coin door was out, I put some extra spot welds along the hinge. On my Black Knight pin, the spot welds were coming apart and had to be repaired. I figured I’d put some extra spot welds on this to help give it better support over the course of time.The Williams logo is needed to be knocked off, so a lot of tape applied and then carefully block sanded in 1 direction until I got the desired effect.The Williams logo looks great.So pins use IDC terminals. IDCs are cheap and quick, but not great in the long run. I ordered terminals, headers and crimps from Digi-Key, see bottom of page for more info. I would first match up what positions were “keyed” and run a piece of scrap wire through the new terminal housing. I would swap 1 wire out at a time and be mindful I was keeping them in correct order.I think I used about 460 crimps to redo the backbox wiring harness. The crimping pliers I’m using are the best option for a project like this. Details at the bottom of page.This is a much better way of wiring terminal… strip and crimp. The wire is supported and the crimp will give a superior electrical connection over an IDC. Before any one chimes in and says I should soldier the wires after I crimp them, let me kindly remind you that is WRONG.Some of the larger wires would loop around to 2 terminal positions. So you need to get 2 wires into a single crimp, but the crimp isn’t large enough to do this correctly. I would strip these a bit longer and then twist the wires together prior to crimping. As you can see, the insulation isn’t supported by the crimp, that isn’t good in the long run.I used adhesive lined heat shrink tubing for each time I had to double up the wires hoping this will offer some level of support.Wiped down the light board for the back box, not much came off…. sprayed it with cleaner, a lot came off.After cleaning the board, put in a bunch of old bulbs and painted white.Circuit boards washed and new headers installed. Wiring harness washed off and new terminals crimped into place. Looks about new in there.All of the metal ball guides on the playfield looked like this, so I resurfaced them with the Westward 26W967 belt from Zoro.com.The end results. It only took a few minutes for each piece to rework them. Wear gloves because the metal does get pretty hot.
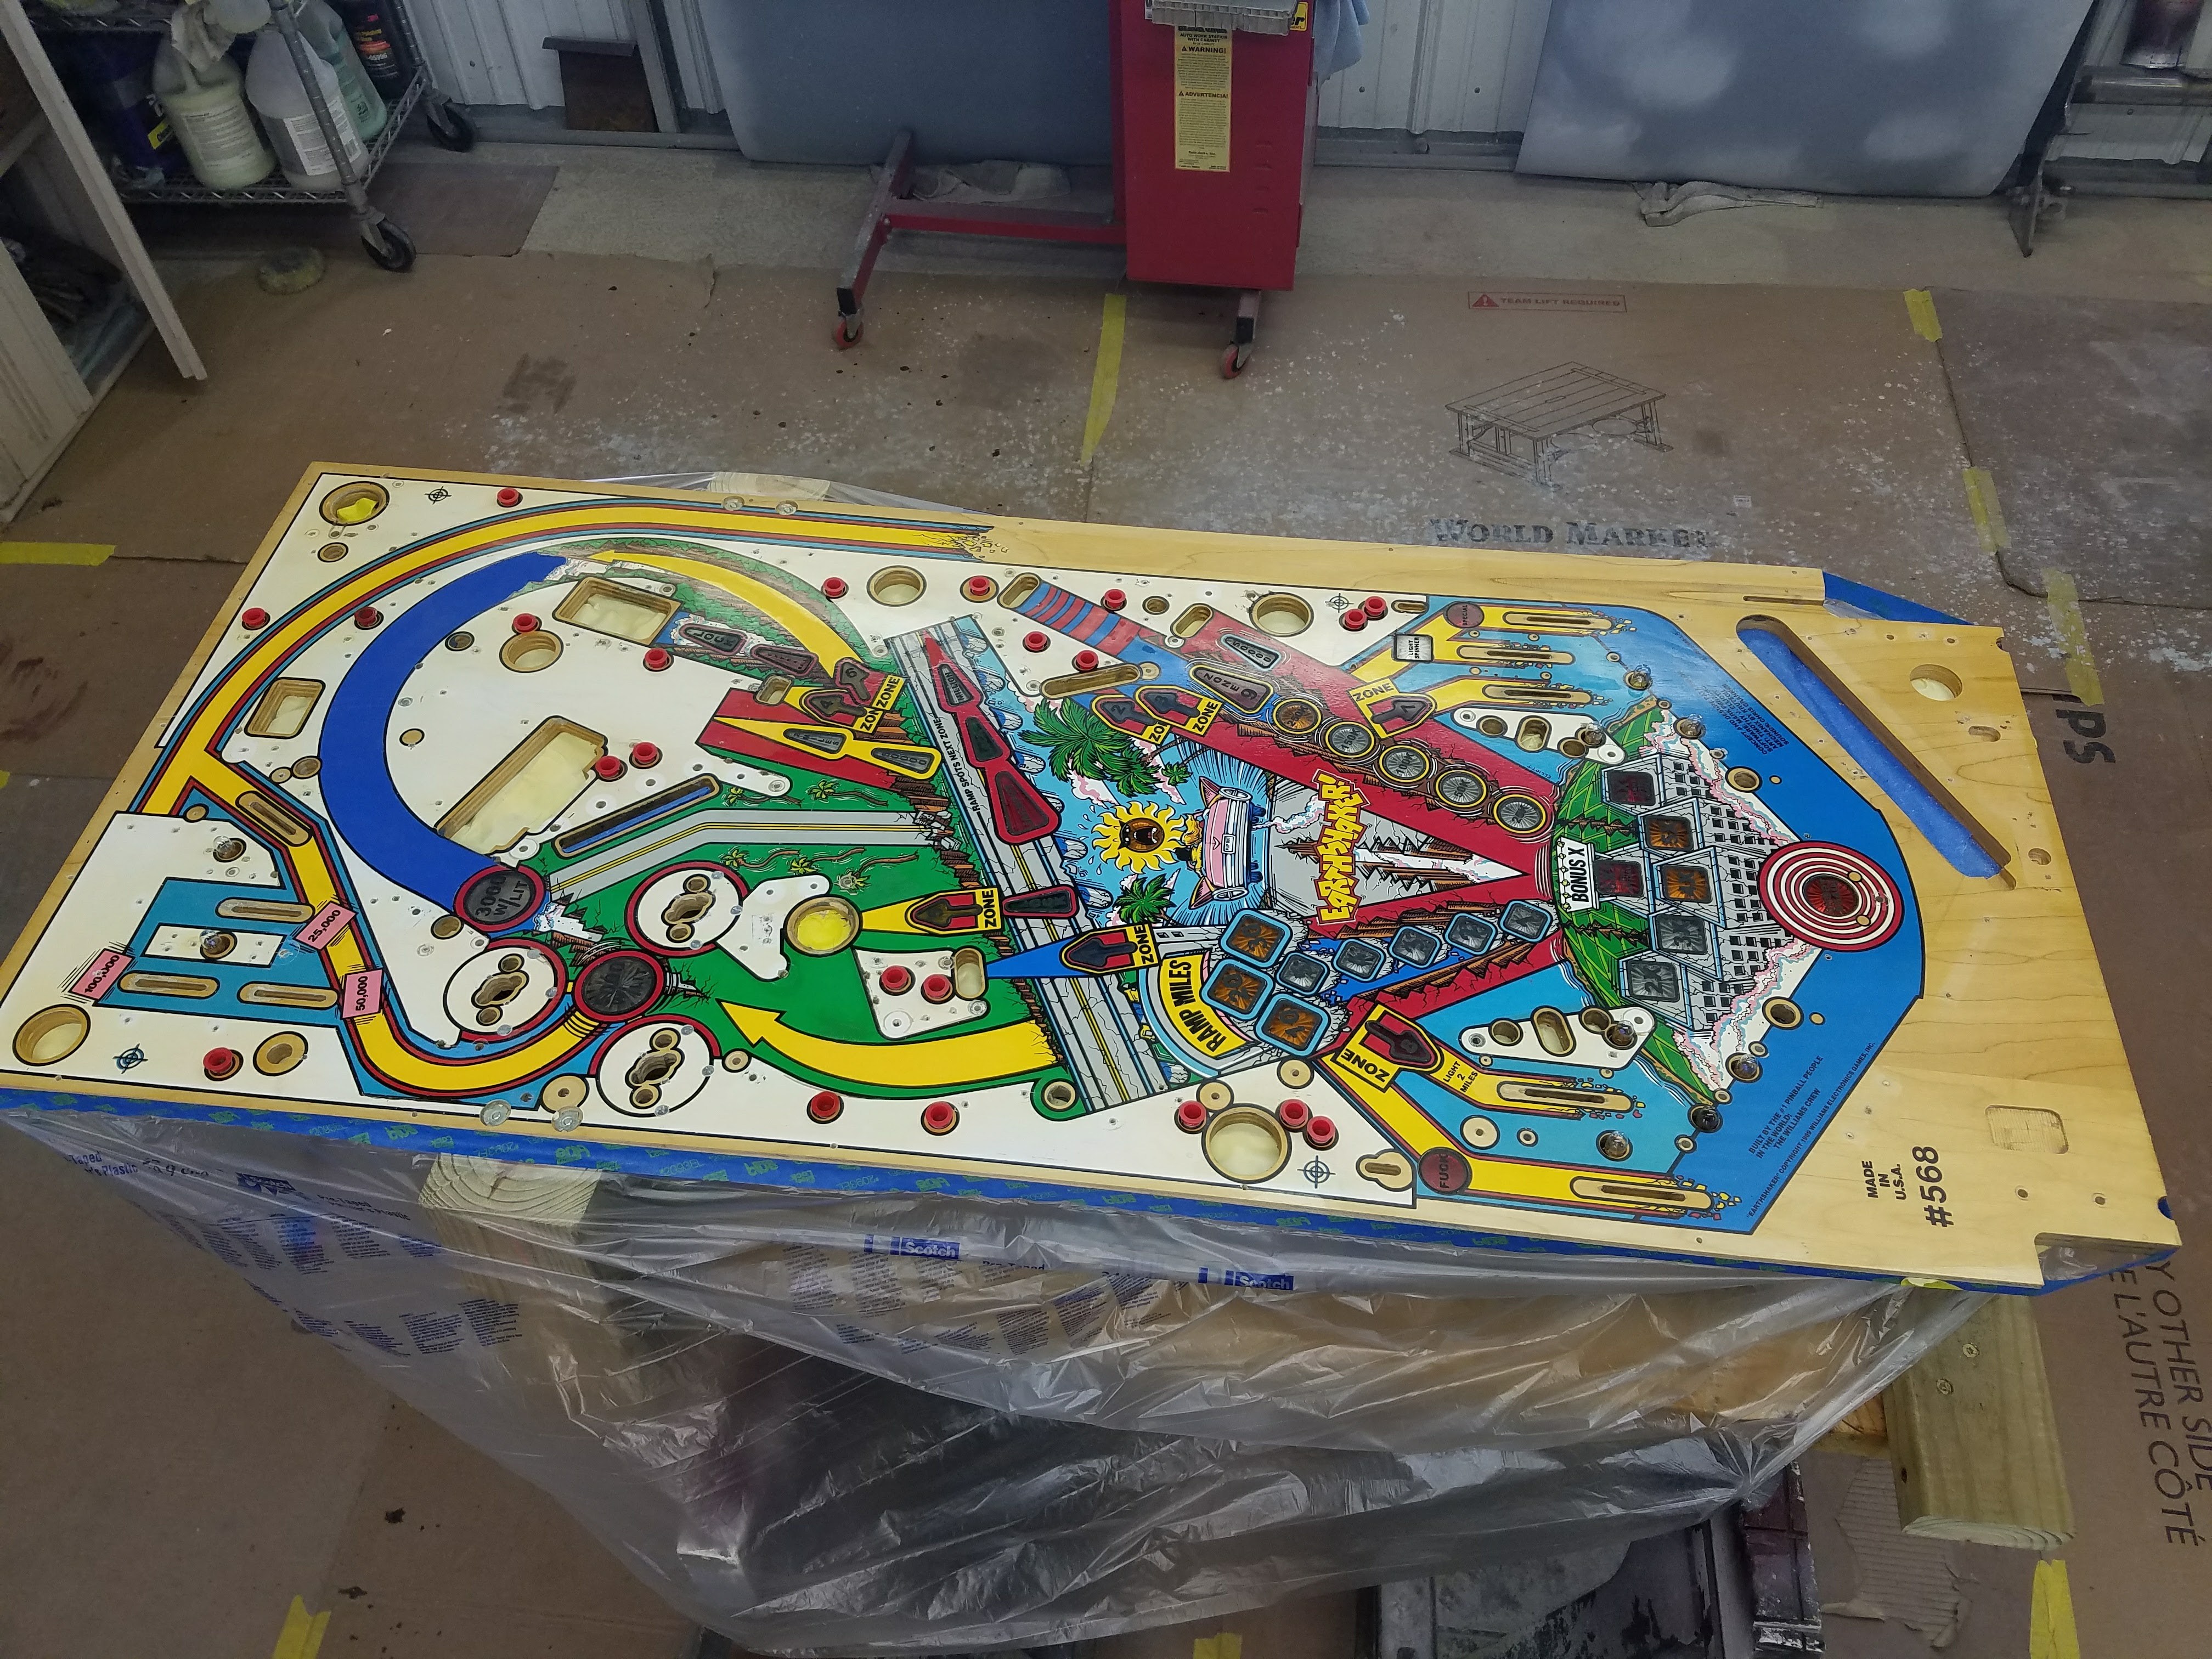
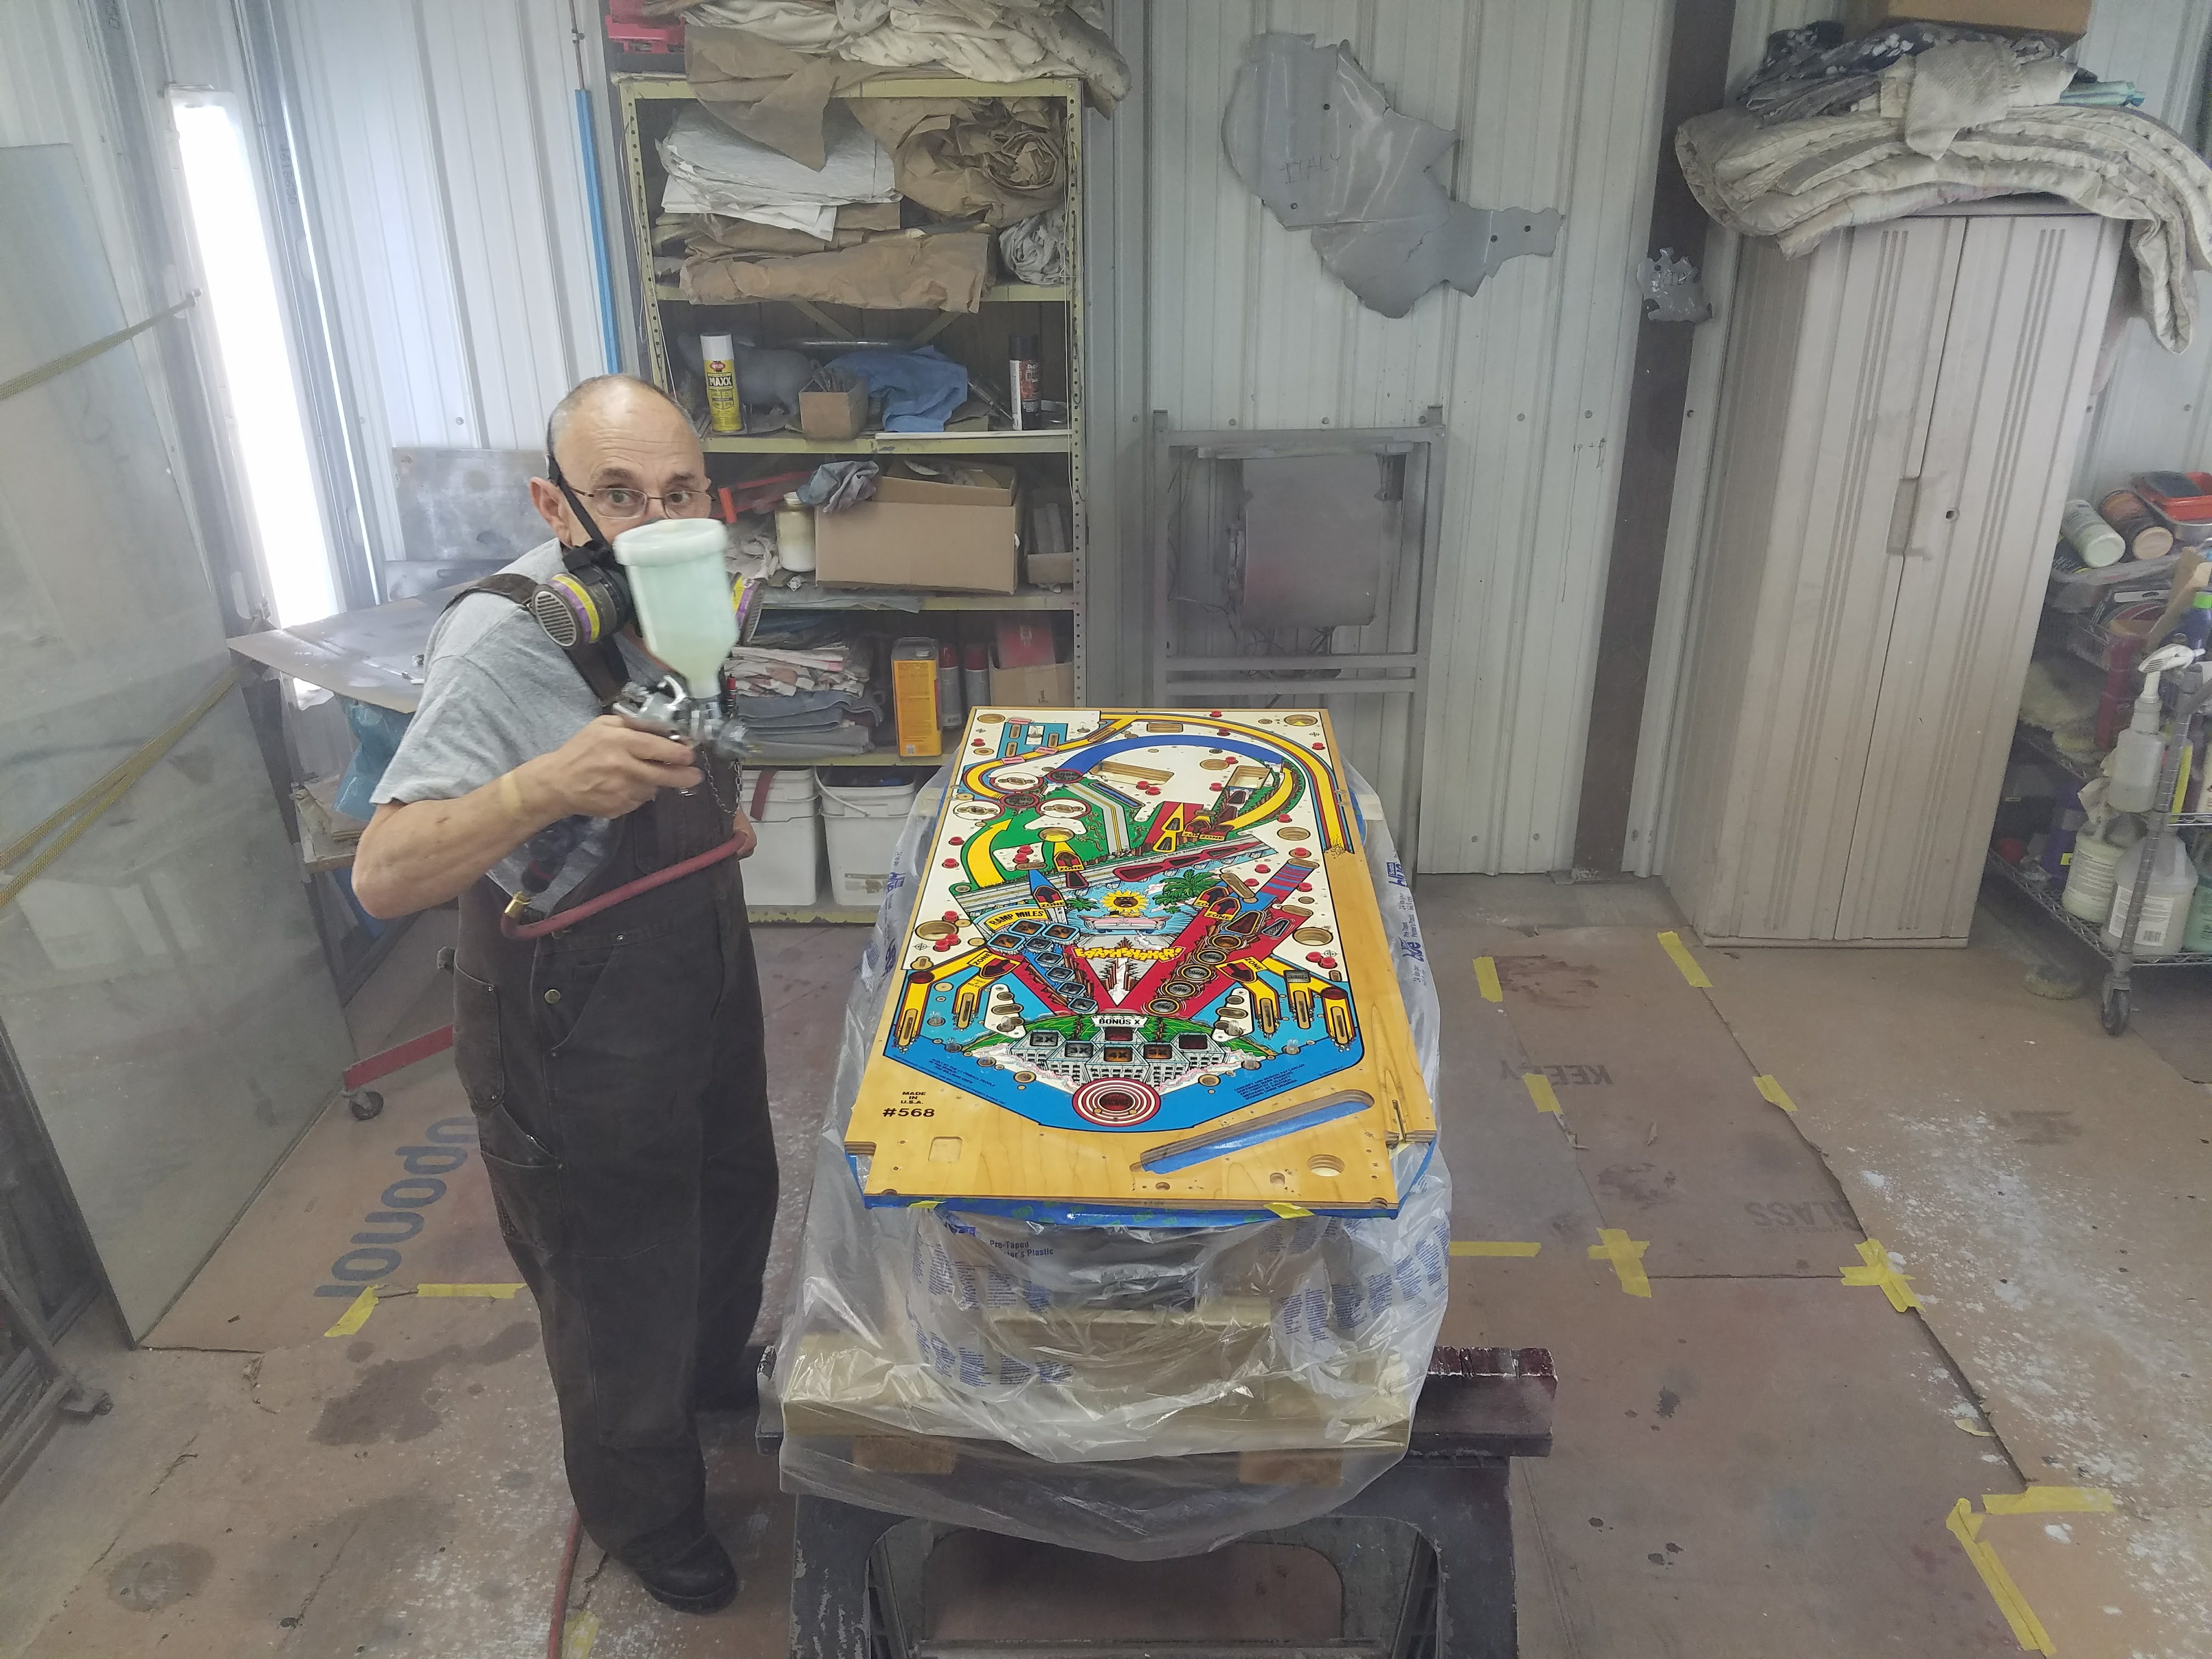
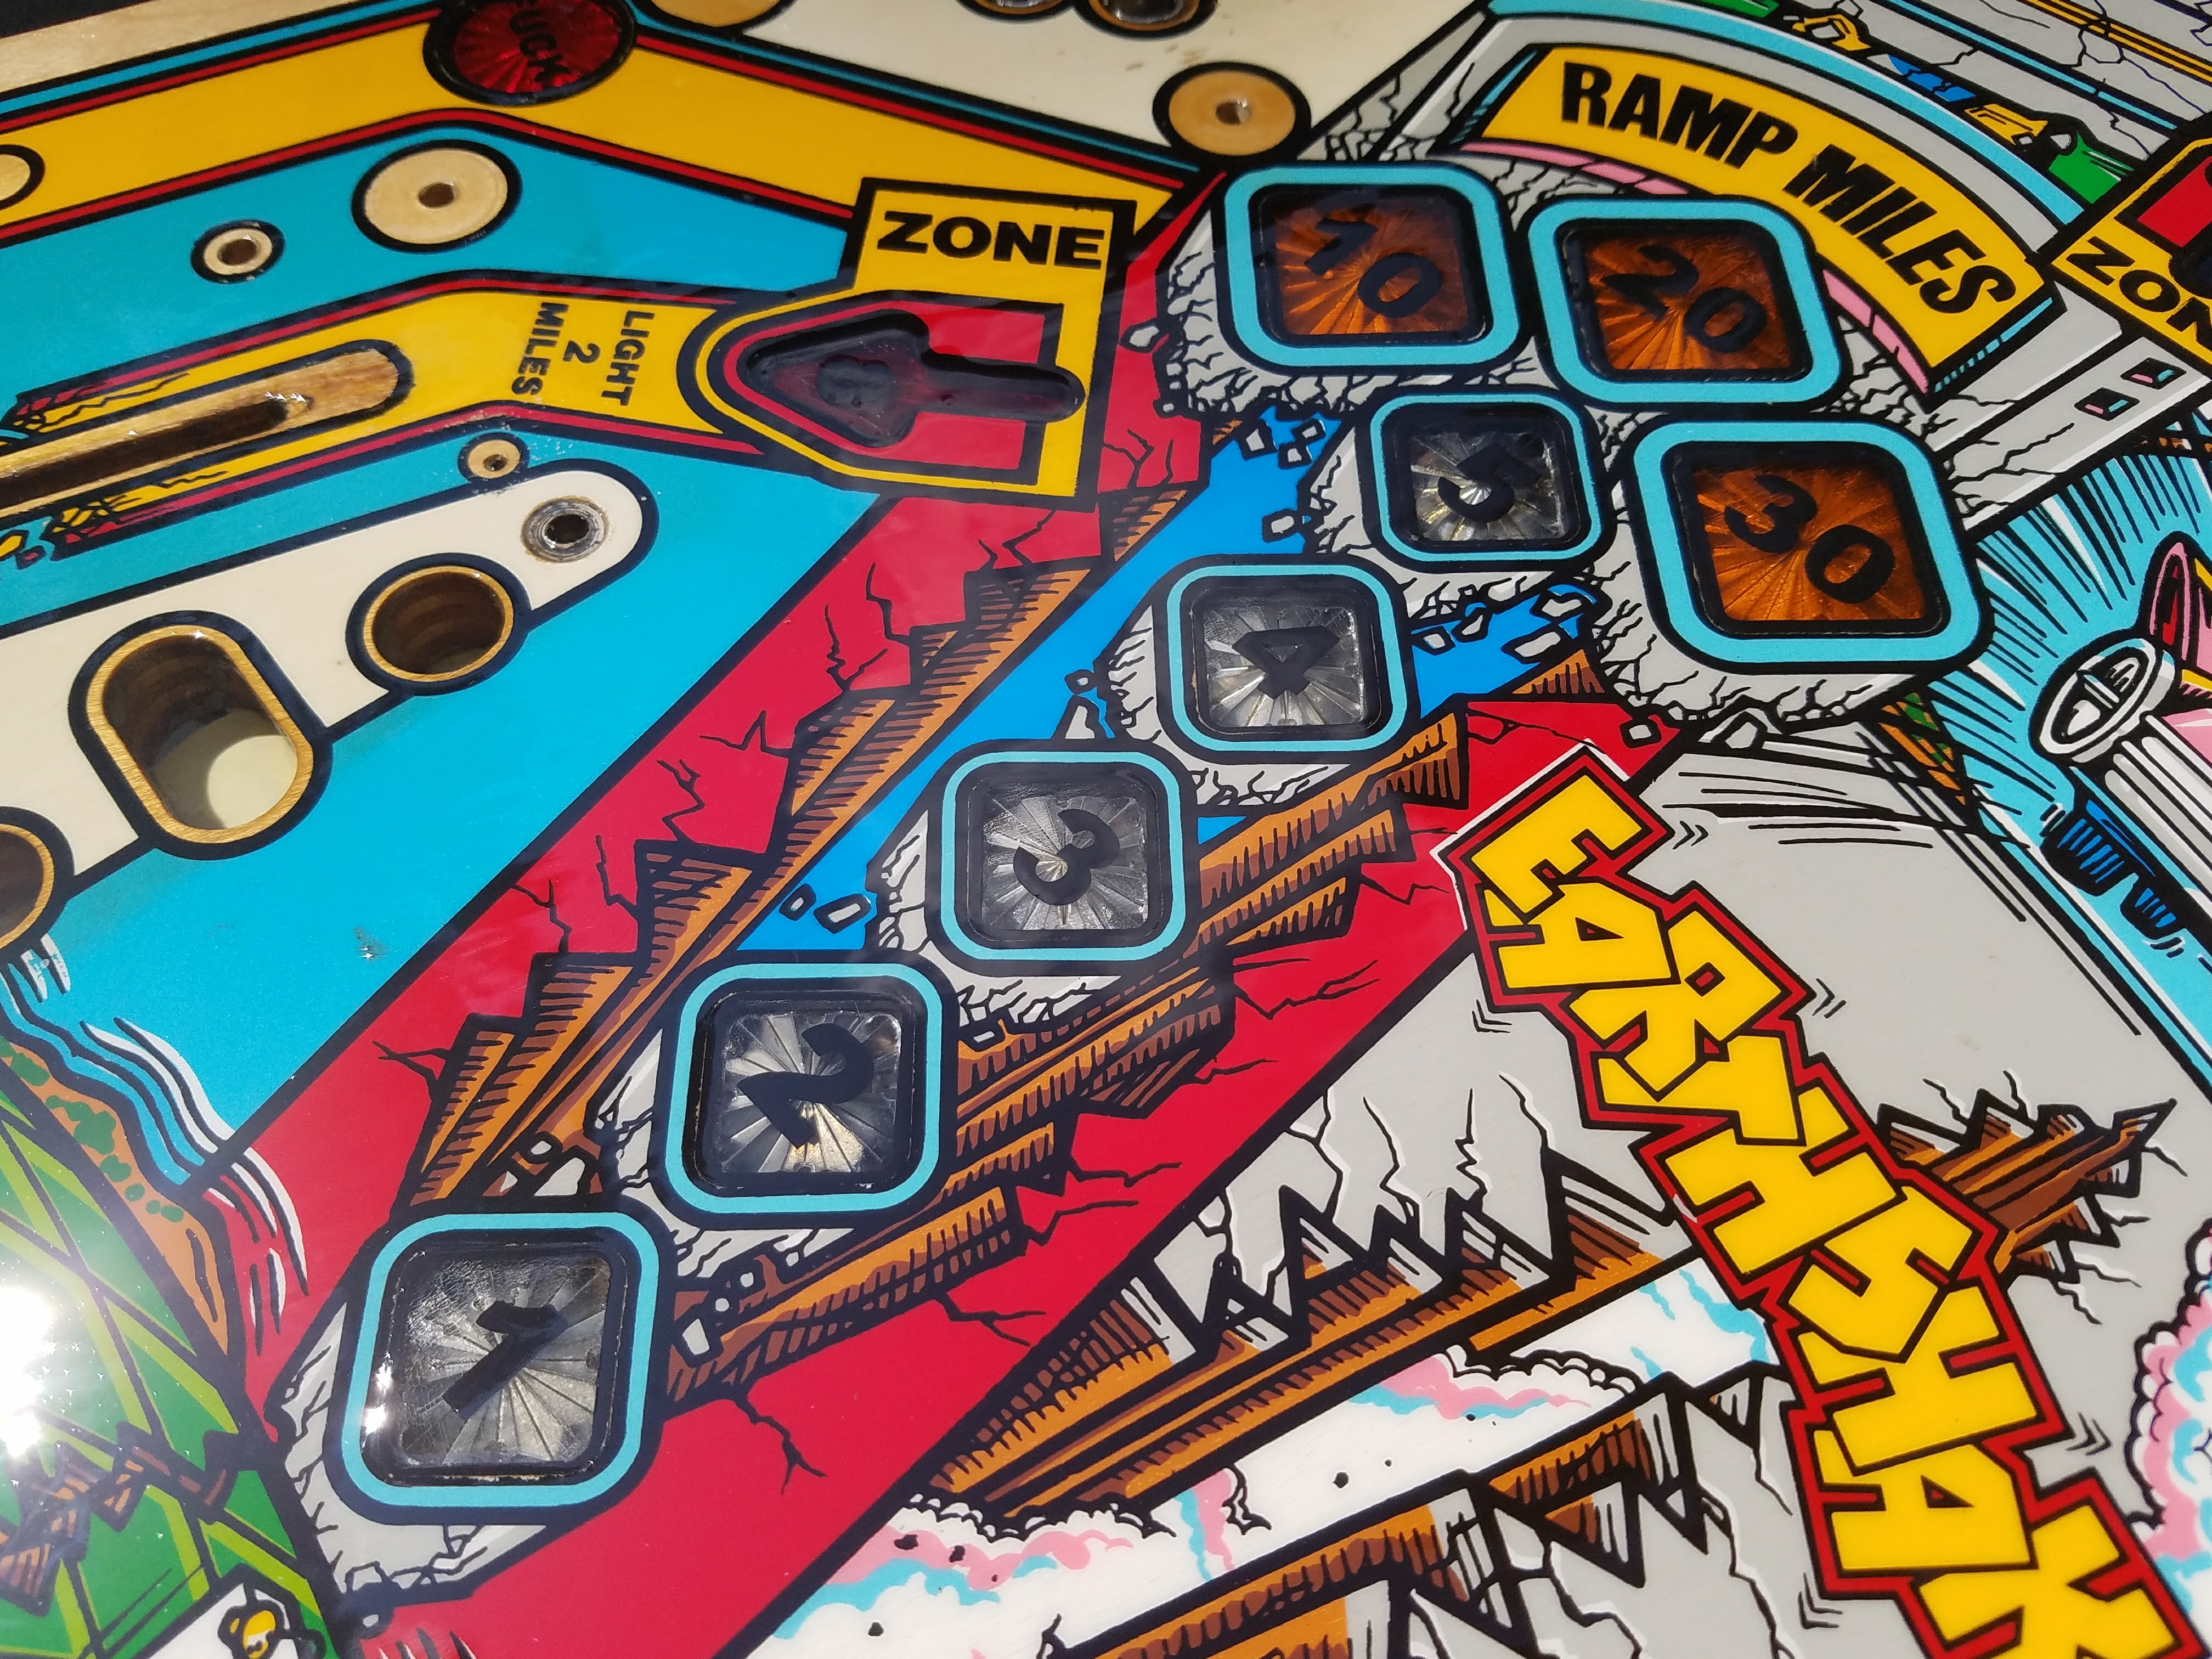
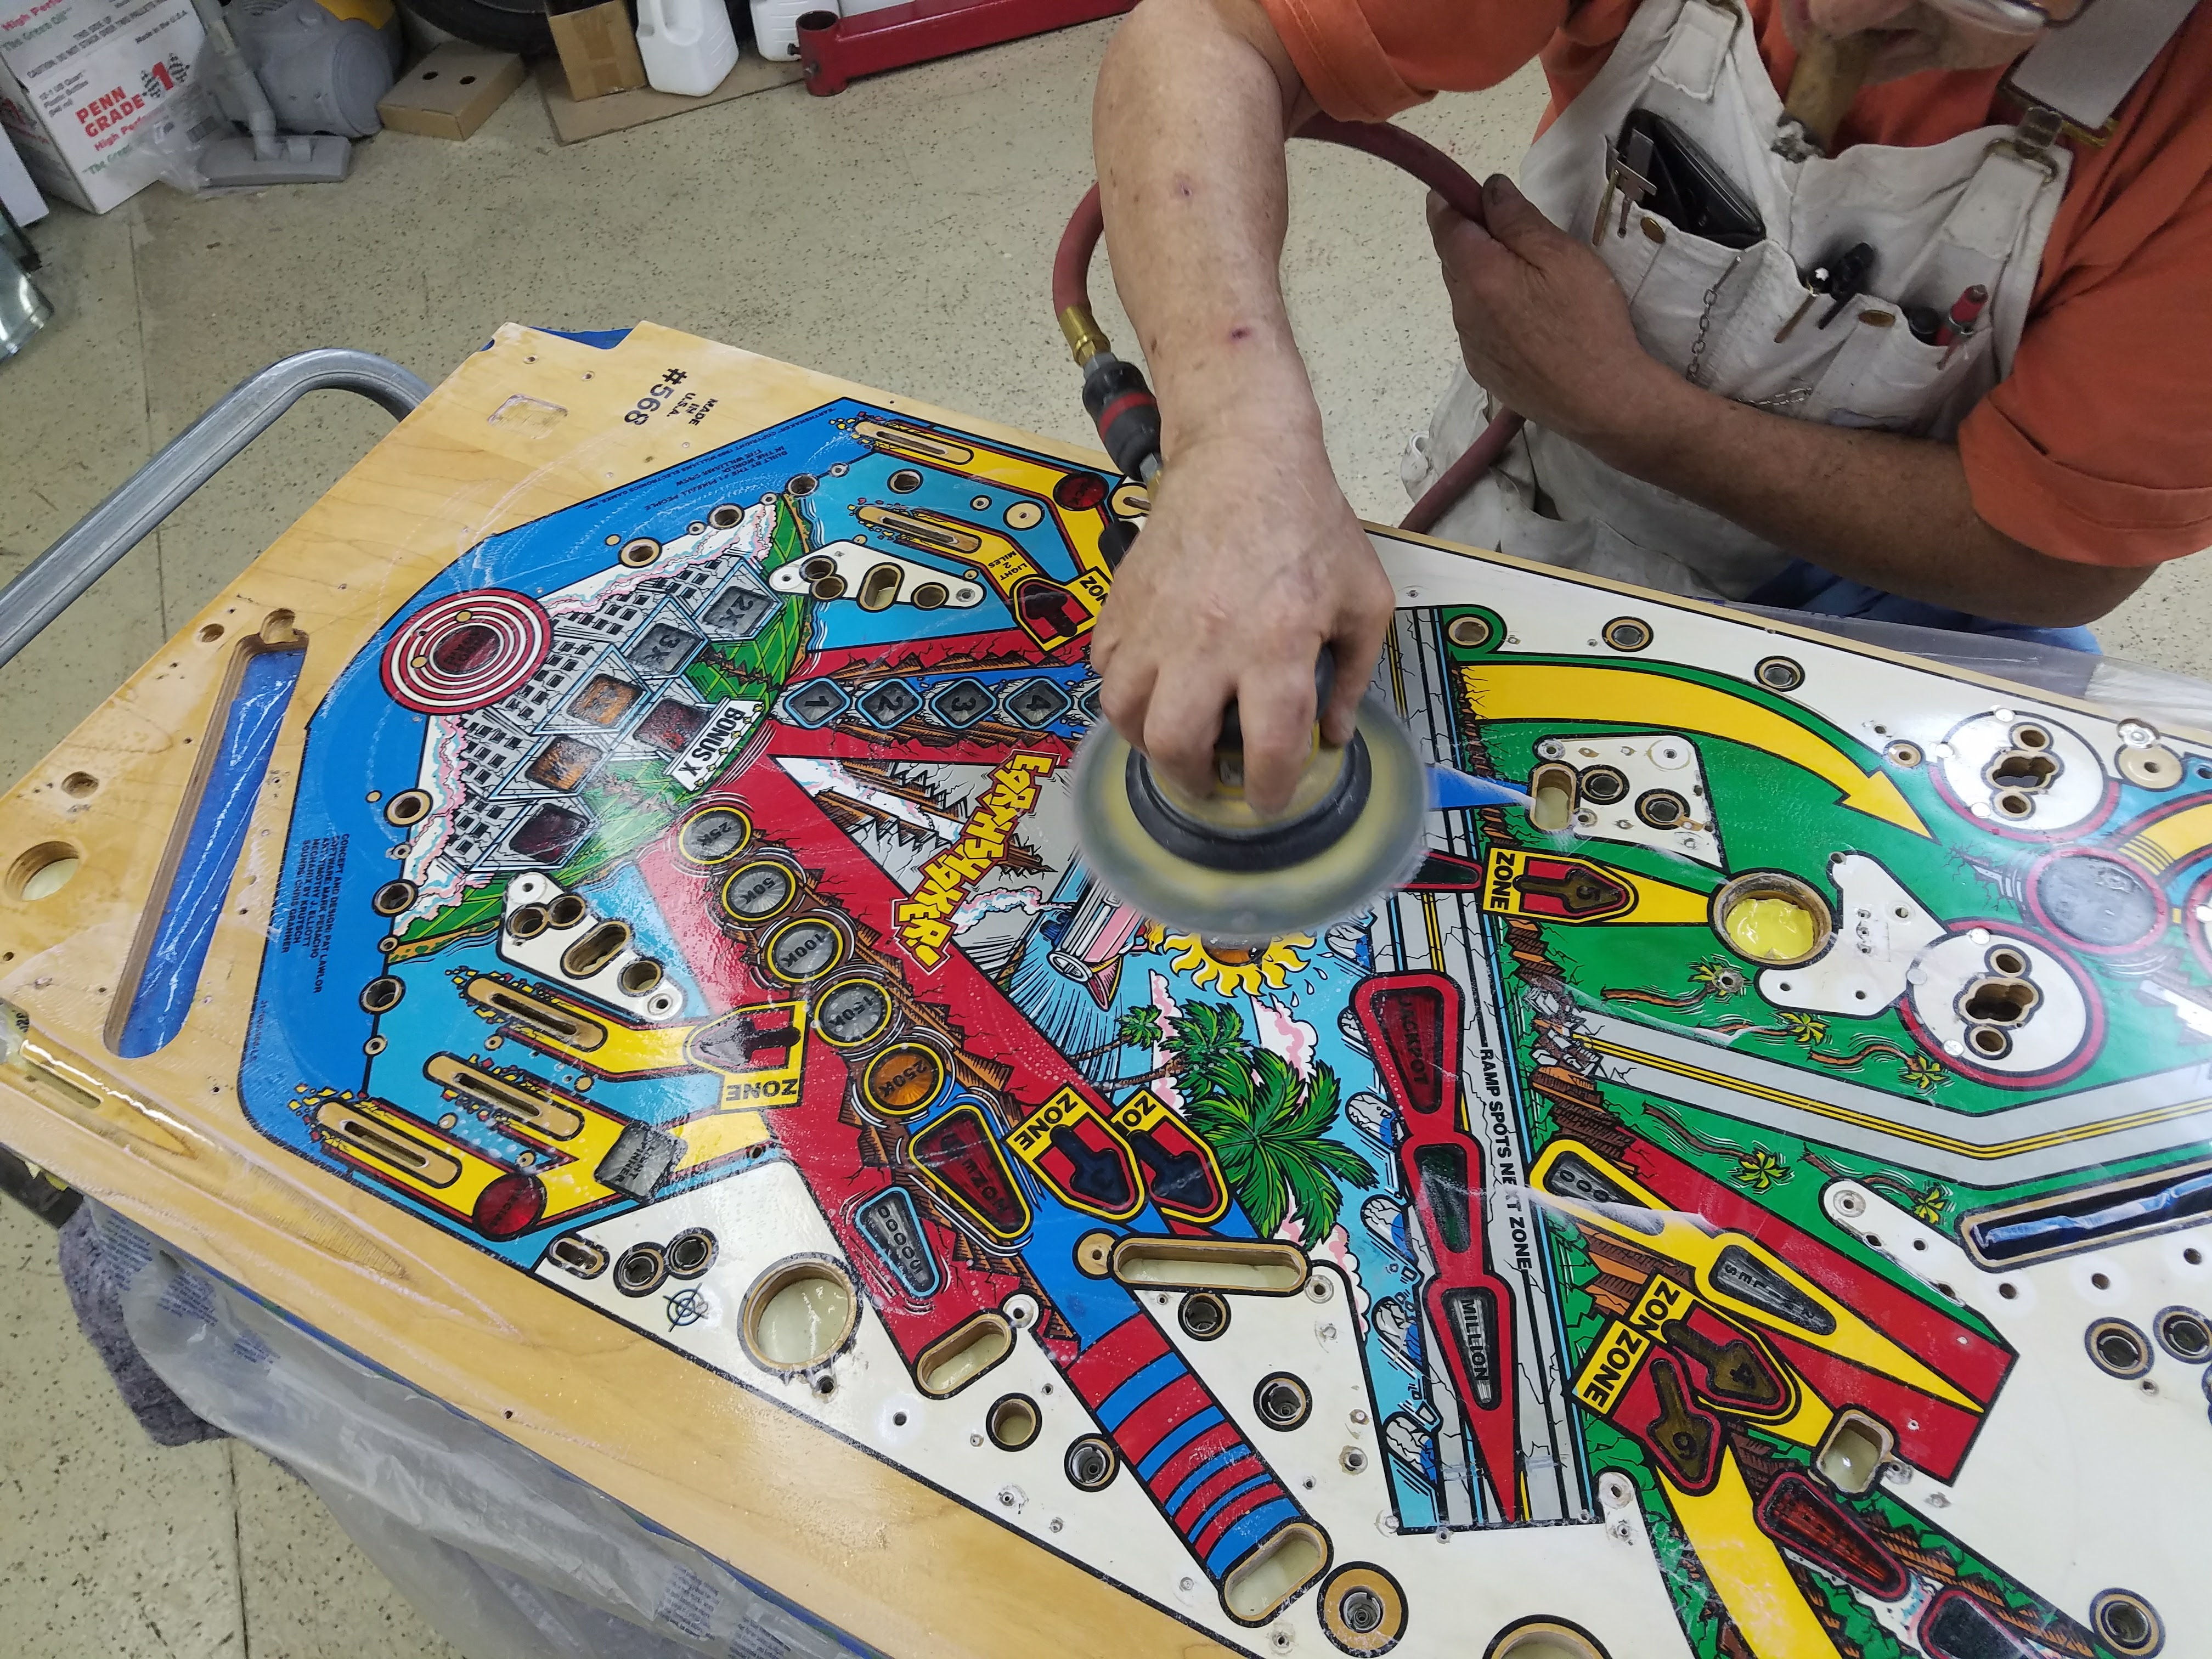
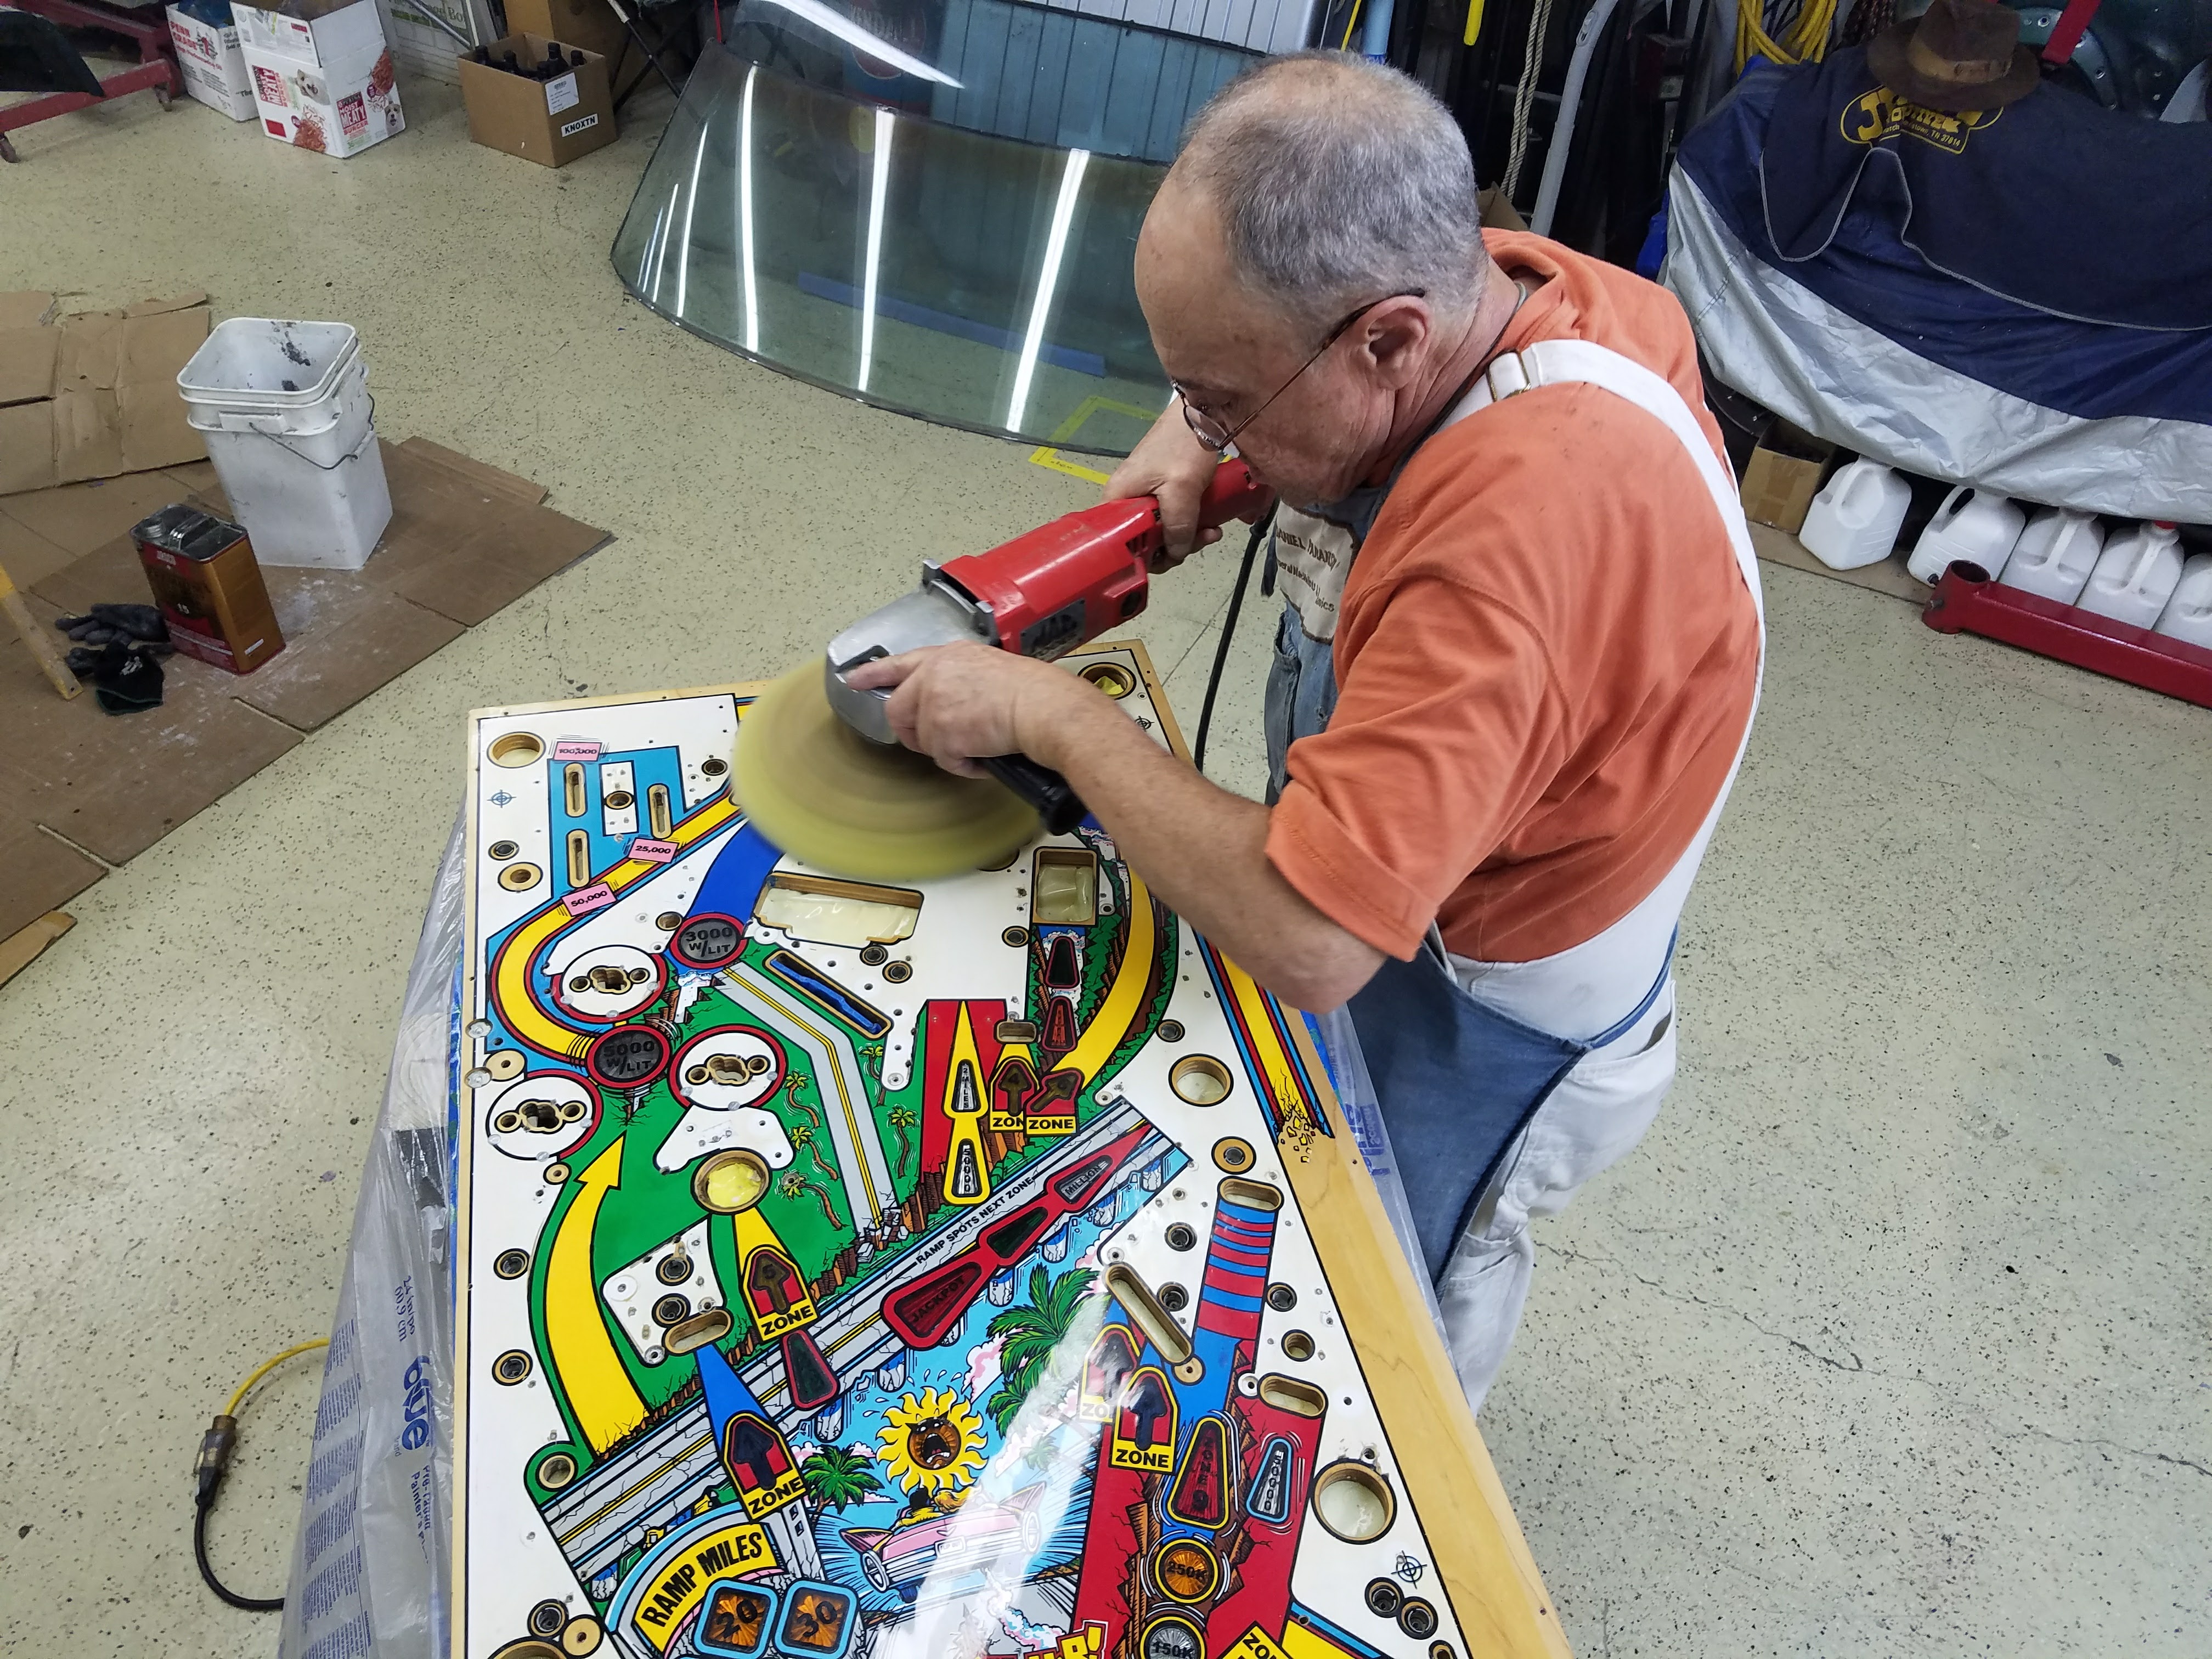
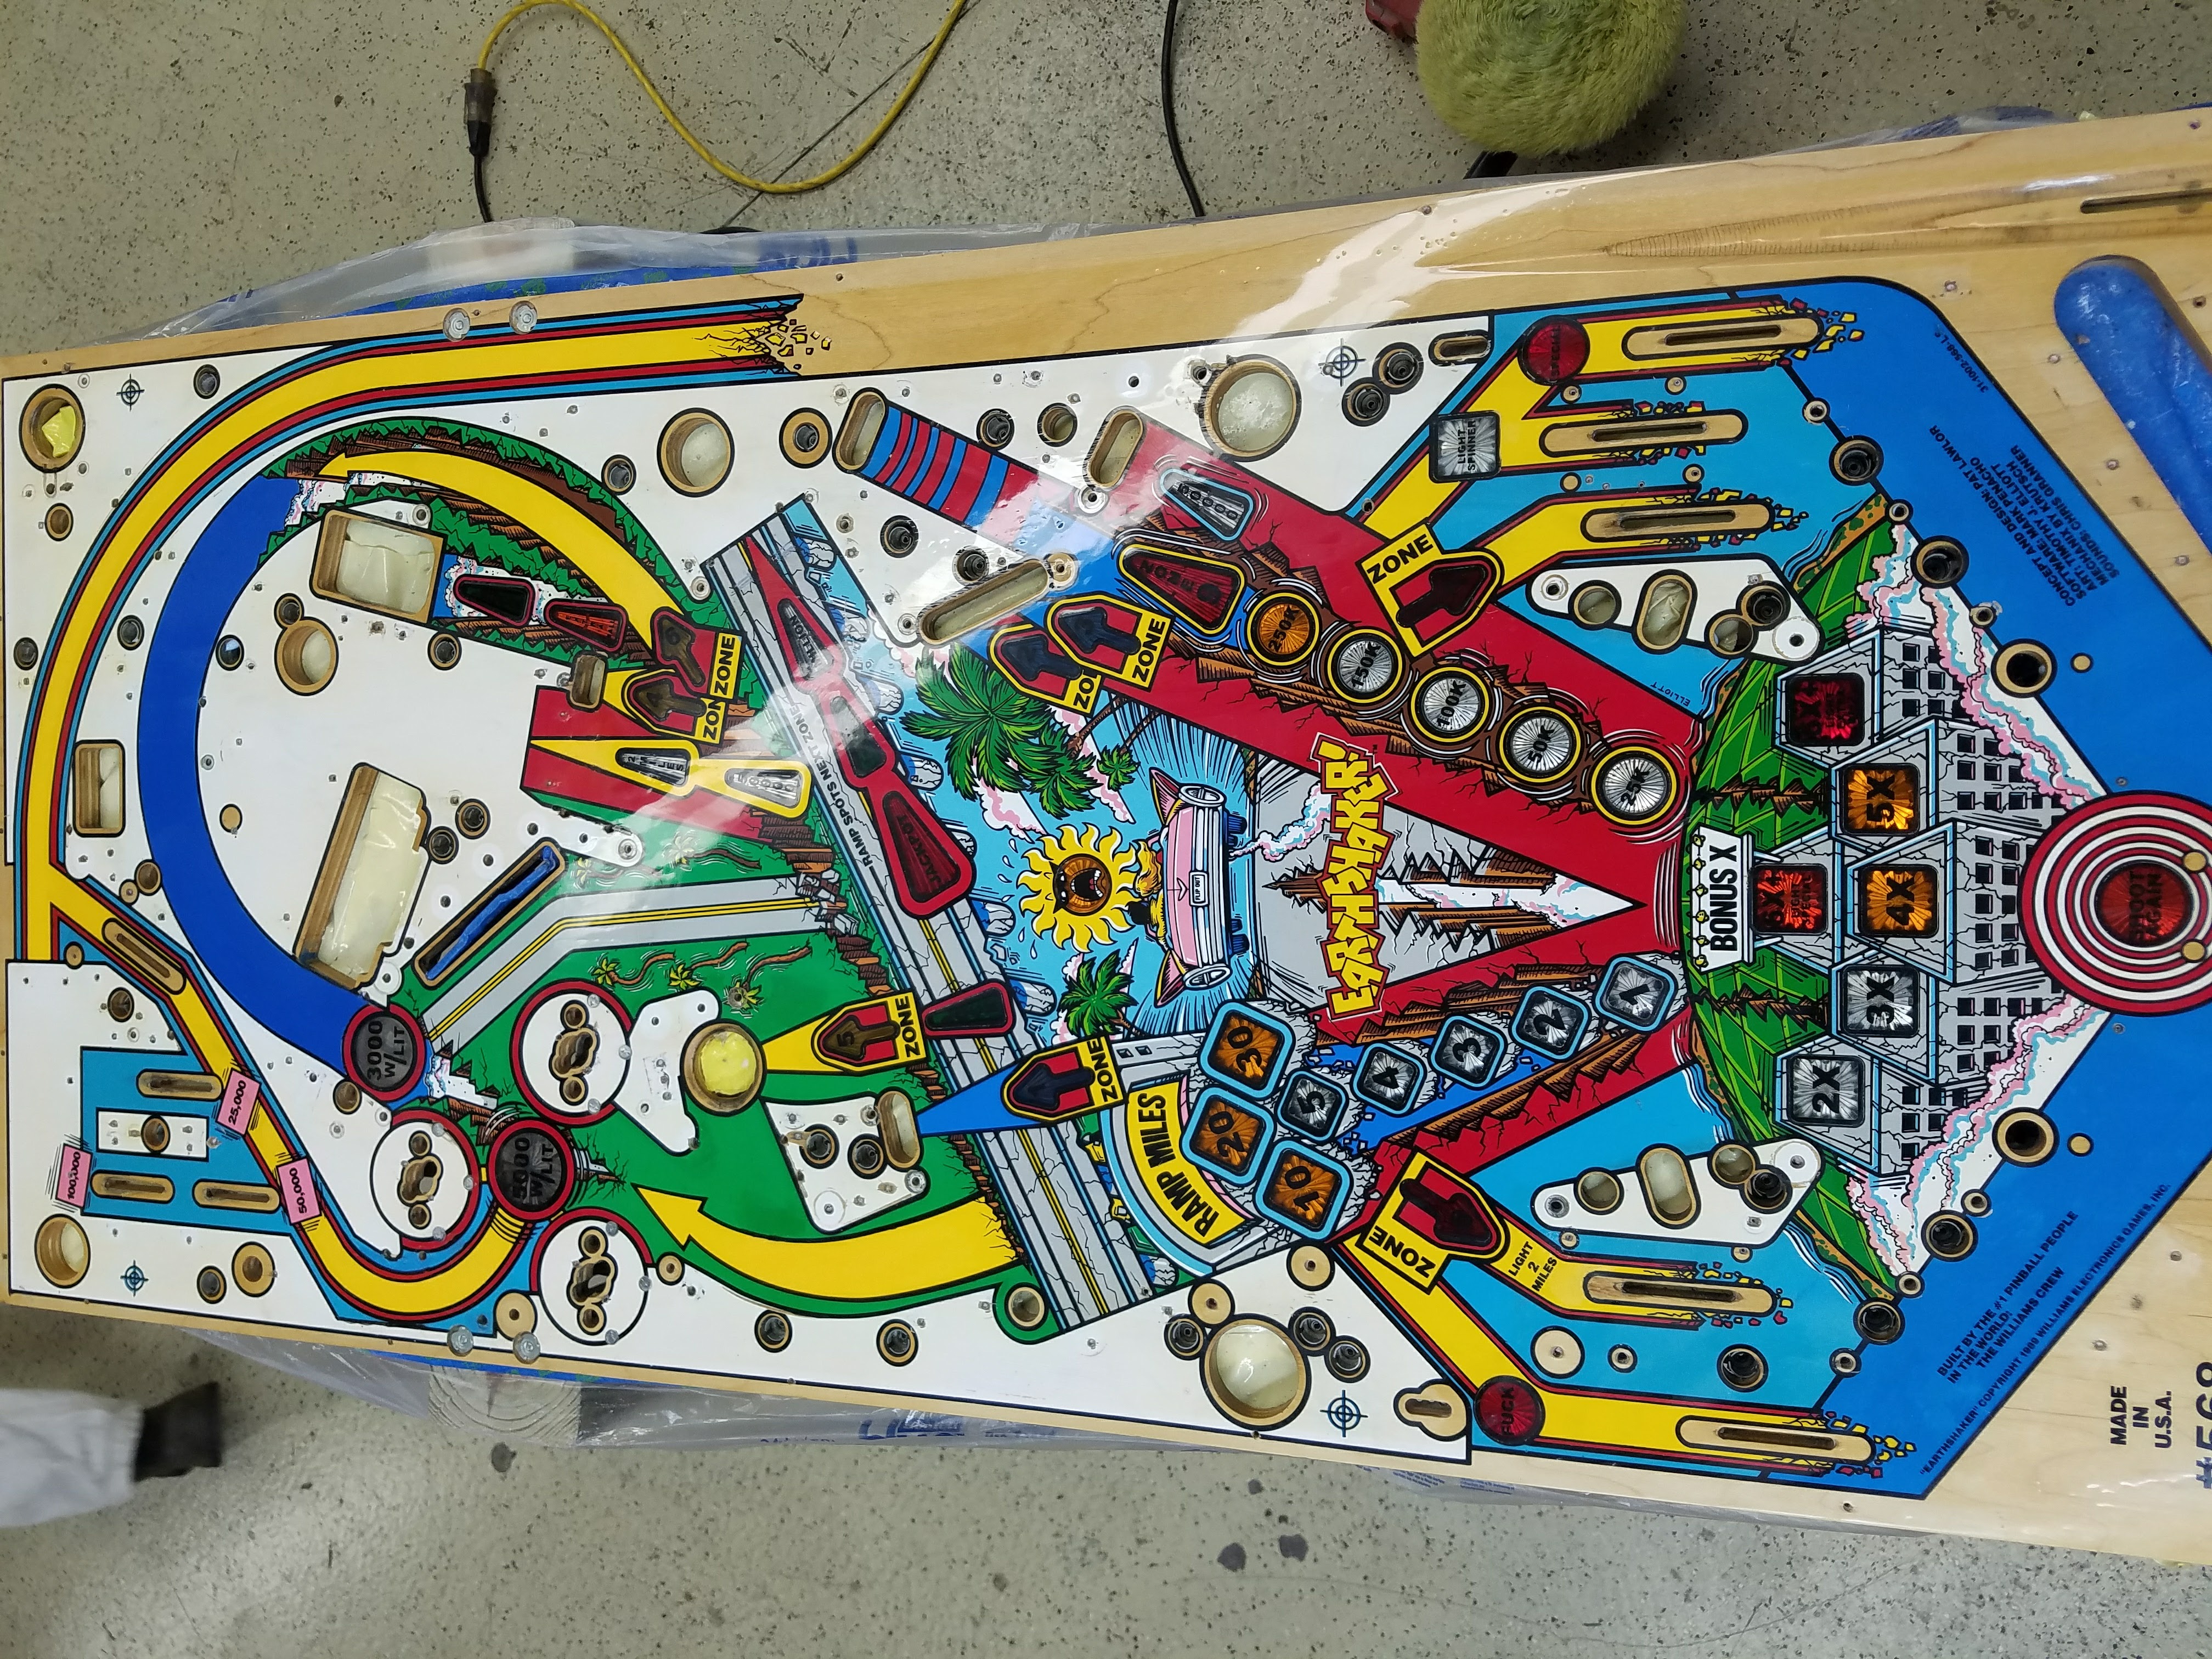
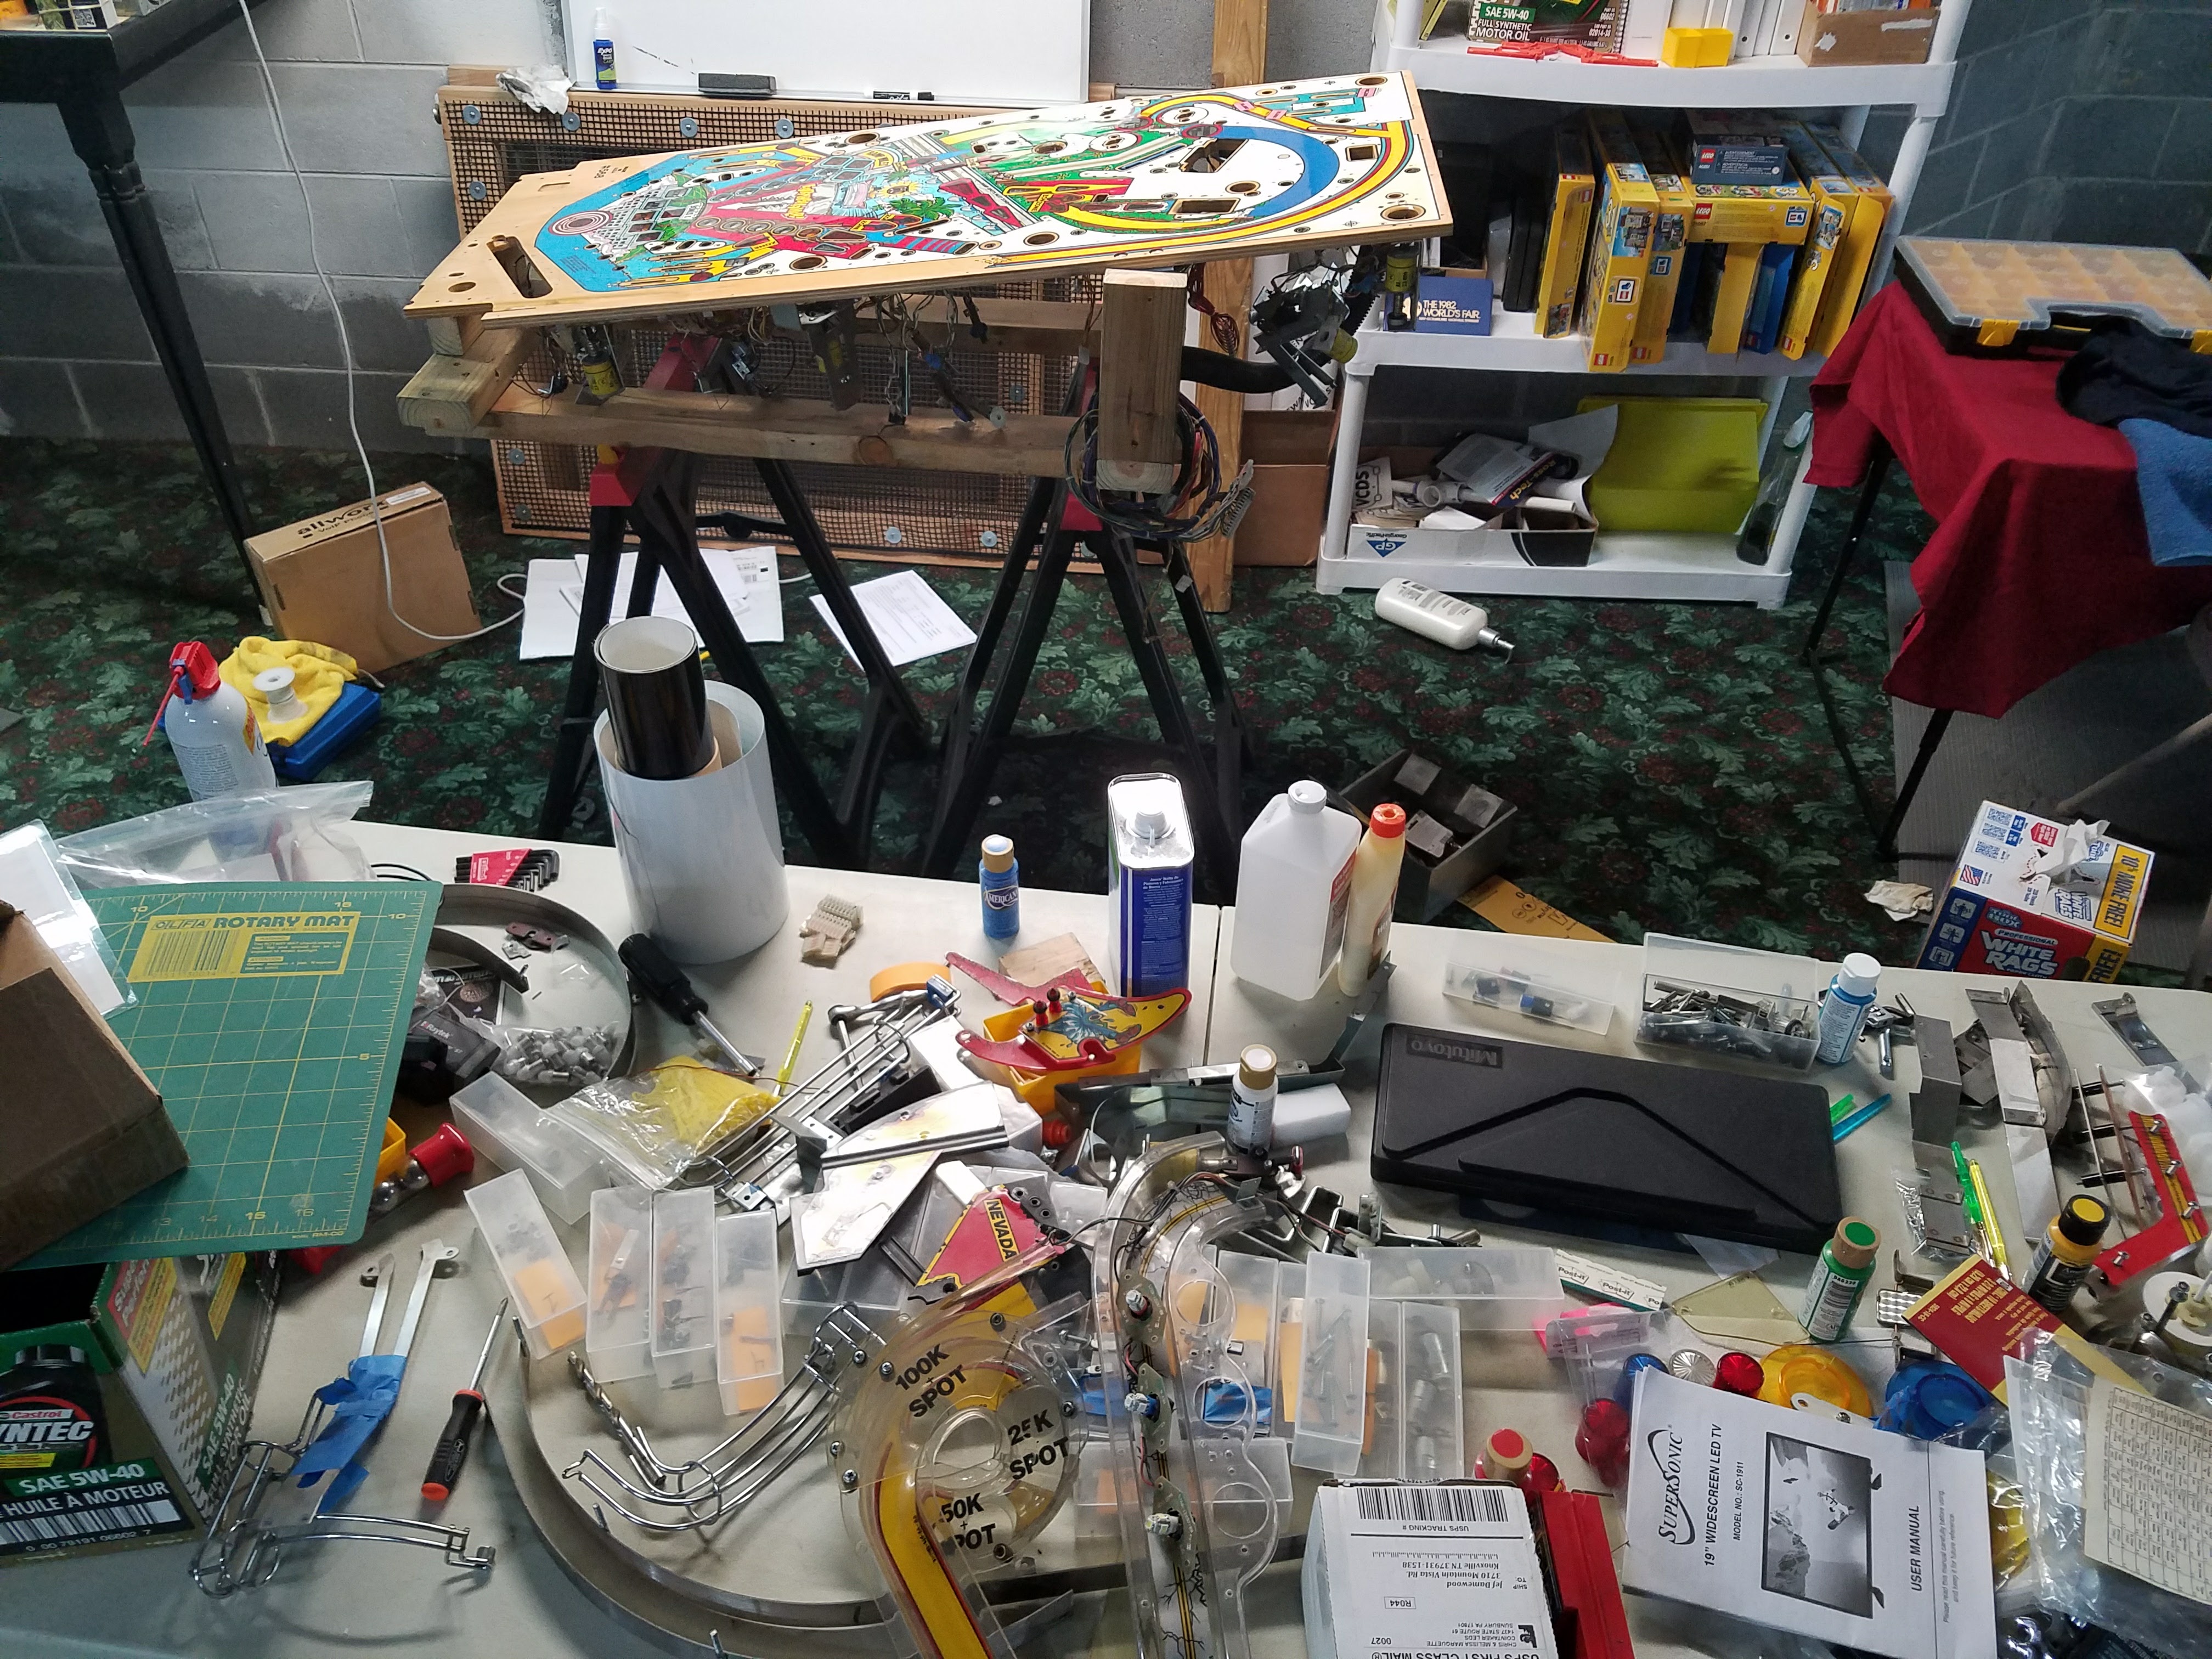
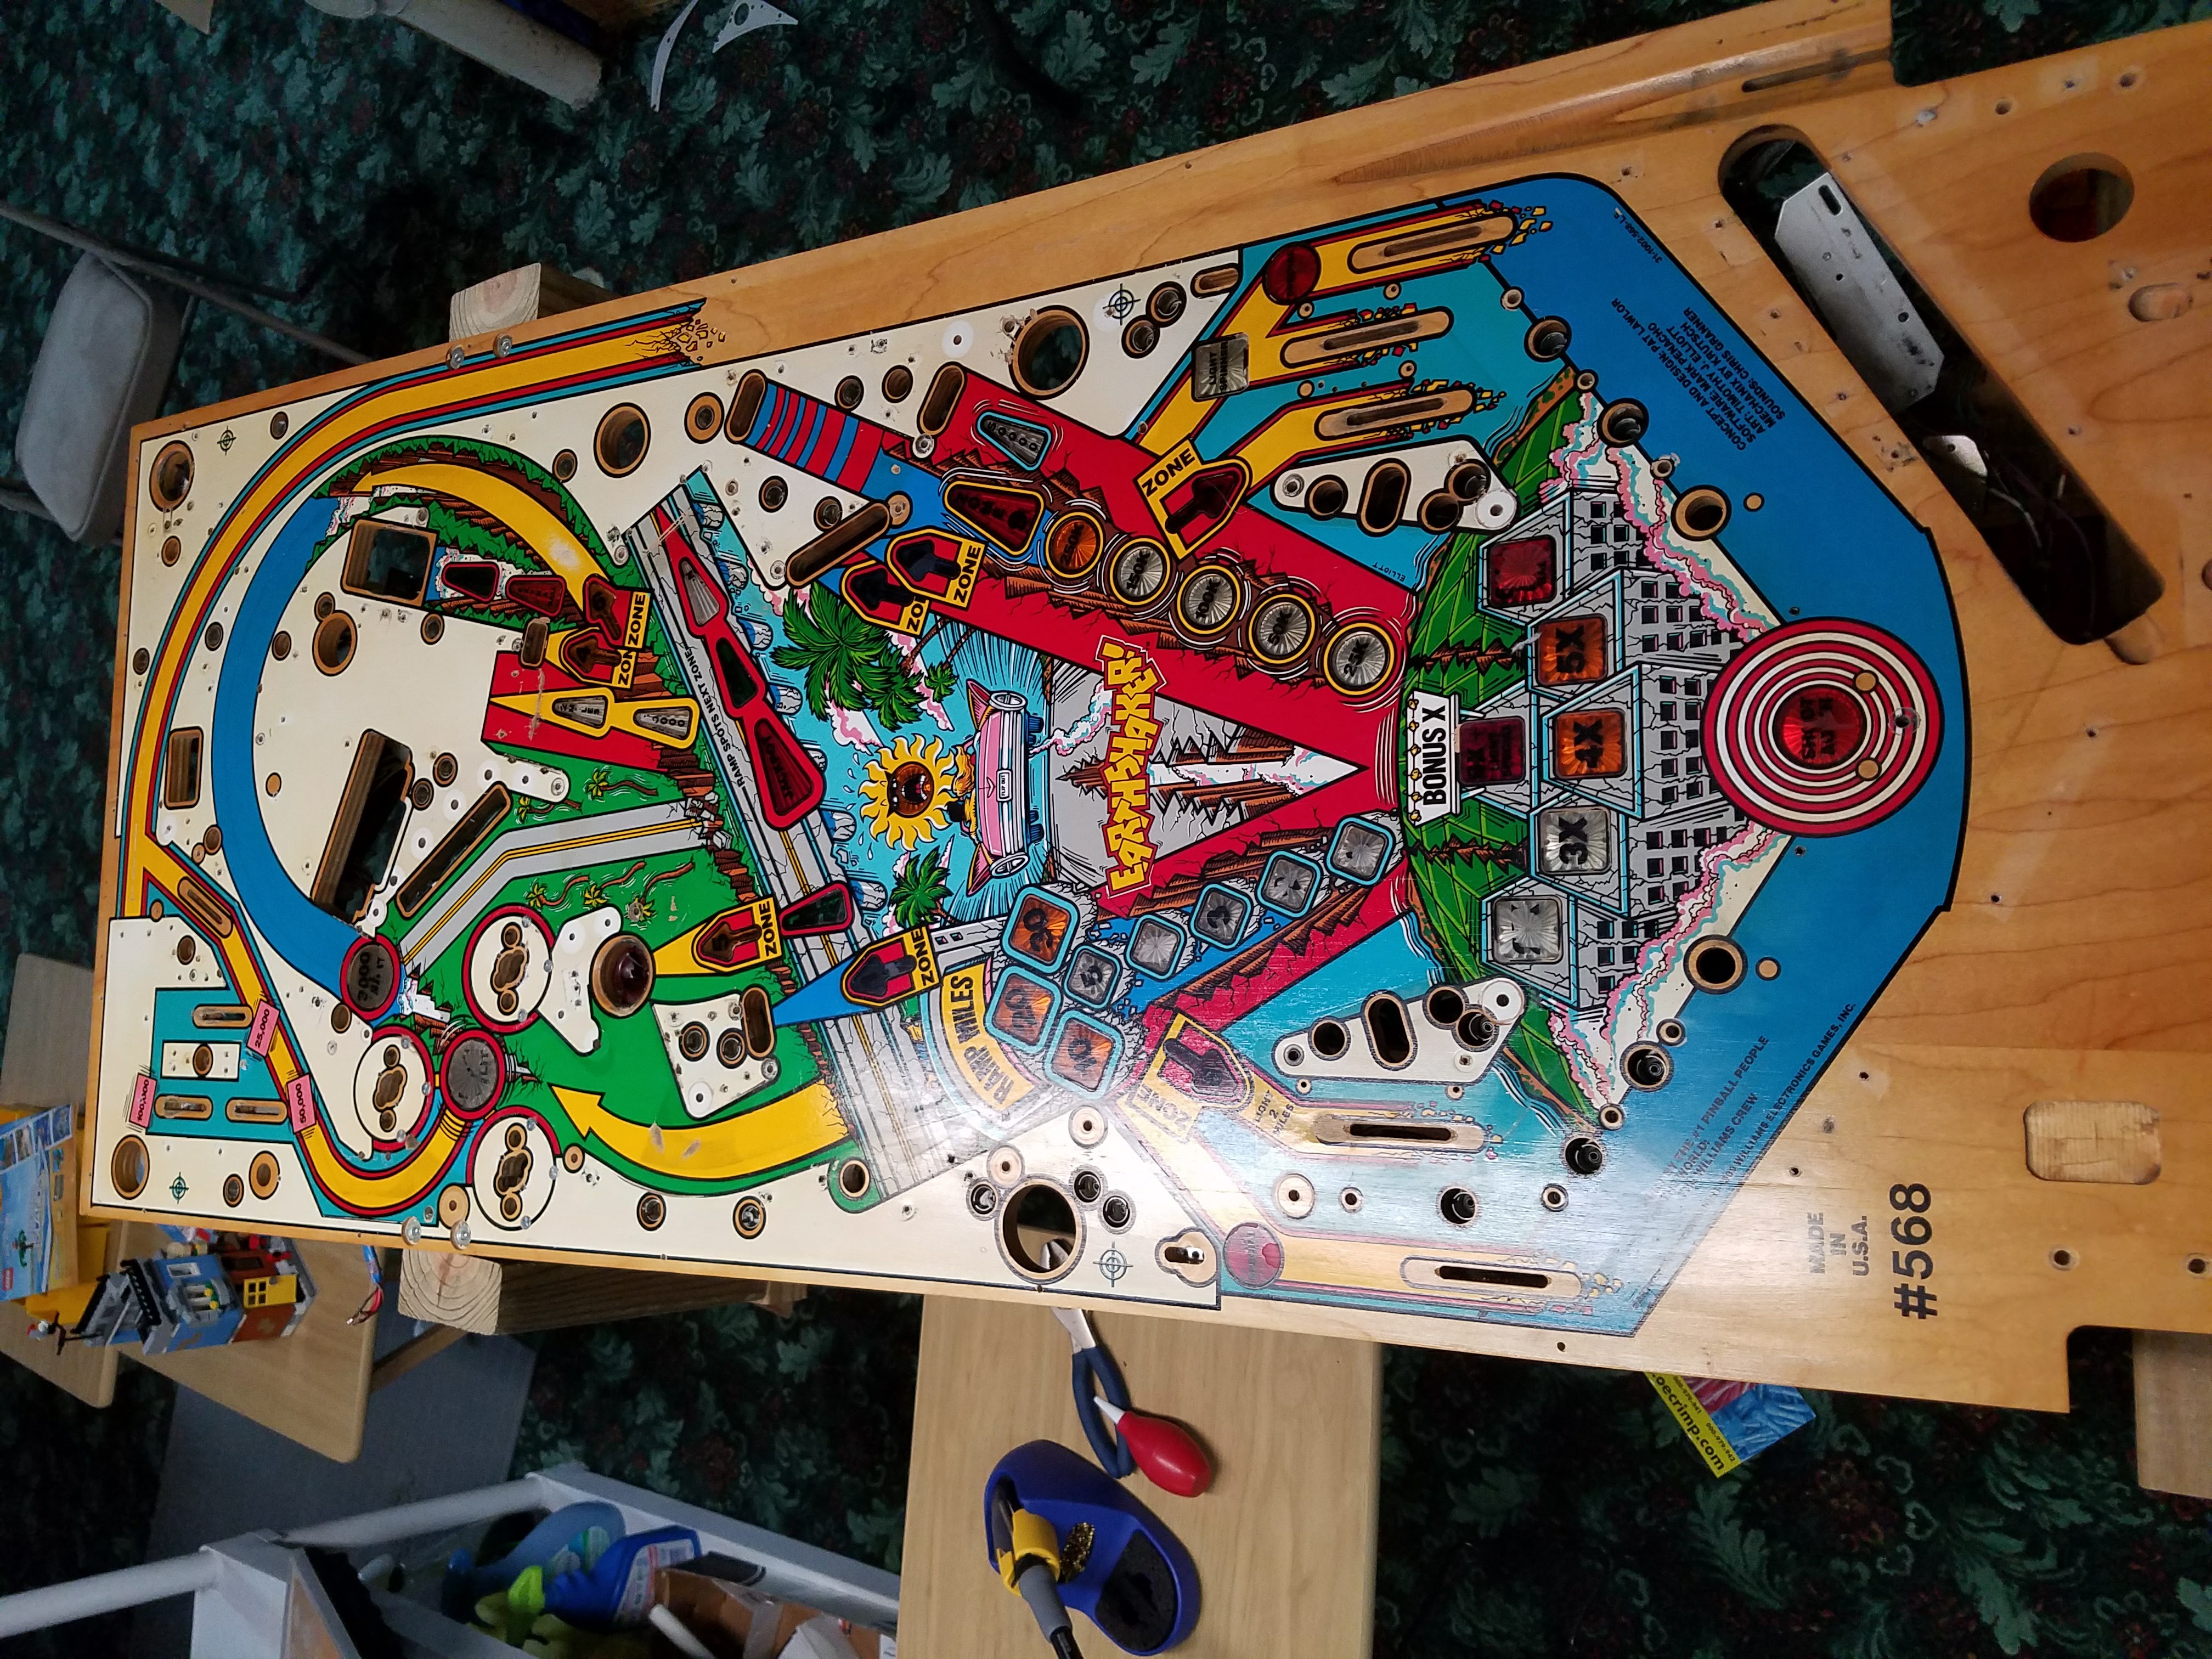
And many months later, clear coat time! Covered up all of the GI lamp sockets and taped off the various holes in the playfield.A higher end automotive grade clear coat was used for this. Even though I had cleaned the playfield many times, turns out there was still silicon on it and this causes the clear coat to “pit”. So he applied several coats and we’ll go back and polish it out as best we can.The inserts turned out really good. I was worried that the black wouldn’t be glossy looking.After the clear coat cured for several days we started to sand and polish on the clear coat. There were a lot of pits on it.. a lot but as we sanded on it most were removed.There are still pits in the clear coat. He could of put more coats on it and it would of evened out, but with another project in his paint booth it would be a couple weeks before this could all happen. I decided to leave it as it was since time was an issue and it does look great. So he polished it up and then I followed it up with a good waxing.The colors really pop on it now. There was some very light crazing of the original paint in some areas that you can’t see any more.OK, so that pile of crap goes onto that plank of wood. It has been many month ago that I took all this stuff apart.
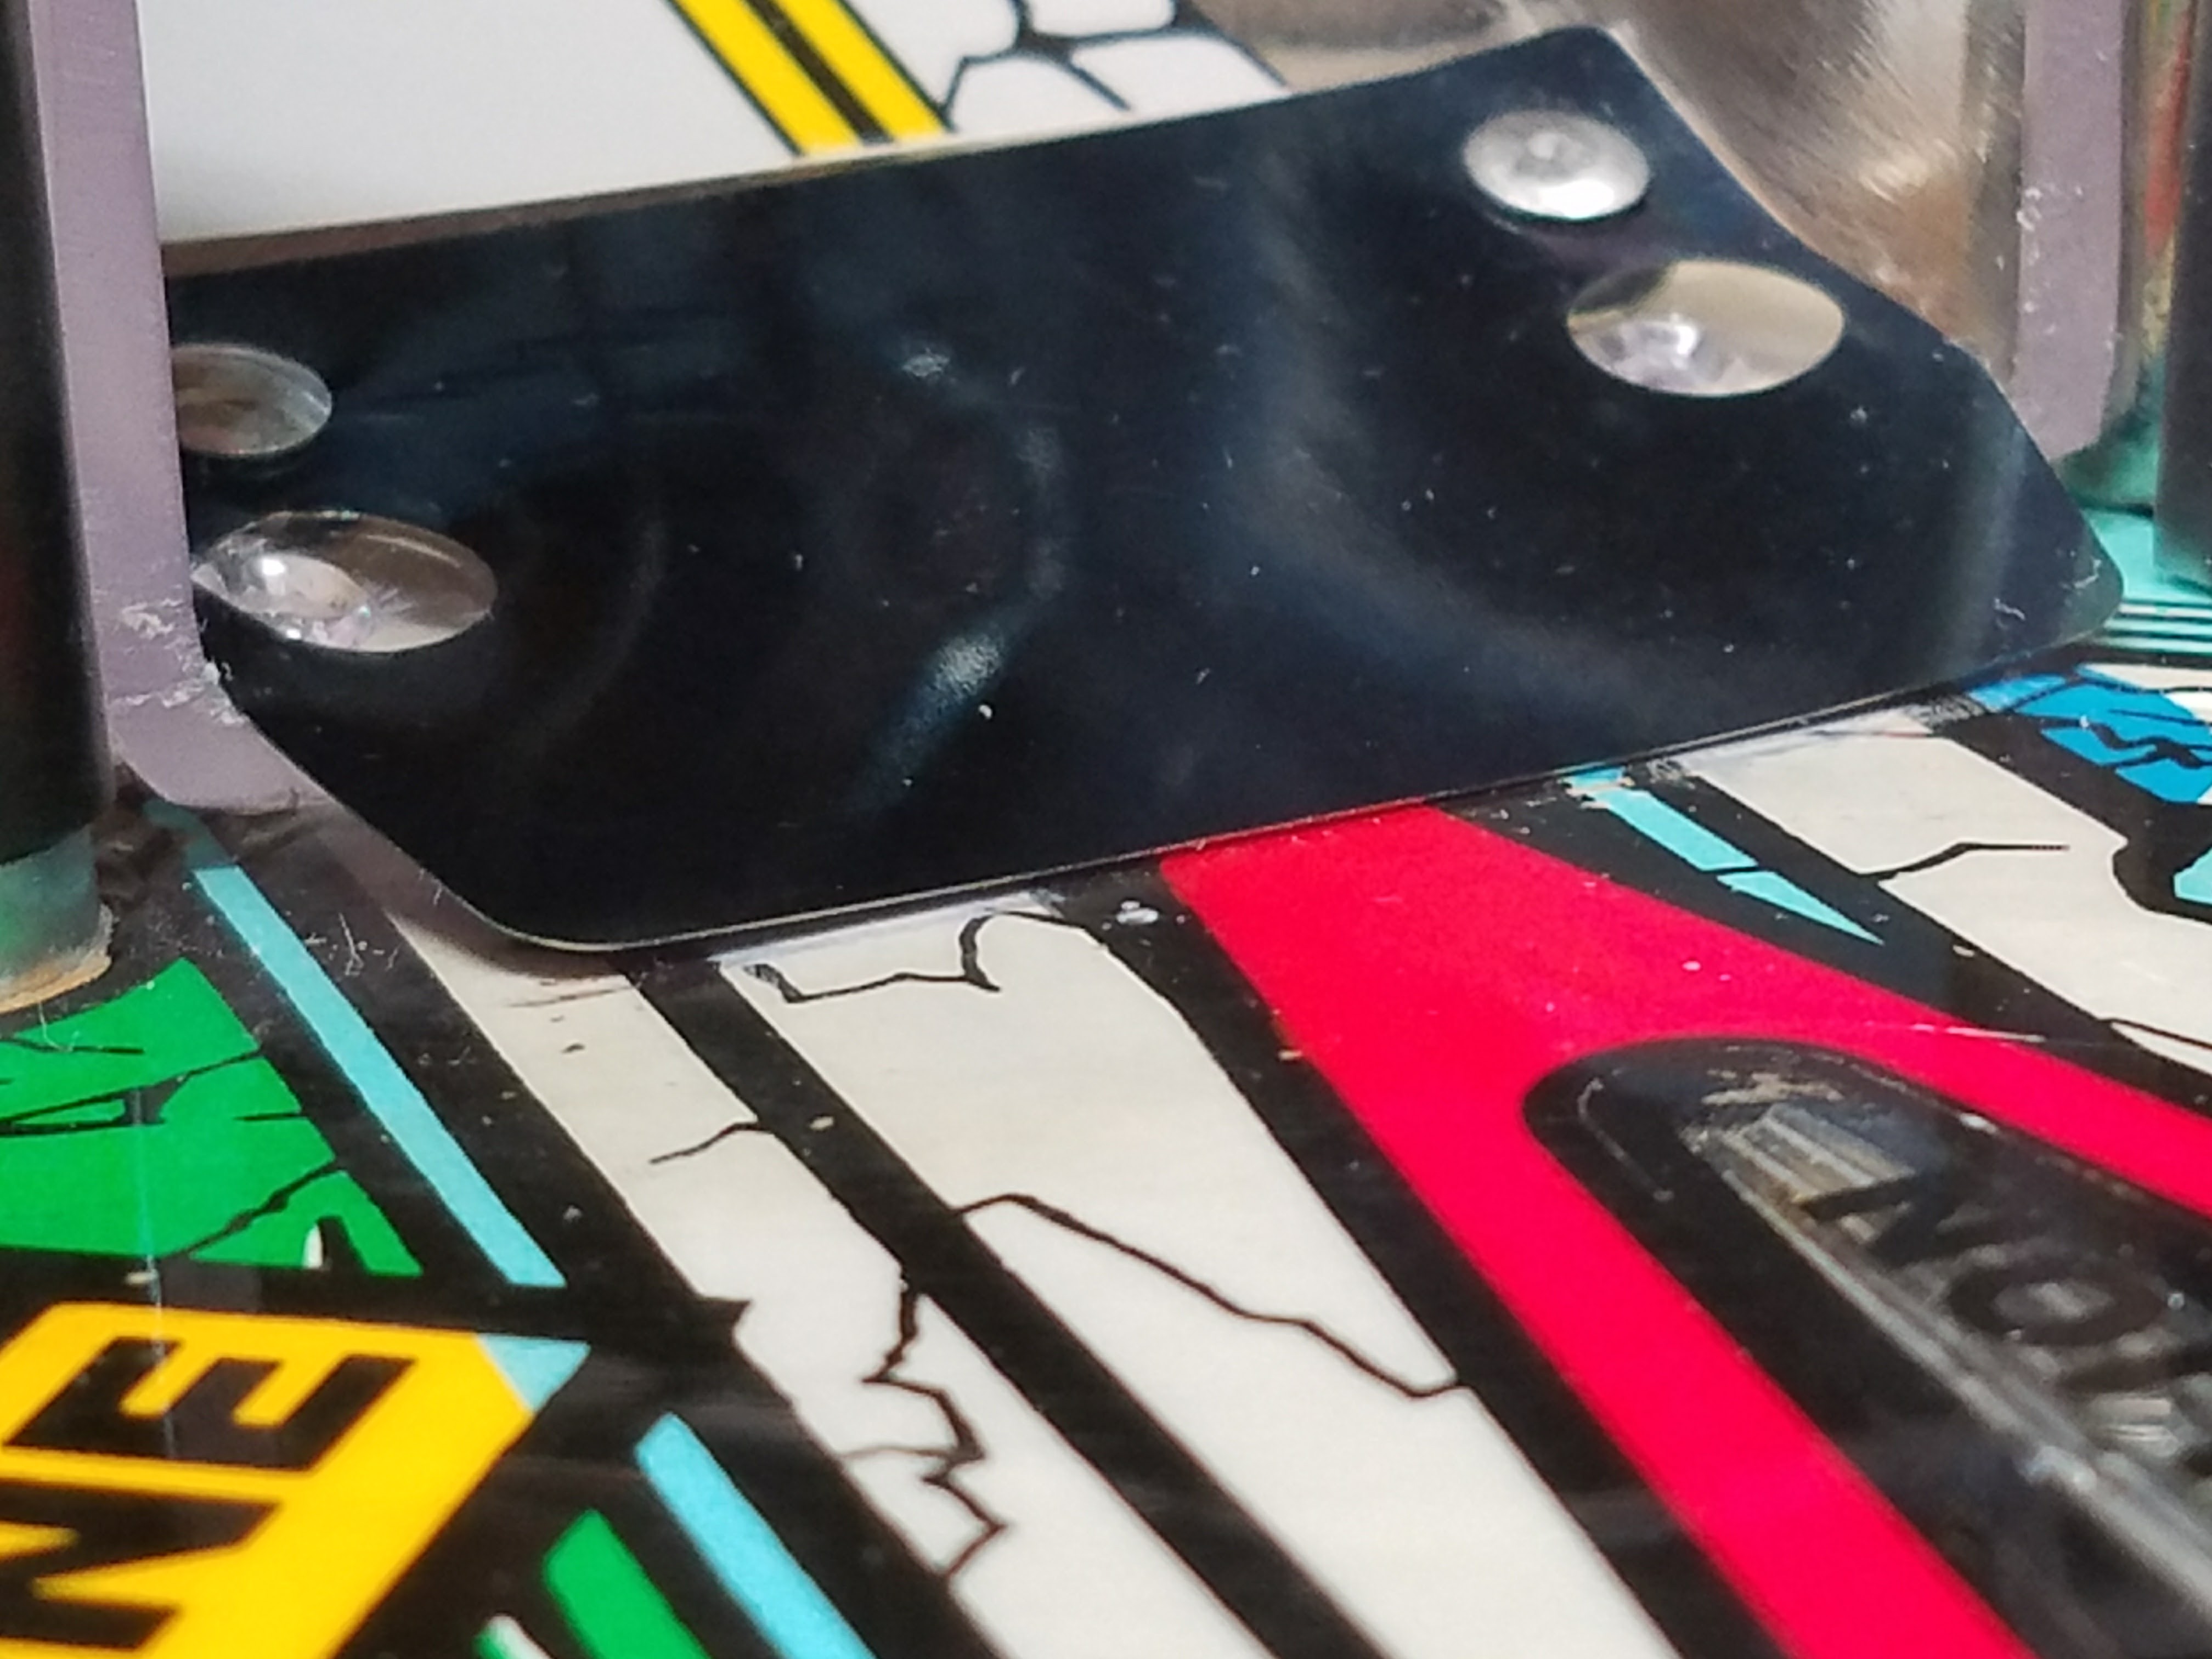
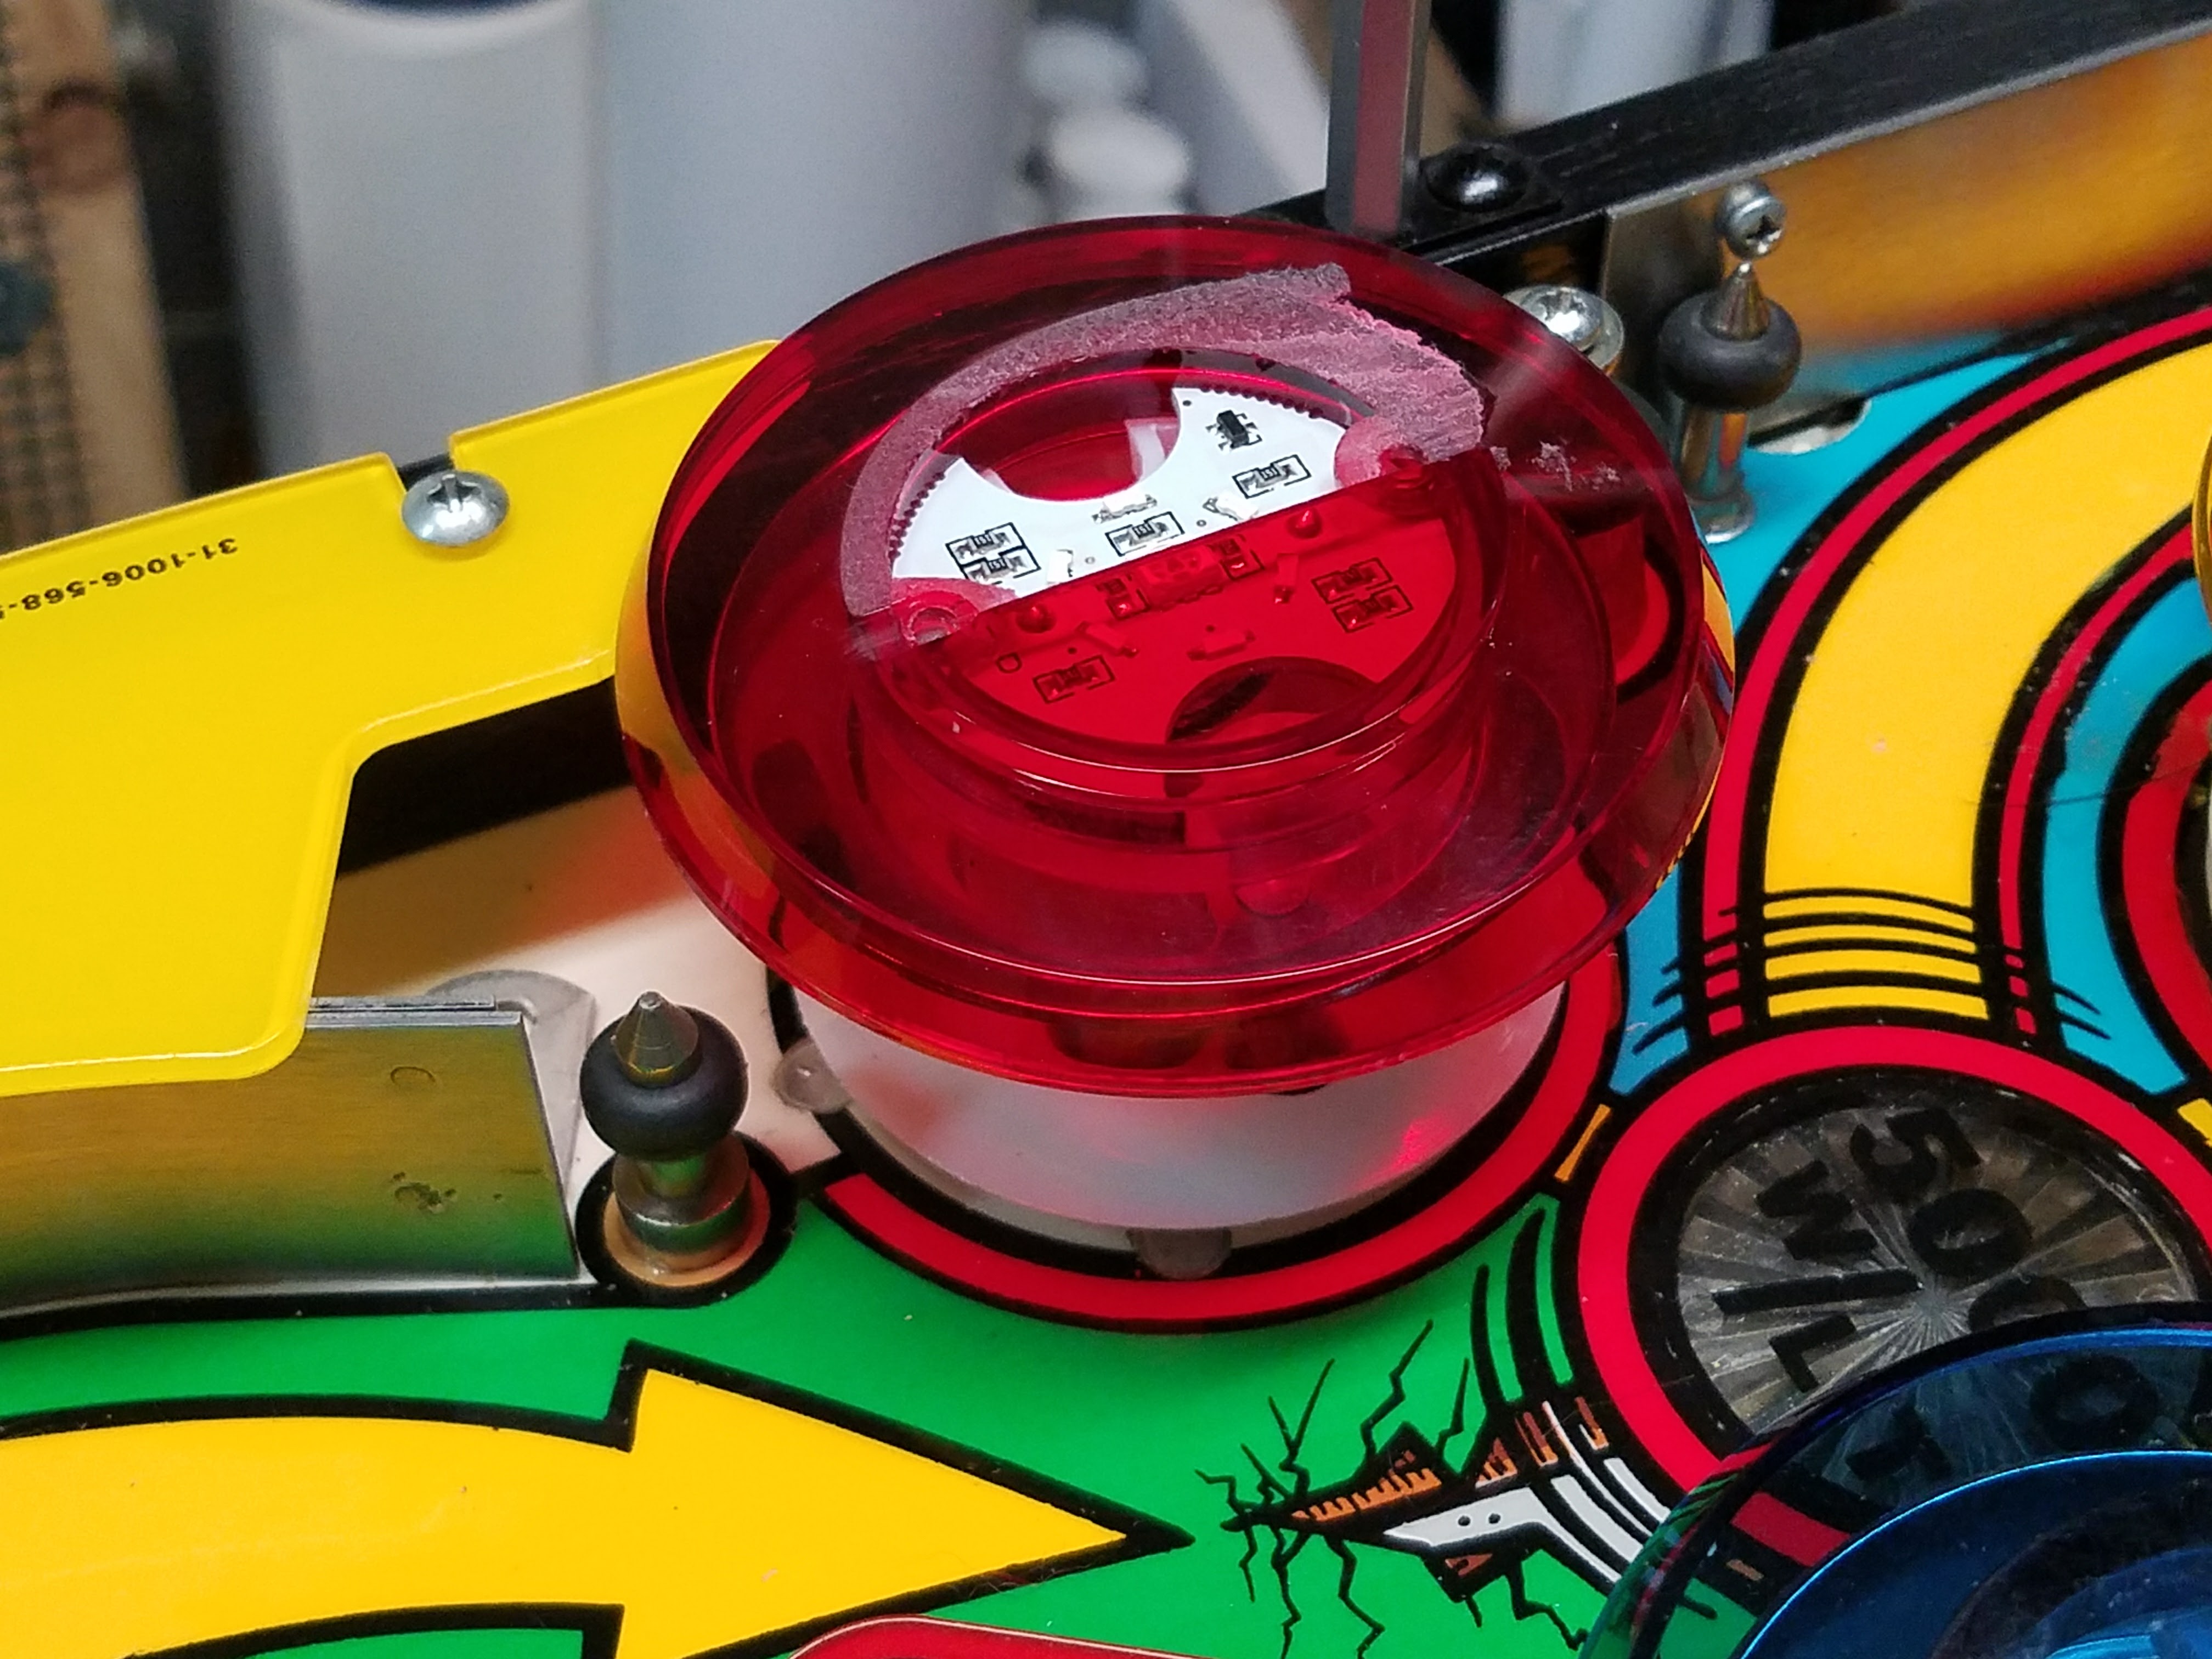
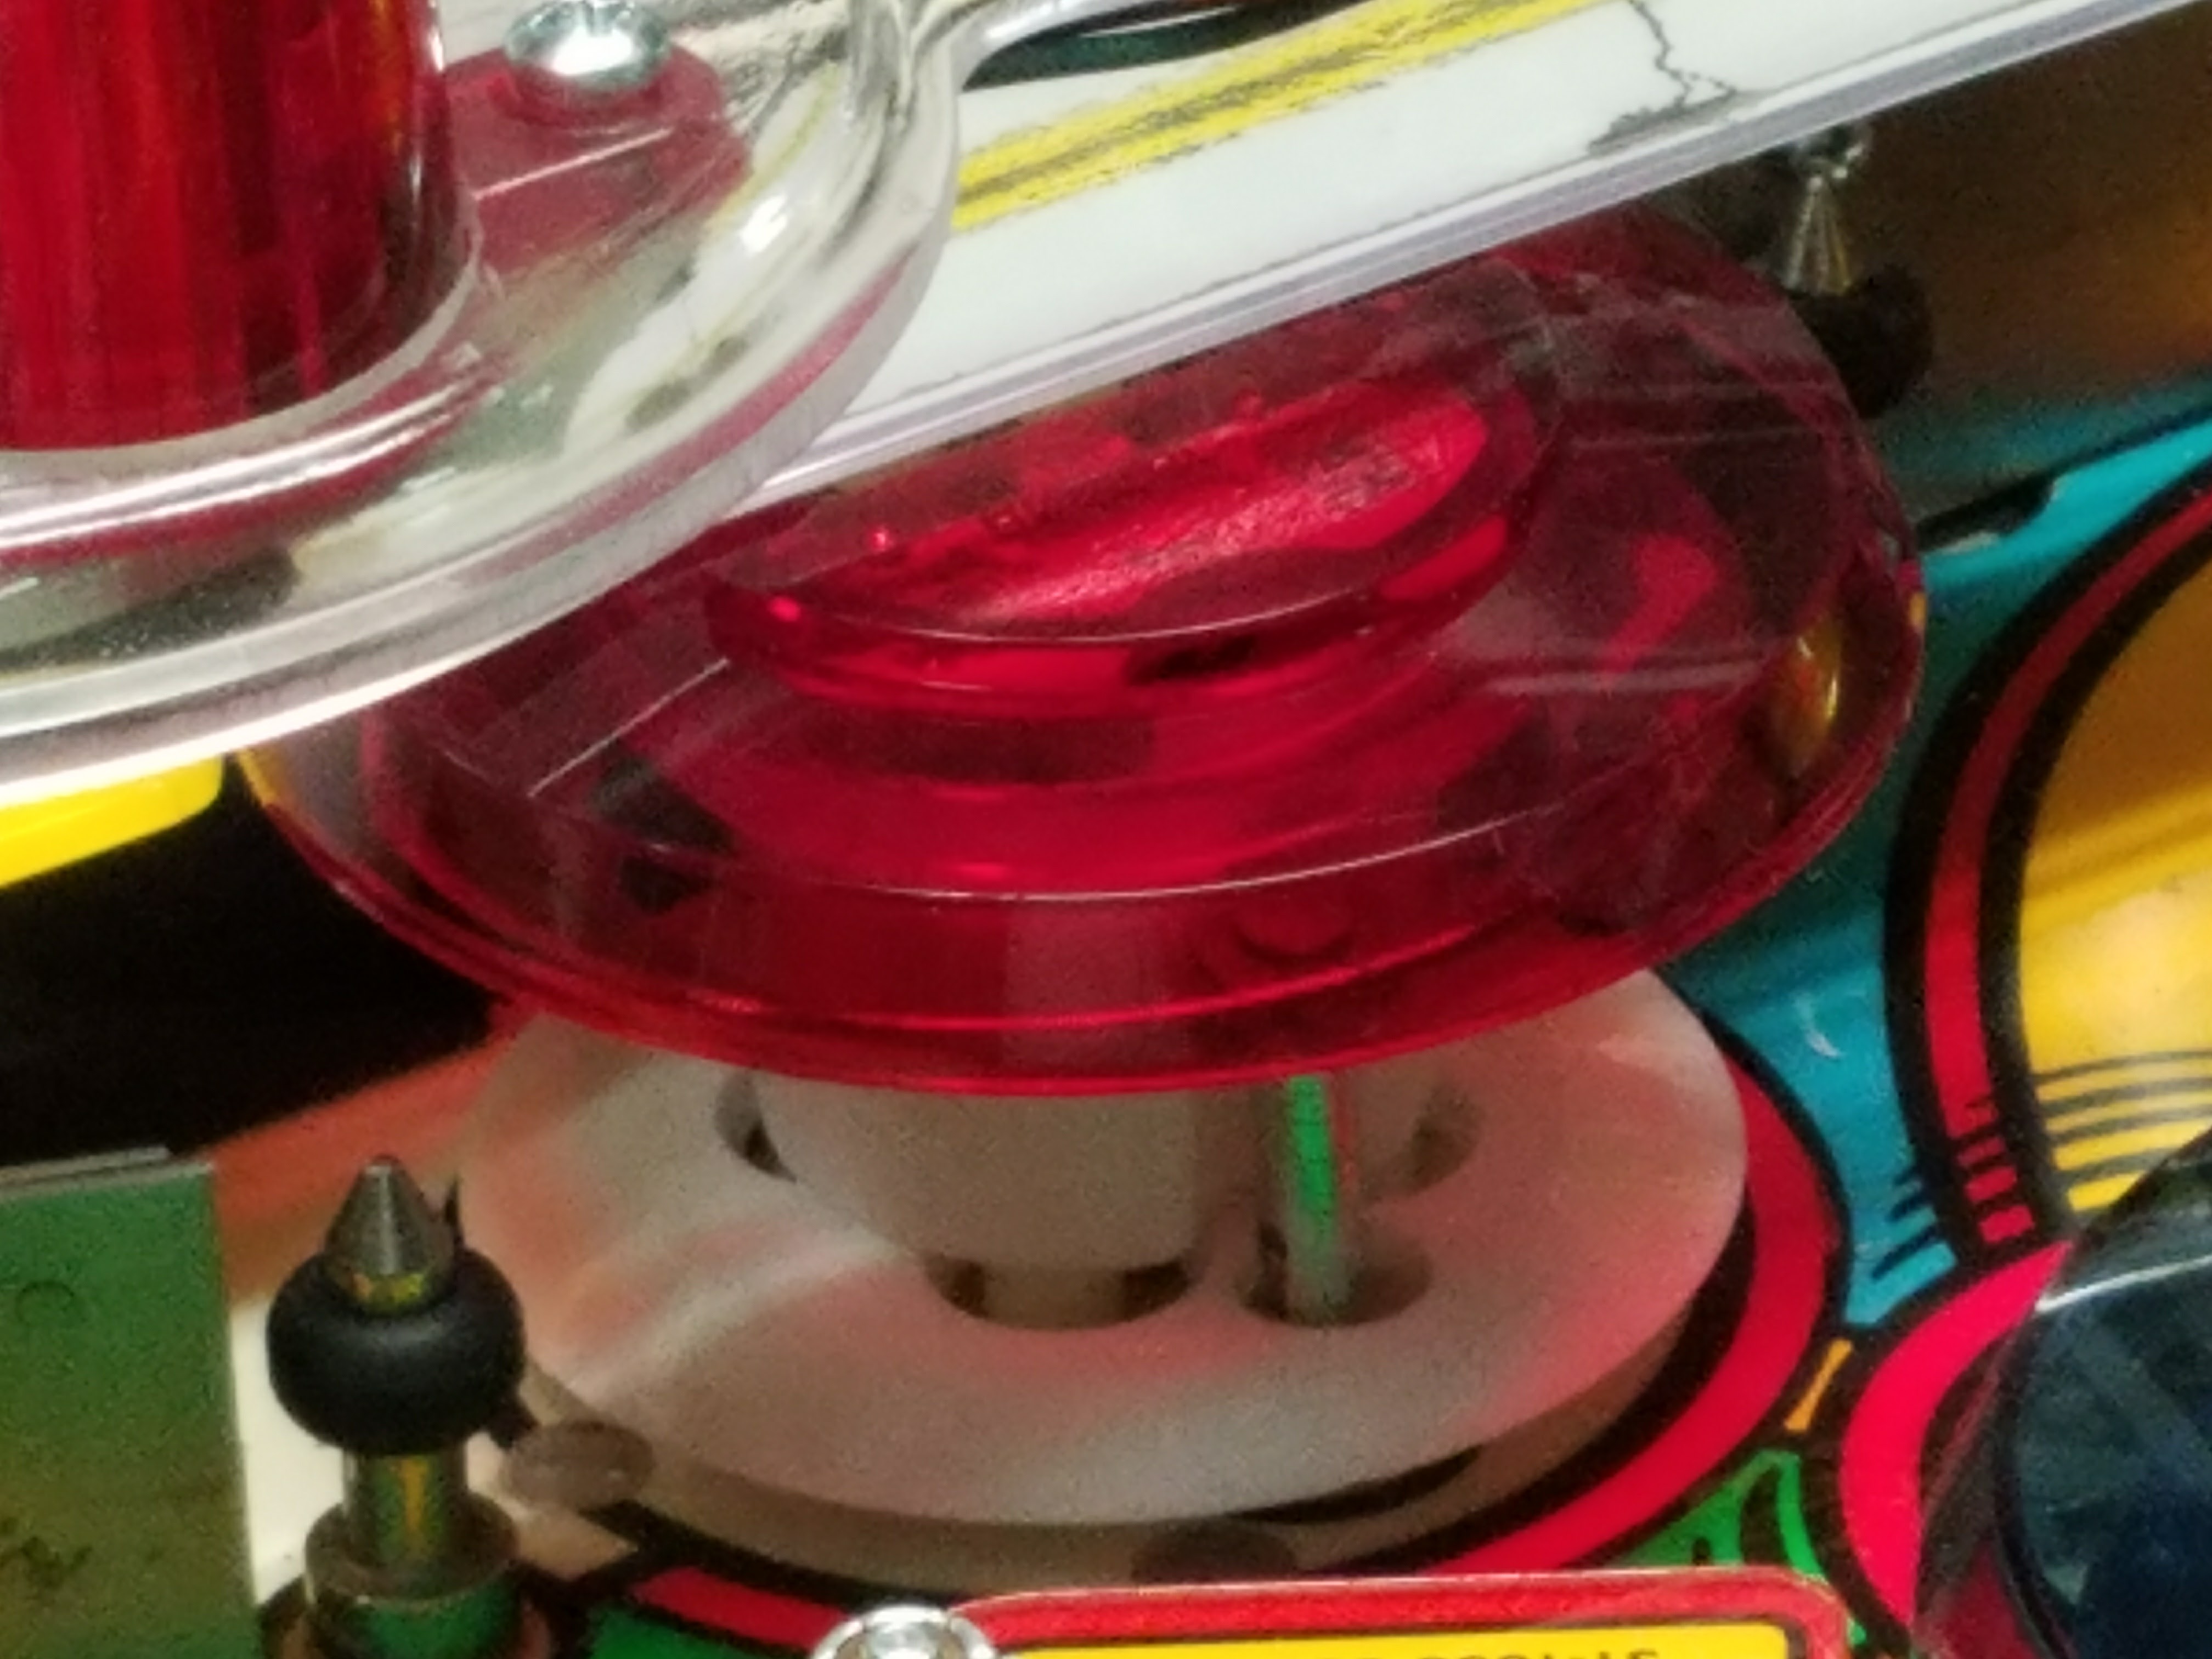
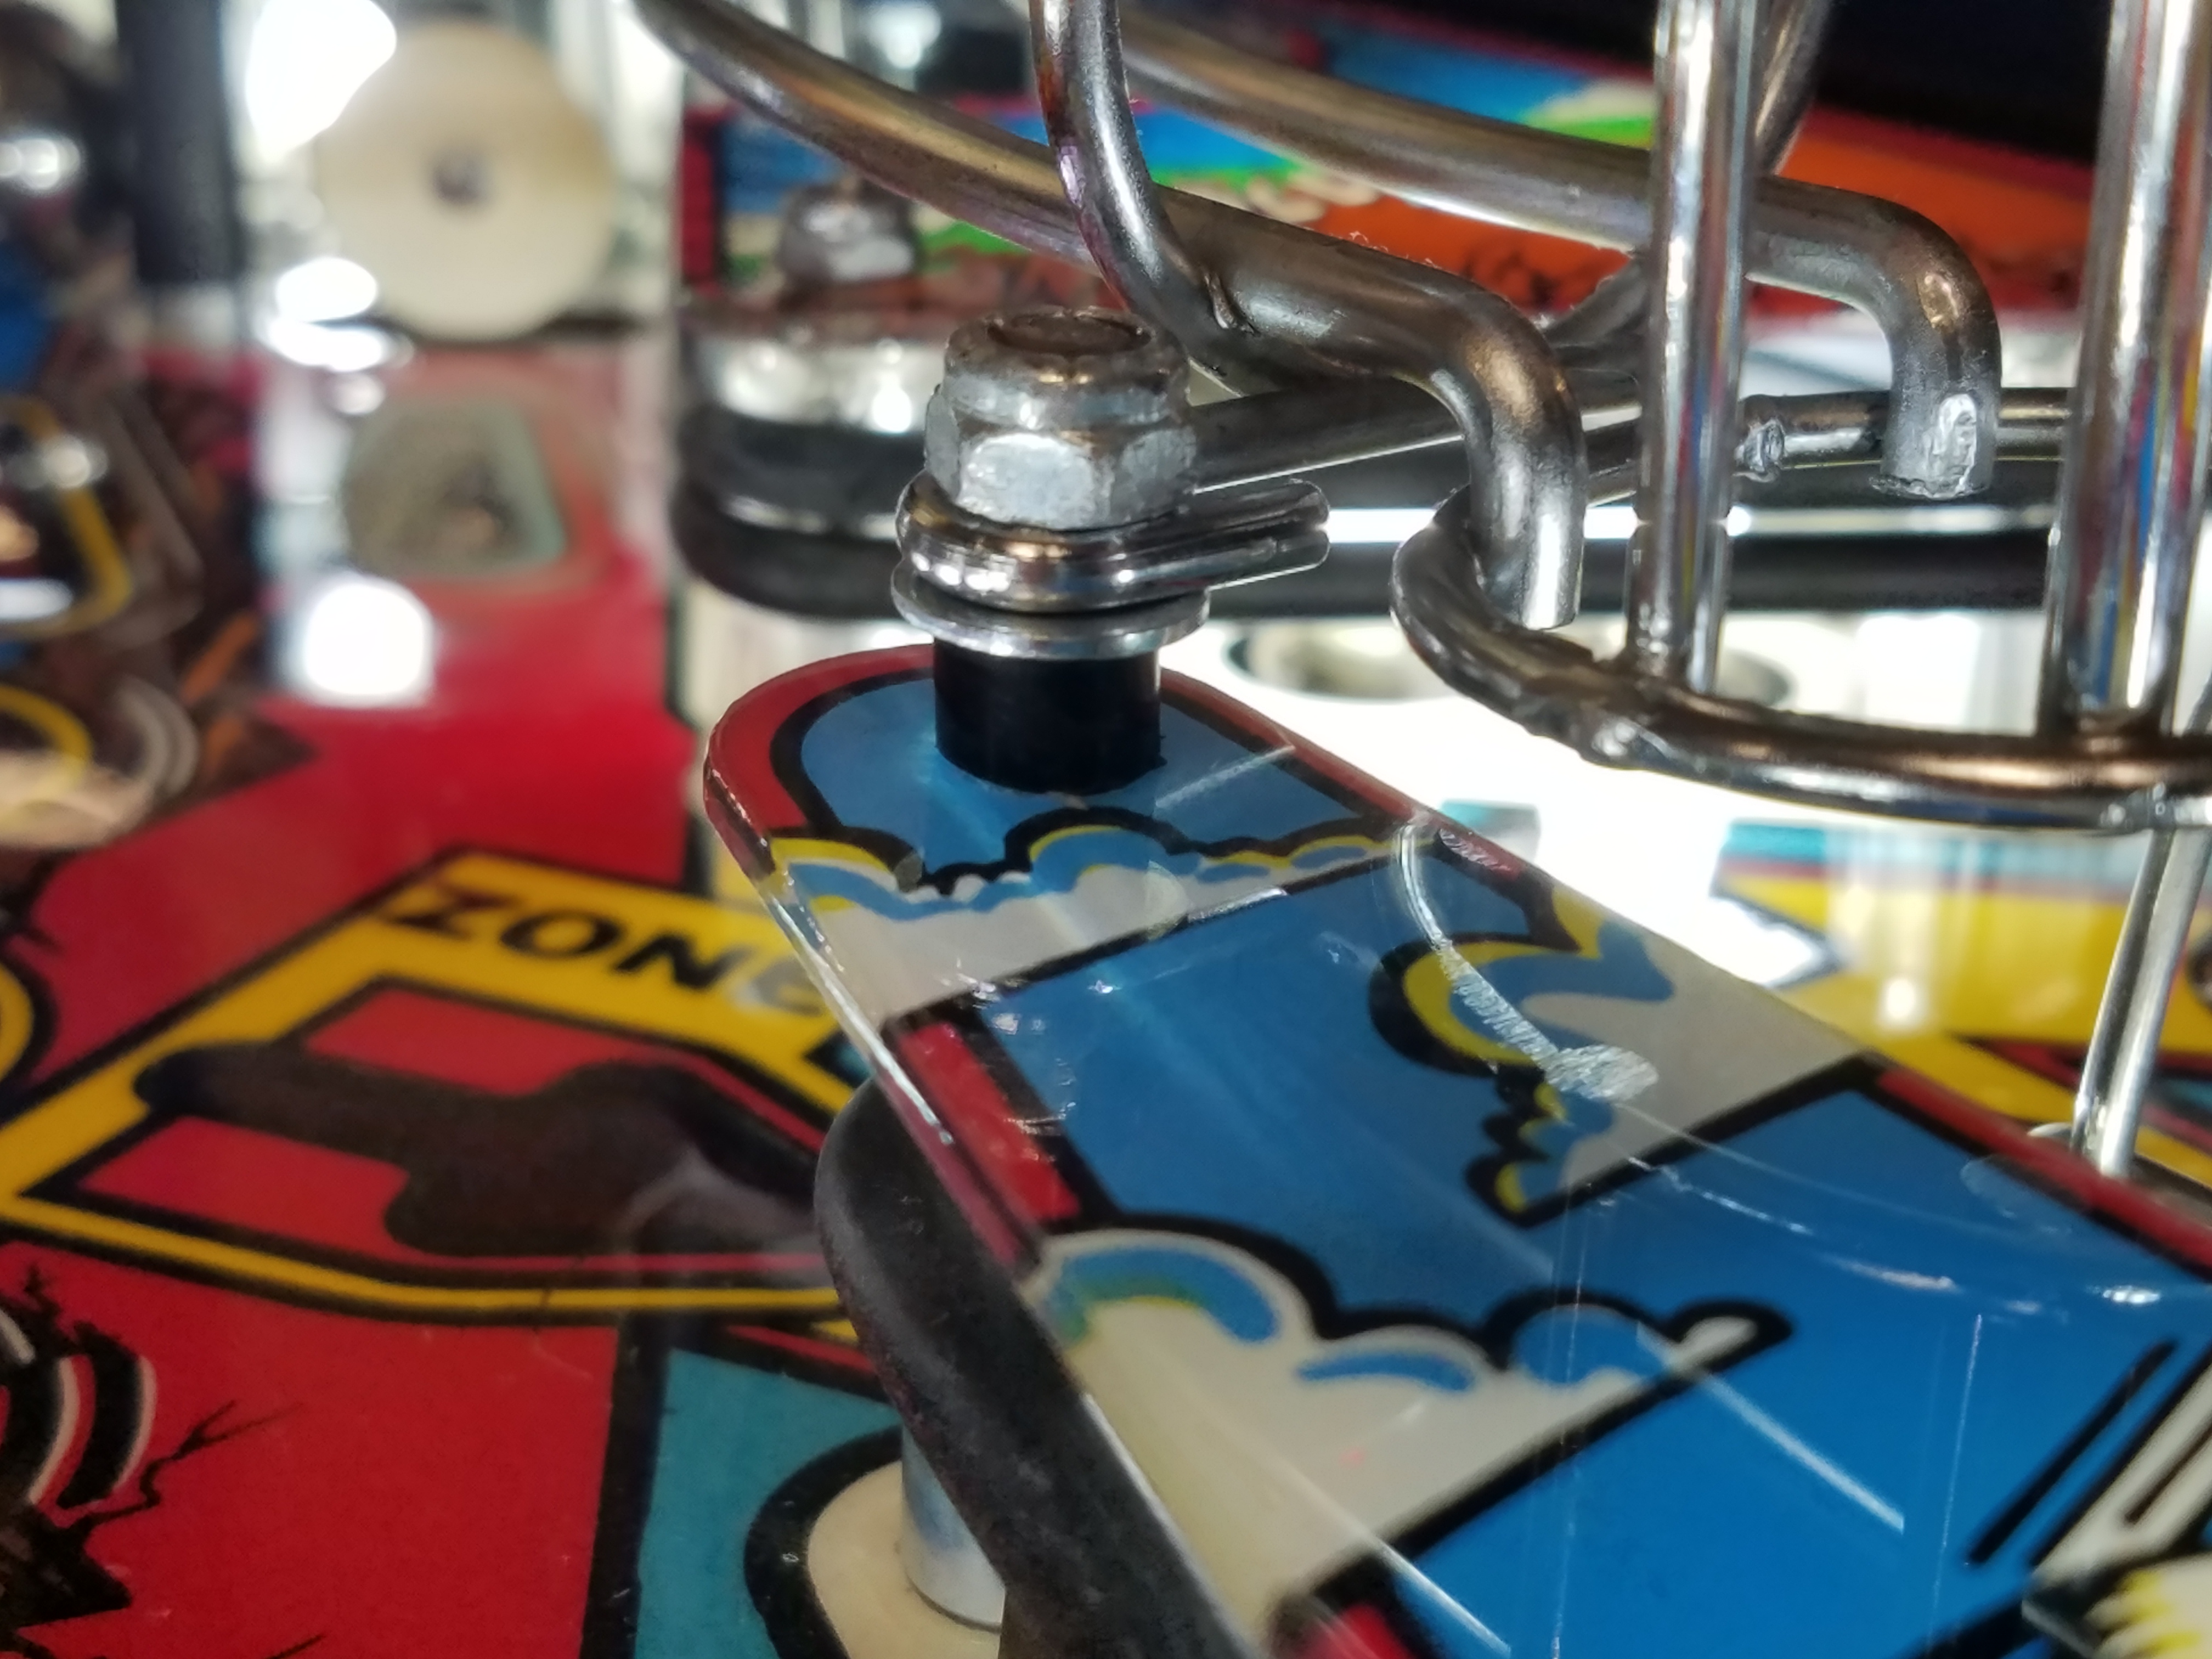
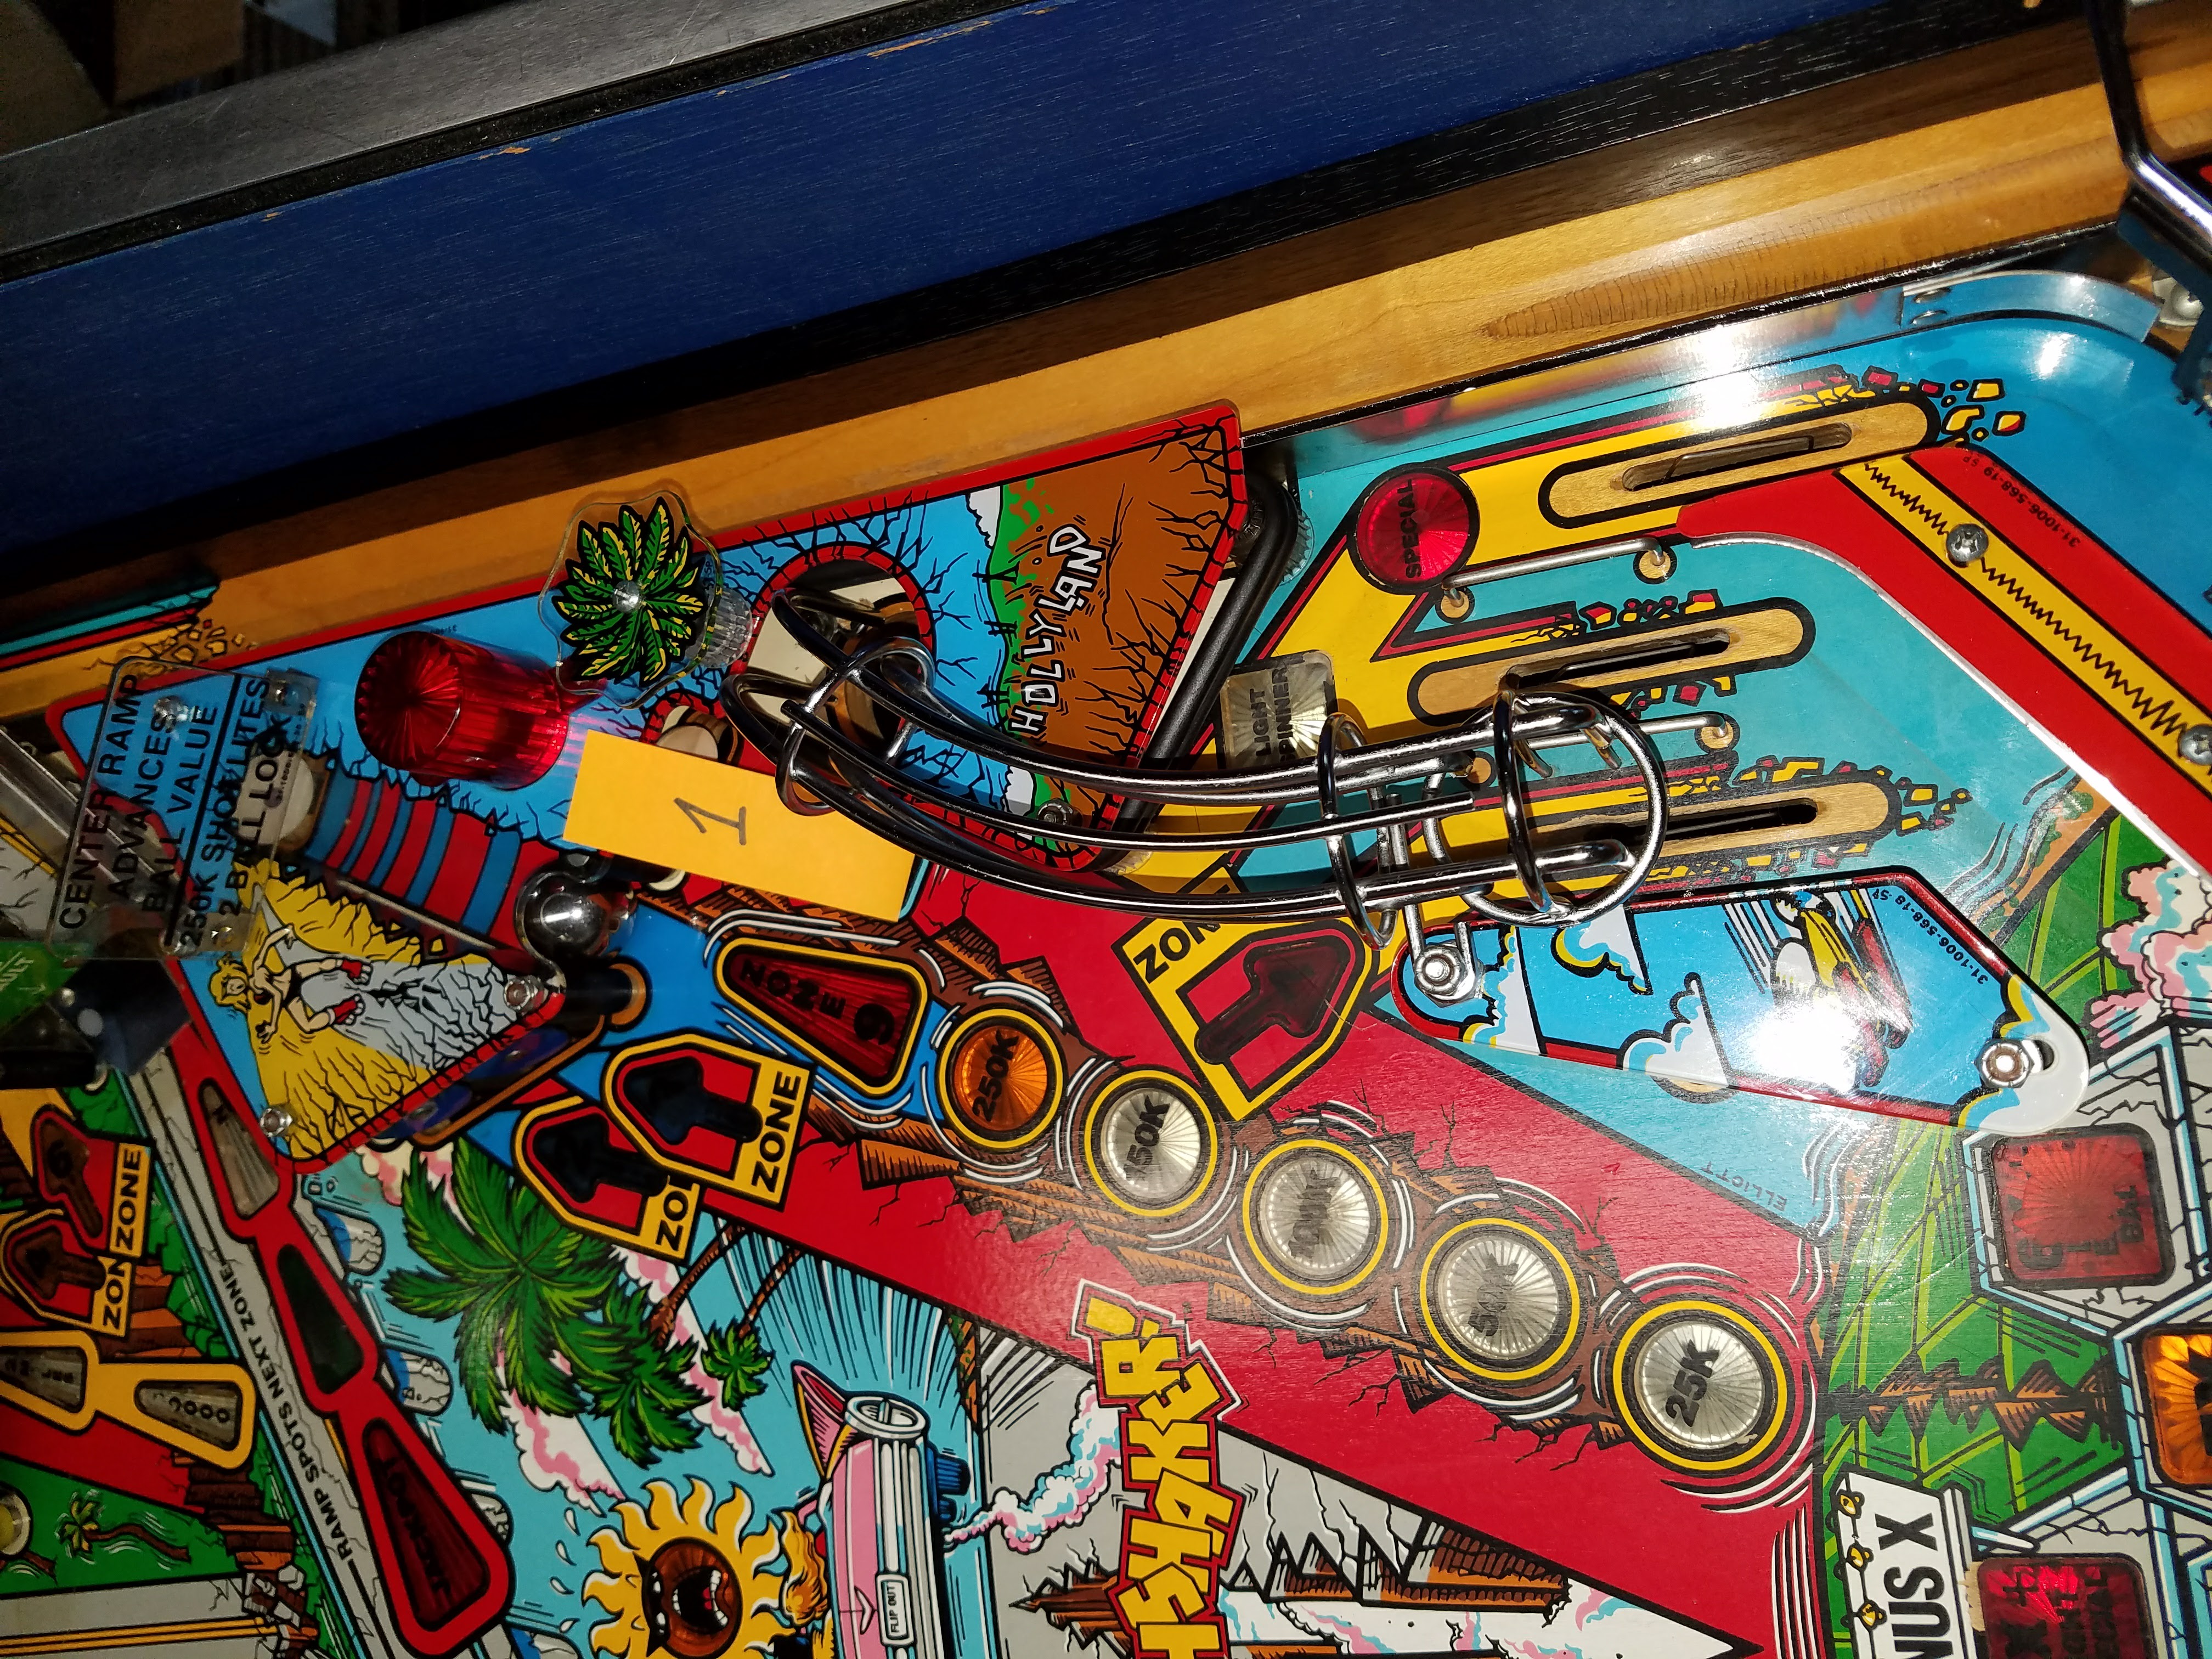
I kind of went in reverse the order I took stuff apart. Having all the numbered photos make it fairly easy to do. This part goes here, and that part goes there, turn a few screws and you can see it coming back together.I had purchased new ramps and it turns out they don’t just fit… you kind of have to make them fit. The right side ramp, I had to file down the bottom edge of it so the metal plate wasn’t +1mm over the playfield.The metal plate starting to contact the playfield. I filed on the plastic ramp a bit more before I was happy with it.Then I find that the middle ramp that runs down the left side, it was against the top of the pop bumper. I checked and double checked the pop bumper, I can’t see that it isn’t assembled correctly since 2 parts of it only fit together 1 way. So I ended up cutting the red cap down.There is now a little bit of a gap between the ramp and pop bumper and luckily you can’t tell that the red cap has been cut away unless you look REAL close.Fixed a few minor issues here and there as well. Prior to this restore, the wire frame ball guide was directly on the old plastic, and had caused damage to it. I had replaced a bunch of 1″ black plastic spacers and cut an old one down to make a small spacer shown here. It looks better and the wire frame is not flexed down like it was before.
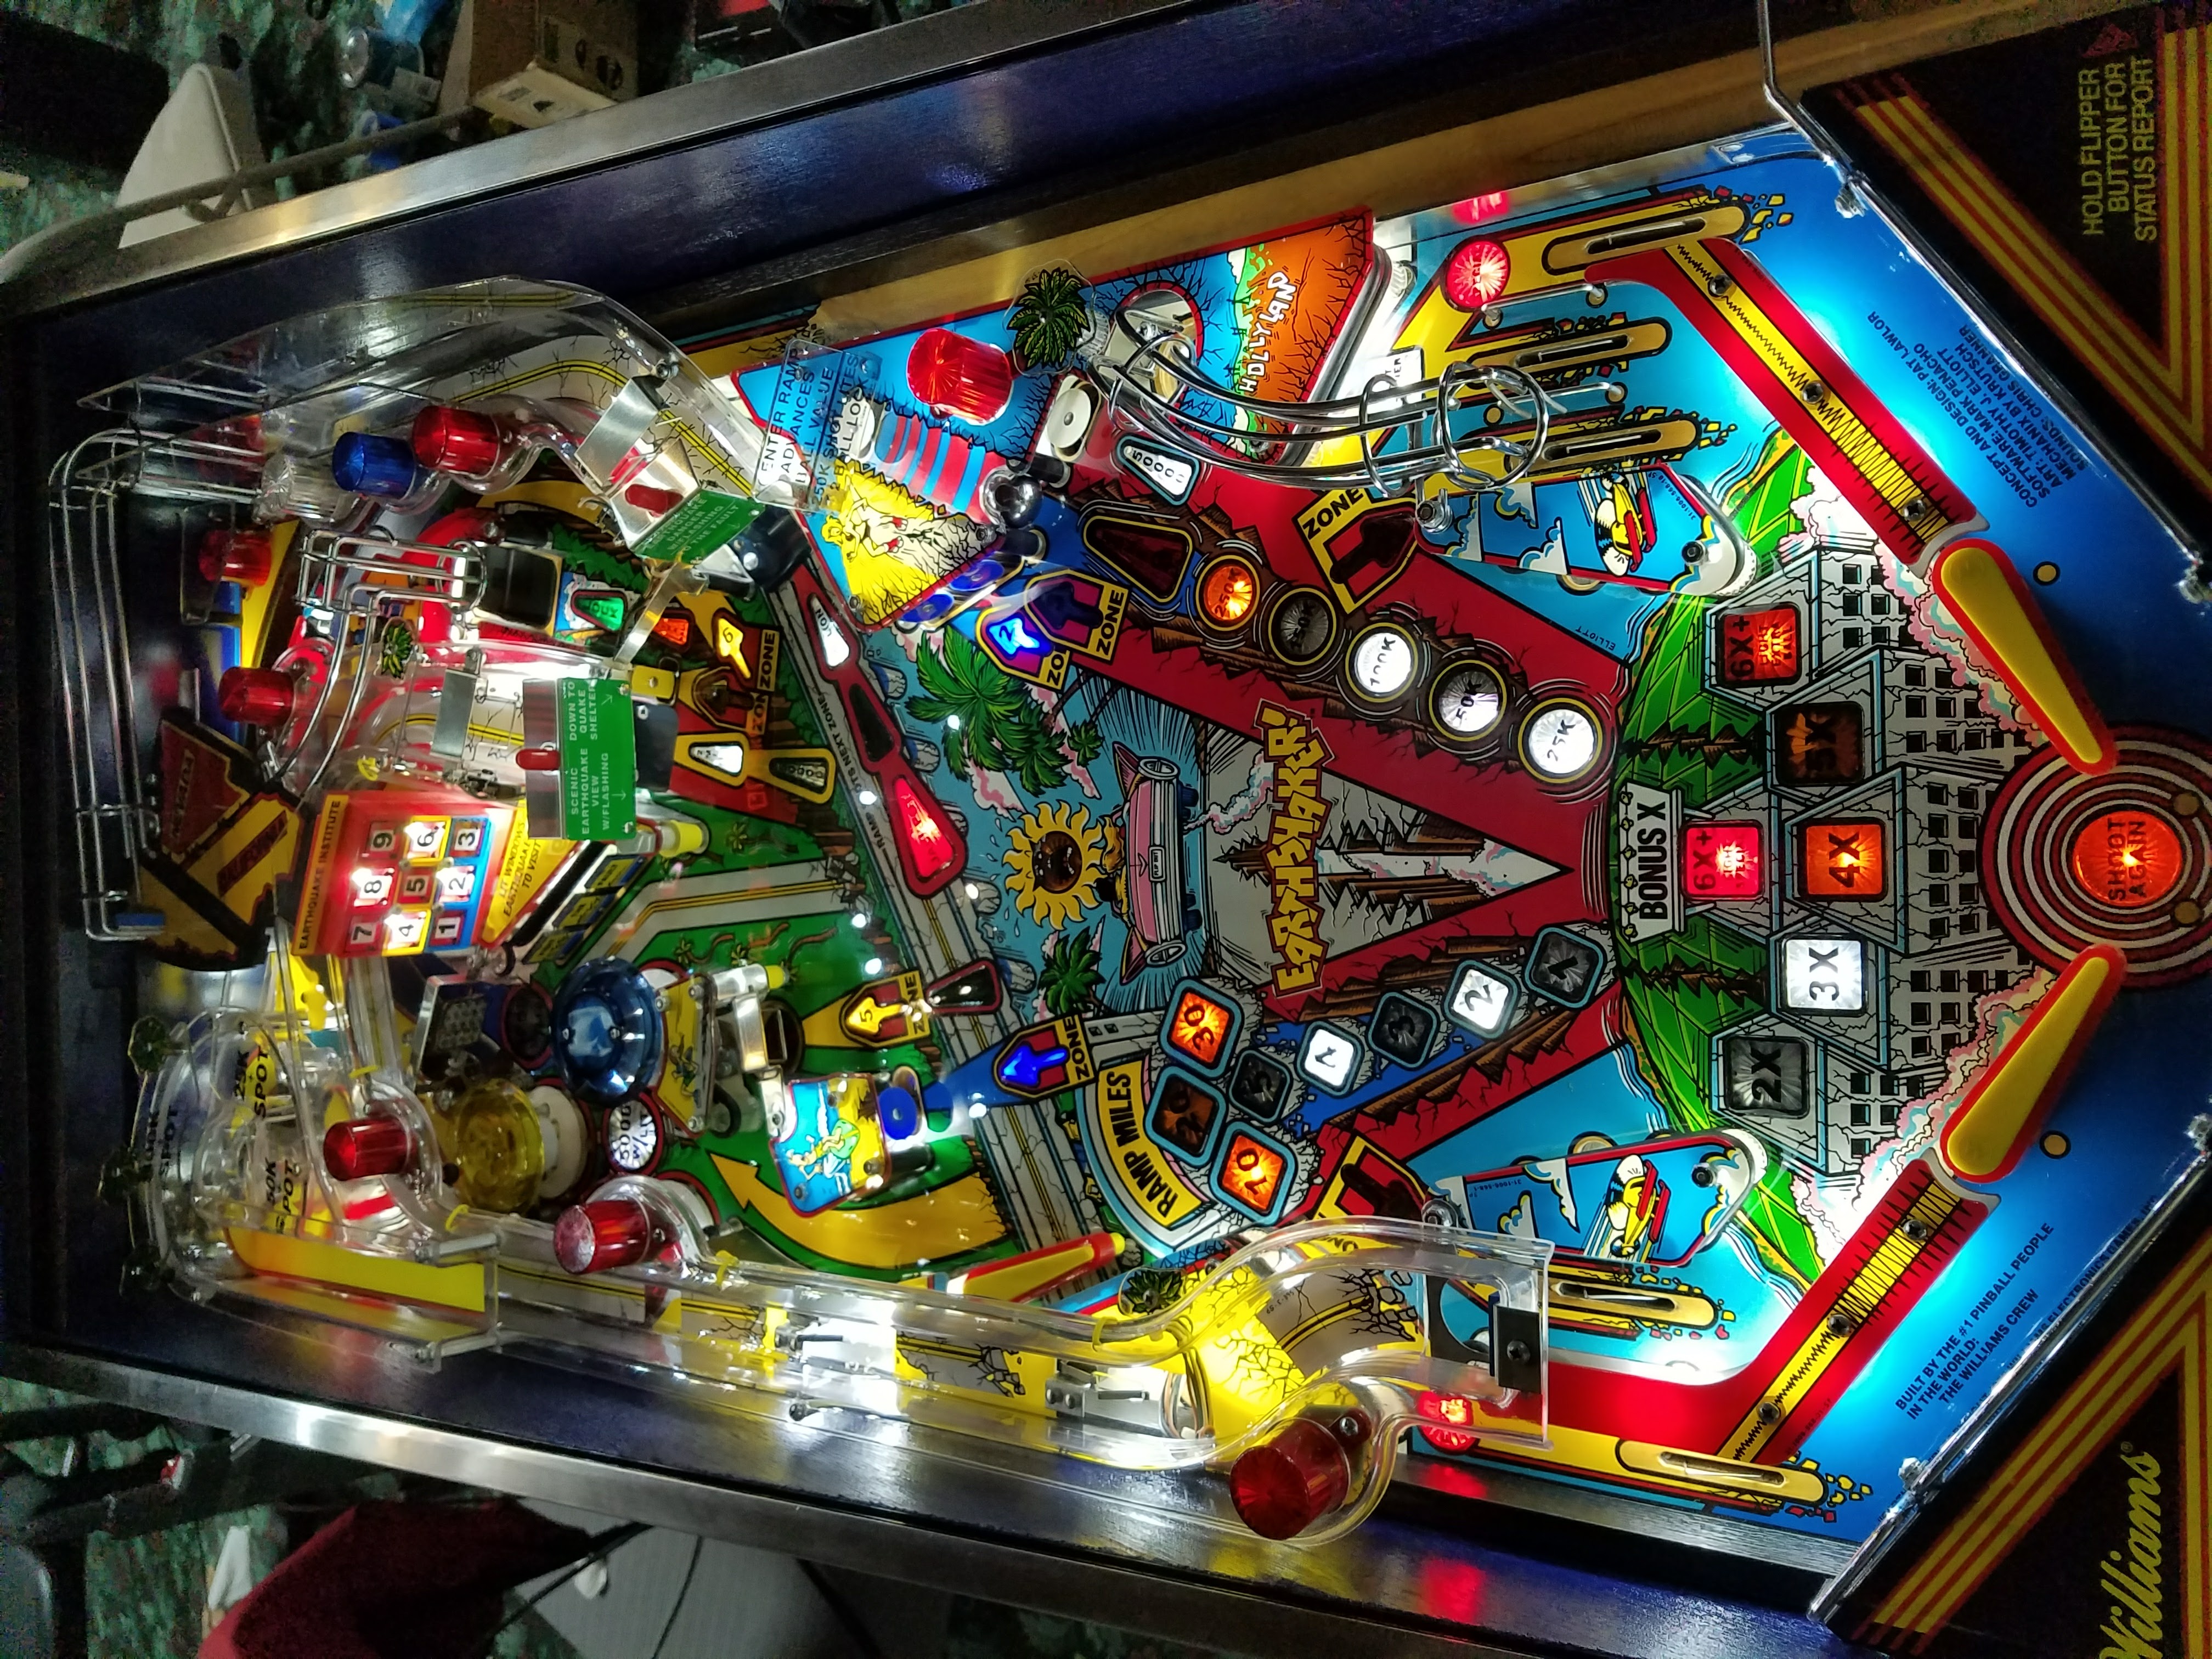
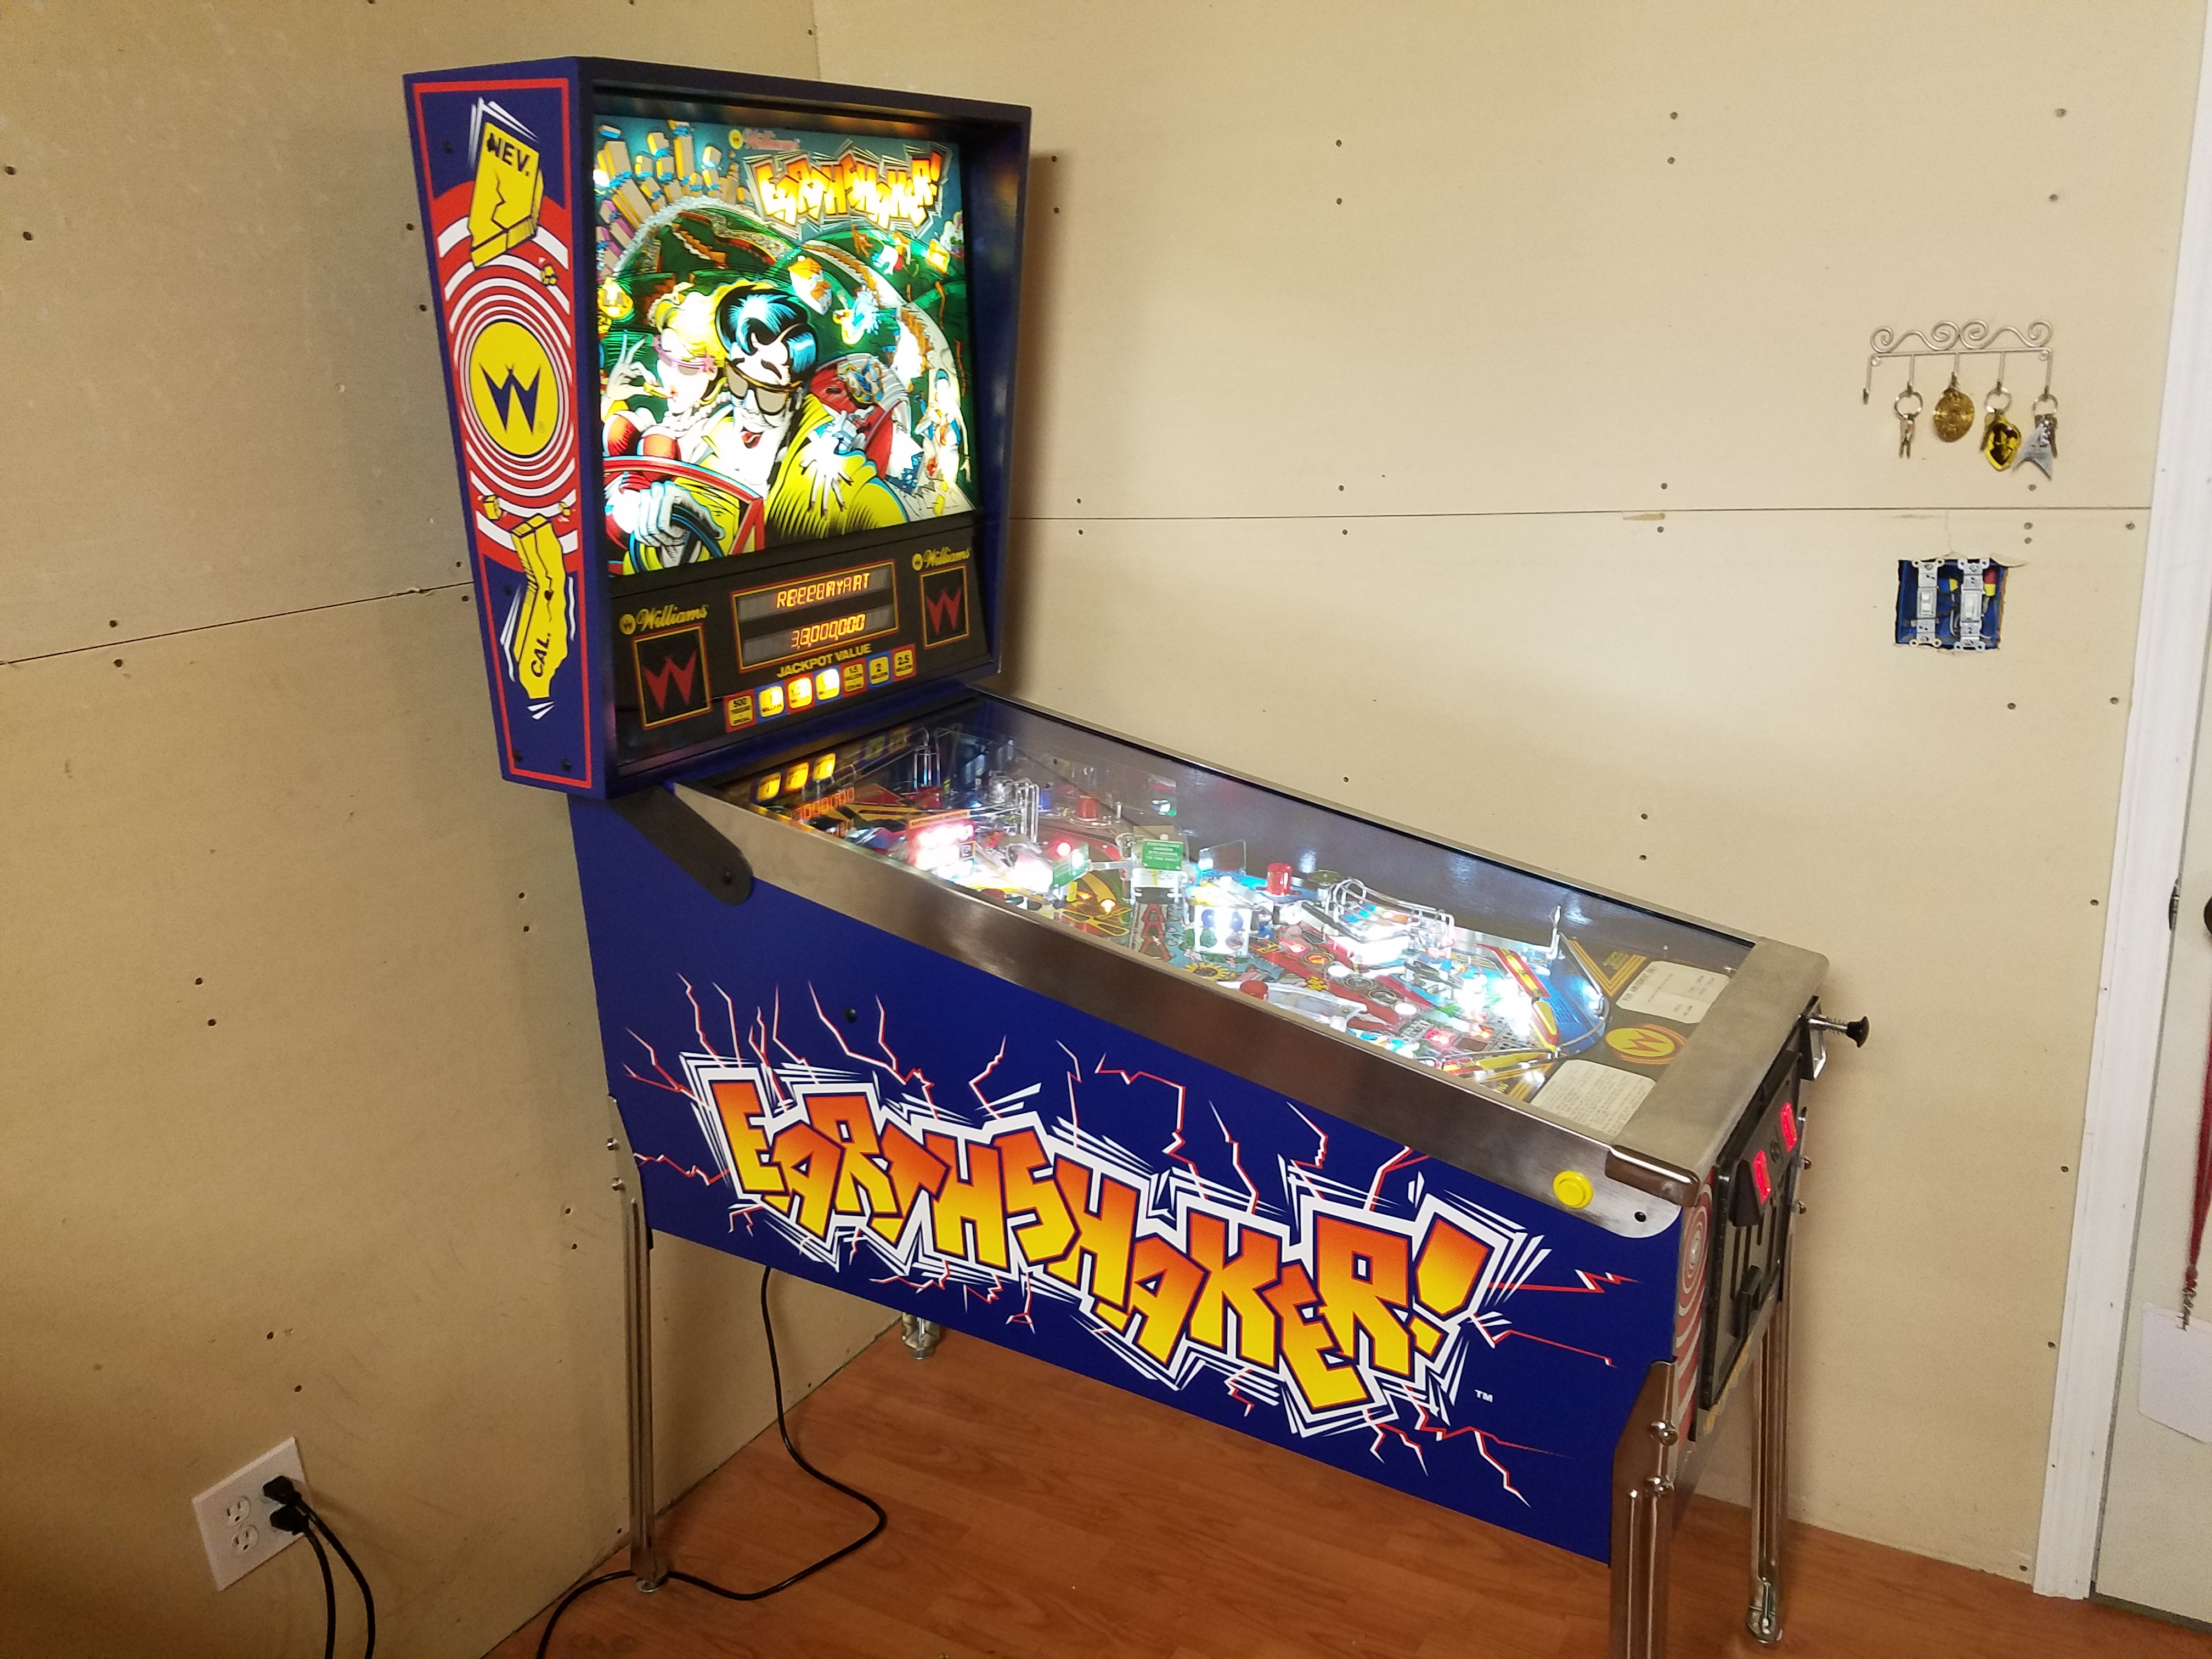
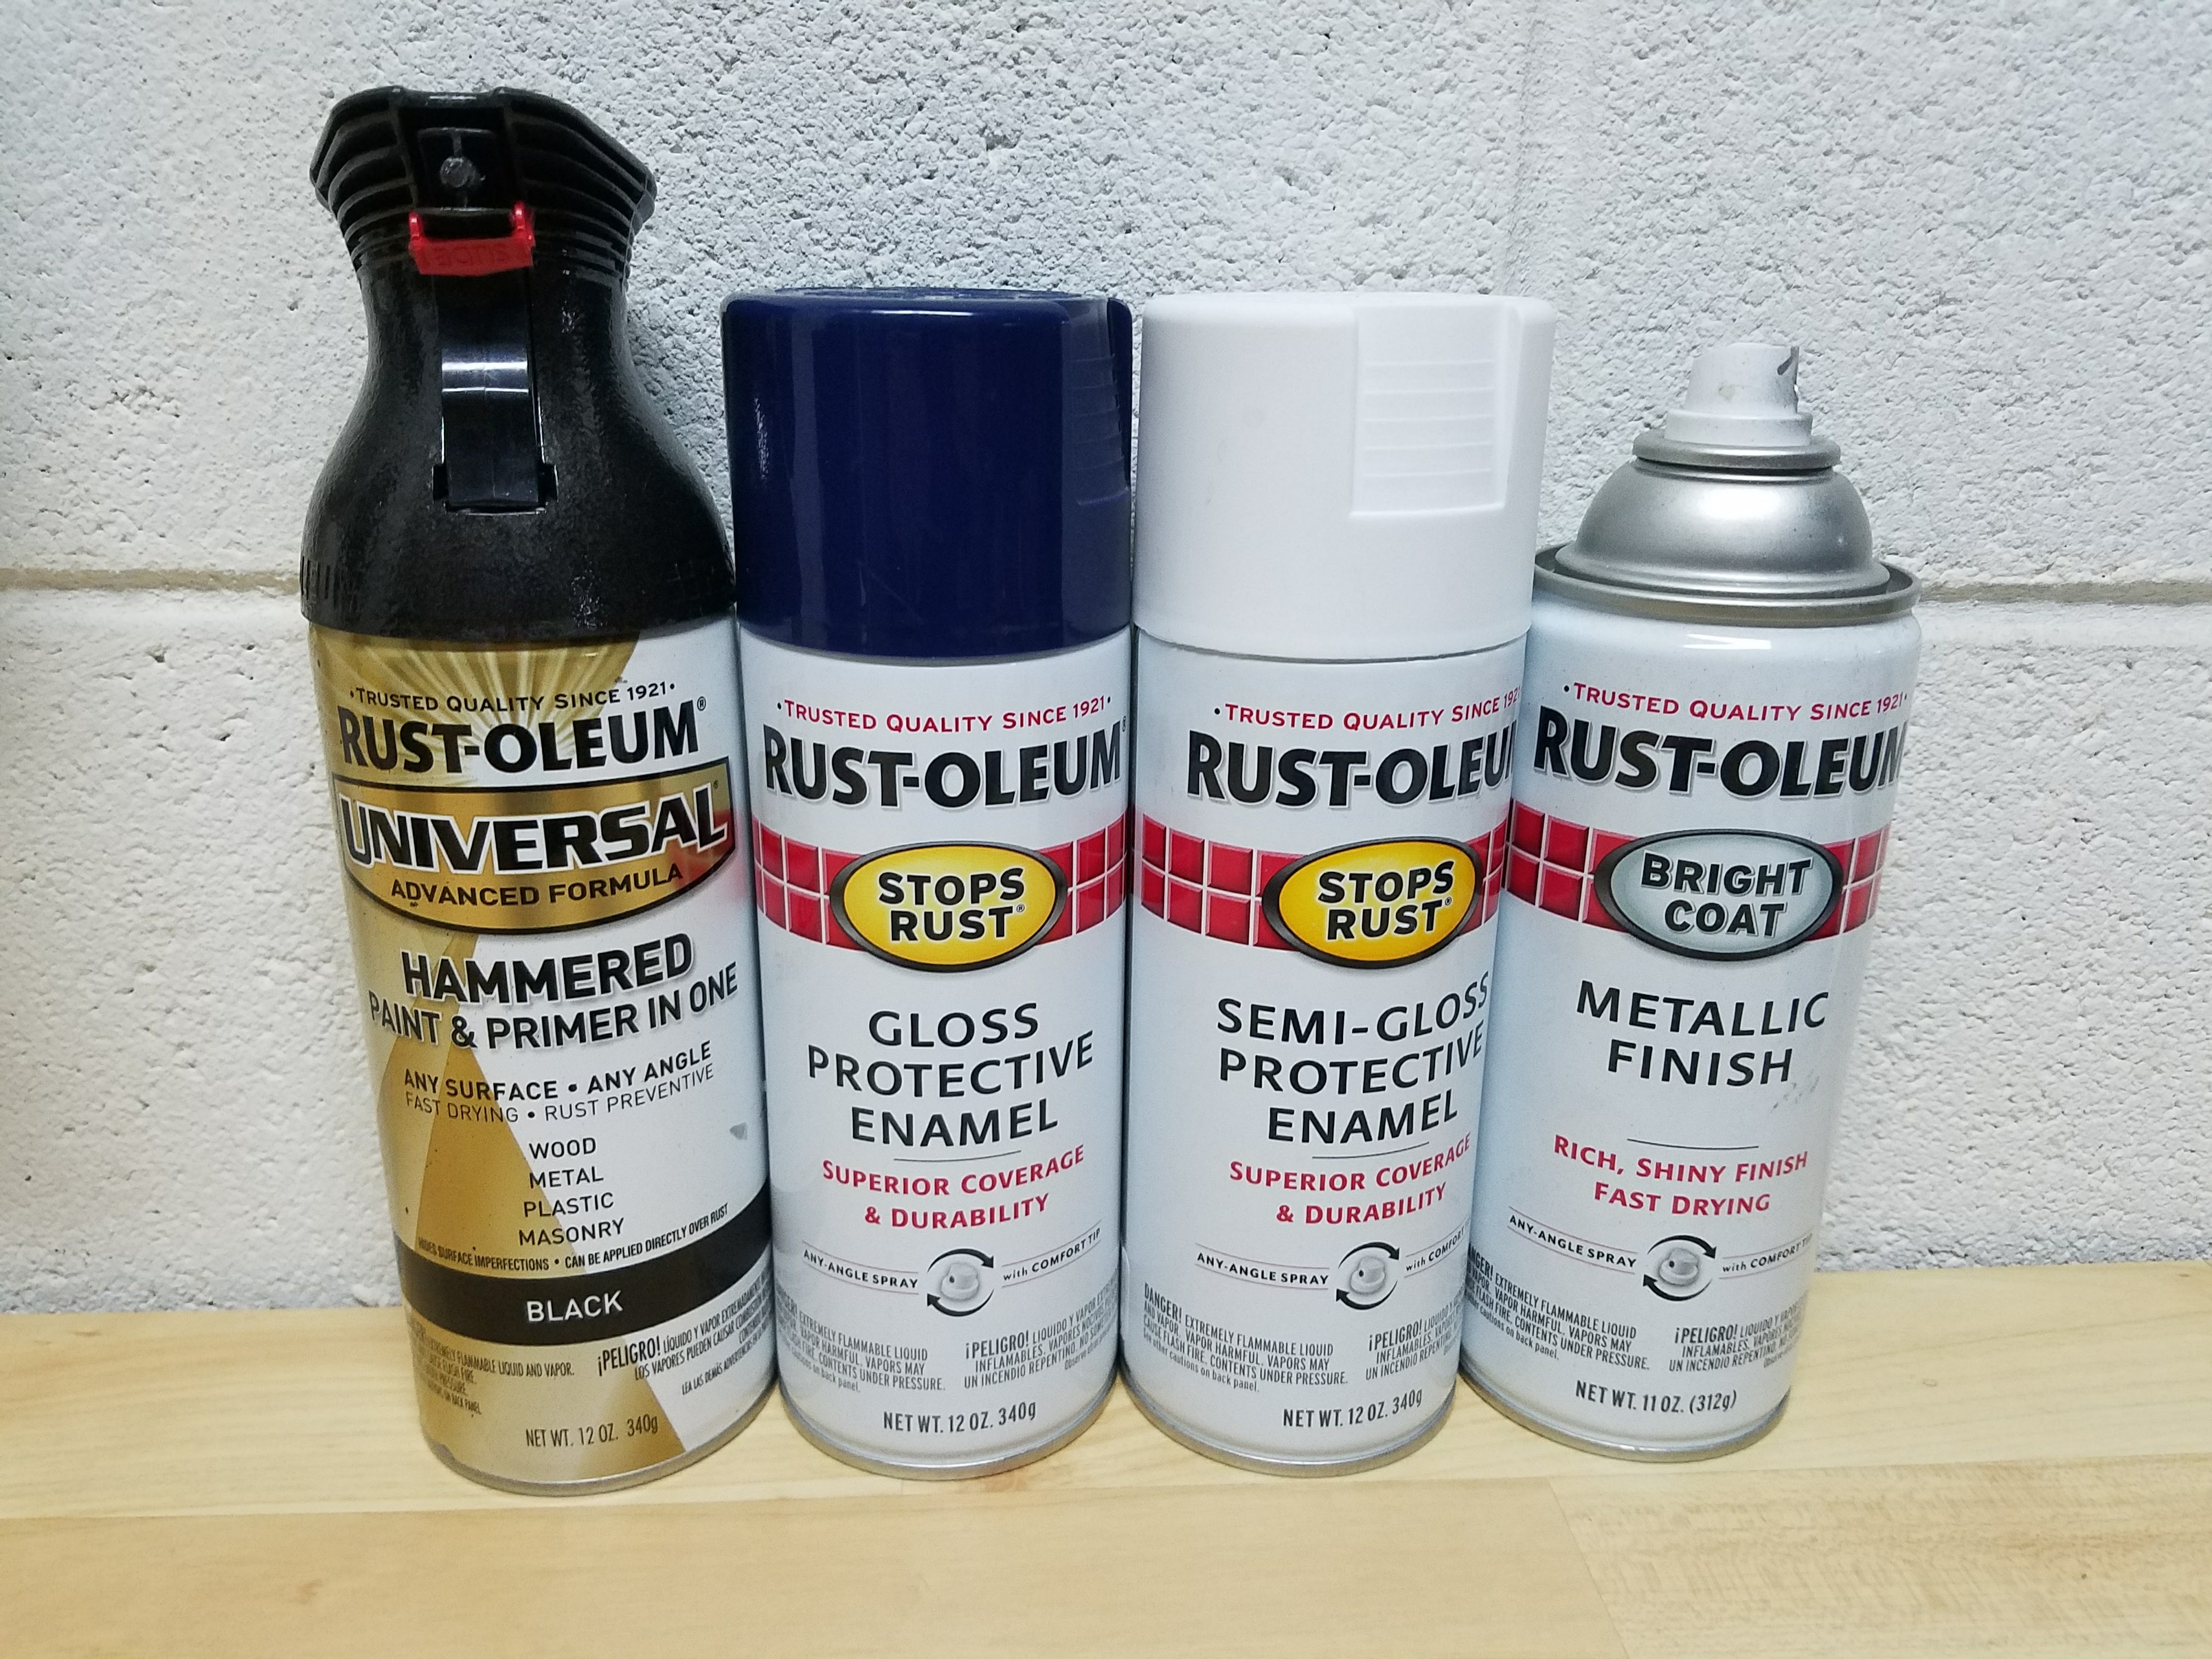
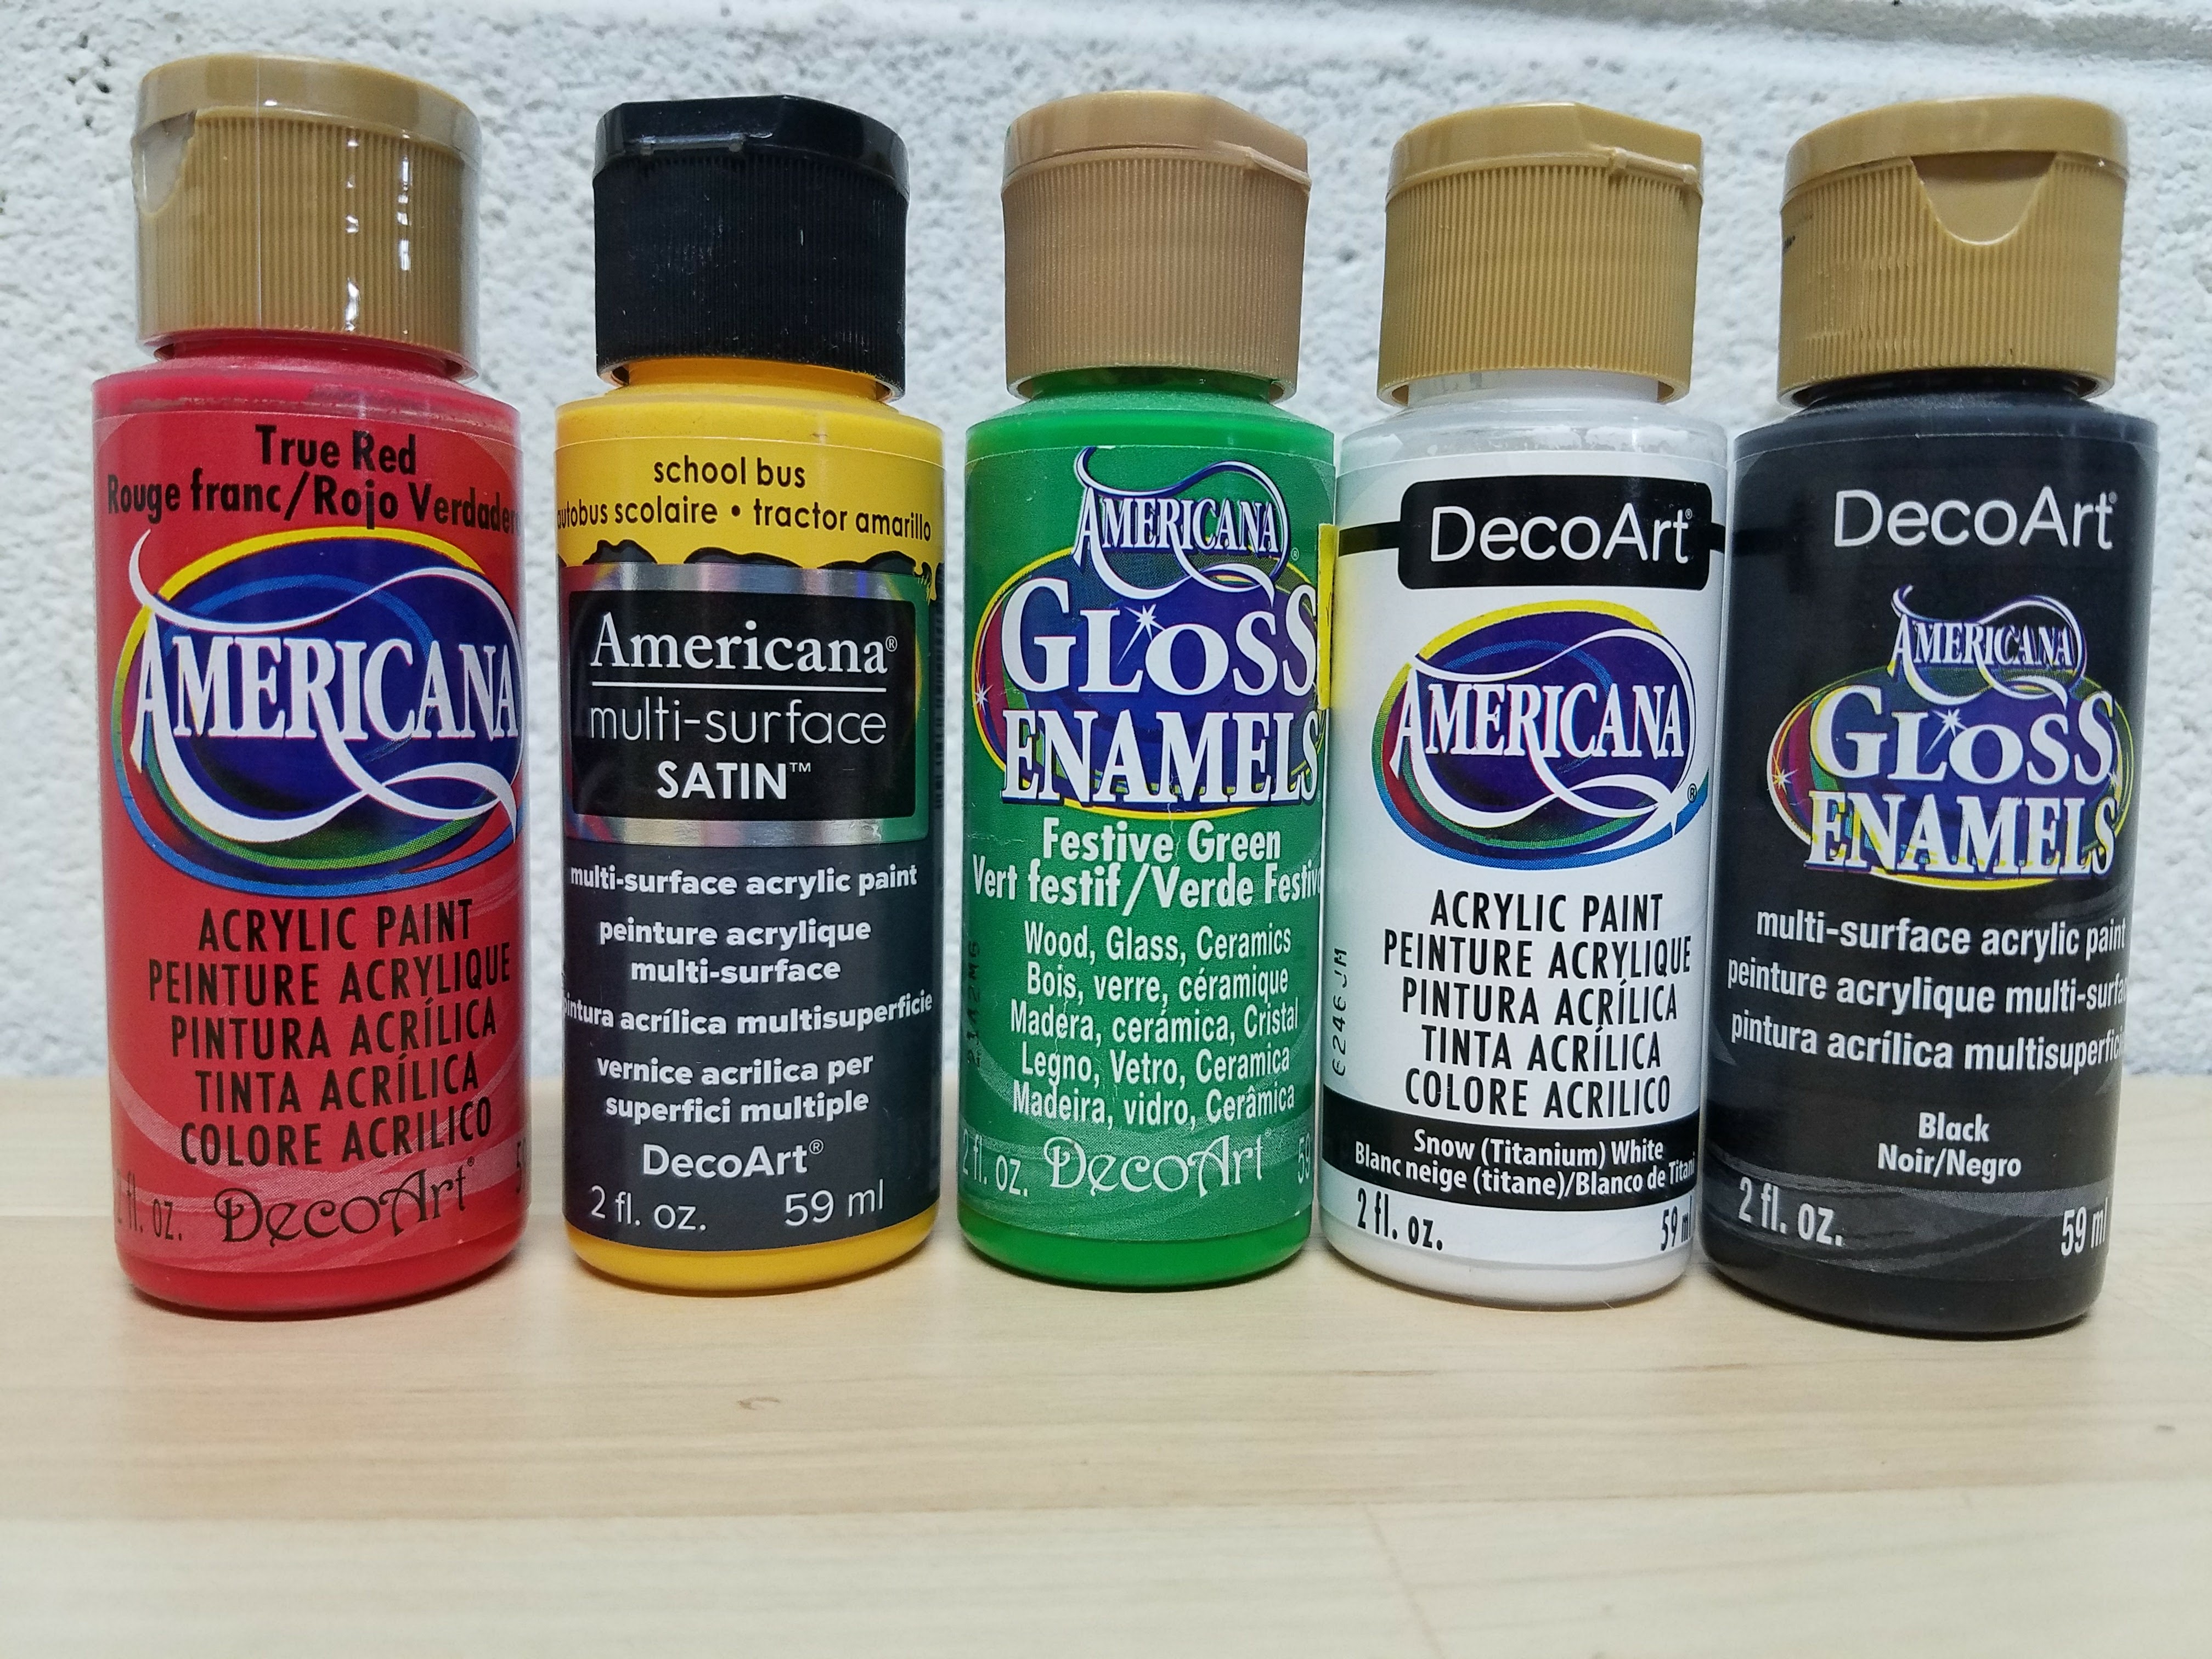
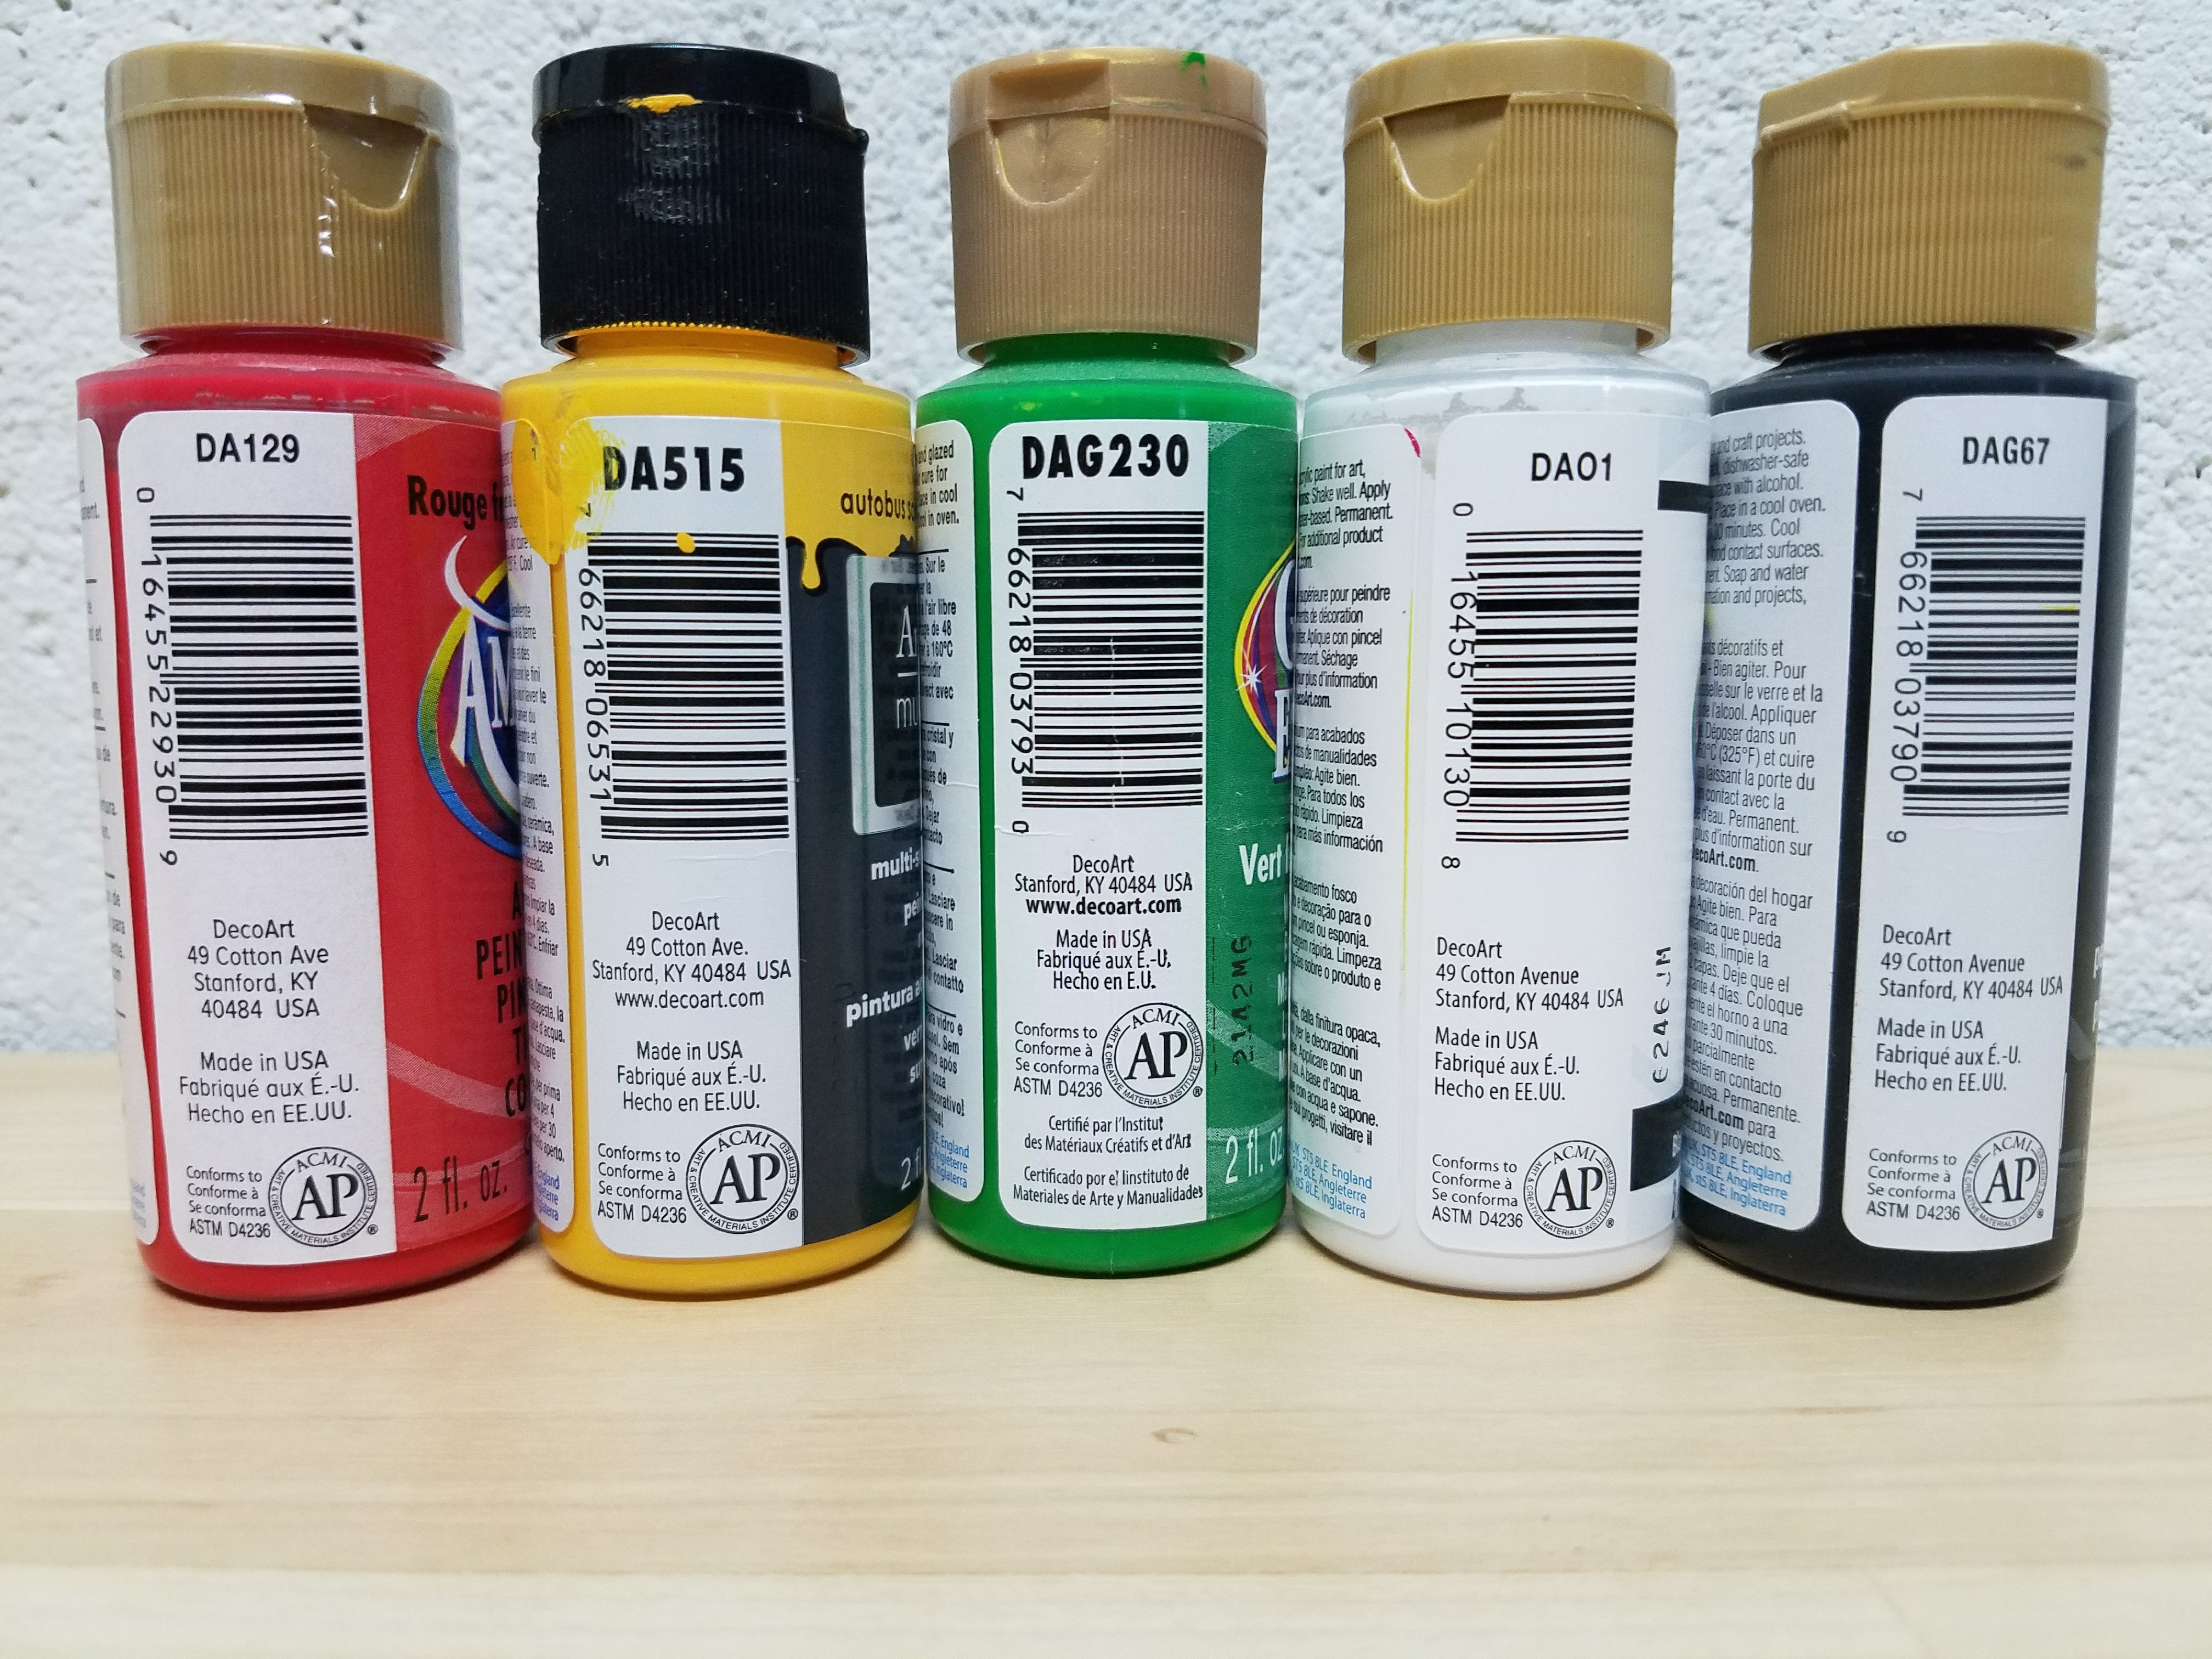
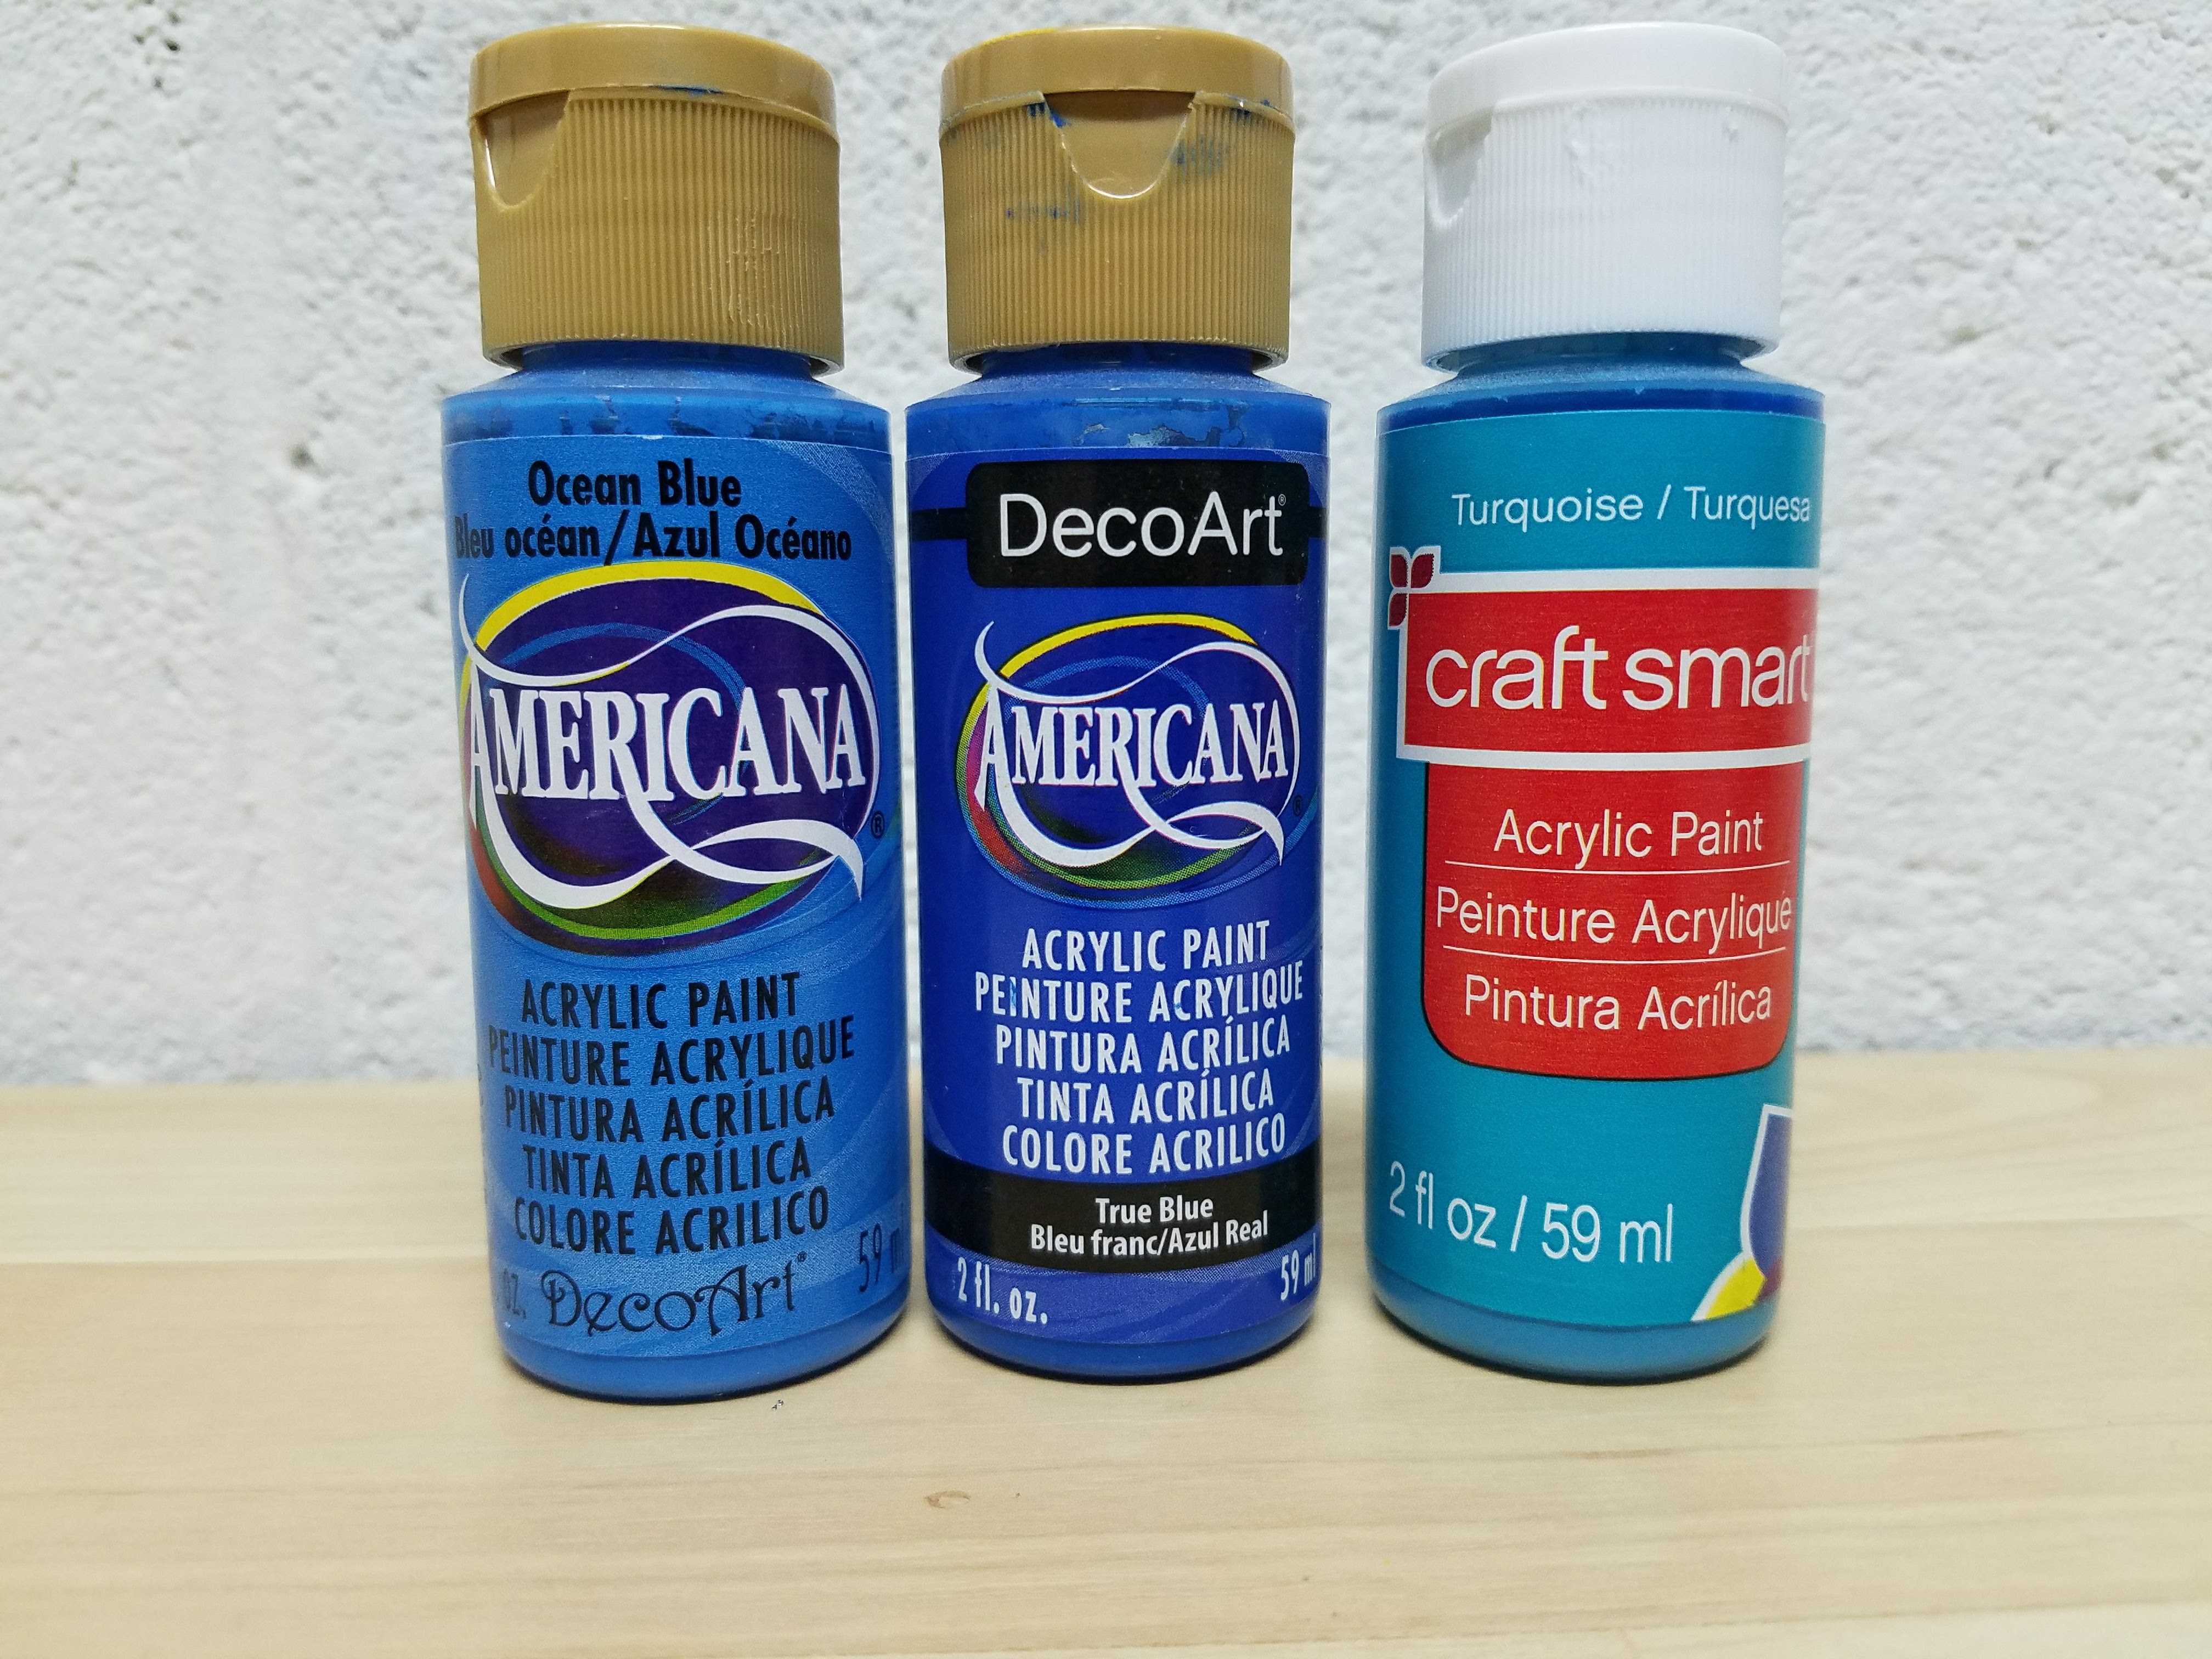
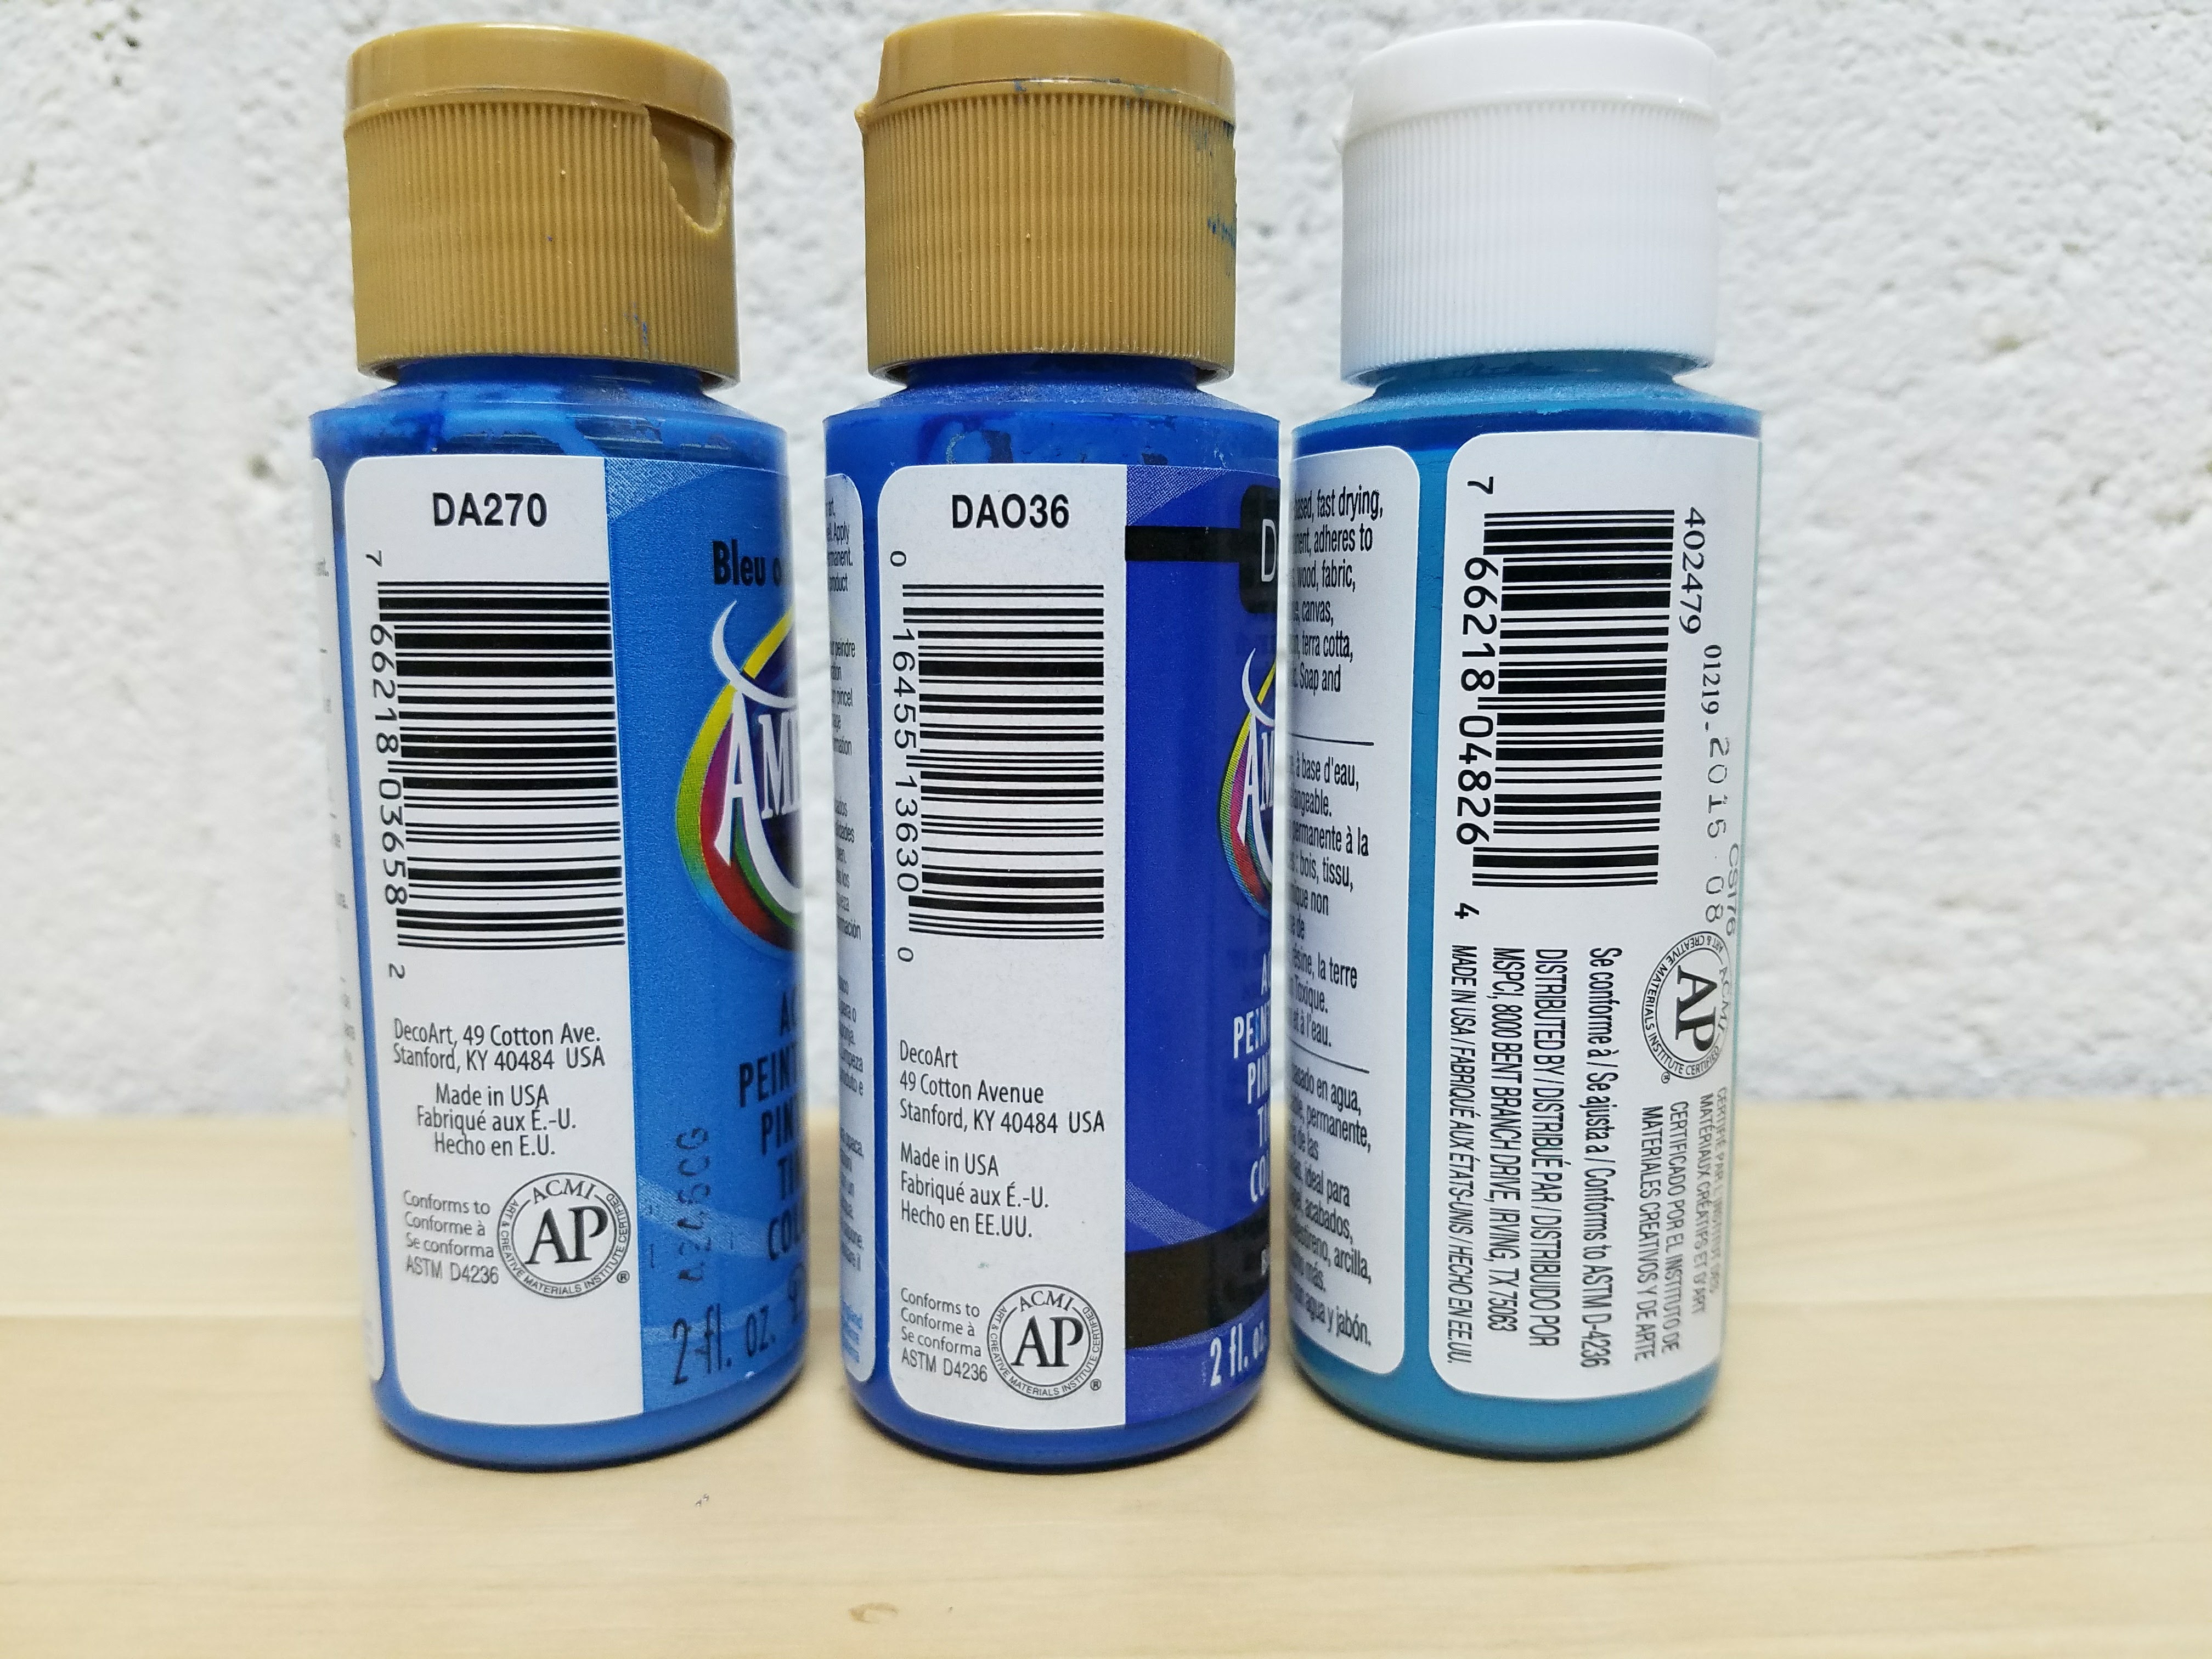
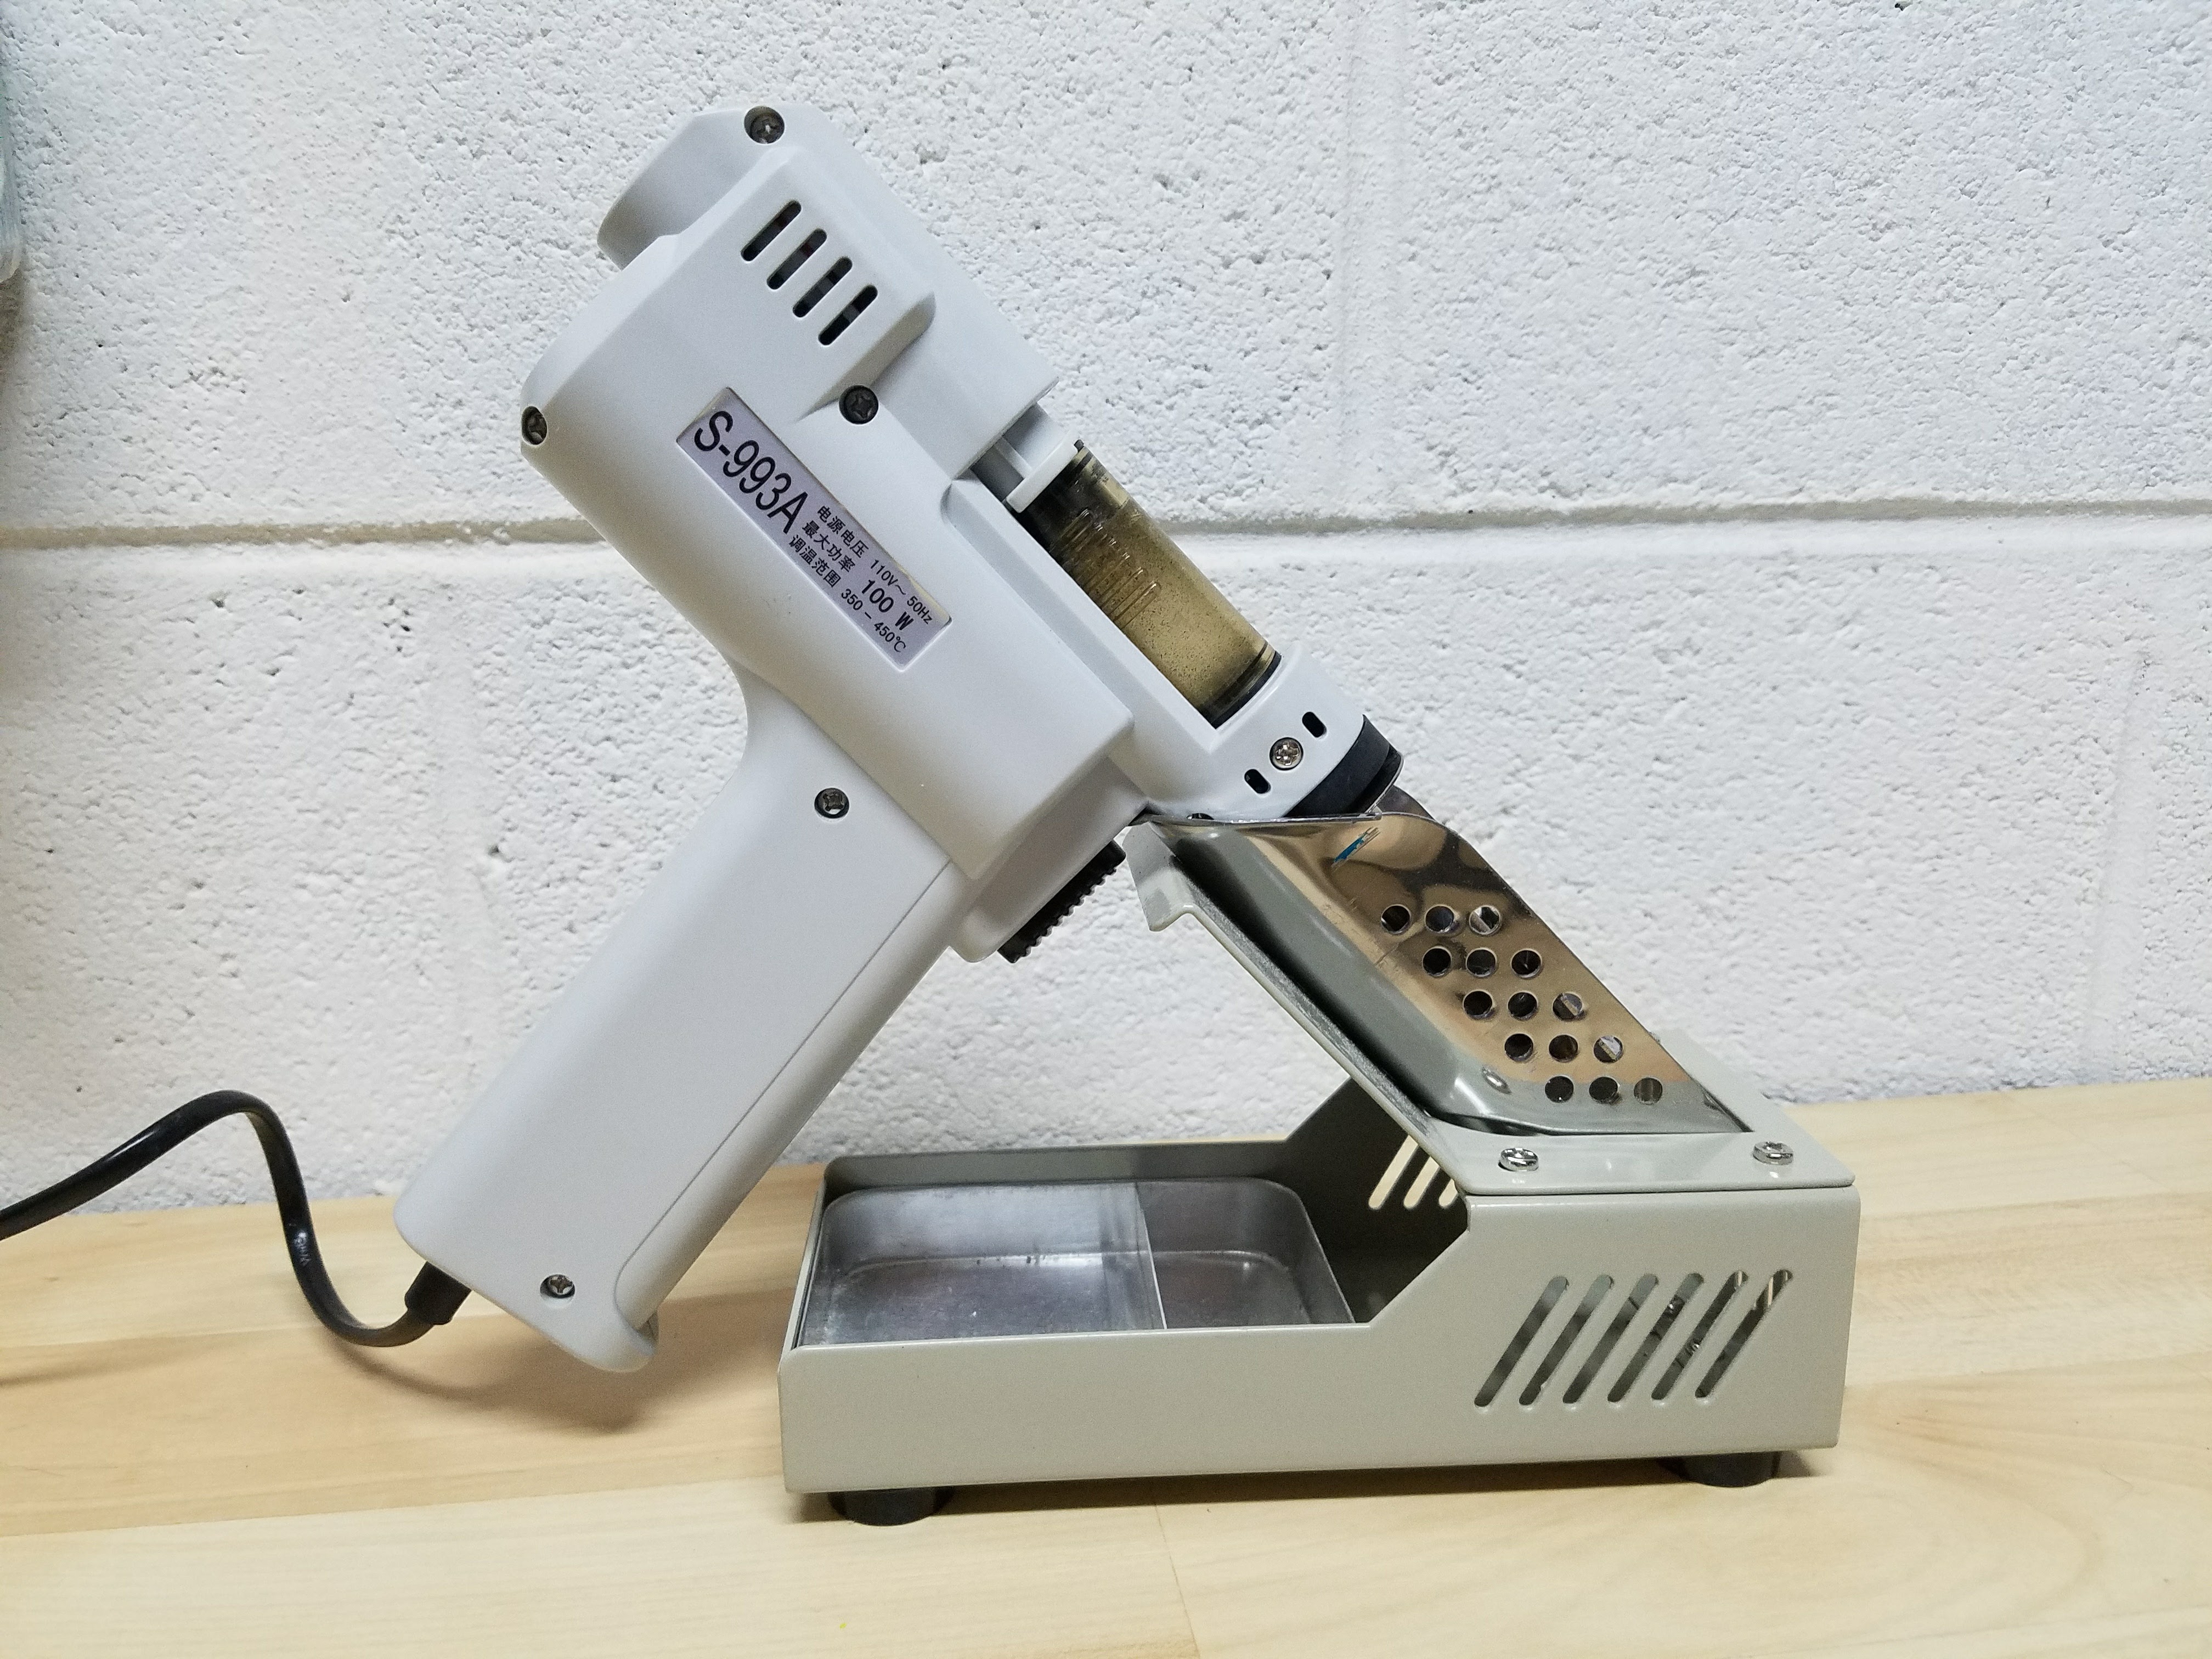
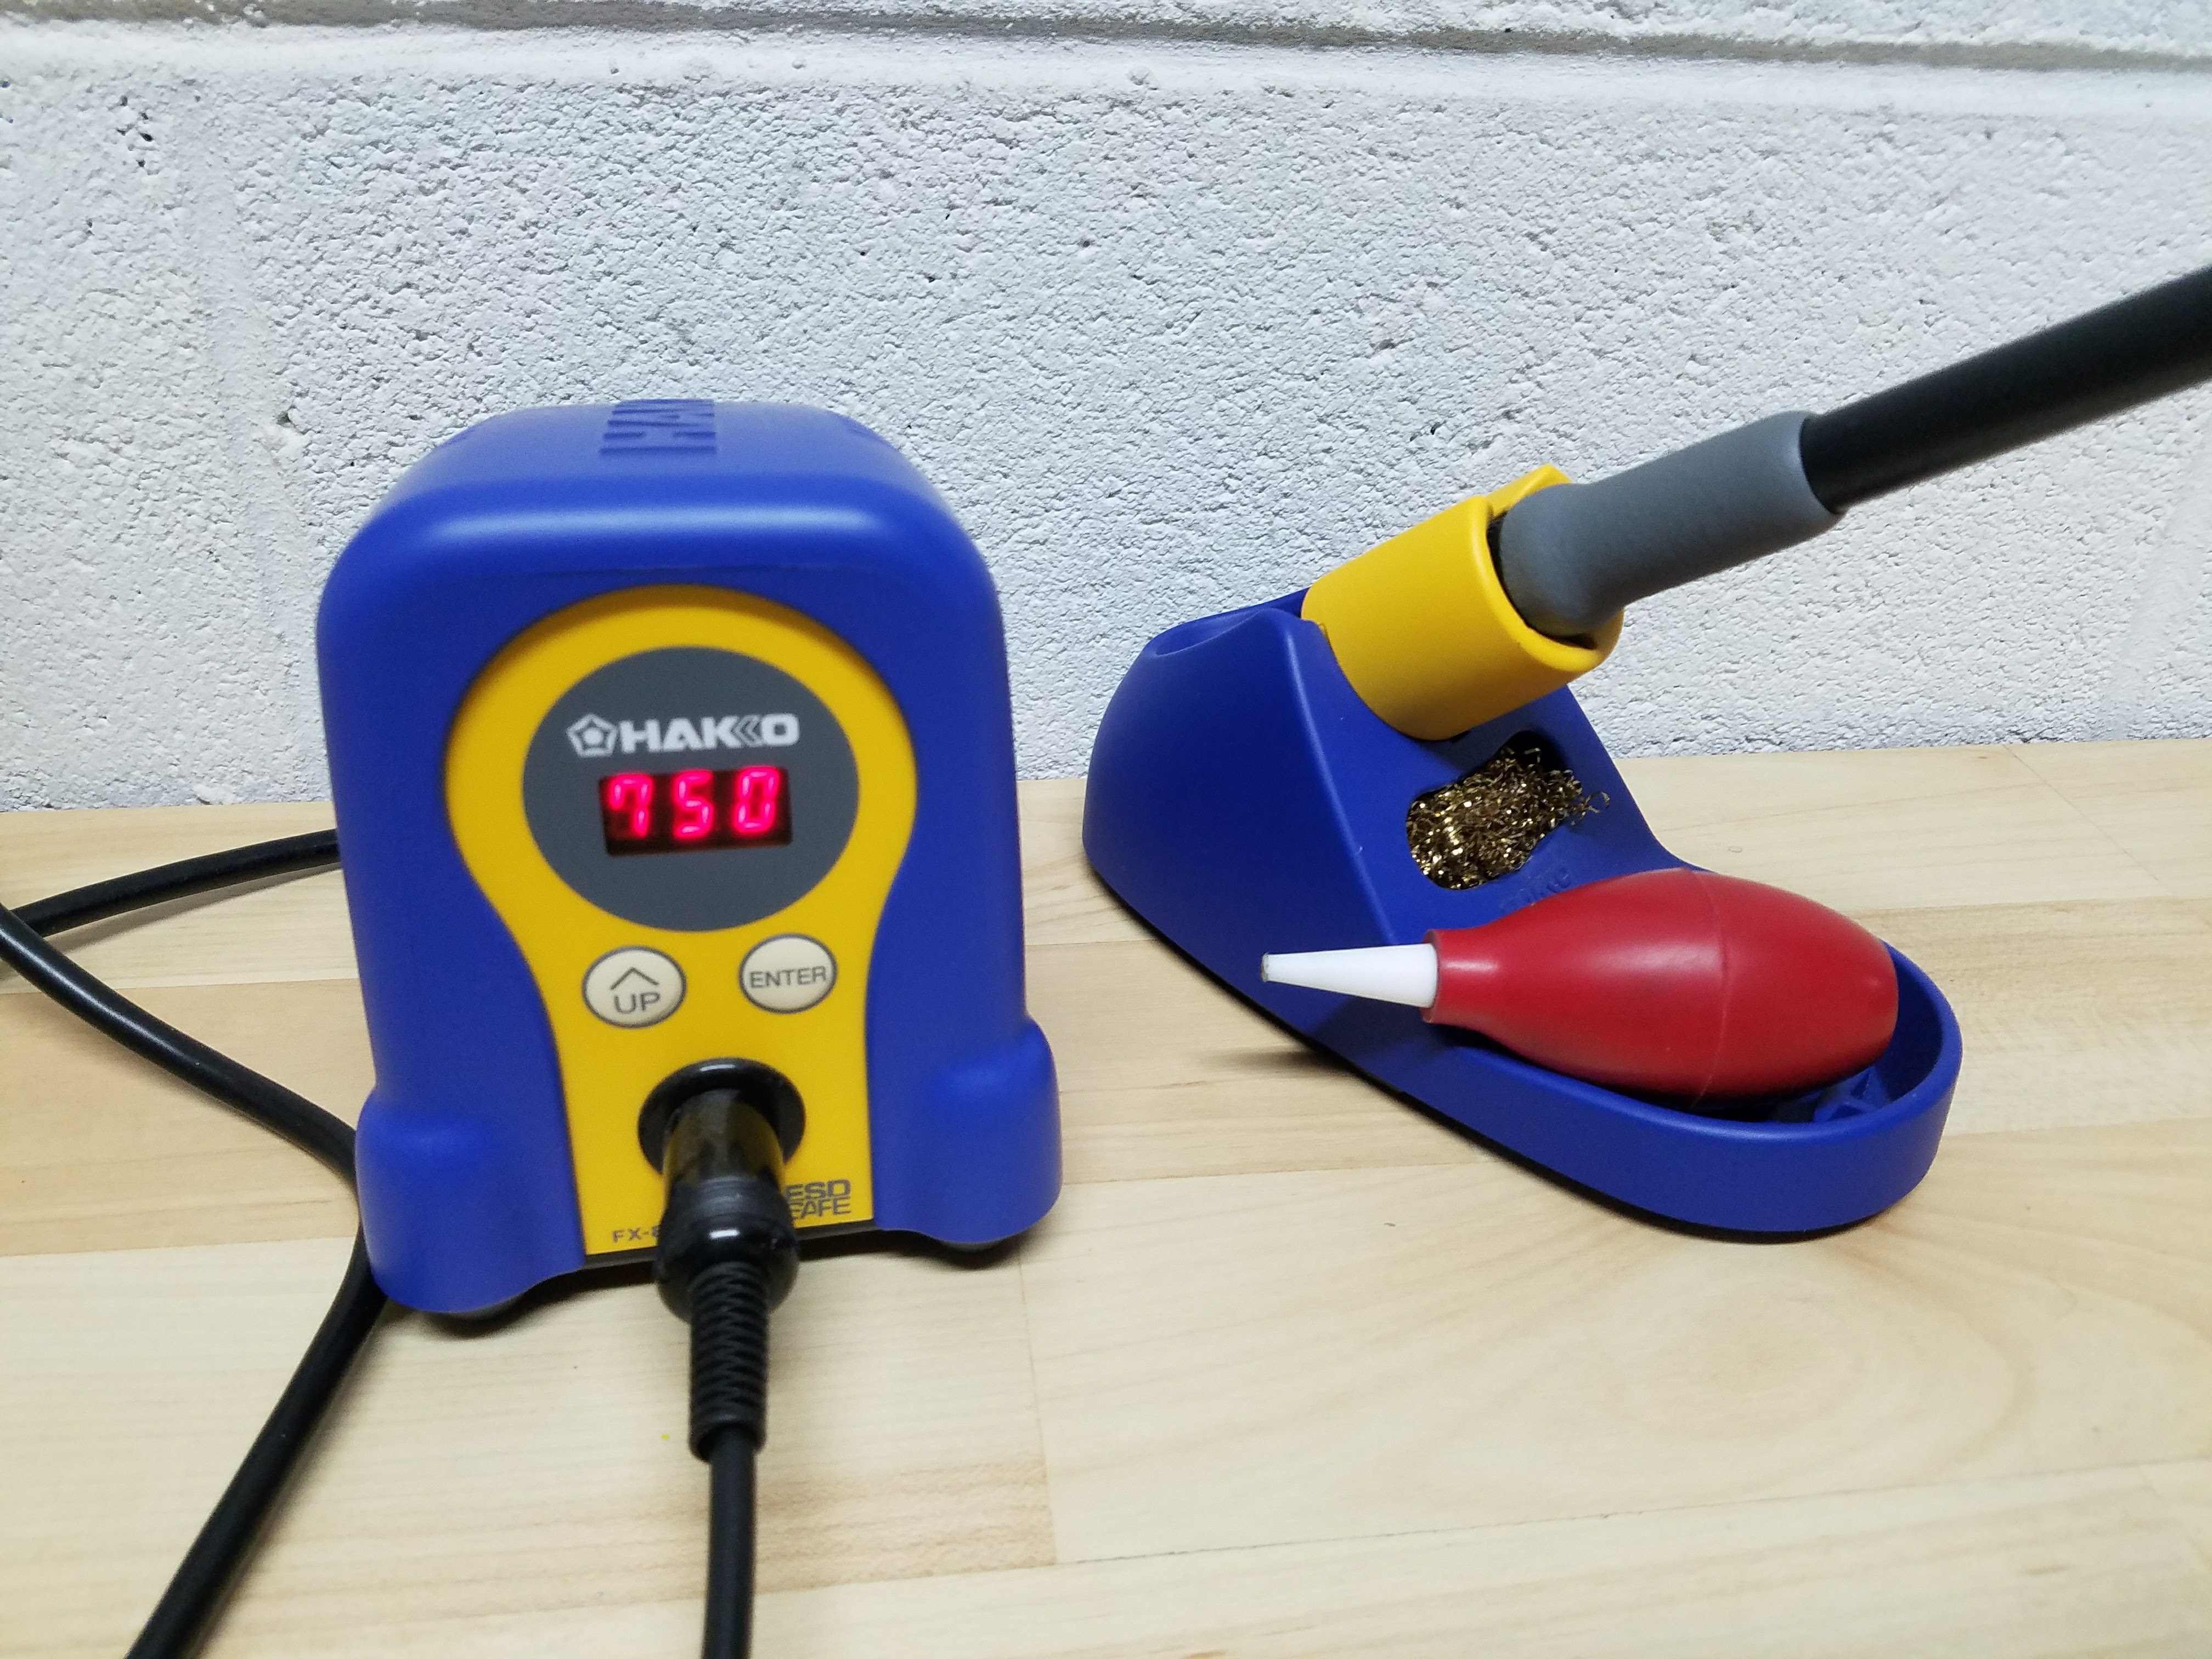
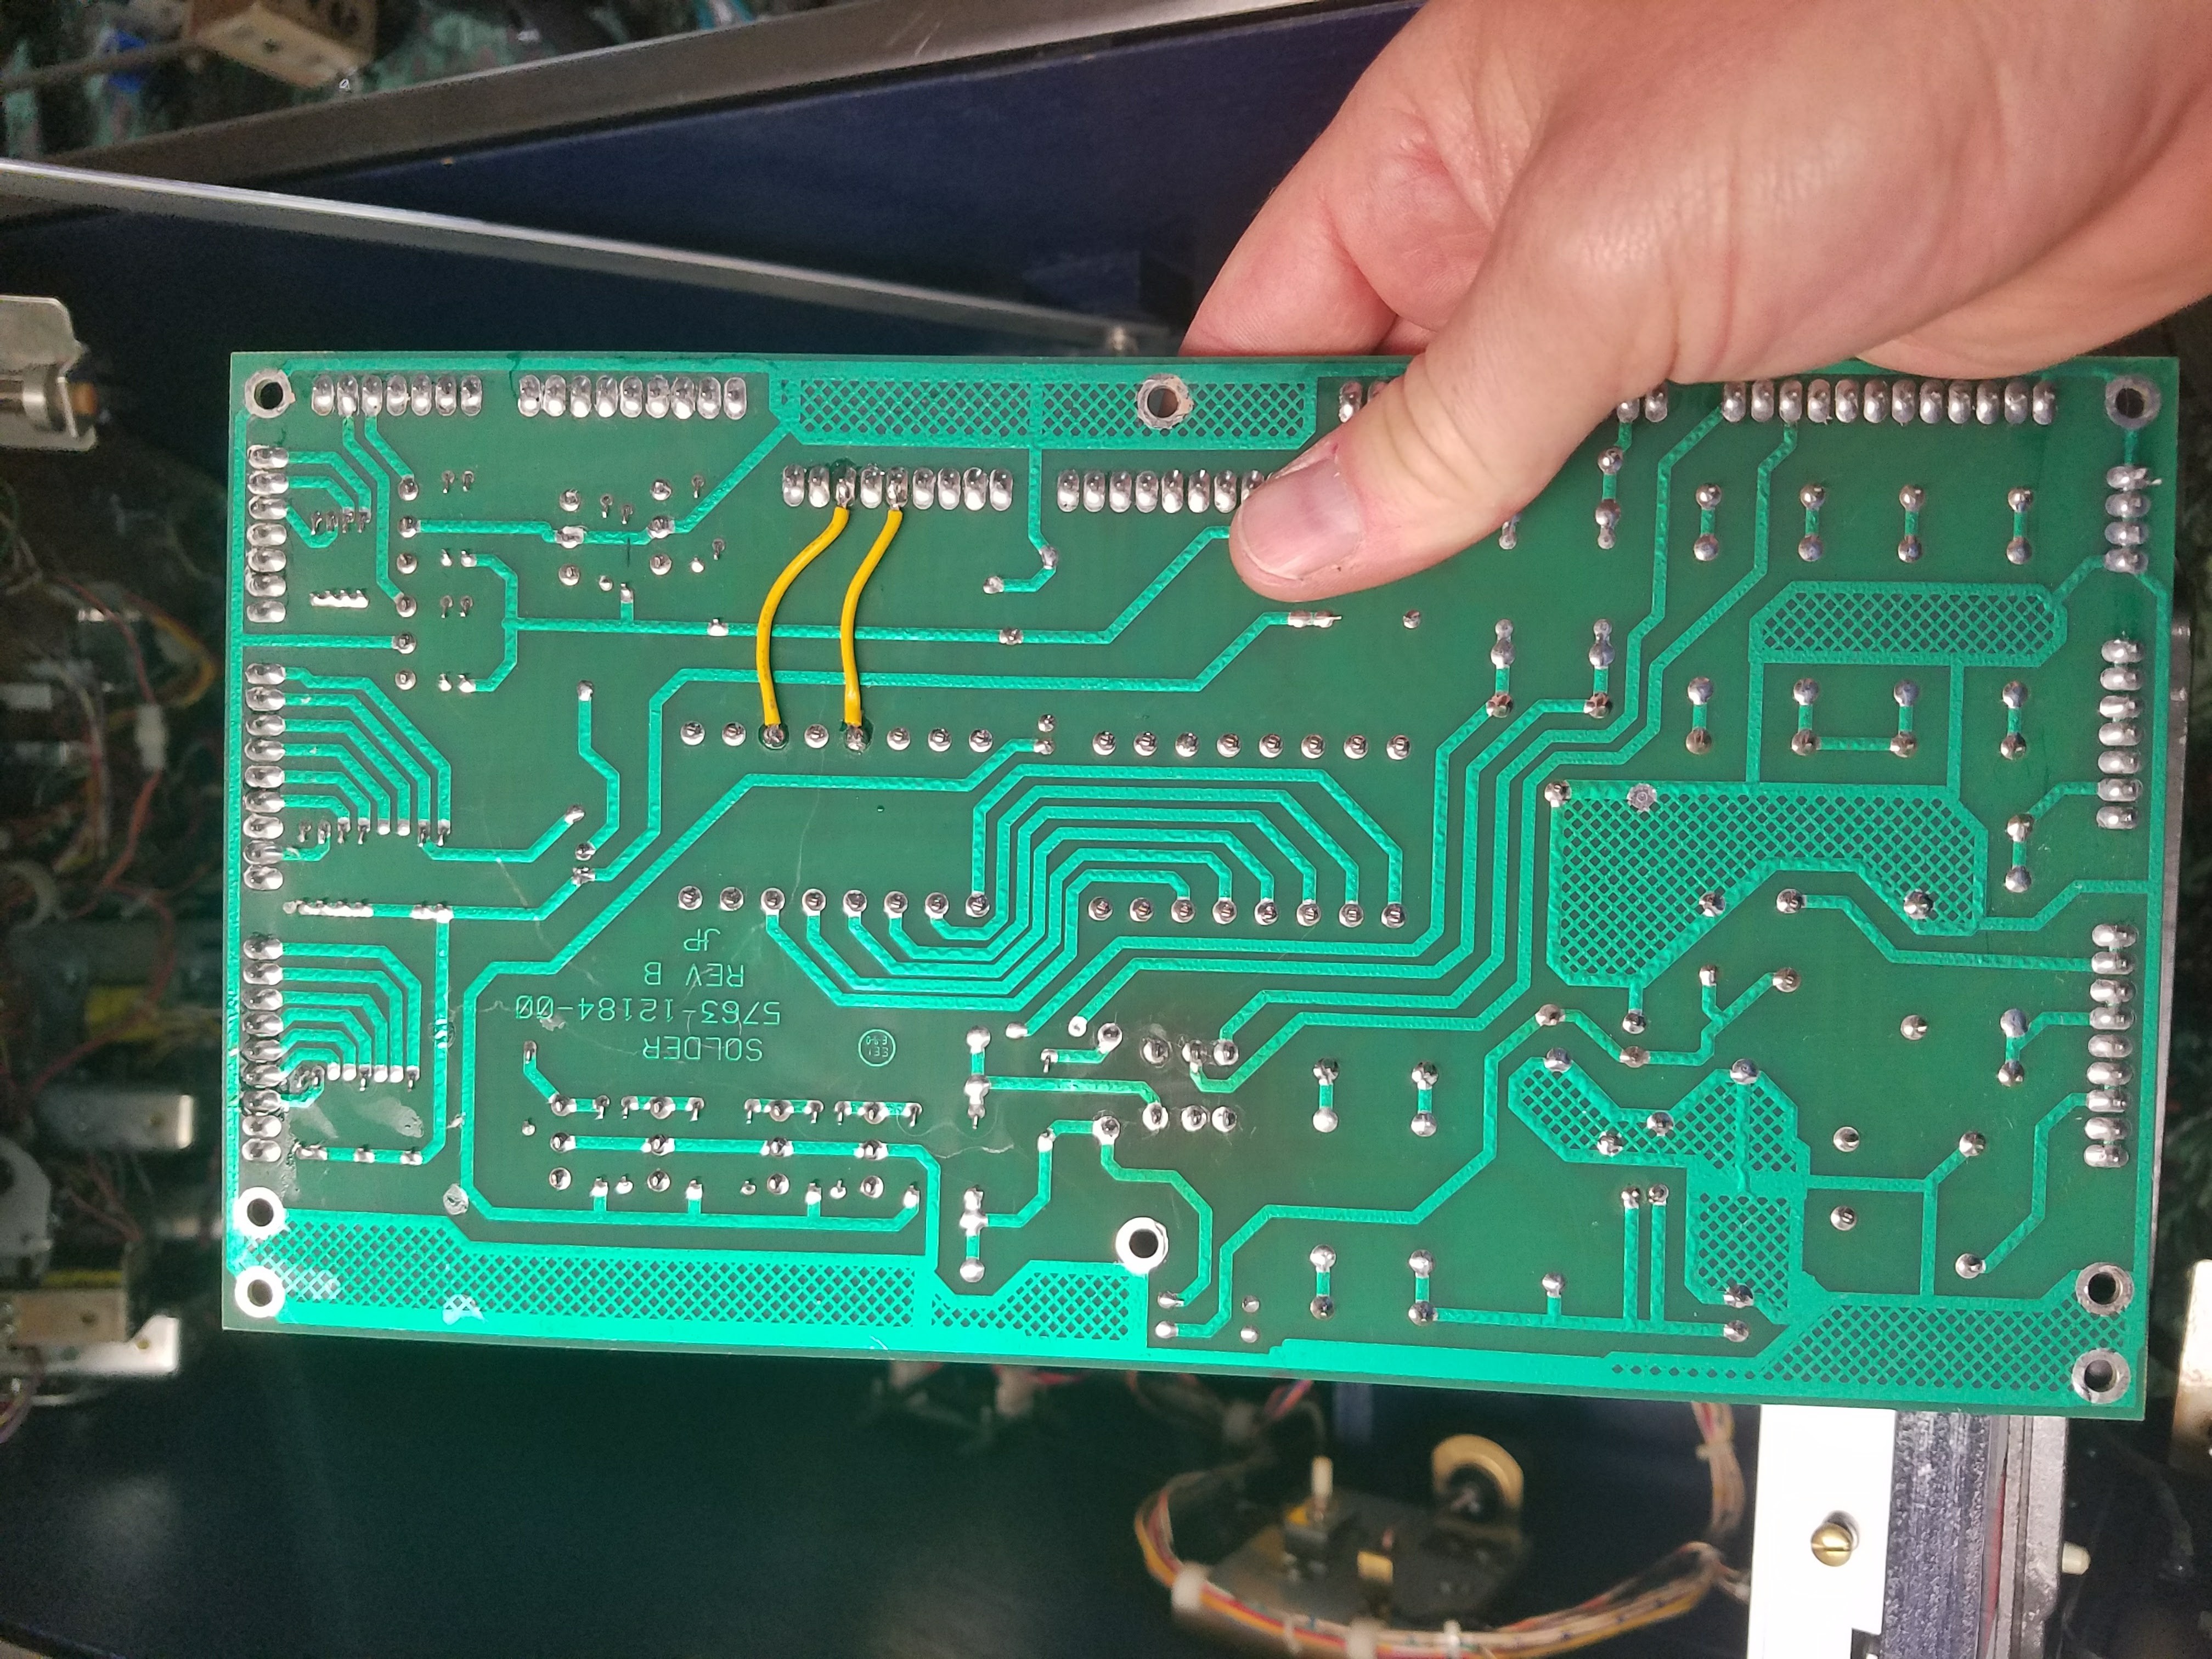
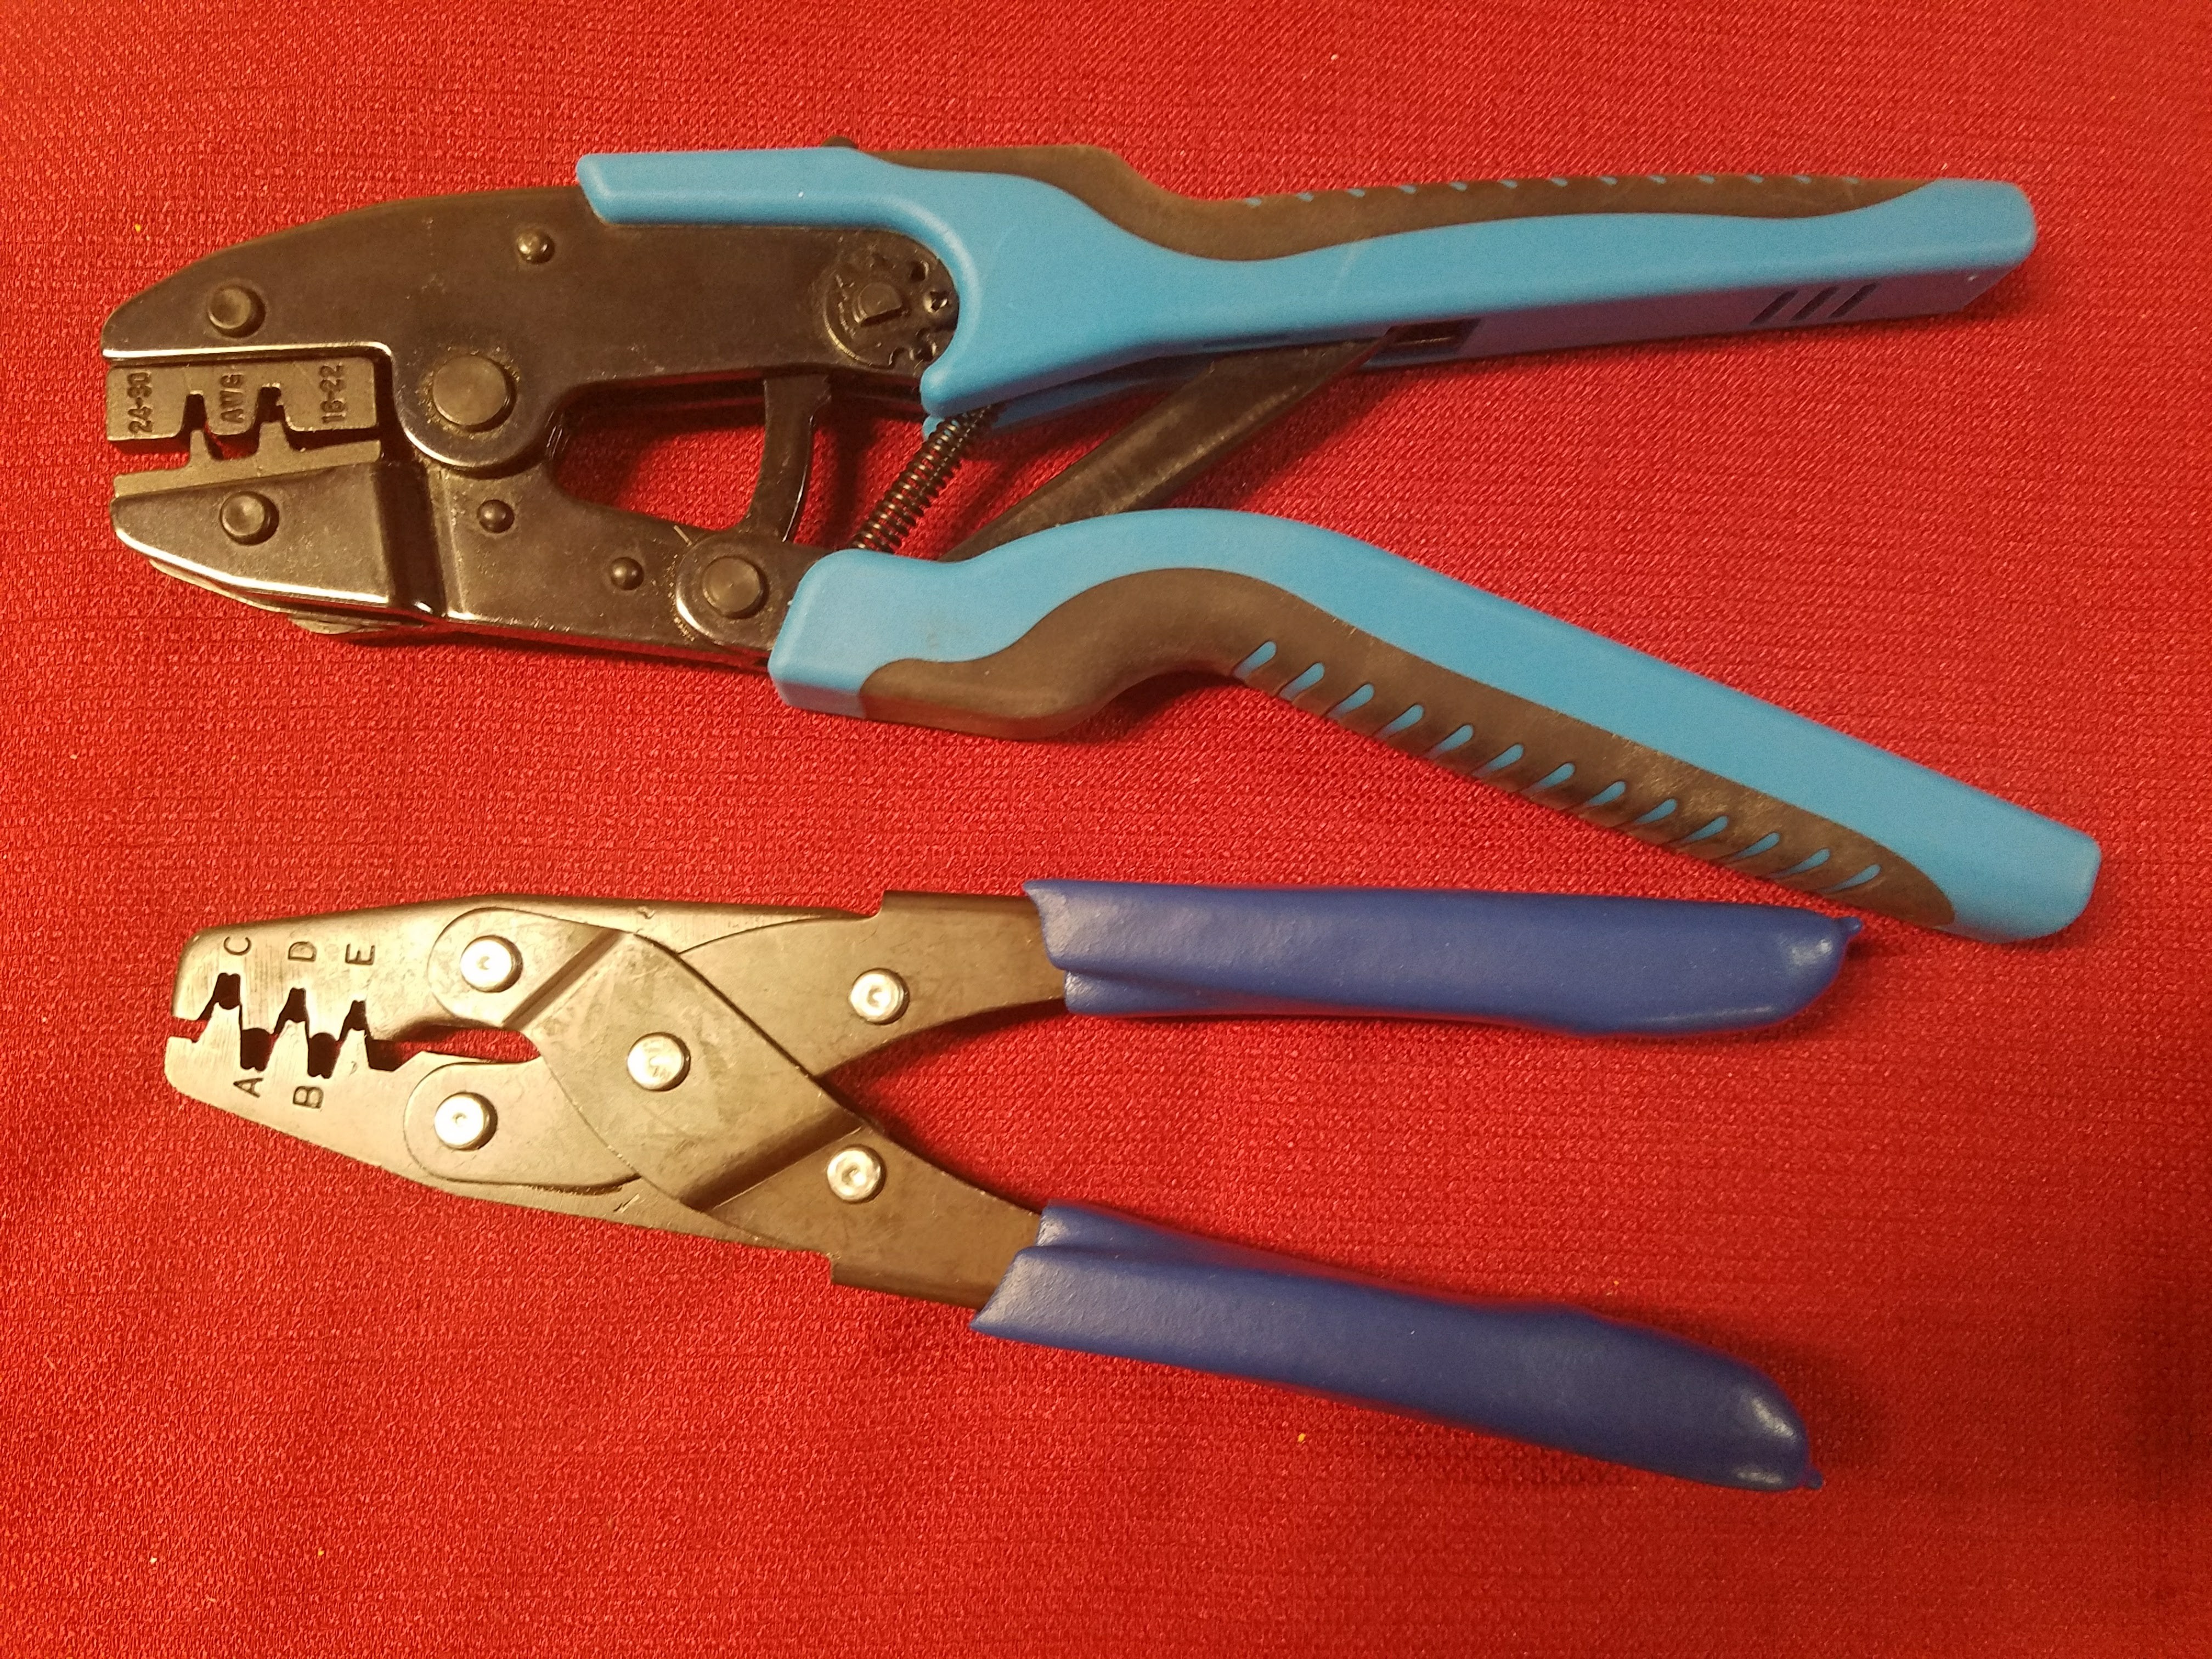
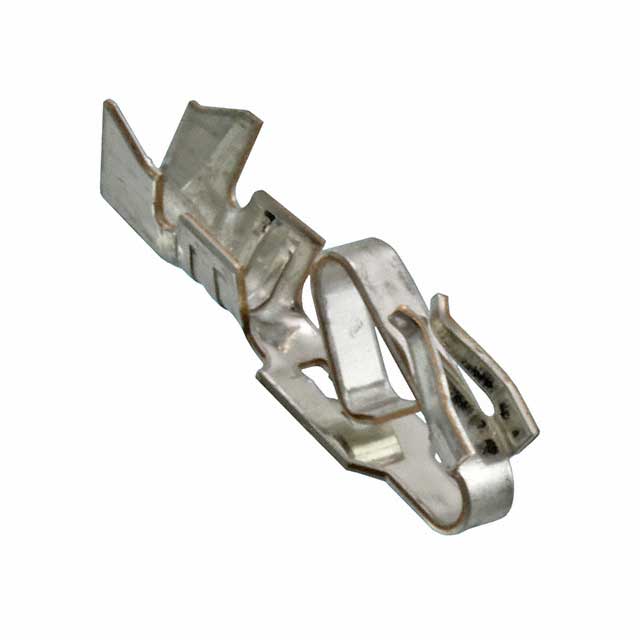
All back together… September 2017. I upgraded the control lamps with Coin Taker premium due to ghosting issues. Just save yourself the hassle and always use non ghosting LEDs for the control lamps.I am amazed at how great this Earthshaker looks. I was worried about taking on such a big project but it turns out it is really just 37 smaller projects. Based on what I’ve learned from this, I really look forward to doing this kind of project again.I’ll get new cards made up for apron in the near future.Even got a new power cord for it.Black hammered paint for the coin door. Navy for the inside of the back box and cabinet. Gloss white for the light board for back glass. Metallic finish aluminum for hardware (brackets and such). Not shown is a gloss black for the pan head bolts.These acrylic paints were pretty much a direct match for the Earthshaker colors. I purchased them from a local Michaels arts and crafts store.Should be able to Google search the color codes, looks like there are a few places on the web where you can purchase this stuff.Getting the blue to match up was a bit of an issue… I purchased these and none were a good enough direct match to blend in. Luckly the worst of the blue was the Zone 6 shot, where the 3000 w/lit insert is. Since I never could get a good match to touch it up, I just went over all of that blue with the True Blue in the middle.Color codes again if need.When I went to replace all of the header pins on the circuit boards, I purchased this “S-993A” desolding tool from China for about $100. While it does work, I ended up not using it and to be honest, I’d not recommend it.Get this…. this changed up my soldering game big time. If you’ve been using the dinky pencil soldering irons, this is is a game changer for you! I highly recommend the Hakko FX888D-23BY. With the Hakko and a cheap desoldering bulb, replacing the header pins wasn’t an big issue… however…I had 3 or 4 open circuit issues from the header pins. In each case, the current track for that given header pin was on the top side of the board. The soldering is done from the bottom side of the board. So at first I though maybe I didn’t have enough solder going through the hole of the board to make contact with the solder pad at the end of the current track… so I added more solder but that didn’t help. So what I think really happened was during the removal of the header pins, I also removed the solder pad at the end of the current track. My fix was to add wire to the bottom side of the circuit board from header pin to given component.Crimping pliers… you’ve got to have the correct kind. The top one is from the SG Tool Aid SGT18980 kit. If you are going to be doing a lot of crimping like I did, then I highly suggest something like this. The bottom pair of crimping pliers are Sargent Tools 1028 CT and they are OK if you are doing a few crimps here and there.Molex 0008520113. This is Digi-Key part number WM2313-ND. I ordered about 500 for this project, used maybe 425-ish.CONN HEADER 9POS .156 VERT TIN at Digi-Key. WM50008-xx-ND xx = number of positions needed. Example, WM50008-09-ND is a 9 position header.CONN HOUSING 2POS .156 W/RAMP at Digi-Key WM2100-ND is a 2 position housing. Add +1 for each additional housing position needed. Examples: WM2102-ND is a 4 position housing WM2107-ND is a 9 position housing.

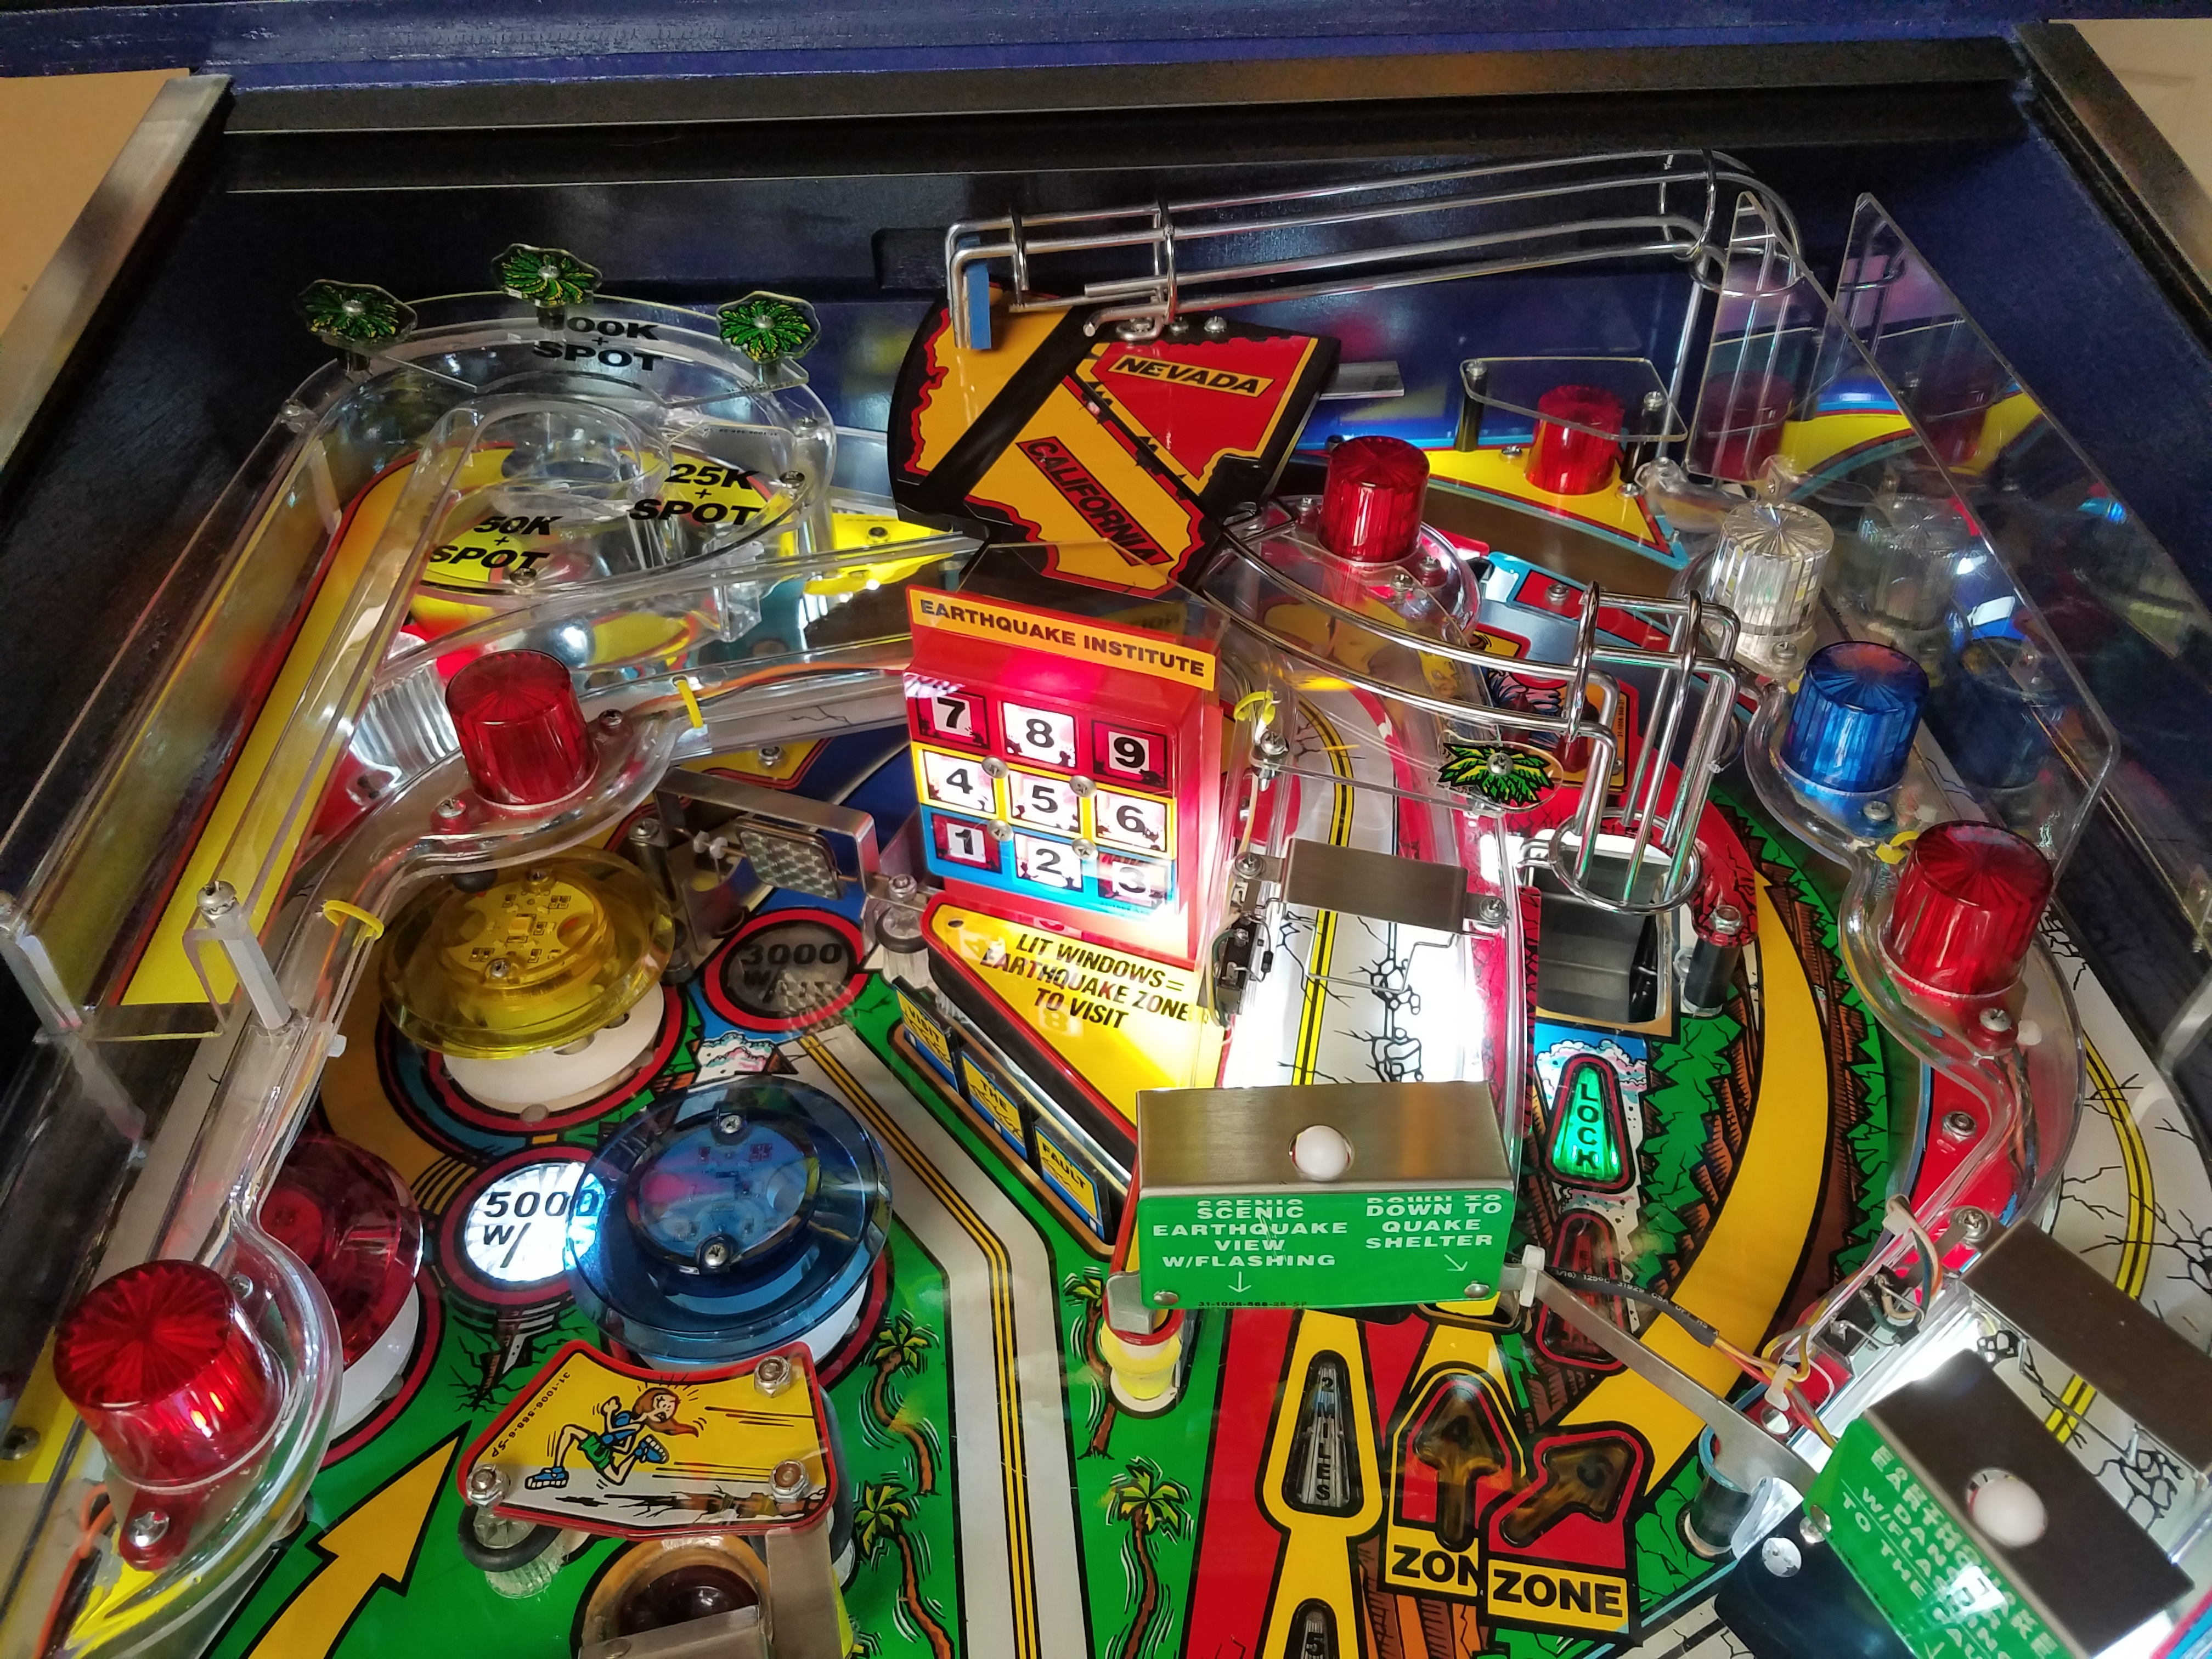
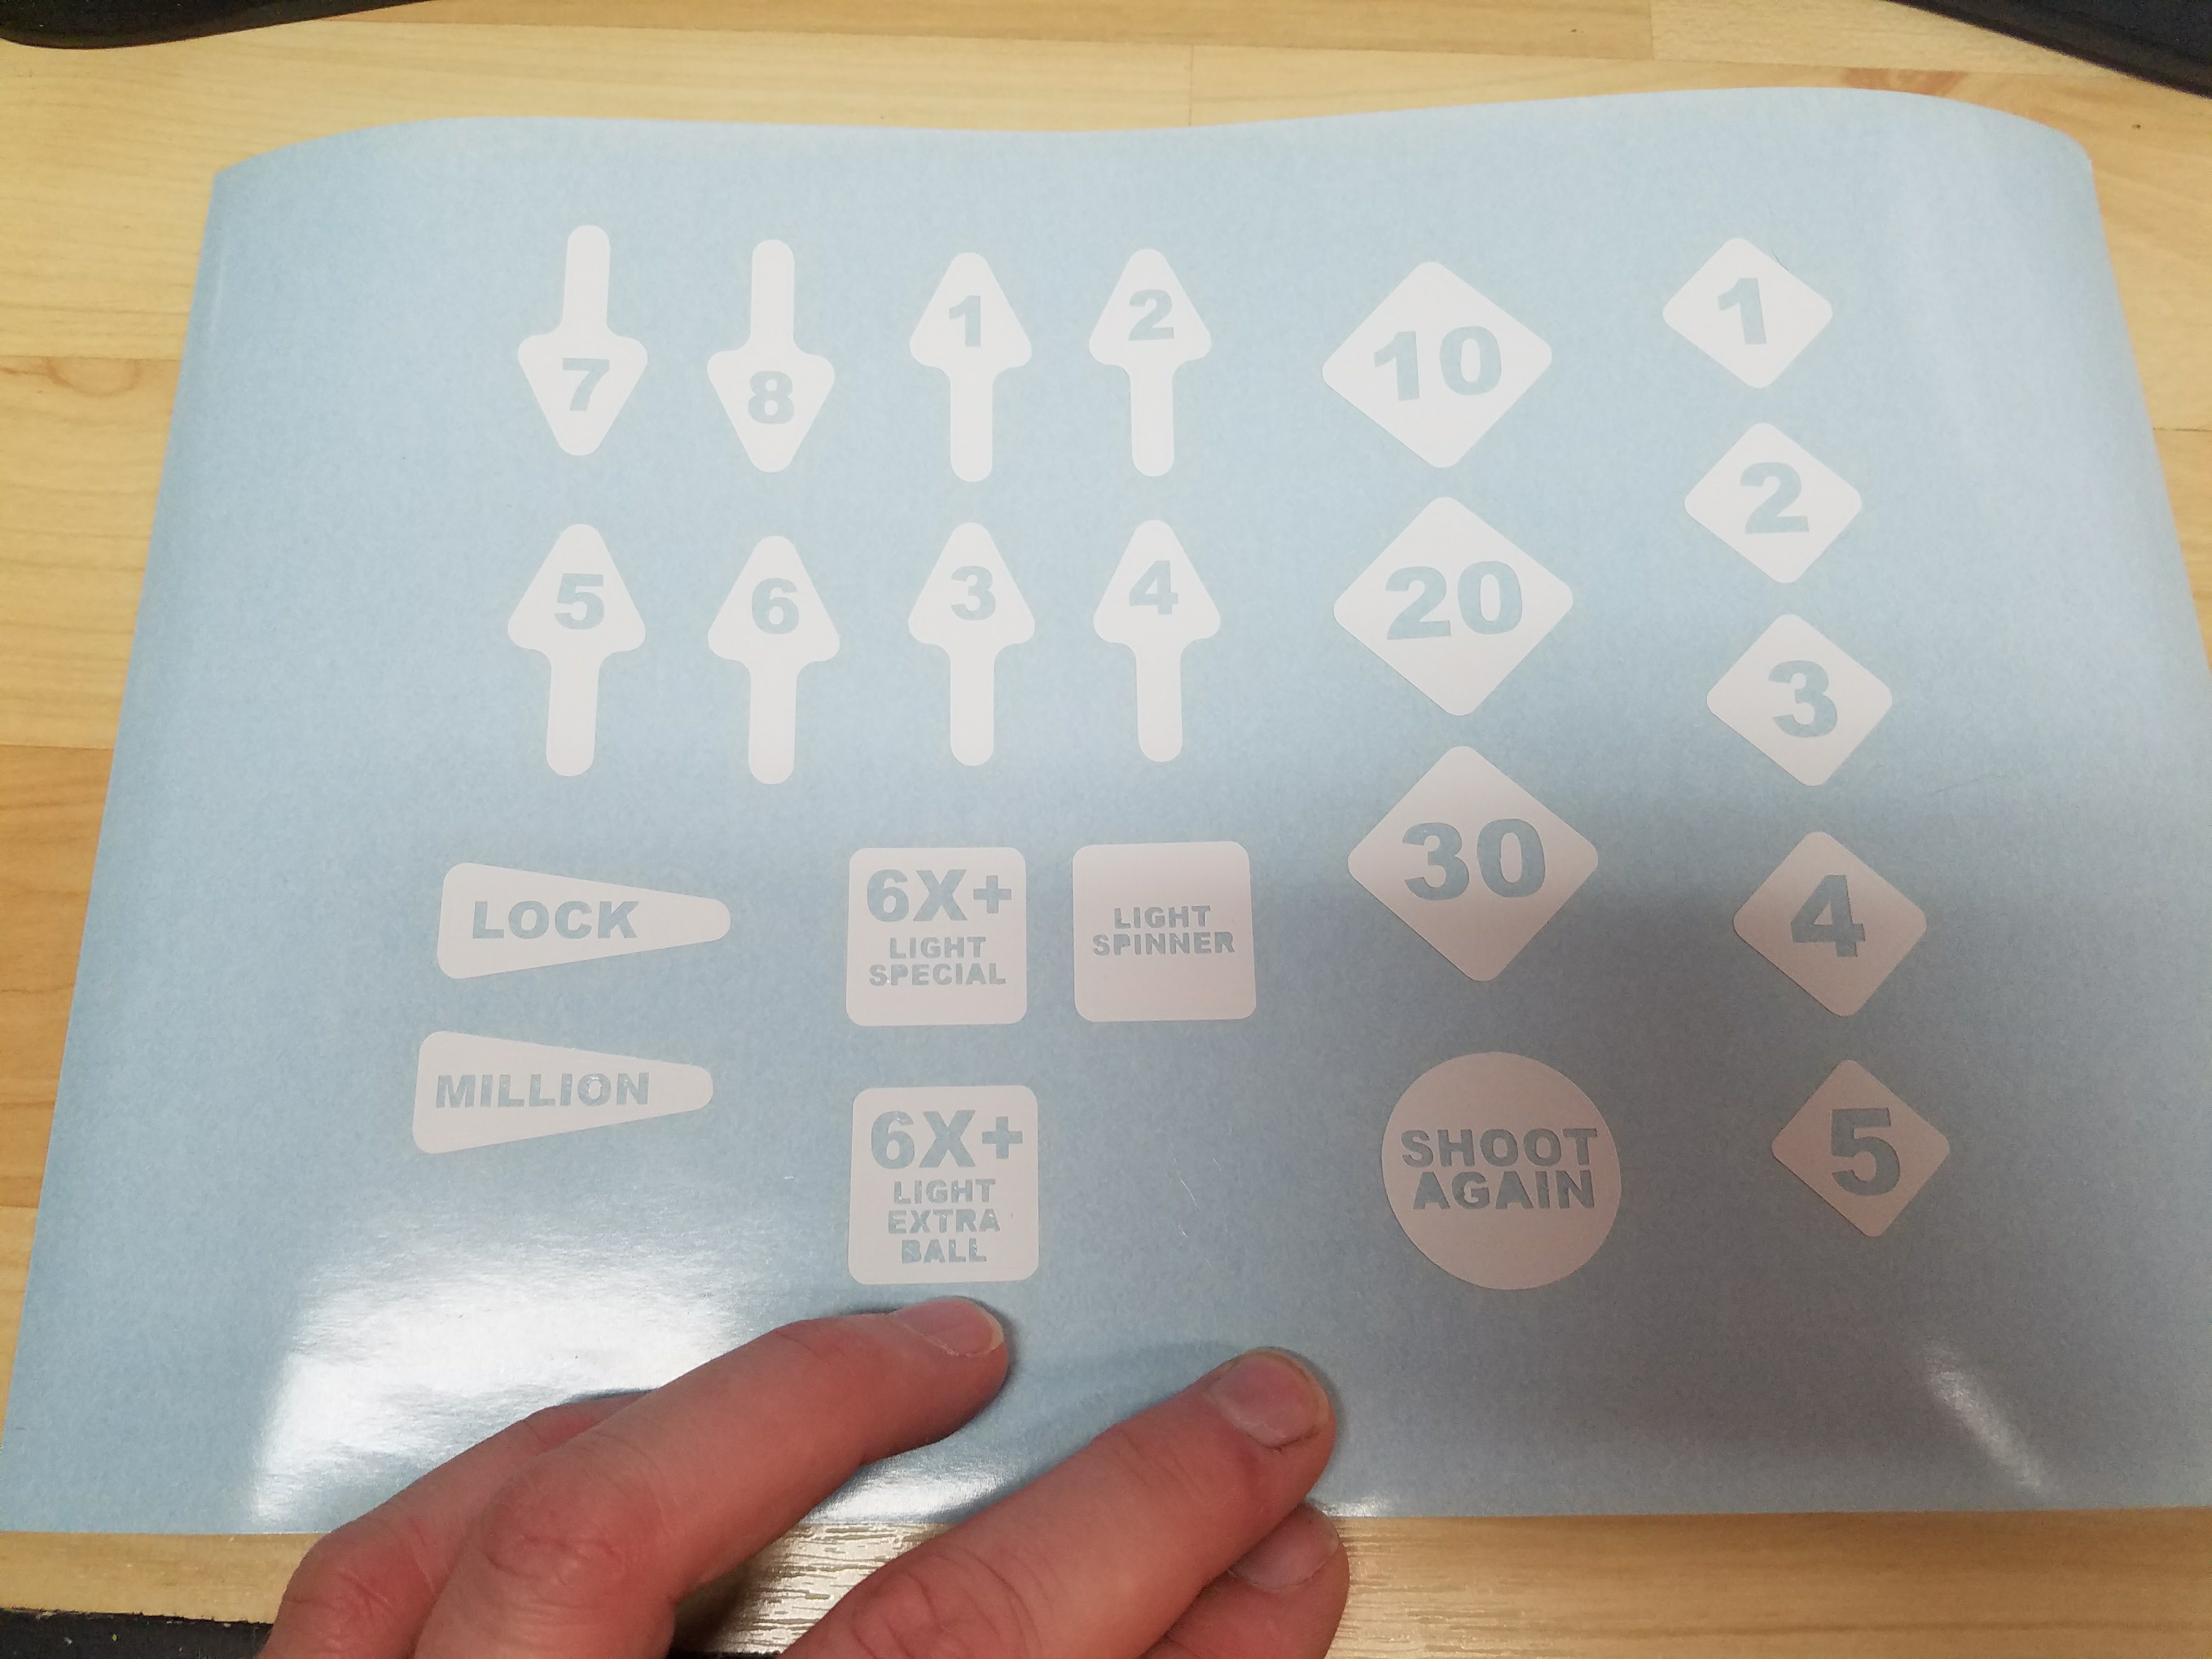 Since I can do vinyl work, I figured I’m make my own stencils. The files are online for anyone who wants them.https://app.box.com/s/8bskzn4iw8gkkxsr3sa0pozm291g2rfb