I did an NVRAM install on my Black Knight and it fixed a major boot up issue it had. But on top of that, I really like the idea of removing the threat of battery rot. To that end, I would highly suggest doing this upgrade. No fancy tools needed and if you have decent soldering skills then you can handle this. I purchased my NVRAM kit from https://nvram.weebly.com/.
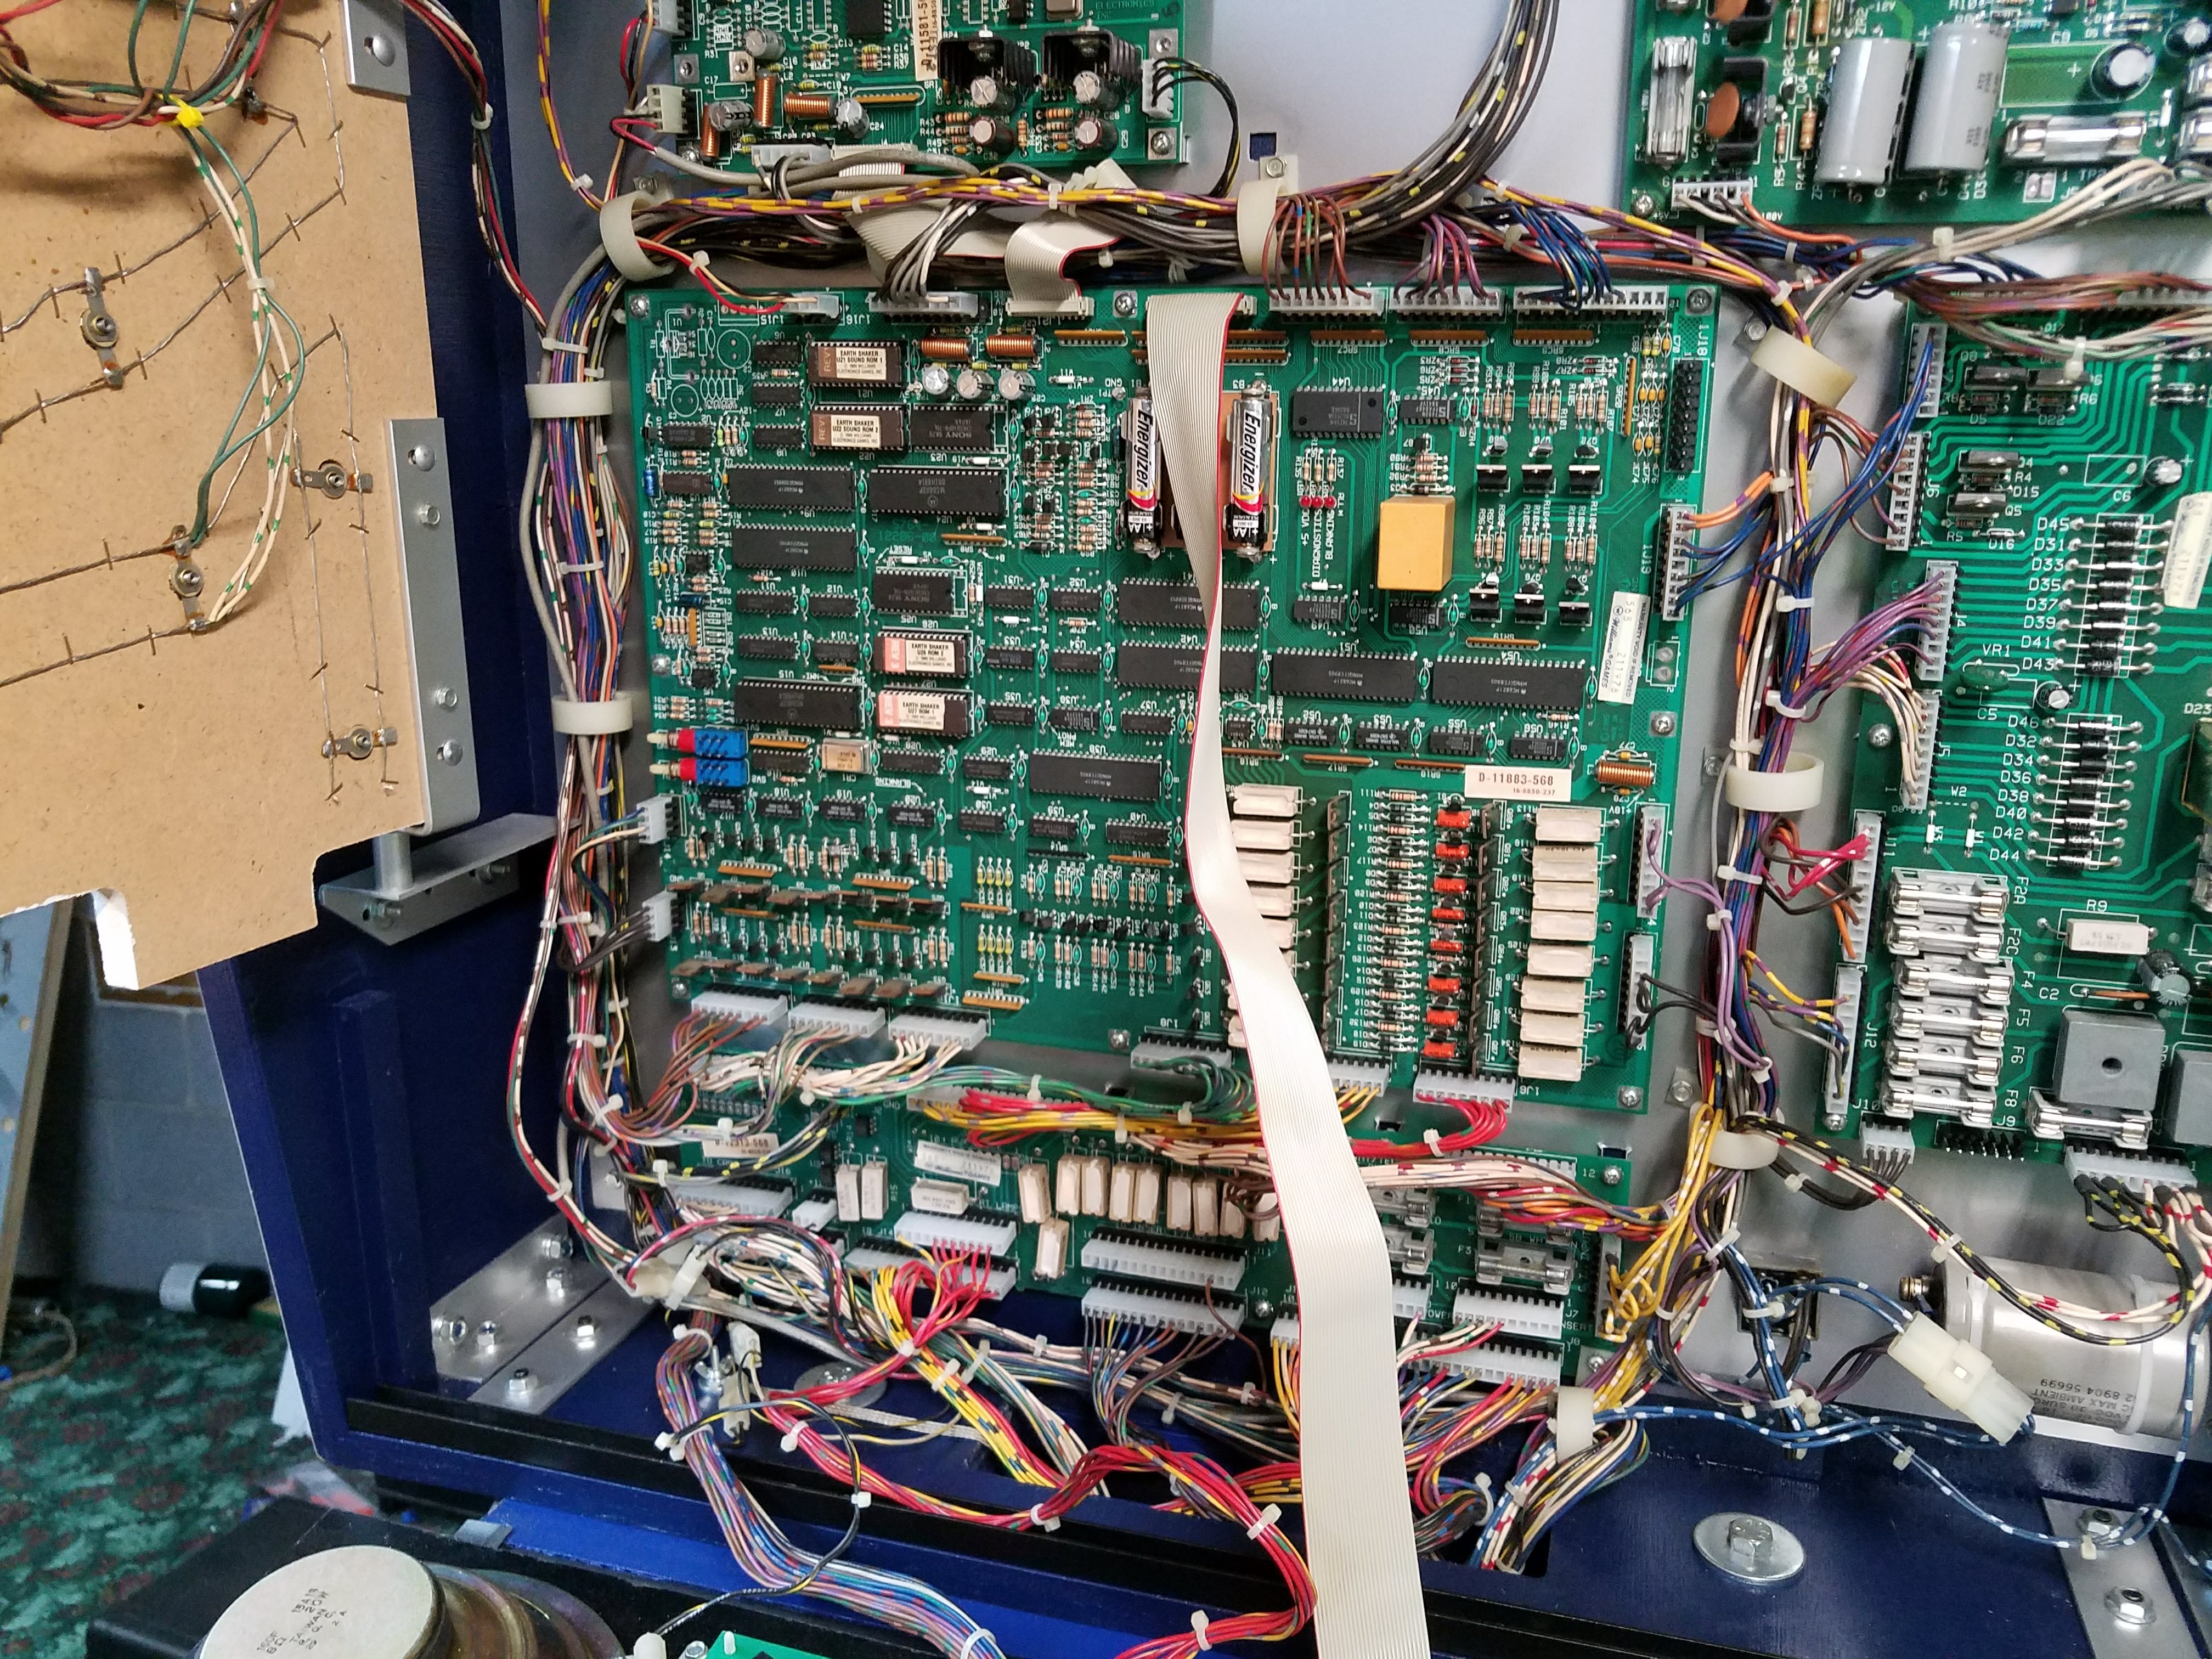
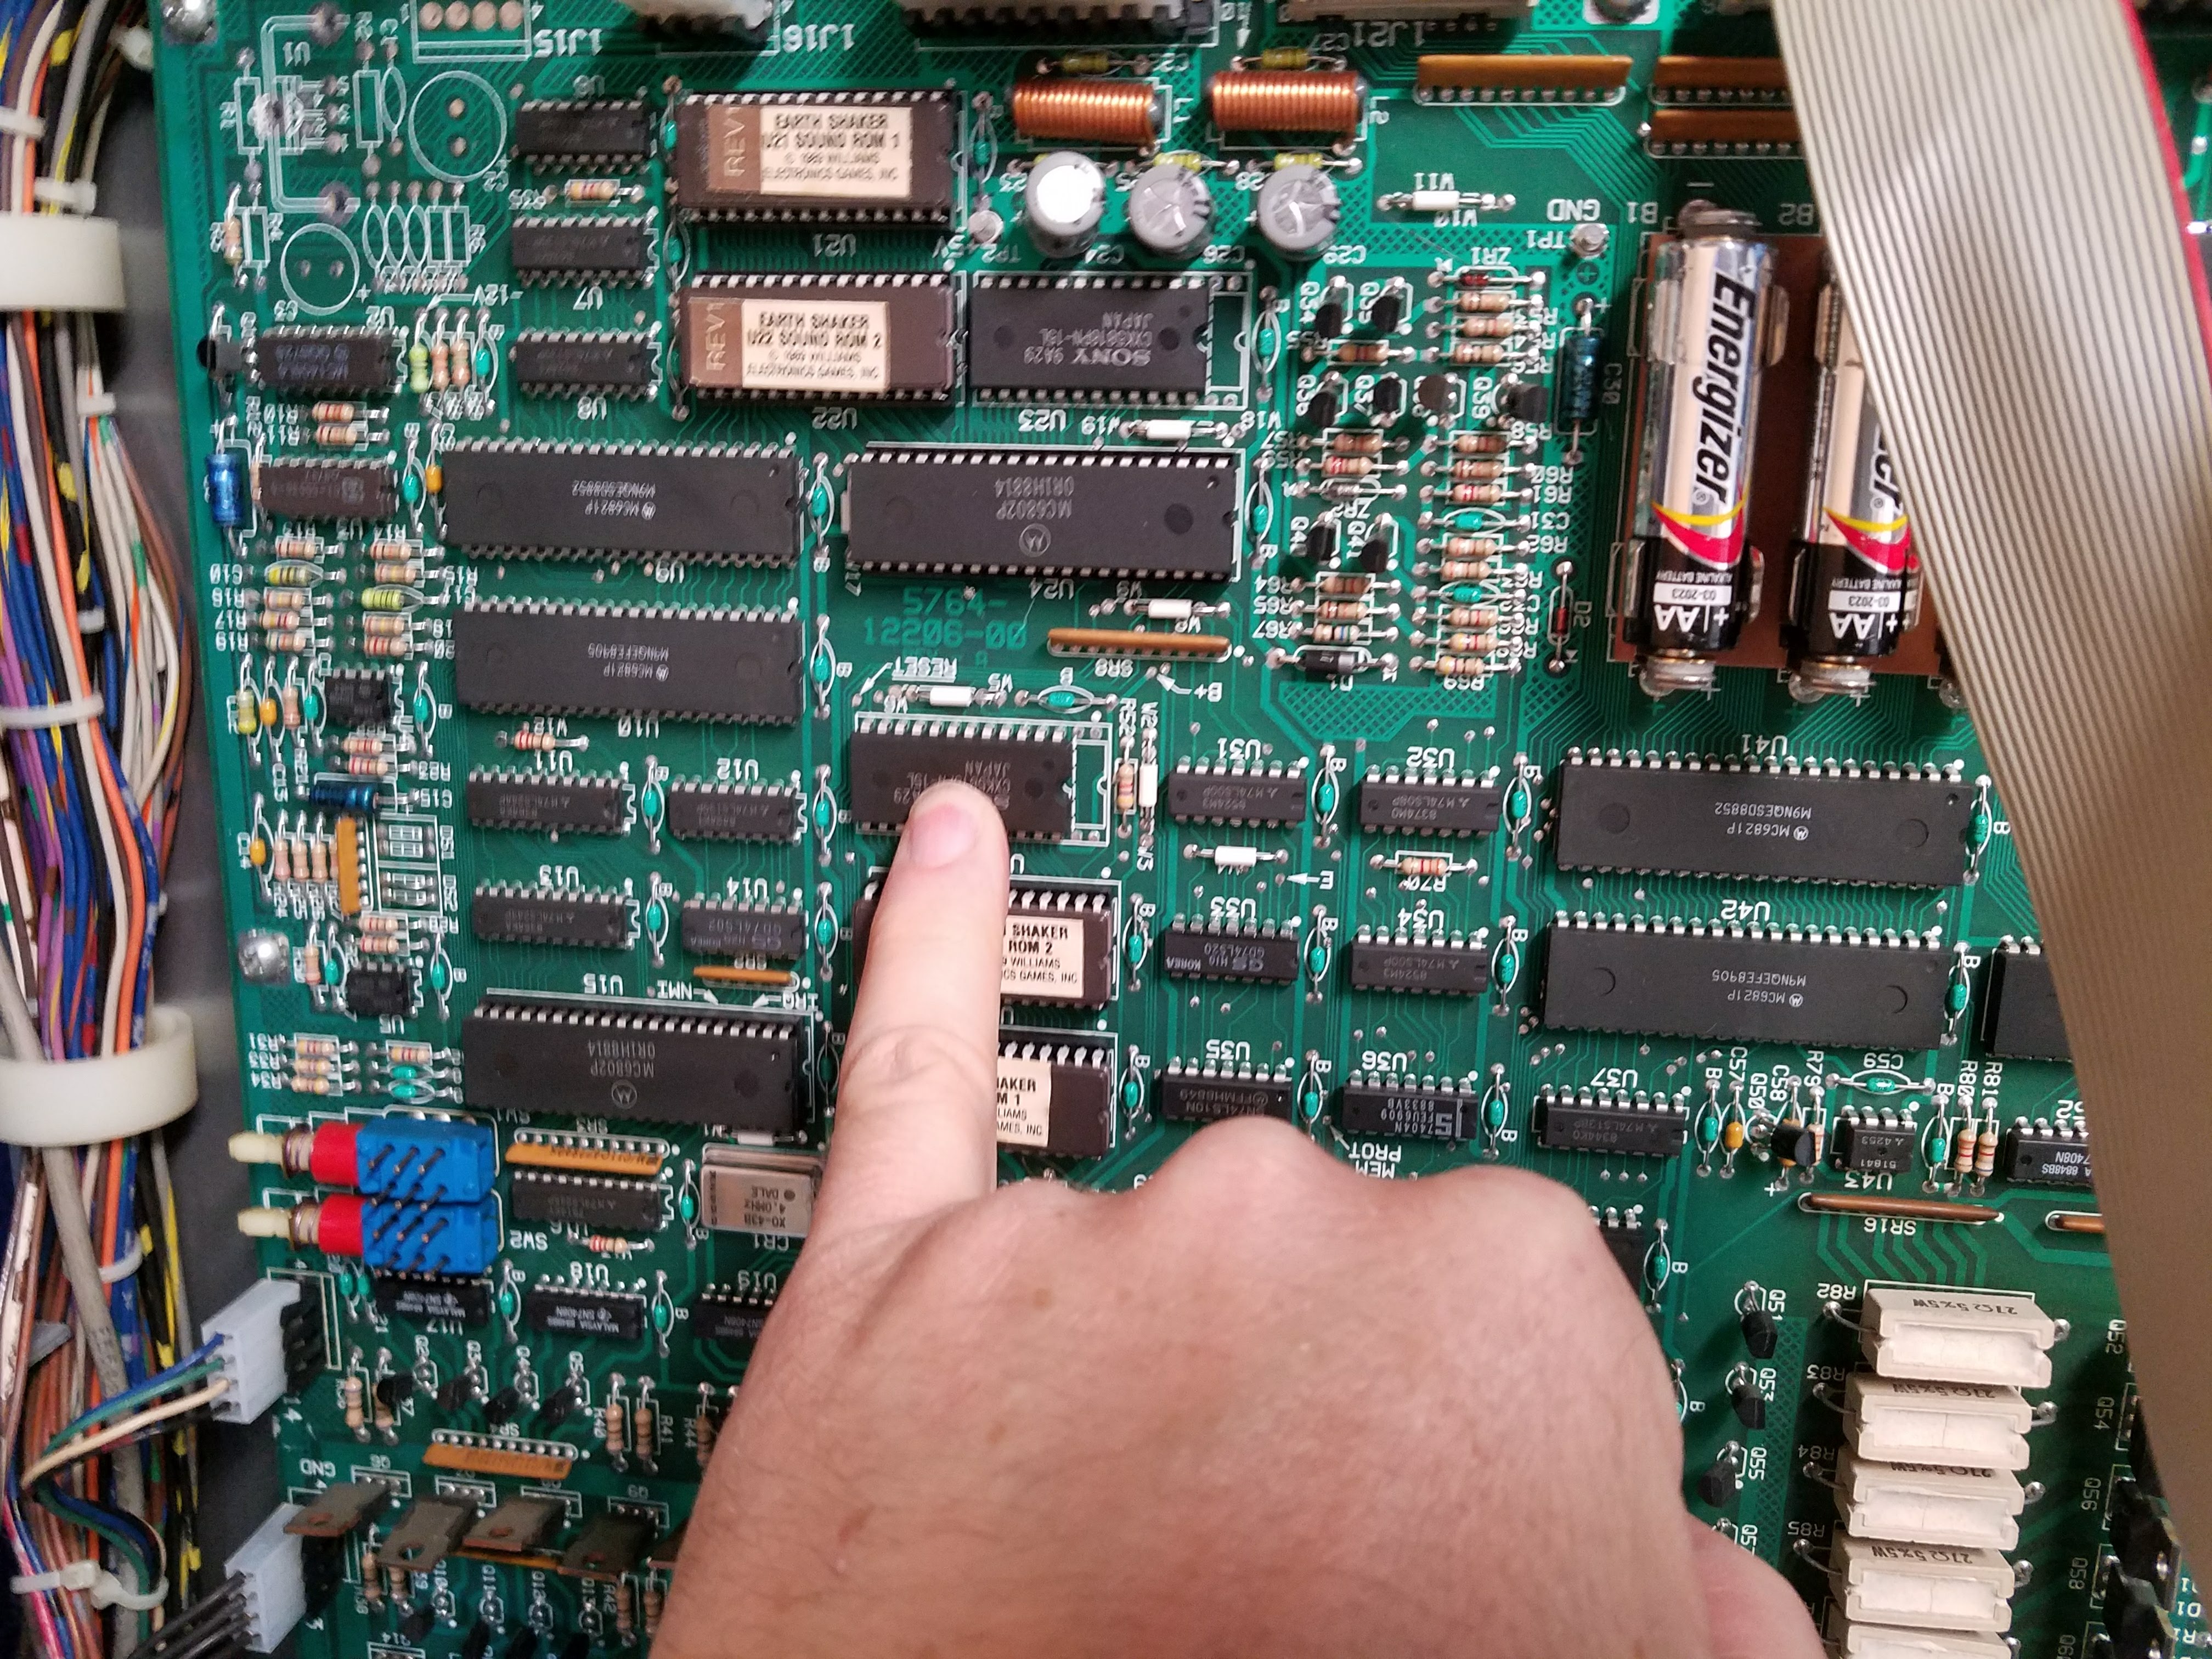
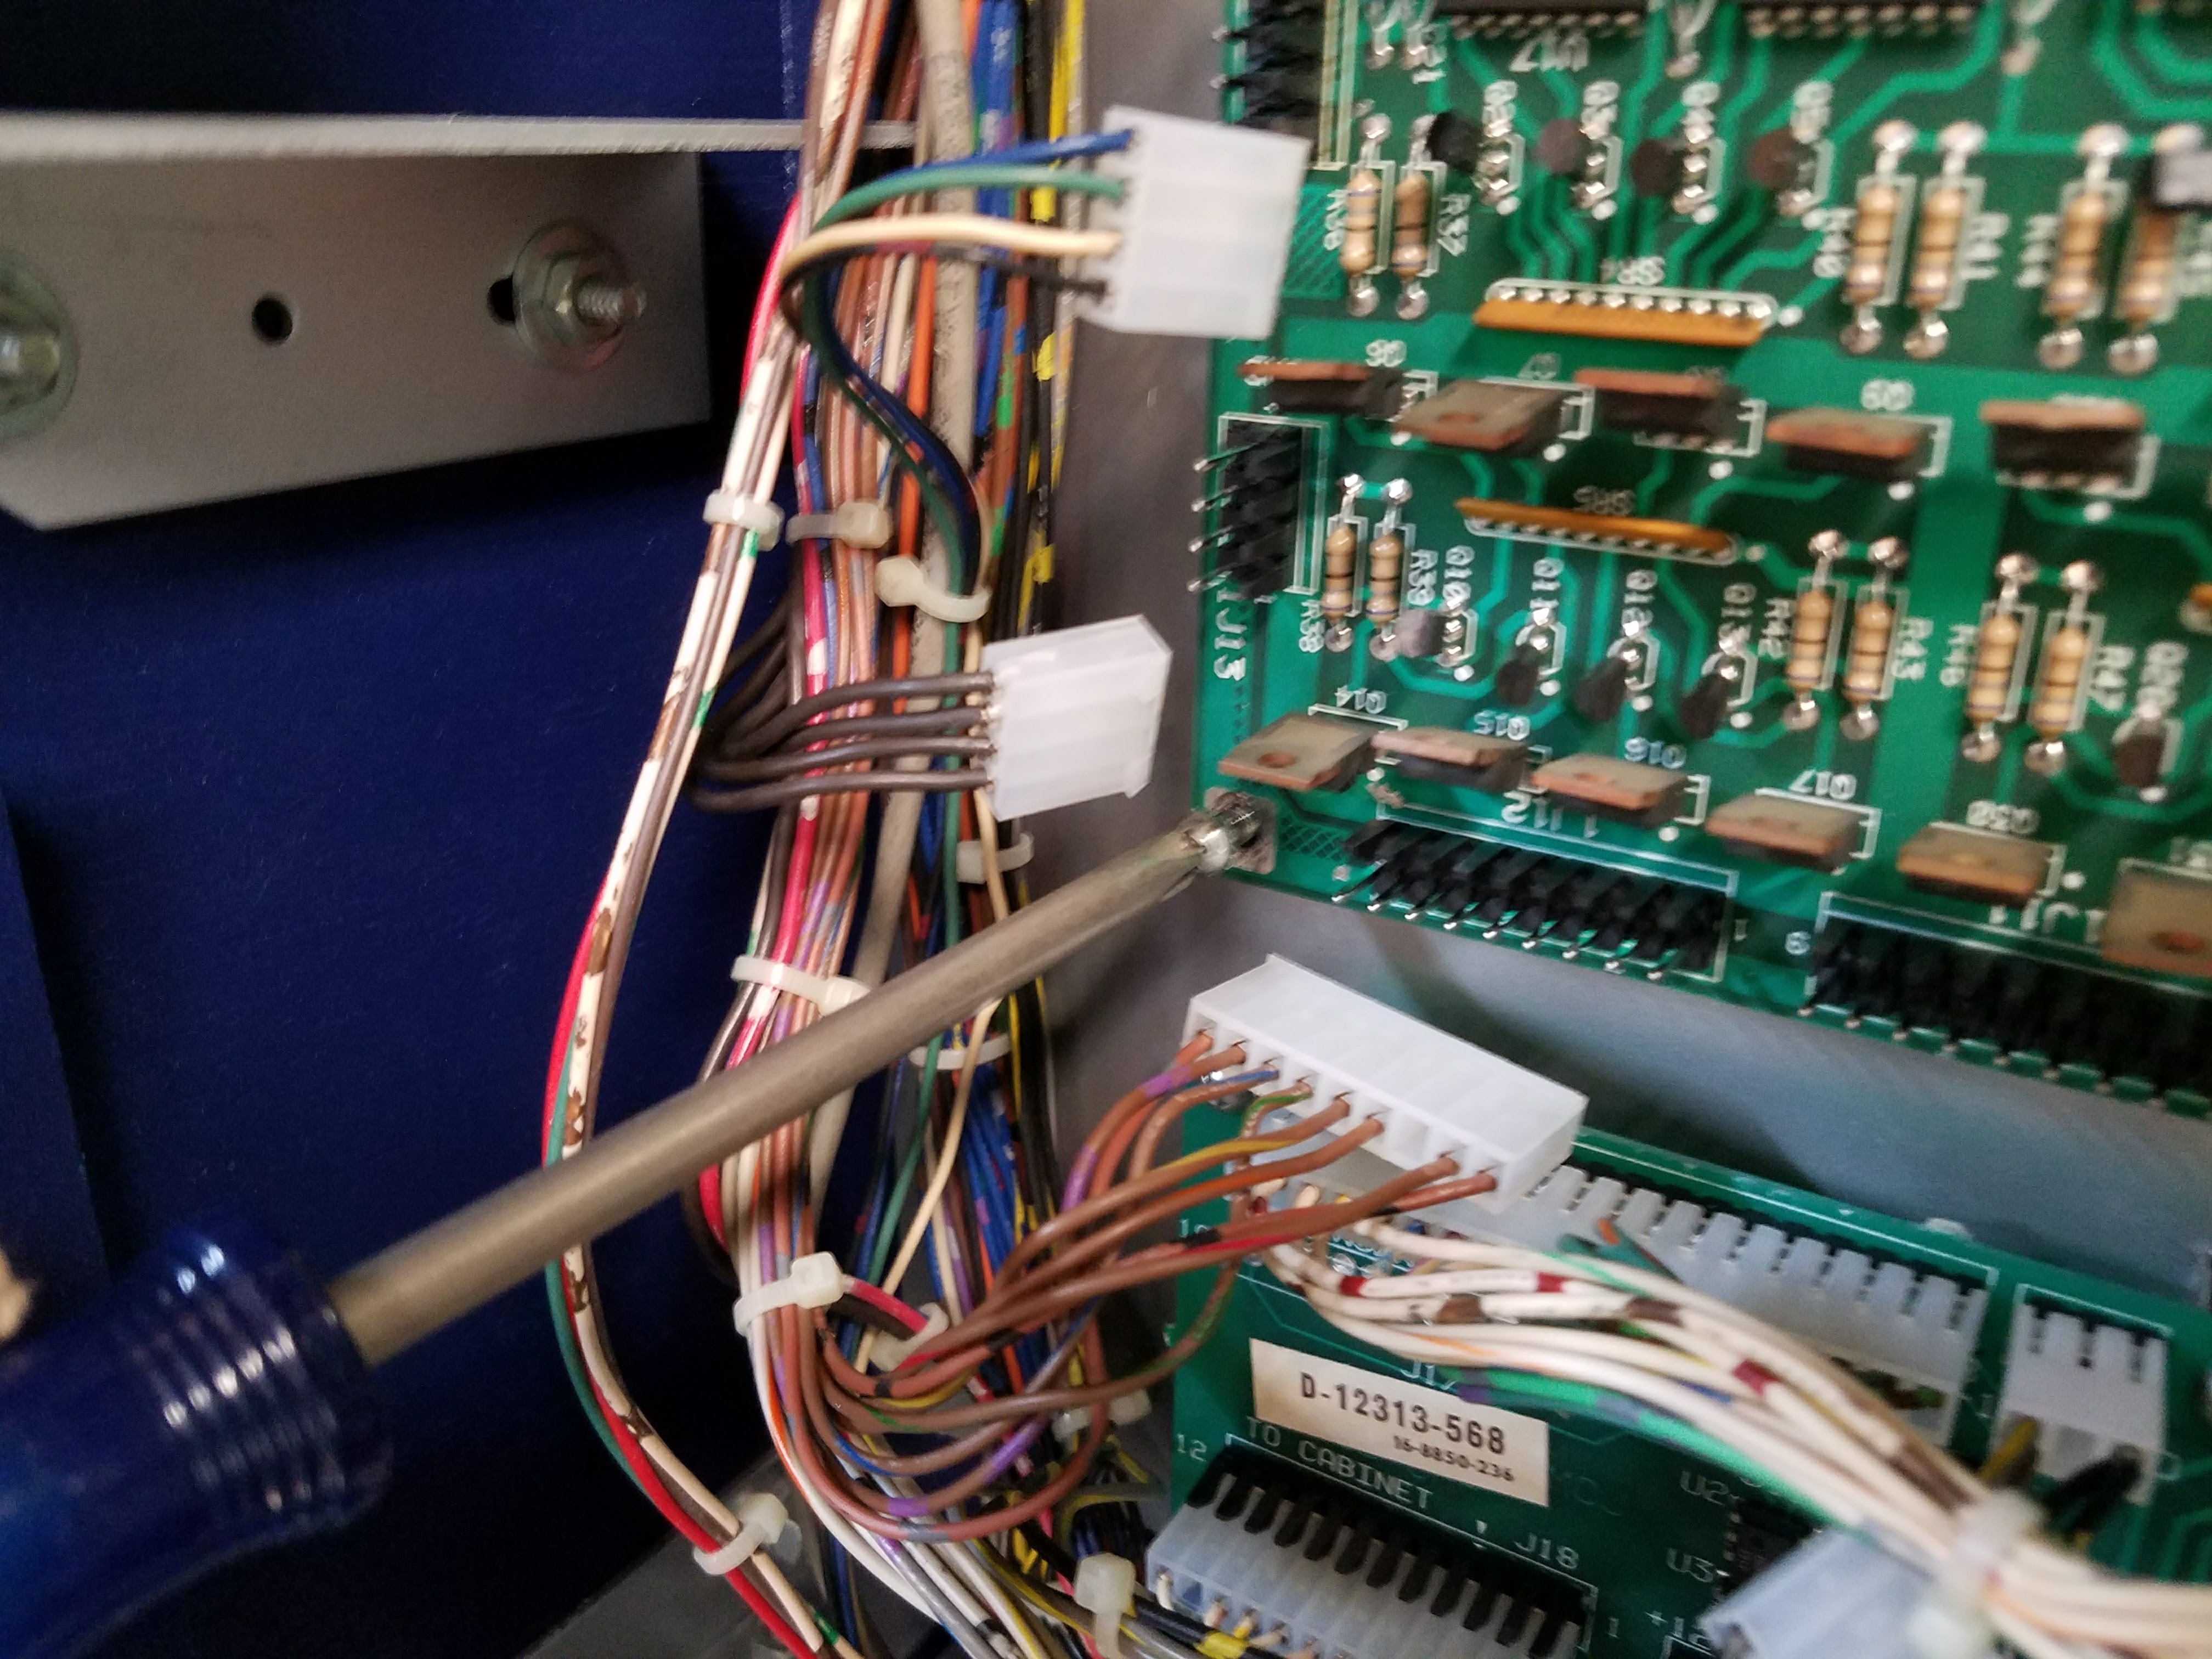
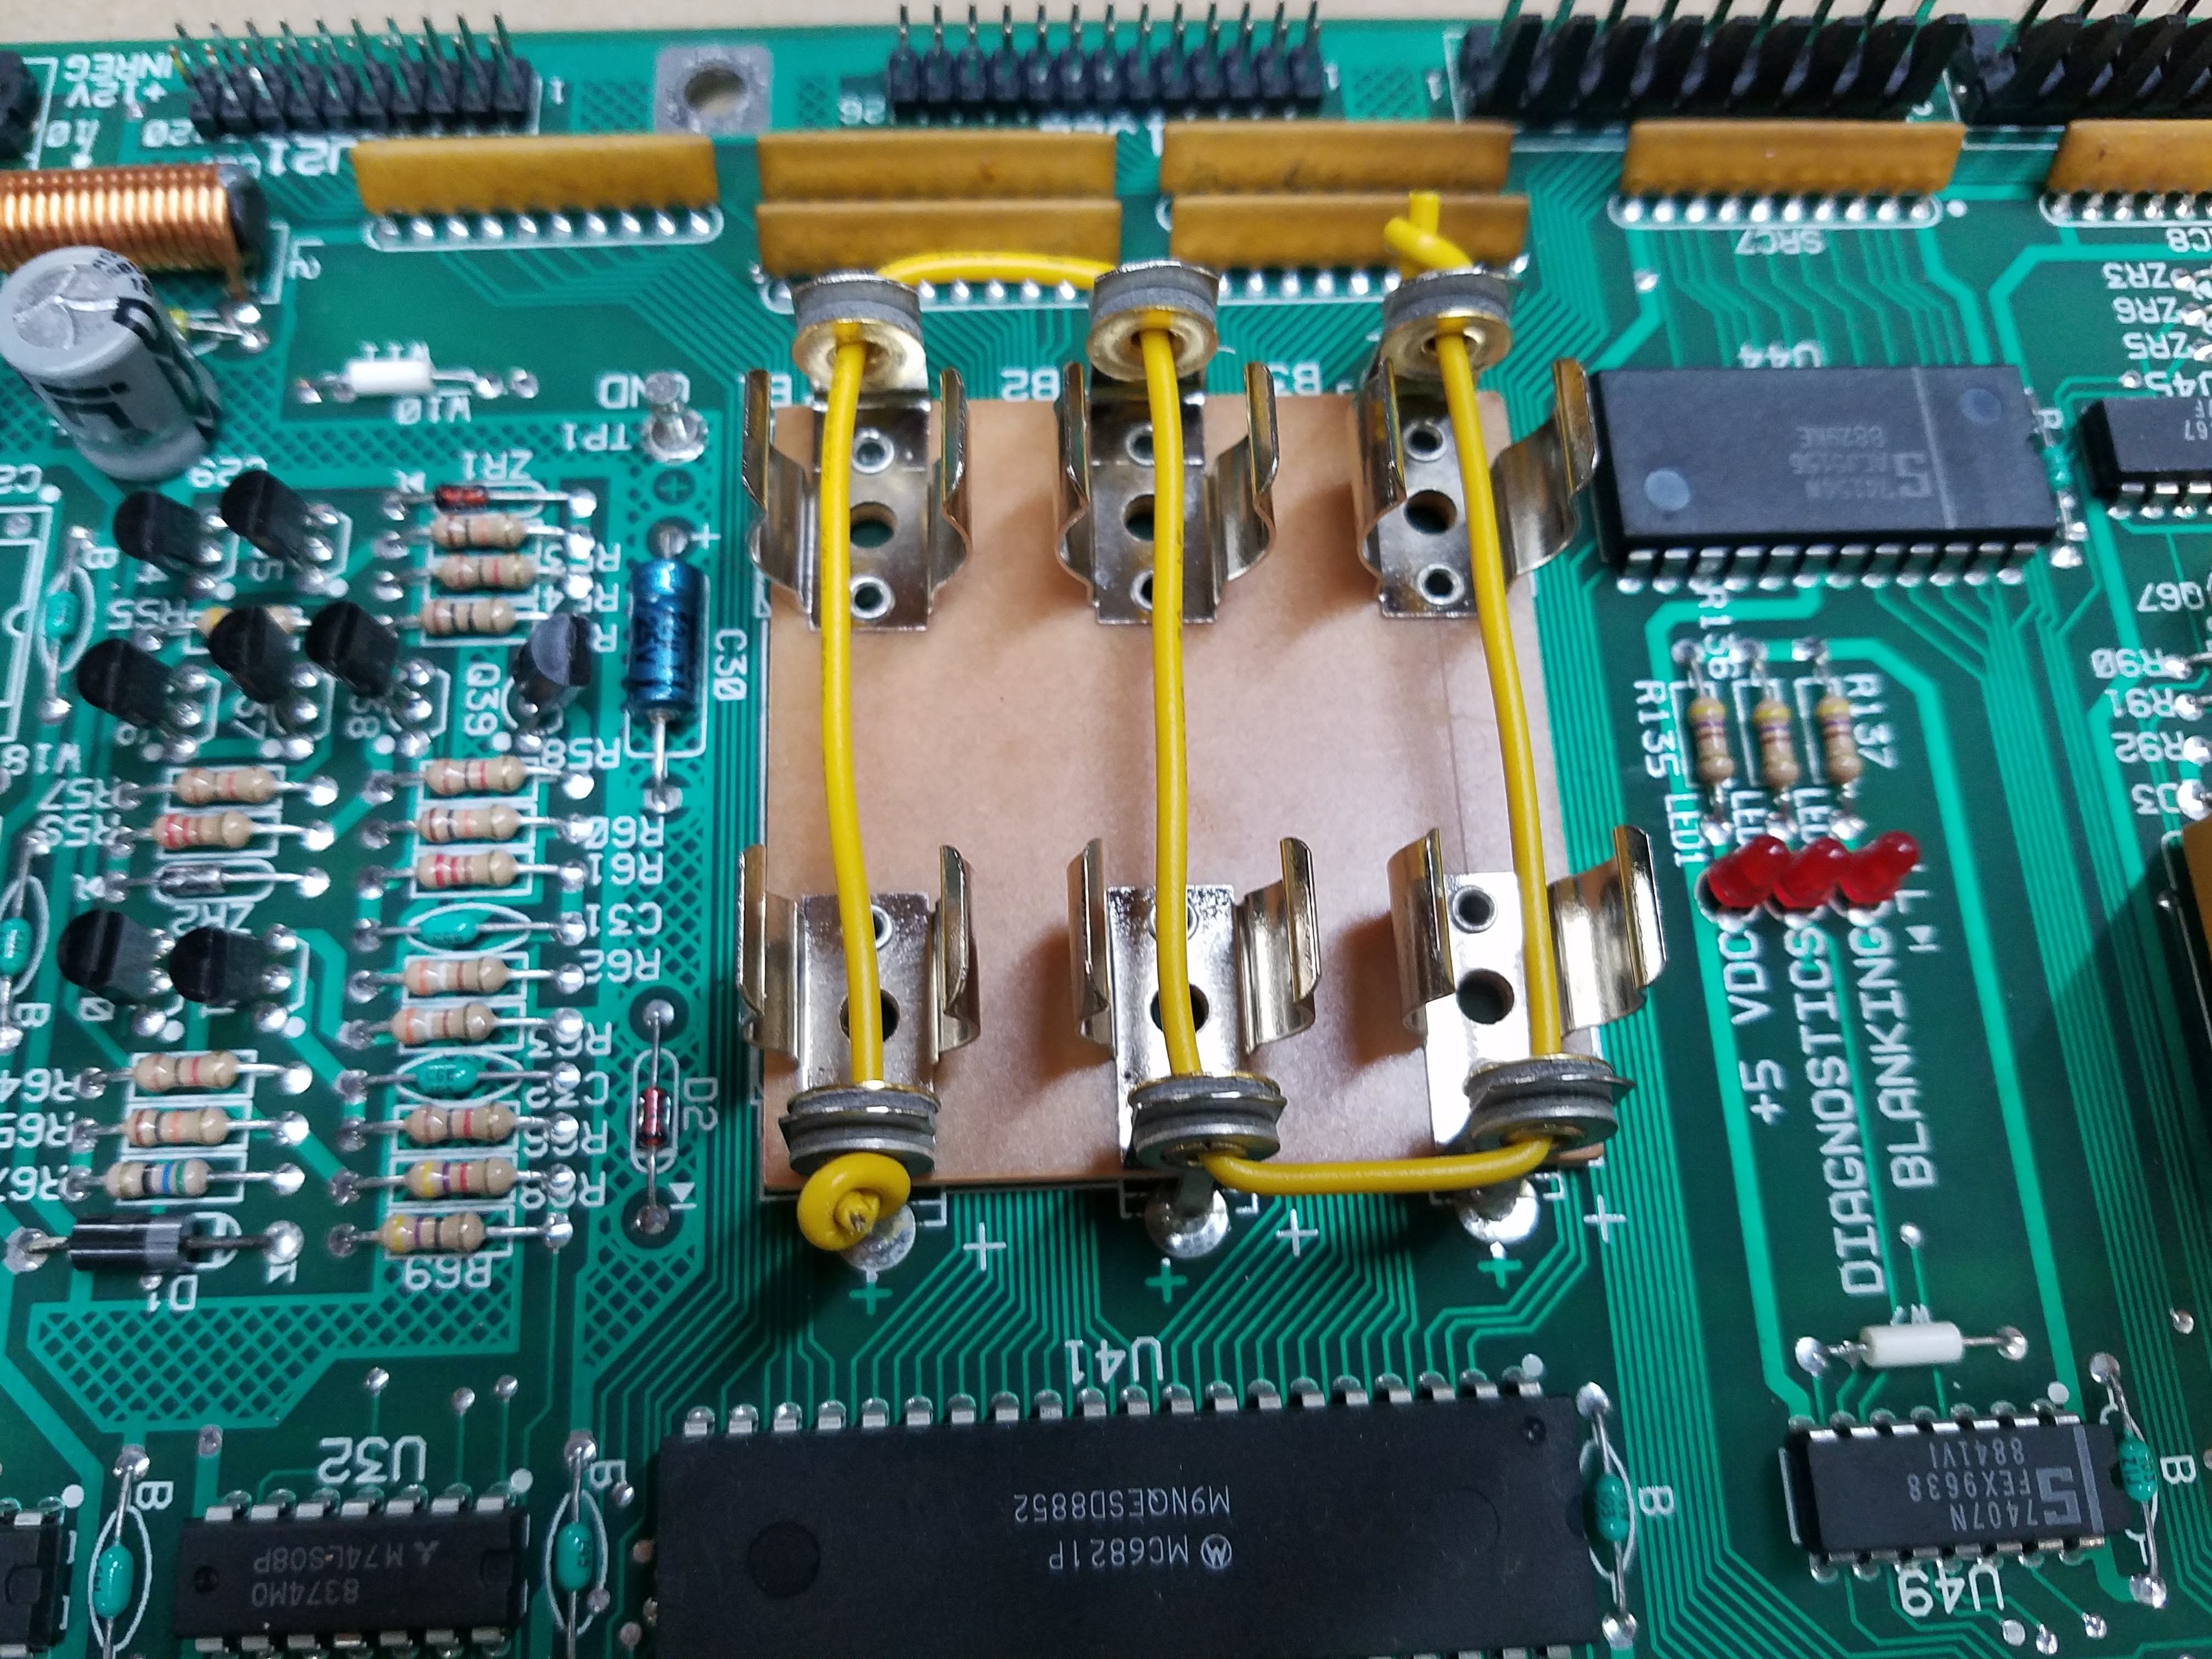
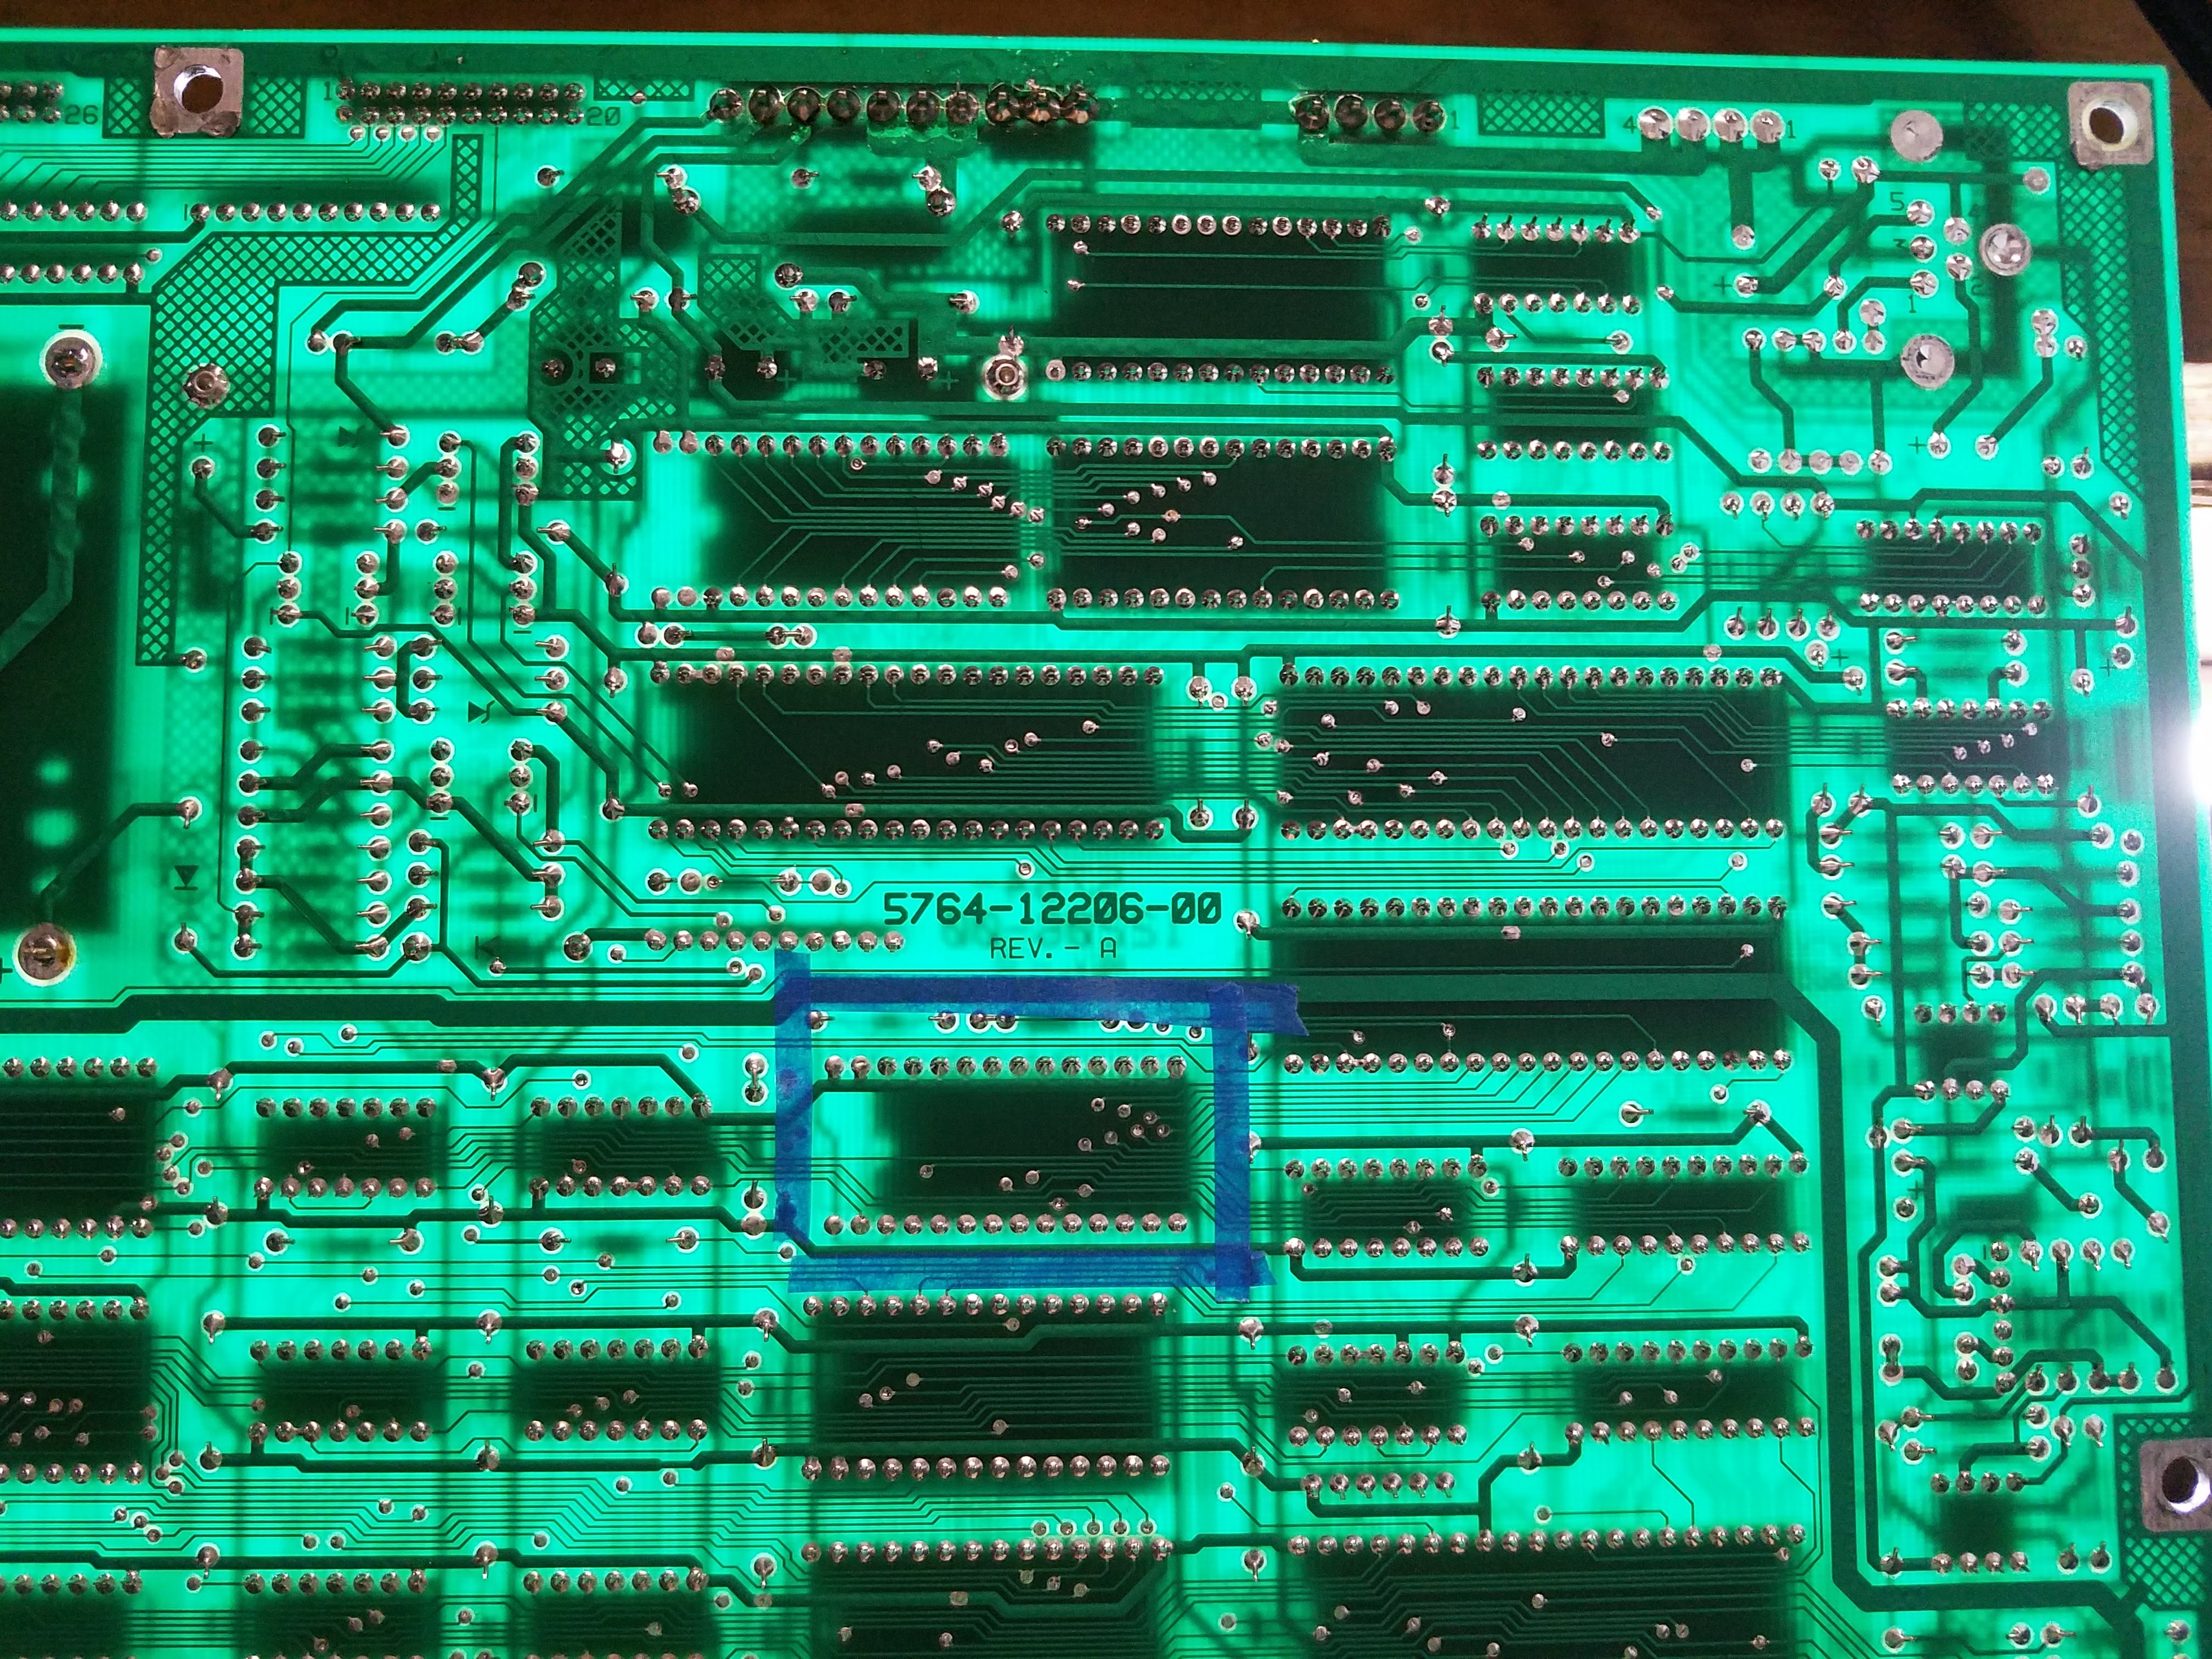
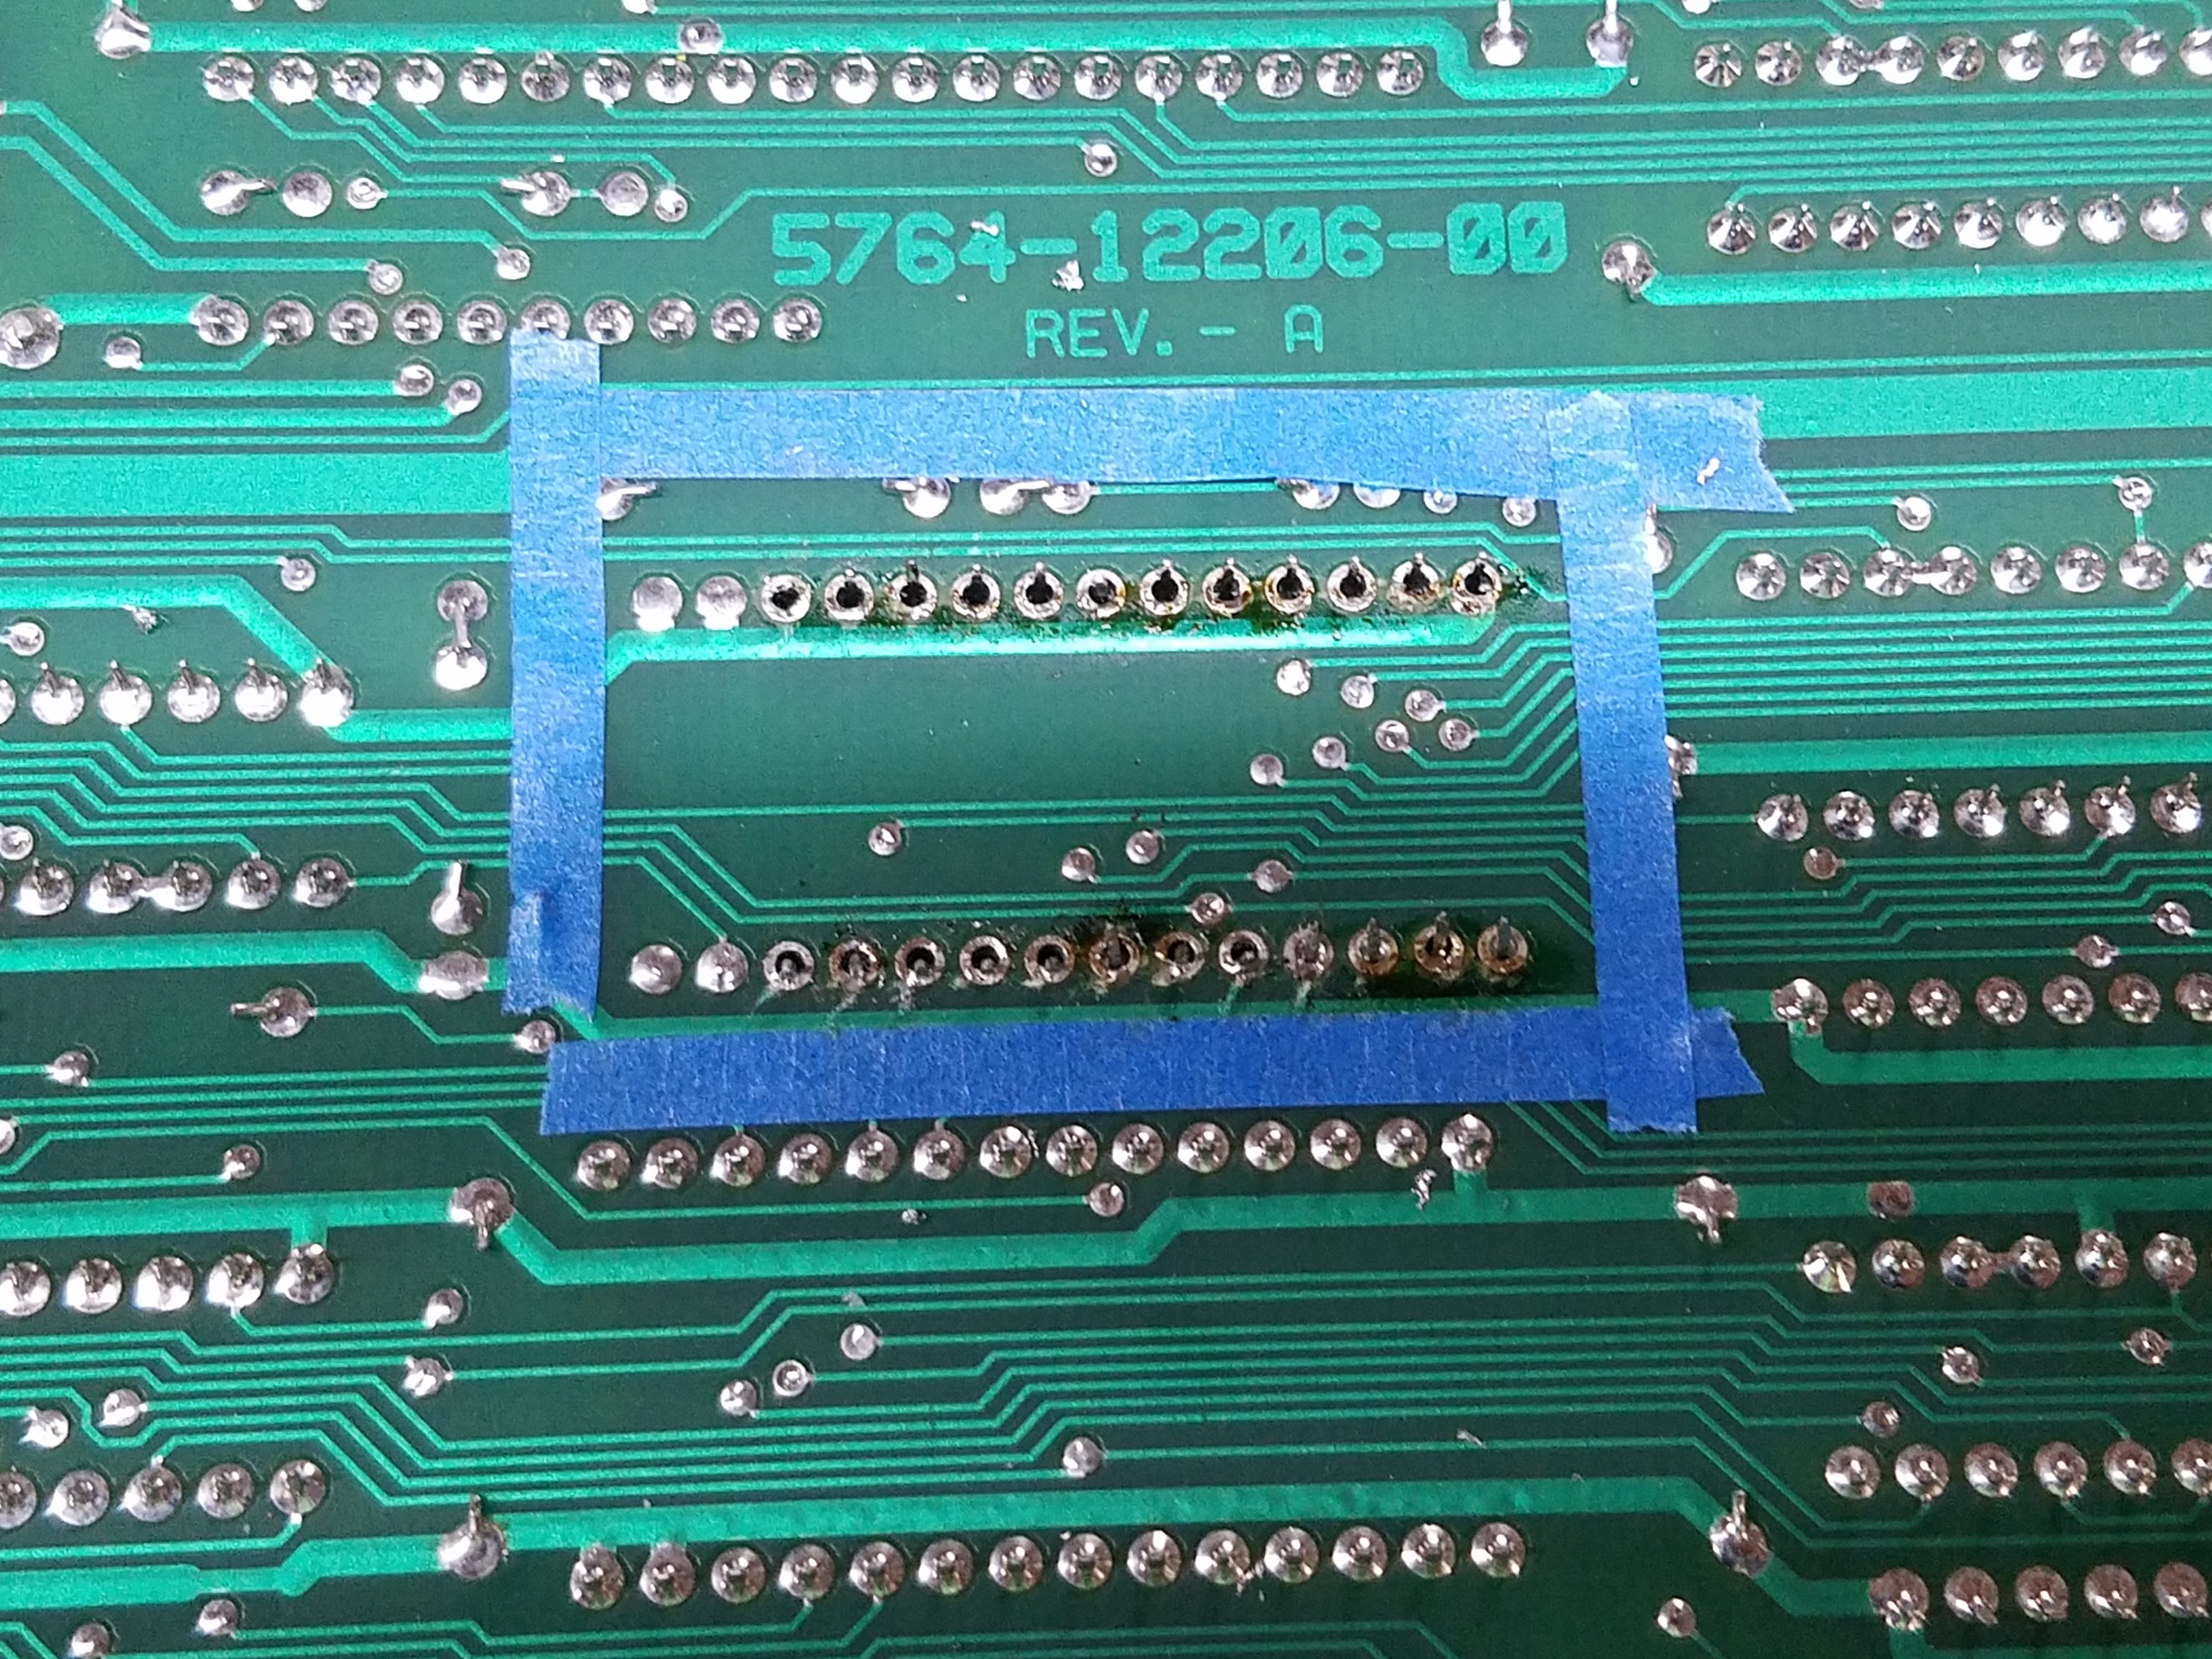
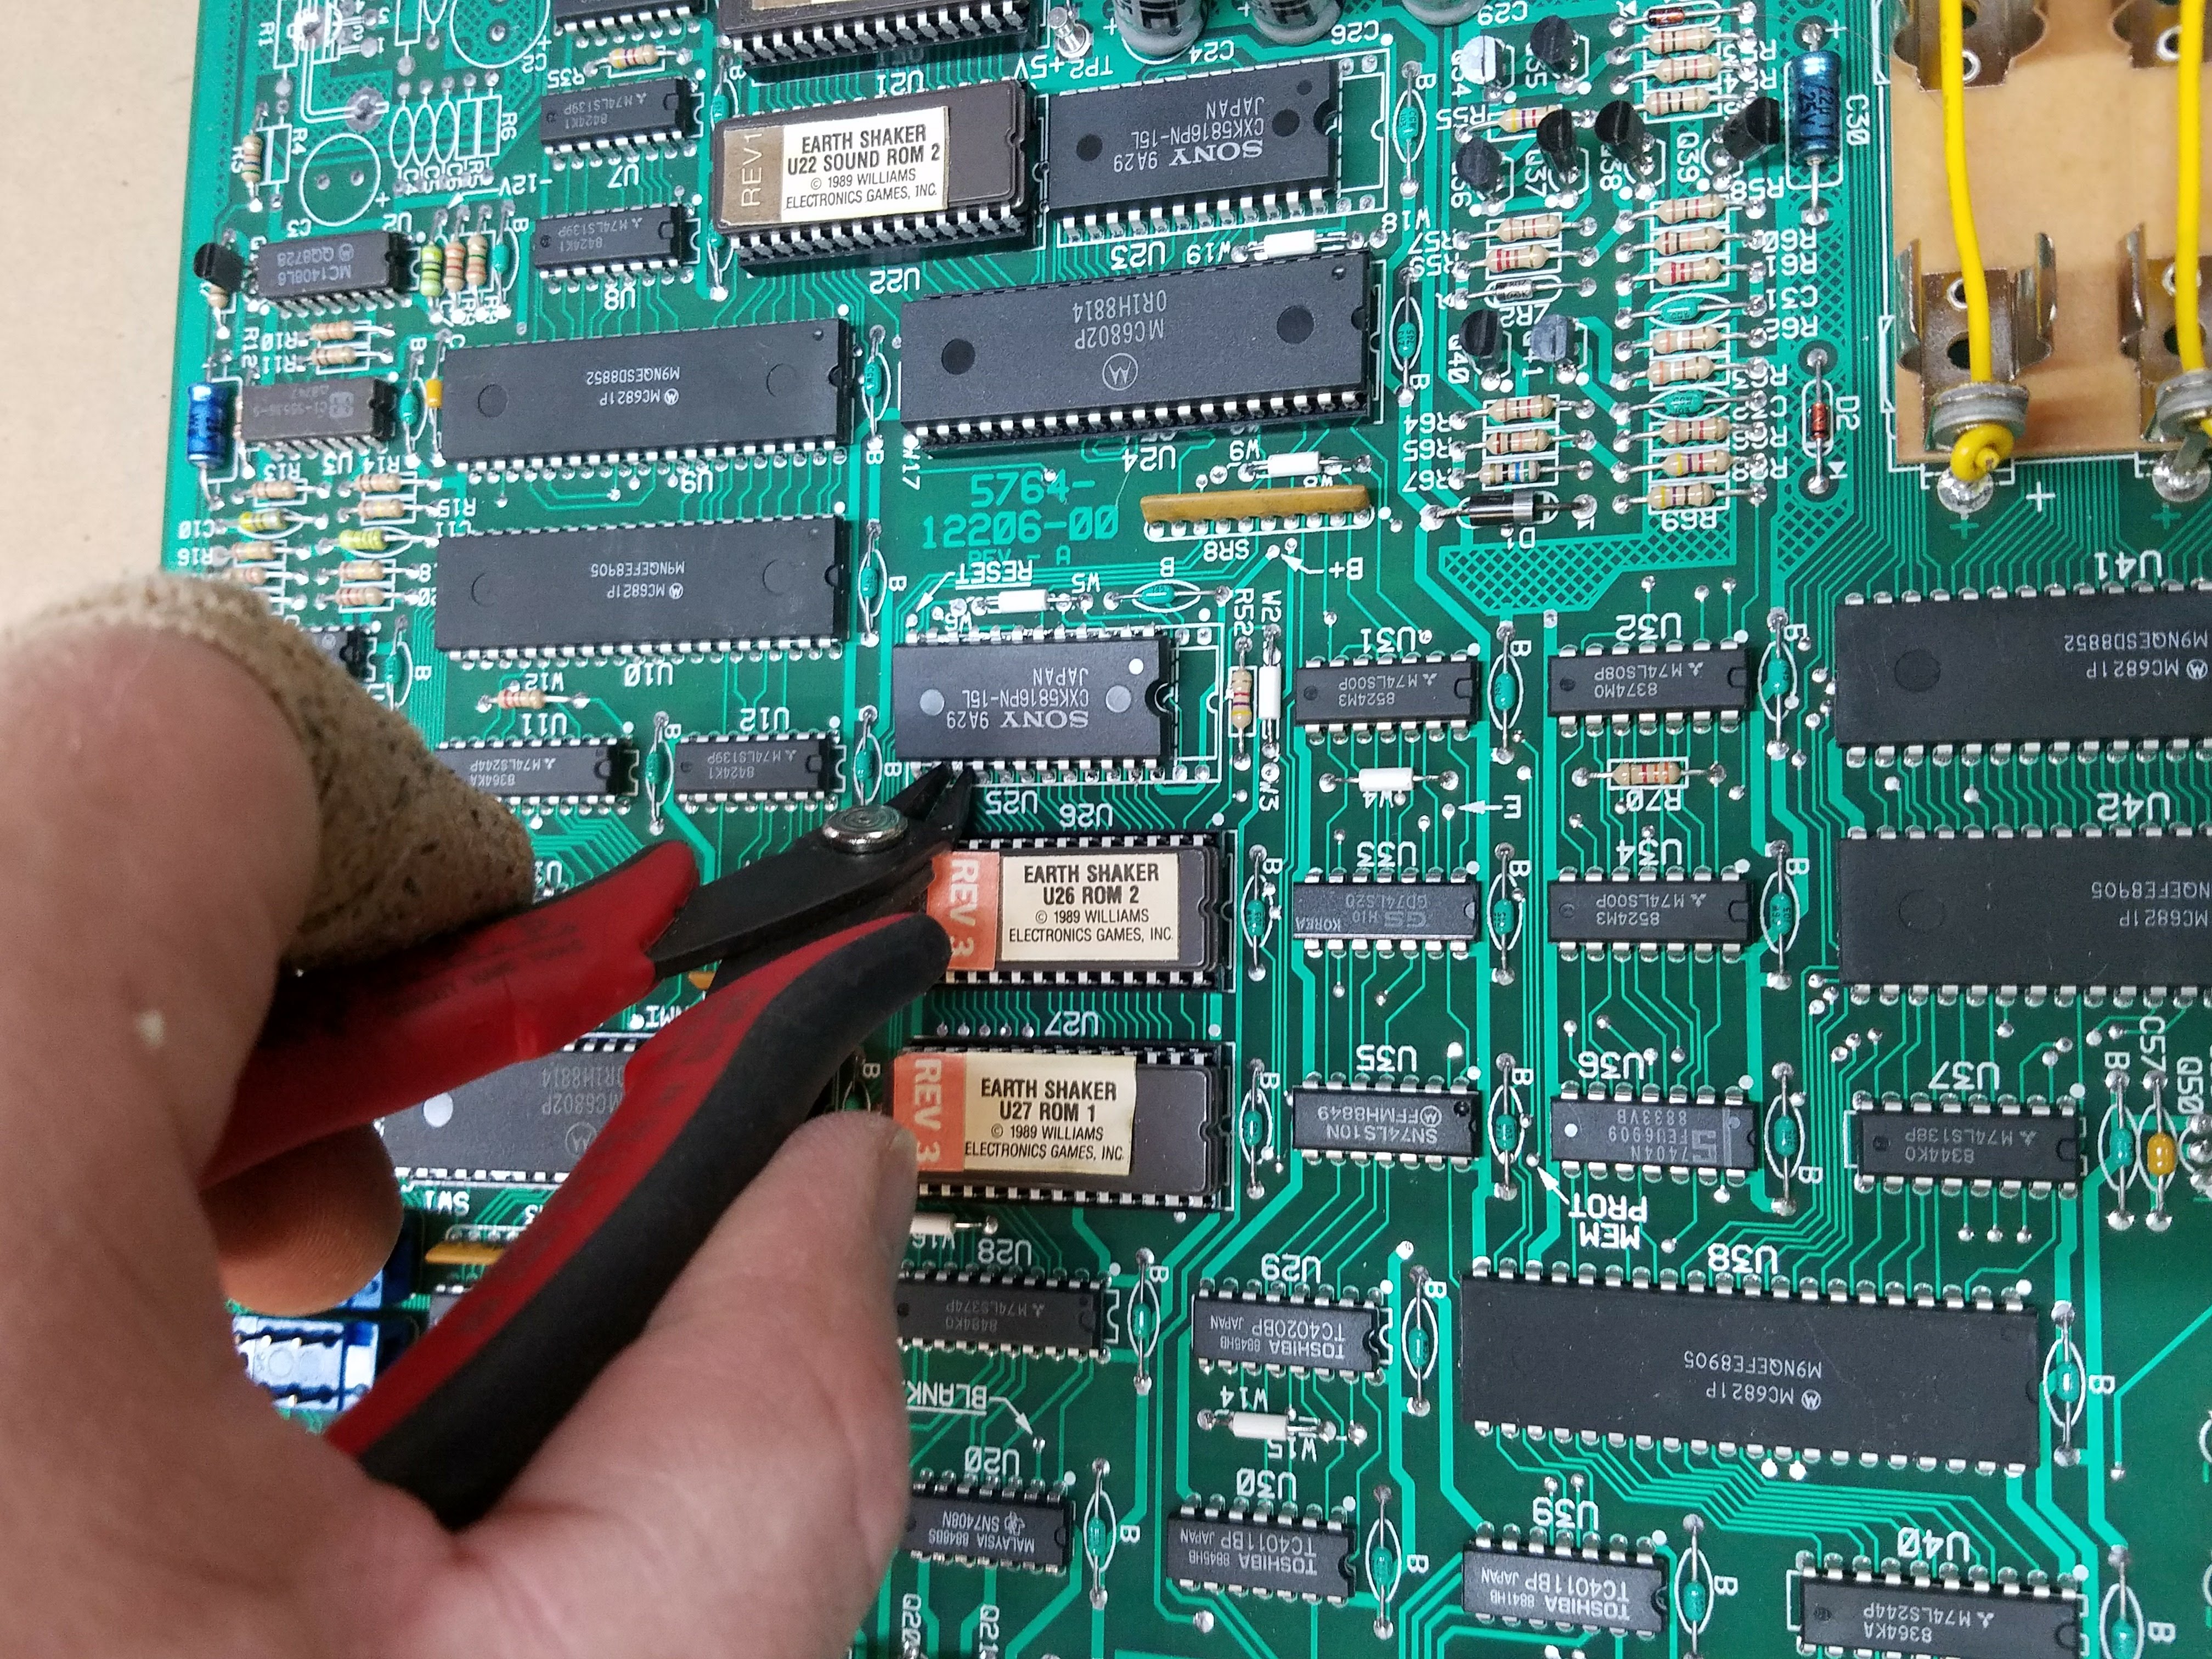
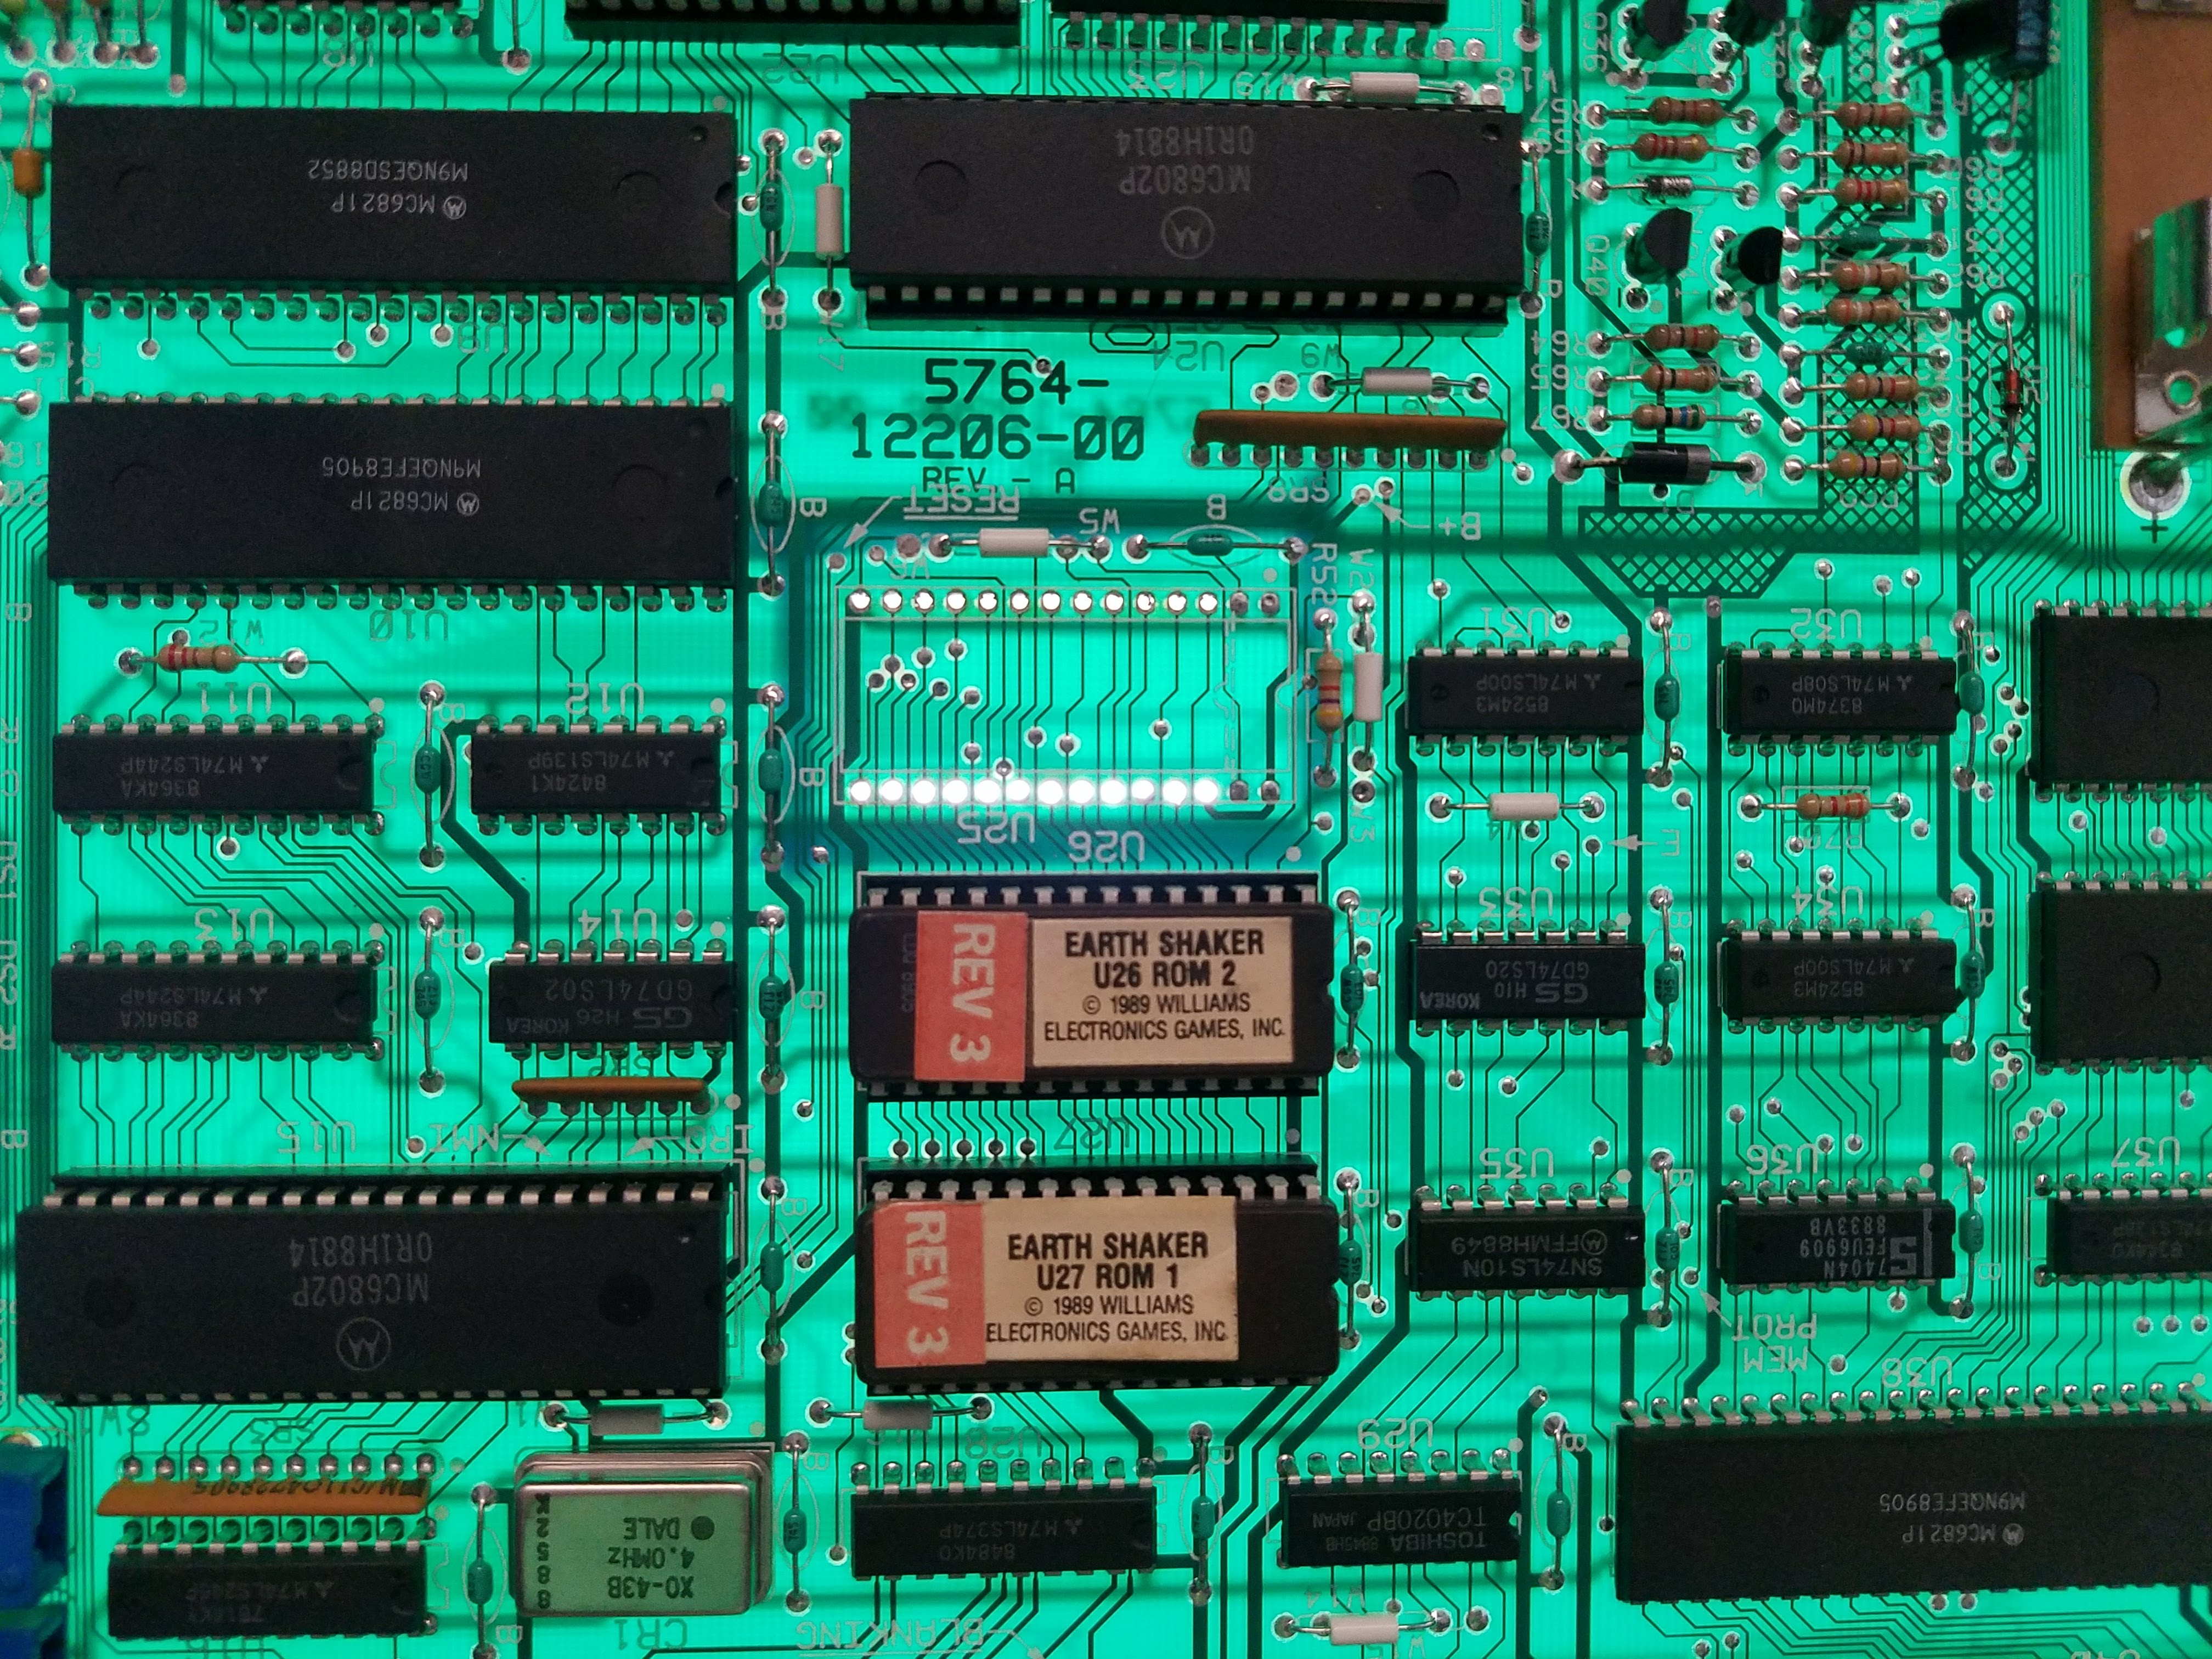
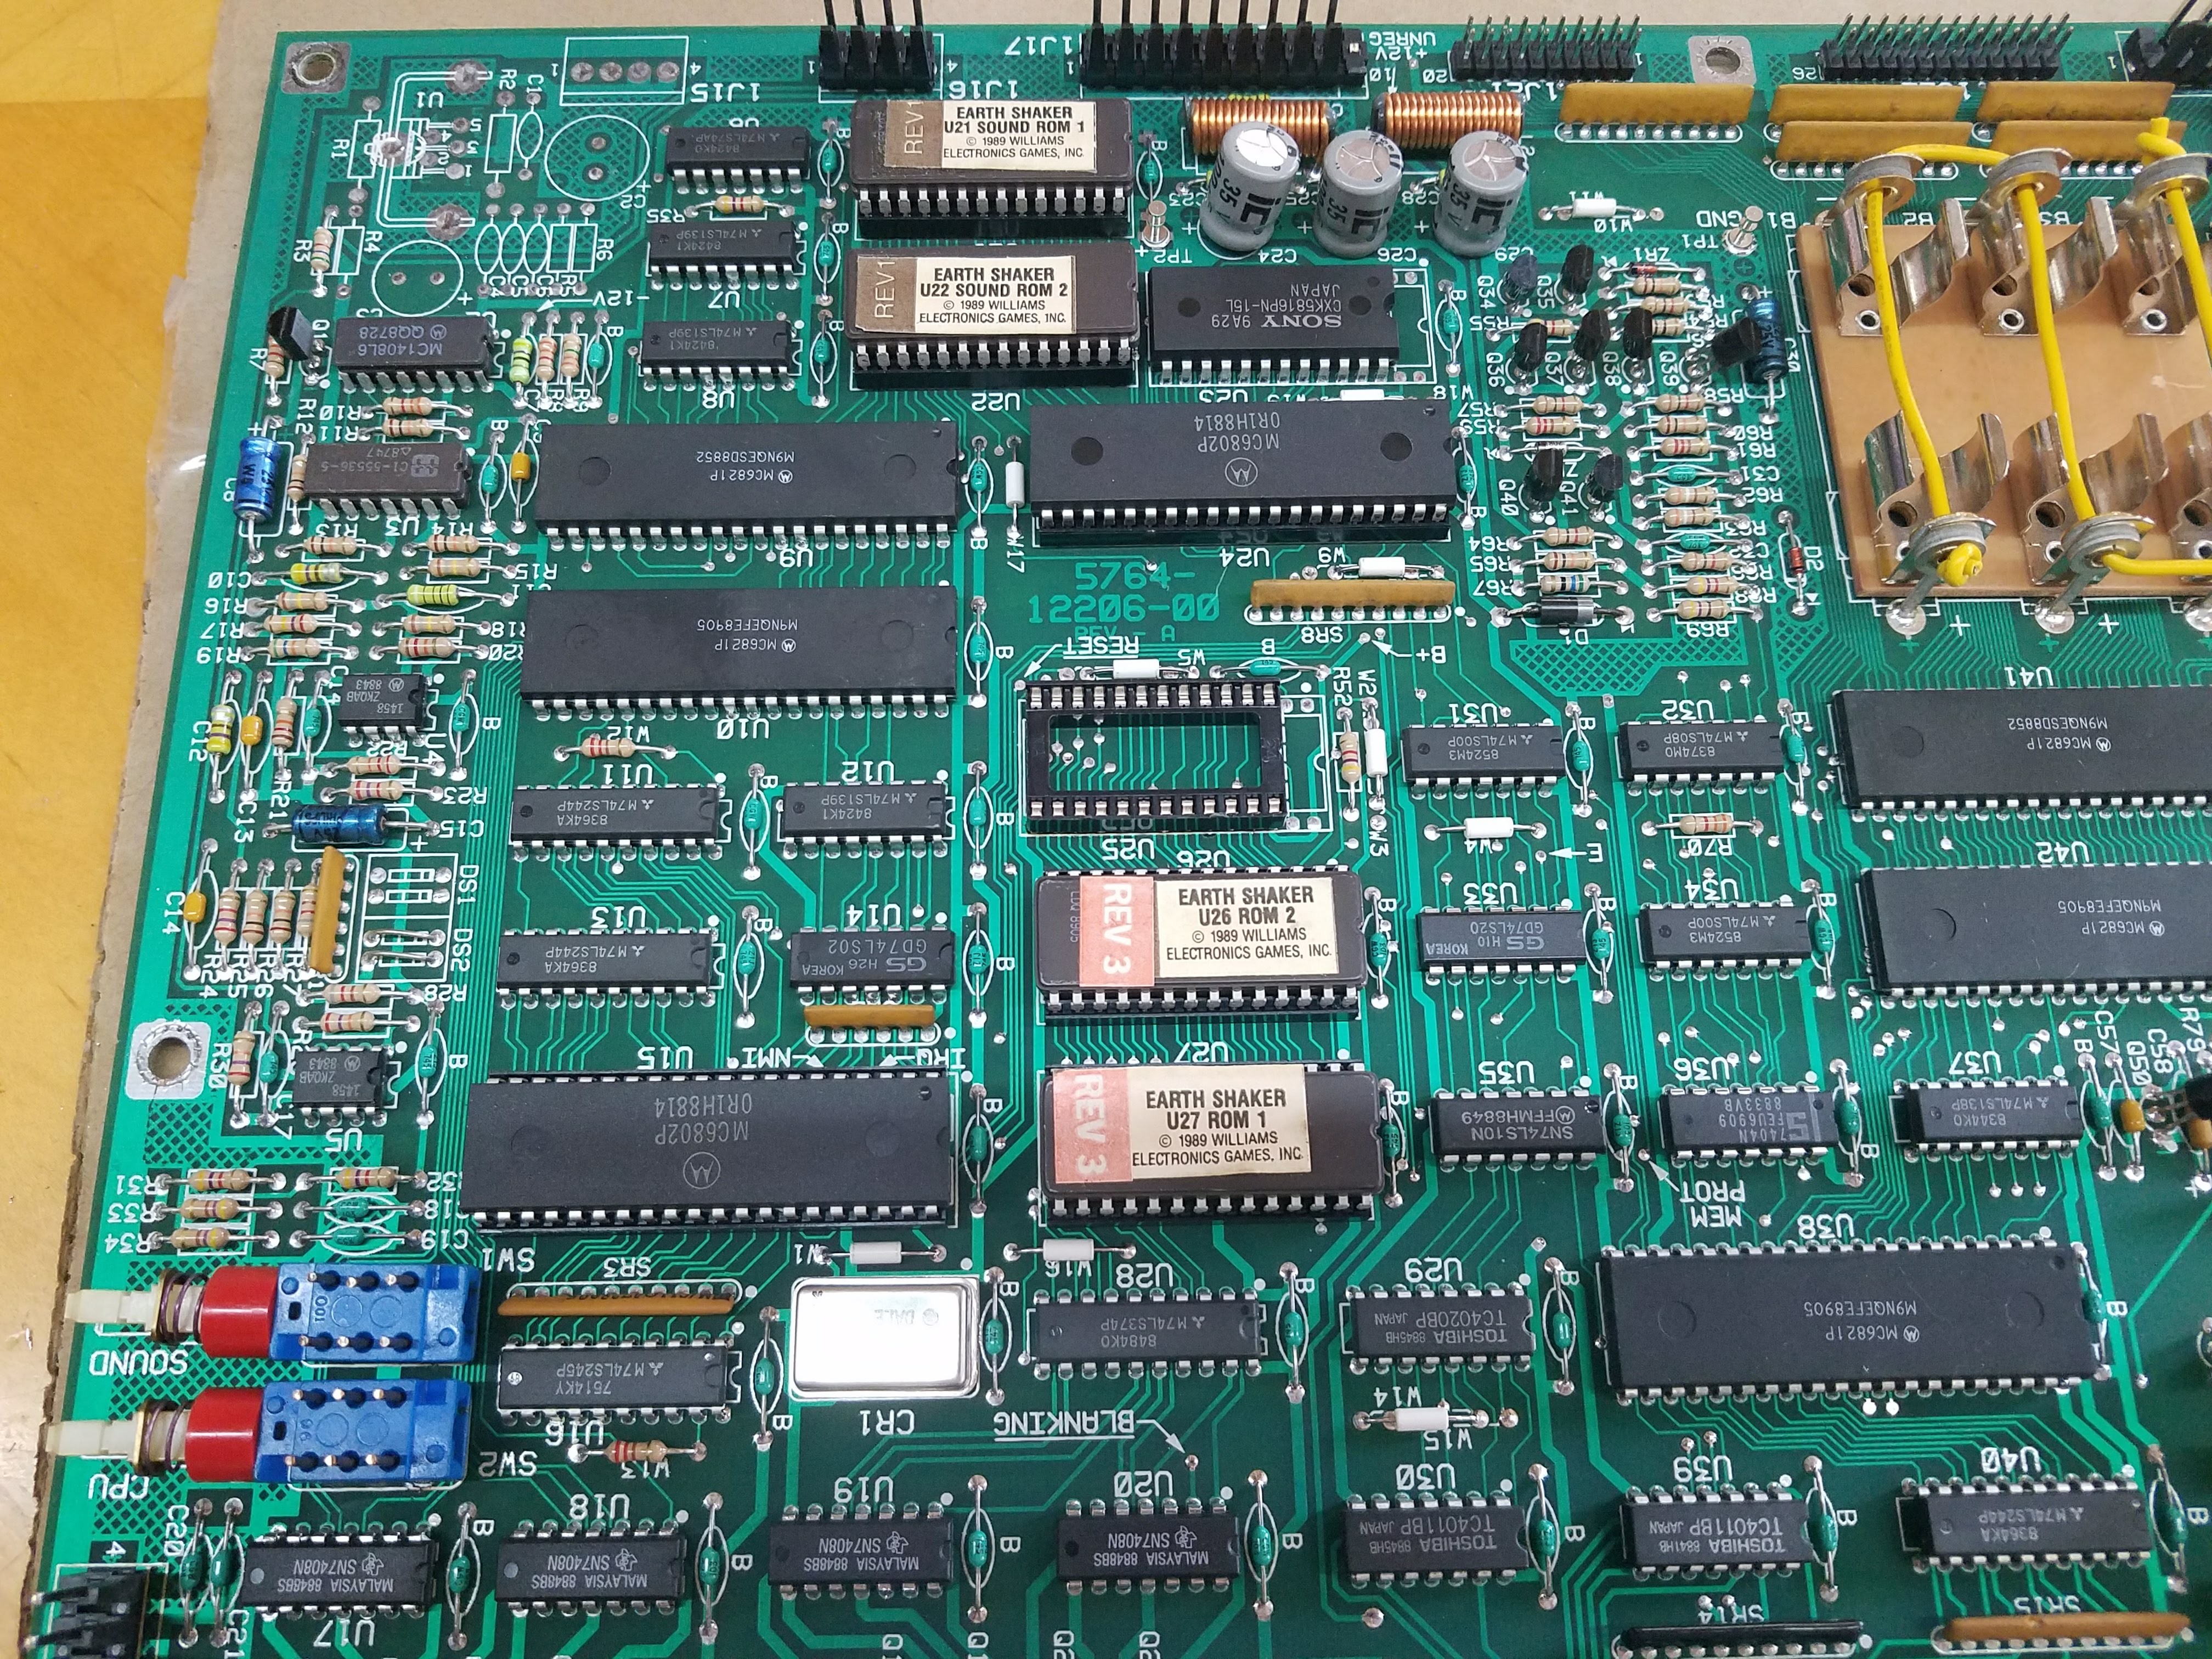
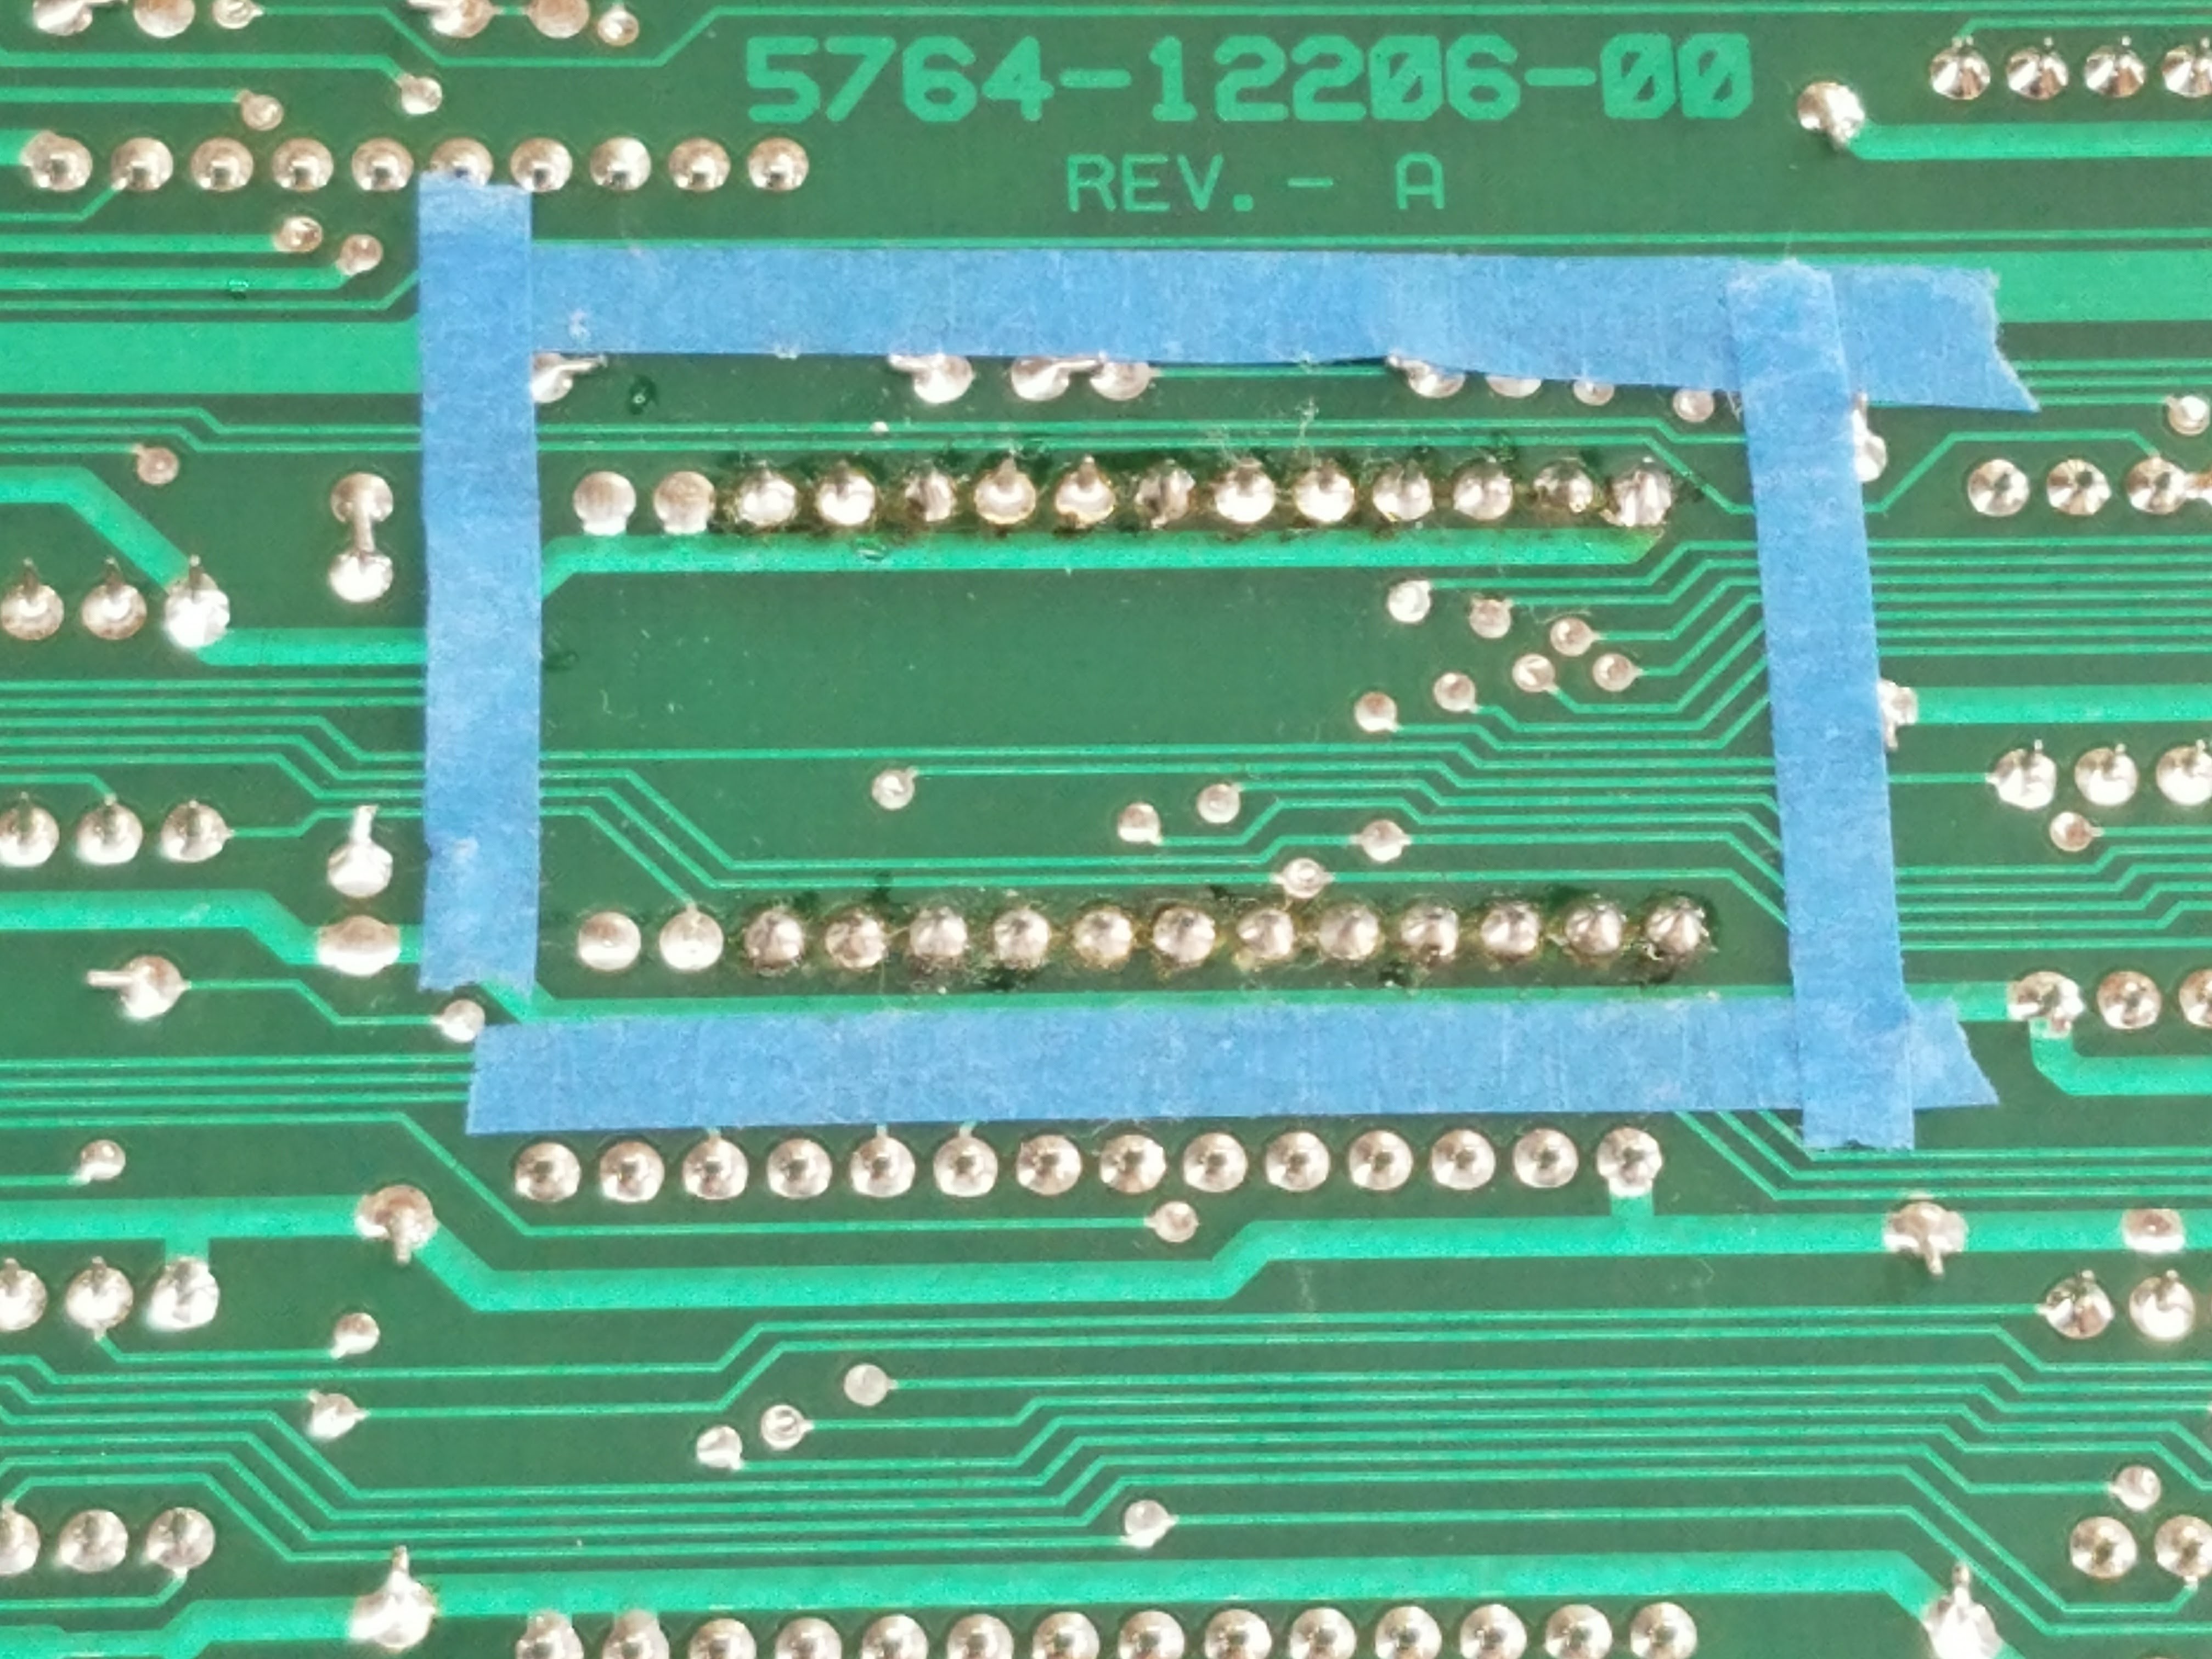
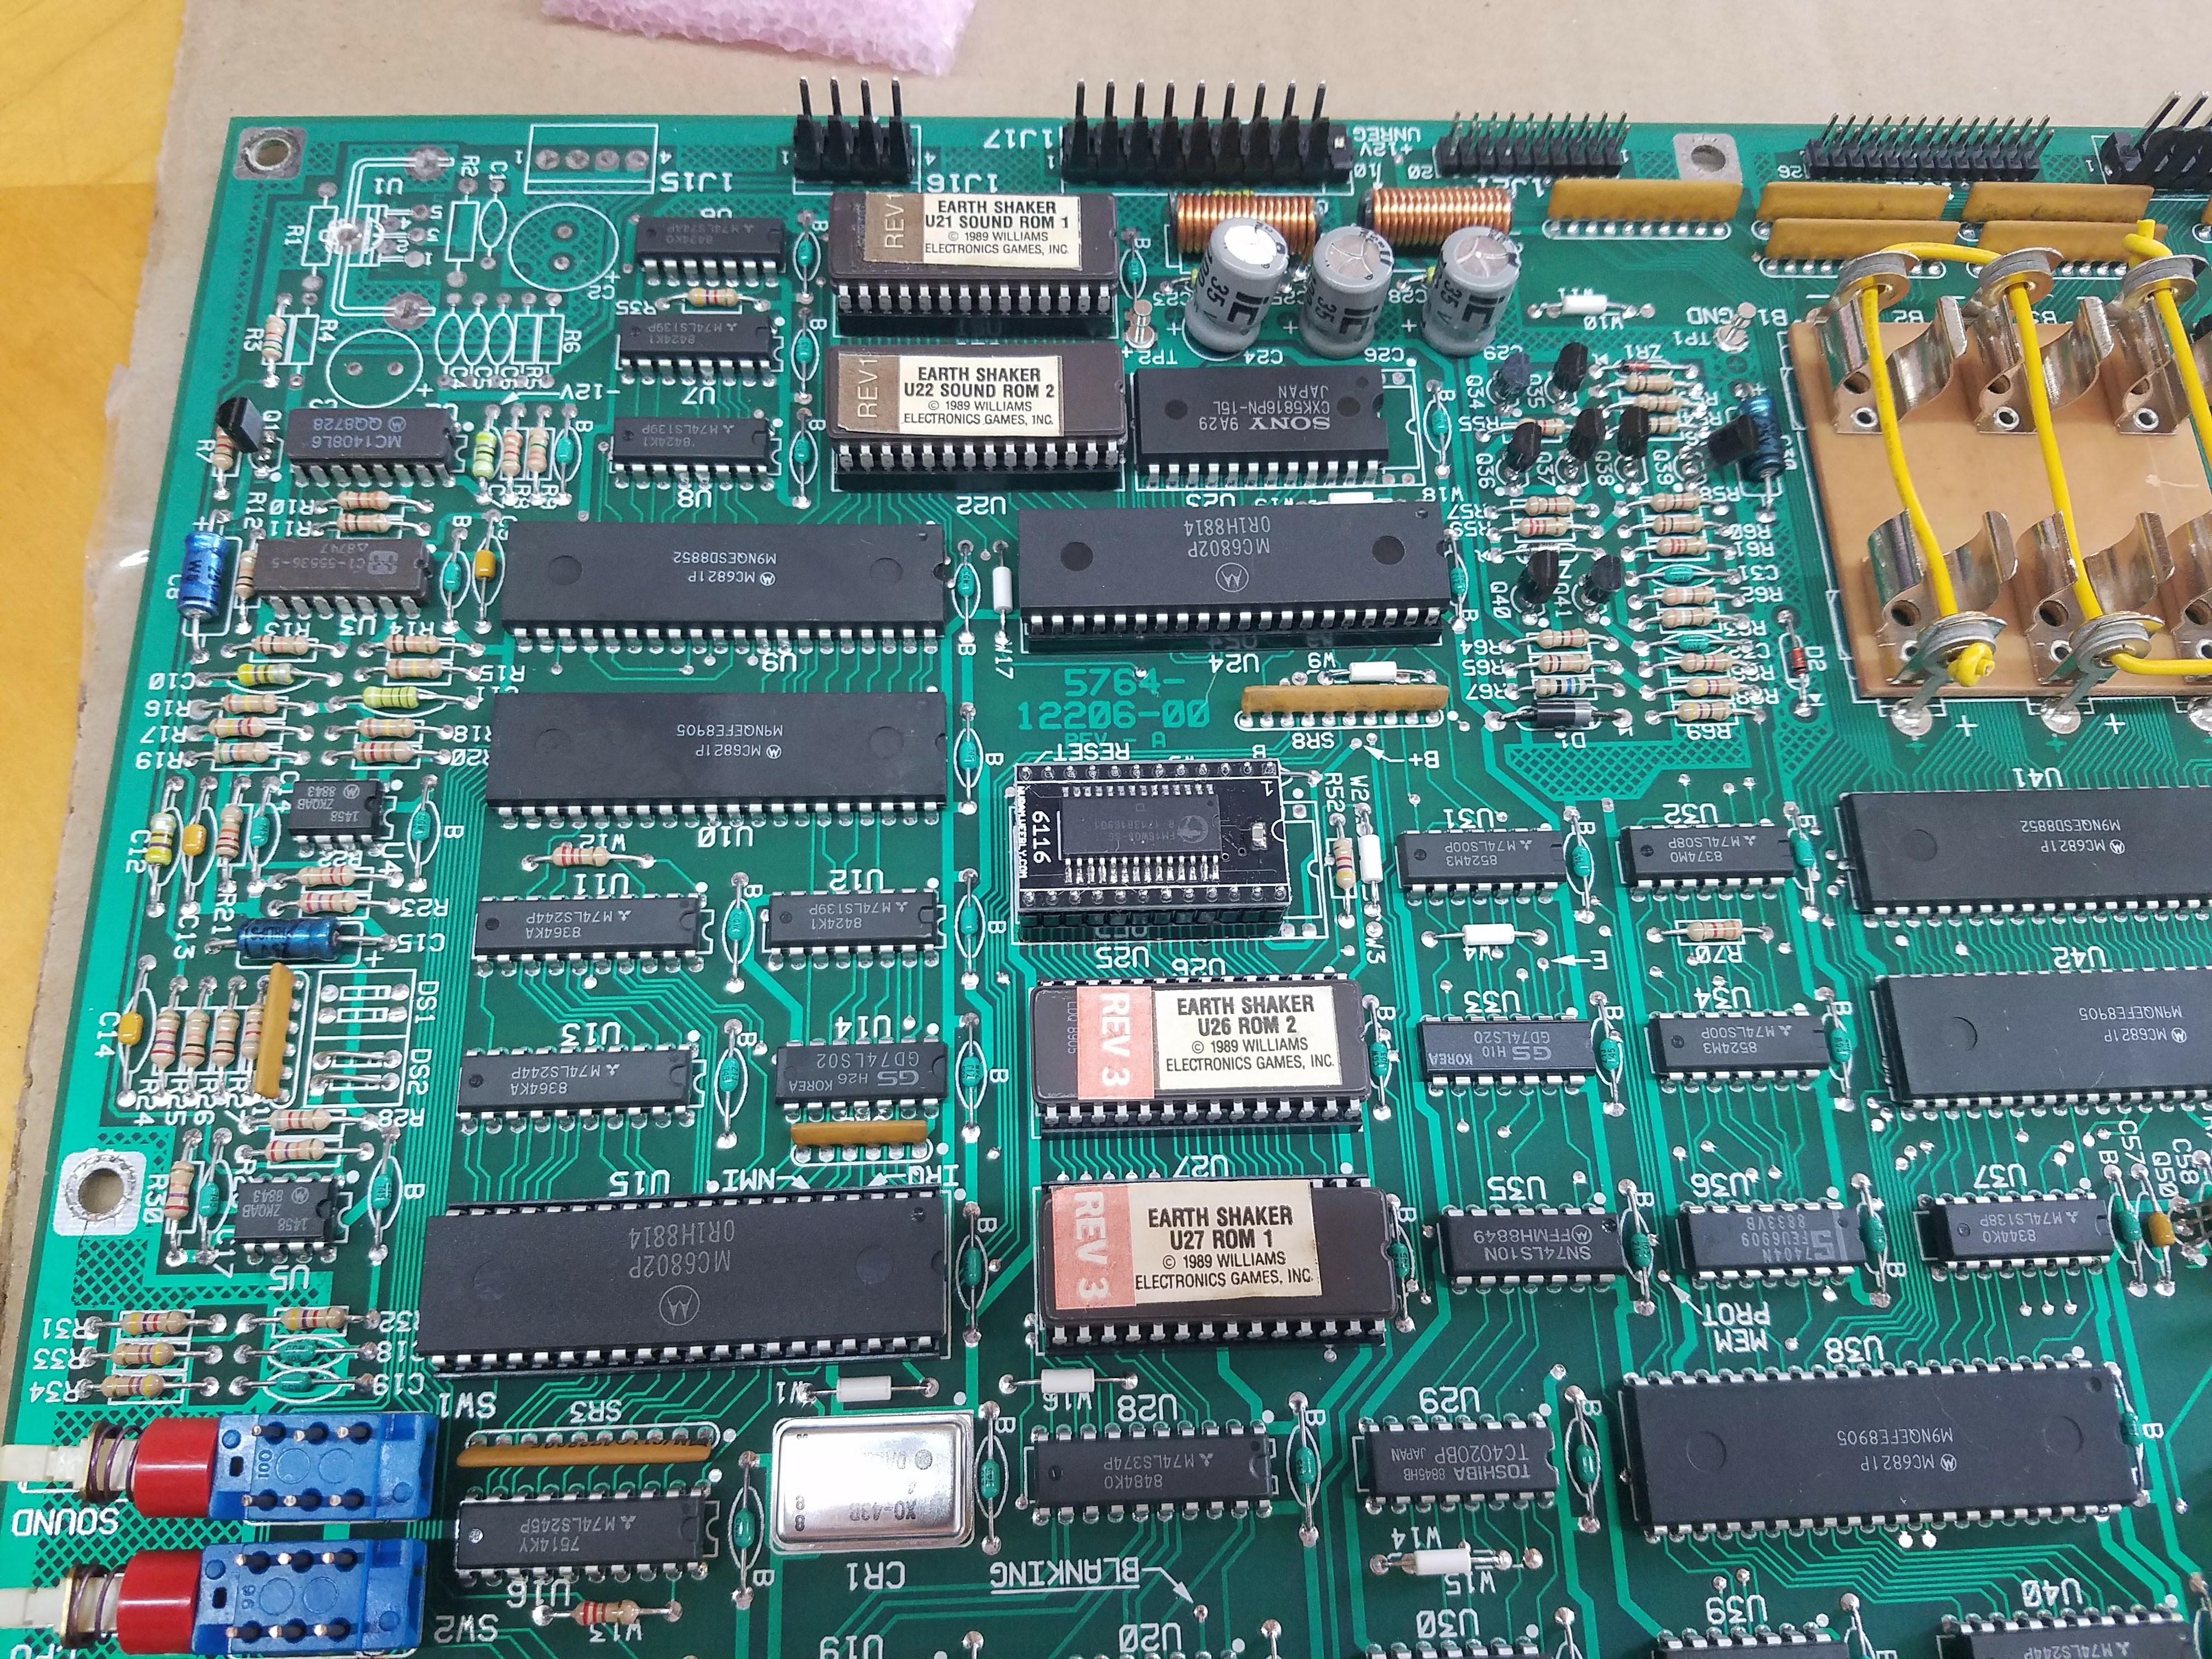
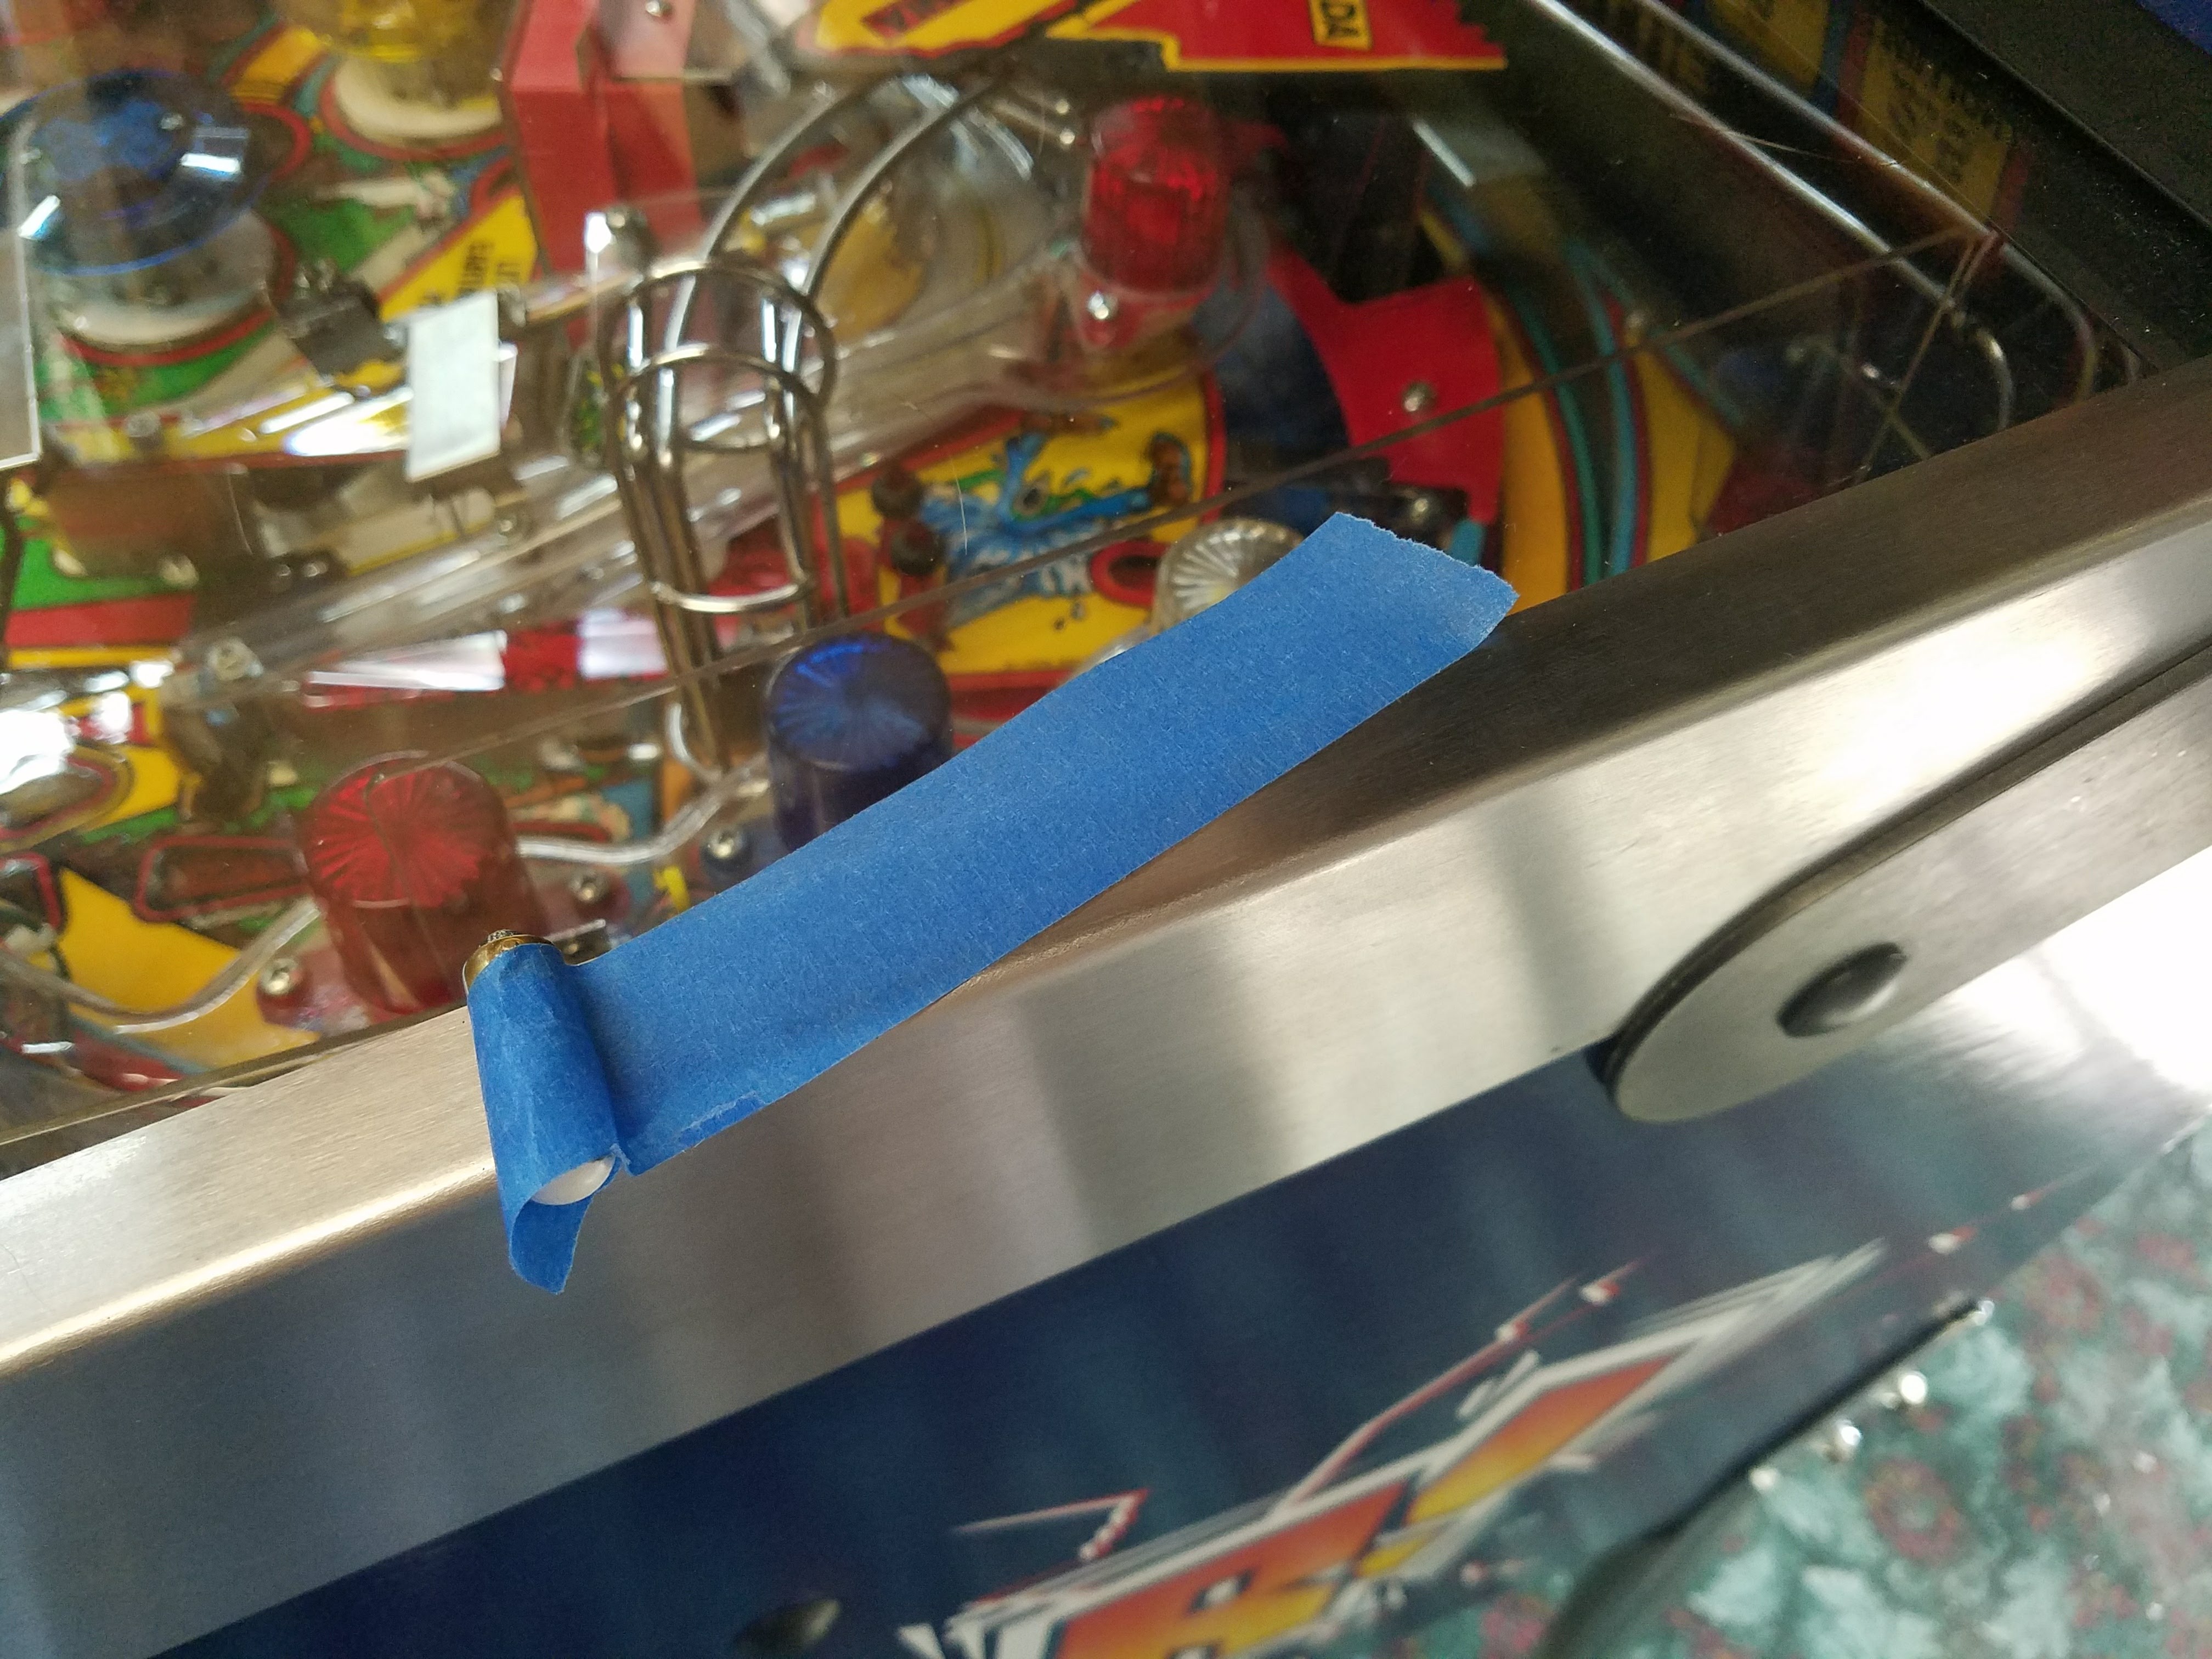
Starting point… you’ve got this, no one step is to difficult. We’ll be pulling this board out. I’ve done this a few times and the first was “scary”. Take photos.So on my Earthshaker, here is the chip that will be getting replaced.I’ve gone around the board and unplugged all harness connections. They just wiggle off. Then remove the screws that secure the board. Remove the top middle screw last while supporting the board. Easy stuff here.With the board out, I removed the batteries and ran some scrap wire through. This was done so that when I dead and whoever the next person who gets this hopefully will understand no batteries are needed.I’ve identified the chip to be removed and market it with a bit of tape.So first I tried to just to desolder using a cheap desolderng bulb, it worked pretty good when I did the headers, but not so much here. I couldn’t get the chip to pop free.So it may be best to just cut the chip out. What was I going to do with it anyway? Once it was cut out, it was easy to then remove the legs one at a time with the soldering iron and pliers.I used soldering wick to clean up the mounting holes, and then checked my work against a light source.The socket dropped right into place without issue. Note that the socket has a notch on it (right side in photo) that matches the drawn notch on the circuit board.And then the IC chip was soldered into place. This step here is the “trickiest” park, keeping the socket in place while the board was face down. I wadded up a piece of paper and placed it under the socket to keep it in place while soldering.Pop in the NVRAM chip, again matching up the direction of the notch drawn on the NVRAM to match the drawn notch on the circuit board. Then mount the board back ito the back box and plug the harness up. Most harness connections will be “lined up”. I’ve upgraded my harness headers and connectors, but if yours are stock/factory, then they are keyed so you can’t get them mixed up.Bonus tip… the score display wants to slid down when I remove it. I don’t want to be pulling on the harness, so I make a couple of stops, loop a piece of tape around an old bulb.