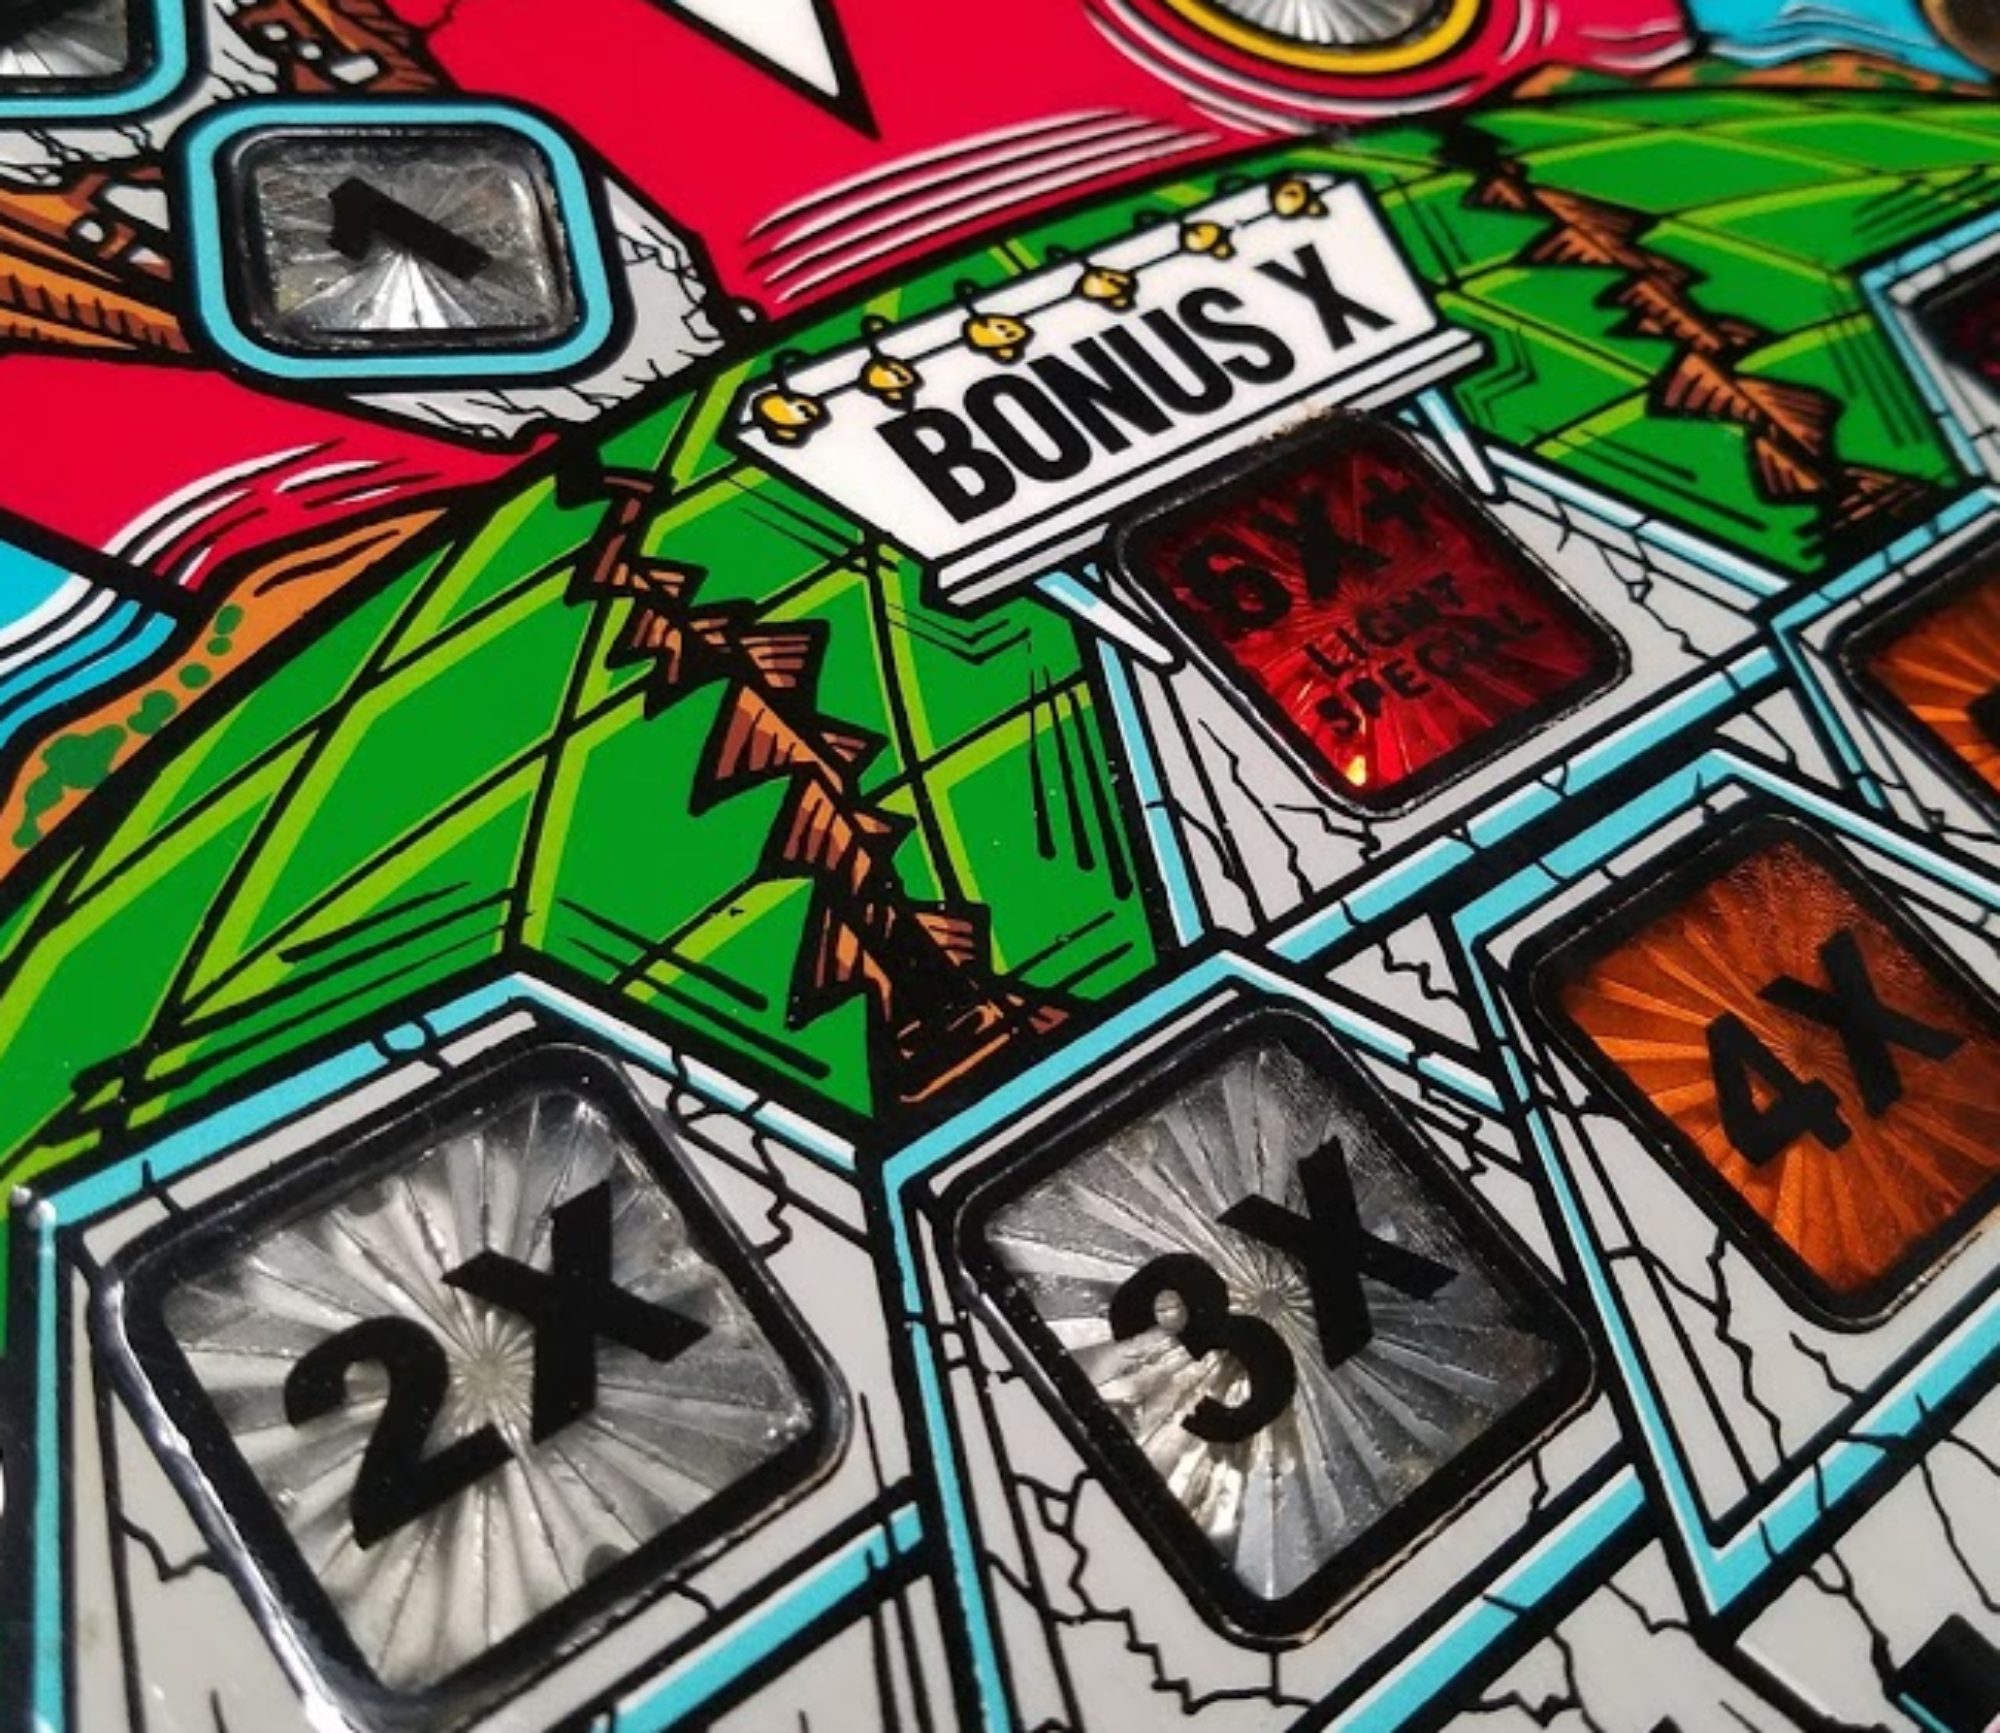
My Black Knight would not boot up correctly. It would power up and display 2500 4. I’d have to open the coin door and then quickly cycle the power switch and after a couple of tries, it booted up, but settings all back to factory. I couldn’t keep it on free play so I had a switch rigged up to the coin return (some previous owner drilled a hole in the cabinet and put in credit button). The guy I purchased it from was thinking a NVRAM chip would fix the issues… and a few years later I finally got around to giving it a go. I purchased from https://nvram.weebly.com/
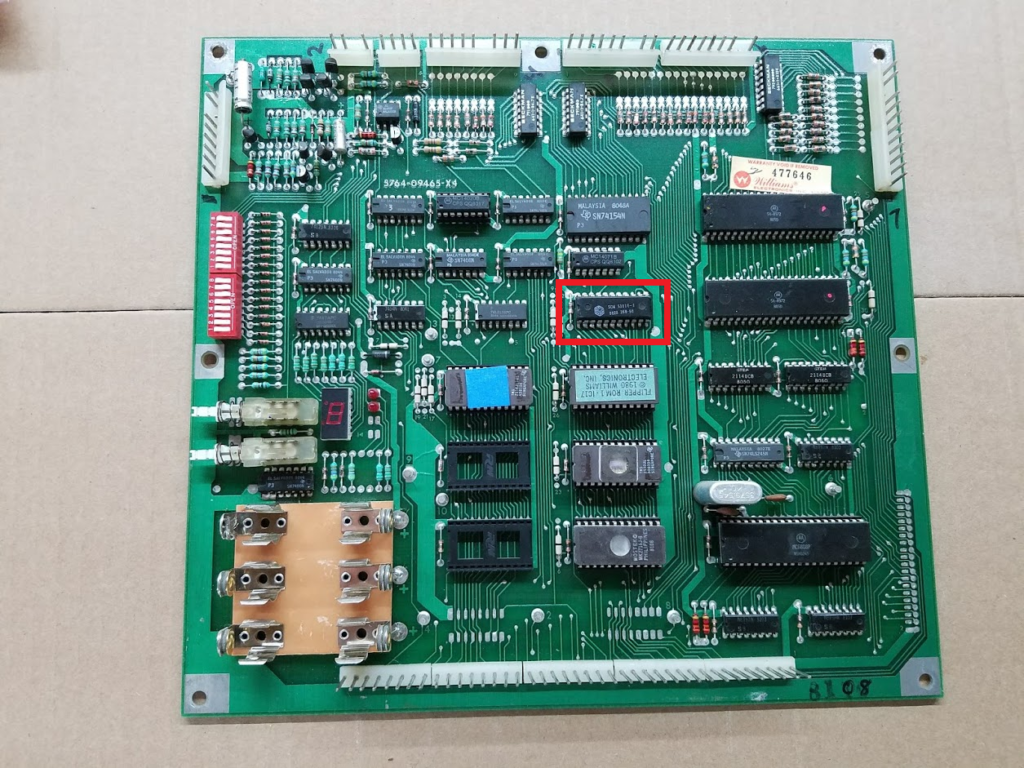
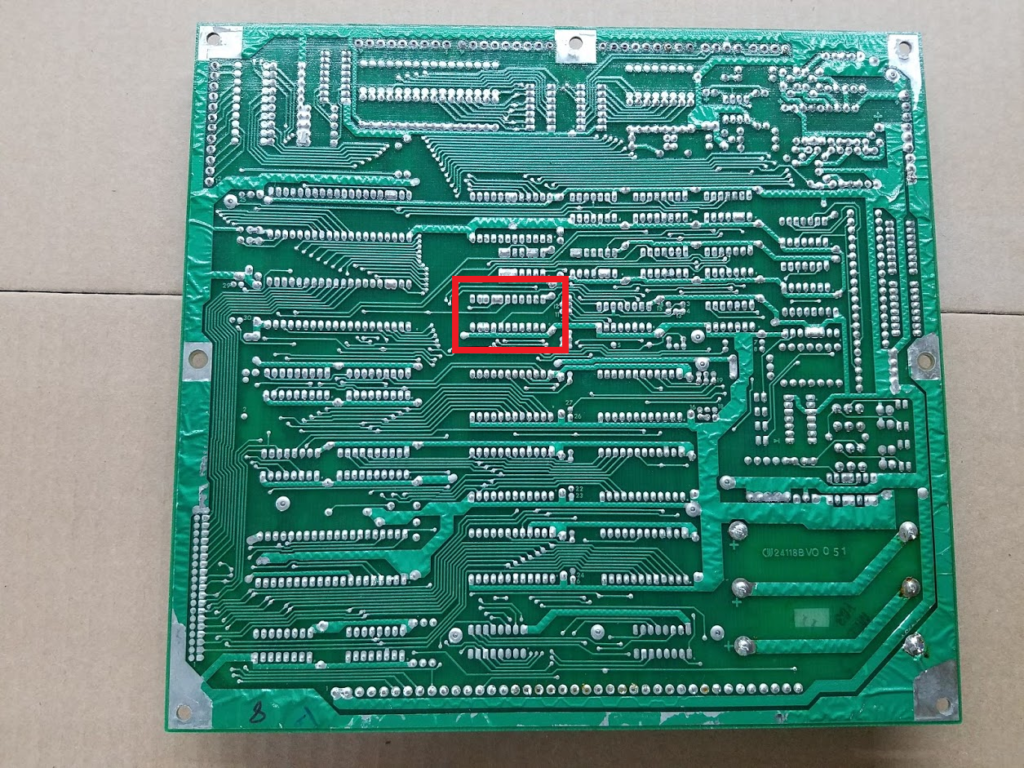
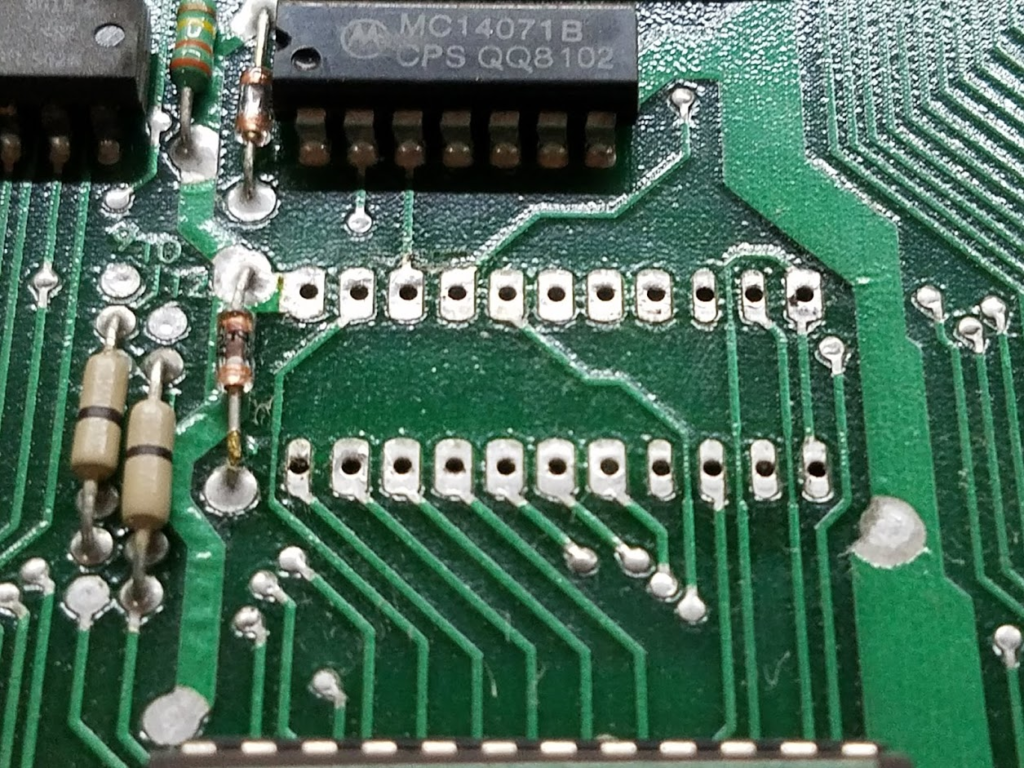
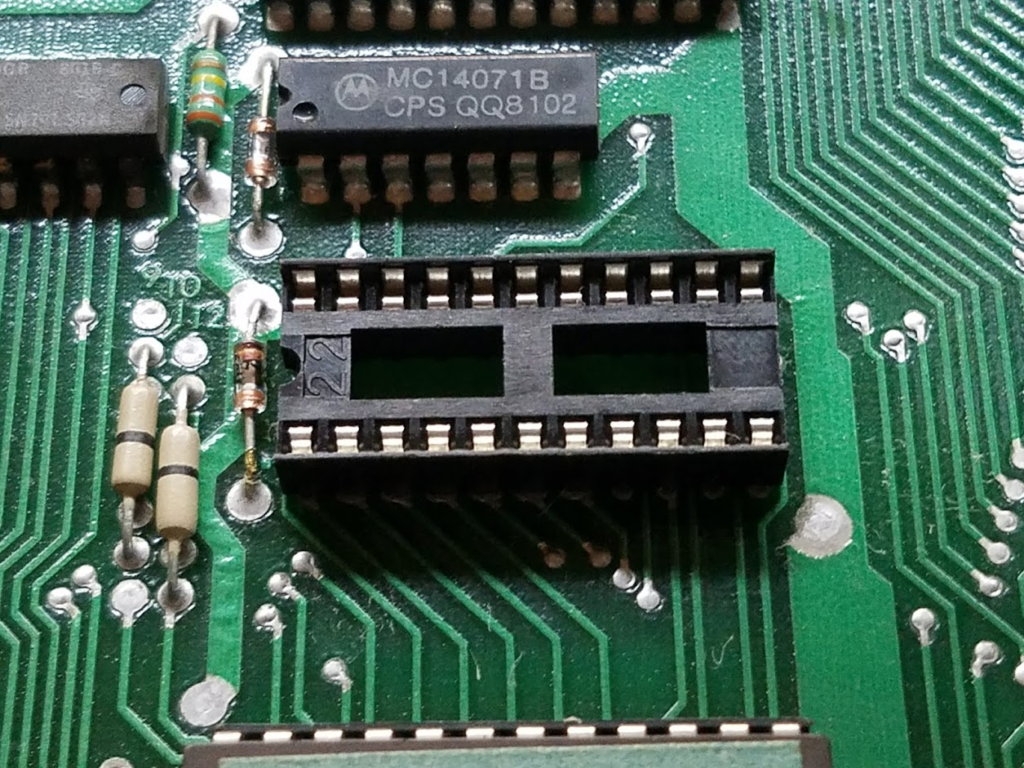
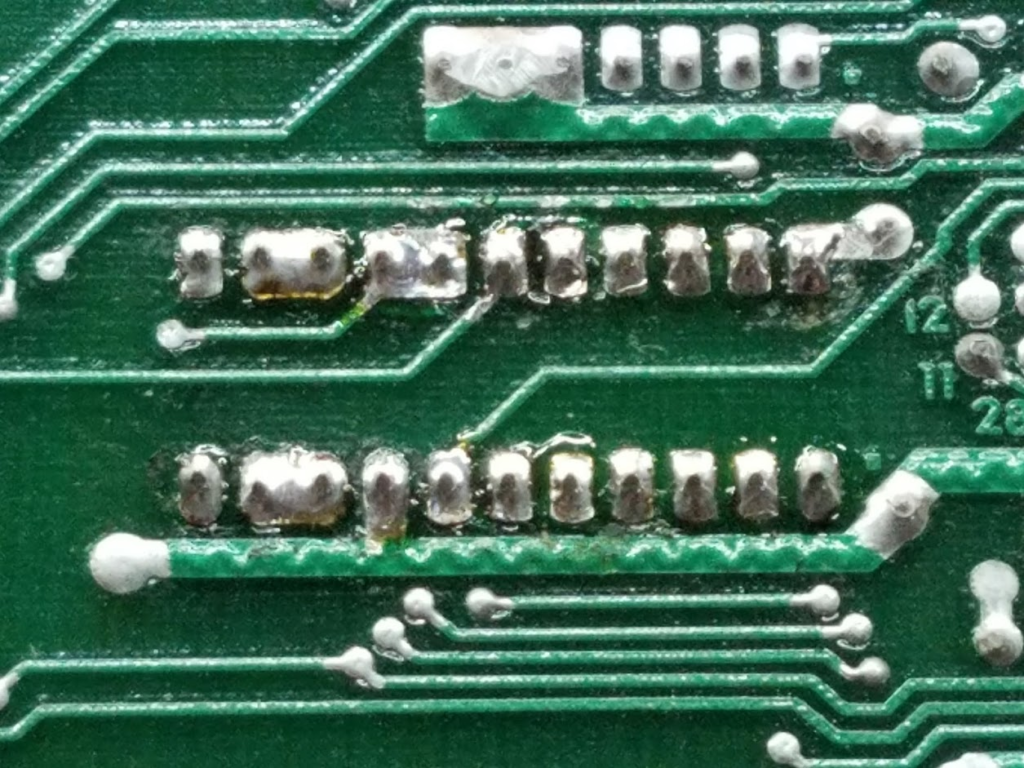
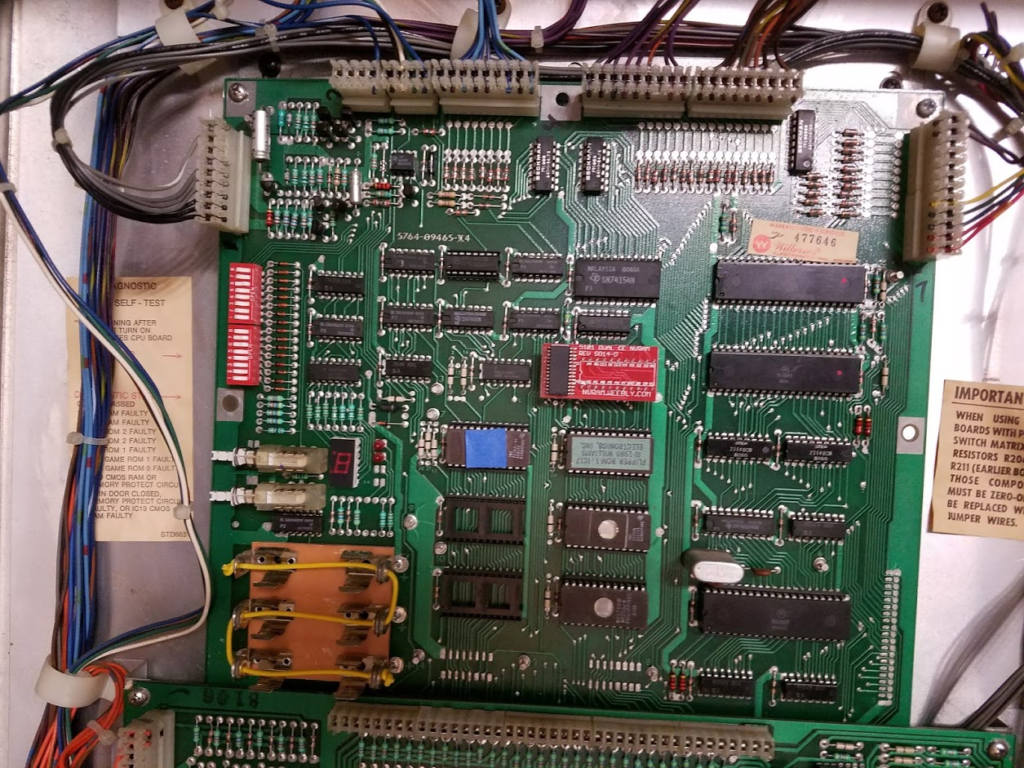
Since this was a fairly easy project and have long term benefits, I see no reason to do most of my pins this way.
This write up lacks bit of detail. Mainly wanting to document what chip was replaced and the Black Knight 2400 4 issue. I’ve done this upgrade to my Earthshaker and have a few more photos there. If you have basis soldering skills, you can do this.
